
Capture the stunning details and vivid colours of your Miniature and Wargamer Figures Using A Light Box
Skill Level: Advanced
Prerequisite: Basic Understanding of Photographic Concepts and Light Box Use
Read Time: 10 minutes
Bring your miniatures to life with stunning detail and vibrant colours! A light box is the secret weapon for wargamers and fantasy enthusiasts looking to capture their miniature masterpieces in all their glory. Say goodbye to shadows and uneven lighting—it’s time to showcase your hard work with professional-grade photos that pop. Ready to elevate your miniature photography game? Let’s dive in!
Photographing fantasy and war-gamer figures inside a light box can be an incredibly rewarding experience. It lets you capture your miniature figures’ stunning details and vivid colours. Each step—from setup to post-processing—plays a crucial role in creating compelling images.
Below is an expanded and detailed guide to help you navigate the process effectively:
Prepare Your Light Box
Choosing the Right Size: Light Boxes come in various sizes. Opt for one that is spacious enough to accommodate your largest fantasy figure while leaving room for creative positioning. A light box at least 12 inches on each side is generally a good starting point.
- Lighting Setup: Select high-quality LED lights that provide a bright, consistent light output. Aim for a colour temperature of 5000K to 6000K, which mimics natural daylight. This helps accurately showcase colours without introducing unnatural tints. Arrange the lights around the box—ideally at the top, sides, and front—for even illumination. Multiple lights can help eliminate shadows by creating soft light gradients across your figures.
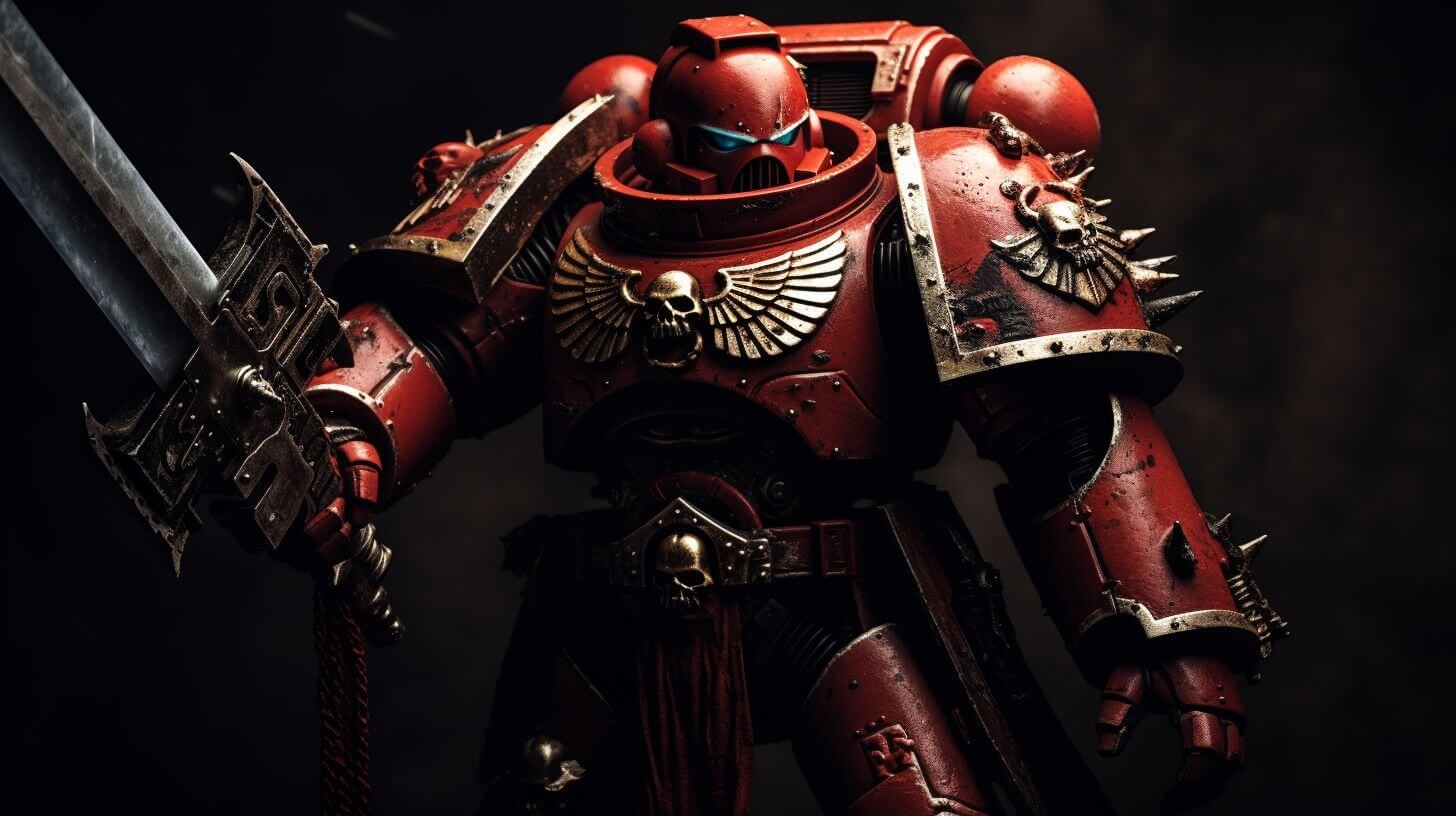
Set Up Your Figure
- Background Selection: The background is crucial for your image. A light-coloured background, such as white or pale gray, helps the figure stand out. Consider using contrasting backgrounds—like deep blues or purples—for colourful characters to emphasize their features. You might also experiment with textures, such as fabric or patterned paper to add depth.
- Stability and Positioning of the Figure: Ensure the figure is securely placed to prevent it from tipping over during the shoot. Use museum putty or a small stand if necessary. Position the figure dynamically, focusing on a natural stance showcasing its characteristics, whether rendered in mid-action or thoughtfully posed.
Adjust Camera Settings
- Manual Mode: Always use manual mode to control your camera settings better. Start with a low ISO setting (around 100-200) to minimize noise, which could distract from the fine details of your figures. Set your aperture between f/8 and f/11 to ensure a good depth of field; this allows most, if not all, of the figure to be in sharp focus while gently blurring the background.
- White Balance Customization: Set the white balance to match your lighting setup. If using LED lights, consider manually adjusting the white balance to capture the true colours of the figures without any warm or cool casts that could compromise the image quality.

Composition Techniques
- Framing the Image: Use the rule of thirds, a principle that advises placing your subject off-center to create a more engaging composition. Most cameras have a grid feature you can enable to help visualize these lines. Experiment with various angles, shooting from higher or lower vantage points to discover unique perspectives highlighting the figure’s features.
- Prop Usage: Including props can enrich your image, provide context, or enhance the narrative of the fantasy world. Ensure these props blend harmoniously with the figure rather than drawing focus away. Items such as themed backdrops, atmospheric elements like smoke or mist, or detailing tools can enhance the storytelling aspect of your photographs.
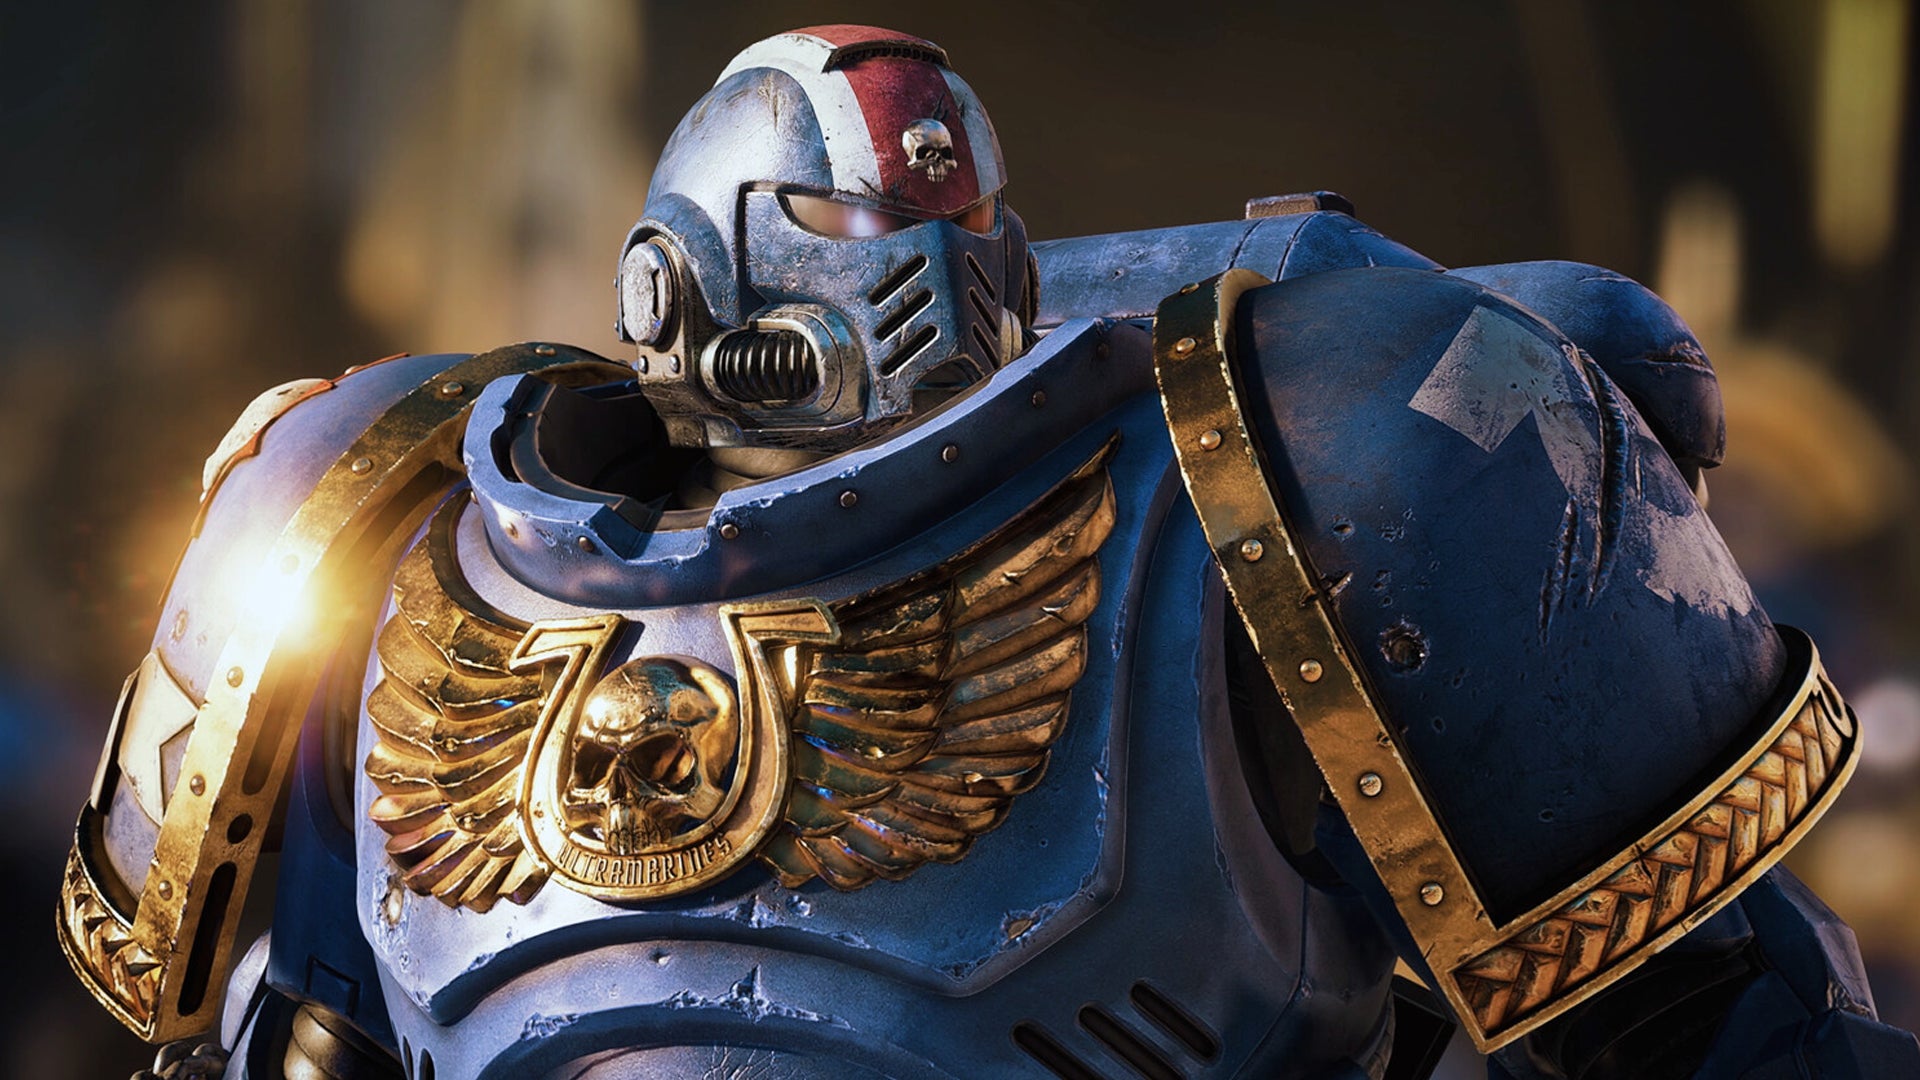
Lighting Techniques
- Softening Shadows with Diffusion: Consider incorporating materials like sheer white curtains or specialized diffusing panels if your lighting creates harsh shadows. These materials scatter the light and provide a soft, even glow, enhancing the overall quality of the image.
- Experimenting with Backlighting: Backlighting can create a dramatic effect and accentuate the contours of your figures. Position a light source behind the figure to create a glowing halo, emphasizing shapes and adding depth. This technique can produce ethereal images, perfect for fantasy themes.

Capture the Photograph
- Diverse Angles: Take shots from various angles and distances. This provides you with numerous options to choose from during the editing process. Use a tripod to stabilize the camera and prevent shaking during long exposures, especially in lower-light conditions.
- Detail Focus: If available, utilize macro mode for figures with intricate designs or textures. This allows you to zoom in on fine details and capture elements like facial expressions or delicate paintwork, which can significantly enhance the overall impact of the image.
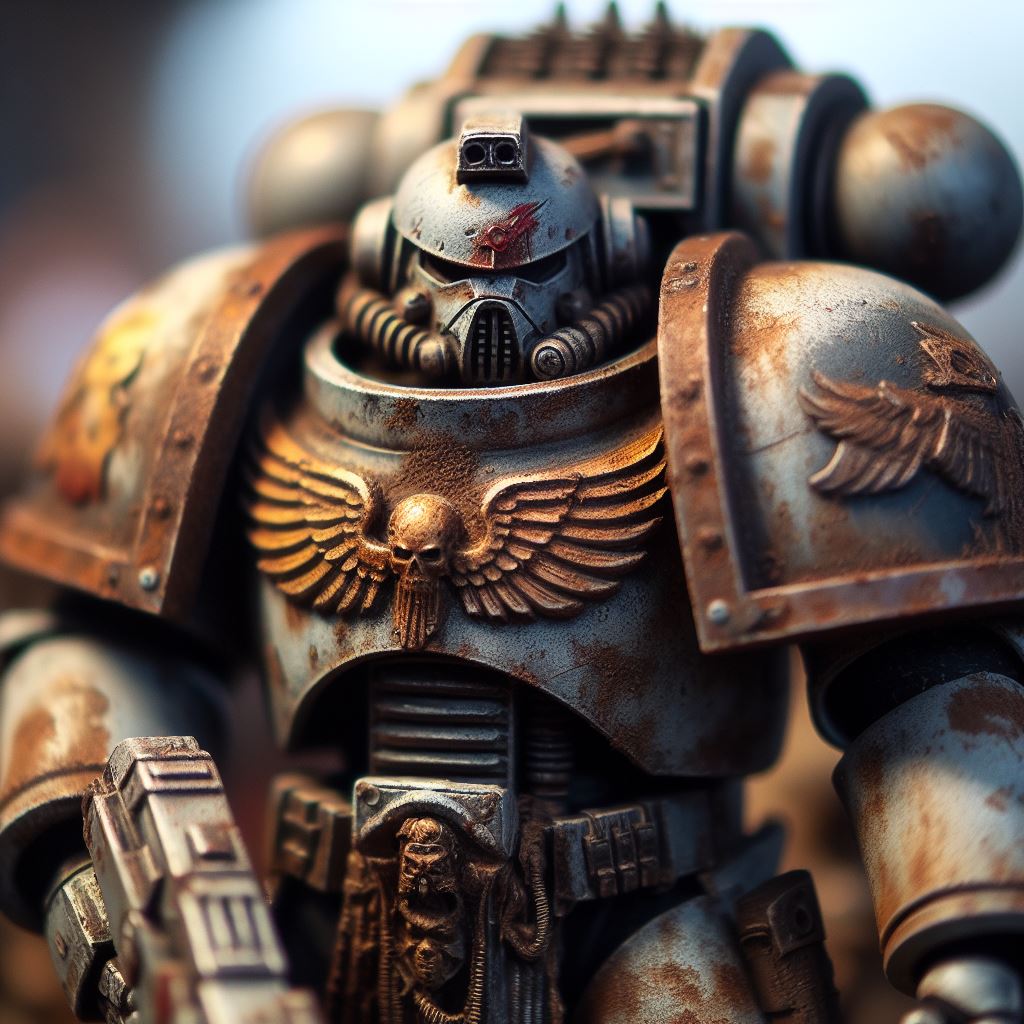
Post-Processing
- Editing Setup: Once you’ve taken your shots, utilize photo editing software such as Adobe Lightroom or Photoshop. Other alternatives are GIMP – GNU Image Manipulation Program and Darktable, both professional-level programs. Begin by making basic adjustments—correct exposure levels, contrast, and highlights to ensure the image pops. Optionally, consider adjusting the colours for correction if necessary and enhancing saturation to make your fantasy figure stand out.
- Sharpening Techniques: Apply sharpening tools delicately to enhance the details without overdoing it. This ensures intricate elements remain clear and vibrant while avoiding an unnatural look.
Final Touches
- Professional Presentation: If you’re sharing your work publicly—on social media platforms or art communities—consider adding a subtle watermark or your signature. This protects your work and brandishes your identity as an artist.
- Showcase Your Work: Don’t hesitate to share your beautiful creations! Engage with online communities that share your interests, and be open to feedback, as this can provide valuable insights and encouragement for your artistic journey.
What we offer
Sunward Hobbies offers the finest War Gamer Acrylic Paints on the market. Check out my favourite paint, 3G Acrylics.
Same Brand Compatibility: Using paints from the same brand or line ensures compatibility regarding drying times, finish (e.g., matte or gloss), and consistency. This uniformity helps prevent unexpected results when mixing paints or applying layers.
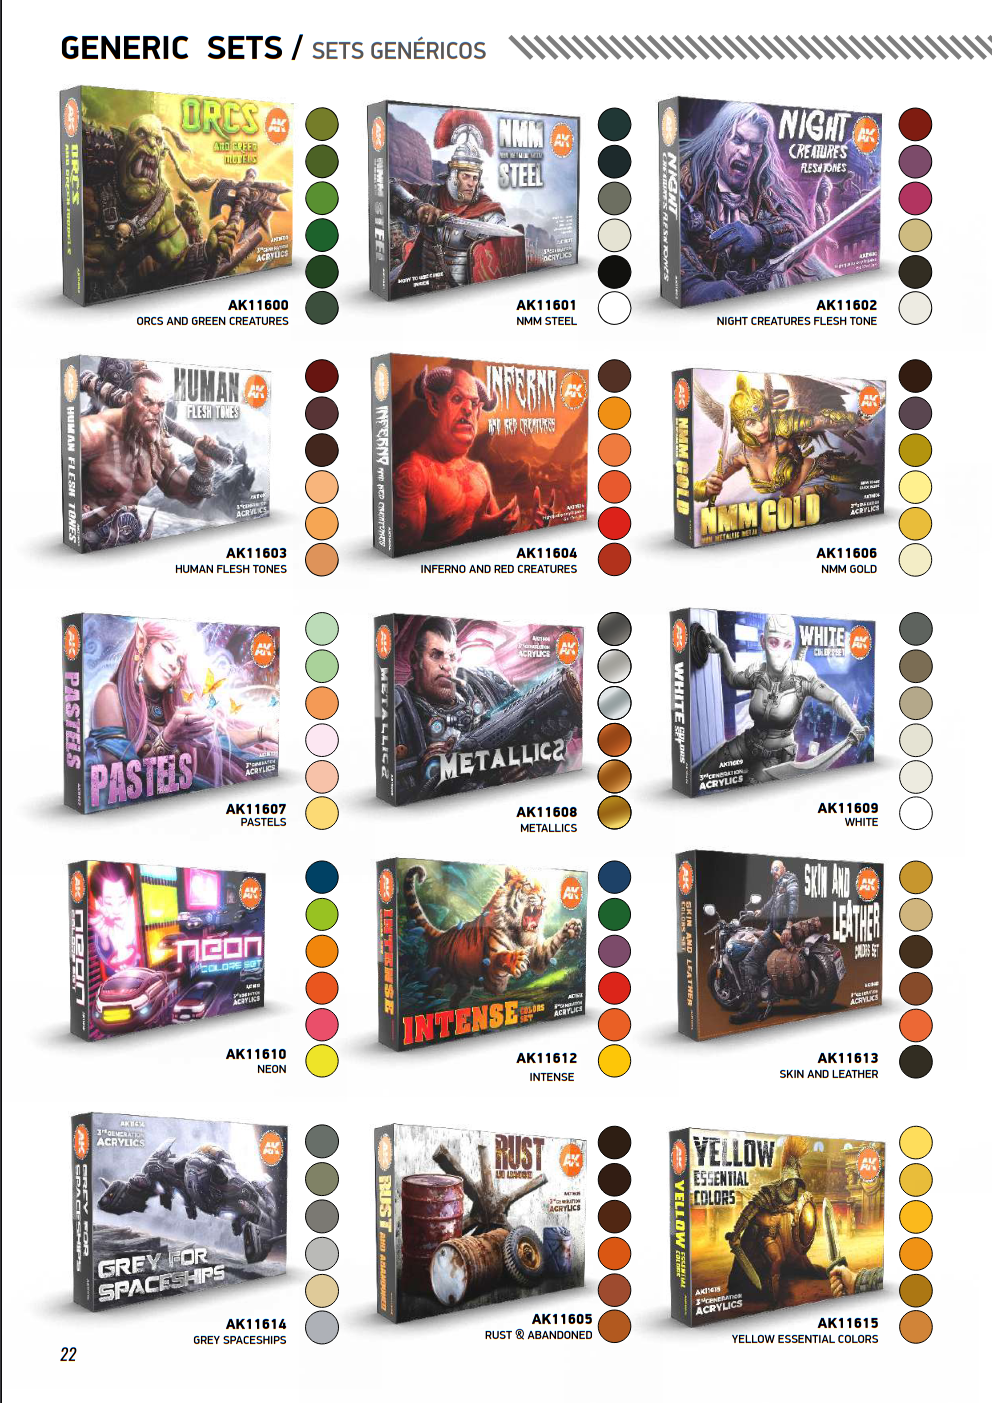
3G Starter Sets
These sets are often curated to include colours that work well together, saving you the guesswork when achieving cohesive colour schemes for your armies or figures.
FAQ: 3G Acrylics
How to Thin 3G Acrylics for Airbrush Use.
Use 3G Thinner AK11500 at a ratio determined by your airbrush proficiency and system setup.
Reduce paint to suit your preferences and desired outcomes.
- Colours: 1:1 – 7:3 parts thinner to paint ratio
- Metallics: 8:2 parts thinner to paint ratio
- When using 3G Retarder, Gloss, Matte, Metal, and Glaze Mediums, add before thinning, adjusting the dilution rate accordingly.
Water-based acrylic paints may be too thick right out of the bottle. If not thinned properly, they may dry quickly on the needle. Additionally, improper thinning can affect paint flow and adhesion.
⚠️ Do not add isopropanol, rubbing alcohol, windshield washer, Windex, lacquer thinner, enamel thinner, odourless thinner, mineral spirits, or dish drops to 3G Acrylics. Degradation of the 3G Acrylic Paint will result.
Why 3G Thinner is Superior to Distilled Water (dH2O) for Airbrush Use.
3G Acrylic Thinner is specially formulated to provide superior results compared to distilled water for thinning acrylic paint, especially in airbrush applications. Unlike water, which can break down the binder in acrylic paint and lead to a loss of adhesion, 3G Acrylic Thinner maintains the paint’s integrity, ensuring that it retains its strength and durability. This dedicated thinner helps the paint flow more smoothly through the airbrush, reducing clogging and spattering. Additionally, it promotes faster and evener drying, minimizing issues like tip-drying and improving the overall finish. Using 3G Acrylic Thinner results in a more consistent application, better control, and a smoother, more durable surface that water simply cannot achieve.
Furthermore, 3G Acrylic Thinner can enhance the pigment dispersion, resulting in more vibrant colours and improved opacity. By using a formulated thinner instead of water, airbrush users achieve greater precision and consistency, allowing for fine details and smooth gradients. Overall, 3G Acrylic Thinner is tailored to the needs of airbrush users, optimizing paint performance while eliminating common problems associated with using water, such as poor adhesion, extended drying times, and inconsistent finishes.
Why Distilled Water is Superior to Tap Water for Brush Painting.
Distilled water is generally superior to tap water when diluting water-based acrylic paint because it is free from impurities, minerals, and chemicals like chlorine or fluoride that can be present in tap water. These contaminants can interfere with the consistency and flow of the paint, potentially causing it to dry unevenly, become grainy, or alter the pigment’s vibrancy. By using distilled water, artists can achieve a smoother, more predictable application, ensuring the paint maintains its intended texture and colour without unexpected reactions.
Additionally, the controlled purity of distilled water helps prevent the buildup of mineral deposits on brushes, palettes, and painting surfaces. This can extend the lifespan of painting tools and keep artworks free from unwanted residue. For miniature figure artists seeking maximum control and consistency in their work, particularly in fine detail and glazing techniques, distilled water offers a reliable solution for achieving optimal results.

The Rule of Thirds in Minature Figure Photography
The Rule of Thirds is a foundational concept in photography embraced by amateur and professional photographers to enhance visual composition and create striking images. This principle involves dividing the photographic frame into nine equal parts, utilizing two horizontal lines and two vertical lines to form a grid. This grid serves as a guide for positioning the key elements of an image in a balanced and aesthetically pleasing manner.
When applying the Rule of Thirds, photographers are encouraged to place important subjects along these lines or at their intersections, known as “power points.” This strategic positioning helps to create a sense of equilibrium and dynamism within the composition. For instance, when photographing a breathtaking sunset, positioning the horizon along the upper or lower third of the frame can evoke a deeper emotional resonance by emphasizing either the expansive sky filled with colourful clouds or the rich textures of the foreground.

In macro portrait photography, this technique can highlight a miniature’s face. By aligning the subject’s eyes with one of the horizontal lines, the image draws the viewer’s attention directly to the eyes, which often convey the strongest emotions and connections. Additionally, placing a subject slightly off-center rather than in the middle creates an intriguing balance that allows negative space to breathe, making the overall image more engaging and inviting.
The Rule of Thirds is especially beneficial when capturing action or movement. For example, in wildlife photography, positioning a running animal along one of the vertical lines gives the photograph a sense of direction and momentum, pulling the viewer’s eye along with the subject’s path. Similarly, in sports photography, aligning athletes with these lines can create a more dynamic portrayal of the action, emphasizing the energy and intensity of the moment. Apply the same principles to miniature figure positioning.
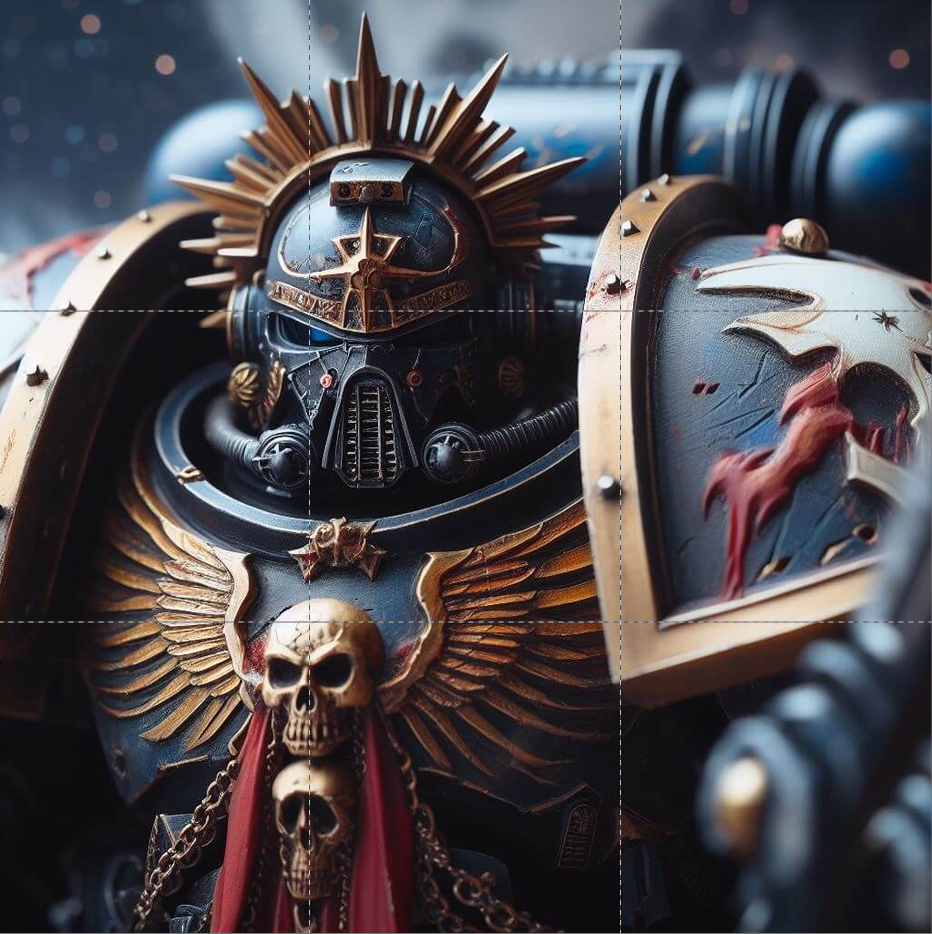
While the Rule of Thirds is a valuable guideline in photography, it is crucial to recognize that it is not an unyielding rule. Creative exploration and experimentation can lead to extraordinary results that defy conventional framing. For instance, breaking the rule by centring an important subject can convey a sense of stability, while completely abandoning it to create a less balanced composition can evoke feelings of chaos or spontaneity.
In conclusion, the Rule of Thirds is a powerful tool in a photographer’s toolkit, providing a framework for creating visually compelling compositions. By understanding and applying this principle, photographers can enhance their storytelling abilities, guiding the viewer’s eye and evoking emotion through their imagery. However, the true artistry in photography often lies in knowing when to adhere to this rule and when to embrace intuition and creativity to forge new paths in visual storytelling.
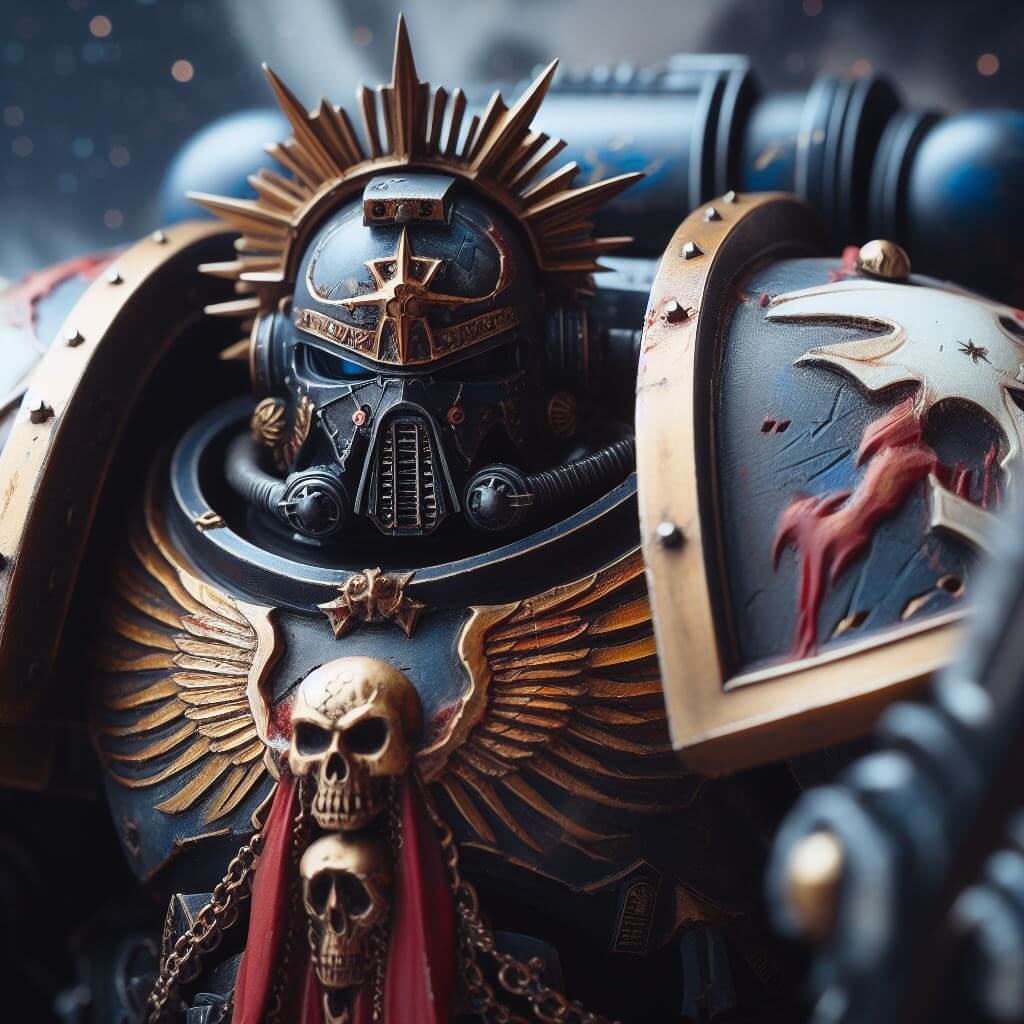
By attentively following these detailed steps, you’ll be well-prepared to create breathtaking photographs of your fantasy figures that captivate your audience and highlight the artistry behind your creations.
Enjoy the process and unleash your creativity!
Inspiration and Technique


NEXT ARTICLE
A Detailed Comparative Exploration of Light Box Photography Versus Professional Lighting
In the expansive world of photography, lighting stands out as an essential element that dramatically influences an image’s composition, mood, and perceived quality. How light interacts with a subject can make or break a photograph. Photographers often choose between two prominent lighting methods: light box photography and professional lighting setups or a mix of both.
Previous Article
Why Showcase Your Wargamer and Fantasy Figure Artistry on Social Media?

James Wooldridge
An enthusiastic scale modeller, researcher, and amateur historian contributing to scale modelling sites and publications, including Scalemates. His articles are frequently featured in Google Featured Snippets. He is an active and progressive Facebook Group expert and presents and hosts videos for a Scale Modelling Club. Additionally, James is a founding executive member of KSM–IPMS and an executive of Kawartha Scale Modellers. 🎲 🛡️ ⚔️
Previous Article: Why Showcase Your Wargamer and Fantasy Figure Artistry on Social Media?

