Tamiya Lockheed Martin F-35A Lightning II 1/48 Scale Kit 61124 – Part 5
In this Sunward Hobbies article and review I’ll be continuing with the major and finer details of the Tamiya F-35A Lightning II in 1/48 scale (item # 61124). Previous: Part 4
You’ll see 4 mini models completed along with more highly detailed weapons bay doors.
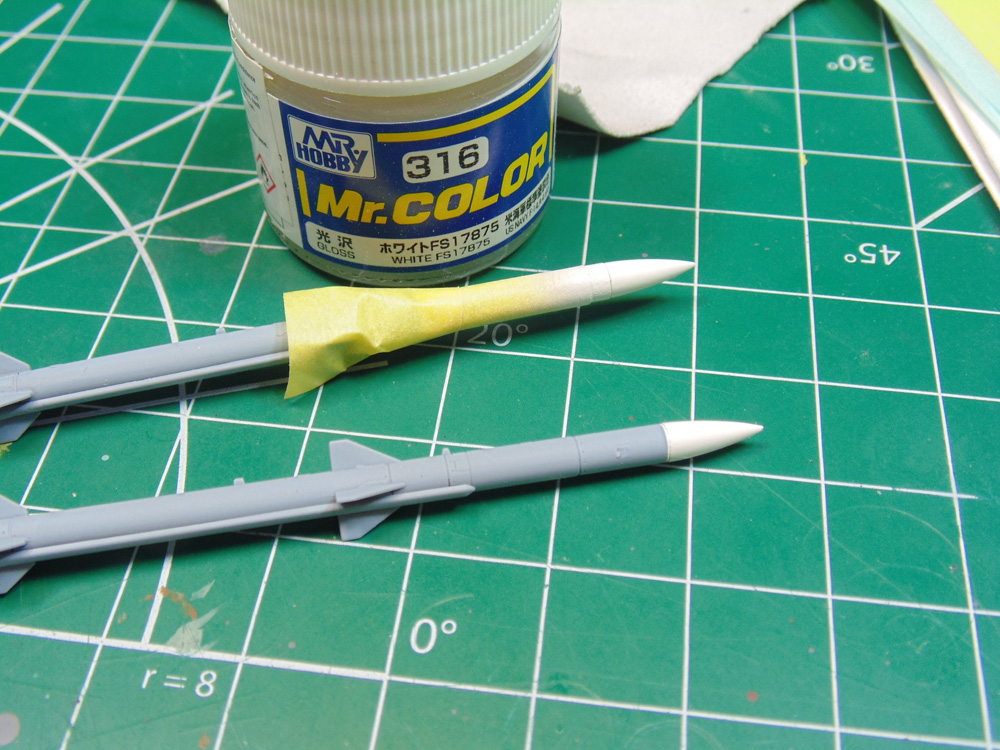
As mentioned in Part 4 you’ll be bouncing back and forth between steps 33 and 34. The simple reason is waiting for paint and decals to dry. While one part is flashing off you can flip to another, thus making great use of your time. Now that the paint has hardened on the missile tips you can, naturally, remove the masks. Always pull the tape in the direction away from the painted area, just to be safe.
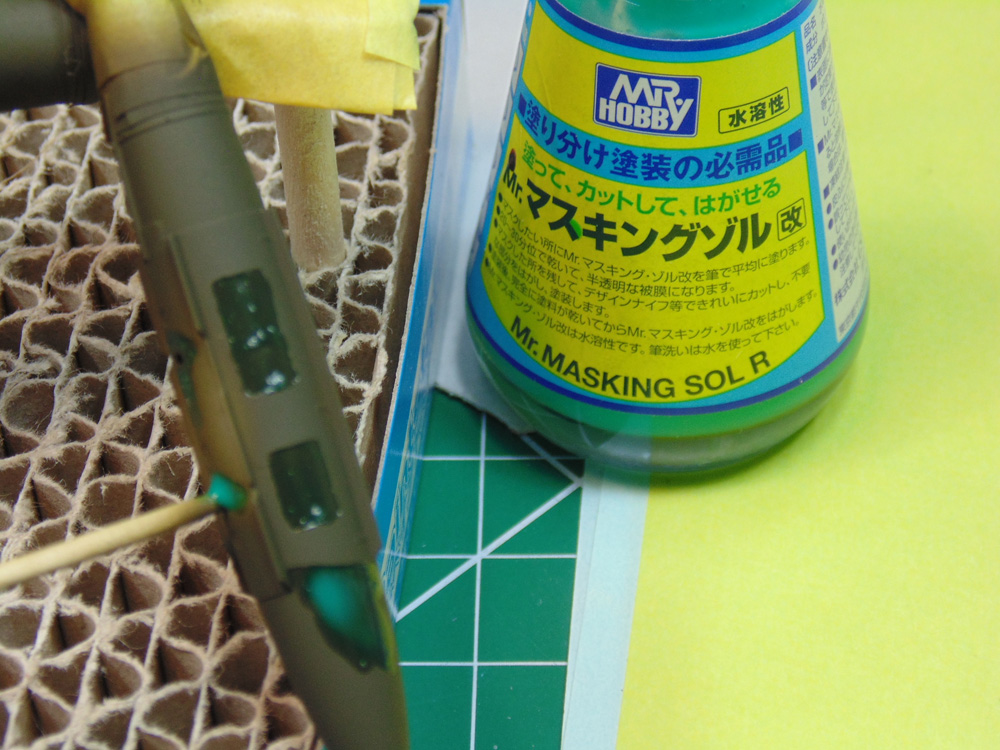
Covering the inside sections of the bombs is a very time-consuming job. Using tape would be a frustrating task, to say the least, with all the complex curves. Since I know my paint has fully hardened once again, I’m using Mr. Hobby SOL R. It’s so much easier to use a toothpick or brush and carefully push the fluid to the edges.
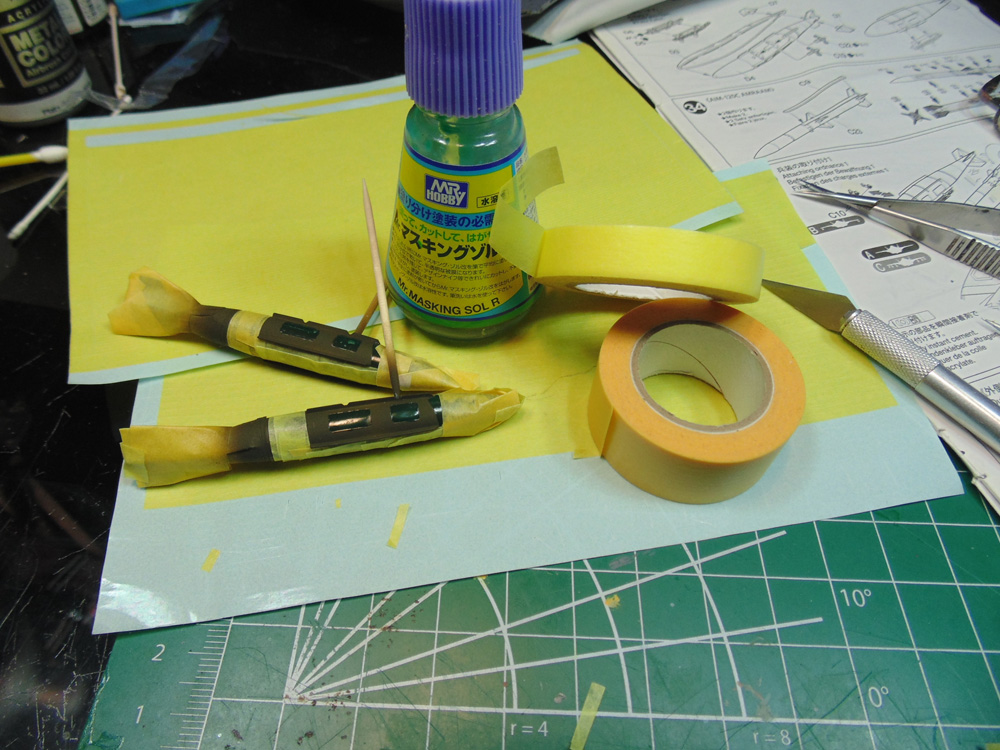
Now all the straight edges and slight curves can be covered. Different widths of tape are used here. The thinner tape is excellent for those spots with a gentle bend, while open areas are covered, obviously, with the wider tape. Regardless, always make your lengths longer and in one strip. These rolls of tape go a long way so don’t be stingy. After all, these bombs will be a huge focal point of the project.
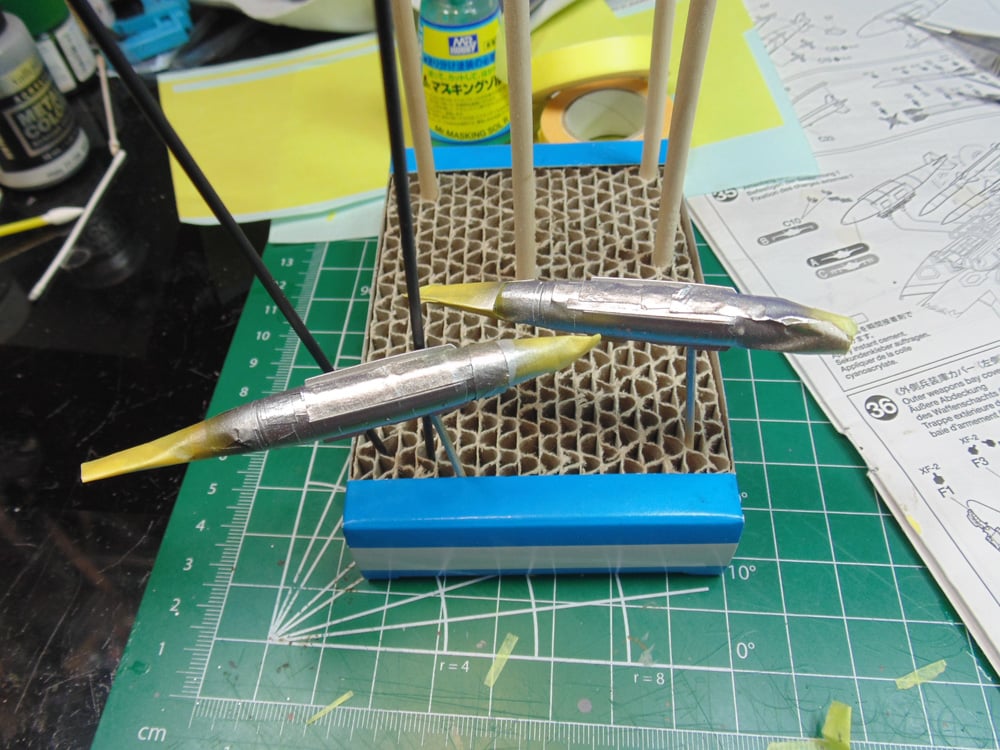
They were then sprayed with AK Interactive Extreme Metal aluminum. The paint below will act as a primer but you should still mist spray your coats at a distance of eight inches until you get the desired look. Typically, this means three or four passes. Let this product dry for no less than six hours.
It’s such a gratifying thing to see the part free of the masking. Sometimes you can save the masking tape, however anything with a metal color should be tossed. Even the slightest bit of metal spray on your left-over tape has a chance of coming off on your fingers and getting on other parts where you don’t want it to.
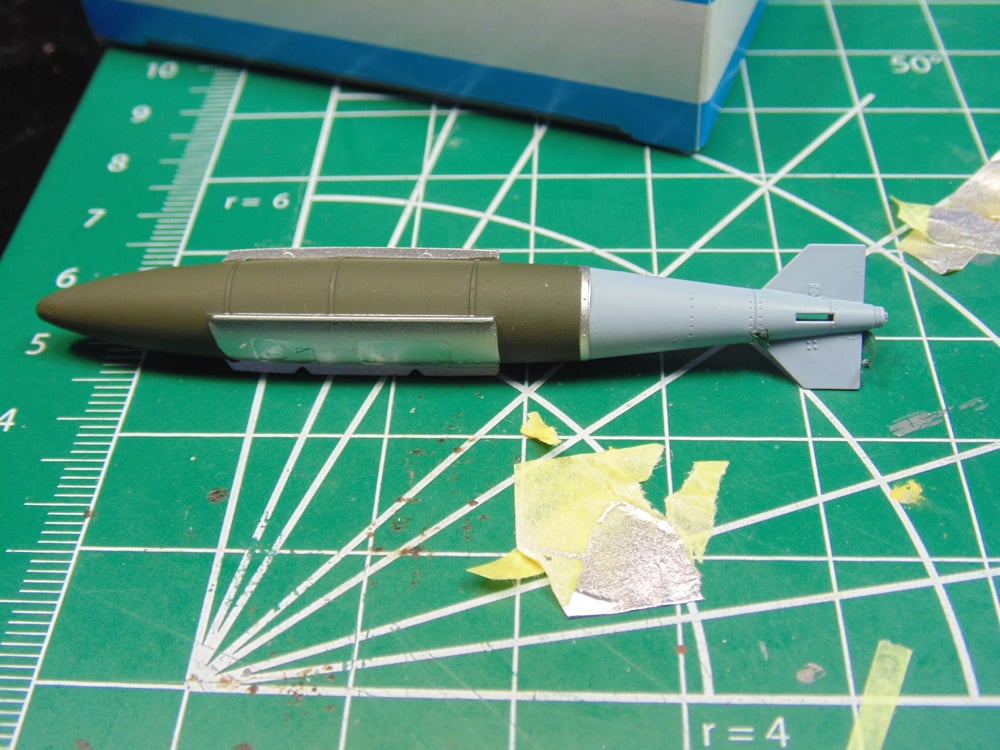
Now the decals can be added after you touch-up any paint imperfections. Some of the decals in this model kit are printed with the complex curve shape, making them conform much much easier. That said, they still have to be positioned properly. I use an AK silicon brush for just this purpose. The tip will cling to the carrier film and allow you to drag the decal a lot quicker than a normal brush and certainly safer than a hobby blade.
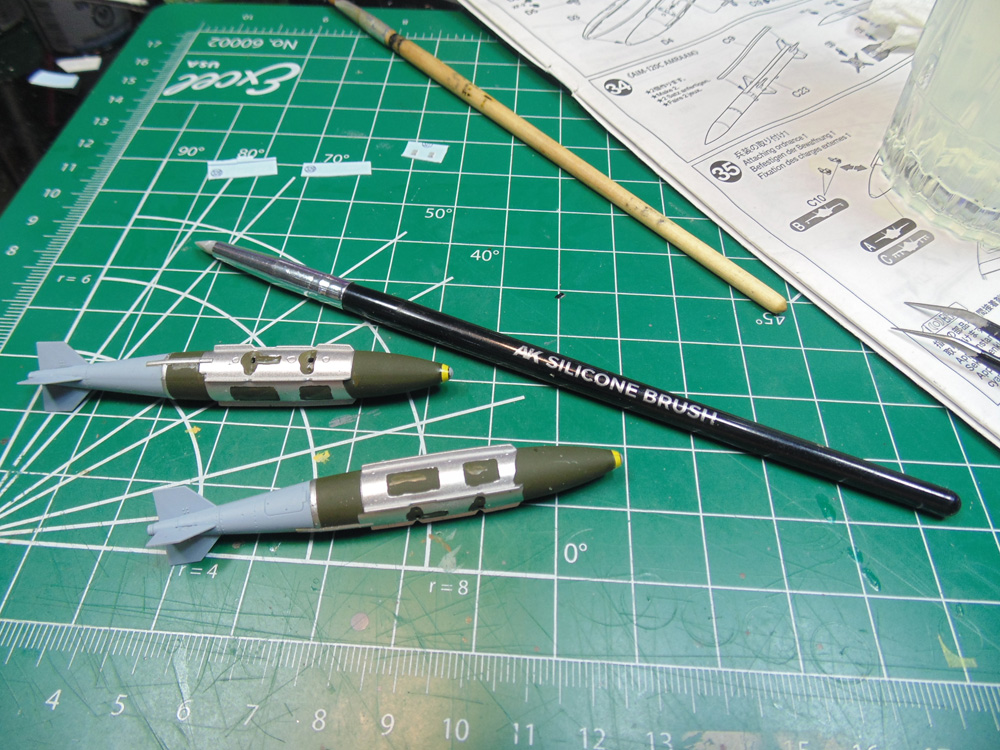
Tamiya decals are very nice, yet take a little longer to bed down compared to their aftermarket equivalent’s. The company caters to everyone from the beginner, novice and up to professional highly skilled craftsmen. Hence why the carrier film is slightly thicker. Micro SET will grab the bottom side and pull it down. You must let this fully dry, regardless of which decal setting brand being used, before adding Micro SOL, or another brand, to melt and bed the item into its final location.
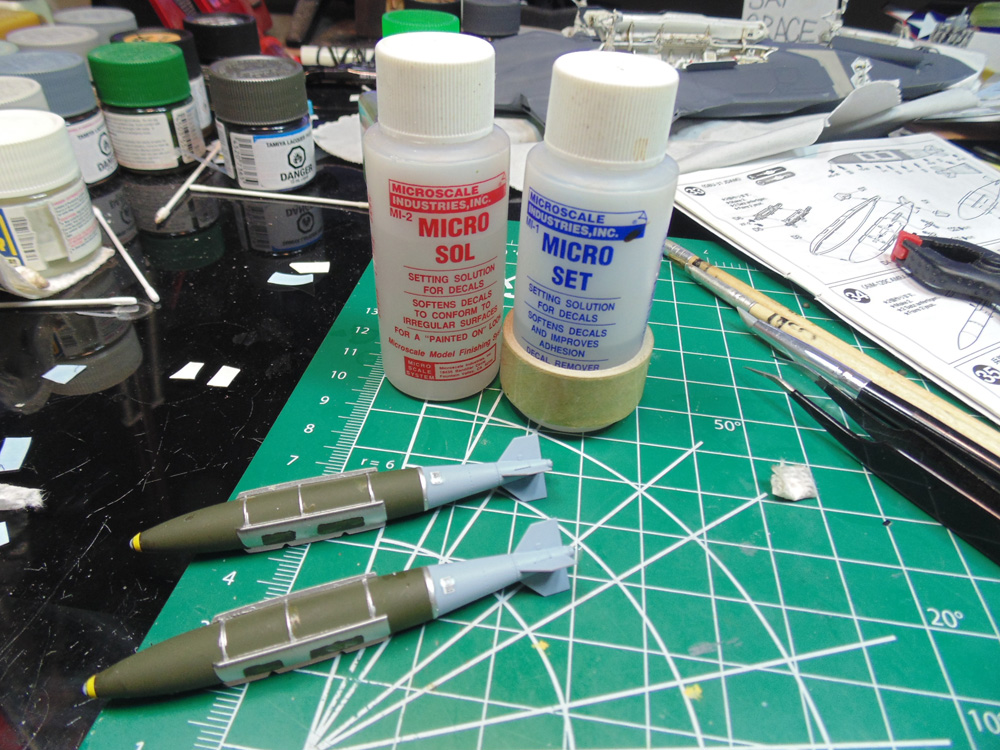
With the decals added you then wipe away any stains after they fully dried for eight hours. Use a damp soft cloth or paper towel to gently rub these stains away. It’s now safe to add the attachment parts. There are quite a few different colors and details in these mini models, therefore treat them with due time and respect.
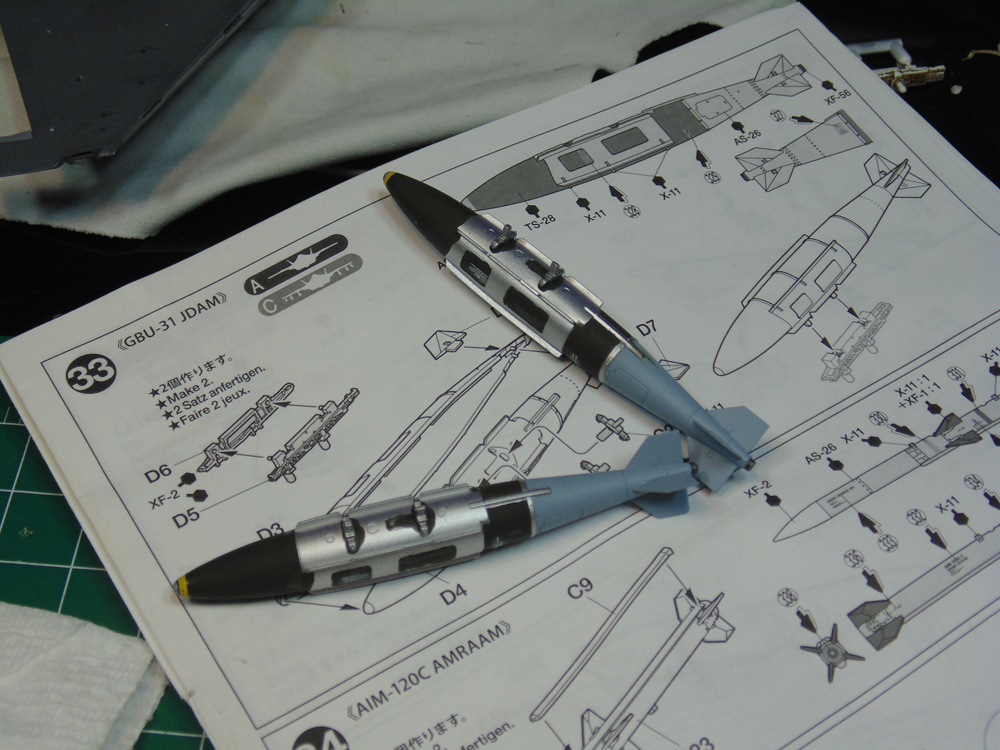
After the added parts have fully hardened to the bombs and the oil wash has been cleaned up, you now have a place to hold the items to do minor paint touch-ups. Here, you can see the one above has been completed compared to the one below. As the modeller it’s your decision to take the time to do this or not. Either way you have a very interesting piece of kit to install.
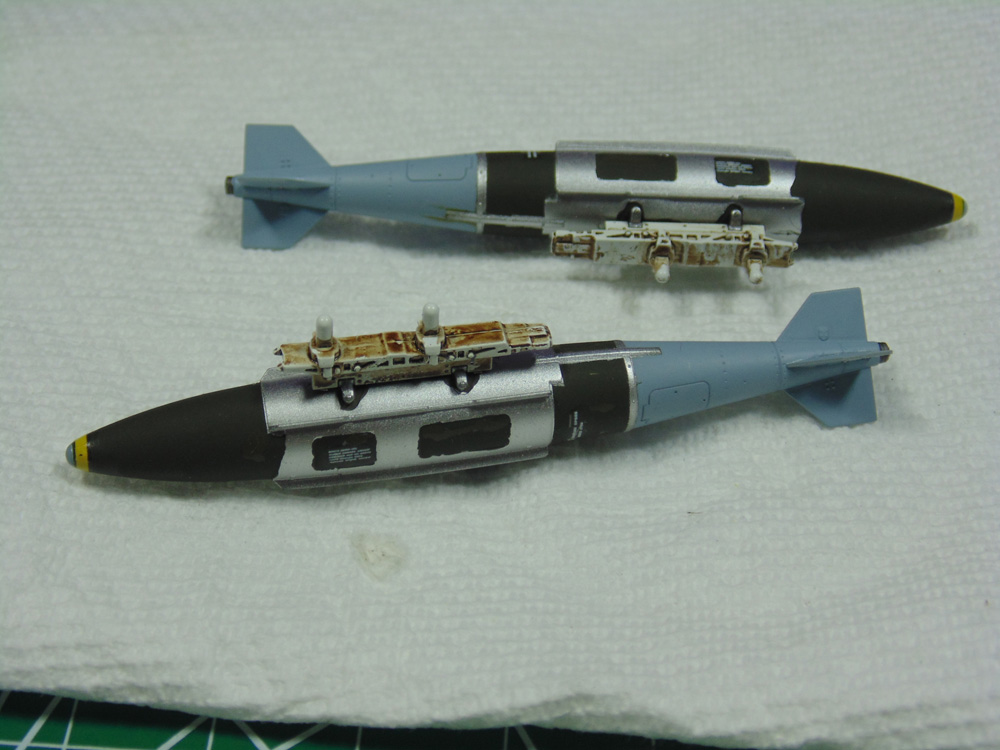
(ATTENTION! One of the great things with supporting Sunward Hobbies, and there are many, are the tutorials and videos. I get to help you from my real-world experience. Here’s a huge tip, DO NOT install these bombs until the outer doors are attached and have completely dried. Fishing them into place with almost no room to angle was a seriously frustrating process.)
I didn’t take any pictures of the missiles being completed, as you’ll see them in a moment. The paint and decal procedure is the same as the bombs. You might consider, though, highlighting the instruction sheet after each of the many stencils are completed. This is especially helpful if you have to put the project aside to know where you left off.
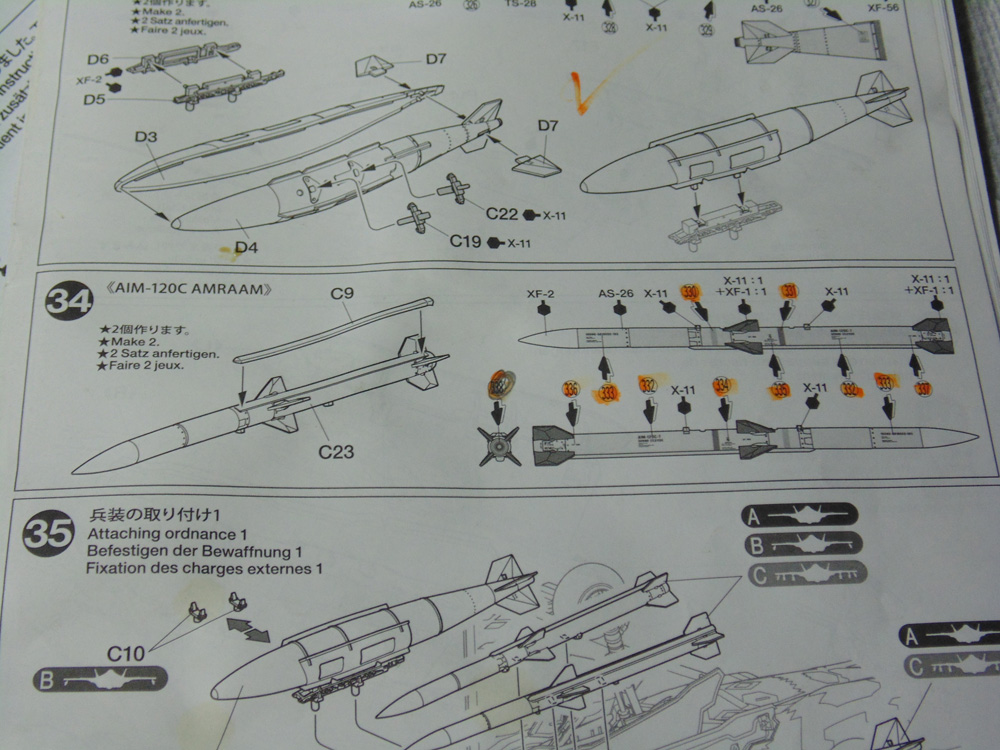
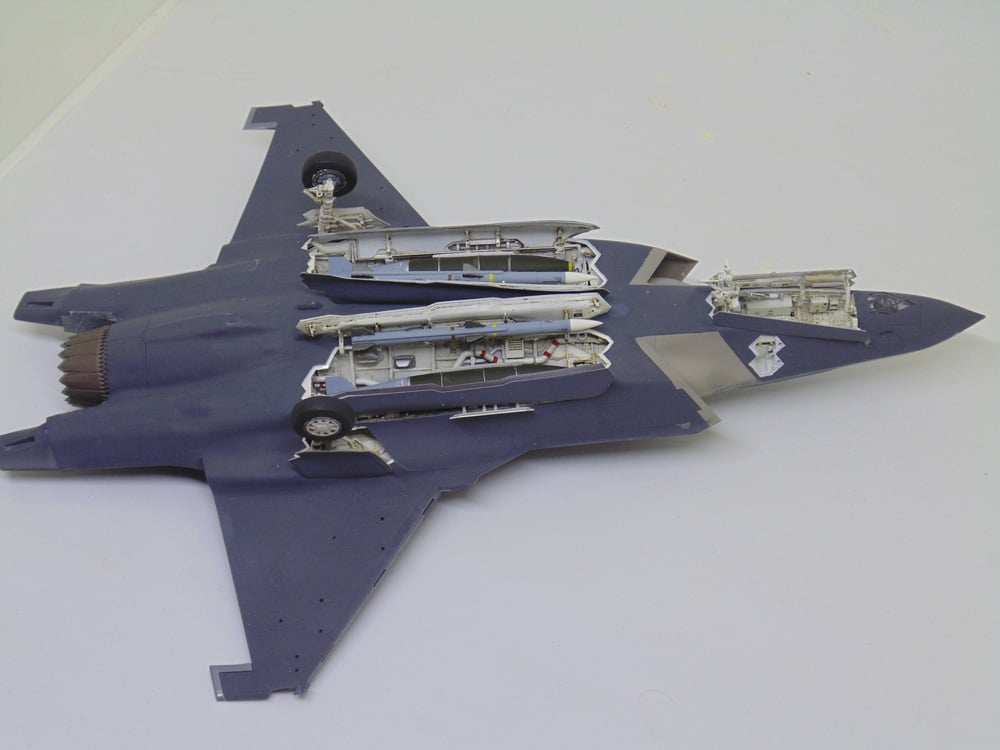
Here are a couple of photos of the installed ordinance. The details just keep coming on this the second most detailed project I’ve worked on. It’s staggering to imagine the work which went into its design alone. The amazing part is there’s no photo-etch parts, no resin and no rubber needed to attain this level of intricacy.
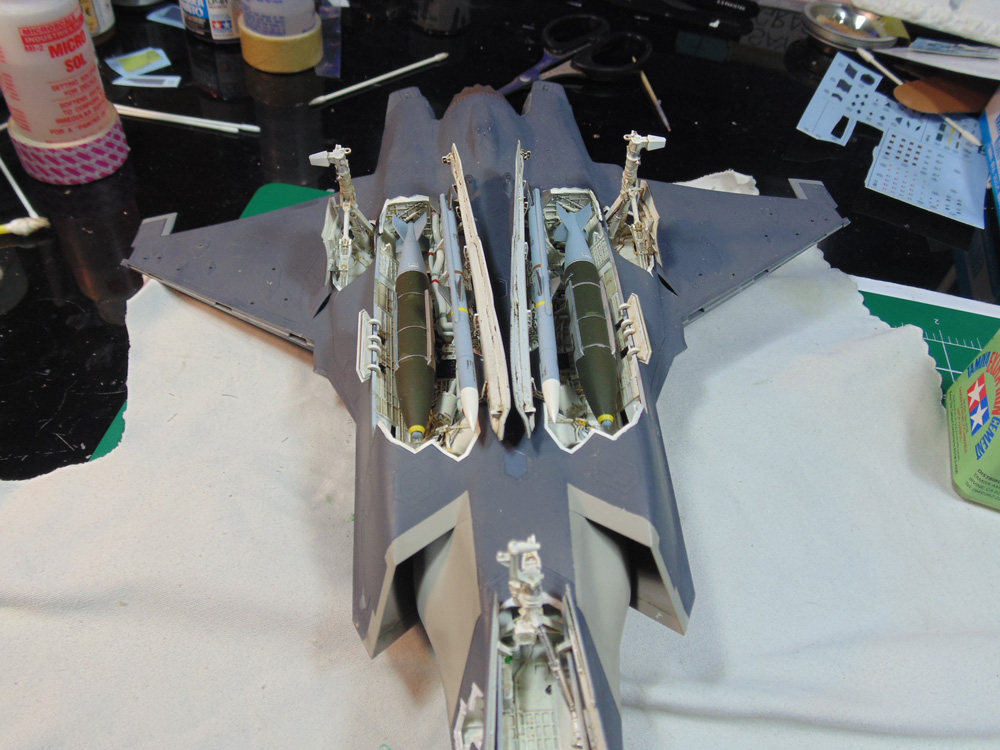
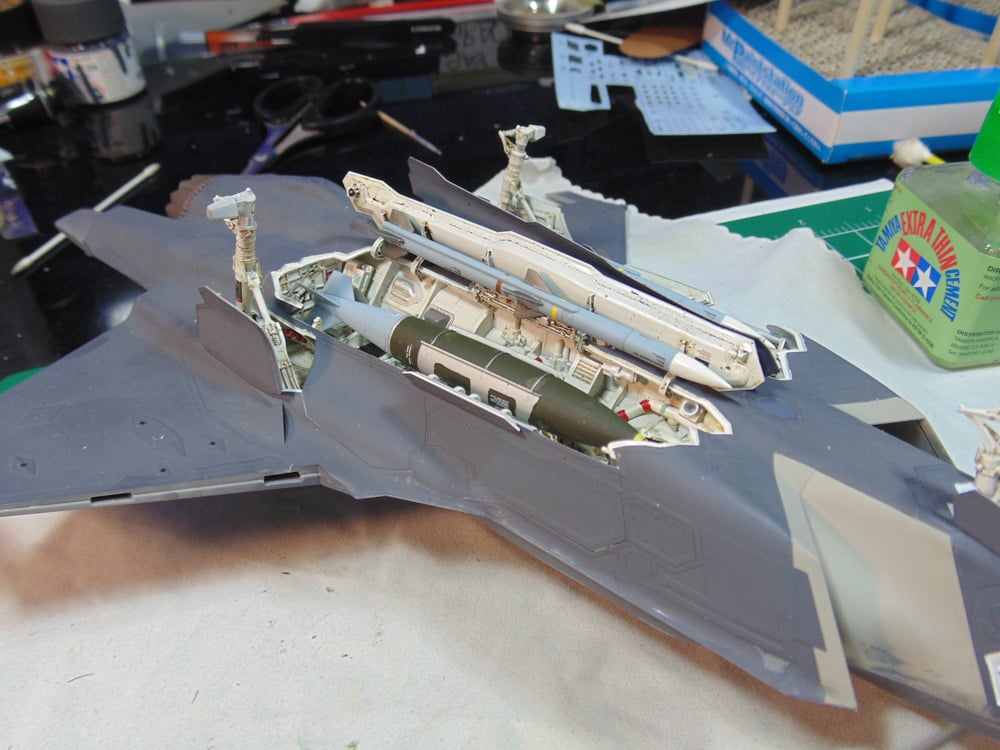
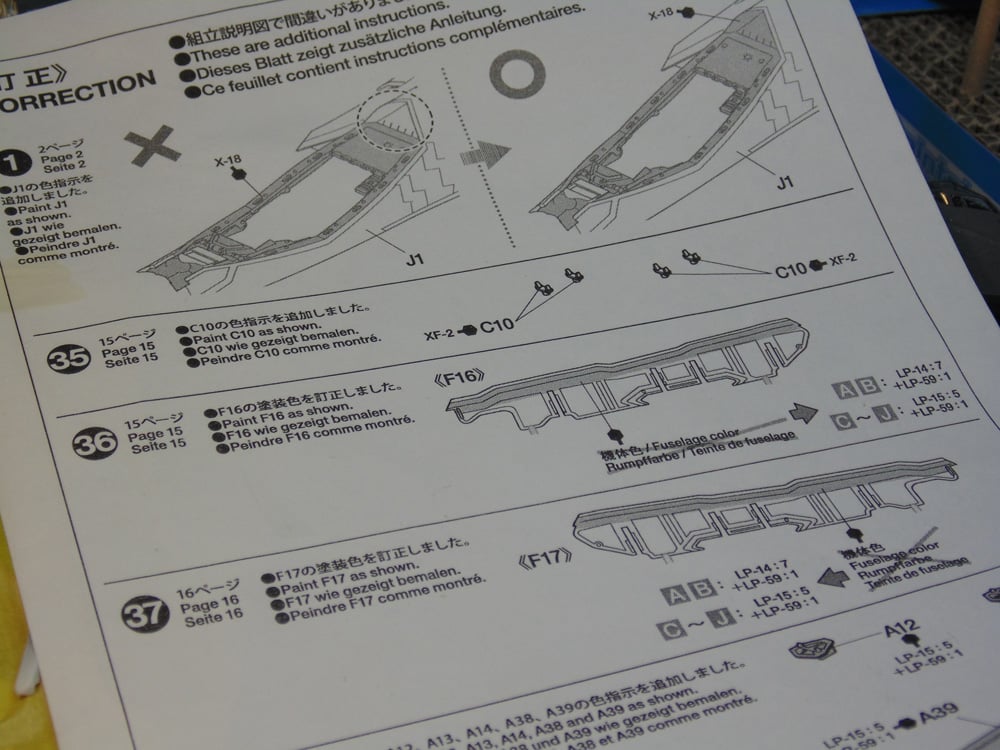
To remain organized I’ve already slipped the correction sheet at this point with a paperclip. The color for the inside edges of the outer door parts has to be a blend of Tamiya LP lacquer paints products, depending on which version of the aircraft is desired. I implore you to buy these paint products from the store. The mix ratios are as well thought out as this model. You can also purchase flexible tape to conform to the curves. This tape is an absolute must have for any modeller.
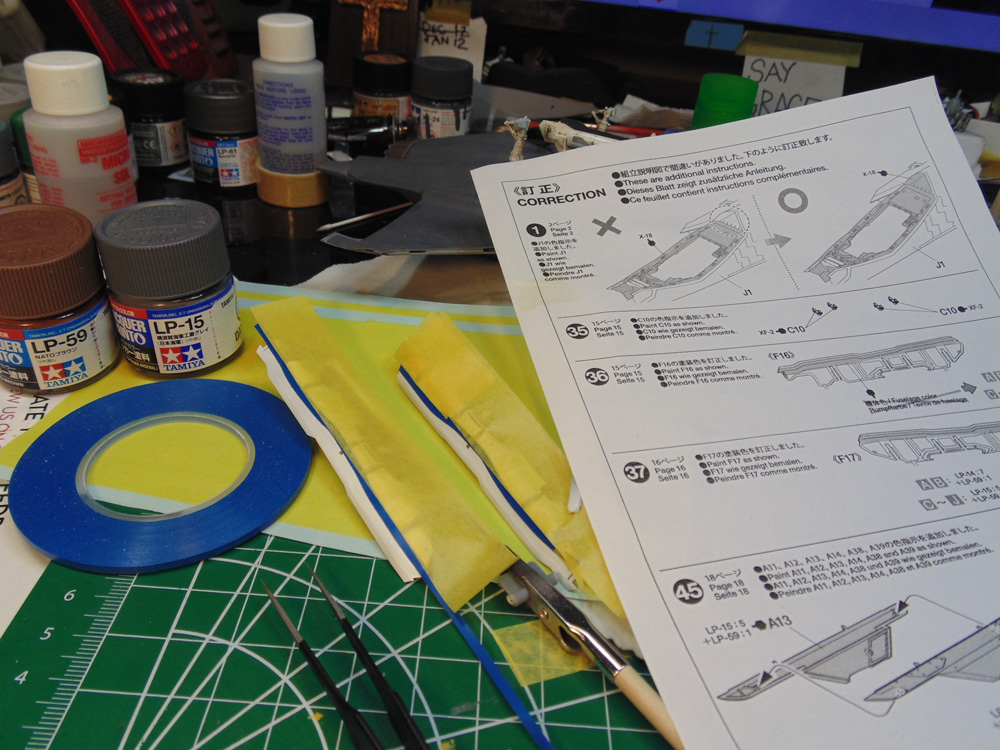
Once you’ve made the needed color adjustments move this sheet to the next section and, again, use a paper clip so it doesn’t get lost.
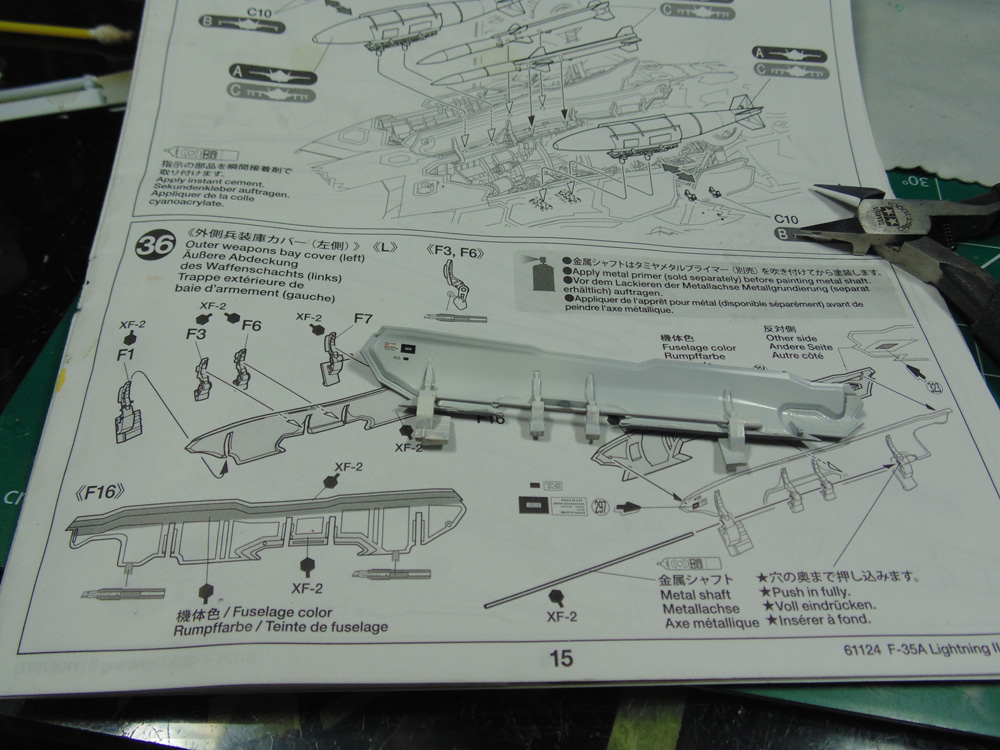
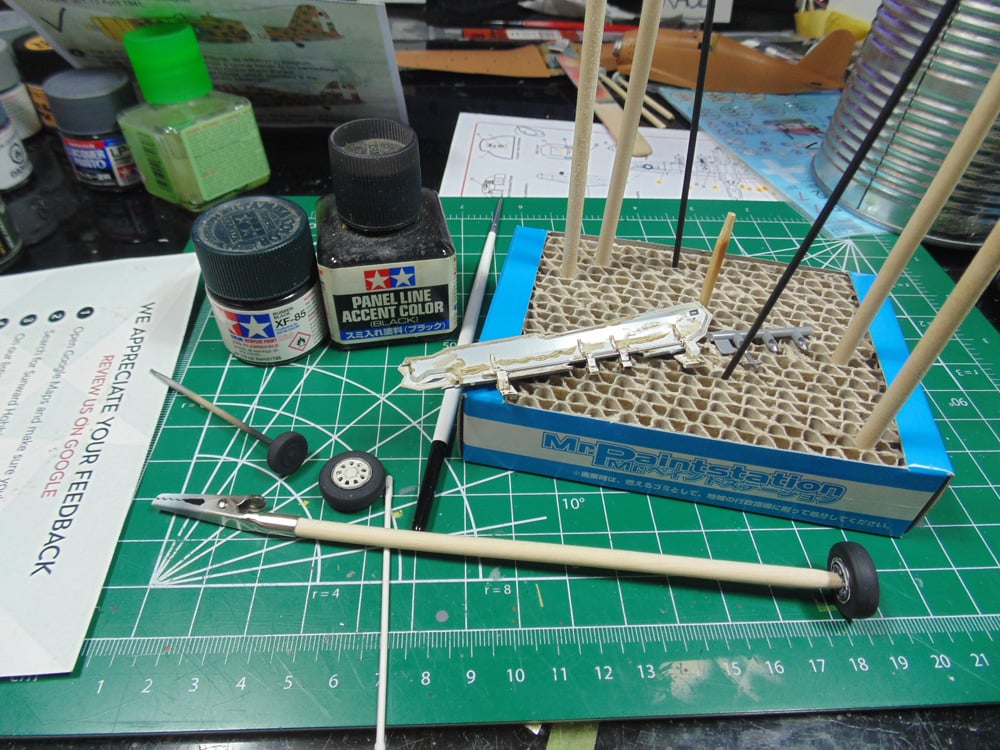
Both outer doors have a metal shaft running through the retraction arms. It is wise to clean out the holes with a small drill bit or even the metal shaft itself before you attach the arms to the inner walls. Tamiya call out for metal primer. When you combine this with the paint on the shafts and arm holes it will make it very difficult to thread this shaft through. You may consider not painting them at all because the silver metal reflects all the white around it anyway. They sure look white to me unpainted, just a tip.
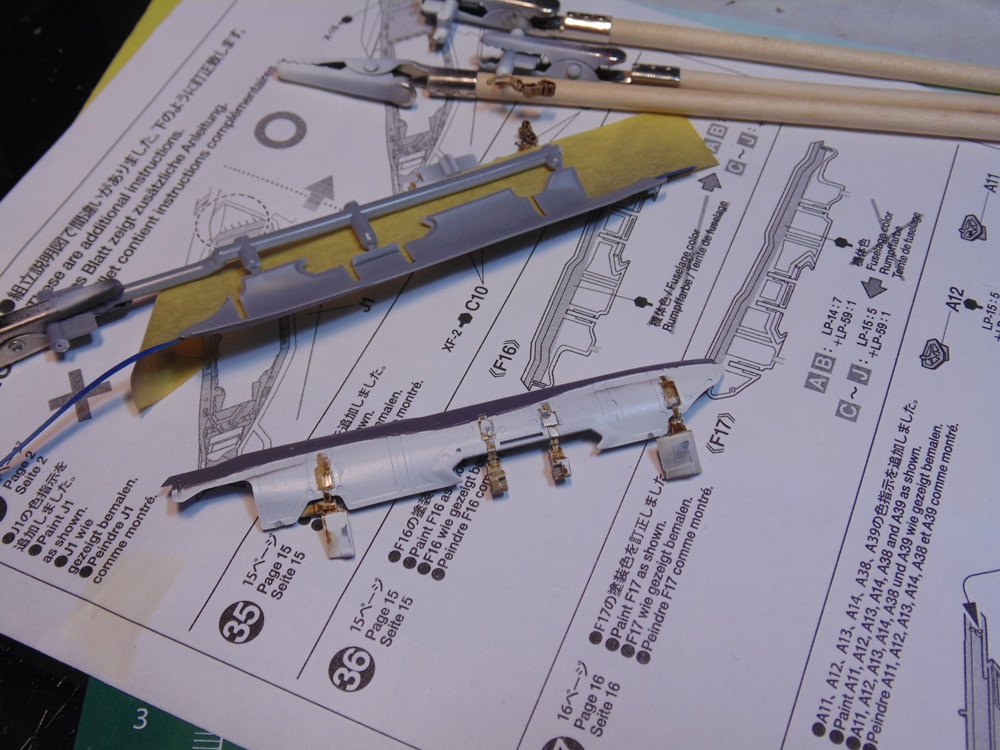
That said, I am showing what they will look like if the instructions are followed. Remember, you can only see one side of the shaft. In the end I did one as instructed and opted to hand paint the other after the door assembly was installed. The hope is to give you options from my experience building the kit. Because even after careful preparation some paint did lift and needs fixing.
The decals add so much to this model, and there are plenty of them. Keep in mind that they are specifically shaped for their location. Following the instructions is an absolute in this case. Make sure you give yourself a little extra backing paper for your tweezers to hold on to away from the decal. Here’s a tip, use a mini clamp on your tweezers instead of your fingers to hold the decal.
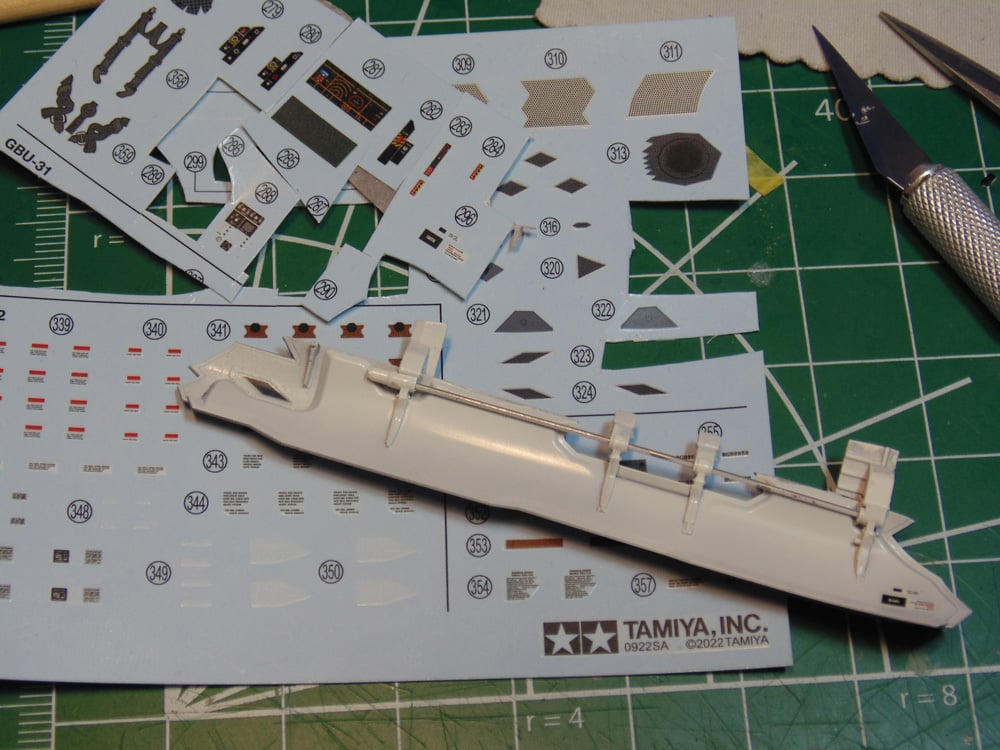
In some cases only Micro SET is all you need due to the decal being on a flat surface. Make sure any dried solution is cleaned up or it might affect the way your wash will turn out.
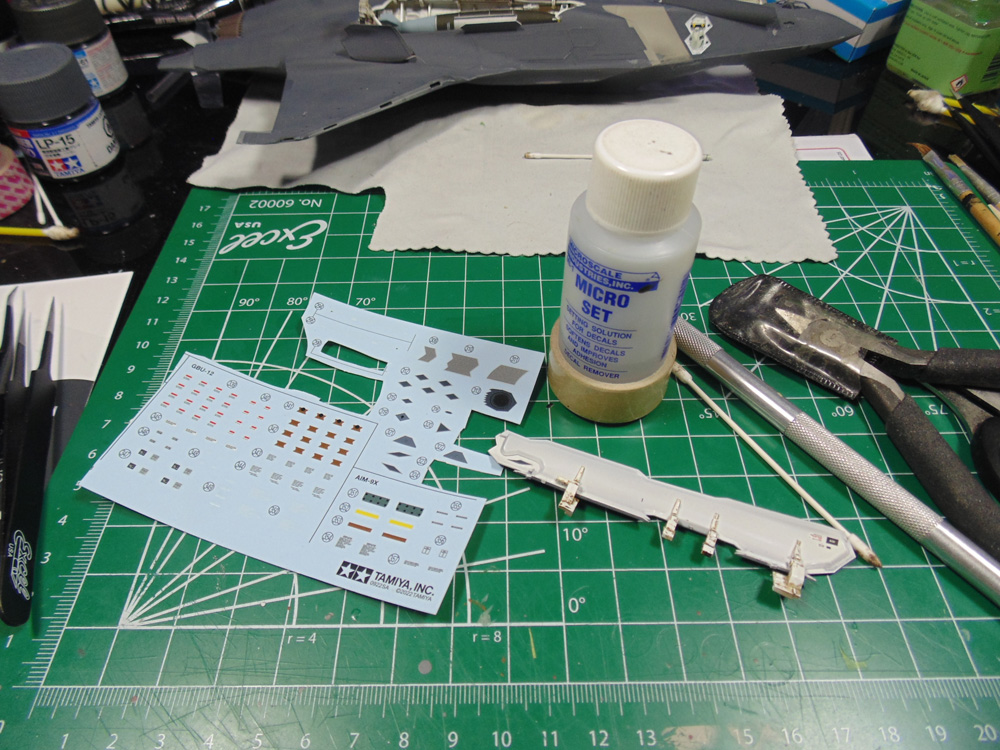
While my oil wash is drying, I’m going to use some black wash for the wheels. By the time that’s ready the washed wall can be cleaned up.
Here’s a comparison of the filthy and cleaned up walls. A touch of enamel thinner on a small brush will help move the oil around and take away any excess. You can make this as light or as heavy as you wish.
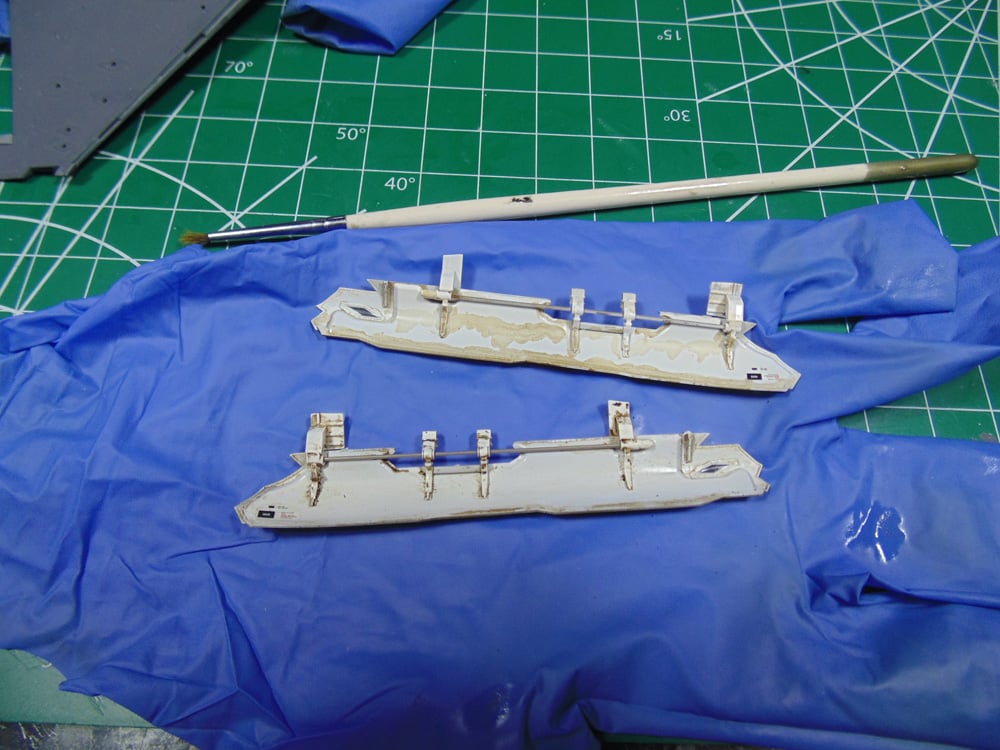
This completes Steps 37 and 38. The bays are now complete and time to move on to outer hull parts. What a gem to behold, yes?
If you have any questions about the products or methods used in this article, please feel free to ask the staff when you pick up or place your next order from Sunward Hobbies.
H.G. Barnes is a former voice-over artist and retired sales and marketing professional. He’s the author of two large volume science fiction adventure romance novels with many more in the works. For well over 40 years he’s been building scale model replicas and now does commission work for clients in Canada and the USA, plus completes projects for companies in Asia and Europe.
Actuellement, HG est impliqué en tant que rédacteur associé avec les chaînes de magazines en ligne de KitMaker Network.
