Tamiya German Tiger I Mid Production Tank Build Part – 3 of a Series
In this Sunward Hobbies tutorial, I’ll be continuing with the Tamiya Tiger Tank Mid Production build with Part 2. This is a 1/35 scale plastic model kit and the mid-production model of (Kit No 35194)
I’ll be finishing up steps 7 and 8 then continue with steps 9 and 10. You’ll get more tips on weathering plus some neat ideas for adding wood effects of the accessory parts.
Here I’ve feathered out the Tamiya Panel Line Accent Black using AK Interactive Pigment Fixer. Again, the fixer is an enamel thinner which breaks up the black Tamiya pigments.
Use your own discretion when metalizing these delicate parts, should they be done before installing them or after. I find personally that there’s more control as to how they look when not installed, but that’s your choice. Be mindful that the parts may ping off when dry brushing after installation. Regardless, this technique will add an awesome look to the often-overlooked aspects of any replica.
Naturally, you’ll want to use a fine blade and scratch away the paint, primer and any weathering effects for the connection points with joining parts. Here, I’m using some small clamps to ensure the fenders stay put while adding other detail bits.
Here’s a tip if connection pins snap off (happens to us all), use some stretched scrap sprue tree to make your own. A candle held a few inches below the plastic works great. After a few seconds you’ll begin to see the length begin to weaken. Then pull it until it’s to the thickness you need. Make sure to turn the material as it’s being heated for a nice round look. I always drill out a hole for the best connection.
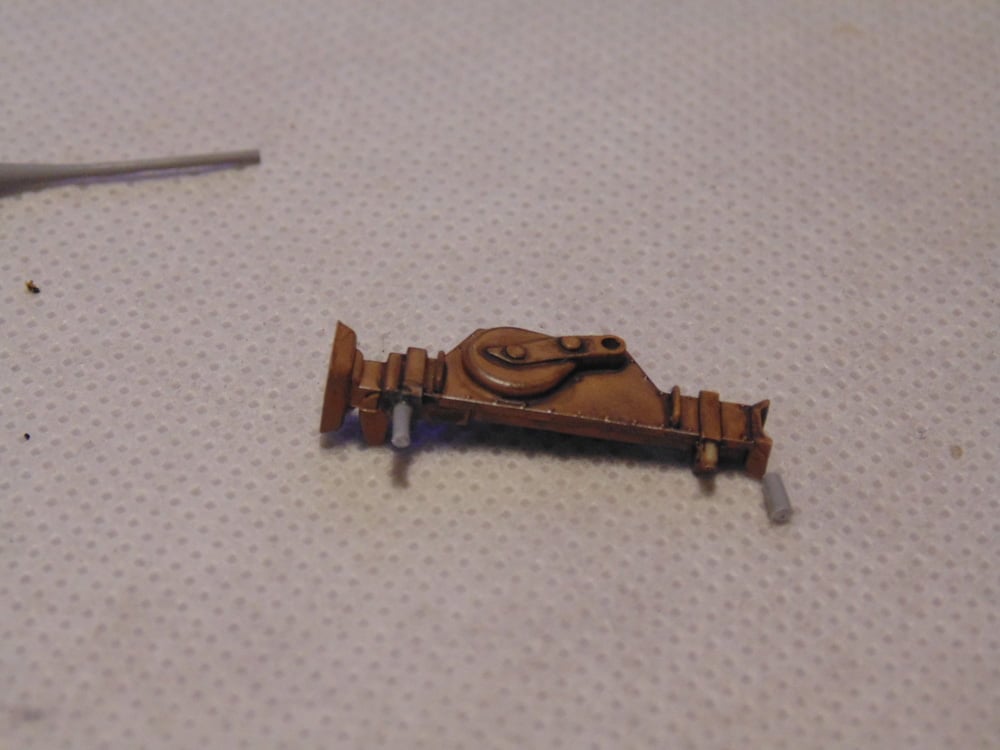
Make certain the replacement pin and the part has dried for a good several hours before adding other joining bits, such as the winding handle, or else you risk parts popping off and having to start all over again. Don’t be afraid of using a liberal amount of cement here. Even if it marrs your finish, you can always touch that up later when the part is solidly flashed off and dried. This was exactly the case here before I added these other detailed parts.

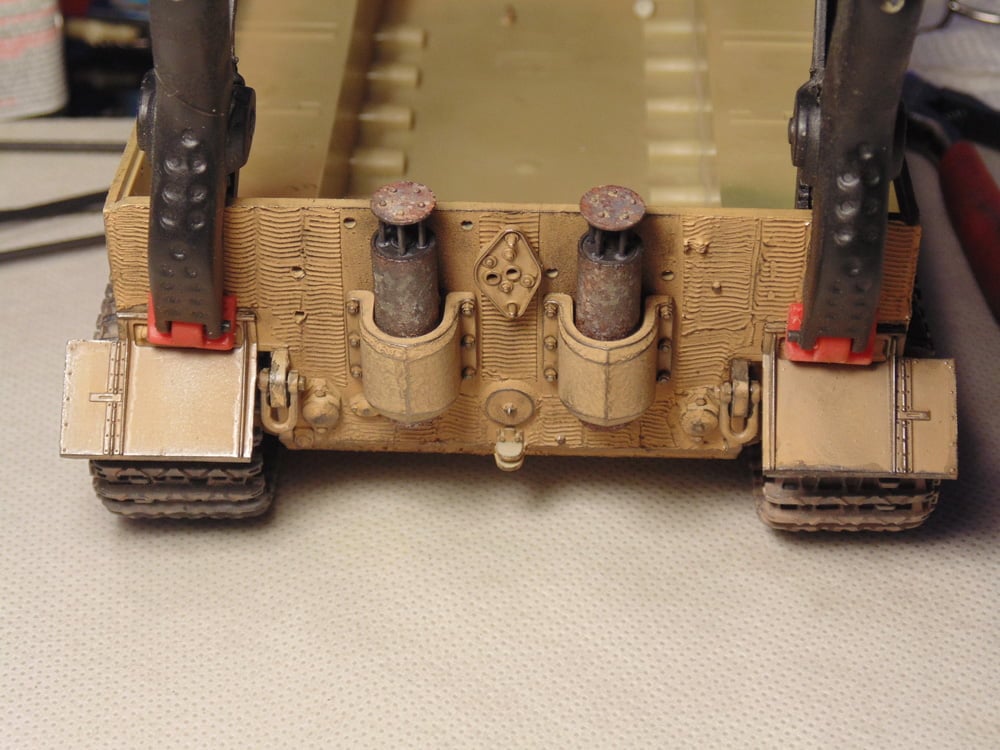
After installing the radio operators’ machine gun, I used three different effects to the fenders and Zimmerit. First, went on some panel line accent and let that dry for a few hours then feathered that out. Next, went on some highlighting AK soot on the Zimm and finally some metallizer for the raised details. Once again, it is your model so give the look you want, be that a heavier or softer appearance.
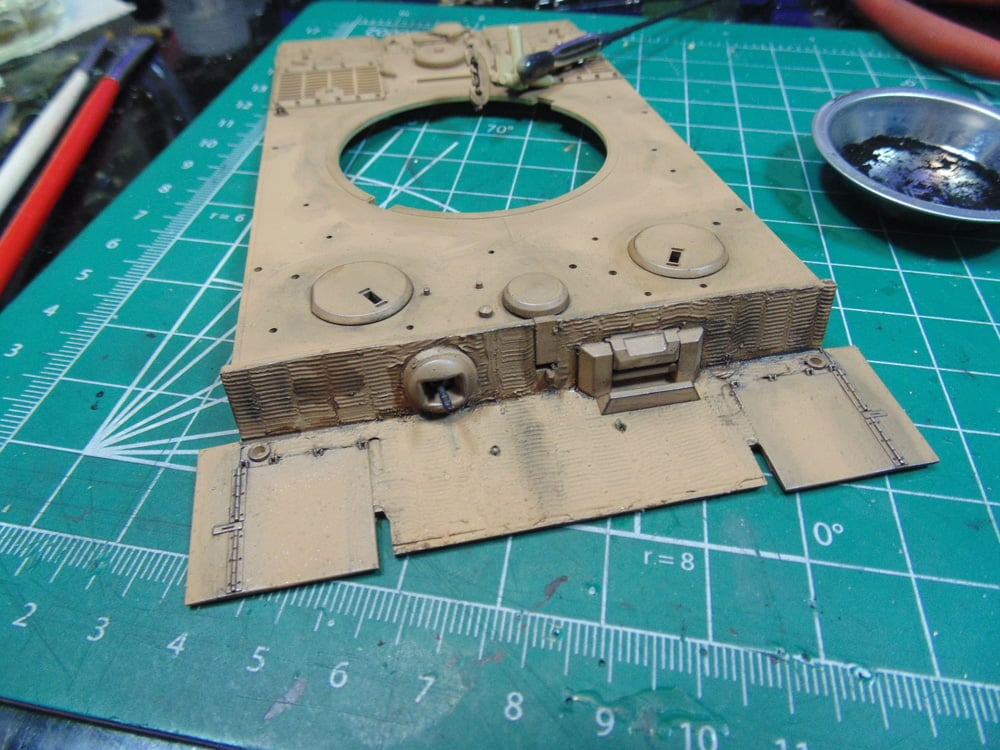
Do all your weathering before drilling out any needed holes for future parts. This wraps up step 8 and is truly a model within a model. Yes, it will take many hours but the result can be as stunning as you wish to make it.
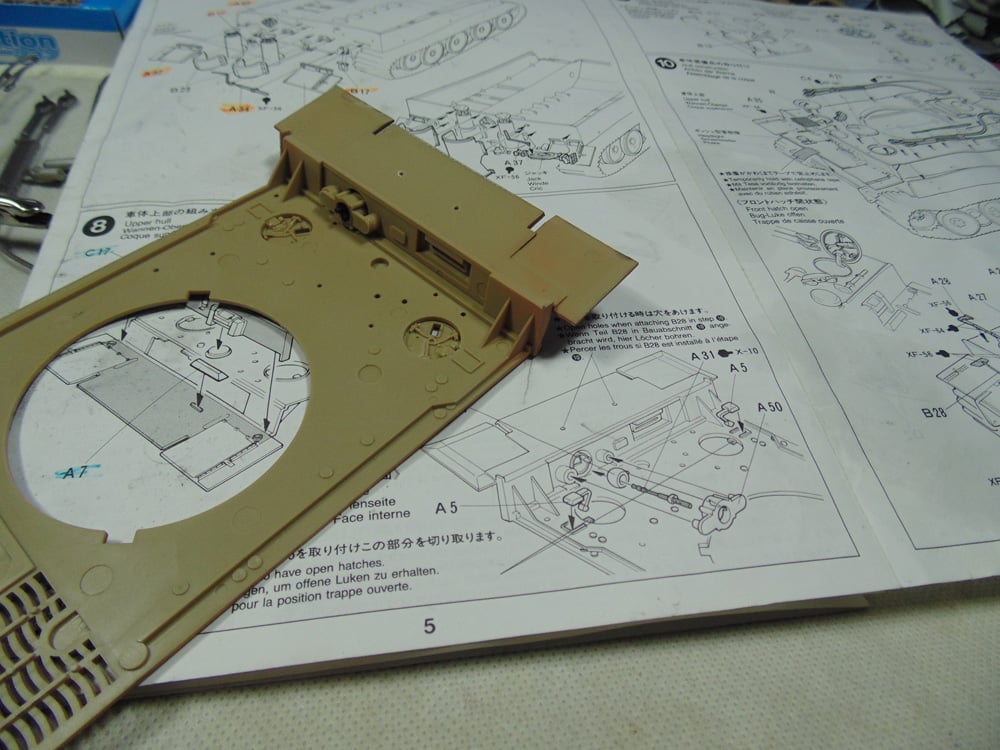
Now you move on to step 9 and clean-up, prime then paint the required detail parts. It’s your choice to make grab handles from soft K&S metal or not. I’m going with the Tamiya parts for this article.
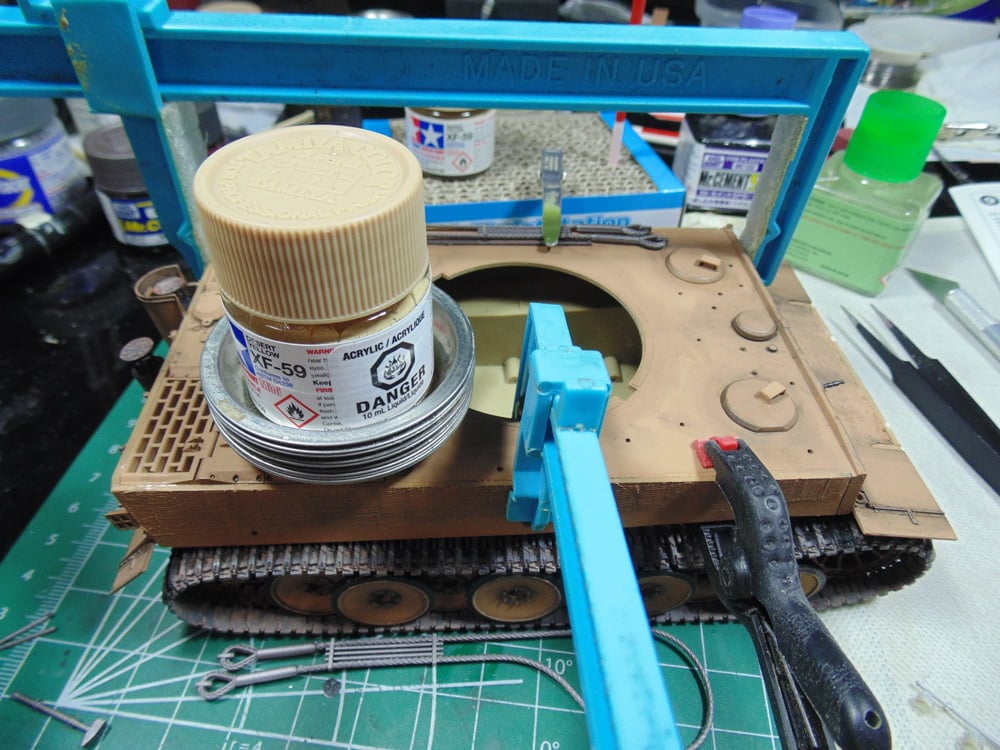
When adding the top plate, it’s wise to find the best starting point then “walk” the cement around. Secure one pivotal area and let that harden for at least a few hours. The amount of cement to use will ever so slightly ooze from the connecting parts. Don’t fret about this since you can easily touch it up later.
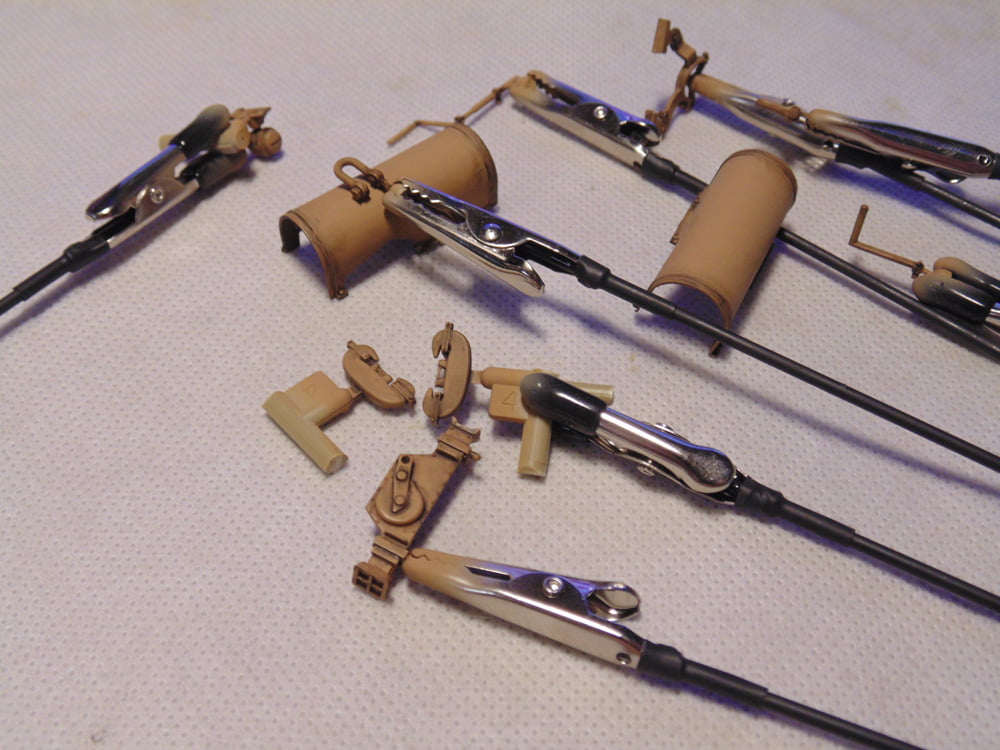
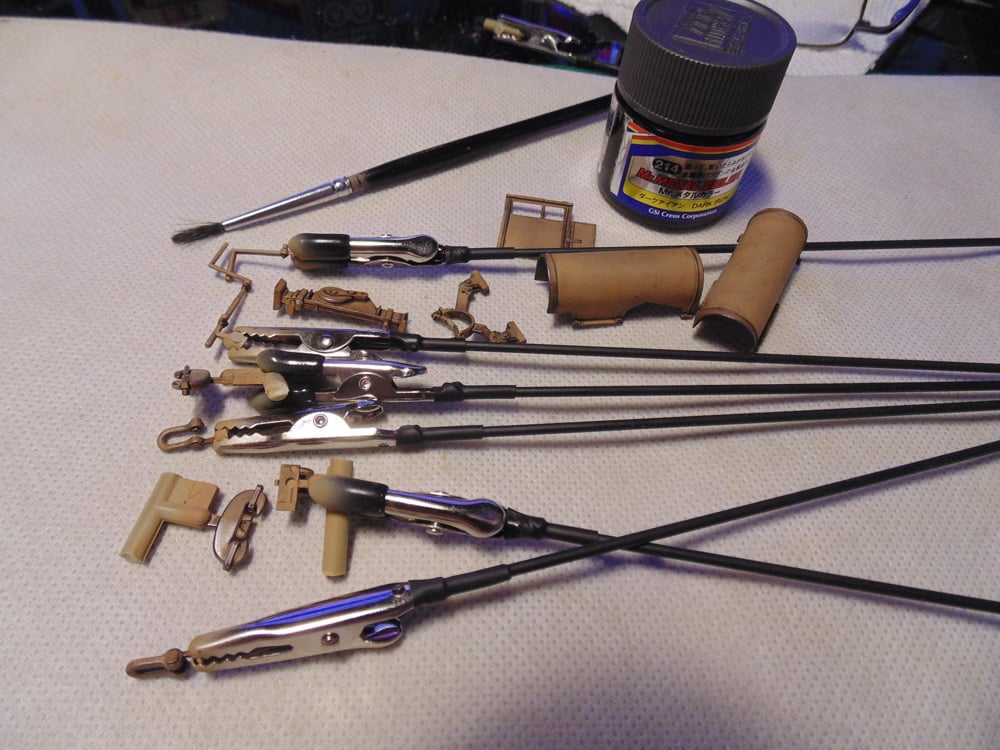
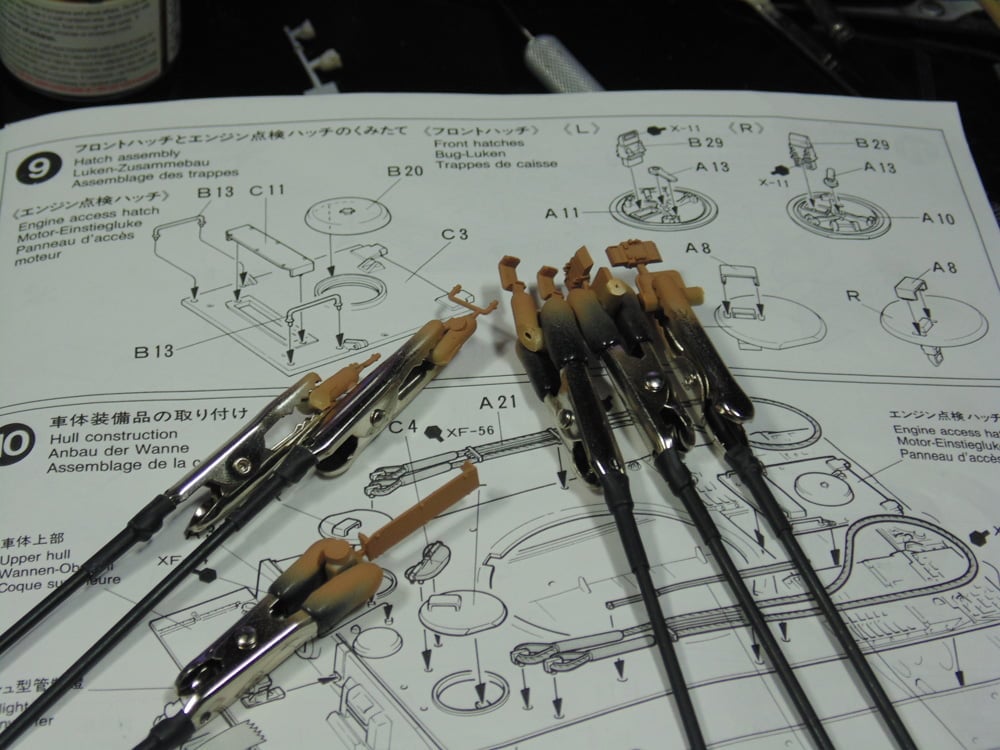
These cable parts need a little help bedding down. Here’s a tip, use a weight to do some tasks instead of tape, otherwise you risk lifting off the hours spent weathering.
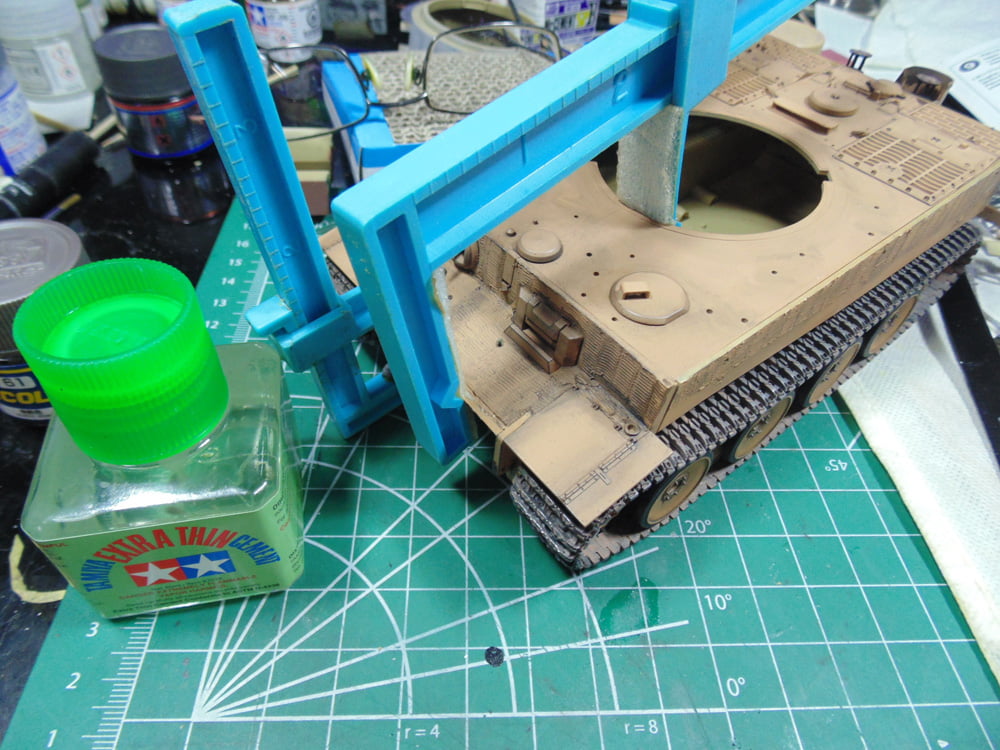
Here, I’m allowing my Excel clamp plenty of hours to join the front to the rear of the model. In that time, I can begin to add some fun details.
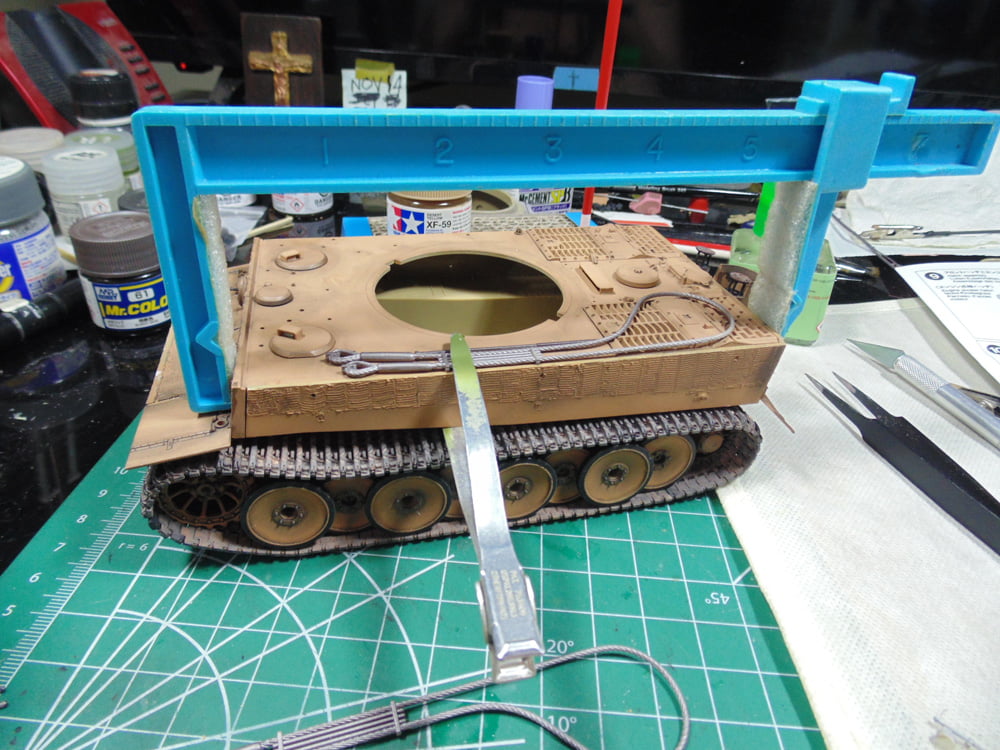
Continuing to “walk” cement around, you may have to use different clamps and weights. Sure, you can hold it with your fingers, but this way other tasks can be done in the meantime.
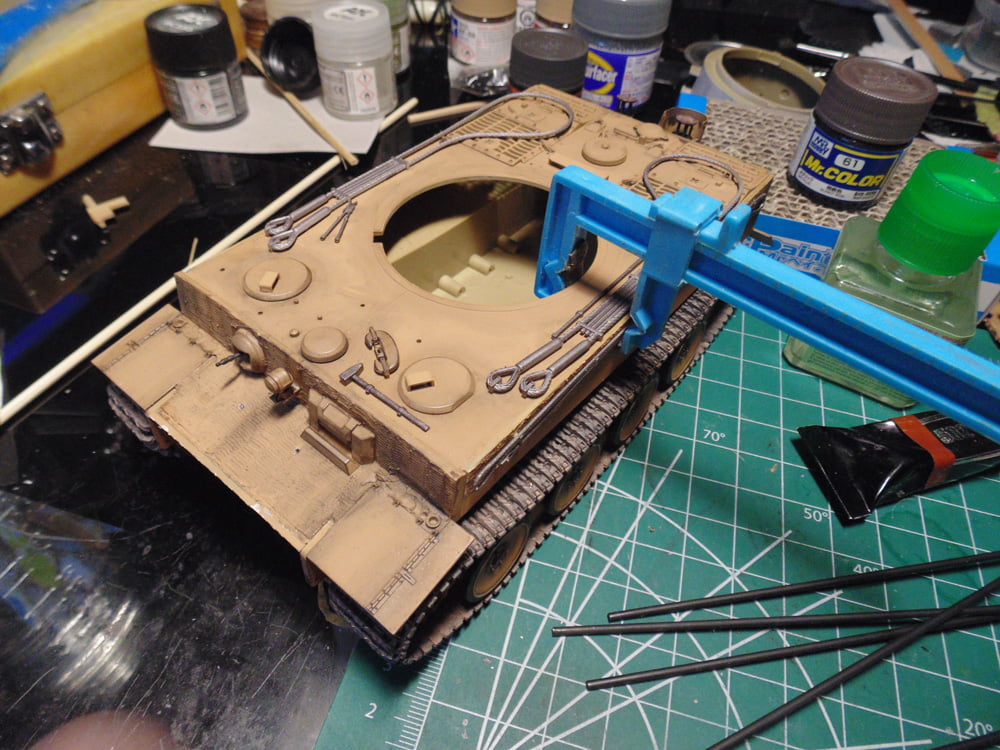
In this photograph some detail parts were added. The side cable definitely needed a clamp to help. I adore my Excel tools, please consider picking some up from Sunward Hobbies, they come in handy for many tasks. Make sure you allow this, and any edge parts to fully harden before moving on with assembly.
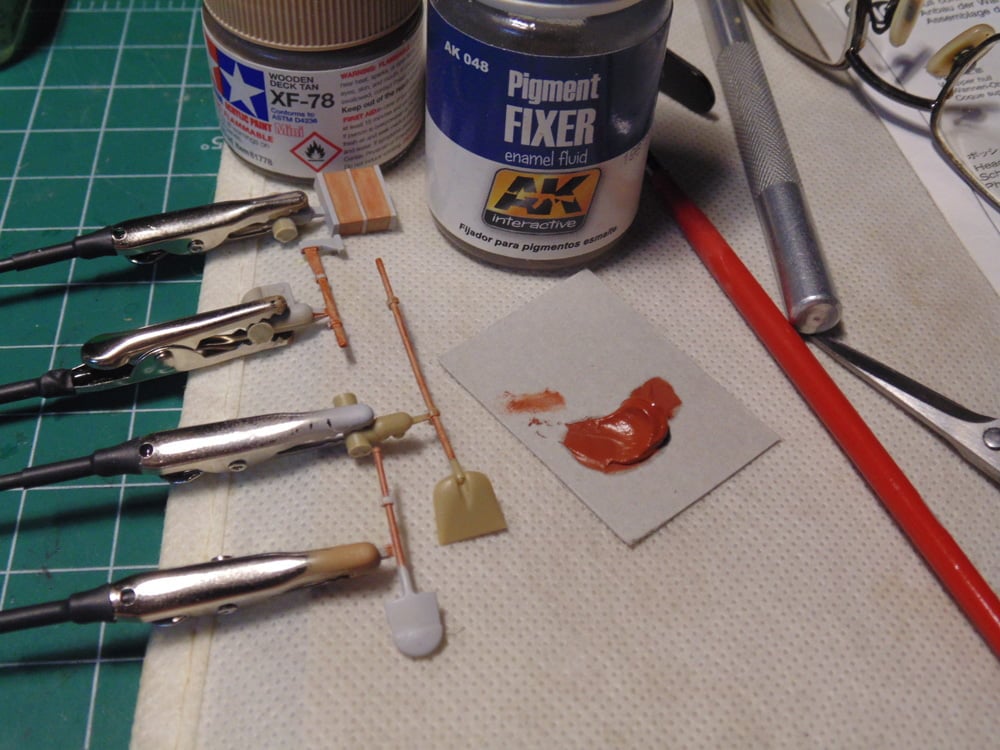
When creating richer wood grain effects, you need to begin with a primed and painted surface of any deck tan color. In this example it’s Tamiya XF-78 because the flat surface texture will give that “outdoors” look. If this were the interior of a WW1 biplane I’d gloss coat, but obviously this is a tank. Here you can see three wood grain looks. The square has a mahogany grain while the shovels and axe handle vary with a tighter grain. Use a very fine brush, which you buy at Sunward Hobbies, and add a tiny bit of oil color. In this example I’m using 502 light rust. Ocher or earth shades can be used if you want. I wanted a brighter contrast. Place the oil color on the area and give it a few minutes to dry. You don’t need to worry about the cardboard sucking the oil from the pigment. With the same brush dip this in some enamel thinner or fixer and gently rub the surface. Constantly wipe the brush tip to get the effect.
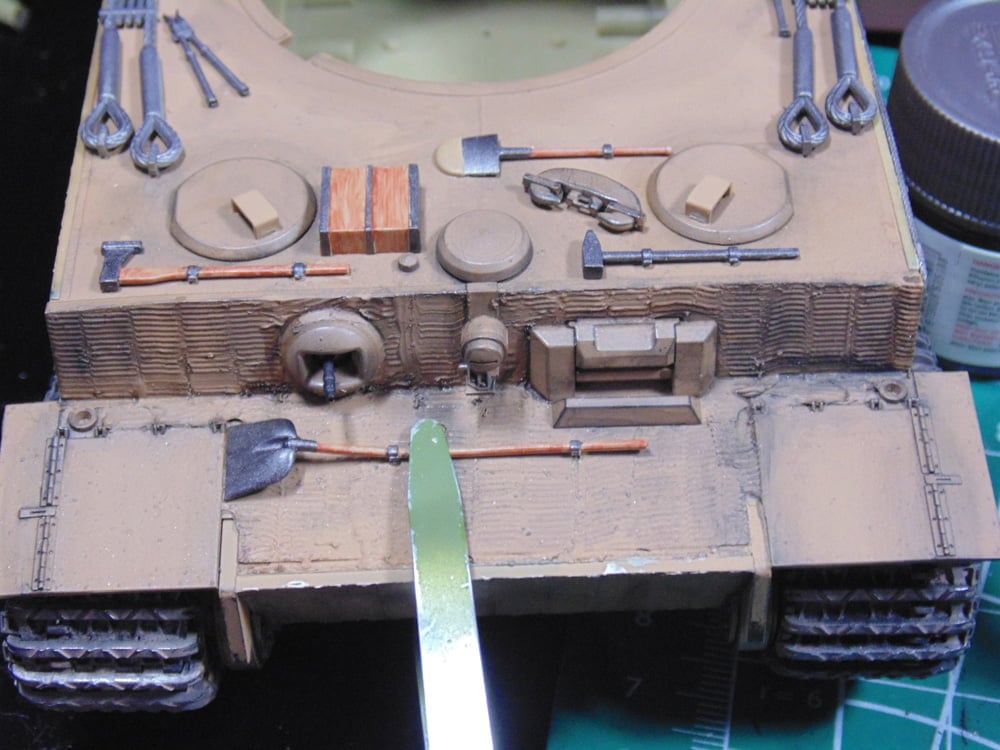
In this picture I’ve added my wood toned parts, yet the front shovel needed clamping. Keep in mind there’s plenty of fun still to come in this area, such as dry brushing and spraying a dull coat. For now, though, I’ll let these parts dry so there’s no worry about them coming loose with the brushing.
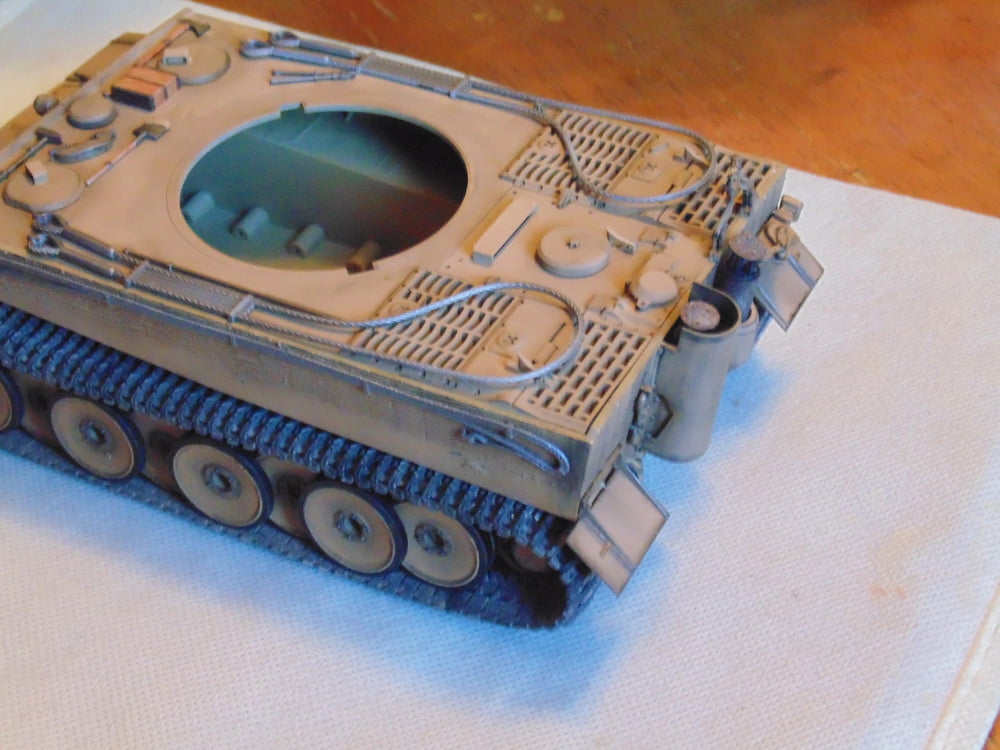
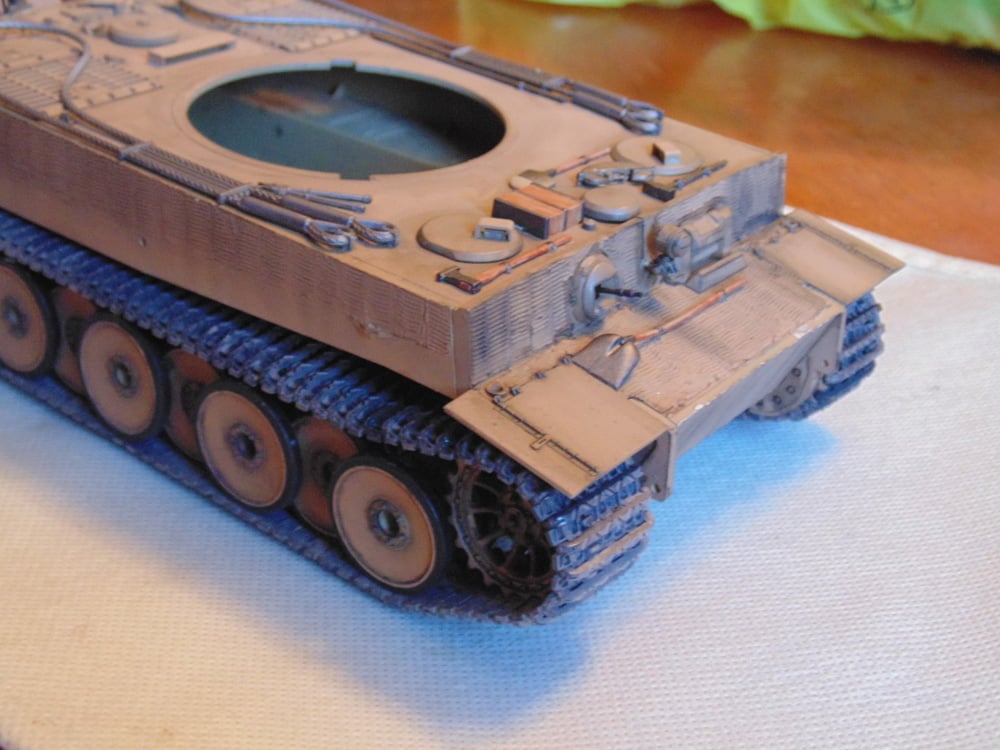
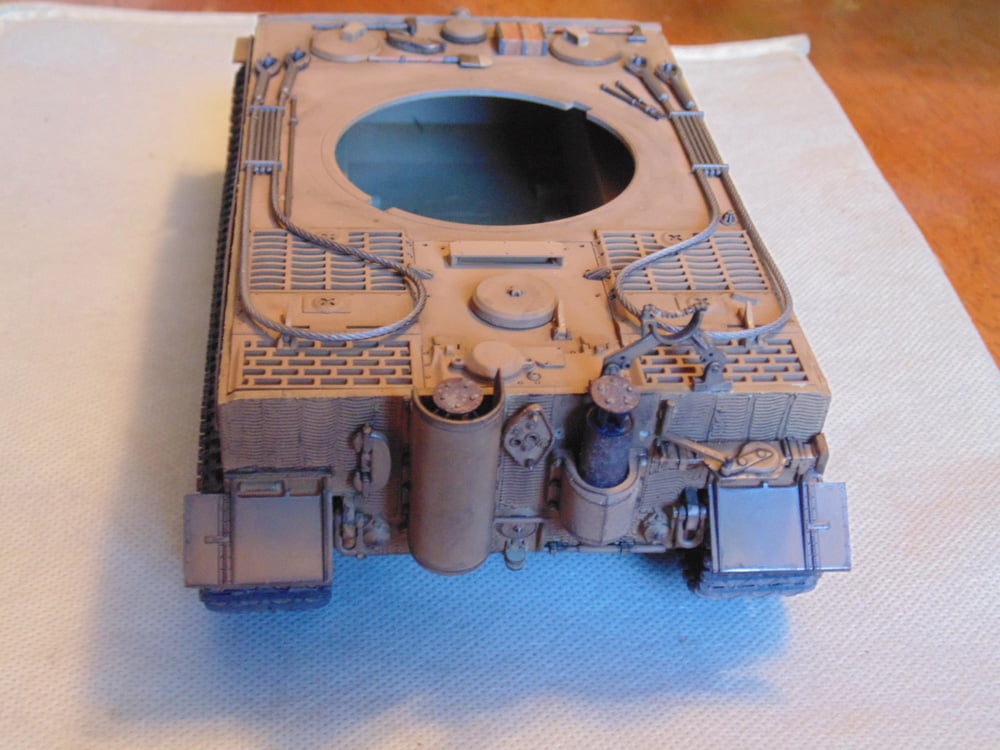
The joy in applying these simple techniques adds so much life to your project to make it stand out. Here are some up to date shots of the model in a better light than my studio, as you might see them on your display shelf.
If you have any questions about the products or methods used in this article, please feel free to ask the staff when you pick up or place your next order from Sunward Hobbies.
H.G. Barnes is a former voice-over artist and retired sales and marketing professional. He’s the author of two large volume science fiction adventure romance novels with many more in the works. For well over 40 years he’s been building scale model replicas and now does commission work for clients in Canada and the USA, plus completes projects for companies in Asia and Europe.
Currently H.G. is involved as an Associate Editor with KitMaker Network’s Online Magazine Channels