A Step by Step Build of the Tamiya Handy Drill
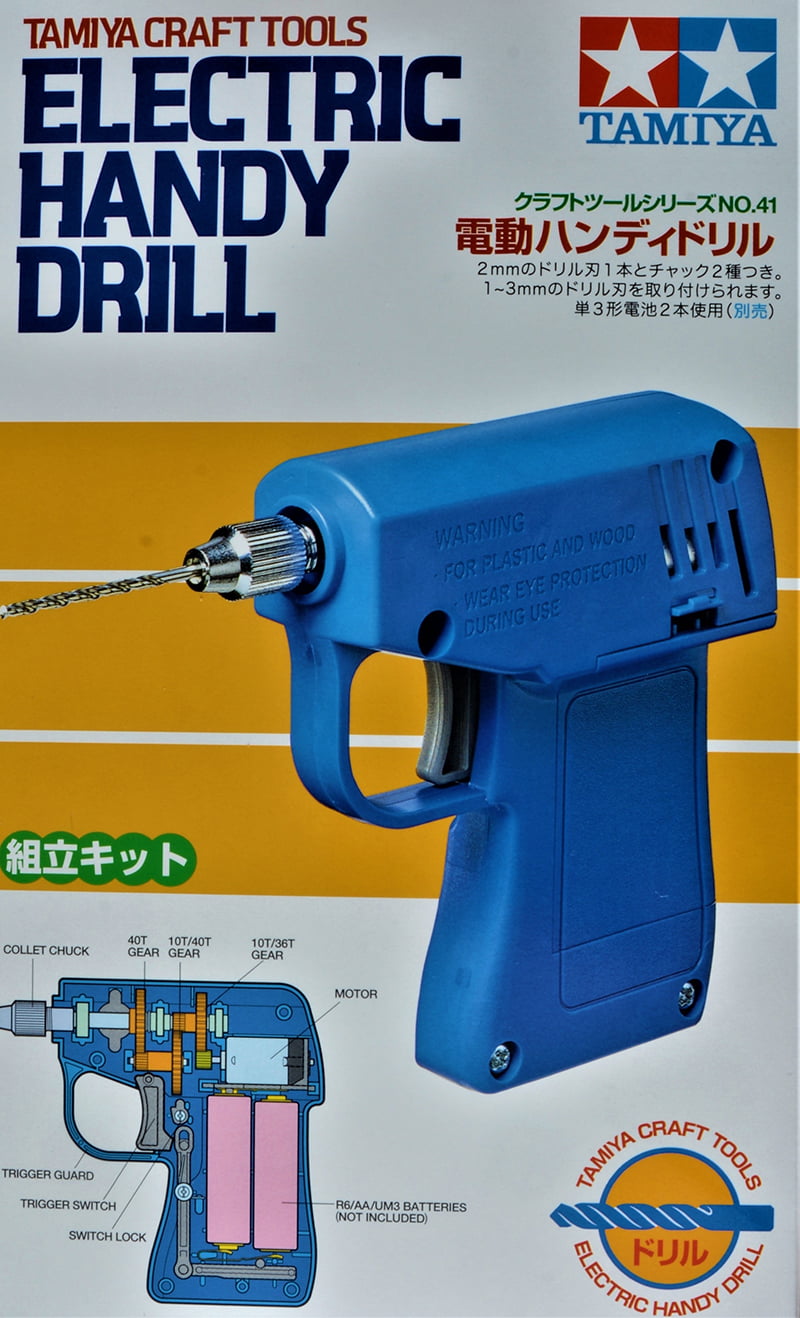
This drill kit is a lightweight, easy to assemble, inexpensive, and powerful for its size. It runs on 2 “AA” batteries.
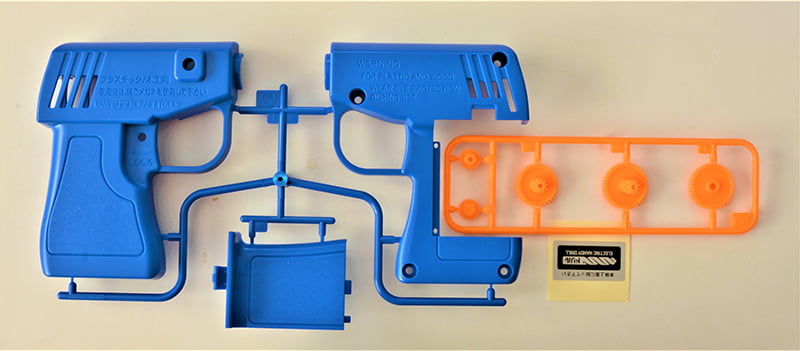
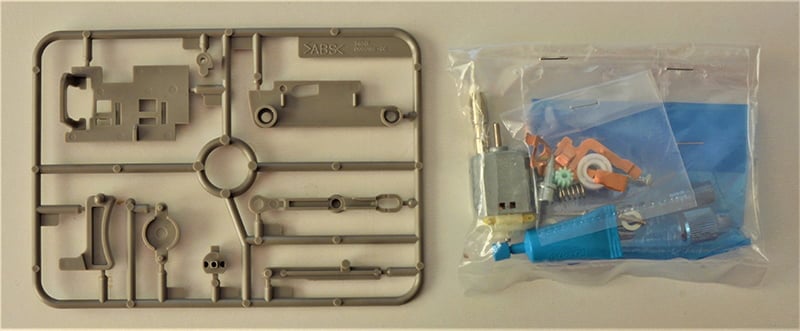
Kit Contents:
- Sprues in individual plastic bags
- a detailed instruction sheet
- Contents of plastic bag on the right purposefully left as you receive it – too many small parts that can easily be misplaced
Tools Needed to Build
- Phillips screwdrivers (one large, one small)
- Long nose pliers
- Precision modeling sprue cutters
- Sanding sticks and belts
- Excel Blades knife
- 2 AA batteries
- Q-tips
- CA Glue
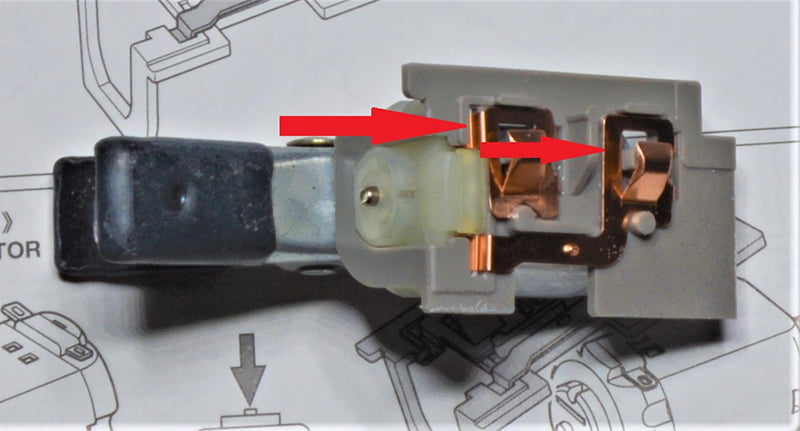
Step 1 – it’s a snap
Actually, 2 snaps, almost literally. I added a drop of capillary CA glue ( cyanoacrylate ) along the edges of the battery terminals touching the holder B5, where shown by two red arrows, for the sake of solidity.

Step 2 – motor
Attach pinion gear to motor as shown, and snap motor assembly into place. Add capillary CA between the motor casing and holder B5, as shown by the blue arrow, and clamp until solid.
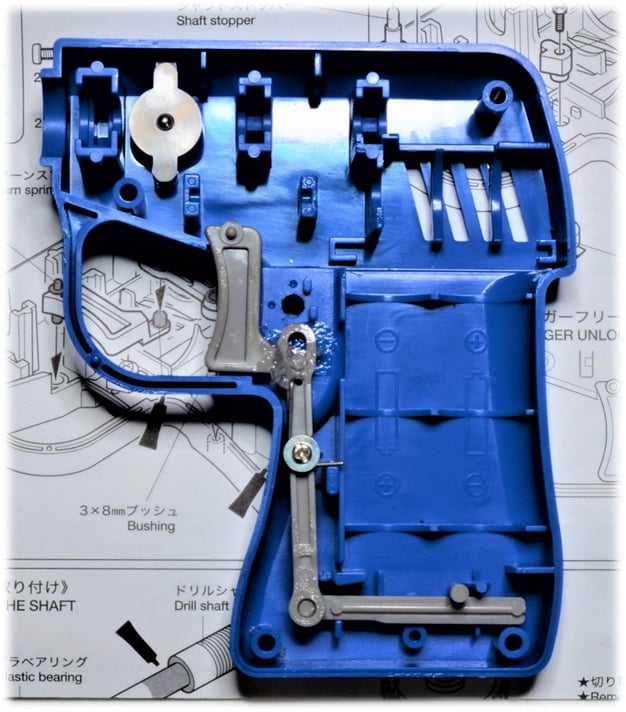
Step 3 – trigger
Note: the kit-provided blue tube is not cement; it contains petroleum gel to allow the treated parts to move freely. Firstly (upper right diagram of Step 3), insert shaft stopper and coil spring to the right blue casing half (part A2), as shown; using Poly Cement, cement “holder” part B7 in place. Then, insert trigger lock part B6, and tape it in place; flip blue casing and attach trigger lock part B4 with the 2 x 8mm screw, using a jeweler’s Phillips screwdriver #1-1; a fiddly operation at best. Personally, as I foresee no need to lock the trigger ever, I removed the lock entirely; your call.
Secondly (lower left drawing), test-fit the seven trigger components to understand their installation; once fitted, secure the sub-assembly with the 2 x 12mm screw, making sure the short arm of the return spring is and remains snugly tucked in the slot of the right-side blue handle half. Temporarily place the other (right) blue casing on, and test the trigger. Apply the petroleum gel according to instructions, using your own, applied with a Q-tip, as the amount of gel provided is insufficient.
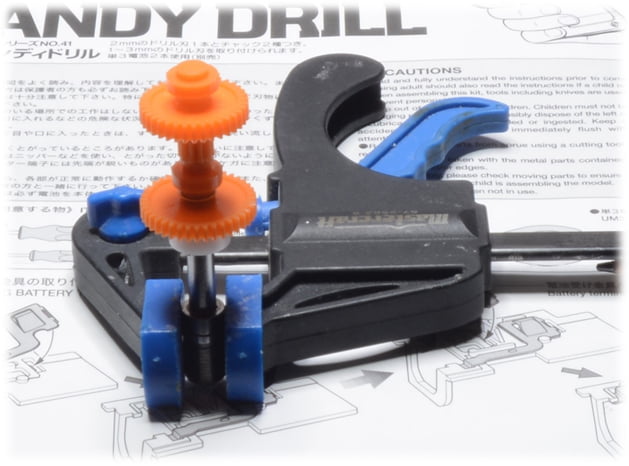
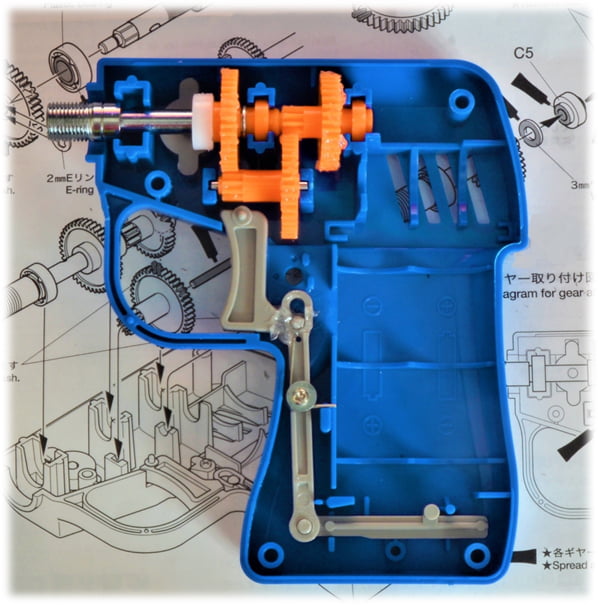
Step 4 – shaft
Note: to remove the three geared parts from sprue C without damaging their teeth, simply lie the parts flat and snip off the sprue, using precision cutters such as Army Painter Plastic Frame Cutter (our part TL5039). Apply petroleum gel on the inside of the plastic bearing, and slide it onto the drill shaft; insert the geared part C1 on the tip of the shaft and very carefully secure with an E-ring.
Make sure you are working on a perfectly uncluttered surface, and be aware the E-rings may “fly” off without warning. Tamiya had the wisdom to provide you with 2 spare E-rings, just in case. Use a large solid clamp to hold the drill shaft vertical and steady, so you can use both hands to get the E-ring in place. Keep stacking the well-lubricated parts as per the instructions. Place geared part C2 of the lubricated shaft. Insert this “C2” sub-assembly in the casing half first. Next, insert the “C1” sub-assembly inside the casing half, as per the very helpful “Diagram for gear attachment”. “Spread a thin layer of grease on teeth of each gear”, the instructions sheet right at the bottom of the front page. Refer to photographs below:
Step 5 – case
First, install switch terminal and its cover part B1, aligning the hole in the cover with the jutting pin of part B3, from Step 3. Install motor sub-assembly from Step 2. Attach left blue cover (part B2) with the four tapping screws, as indicated. Insert 2 “AA” batteries, install battery compartment cover, attach sticker if you wish, select one of two chucks (for 1~2mm and 2~3mm drill bits), attach and tighten collet, and DRILL AWAY!
Gilles Pepin : Modélise des miniatures depuis plus de 20 ans. Certains de ses modèles sont exposés dans des musées au Canada, aux États-Unis, en France et au Royaume-Uni. Il contribue fréquemment à Scale Modeling Now et Airfix Club, tous deux au Royaume-Uni.