MPC A New Hope Hans Solo Edition
This is the fifth part of the MPC Star Wars A New Hope Hans Solo Millenium Falcon 1/72 Scale MPC953 build and review.
I’m very excited that I’m finally at the painting stage of this model. I’ve been looking forward to this part of the build ever since I opened up and looked at the kit. However, I still had a few smaller parts to build first, and the biggest challenge of all was getting the lower section of the cockpit tunnel to fit. In my previous posting, I mentioned parts warping, and that was going to be a big challenge to fix, but I’m getting ahead of myself.
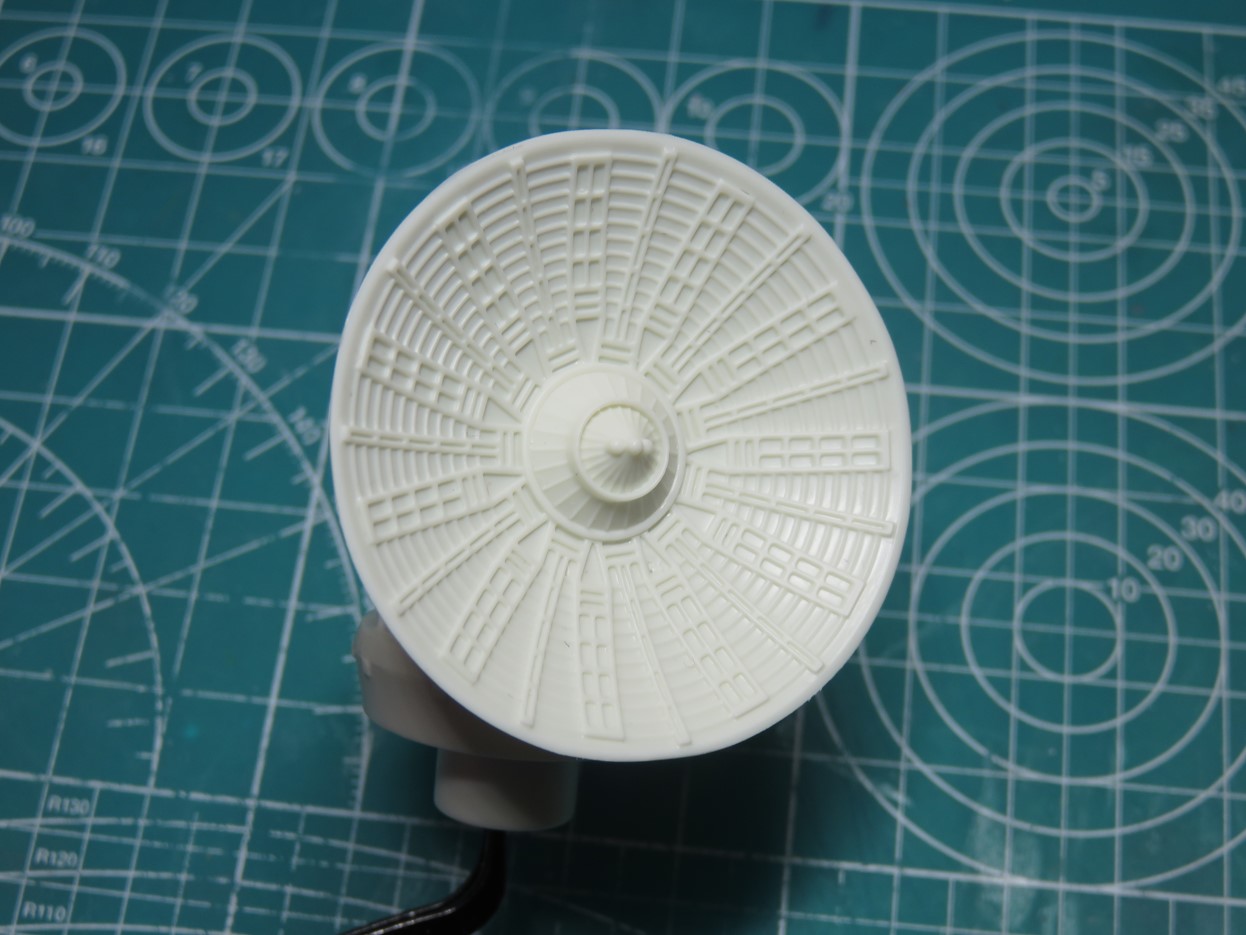
Since I replaced the laser canons on the turrets, I had contemplated replacing the dish with something scratch built, but I just couldn’t pass on the new tooled dish. The details are impressive and even just test fitting it to the model it looks really great. The dish is designed to rotate but I decided that I’d just glue this to the hull when it was completed.

Now I’m going to glue the cockpit tunnel. Because this piece is so warped and out of shape I’m going to be adding this in stages which will slow down the building time, but it will allow a much tighter fit in the end.
I also want to add that this warping might simply be an issue with my kit.
If you look closely you can see that where the tunnel bends towards the hull it’s a bit short. I could have this side flush, but then I’d have to add more to the front of the cockpit section. So I decided that having it flush with the front would be easier in the long run.
I fused this section together with some Mr Cement SP, and I held the parts together while the glue dried.
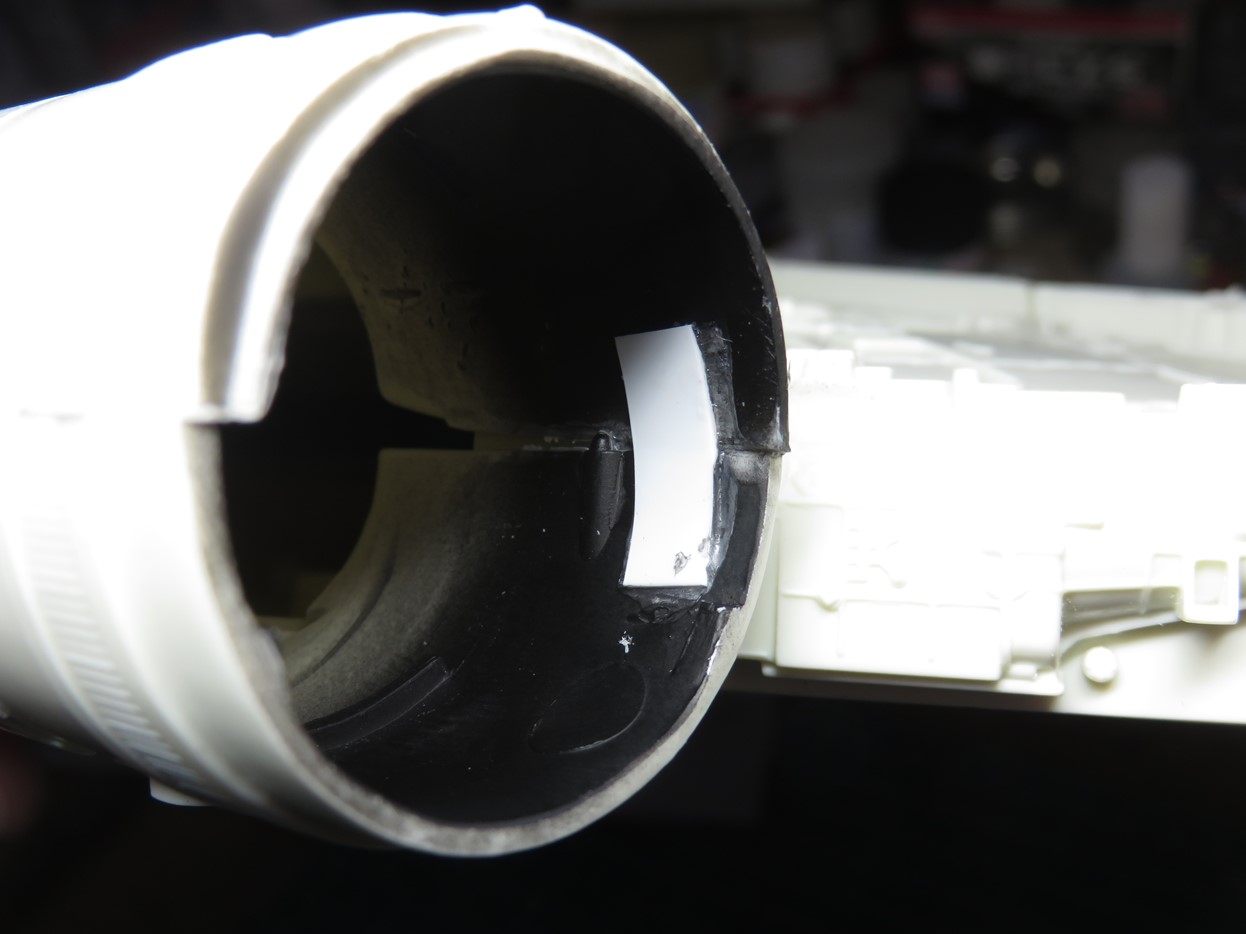
Once the cement had dried I clamped the tunnel together and added more Mr Cement SP to the inside of the tunnel. Things were looking good as the clamp kept everything tight. However, as the glue dried the pressure from the clamp caused the upper side of the tunnel to slide forward. Thankfully I caught this before the cement had hardened all the way.
My solution was to add a small strip of Evergreen styrene glued to the lower section of the tunnel. Once that had properly dried I then glued it to the upper section of the tunnel. I then added more cement to the seam.
This worked out really well in the end, and you can see a gap on the inside of the tunnel behind the styrene patch, but this isn’t seen from the outside of the model.
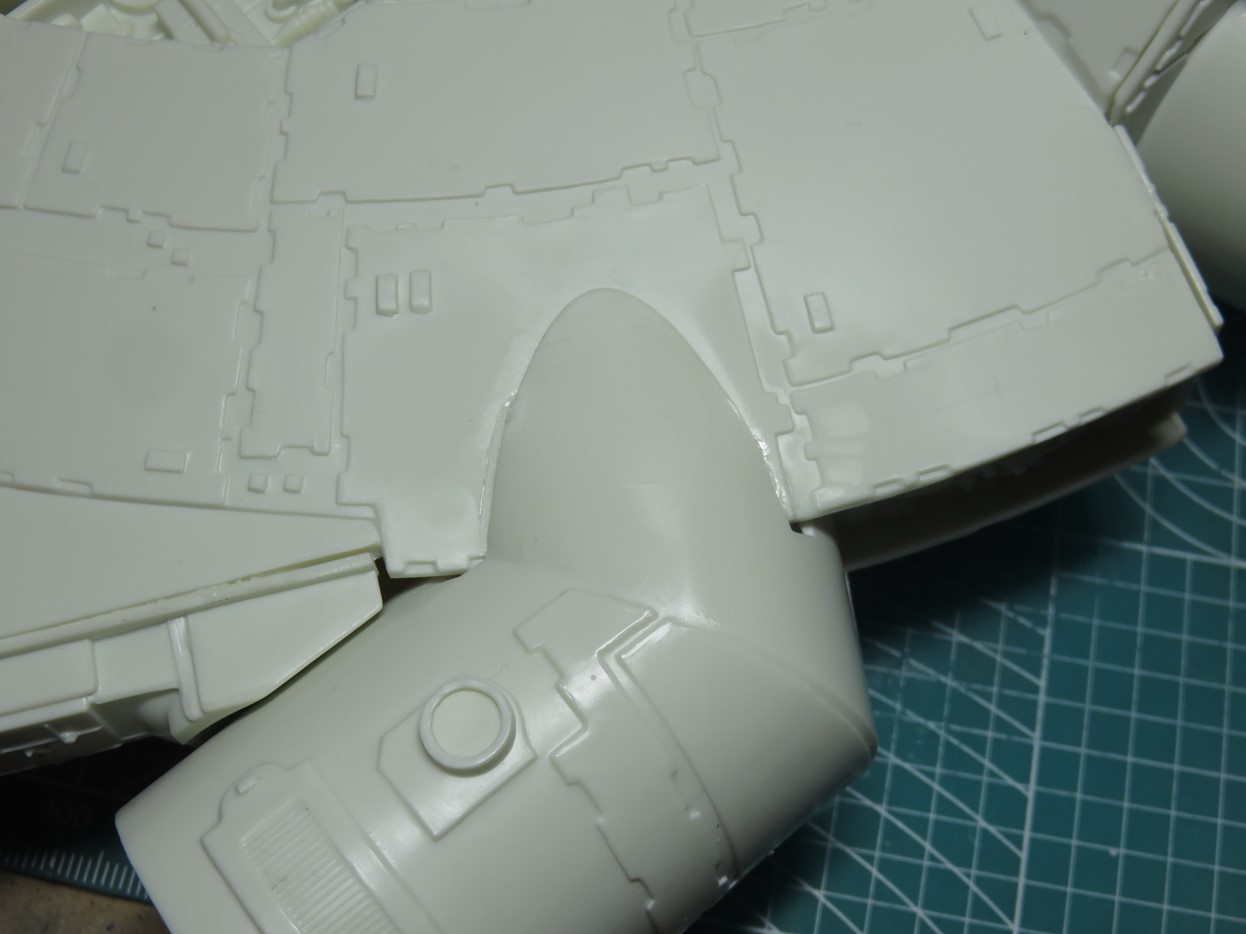
There was quite a large gap where the tunnel met with the lower hull section. My apologies for now having a better picture for this, but it would have been very difficult to photograph. I flipped the Envoy around took a lighter and carefully heated the plastic where the tunnel angles to the main hull.
This method took two tries, but I was successful in having it meet with the hull. Slightly melting the plastic meant that I could now add some more cement to the area providing a stronger join, and I could add a bit of putty to fill it in, instead of adding and sanding down a lot.
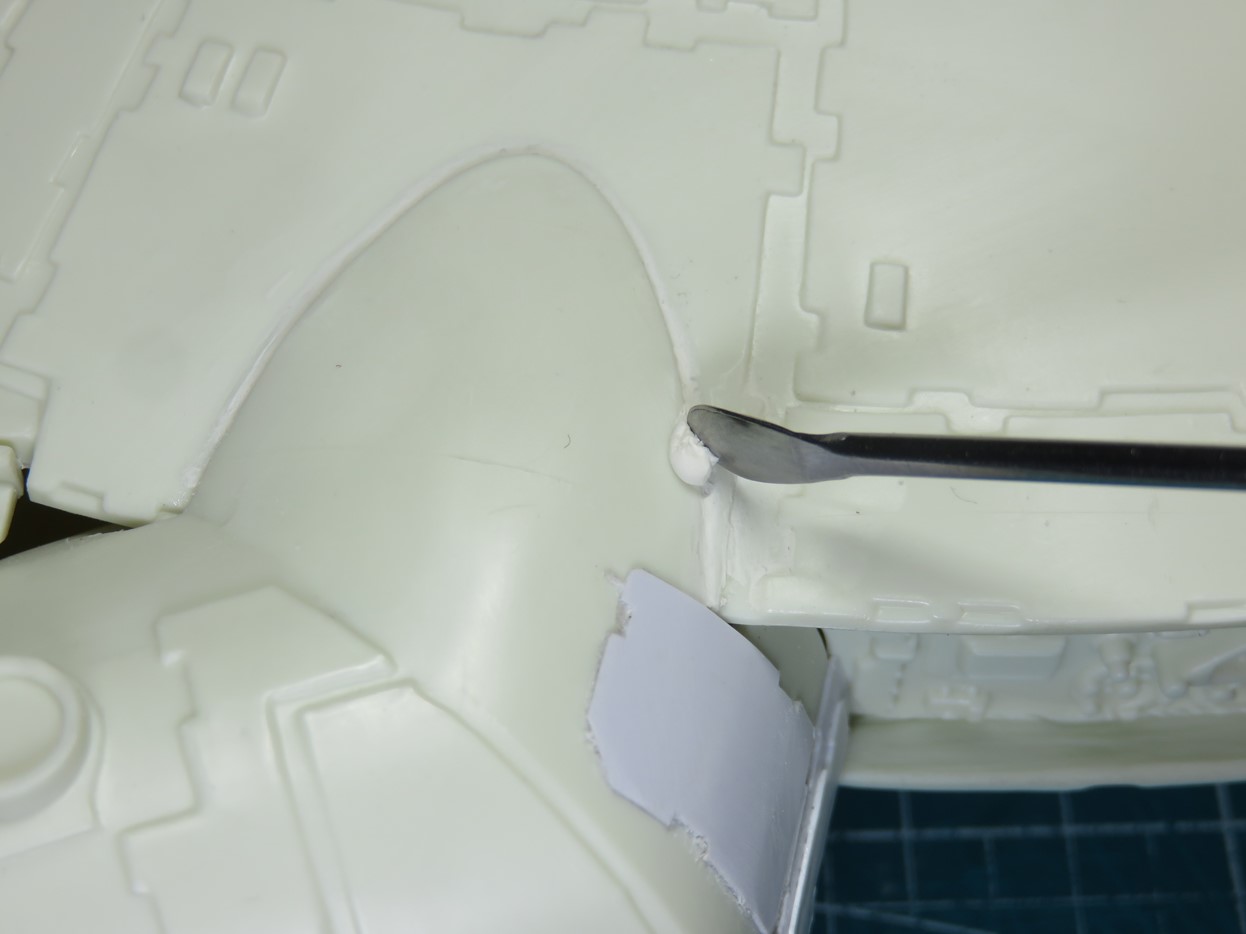
To fill in the gap I used Vallejo Acrylic Putty. This putty is great when you want to fill in an area quickly. I first spread the putty around the gap, and then I dipped my Tamiya Paint Stirrer in some water and carefully pushed the putty to form a solid join. And after it dried for a few hours it would be ready for a coat of primer.
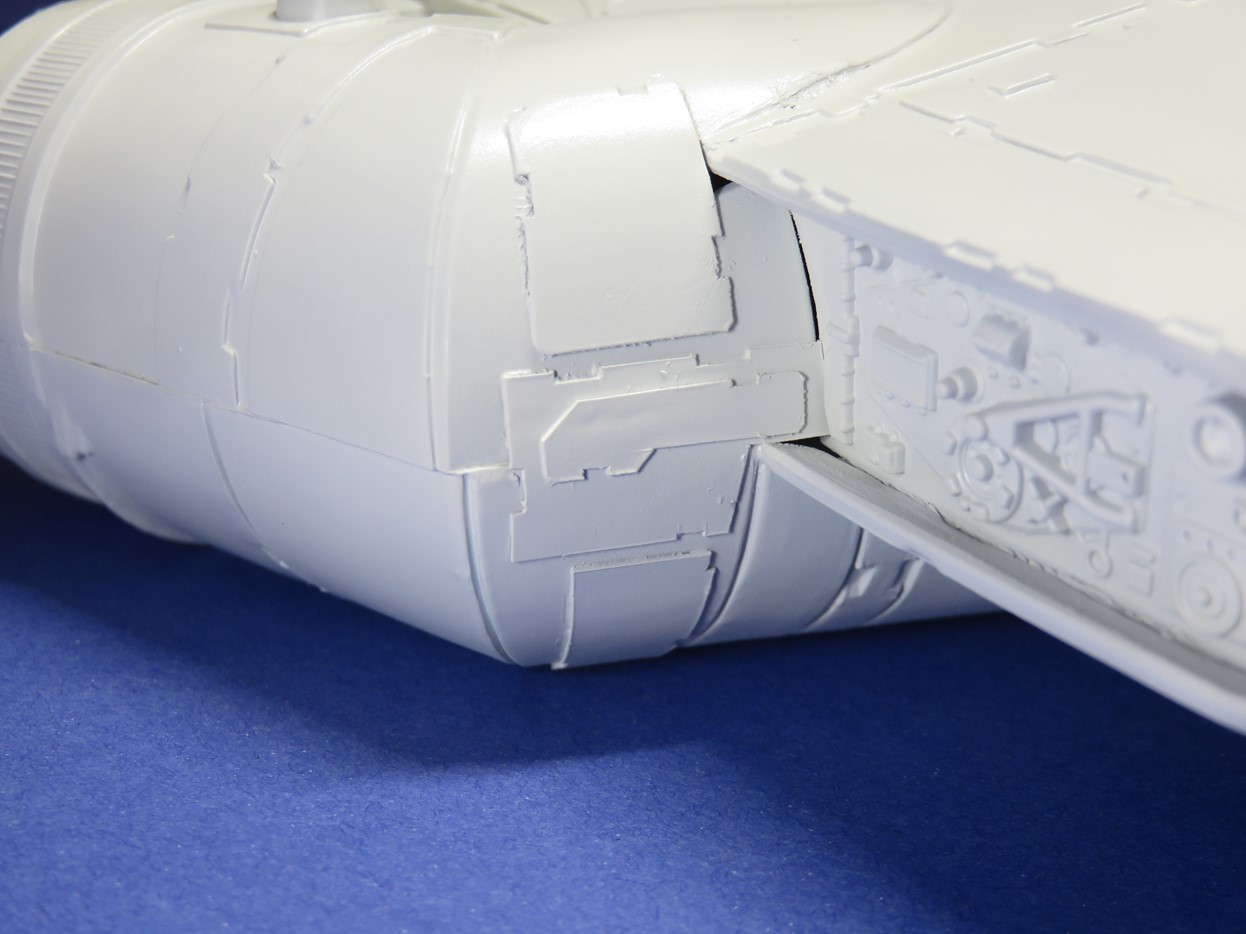
Lastly, I hid the gap in the back of the tunnel, by adding pieces of styrene, similar to what I did on the underside to hide the gaps with the battery cover. This was a lot quicker than filling it in with putty or sculpting epoxy, and it blends in quite well with the rest of the model.
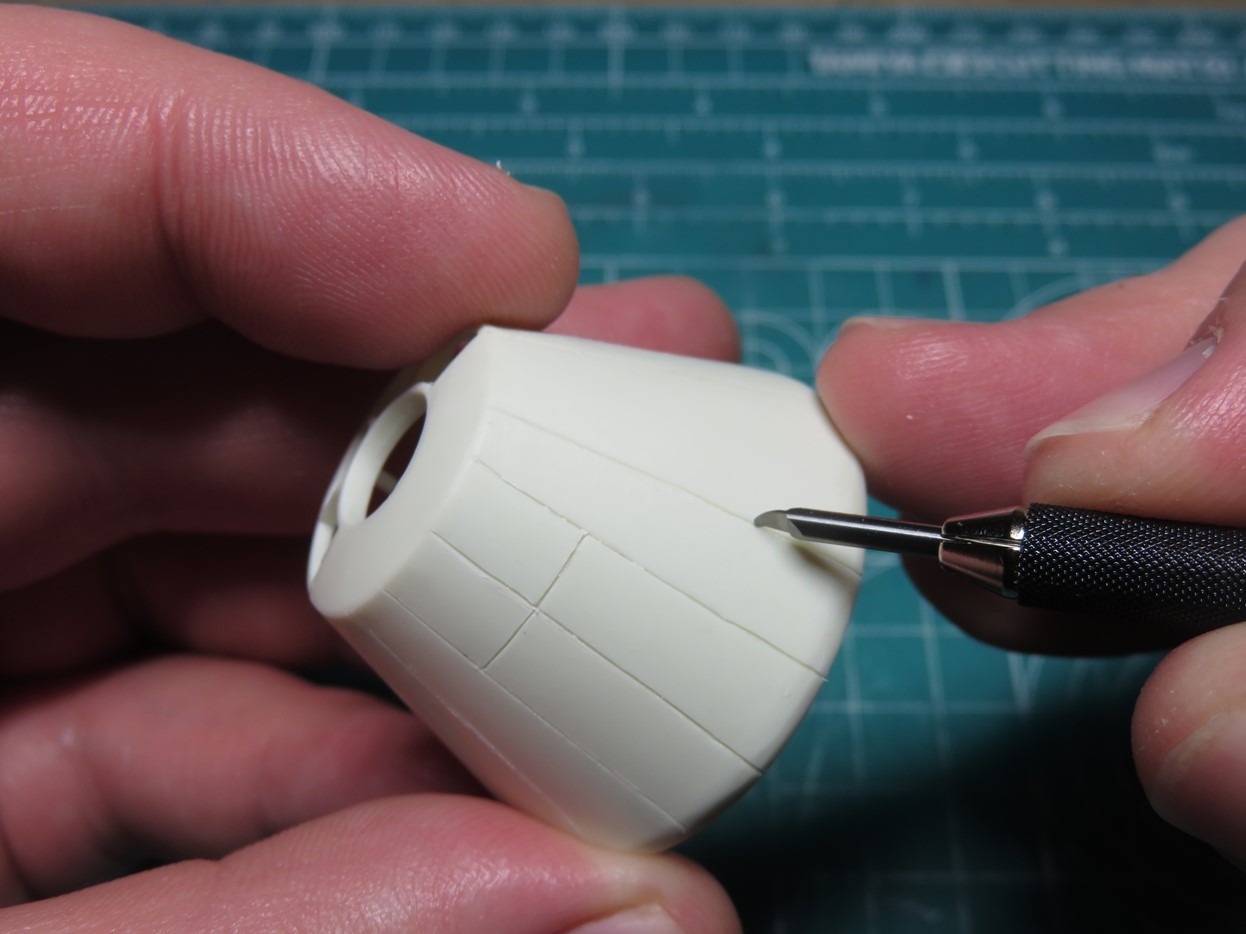
I bought a new Tamiya Fine Engraving Blade, and I decided to test it out on the underside of the cockpit section adding in a few missing panel lines that are on the studio model. I’m going to do a proper full review of this engraver later on, but it took some time to get the hang of it, and I really like the panels that it created.
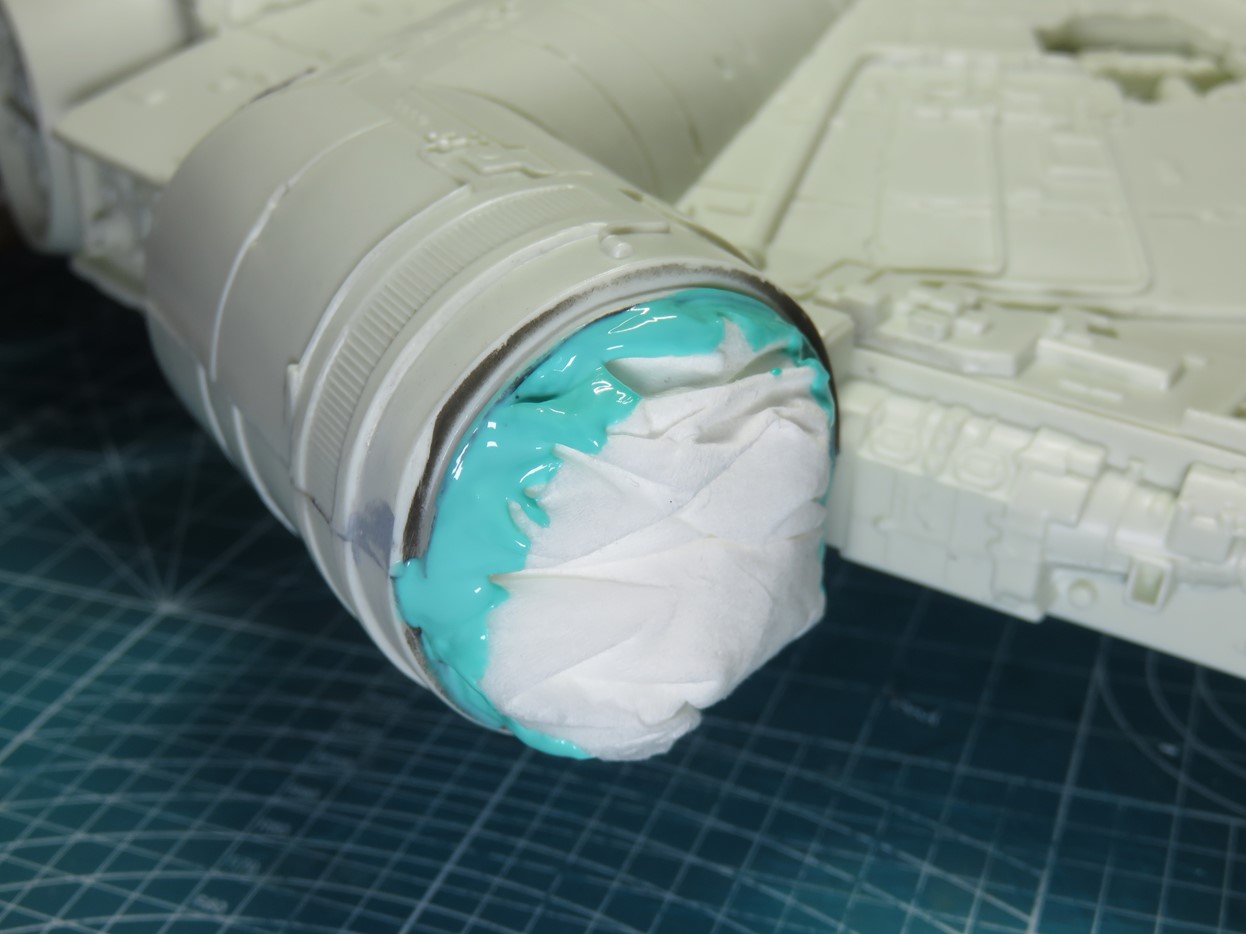
To block off the tunnel from getting paint inside, I stuffed it with a tissue, and then I brushed on a layer of Mr Masking Sol NEO to prevent it from moving.
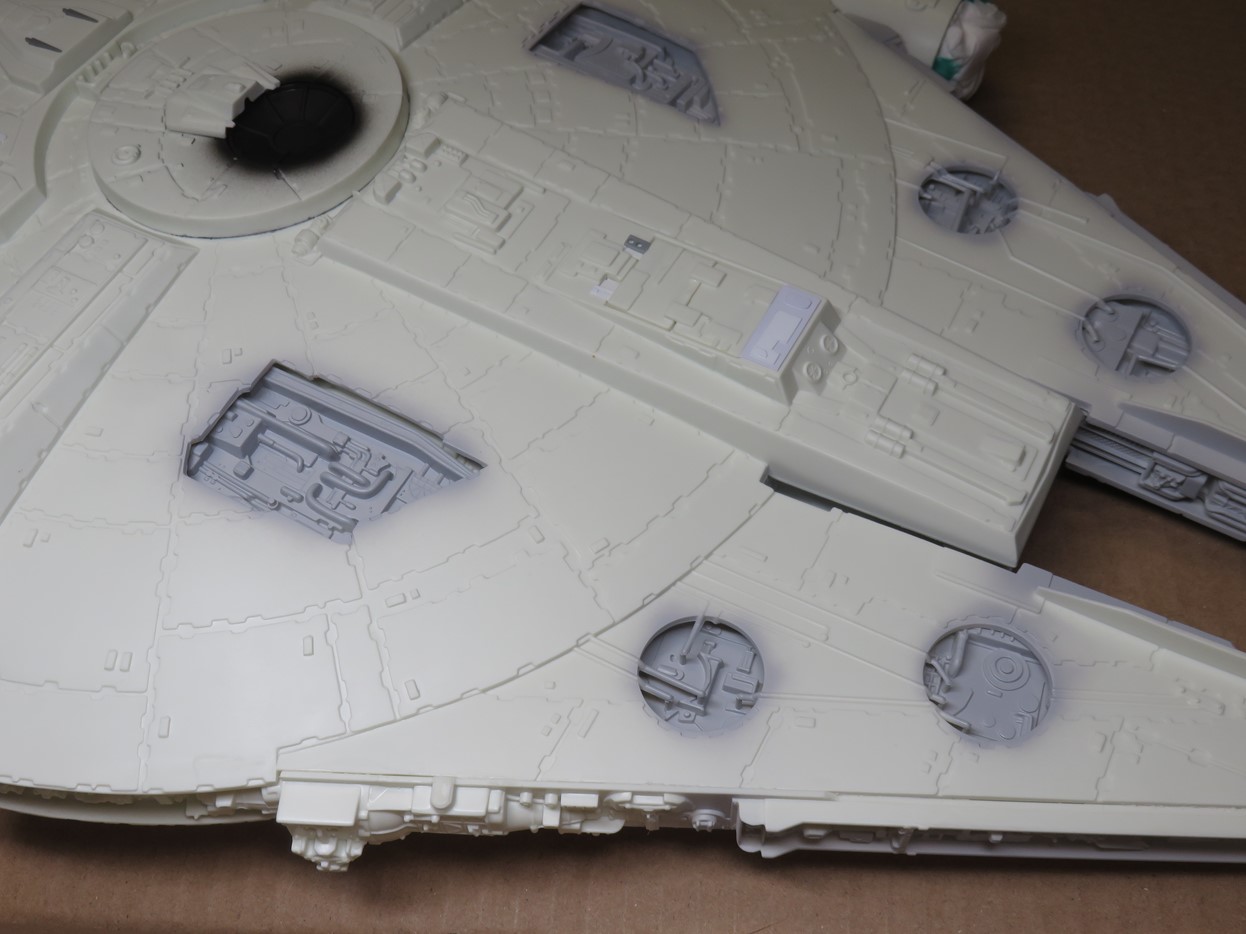
Now I was finally able to prime the model. I used Tamiya Liquid Surface Primer G, and this was my first time priming an entire model with this product. I usually used it only for filling in small gaps. It took a bit of trial and error to get it right, but it’s a very hard primer that bites into the plastic.
I started by priming all of the exposed sections. Priming these areas first allowed me to get my airbrush into all of the corners which was easier in the long run.
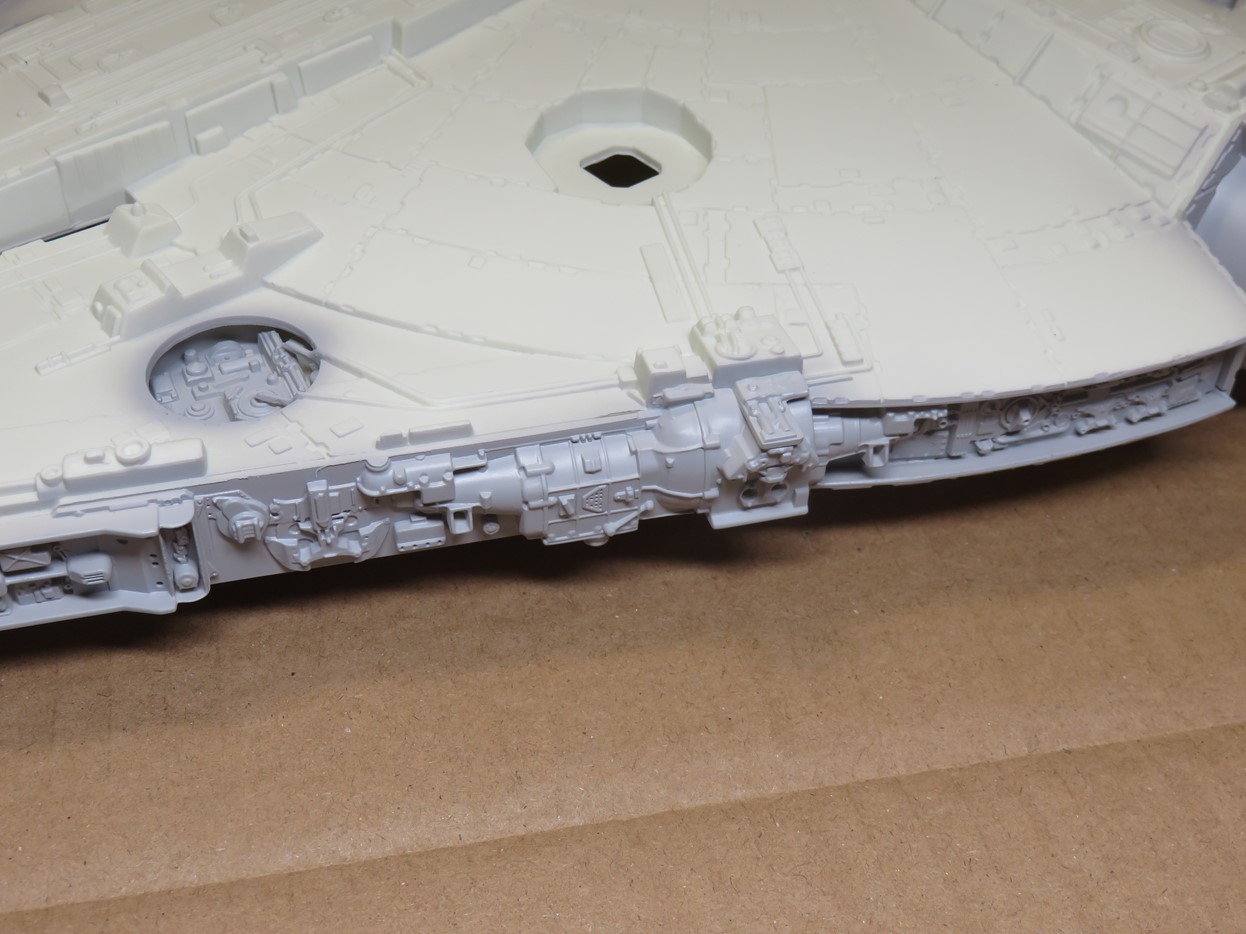
Next, I primed all of the side walls, these parts were especially fun to prime as I was able to really appreciate the new details with these parts. It’s going to look even better when a wash is added.
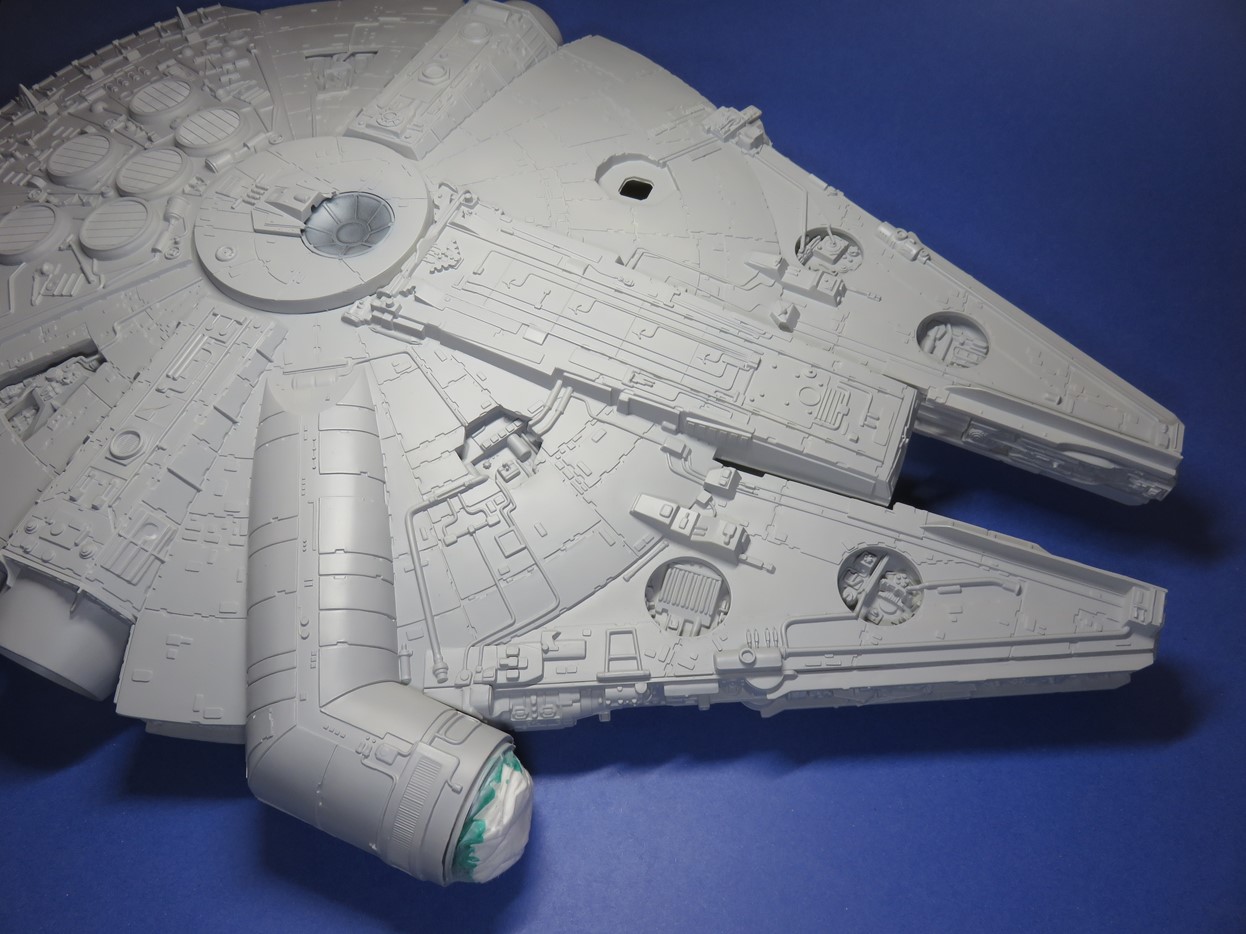
Once the side walls had dried I primed the underside of the hull and then the upper side. By following these steps of priming it was easier for me to work and make sure that everything was painted. It also allowed sections to dry and prevented me from adding my finger prints to the model.

There were some bits of plastic that I didn’t see until I primed the model. This was an easy fix, I took some 1500 Tamiya Sanding Sponge and lightly sanded the primer. This removed the debris and smoothed out the primer for the paint.
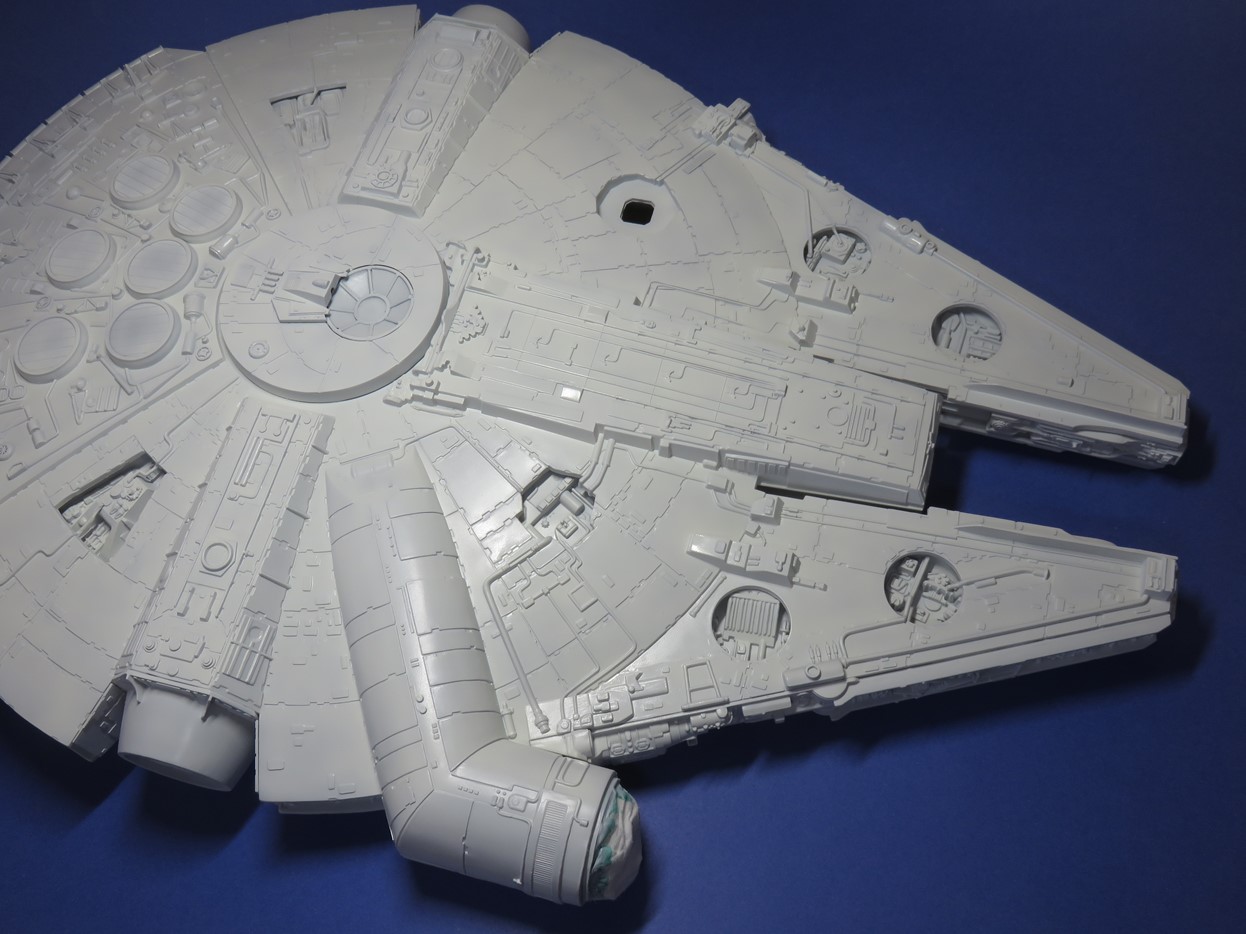
Following the same steps as I did for priming I painted the Envoy with Mr. Color 316 Insignia White. This took longer to paint than the primer as I had to apply 2 coats. Mr. Color Insignia White for some reason is a gloss paint, and this required 2-3 light layers of paint. Though it took longer to paint, it’s a really beautiful finish, and I’m eager to see it later on with the blue patches.
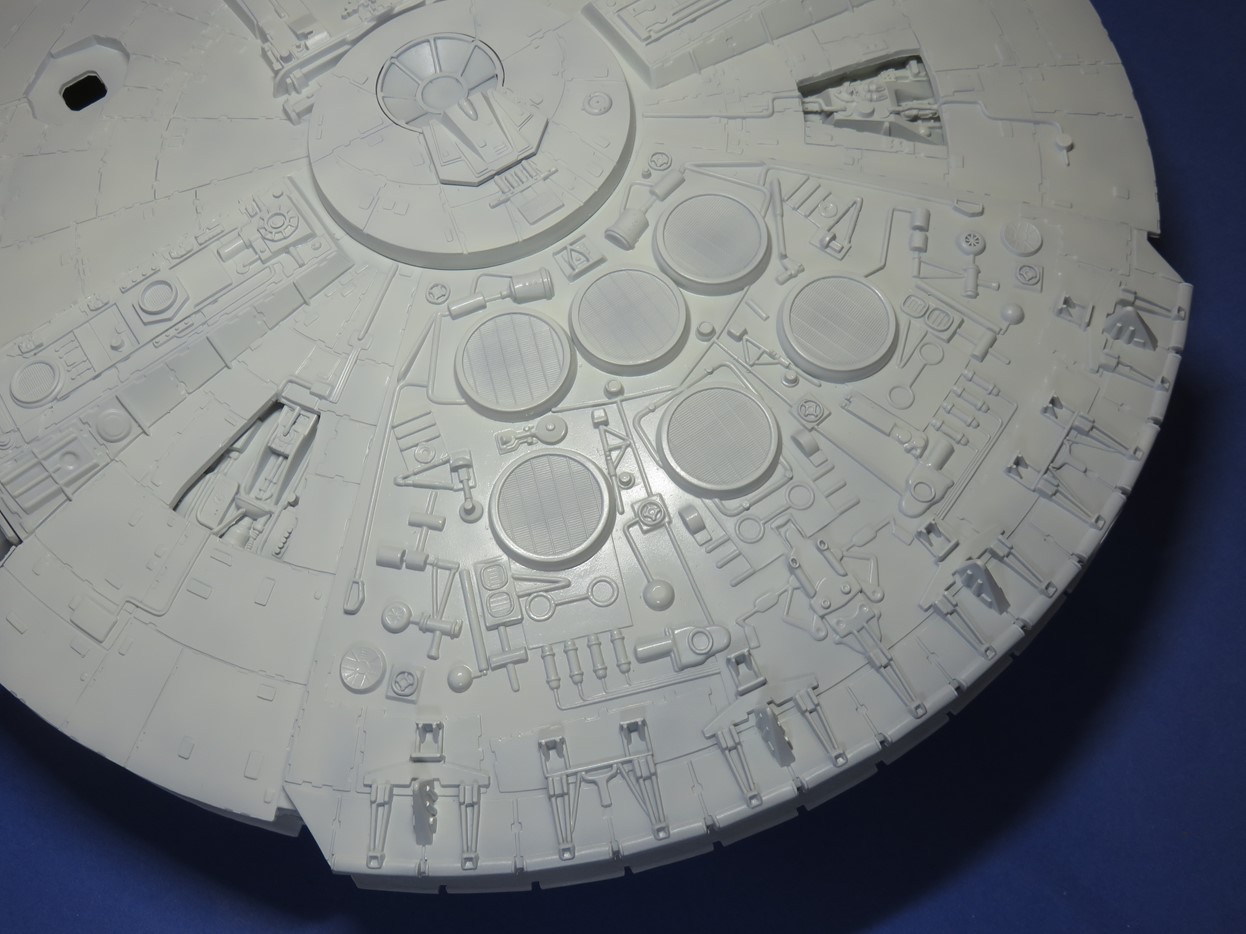
We don’t know with 100% certainty what exact paint was used on the A New Hope Falcon studio model, but most modelers consider Insignia White to be the closest color straight out of the bottle. It took me 2 bottles to cover the entire model and it looks pretty great. Next, I’ll have to mask the vents so that I can apply the blue. This is going to be tricky with all of those raised details.
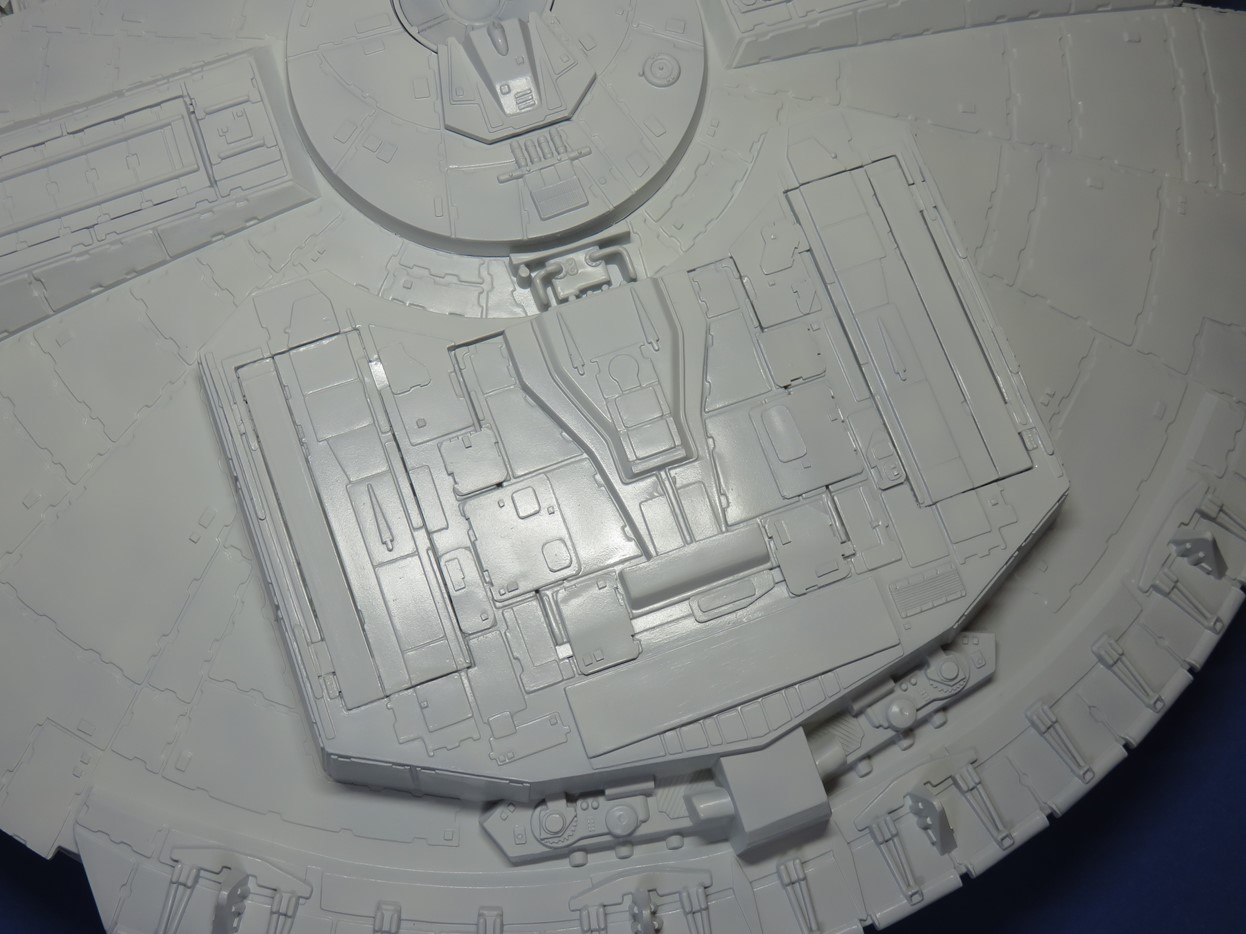
Lastly, I just wanted to show the underside aft section. This is where I covered the large gaps in the landing gear doors and the battery cover. I’m really pleased with how well all of the parts I added have blended together.
This was a lot of work, and what made it even more time consuming was having to deal with the correct mixtures for the Primer and Insignia White. I’m not sure why the Mr. Color Insignia White gave me so much fuss, but next time I build a Falcon, I might try an AK Interactive, Mr. Hobby Aqueous, or Tamiya spray paint.
But it’s now all painted, and now I need to figure out how I’m going to add the blue, or better yet which blue I’m going to use. But that will have to wait until next time!
To be continued…
Jared Demes is a modeler from southern Alberta. He has been building models since he was 4 years old when his Dad first introduced him to the hobby. He has written for several magazines including, Fine Scale Modeler, Scale Aircraft Modeling, Phoenix Scale Models, and others. He has an interest in all modeling subjects, with a focus on WWII Japanese aircraft and Science Fiction.
Jared has won several IPMS awards for his modeling, and currently operates his YouTube channel rebelsatcloudnine, where he showcases model builds and product demonstrations.
