Using Vallejo Acrylic Paints and Thinners
In this Sunward Hobbies tutorial I’ll be showing you some tips on how to hand brush and spray Vallejo Acrylics and Metal Color. As always, all the materials used are available at the store.
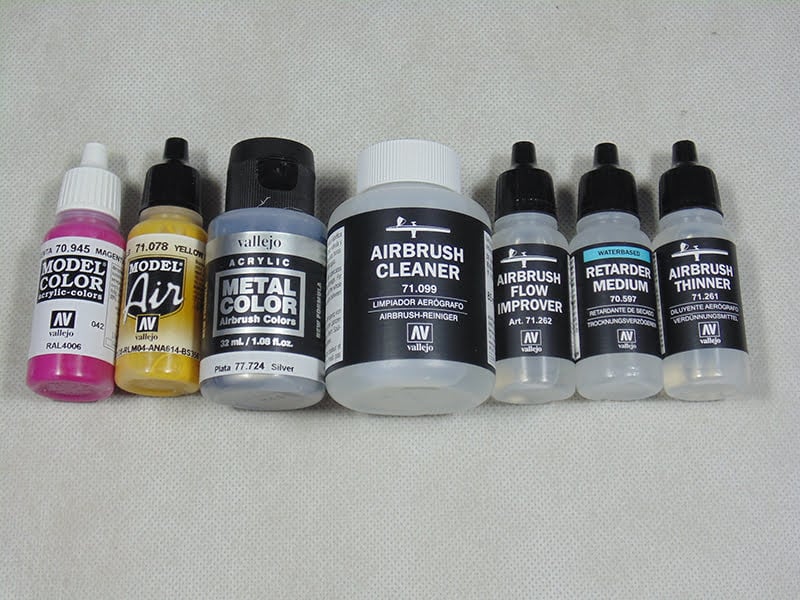
Vallejo paint is, in my opinion, the nicest smelling product on the market. The range of colors is also outstanding. Be it a Sci-fi or figure, armour, or aircraft, automotive, or marine you’ll be hard pressed not to find the shade and tone to suit the project.
Vallejo Acrylic is a non-toxic water-based product which uses a polymer to bind the pigment and harden. In this case It’ll be RLM04 Yellow with a Vallejo Paint Retarder.
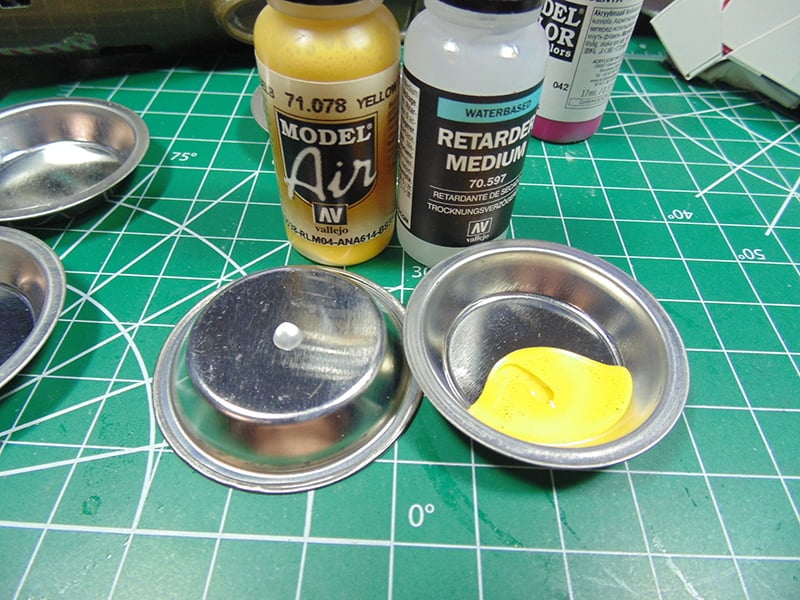
A Retarder Medium is based on the manufacturer’s product (i.e., Tamiya is different from Vallejo). It slows the drying time quite a bit to let you work within an area and then self level to reduce brush lines.
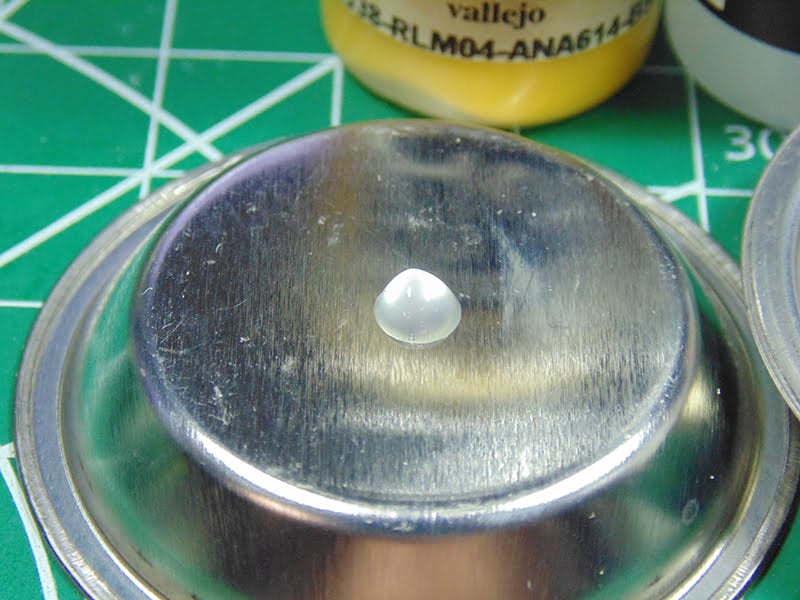
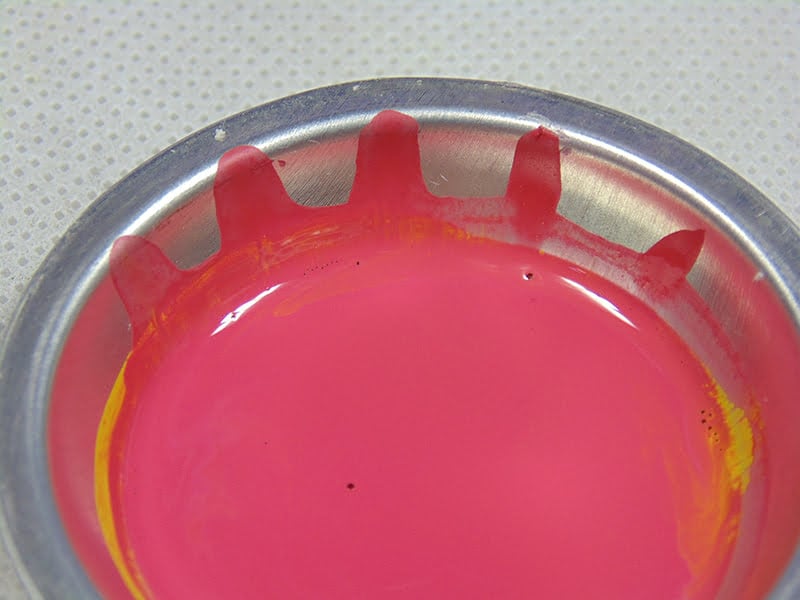
This is Vallejo Modèle Air. Yes, it’s meant to be airbrushed, yet I wanted to show that it can be hand brushed. Make certain you shake the bottle vigorously for at least a minute or remove the dropper tip and mechanically stir with a mixer. Next, follow the instructions on the Retarder bottle then mix the two thoroughly. In this case it’s 20 drops to 1 Retarder.
Here is the stabilizer of a 1/48 Revell B-17F. Priming helps the paint adhere to the surface. The worry with a larger area is the paint will dry before the brosser stroke is done. Obviously, the wider the brush the better, but even with a wide brush you can get brush lines. Note the right side of the brush hairs are clean. Angle your brush after you put down the first coat and plow the paint in the direction you want. Instead of fighting with brush strokes move the paint. The thinner the first layer the better.
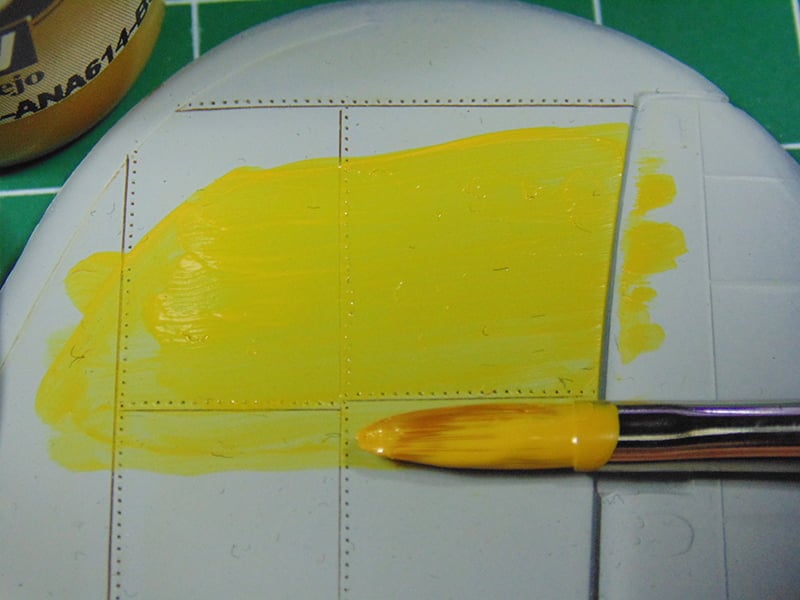
Depending on the color and the coverage you want two or three layers will be needed. In this shot you’ll see a second and third layer on the stabilizer. Later I’ll go back and re-scribe my panels where needed.
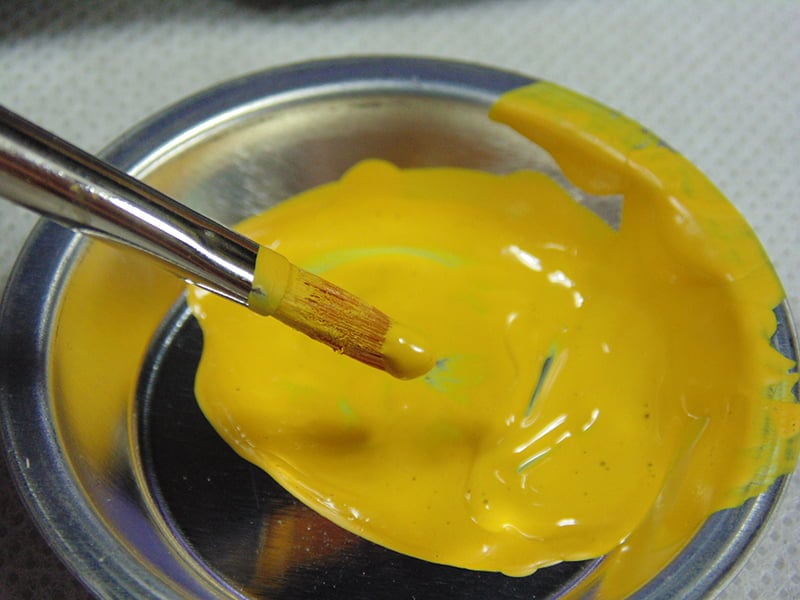
Even after a good 30 minutes the thick paint in the cup is still usable, however a few drops of thinner will bring back the skinned over paint.
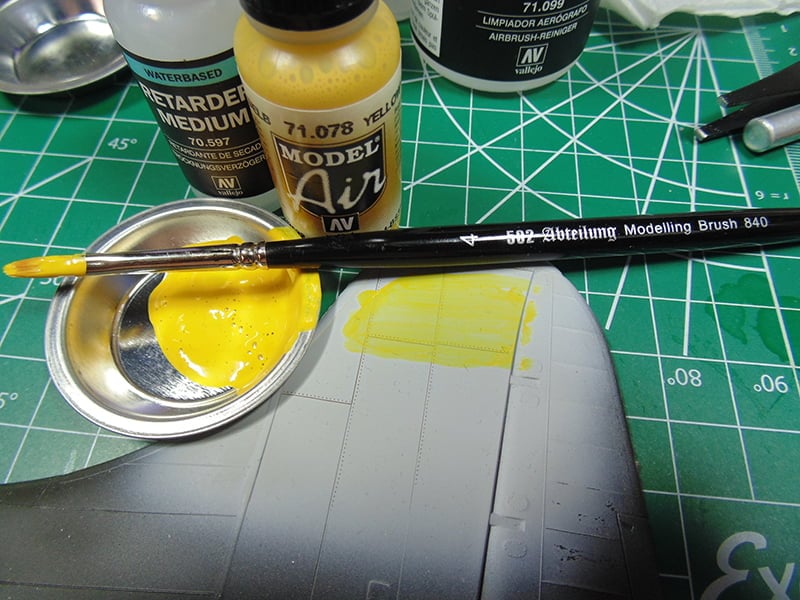
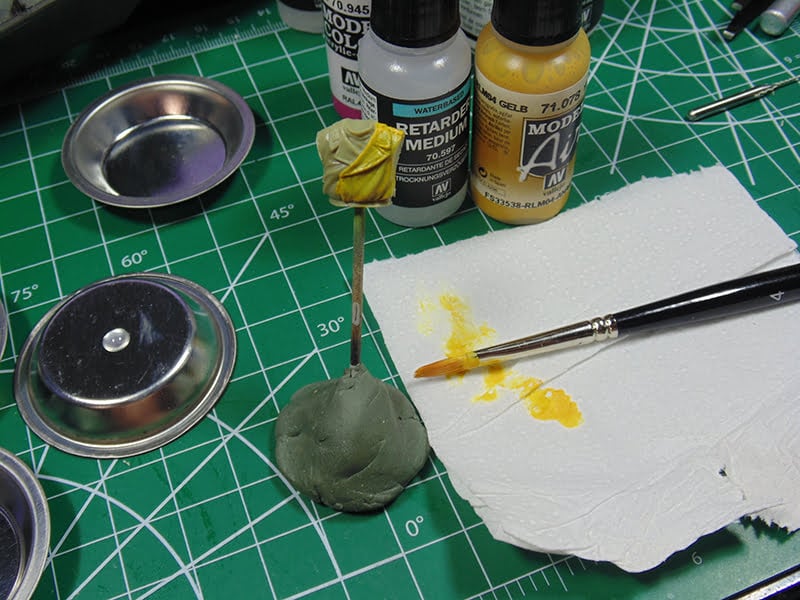
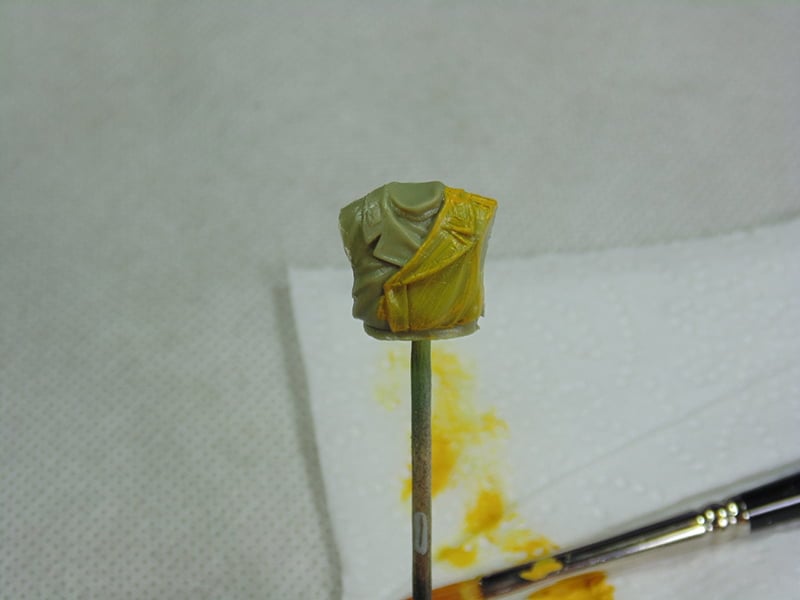
With the paint now moist let’s put a 1st coat on the 1/35 Tamiya figure. I’ve roughly cleaned up the hairs with some of the Vallejo Retarder then put on a light coat.
And a closer look at the coverage. Sunward Hobbies have a huge selection of paint brushes. In this basic tutorial I’m using a #6 and #8 filbert from 502 Abteilung.
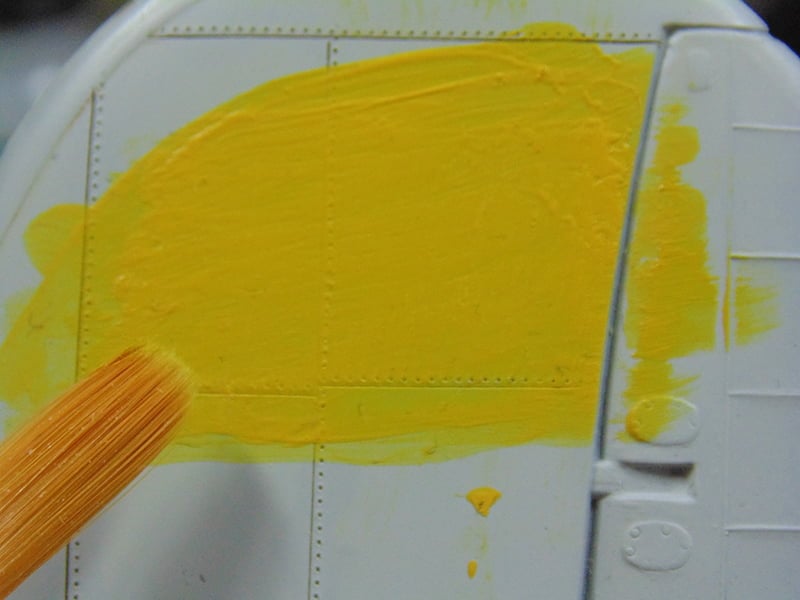
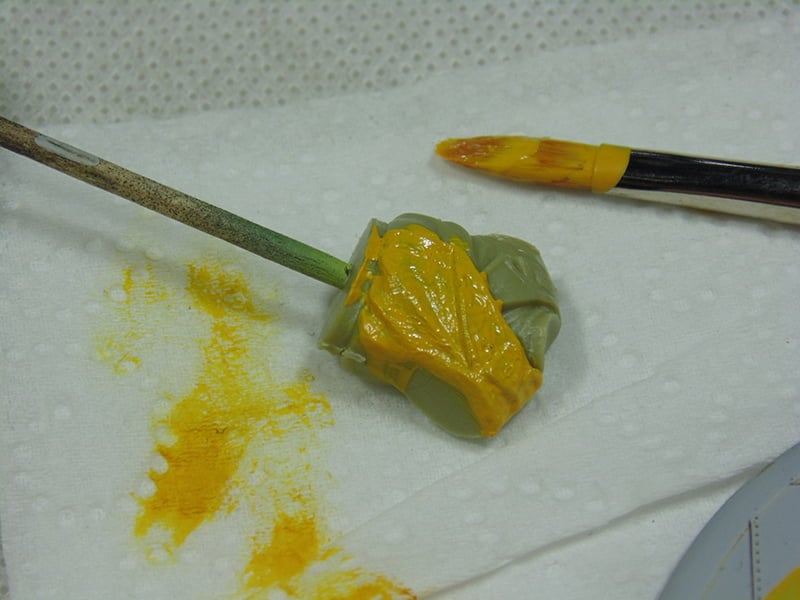
Here’s the second coat process which I’ve began by putting on a very thick layer.

Let this sit for a few minutes to be absorbed by the first coat. Then gently feather the excess away. You may have to practice a little with how long to wait between coats. Vallejo’s polymers, by nature, take 24 hours to dry. Since I’ve introduced a Retarder it will take a few more thinner coats.
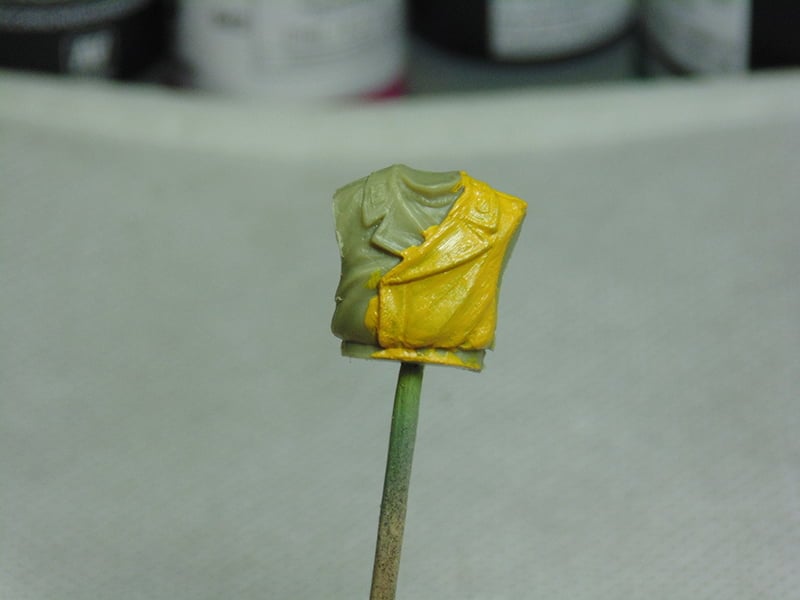
Finally, the 4th coat gives an even coverage and you can let it rest for a few days to harden nicely and be ready for washes and highlighting effects.
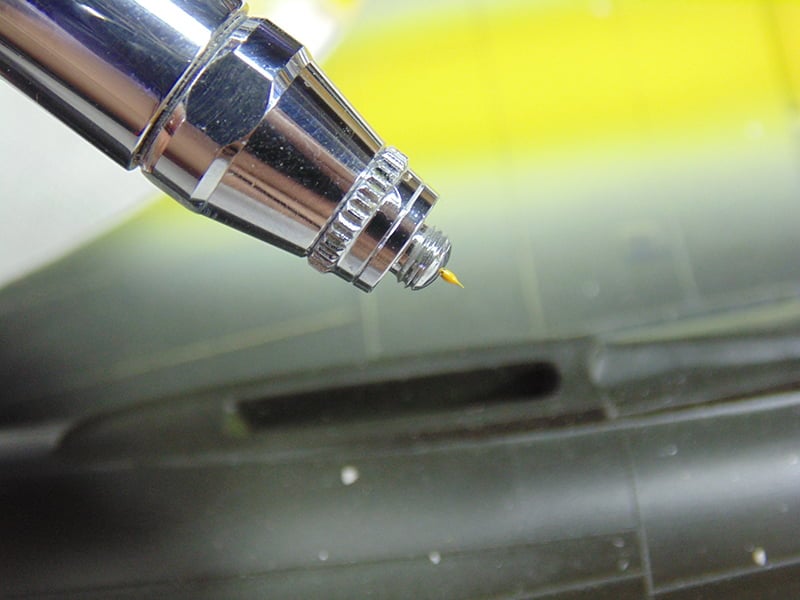
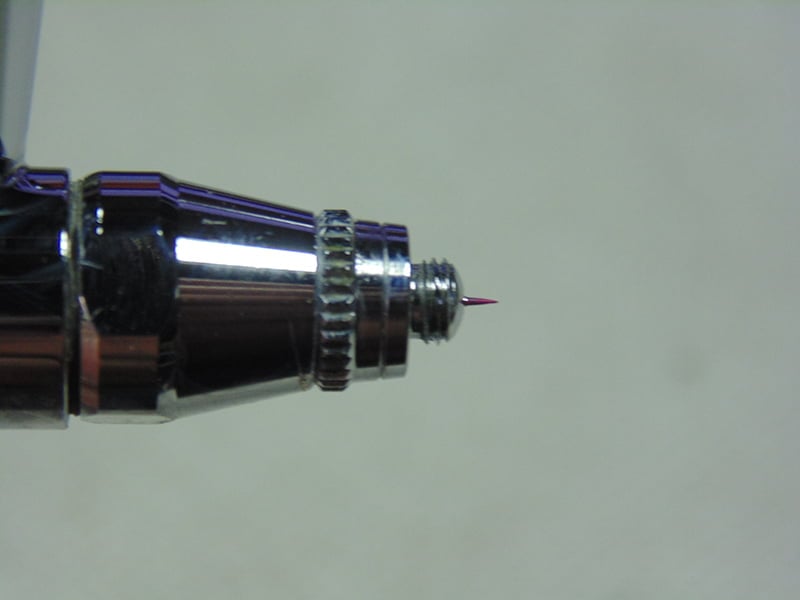
Now we’re going to spray the Vallejo Model Air with and without different thinners. Straight out of the well mixed bottle you’ll have to raise your airflow to 20psi or adjust as needed. A common issue with “Straight from the bottle” is the tip building up dry paint. The needle tip has to be clean or the flow will be interrupted or stop all together.
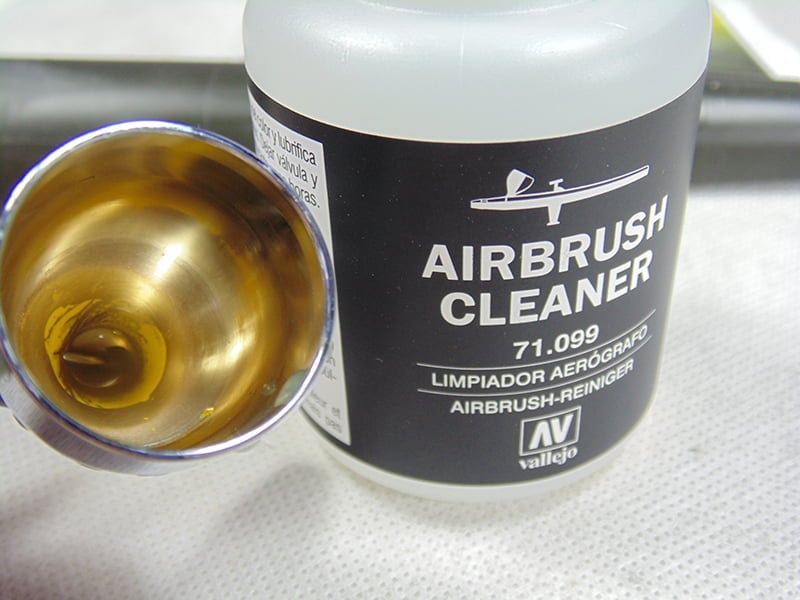
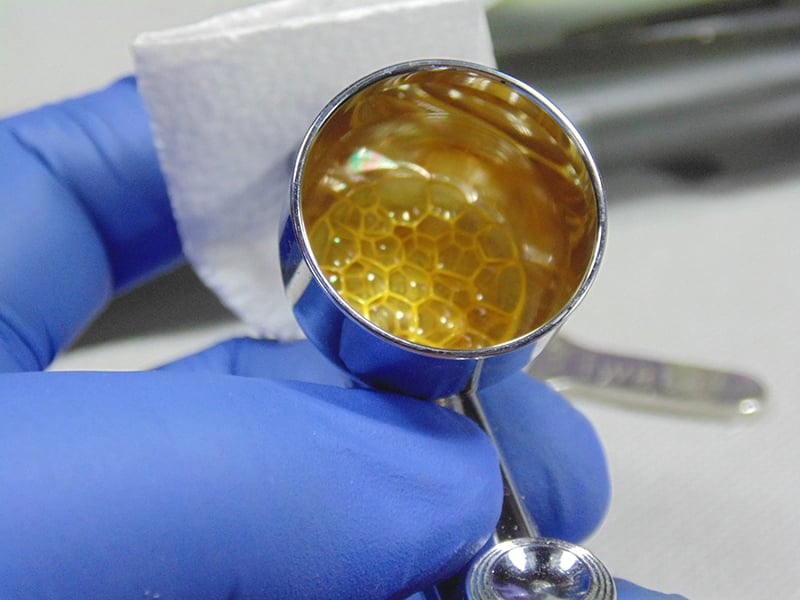
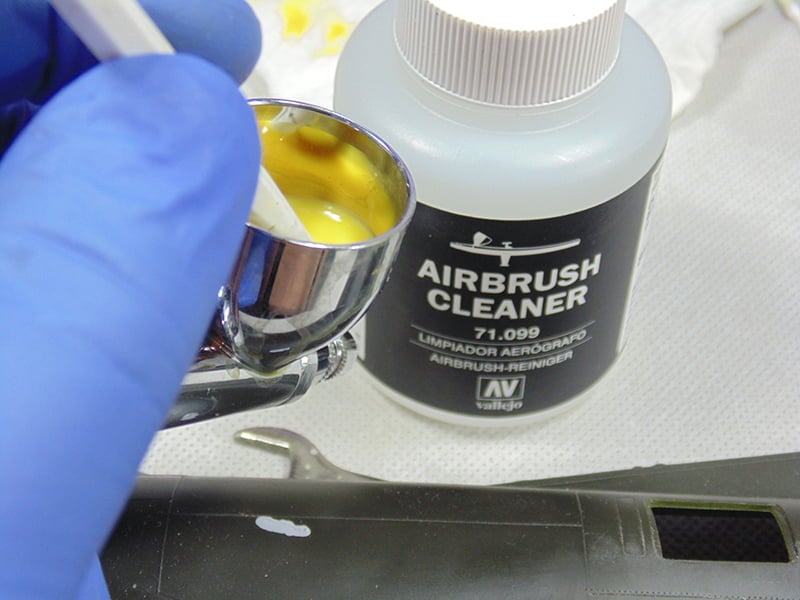
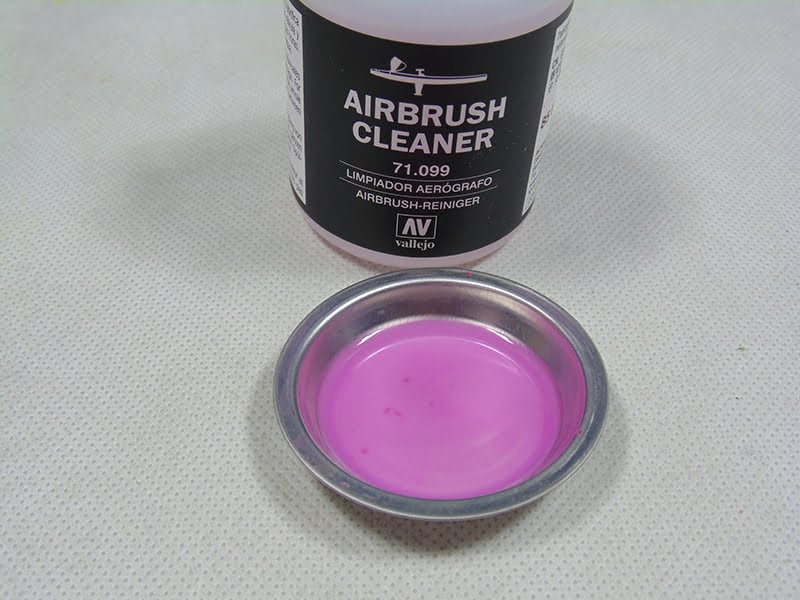
Before demonstrating the thinners, I’m going to thoroughly clean and dismantle my airbrush with Vallejo Airbrush Cleaner. This a wonder fluid! Sure, it does a great job by its namesake, but you can also put some on a cotton swab to safely remove over-spray, clean clear parts and even thin Vallejo Model Color.
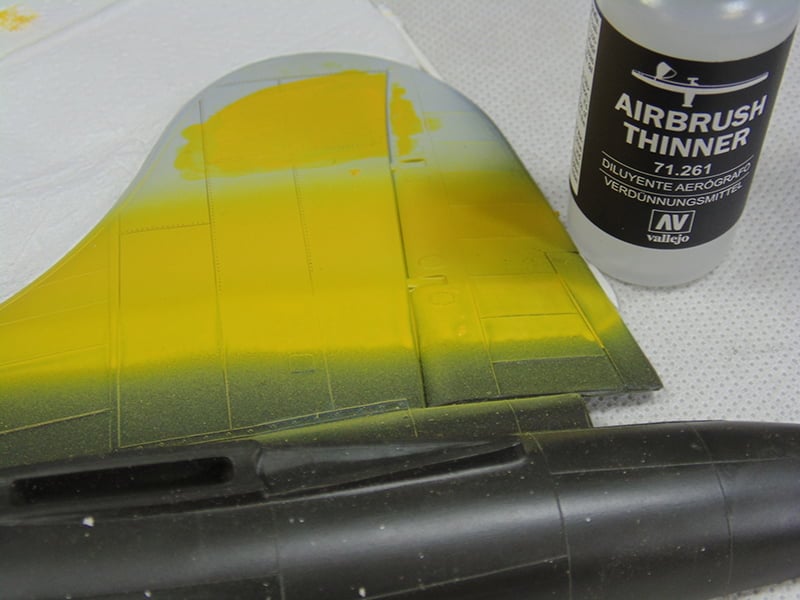
I always spray a few drops of neat thinner only to condition my needle and flow chamber. Now I’ll add 2 drops of Air Brush Thinner to 10 drops of paint.

You can easily mix the thinner and paint by back flushing. Take a cloth or paper towel and block the tip from spraying. Then press and pull back the trigger until bubbles appear. Obviously, this is for a gravity fed airbrush, but the point being is to completely mix the two substances.
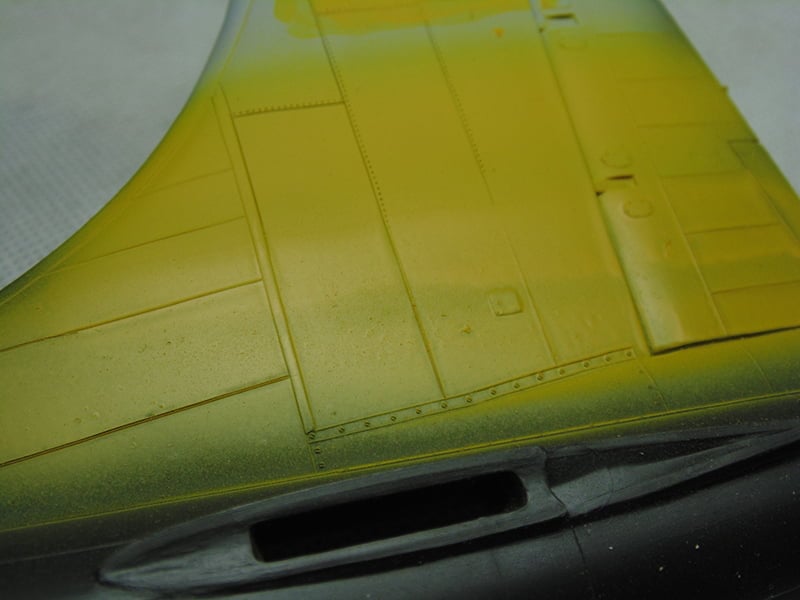
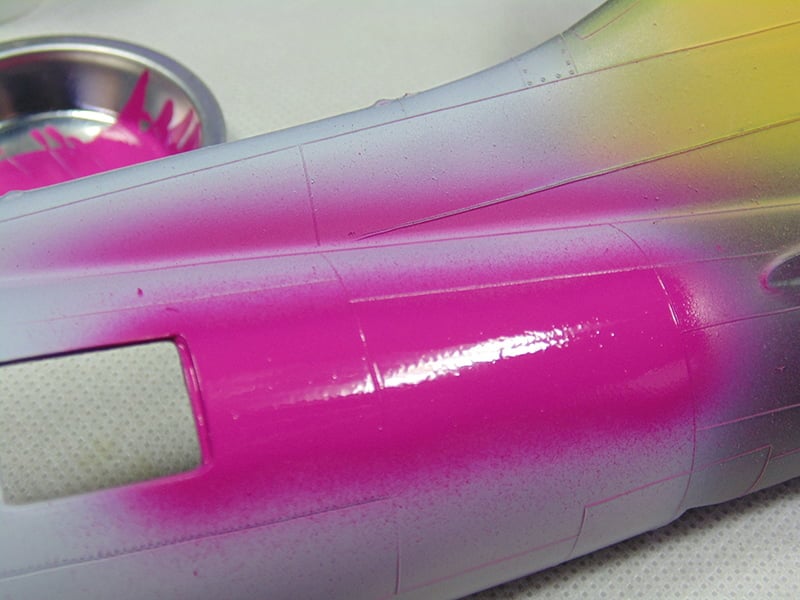
In this shot I’ve already sprayed neat paint at the top and the wet coat is the thinned Vallejo Model Air.
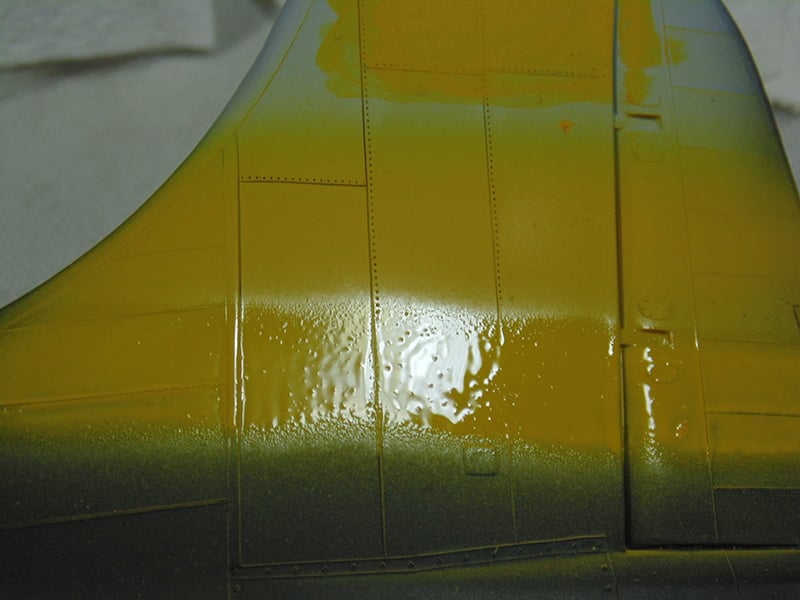
You can clearly see the lighter tone in the lower swath of yellow with the thinner. Three passes were made just as with the neat paint.
Each time another product was tested the airbrush was thoroughly cleaned, dismantled and cleaned to have a fresh start and results you could expect.
Now we’ll add some Vallejo Flow Improver to neat paint. Flow Improver is similar to Retarder in that it slows the dry time on the needle. It prevents “tip-dry” but doesn’t reduce adhesion.
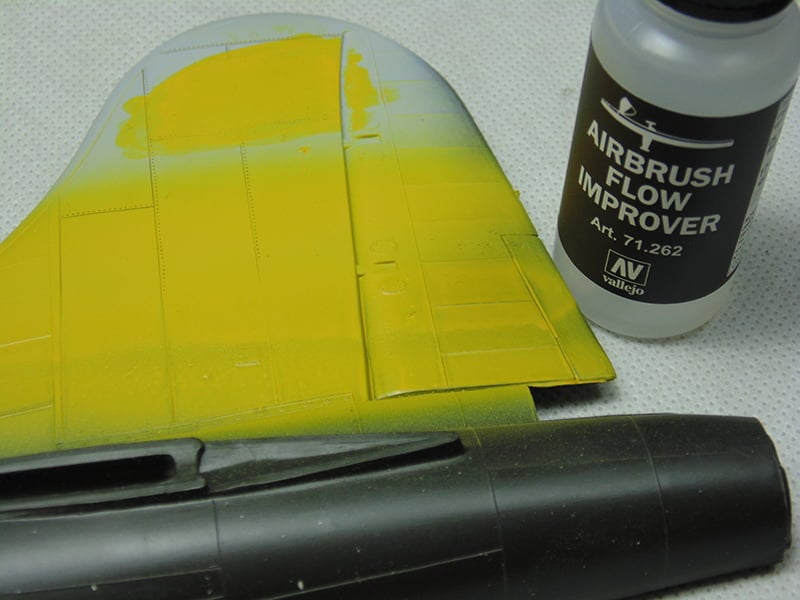
There is a definite sheen even after a few hours. This will lessen over time, yet the thinned paint will retain a subtle semi-gloss look.
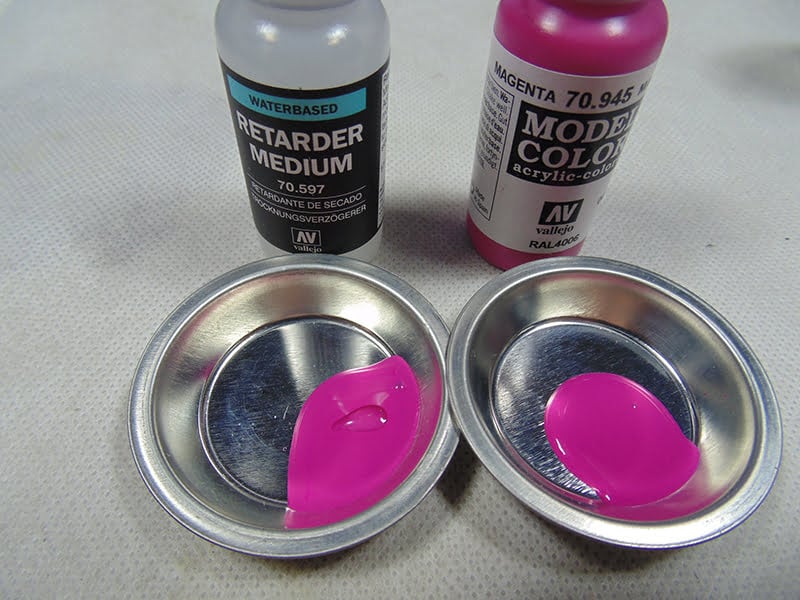
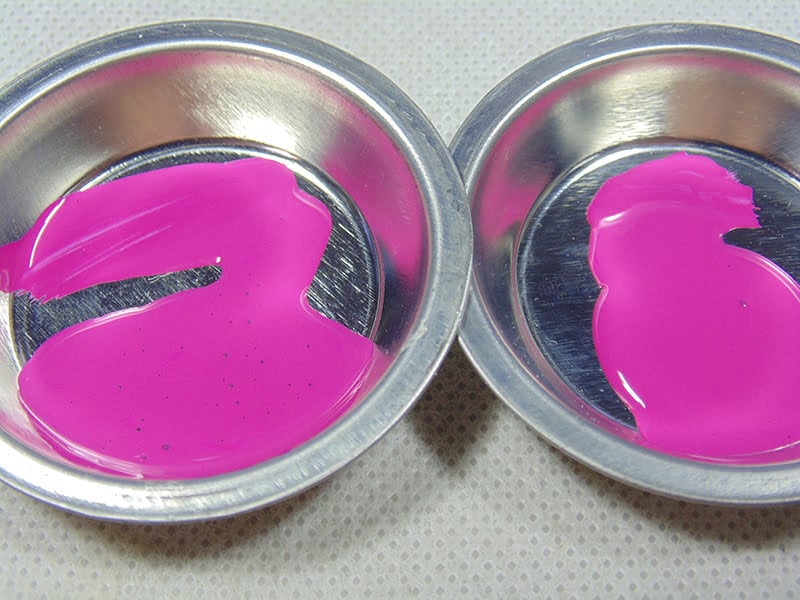
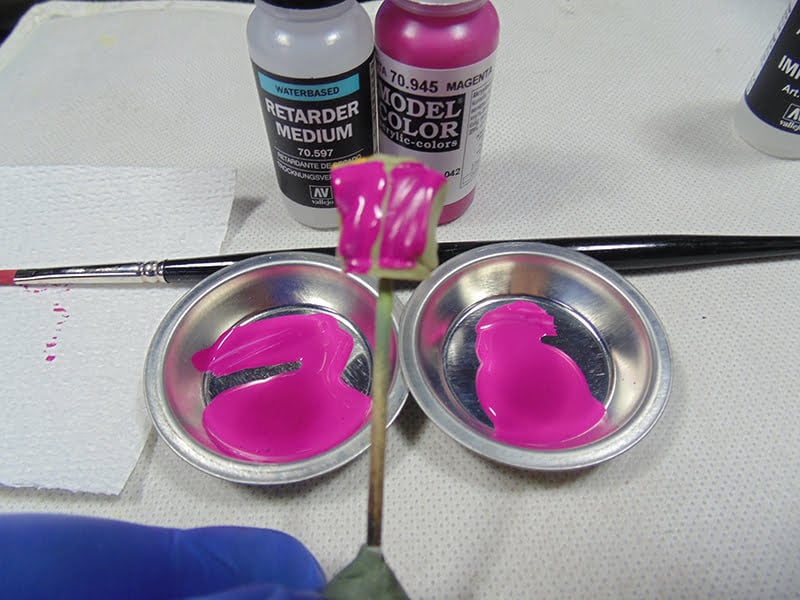
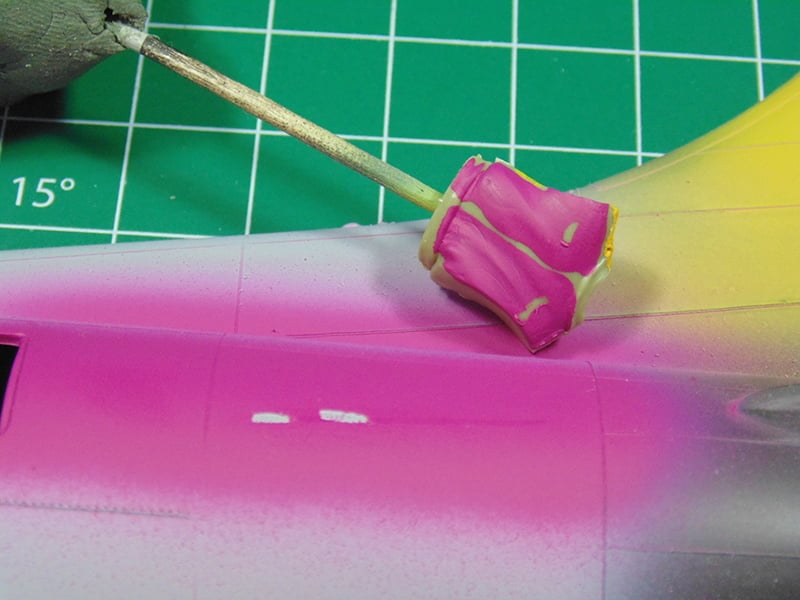
It’s quite common to mix paint colors. This shows how compatible Vallejo Model Air and Model Color are. Because Model Color is so thick, you’ll need to take the time to completely mix the two. Just in case you’re in a pinch and Sunward Hobbies have closed for the night. You can mix to get that desired color.
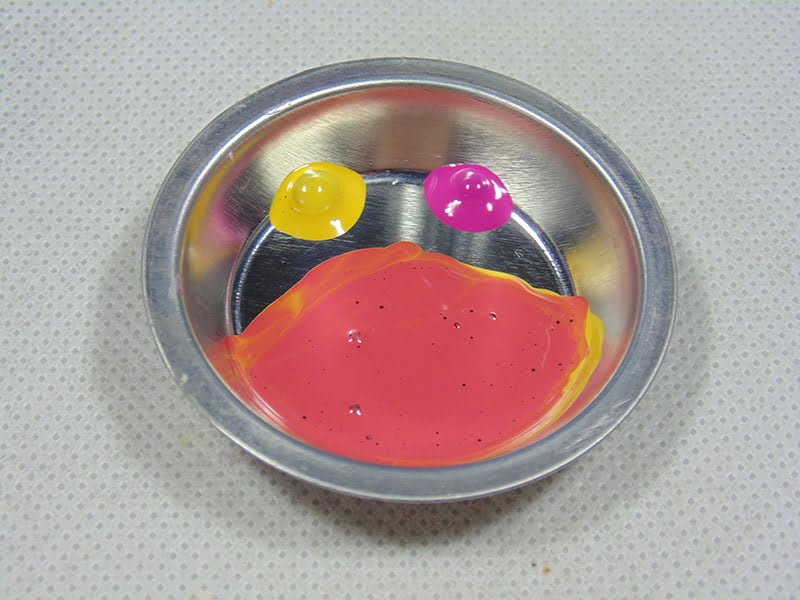
I thought you might like to see how far this mixed paint will thin out. From right to left each mark on the side wall of the cup has been thinned by 3 drops. So, neat up to 12 drops of thinner in 10 drops of paint.
Here’s the hand painted color on a bit of plastic cardstock. The top section has a few coats while the bottom has a single. This illustrates how versatile the Vallejo product is.
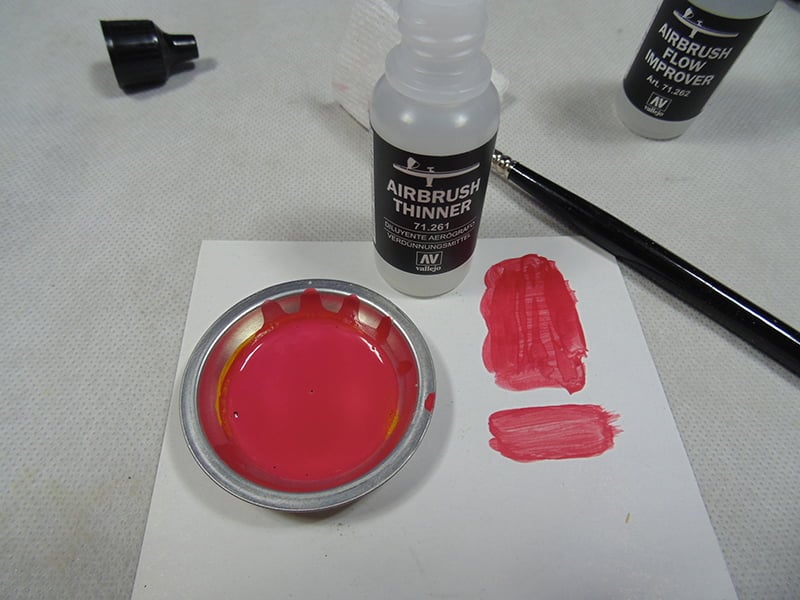
Next, we’ll do a side-by-side comparison of the Vallejo Model Color with a paint brush.
The left side is the thinned paint. Being that Model Color is thicker I’ve added 2 drops of thinner.
Both perform really well, but there is a definite lighter tone with the thinned side.
The thinned left side took longer to dry and has a brighter sheen. Either or it’s a wonderful product to hand brush.

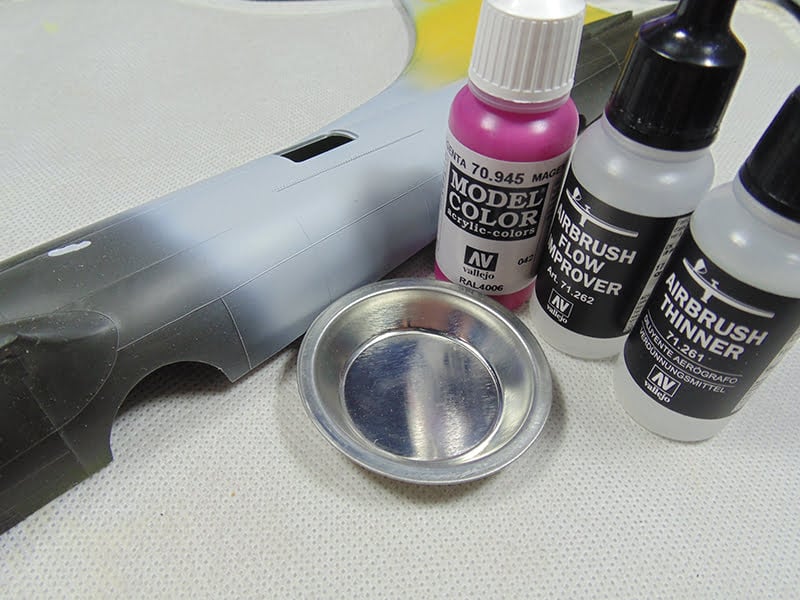
Now I’m going to show you how to spray Vallejo Model Color. I’ve primed more of the aircraft part with Mr. Primer Surfacer 1000. The 10 drops of paint will be mechanically blended with both Flow Improver and Thinner.
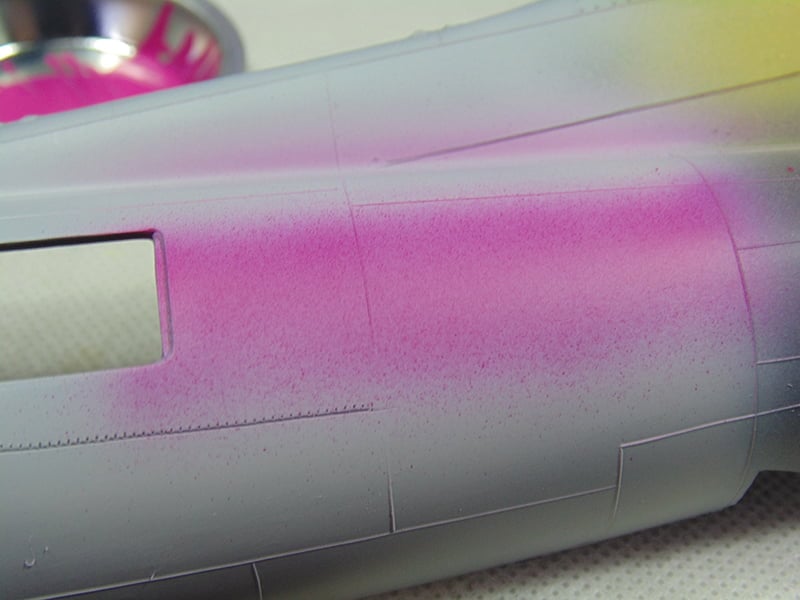
The next three shots show the different painting steps, from base or mist coat to second layer and lastly the wet top coat. The Air pressure was increased to 20psi. Looks great!
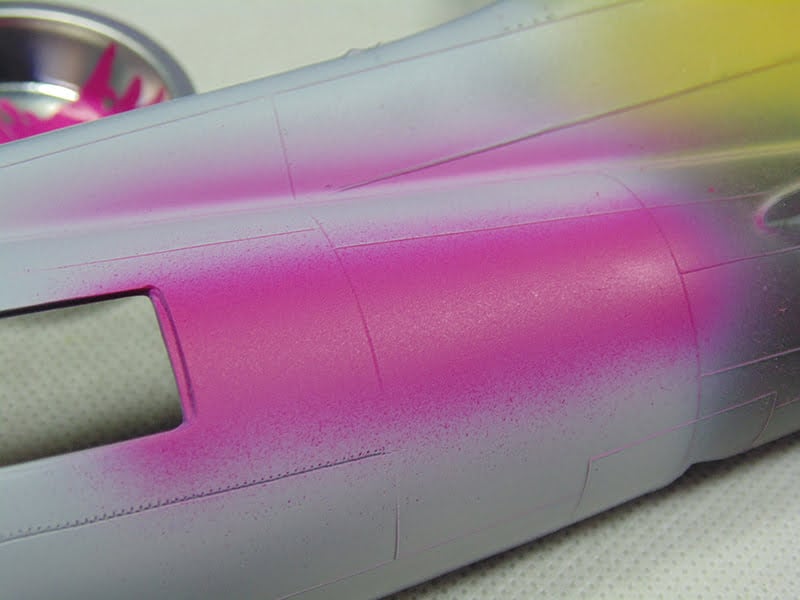
As you can see there’s very little tip dry.
Clean up is super easy. I mixed 1ml of Airbrush Cleaner with what you see in the cup of water. I prewash my brushes using this then soapy water to finish. My airbrush was cleaned as usual.
With all of Vallejo Acrylics advantages in mind there is one thing to keep in mind. Unless the paint has days to dry it can easily lift. These lift marks were done by my thumb nail with minimal pressure after hours of drying in a warm room.
It doesn’t matter if the model is primed or not or which water based thinner is added. Sunward Hobbies have a solution to this.
Some time ago Angelo sent me a bottle of MIG Productions Universal Acrylic Thinner.
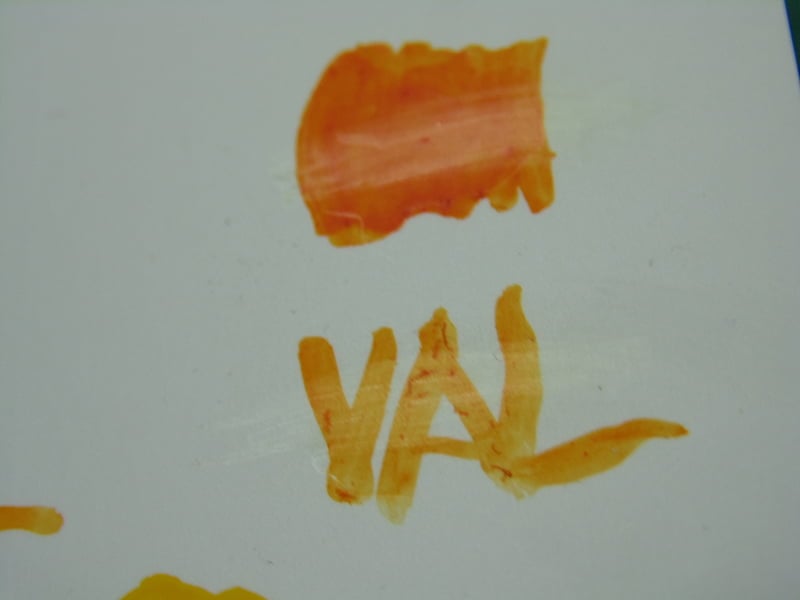
Note the hand brushed orange area. After just 30 minutes the Vallejo paint clung to the styrene even after seriously scratching the surface.
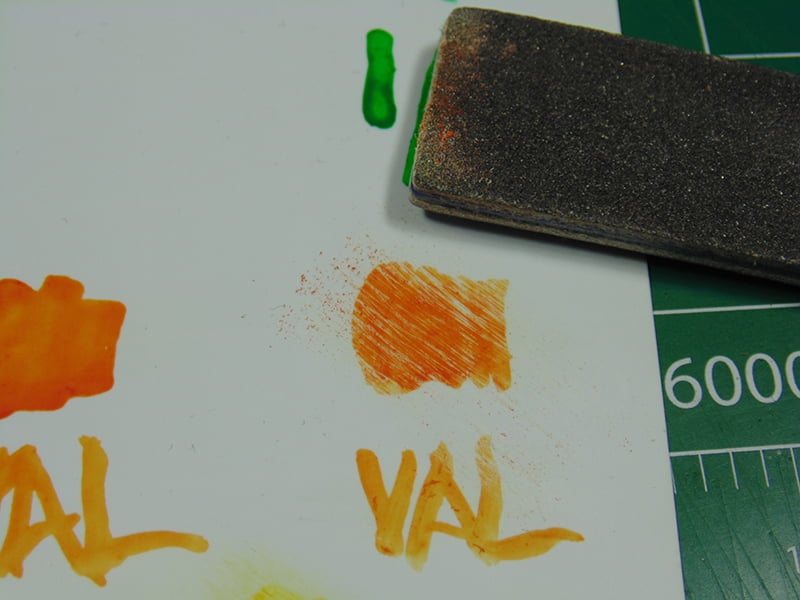
I still used the Flow Improver with the MIG Thinner and got an excellent result when sanding. Truly something to consider if your Vallejo project will need to be sanded in spots.
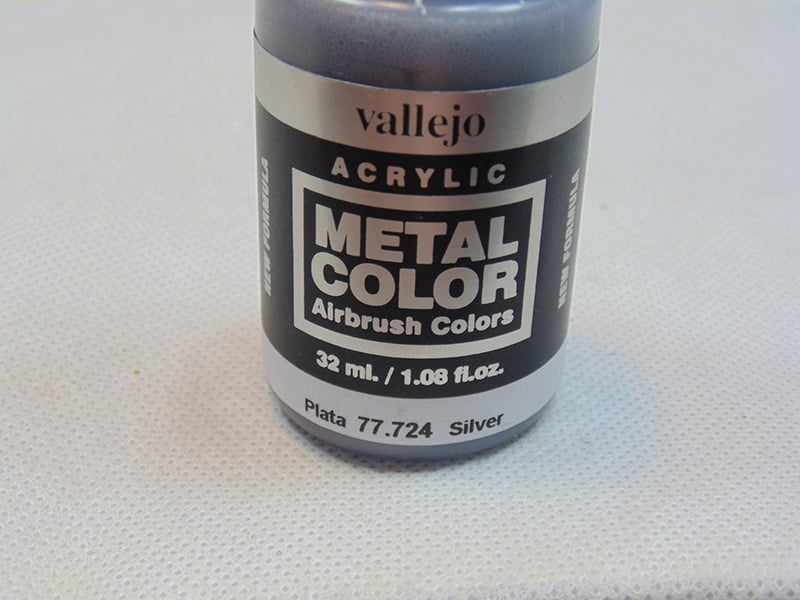
I left the best for last. Vallejo Acrylic Metal Color is a fantastic product you can spray right out of the bottle.
It has an excellent resealable angled dropper tip which you can pop open and use your fine brush to do touch-ups.

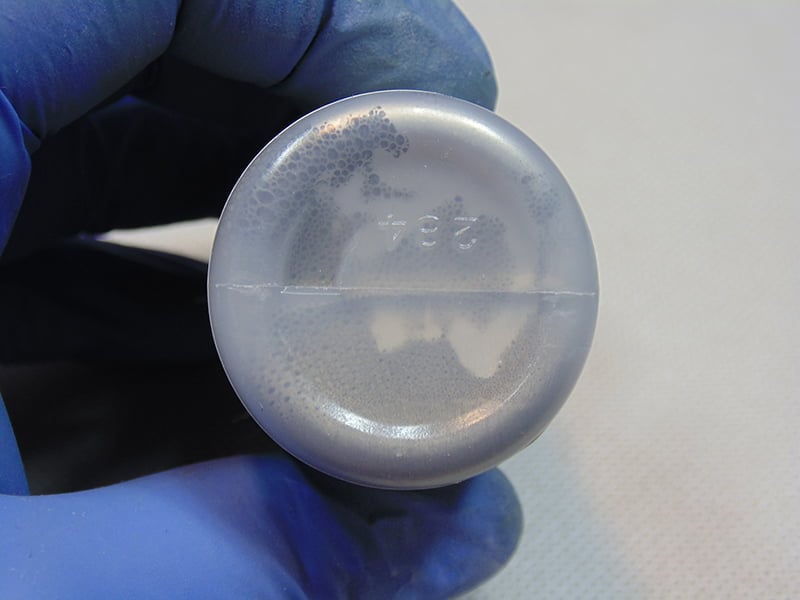
You get a good quantity for the price and to ensure your color is mixed well Vallejo put in a shaker. You can easily see how much more to agitate the bottle with a look.
We’ll start with few mist coats, letting them dry for 5 minutes. The third coat is a medium wet and right away you can see the reflective silver finish come alive!
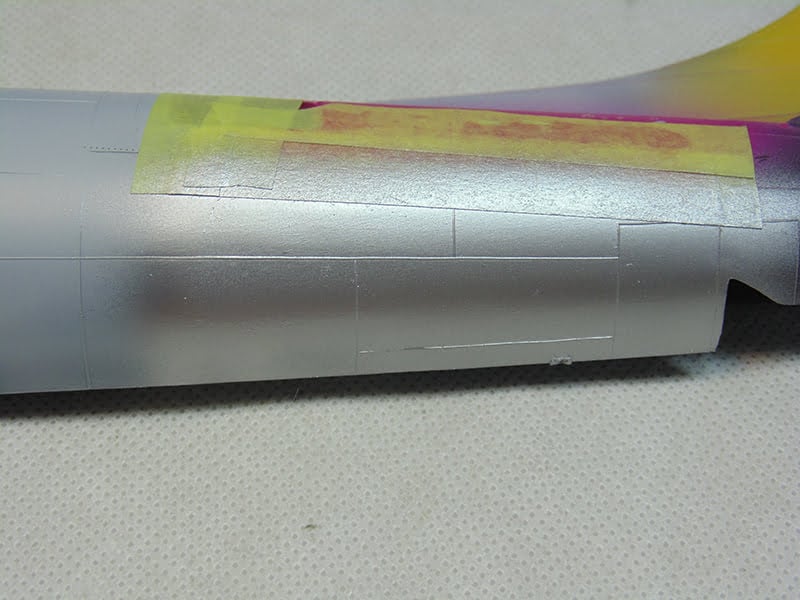
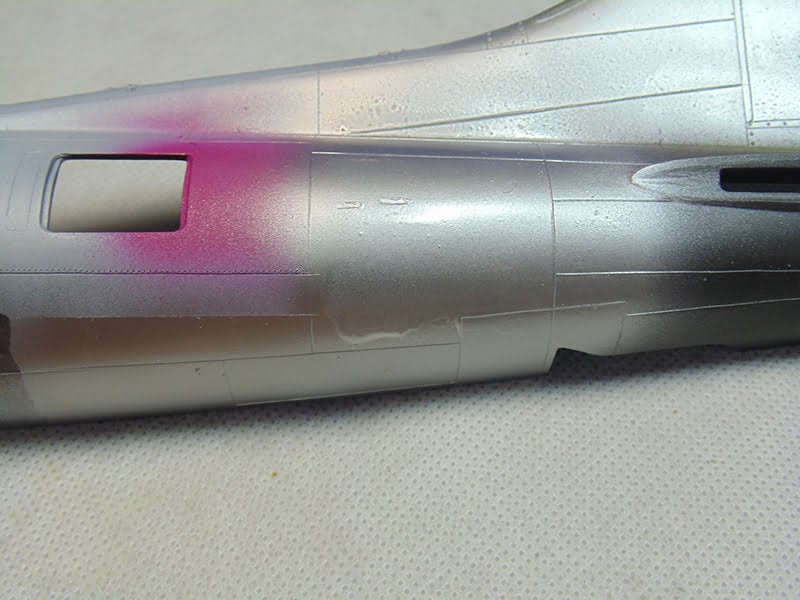
You can get different looks depending the undercoat. Notice the darker area? It was hand painted with gloss black and is more reflective. That took only a mist coat under a light coat.
Even when you hose it on (not recommended) by mistake Vallejo Metal Color is very forgiving. It self levels, dries to the touch in 30 minutes and I could not get it to lift with my masking tape.
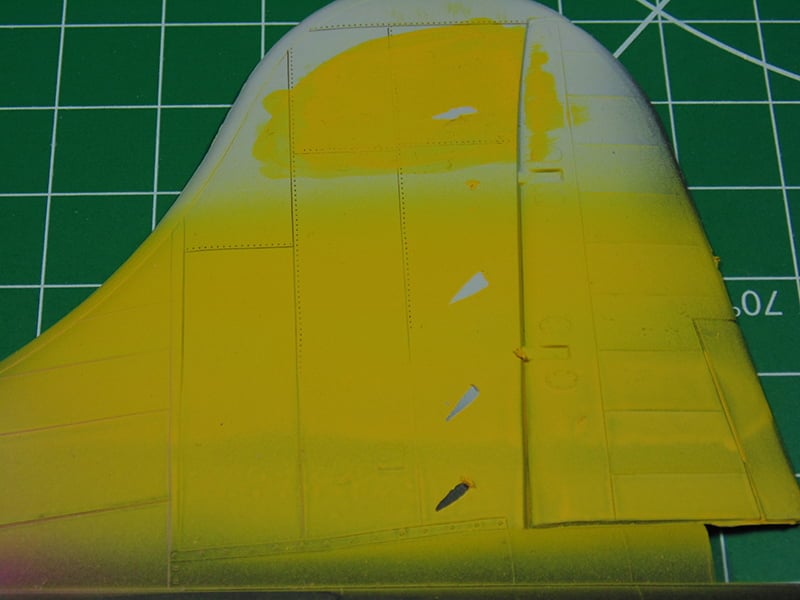
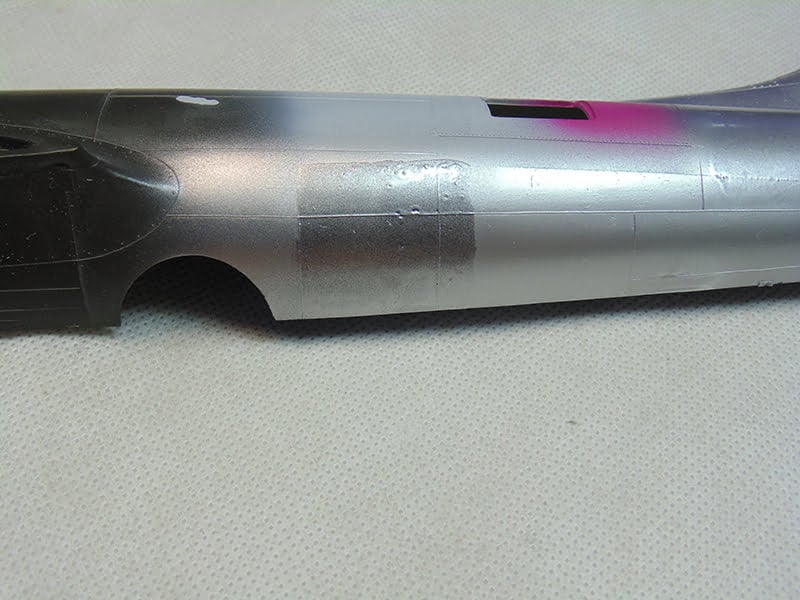
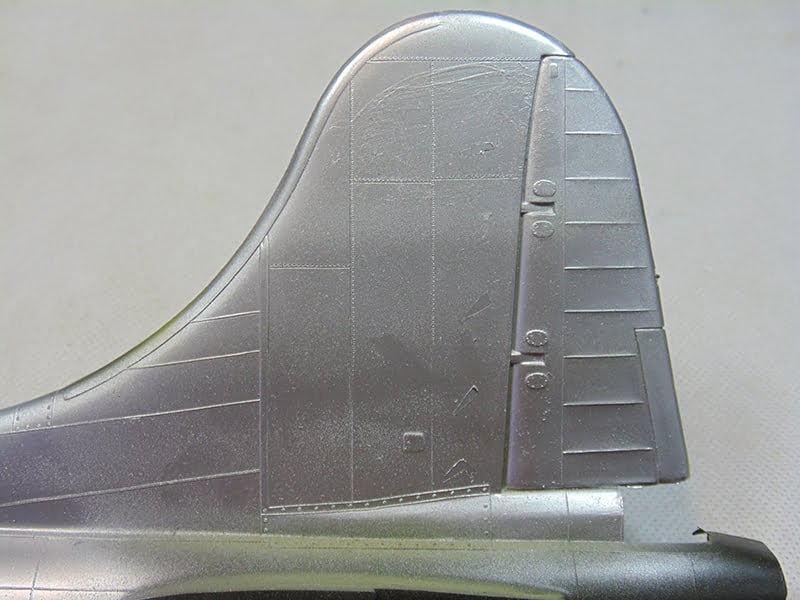
Finally, here’s the tail of the B-17 Flying Fortress which was yellow. With just a few passes of silver it completely hides the previous color. They should have called it Metal Magic!
Clean up was a breeze using Vallejo Airbrush Cleaner and water.
I hope this basic Vallejo Acrylic tutorial will help you get more fun out of the modeling experience. If you have any further questions, please let the staff know when placing your next order.
Thanks for following along and enjoy your hobby.
H.G. Barnes is a former voice-over artist and retired sales and marketing professional. He’s the author of two large volume science fiction adventure romance novels with many more in the works. For well over 40 years he’s been building scale model replicas and now does commission work for clients in Canada and the USA, plus completes projects for companies in Asia and Europe.
Actuellement, HG est impliqué en tant que rédacteur associé avec les chaînes de magazines en ligne de KitMaker Network.