Basic Tips for Advanced Results – TECH-TIPS BY HARVEY LOW
Tamiya was founded in 1946 as an architectural lumber company making wooden models in the late 1940’s, but progressing entirely into the plastic model business with their first release of the Battleship Yamato in 1960. They have been a huge player in the scale model industry over the years, and continue to do so with new releases such as their state-of-the-art 1/35 Comet in the fall of 2022.
They also manufacture model-building tools, supplies, and paints to “assist” in building plastic styrene kits. Tamiya introduced “acrylic” paints back in the early 1980’s, to what now amounts to an extensive line of not only acrylic paints, but also lacquers and recently enamel paints. This issue of Tech-Tips will focus specifically on Tamiya’s Acrylic line of paints. I will cover their other paints in other articles.
To quote Tamiya, “Tamiya Acrylic Paints are made from water-soluble acrylic resins and are excellent for either brush or spray painting. These paints can be used on resins, styrofoam, wood, plus all of the common model plastics. The paint covers well, flows smoothly with no blushing or fading, and can be blended easily. Each bottle of the Tamiya Acrylic Paint Series contains 23ml of paint.” Oh, but hold the thought on brush painting (see below).
IMHO Tamiya acrylics are great for air brushing and my “go-to” for many models because they do not emit heavy odors, although I would recommend a paint mask for safety as with any airbrushing, breathing in vapours – even acrylics – is not healthy. The cover well, do not fade over time, and offer very good colour choices that can be mixed for further variations. However, their line is not as broad as other companies such as AK Interactif or Vallejo. So if you choose Tamiya, you will at times have to mix their colours to get that specific colour you want. You will find that Tamiya does however, offer some very specific and historically accurate colours, such as WW2 Japanese aircraft (e.g. Army Greens) and ships (Naval Greys by Japanese shipyard). This is not surprising given they are a Japanese Company.
Labeling and Range
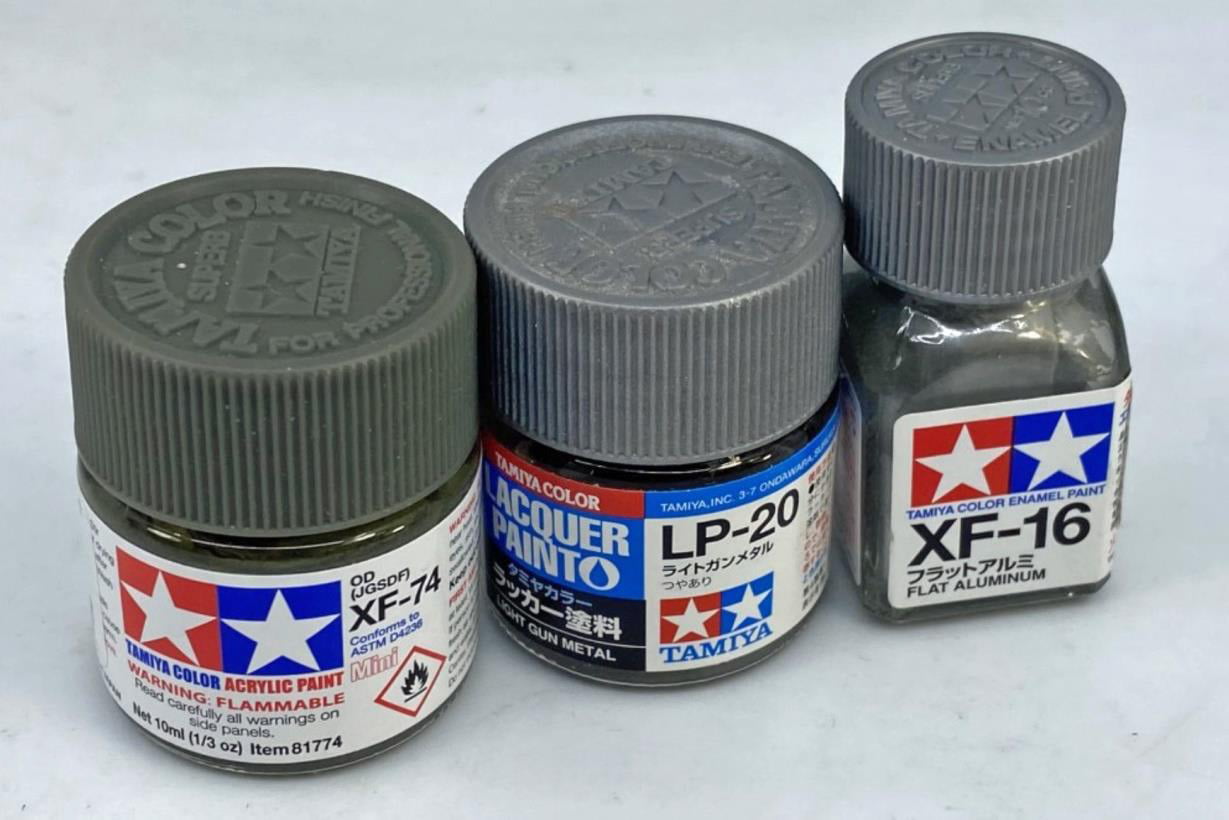
To help navigate through all the different paints that Tamiya offers, their acrylic line consist now (as of fall 2022) a total of 93 gloss and flat (matt) acrylics. Those marked with an “X” are gloss colours, while those with an “XF” denote flat/matt colours. While the bottle caps are the same between their lacquers and acrylics, the labels for these acrylics are different with the acrylic line having no colour backgrounds on their white label and just the large Tamiya logo (e.g., their lacquers have a blue ribbon and background and begin with “LP” for “Lacquer Paints”. The enamel line is in smaller square bottles. It should be noted that the SKU numbering (ex. XF-16) is the same for both their acrylics and enamels!

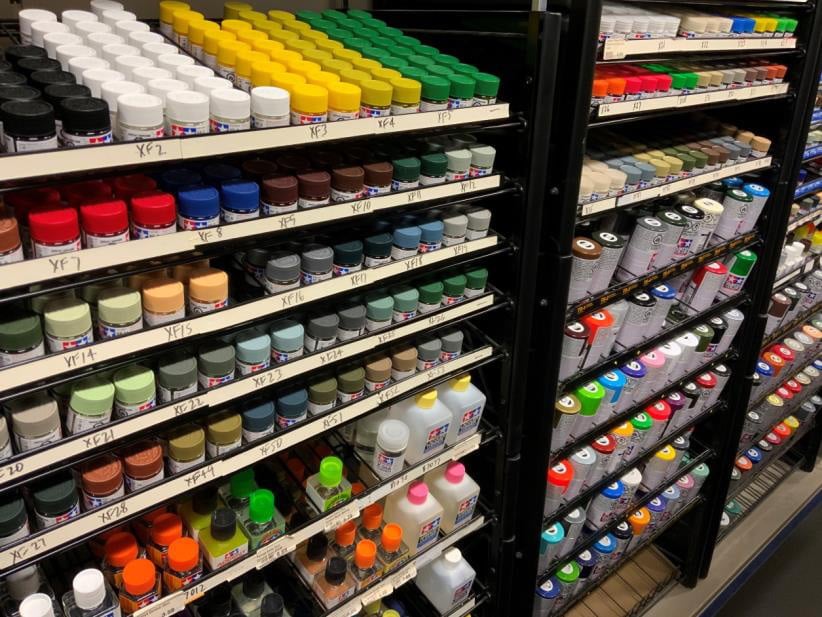
Here are the Tamiya acrylic paints on the shelves at Sunward. The XF-flats are on the left while the X-gloss are on the upper right:

Here is a very useful link to Sunwards chart of the Tamiya line of paints: Tamiya Paints Selection
Tips
-
- Not the best for brush-painting: Tamiya acrylic paints are not the best for brush-painting, as they are designed for use in an airbrush. I have found however that some colours brush on much better than others, but if you brush them, make sure you use a good primer-coat first to provide a solid grip (e.g., Tamiya Primer)! For example, I find their Flat Aluminum (XF-16) brushes very well and useful for small aluminum details such as dials or even small landing gear.
- Maintaining a good mix: Like all paints, make sure the paint is stirred and mixed thoroughly before use. I use a coffee stir stick. I sometimes add a BB (those used with BB guns) in the jar and simply shake it before use with the BB inside. I have found that the brass BB does not harm the paint even in the paint for some time.
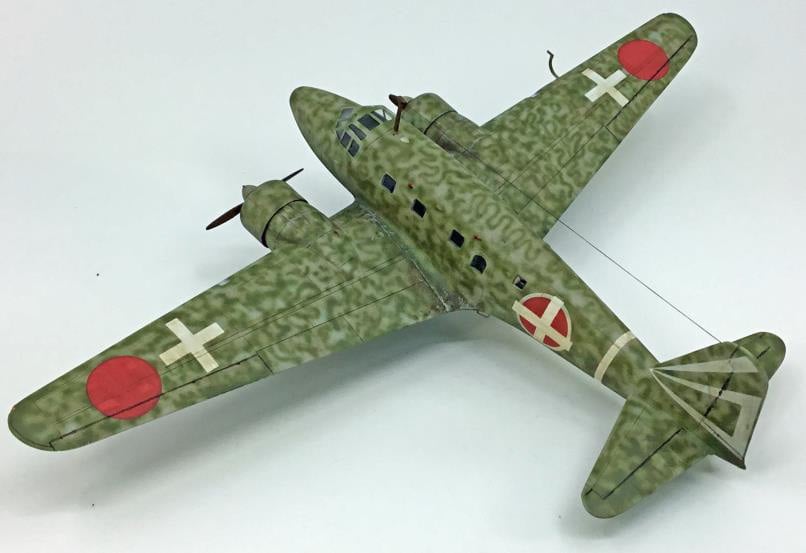
- Thinning ratios: There is no magic formula, but the general rule is 50:50 (paint to thinner). If this helps, I find that the more delicate the pattern (such as tight camouflage patterns on Japanese or Italian aircraft etc.), require much more Thinner – sometimes as high as 30:70 paint to Thinner. Experimenting is best. Here’s a tip I use for very tight camo patterns… add a drop or two of dish soap liquid (any kind will do but Palmolive works for me) to your mix as it will improve the flow!
- You can thin with other types of thinners: While Tamiya suggests you thin these paints with their acrylic thinner (X20A), you can actually thin them as well with Isopropyl Alcohol (the percentage I have found, does not matter from 70% to 98%). I have heard that some have used water to thin, but I find it does not give a smooth even finish.
- YES you can even thin with Lacquer Thinner: Well kinda… If you want an even smoother finish, then thin with Tamiya Lacquer Thinner – either the Yellow cap or Orange cap (which has retarder in it to slow drying time). I would however, not recommend other “pure” lacquer thinners (e.g., Canadian Tire), as the results are unpredictable. There are no issues with the Tamiya Lacquer Thinners because their lacquers are not pure but rather resin-synthetic in nature. FYI the Orange Cap retarders are good too as they dry slower if you need that. Another great thinner is Mr Color’s Levelling Thinner – another synthetic lacquer similar to Tamiya Lacquer that gives fantastic results!
- Flat “Base” vs. Flat “Coat”: Tamiya X-21 is a Flat Base is a translucent whitish, thick liquid additive which is mixed with Tamiya’s gloss paints to make them flat. It is NOT a flat clear coat. Do not try to use this product on its own as a flat clear coat. If you
wish to remain with Tamiya products for a flat coat, then use their Flat Clear (XF-86) thinner again with Tamiya Thinner or Tamiya/Mr Color Lacquer Thinners. - Let them thoroughly dry: Tamiya acrylics dry from the top down (or outside then inside). Give them a good 24 hours before masking. I use a hairdryer on low heat, to help expedite drying times.
- Strain old paint: For old paint that may have small lumps, I strain the paint (after thinning it) through women’s pantyhose, by stretching the pantyhose over the missing cup, and then pouring the paint mix through the pantyhose. FYI these paints have a good shelf life and you can easily tell when they are not good (dried-out). In those cases, throw it out. Unlike enamels, it is impossible to resurrect acrylic paints with thinner once dried-out.
- YES you can apply Lacquer paints over acrylics: While the textbooks say NO, you can apply subsequent layers of lacquer paint over acrylics, as long as the first coat is misted on and not applied “wet”. Once dry after 15 minutes, it is safe to apply several layers of lacquer. This is useful in particular, with clear lacquer coats that tend to provide a tougher finish while being smoother in finish.
- Cleaning your brushes and Airbrush: After use, I clean my paint brushes in water and then Windex to remove all traces of paint. After airbrush use, I always use a pure lacquer to clean the airbrush (e.g., Canadian Tire lacquer). Even Tamiya paints can remain inside an airbrush if not cleaned out properly.
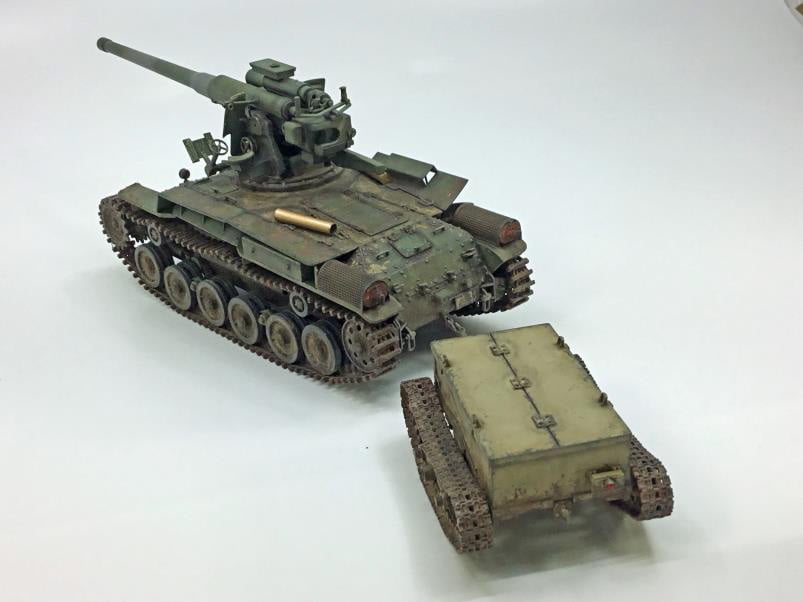
Here are some examples of my models where I used Tamiya acrylics:


Harvey Low has been building plastic models since age eight and fast-forward fifty years and he is still building. Now professionally full-time for clients, museums, and magazines. He has written well over thirty articles for mainstream magazines such as FineScale Modeler, and Scale Aircraft Modelling. His specific interests are WW2 Japanese and Italian subjects.
Harvey has been competing in model contests since 1981. He has competed internationally and in 2018 achieved Master Class at the US AMPS national convention. Harvey currently helps run the local Toronto chapters of IPMS and AMPS Fort York Armour modelling club.
