How to Prepare your Parts for Future Work
In this Sunward Hobbies tutorial I’ll be going over the basics and some advanced “How To Tips.” when preparing your parts for future work. You’ll also get some tips to make your life easier along with some tricks I’ve developed over the years.
As always, all the models, tools and supplies (unless otherwise stated) are available at Sunward Hobbies. Any of the techniques I use can be duplicated by most people.
Without a doubt the most time-consuming aspect of building a model is removing then getting your Parts Prepared for fitting, assembly, priming, painting, etc…
The amount of choice when it comes to tools for this step in the build is mind boggling! Sunward Hobbies have a terrific selection of brand names and products within each brand. I’ll go through quite a few in this article and suggest others, but here are some of my “go too” items. You’ll get the explanations as we progress.
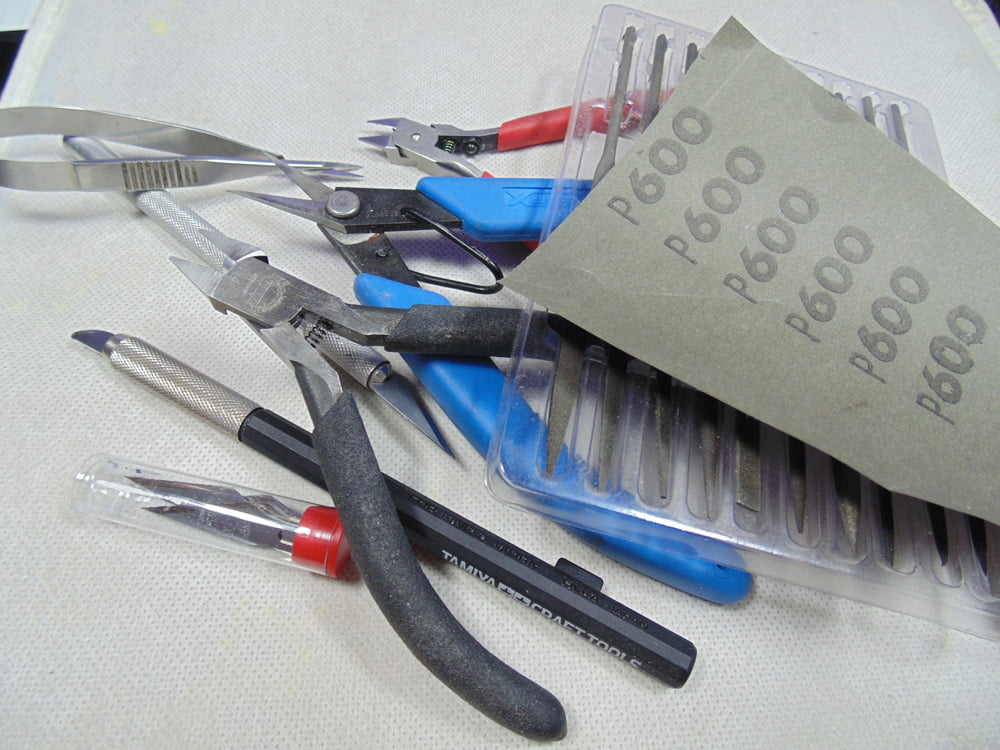
Now, we need to get those parts off the runner/sprue tree. But wait… not so fast. Before you decide whether to remove a part at this time, please consider a few things. First, will it be easier to clean up a part while it’s on a solid sprue gate (the tab that holds the part to the tree.)? Second, will it be easier to prime, paint, etc. while still on the sprue gate?
I’ve learned over the decades that it’s a lot less stressful to have a length of sprue tree to hold on to as opposed to fiddling with a tiny or even medium sized part. Eventually though the parts will have to, so let’s take a look at some options for sprue cutters: Mr. Hobby in teal, Tamiya in black and God Hand in red.

One of the most frequently used tools is your side cutters or nippers. Just consider that models have 150 to over 1600 parts. Each part, on average, has 2 sprue gates. You get the drift, so having decent side cutters will speed things up and make the job far more enjoyable.
The Mr. Hobby brand make an entry level, as the ones in teal are, up to a more refined product. They are a good set, yet can damage the part if you get too close, meaning there is more clean-up required meaning there’s more time involved.
The Tamiya nippers I use is a superior product because it cuts more smoothly so I can get in tighter to the part. The difference is, of course, higher price. They do not hold onto the plastic so the part comes away free, however, with some parts the force from cutting them can make the part fly off.
The GodHand product, as with all single sided nippers, have a flat anvil on one side and the cutter for the other. In the example below you can clearly see the smooth cut on the left from the single sided cutters compared to the double blade. The only drawback to the single sided nippers is on soft plastic the anvil can ever so slightly dig into the surface making it stick a little.
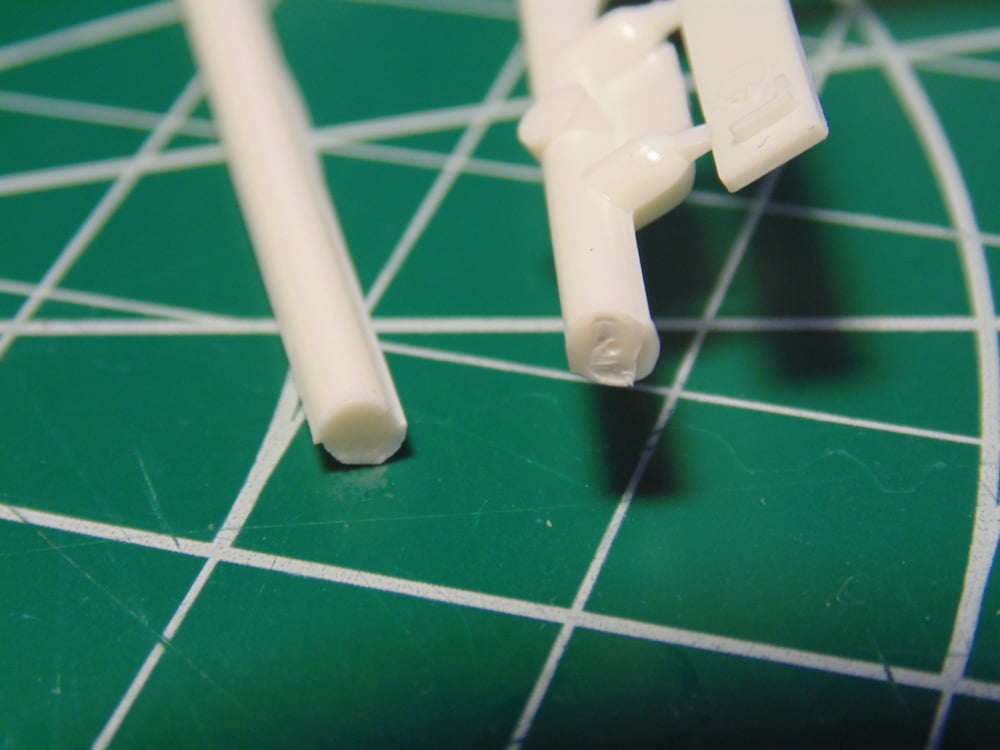
I hope you didn’t mind the long explanations, but it is a very important tool and I use all three. If you want a recommendation though, please consider checking out the selection of Single Sided Nippers that Sunward Hobbies offer. They cut like a dream, leave very little mess to clean-up and mow through plastic and resin in no time flat!
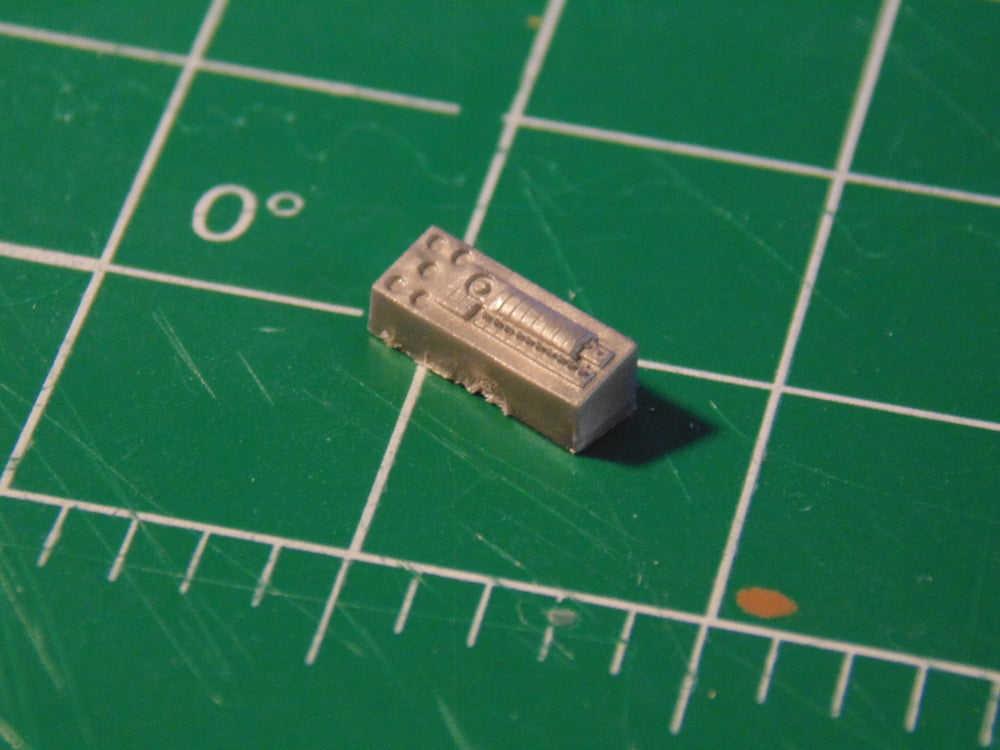
Now let’s cut some plastic. In this example we have the center console of a Tamiya Lotus S7.
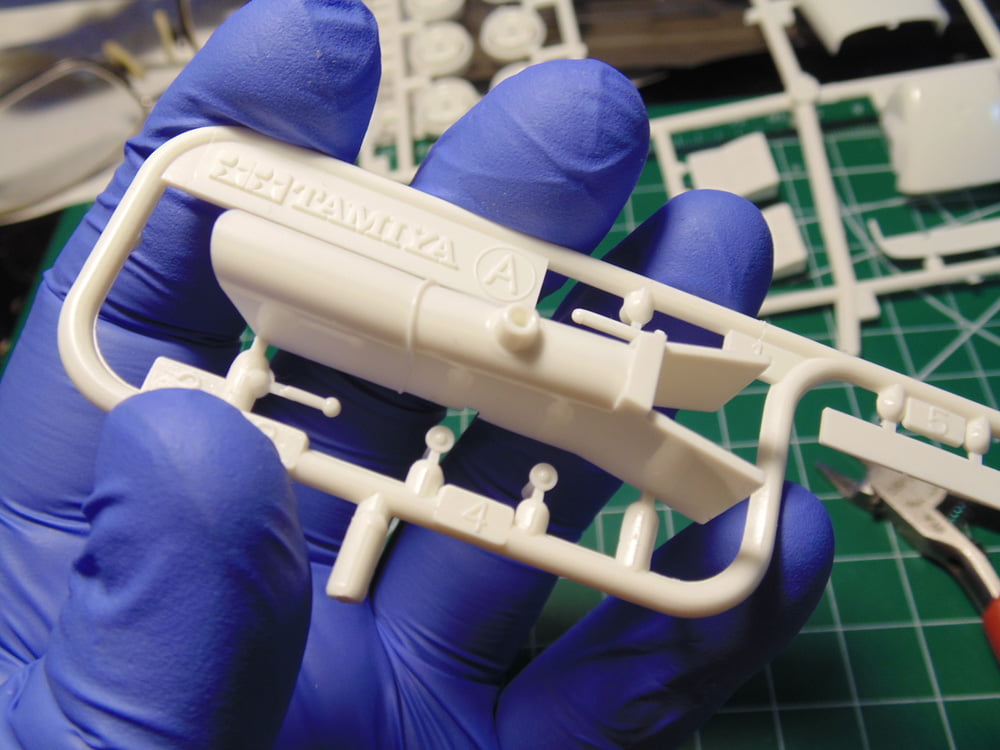
Best Practices are always to make your first cut away from part. This prevents accidentally getting too close and causing damage and in many cases it’s just too hard to get the tool close enough anyway. For this I used my Tamiya 74035 nippers.
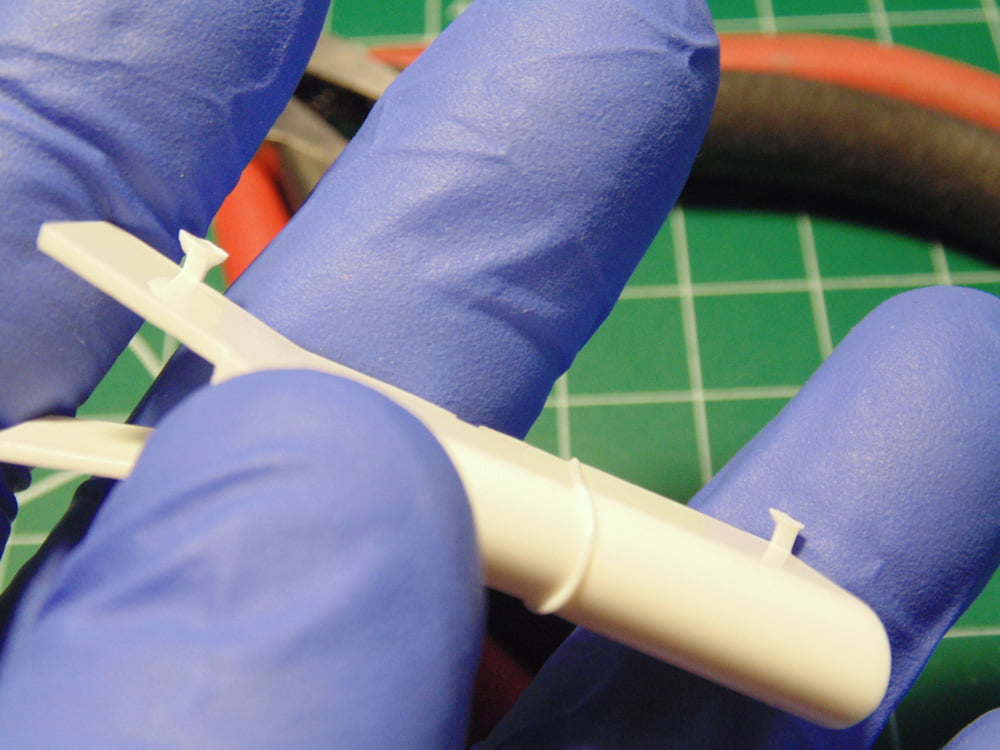
Now that the part is free from any encumbrances of other parts and sprue tree I can get the best angle to make the perfect cut with my single sided nippers. I purposely left more than I could have removed to show you how clean the cuts are and demonstrate removing these nubs later. Trust me, you can get seriously close to the part without risk of damage and in some cases not have to do any clean-up at all.

That’s the best way to remove a part from the sprue. Here’s what happens when you get close to a part with an entry level set of nippers. Note the side wall of the component and how messed up the middle is. That’s from the nippers literally pulling the plastic from the part.
Clear parts are a special case. This styrene contains no additives. Those additives make the material softer, add color and determine a lower price. In most cases, not all, clear styrene is very brittle and prone to even micro shattering close to the sprue gate if you’re not careful. My nippers are forbidden from going anywhere near any clear parts, period!
Instead, they are sawed free. Tamiya have 2 types of scribing saws. This is the number II which are 0.1mm wide vs. the Type I which is 0.15mm wide. Both make excellent parts removal tools for ultra small parts which are super close to the sprue gate or where there is no sprue gate at all.
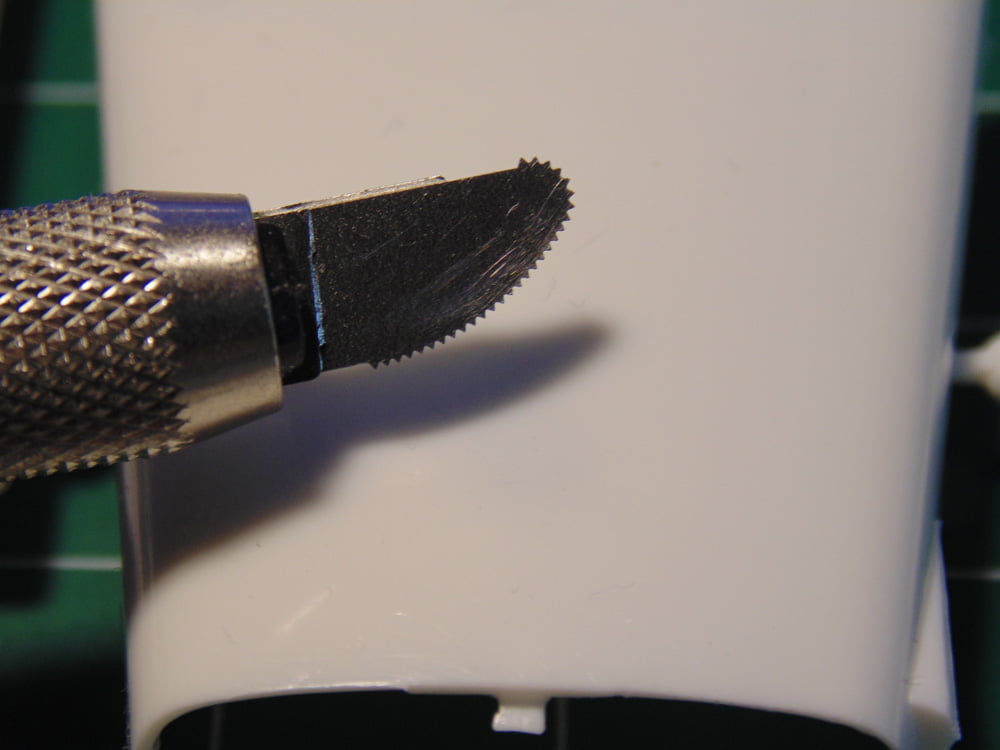
As you can see the teeth are super sharp and saw through plastic in a jiffy. This way there is no pressure on the plastic from the force of collapsing blades.
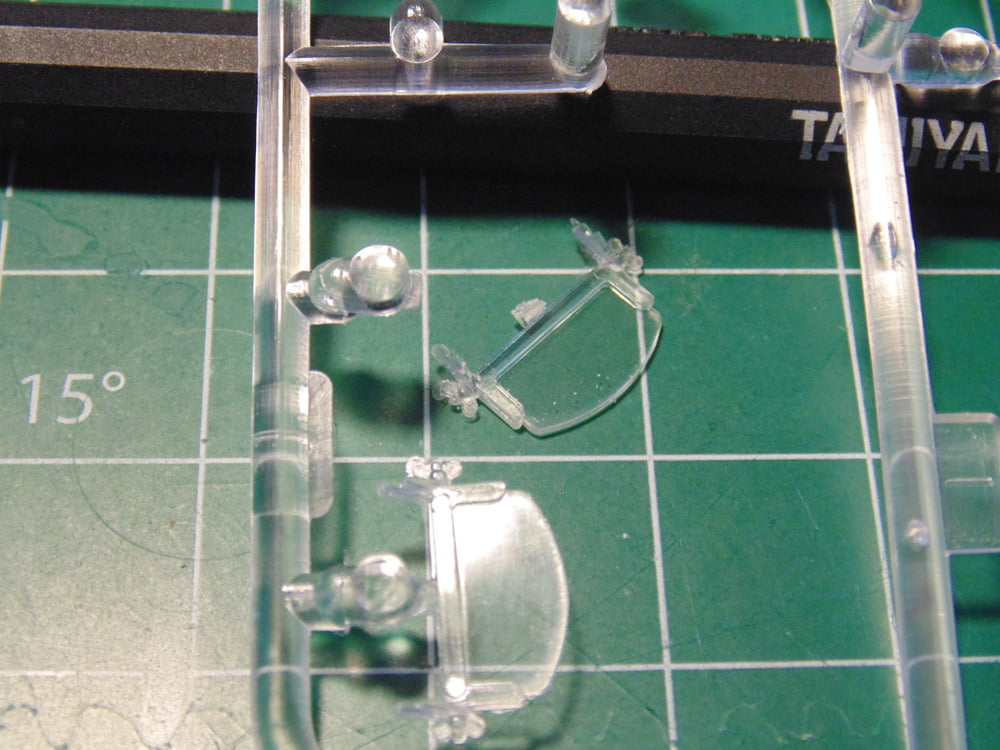
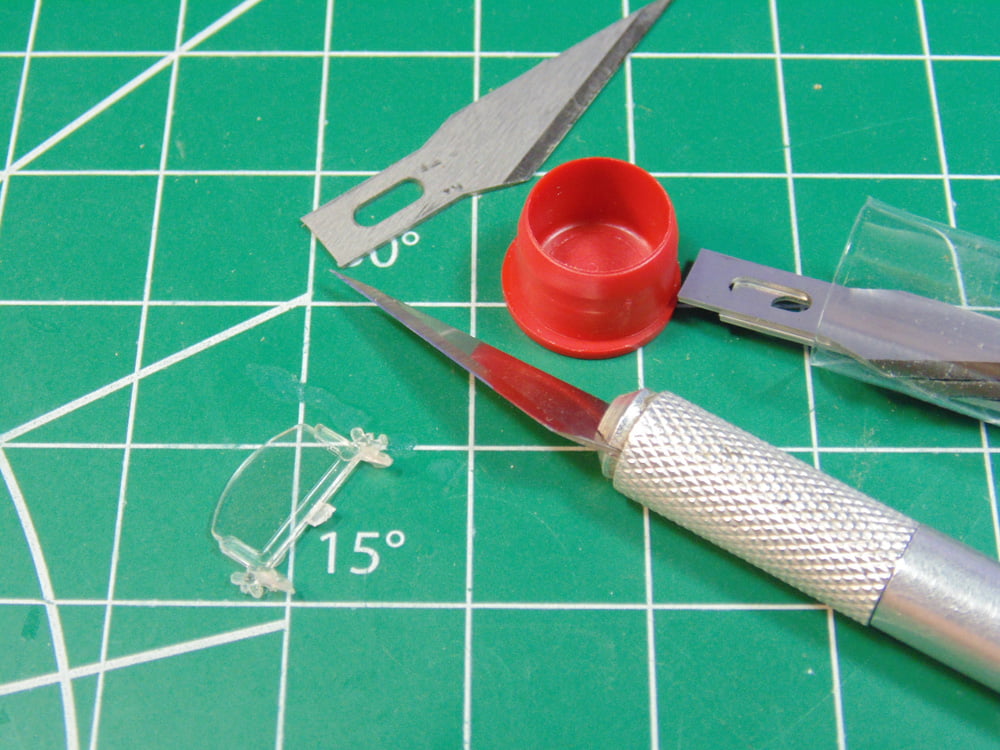
Now you can safely remove the nub with a blade. Always slice away very thin 0.1mm or 0.2mm layers at a time. Also, I can’t stress enough the value of using shape blades! The first time you destroy a clear part because of using a dull or dented blade will be your last. Just ask me how I know it’s better to spend less than $3 bucks on new blades compared to over $80 on a new kit… and just for one part, ugh!
The next obvious step in Parts Preparation is clean-up. We’ll remove nubs, witness/seam lines, ejector pin marks and flash. Sunward Hobbies have a truly phenomenal selection of products for this task to accommodate both the novice and professional. This will get you started with some basics and in future articles I’ll cover more.

In this example we have a wing section of Tamiya 1/48 Brewster Buffalo. An awesome kit you can pick up at the store and one of my favorites. Note the nub in the middle of the frame.
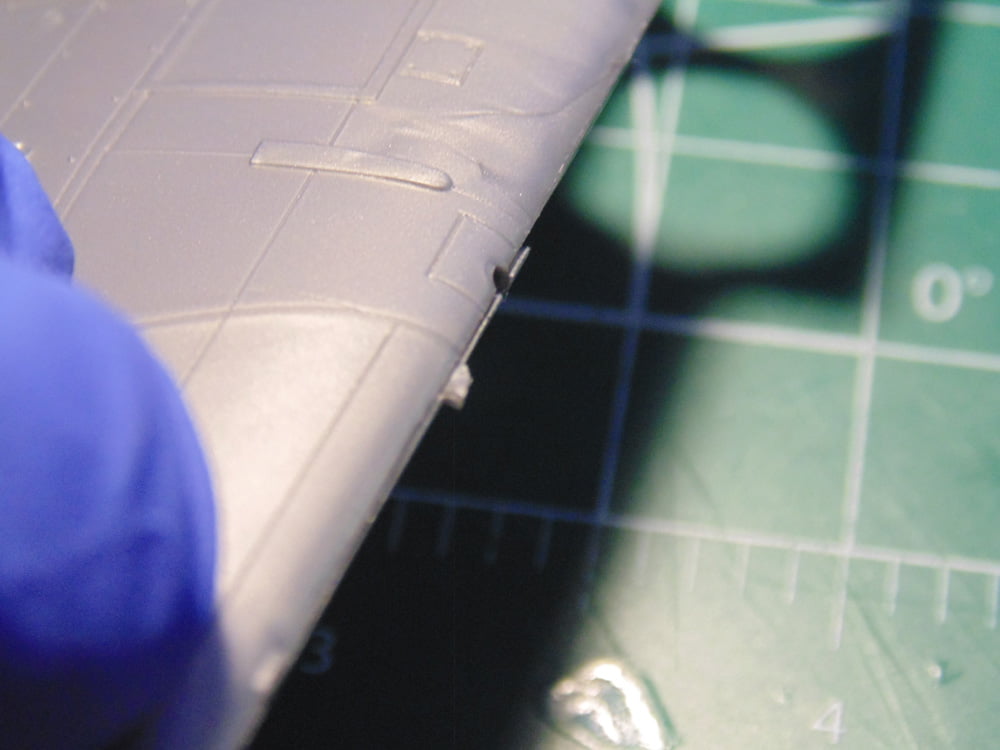
One way to tackle this removal is super simple. Rest a sheet of hobby sandpaper on your cutting mat and gently glide the part side to side. You’ll be able to see your progress as most of the bulk is being removed. Then sweep the part until the single line of the nub changes to the length of the wing part. Constantly examine the part, but this method works great to ensure there’s a uniform straight edge, something a blade, file or side cutters can not give you.
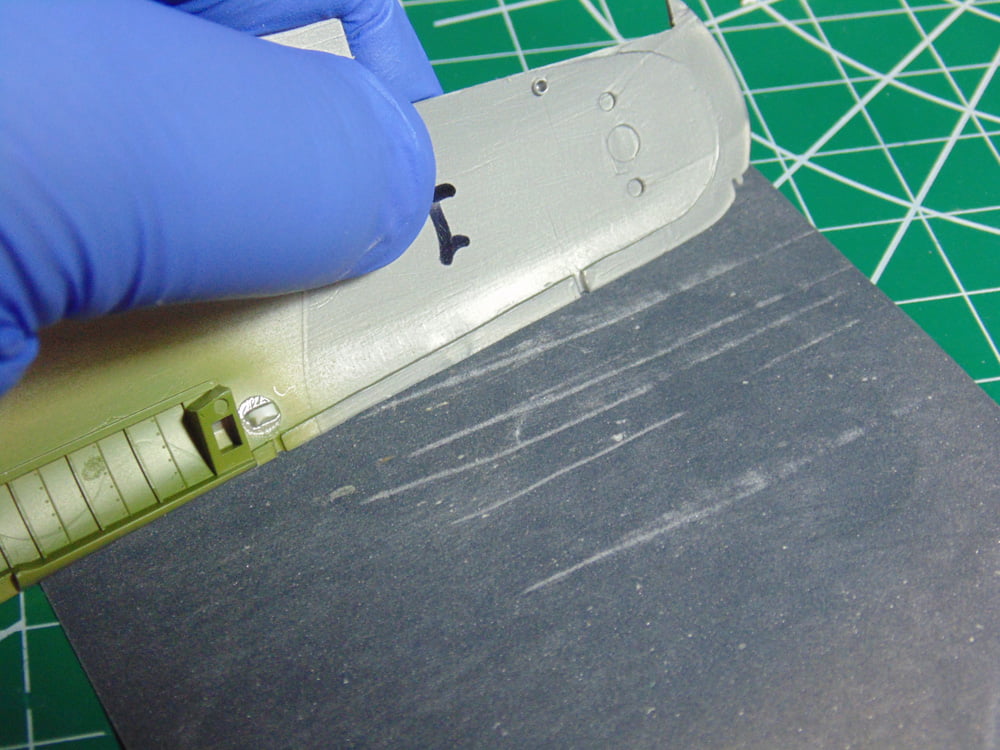
Having a hard flat sanding area that’s large enough will allow you to get a smooth surface such as the mating points of this wing half.
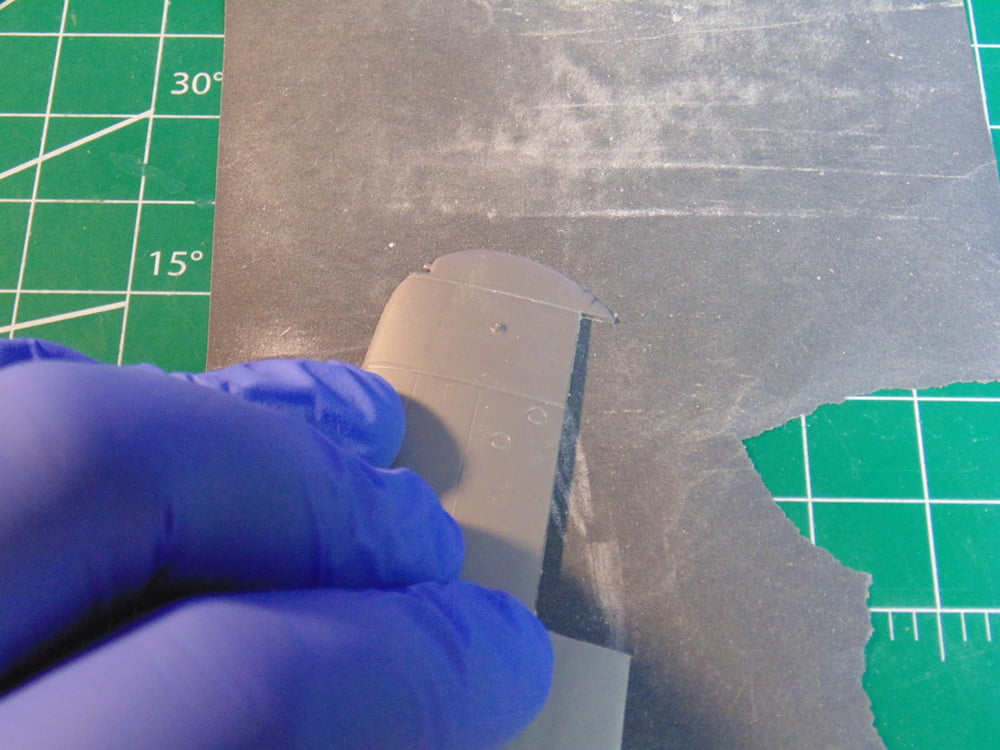
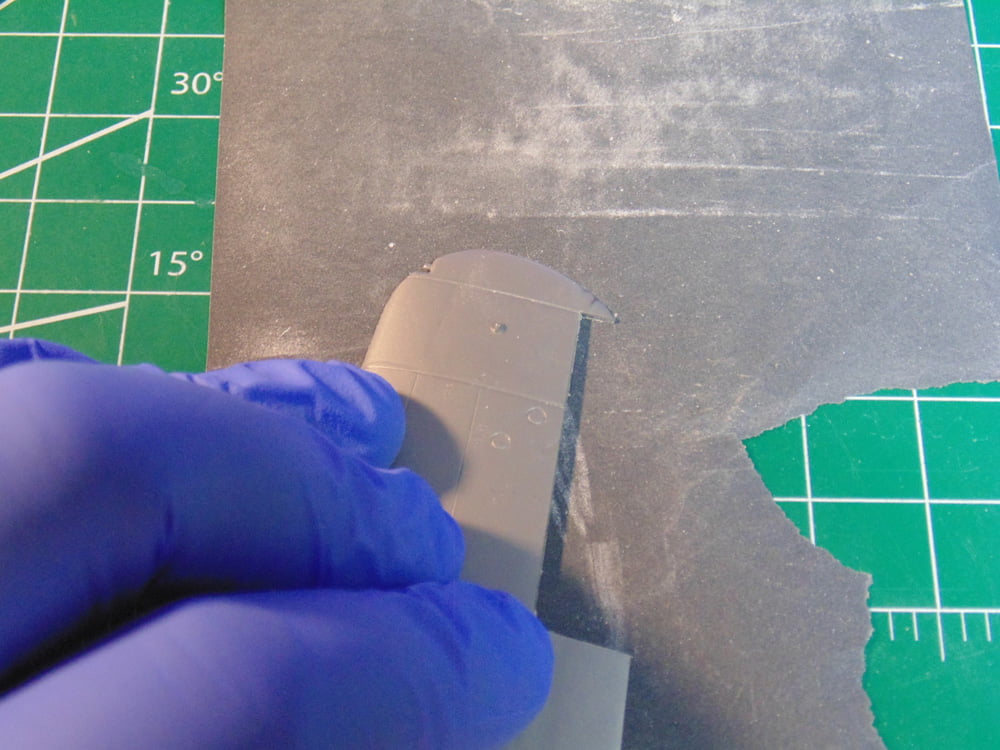
Before I began sanding there was a noticeable gap without the nubs being removed and mating surfaces unattended to.
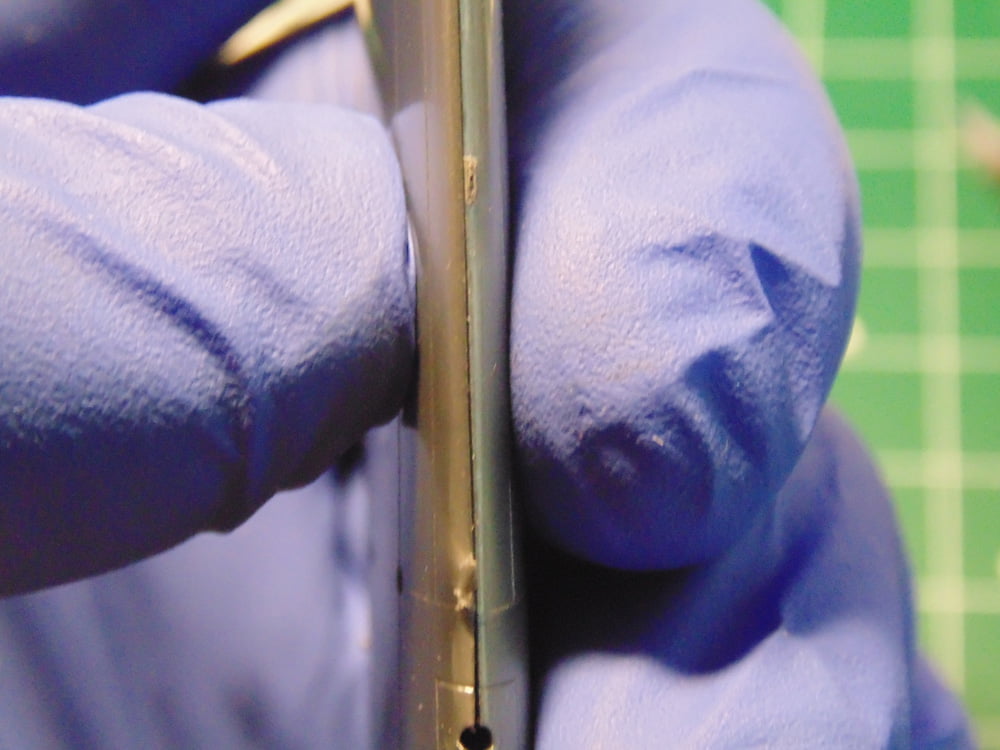
You can see the nubs have disappeared and there is zero gap in the two wing halves. This will go a long way with making cementing easier and eliminate filling.
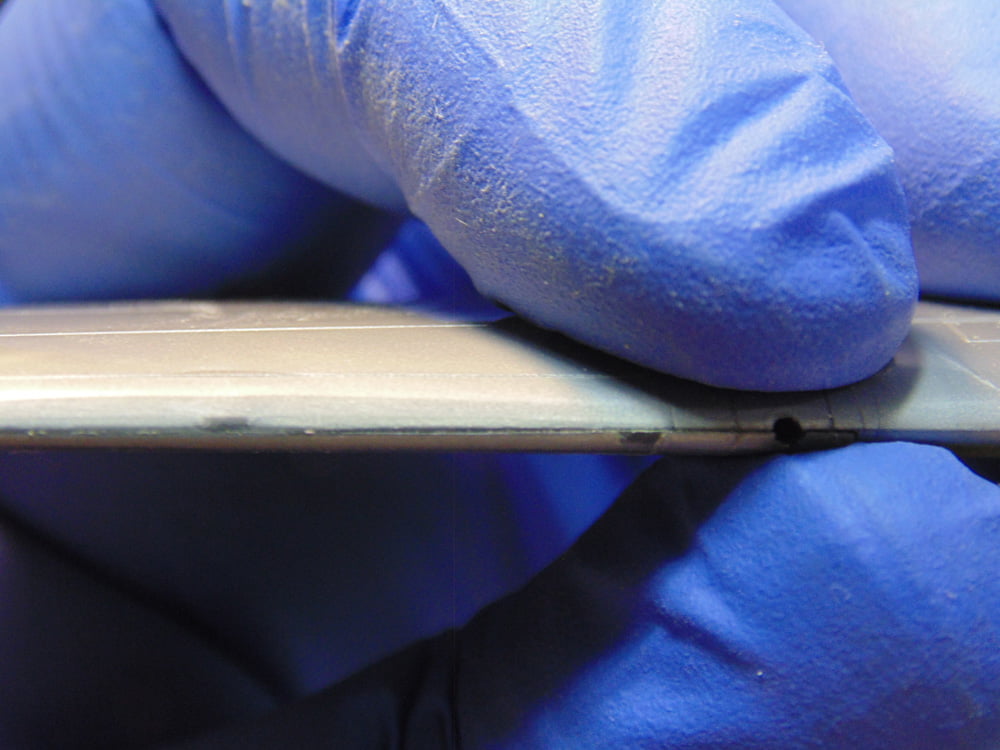
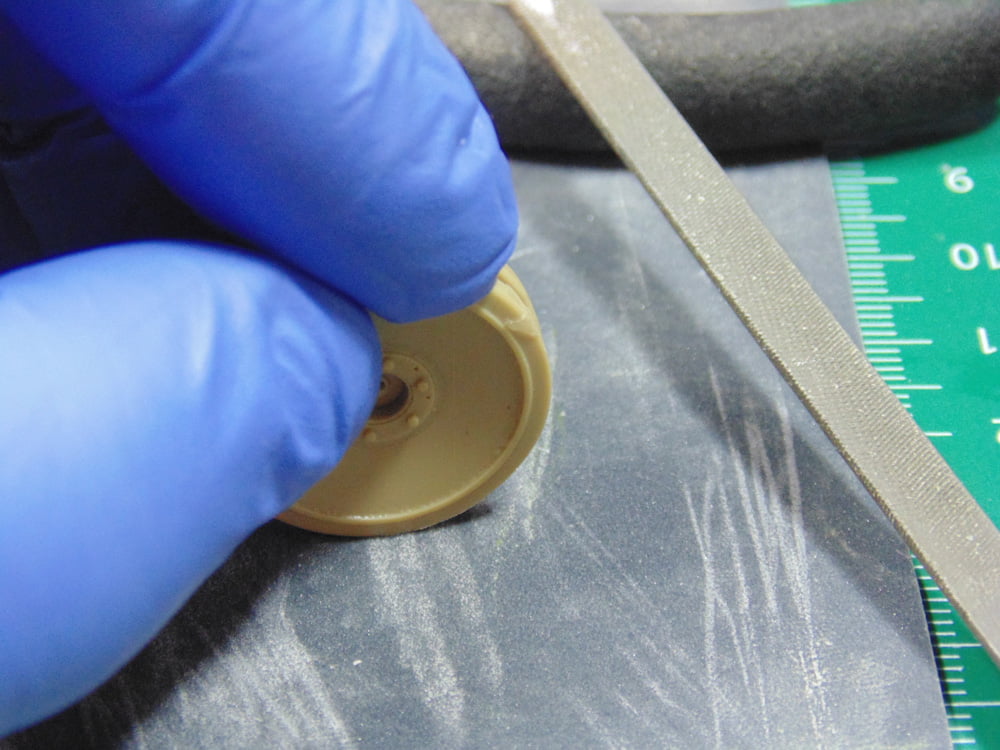
Here’s a tip. Many tanks and armored vehicles have double stacked road wheels. Line up the nubs and sand them at the same time, saving you loads of effort! Again, constantly examine your work to prevent flat spots.

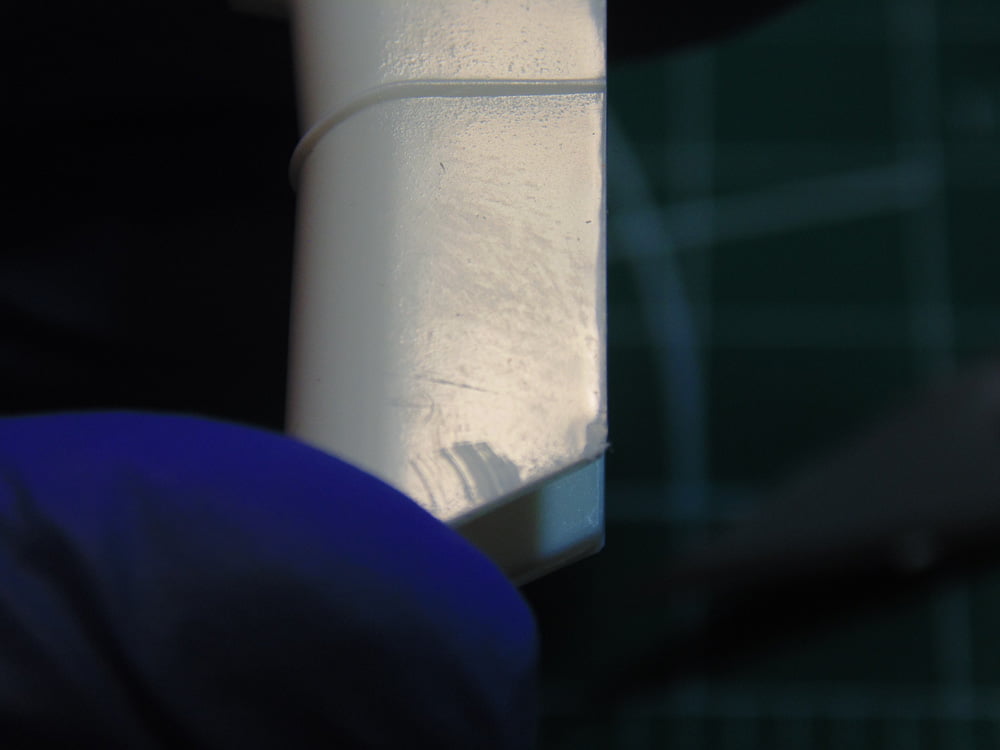
Not all part surfaces can be sanded this way, so a more localized solution is needed. A blade can often solve these problems such as the nub on the center console. Make sure your blade is completely flush with the part for best results. In the picture I was NOT cutting, the Excel Blades No. 11 was just resting flat to demonstrate. Always make sure to have fingers clear and, when possible, cut away from yourself.

Even with a skilled hand a blade can leave irregular cuts. Note the reflection at the bottom of the console.
A good selection of medium or fine double honed files is a must for any hobbyist. These are my Vallejo medium files. They come in a ten pack and have many shapes to suit most tasks. In this case I’m making that edge of the console even. Always be gentle with a file and don’t be afraid of making a couple of passes to get it right. You’ll be following up with a sanding sponge later anyway.
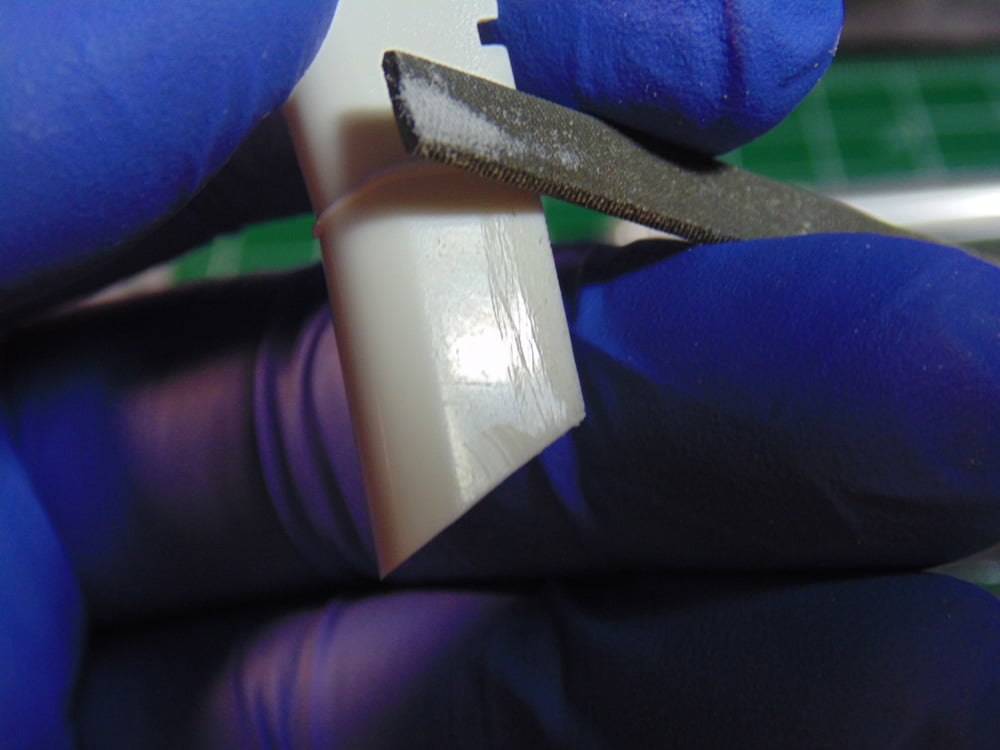
A seam line or witness line is the result of an offset in the two halves of the metal mold masters. Some call them burr lines or marks, regardless in most cases they have to be removed.
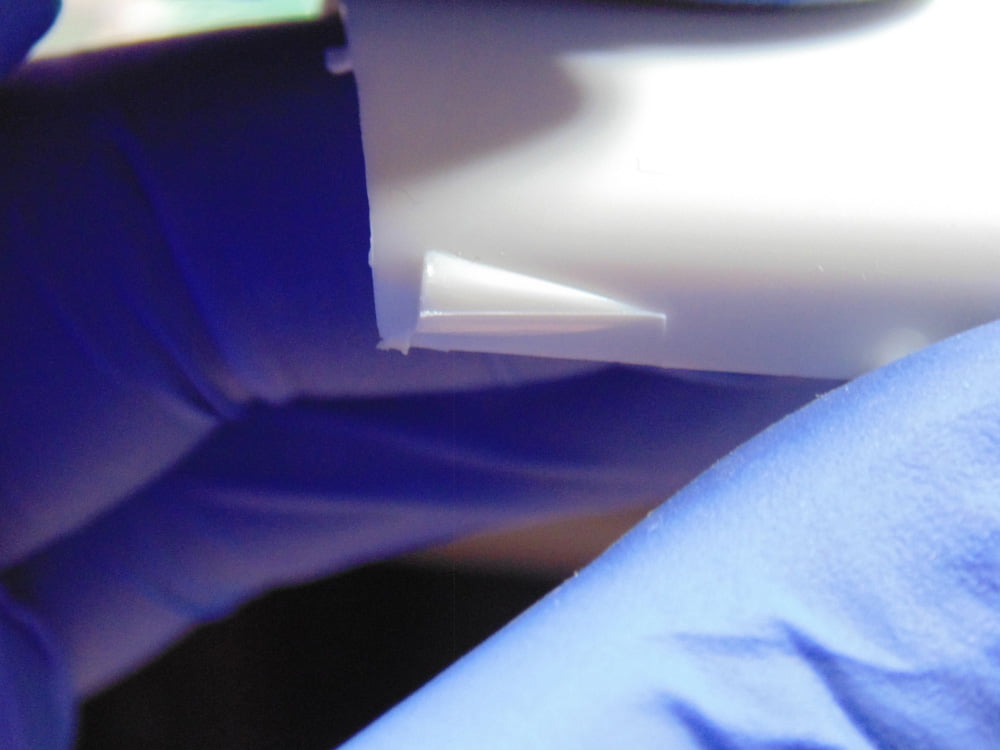
In this example I’ll be removing a nasty set of lines on the air intake of the Lotus. With a fresh blade I’ll be slowly scraping away the lines. Because it’s such a delicate task I recommend a decent pair of magnifiers. These are my Edroy 107s but Sunward Hobbies have plenty of others to choose from and they were certainly a game changer for me.

Sometimes a few swipes with a sanding sponge or stick will erase these lines. Make certain to use a quality sponge on rounded surfaces to prevent flat spots. To get the smoothness needed I used a Tamiya 1500 grit, but please consult an online chart as grit count is different from North America to Asia and Europe. As you can see the lines are completely gone and a smooth surface is now ready to prime.
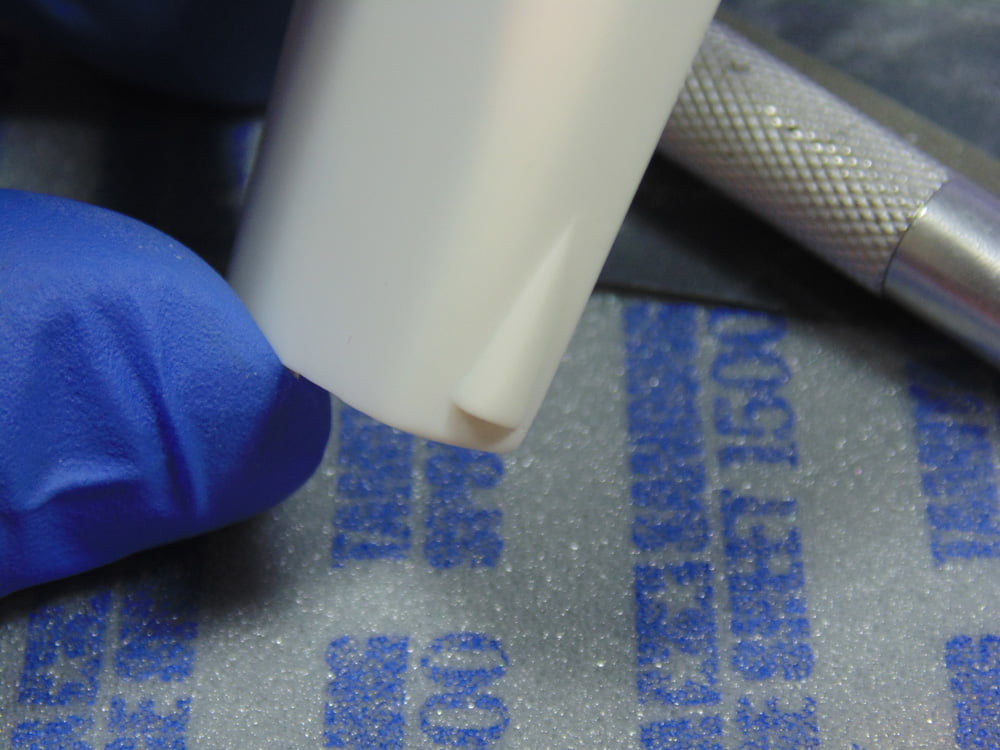
Now we’ll quickly take care of some flash. This is a bit of plastic which seeps out when being injected between the two mold halves. Here’s that windscreen I was working on earlier.
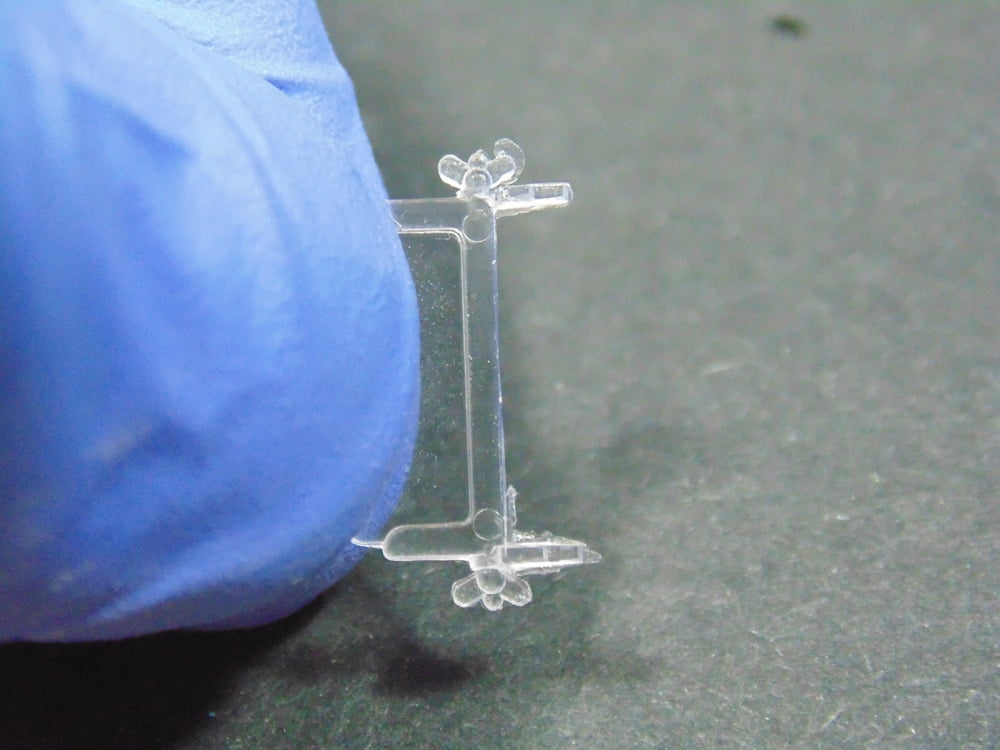
You can use files, sanders and scrapers for this task. Sunward Hobbies have some of the best you can buy and well worth the investment. For this job I selected a plain old fresh blade. The beauty of the blade is in its tip to get into tight spots. Flash is so thin though it only takes a light pass to get rid of it.
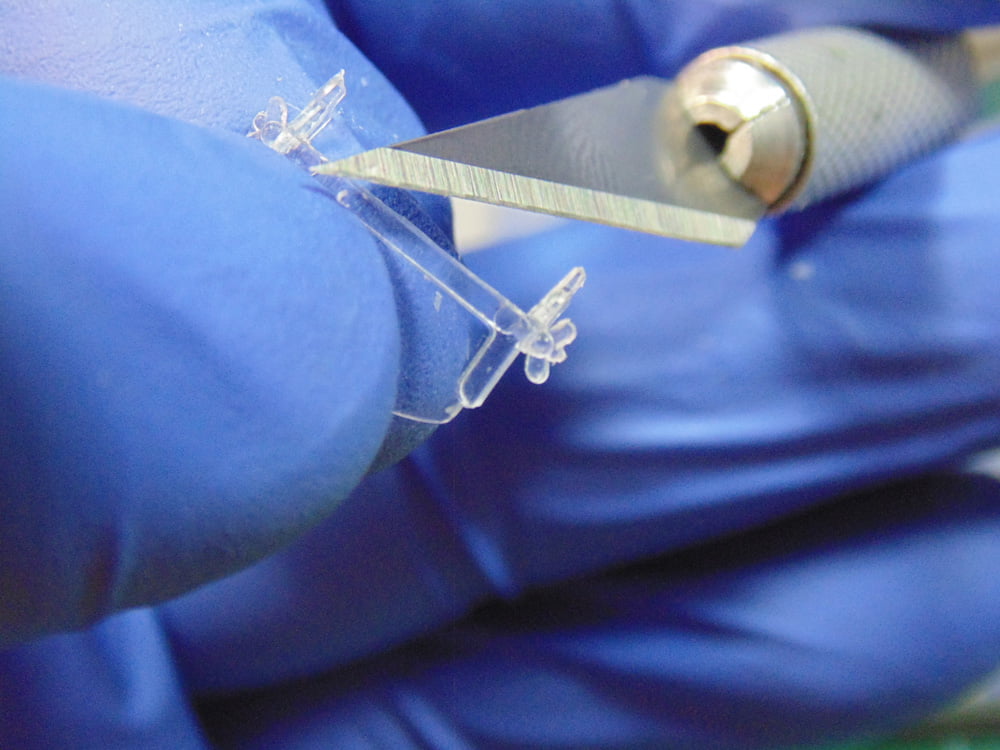
Ejector Pin Marks or mold release points are places where the sprue tree is pushed free of the metal master. They can be either raised or recessed. Many times, they are intentionally placed where they won’t be seen. However, even the best manufacturers can’t avoid placing them where they’re right in your face.
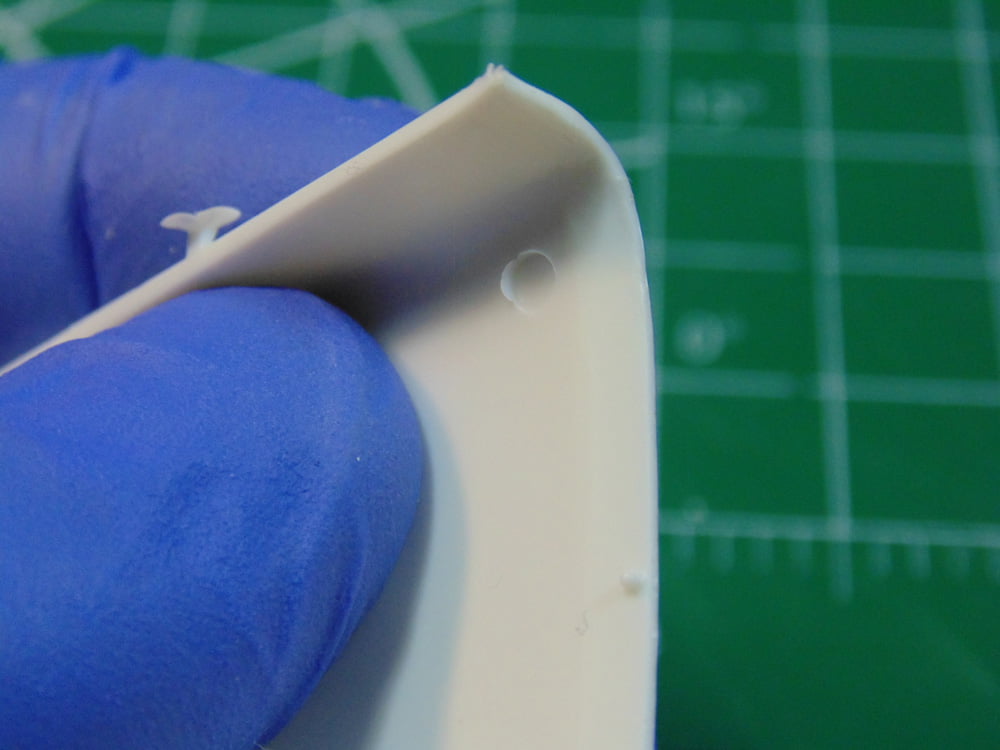

The Lotus will be getting an authentic and complete engine, right down to the last wire and bolt. Same with the underside of the hood. Since this model will appear at shows and in magazines these pin marks have to be filled because they’re recessed. With a Excel Blades No.12 blade first, I’ll smooth out the roughness then use some Vallejo Plastic Putty available in bottle or tube.
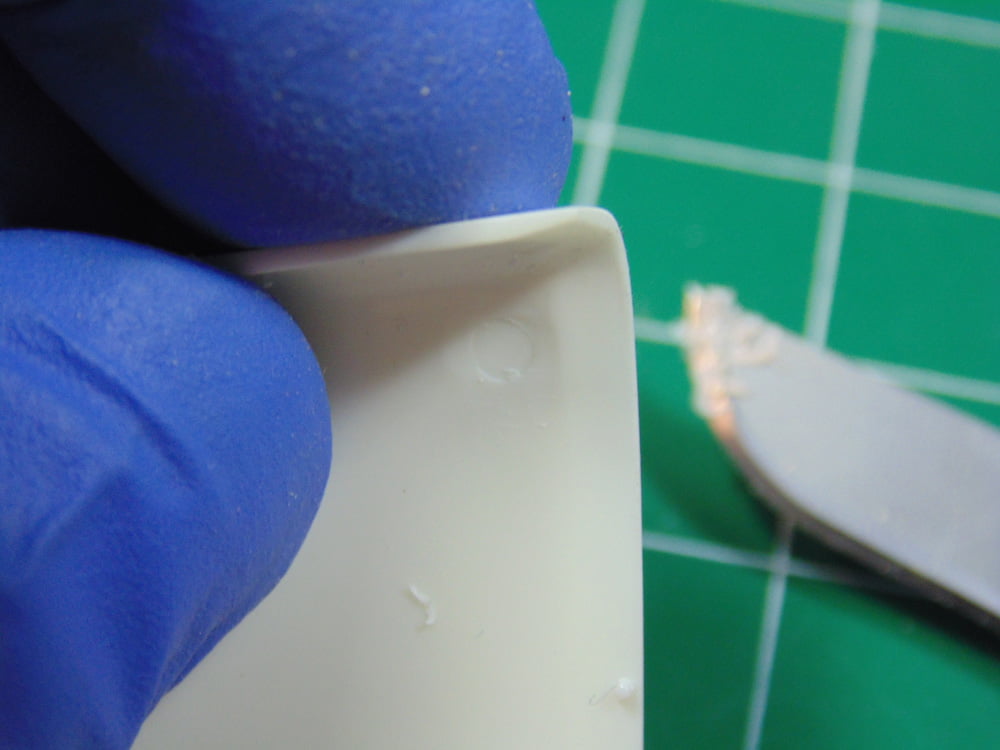
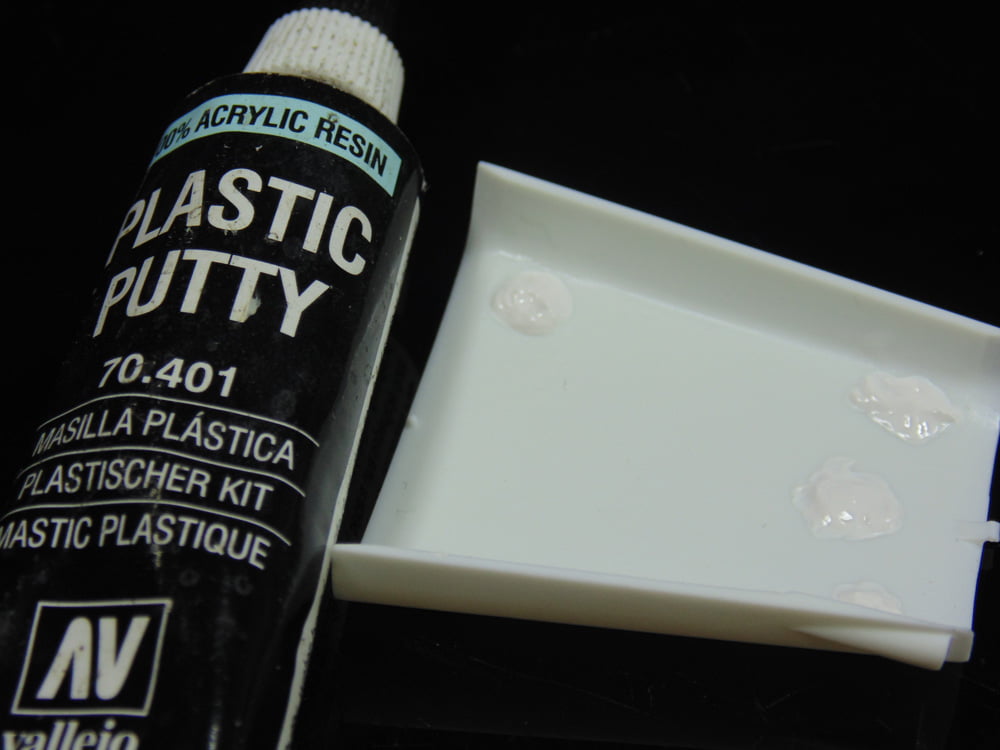
As you can see the recessed mark is completely gone after a few swipes with a sanding sponge and ready for the scratch-built frame support.
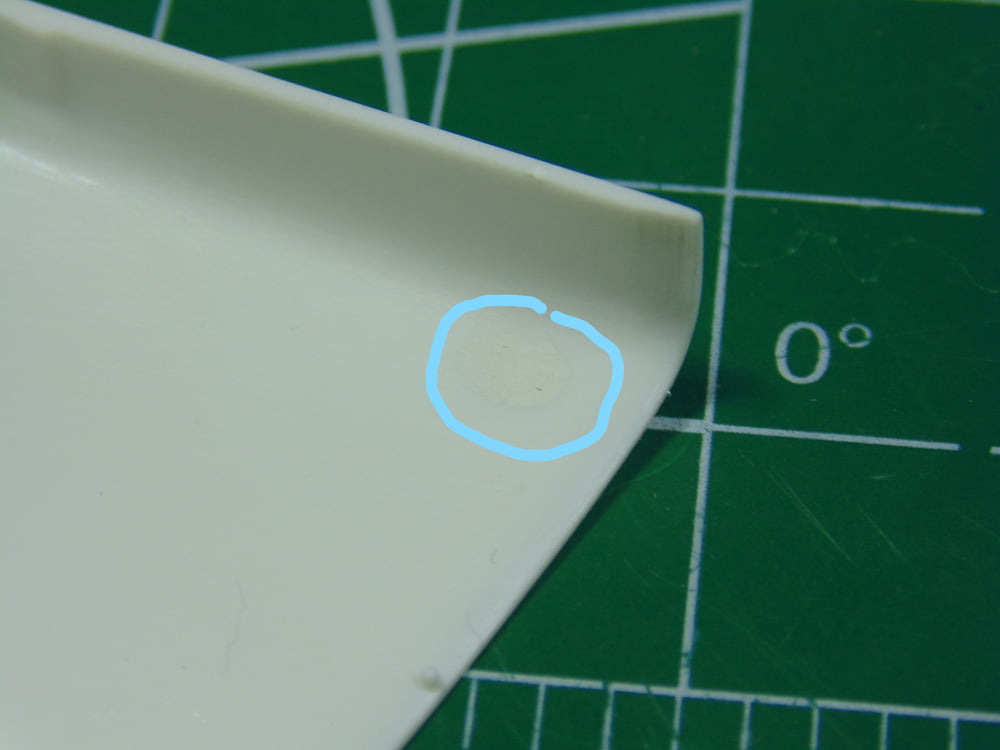
The raised ejector pin mark was fixed using Tamiya router bits. The ball end does quick work on plastic to remove the bulk. Tamiya also have a nifty little pistol grip router that’s worth a look. Then an Alpha Abrasives sanding stick smoothed the area out. After being primed you’ll never have known it existed.
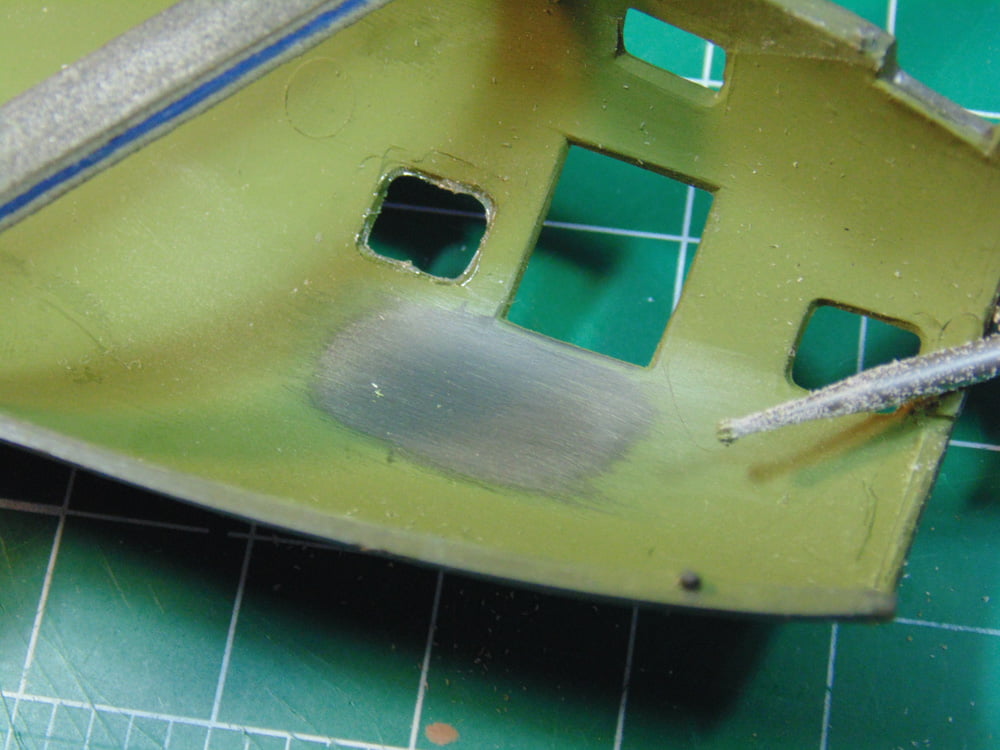
Finally, I will show you Parts Preparation for photo-etch. One of the best tools to come along for photo-etched parts is the Xuron 9180. Man do I abuse this pair of cutters and it is as solid as the day I bought it at Sunward years ago. It cuts even the thickest of nickel photo-etch like it was nothing and has remained sharp even after thousands of cuts. An absolute must have for anyone working with thin metal and wire.
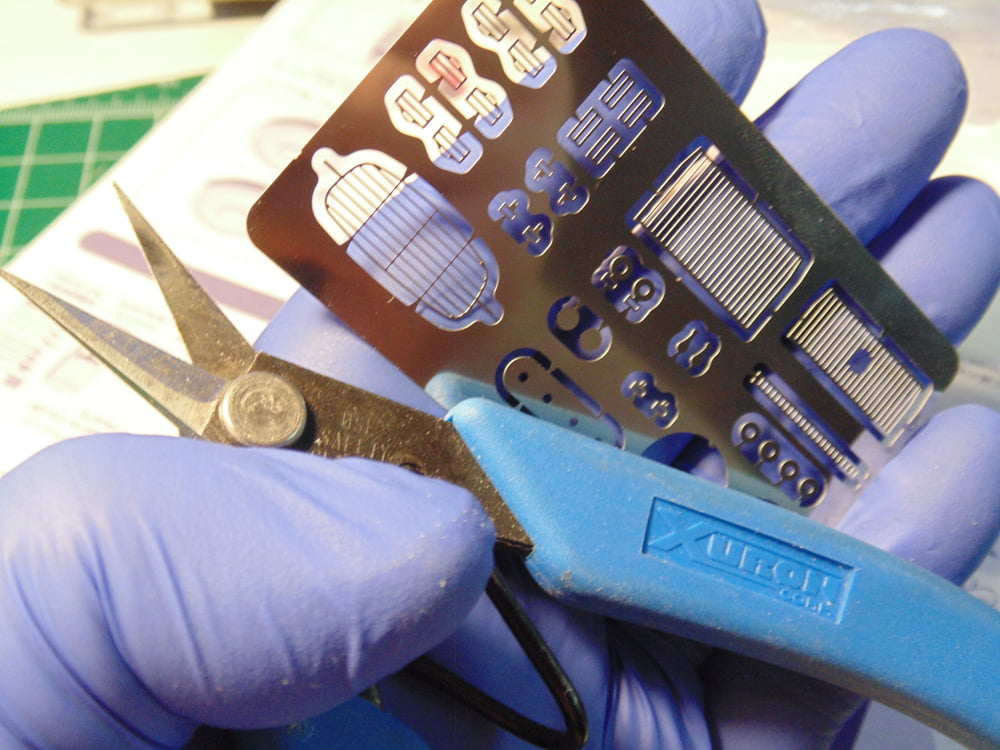
Just as with plastic you’ll need to remove the nub. On this thick Tamiya Photo-etch the Xuron takes care of most of that issue and after smoothing the sides with a file. Here’s a tip, when removing the last of the nub file in one direction. This will prevent it from getting hung up and possibly bending the part.

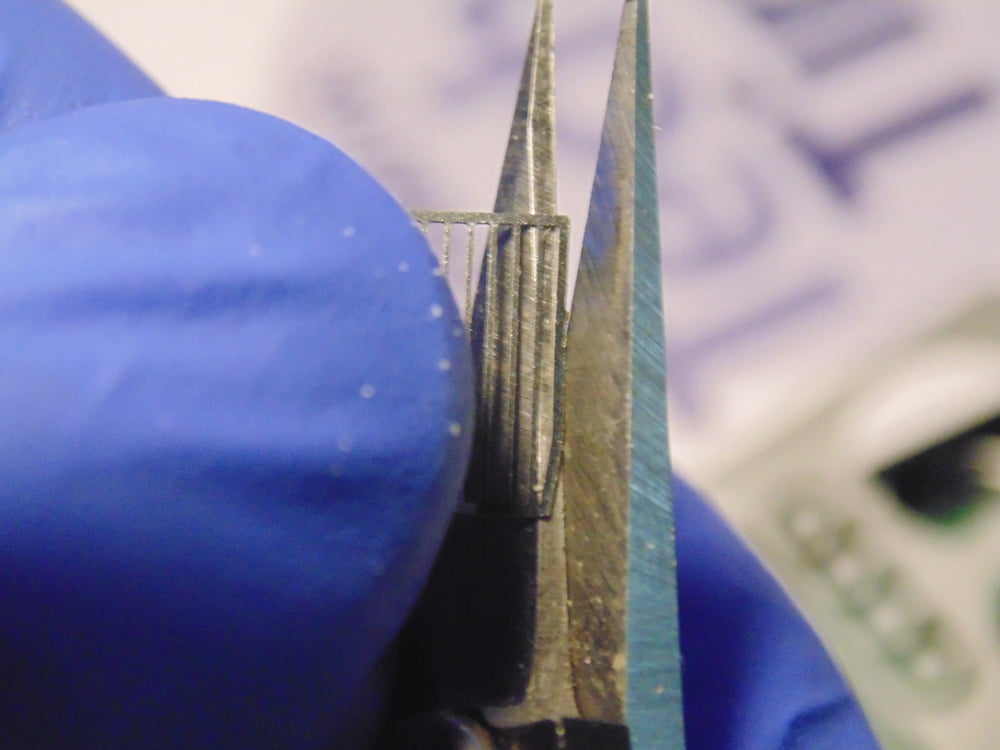
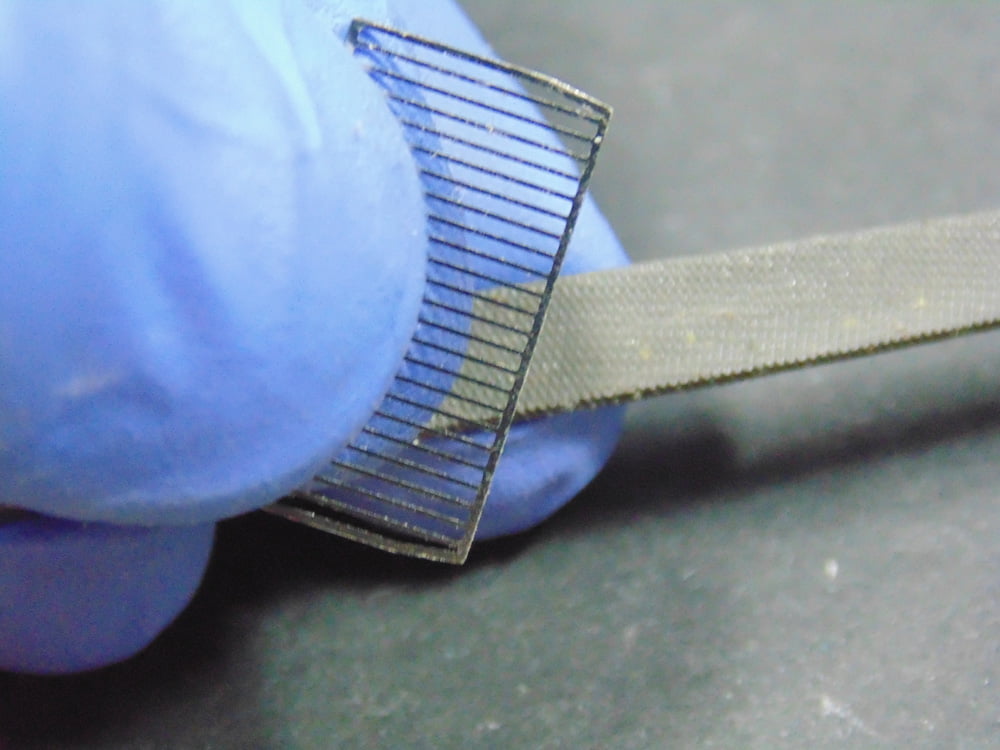
Lastly, for soft thin metal, such as brass, use a pair of Tamiya Photo-etch Cutters. The Xuron cutters will remove the part and then you follow up with the Tamiya for a super close cut of the nub. In this example I’m using a photo-etch set for the 1/48 Revell B-17F. After a light sanding the part is ready to be attached.

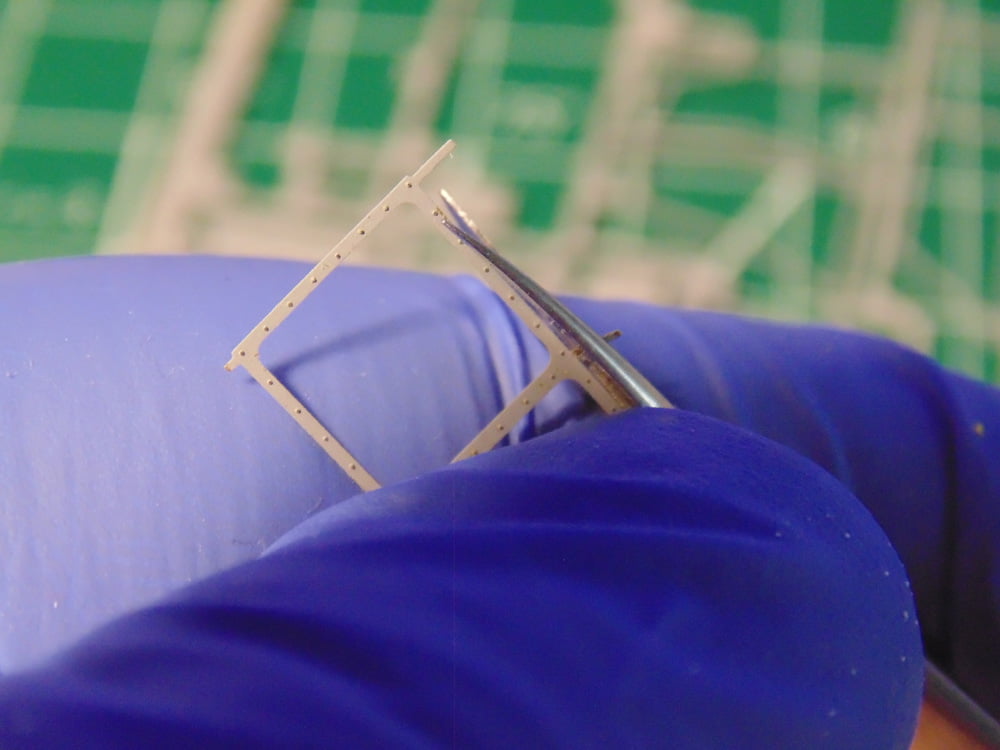
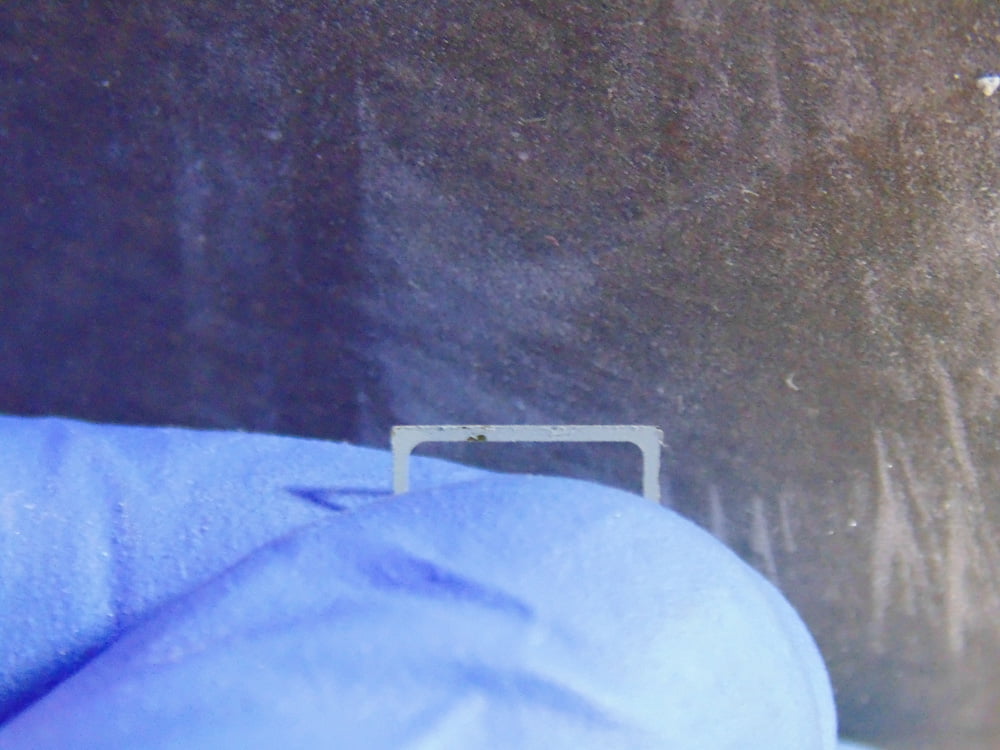
Plenty of tips and information to help make the modeling experience go more smoothly and be more enjoyable. As always, if you have any questions about this article or the products used, please feel to ask Sunward Hobbies when you make your next order of Parts Preparation materials.
Thanks everyone and best of health.
H.G. Barnes is a former voice-over artist and retired sales and marketing professional. He’s the author of two large volume science fiction adventure romance novels with many more in the works. For well over 40 years he’s been building scale model replicas and now does commission work for clients in Canada and the USA, plus completes projects for companies in Asia and Europe.
Actuellement, HG est impliqué en tant que rédacteur associé avec les chaînes de magazines en ligne de KitMaker Network.
