Dry Brushing Techniques Tutorial for Plastic Model Kits
In this Sunward Hobbies tutorial, I’ll guide you through some easy techniques to bring life to your project with Dry Brushing. As always, all the products used in this article are available at Sunward Hobbies. I didn’t use anything special to get the effects you’ll see.
Probably one of the easiest things you can do to bring your model to the next level is Dry Brushing. It’s also instant gratification and even therapeutic. There are some general rules to follow, yet the biggest thing to keep in mind is the look you want to achieve.
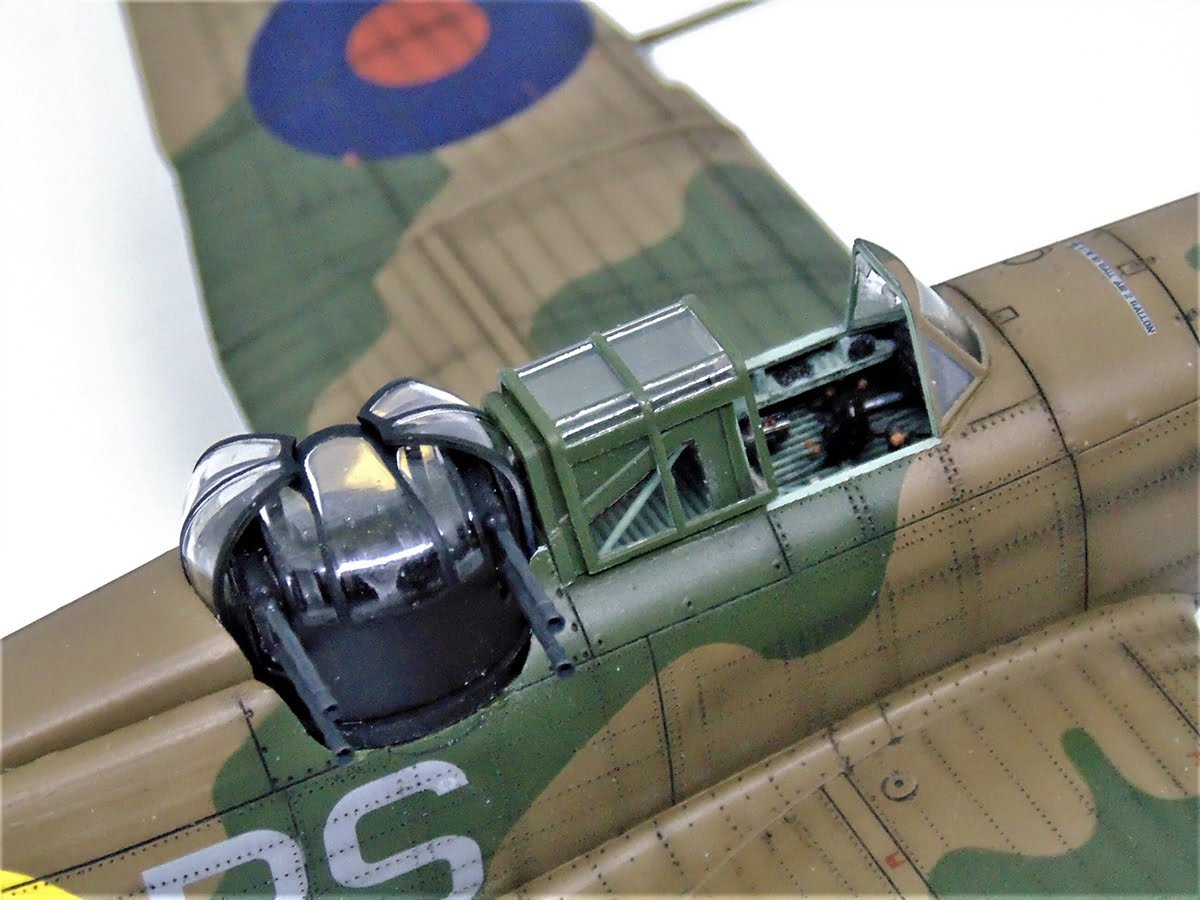
I consider Dry Brushing part of the weathering stage. Here is an excellent model of a 1/48 Airfix Boulton Paul Defiant Mk. 1 you can pick up at the store. The theme I was after was to have it look as though it just came back from its first few missions.
Essentially it is a light weathering that’s slightly worn with slight oil stains and very few paint chips. 100% of this look was achieved by Dry Brushing.
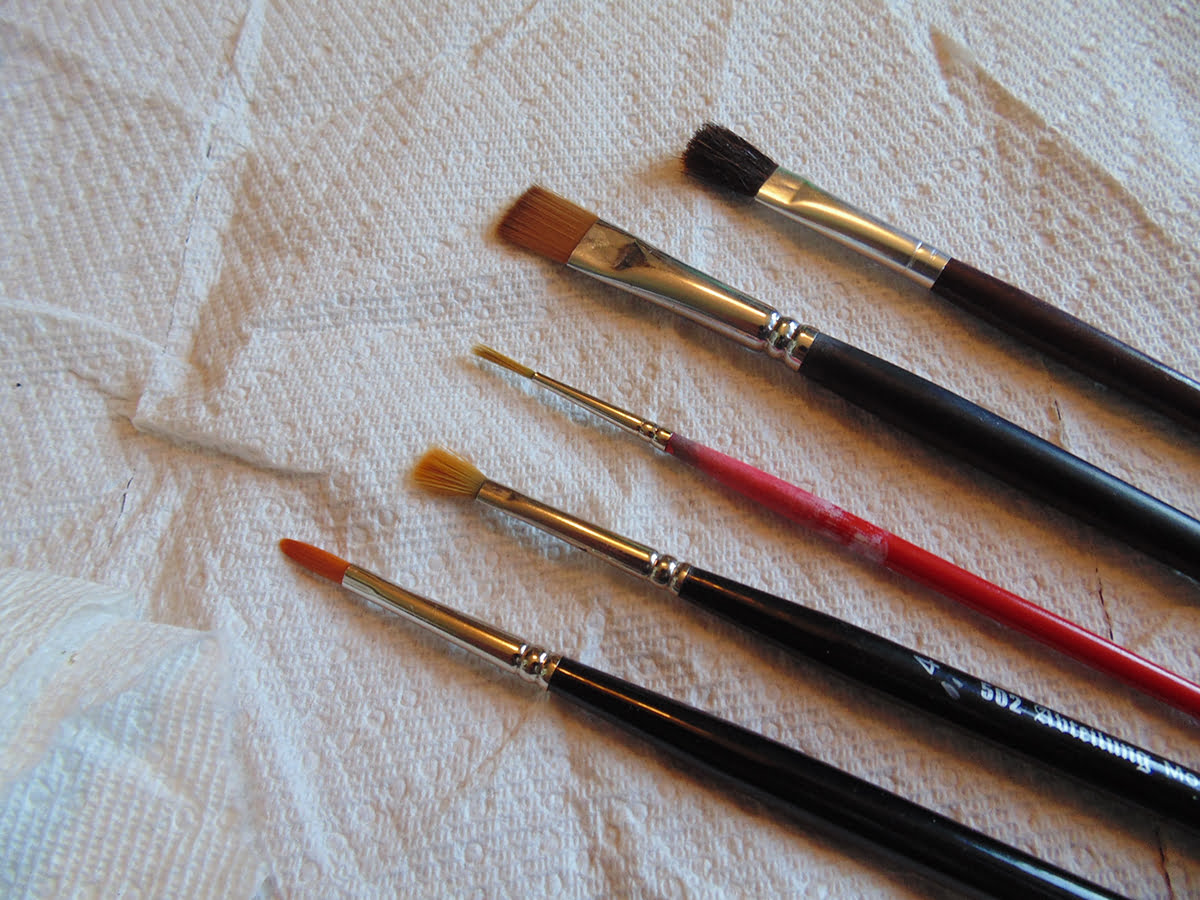
Let’s get some tools of the trade, brushes, paper towel or clean cloth and, of course, paint.

In this example I’ll showing how a water-based paint will give you a certain effect. It’s important to point out however that any medium can be used. You can Dry Brush with oils, lacquer paint, pigments, enamels and metalizer products.
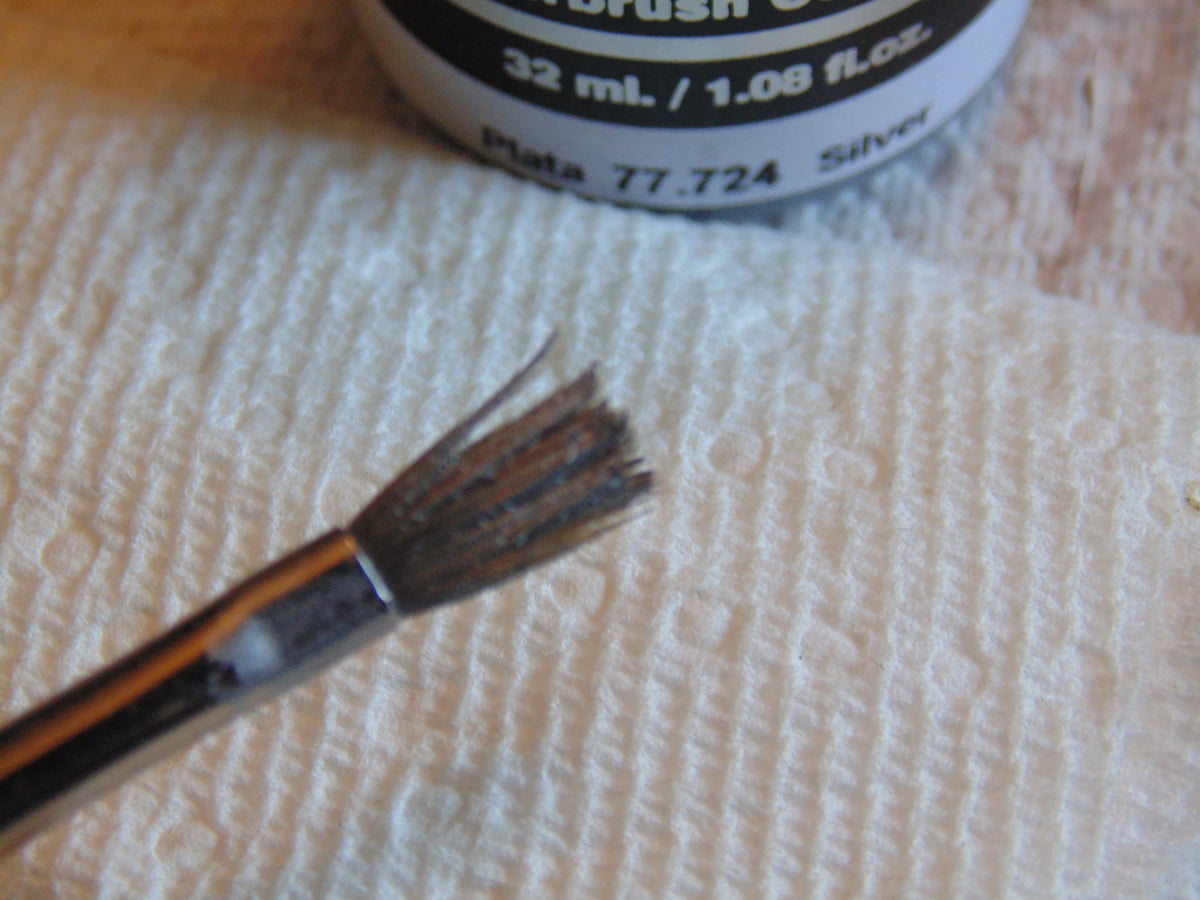
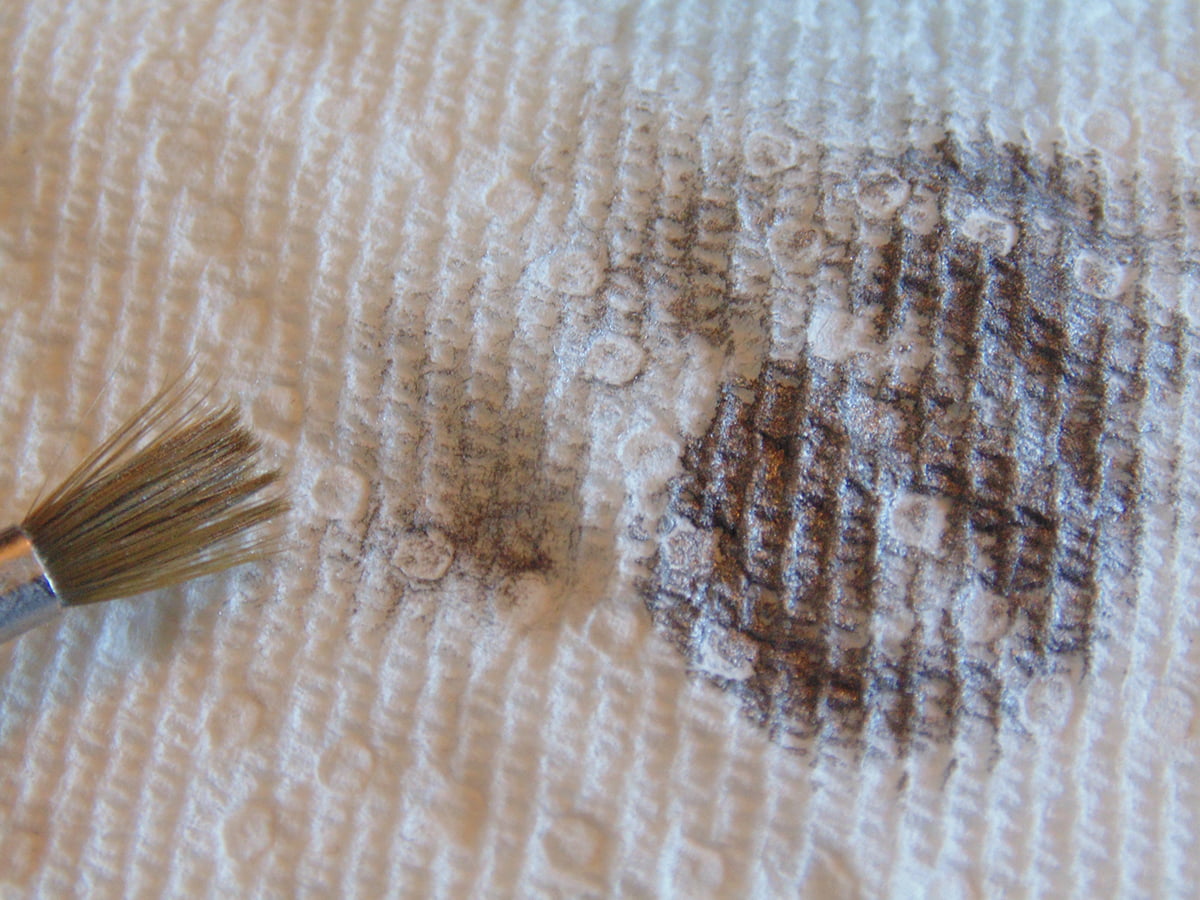
The key is to load up your brush then remove the excess. My rule of thumb is swirling the brush until I can just see the original hair color yet still see paint. The safest way, of course, is when you can barely see any paint on the paper towel. While this works you’ll have to load up the brush and remove the excess more often. Regardless, you’re now ready to start Dry Brushing.
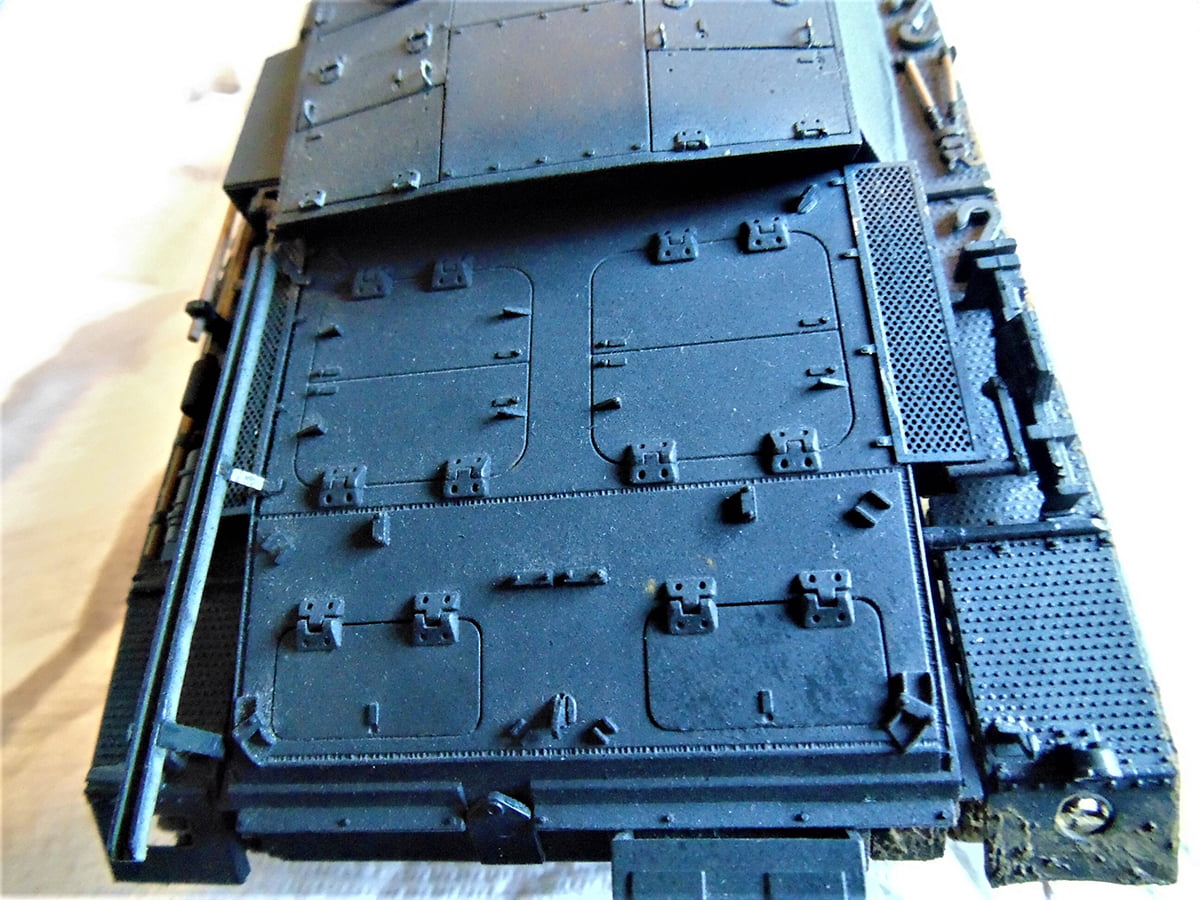
Here’s a before and after of a 1/35 Tamiya STUG III. You can get this as well from Sunward, but I wanted the aftermarket photo-etch. The problem is the paint chipped from the metal. To make the look consistent the high points were Dry Brushed with silver. Lightly feather the tip of the brush on bolts, hinges and raised detail. At straight edges though gently feather the area back and forth at a 90-degree angle. It’ll probably take a few passes to get the paint from the hairs of the brush so don’t give up.
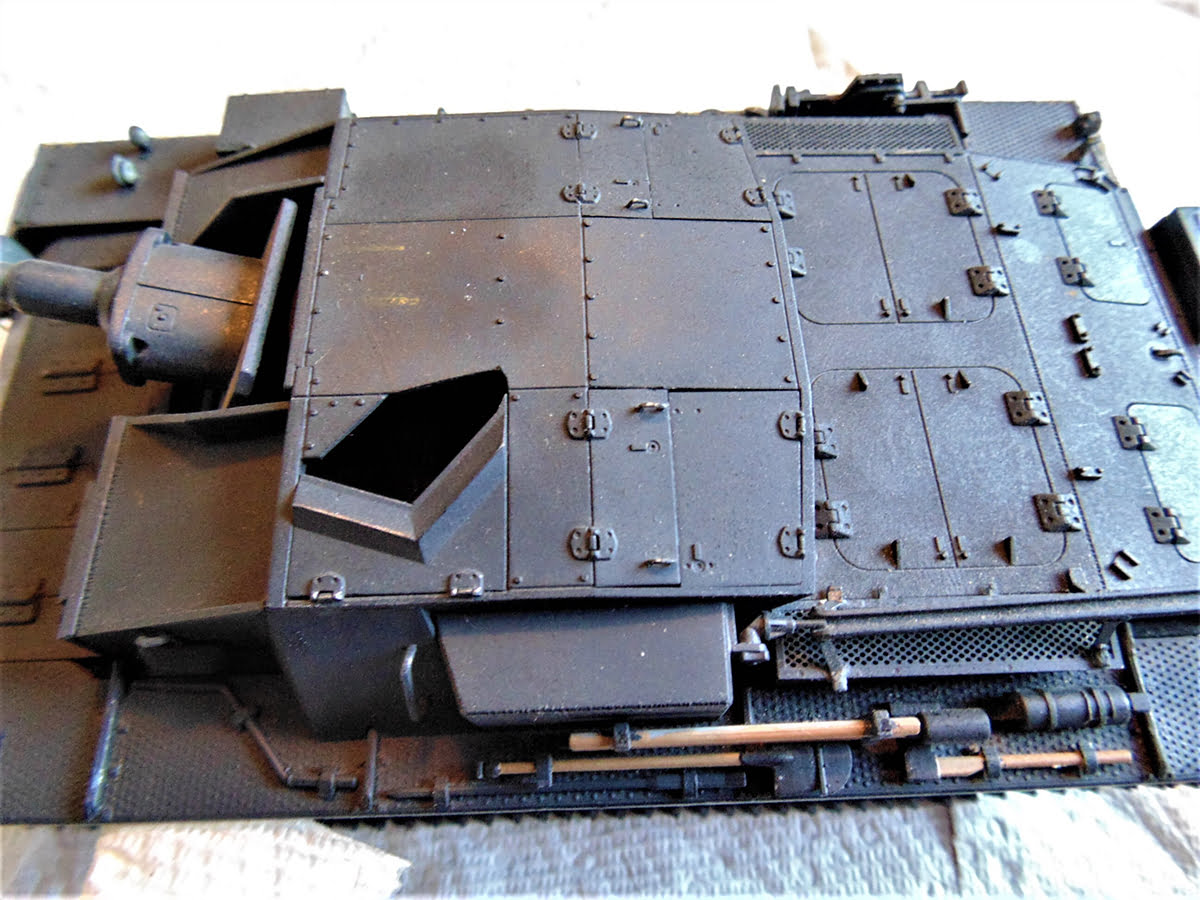
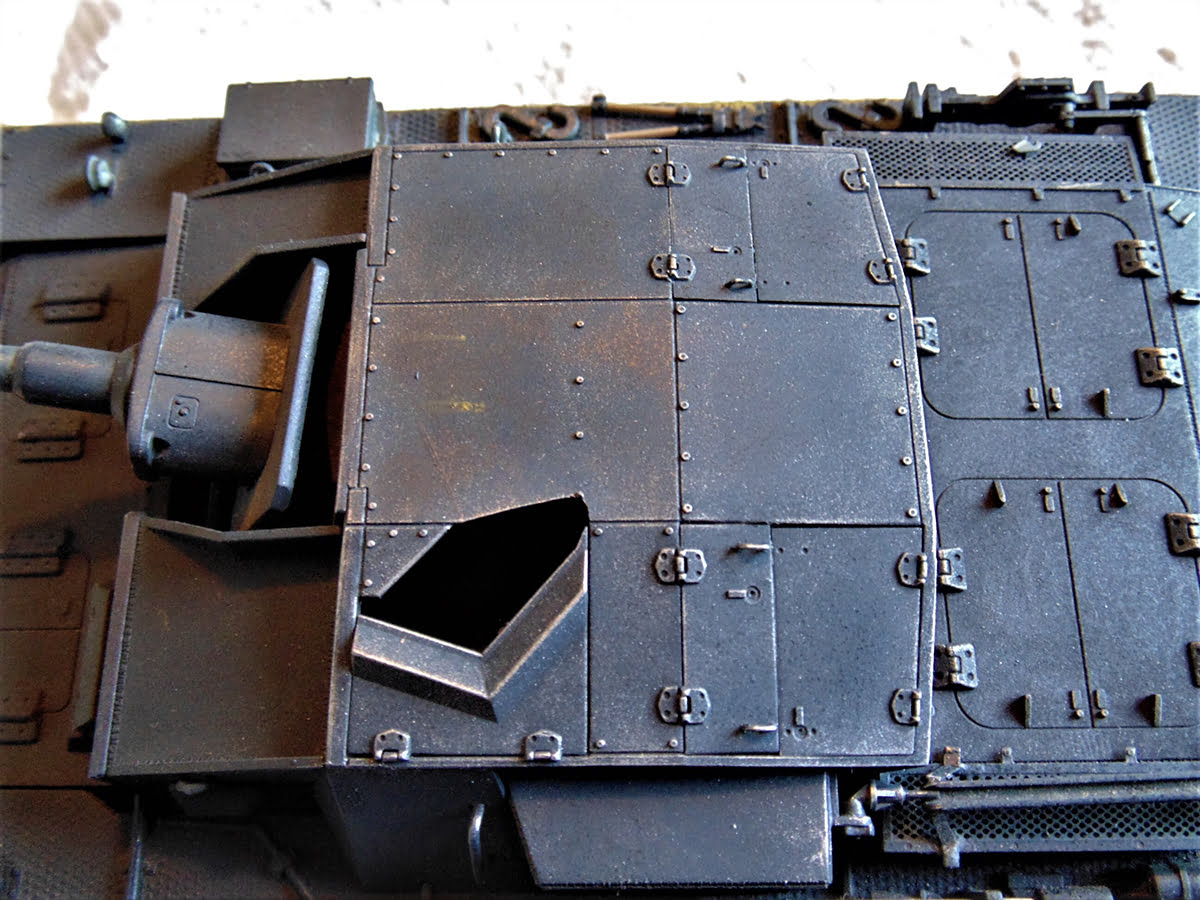
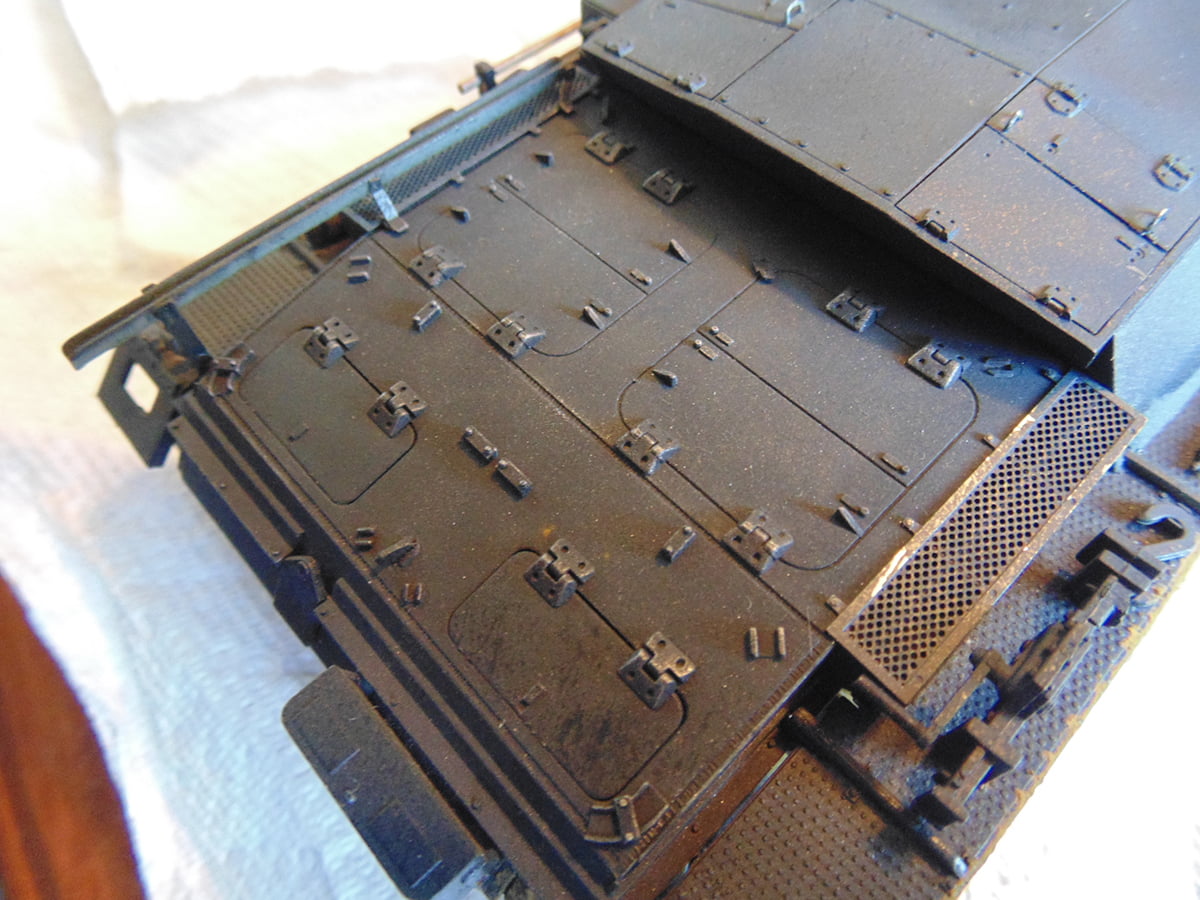
Here’s the before and after of the crew compartment. Note the bolts and especially the separations in the armor plates. It really doesn’t take much pressure to get an almost instant worn effect. The great part is you can even use multiple colors. Say you want a more 3D effect, yet don’t want it to look chipped. Dry Brush a larger area with, in this case being it’s a German vehicle, red oxide primer then in the middle of that color Dry Brush again with silver for that rubbed look. (I’ll be showing this in another tutorial)
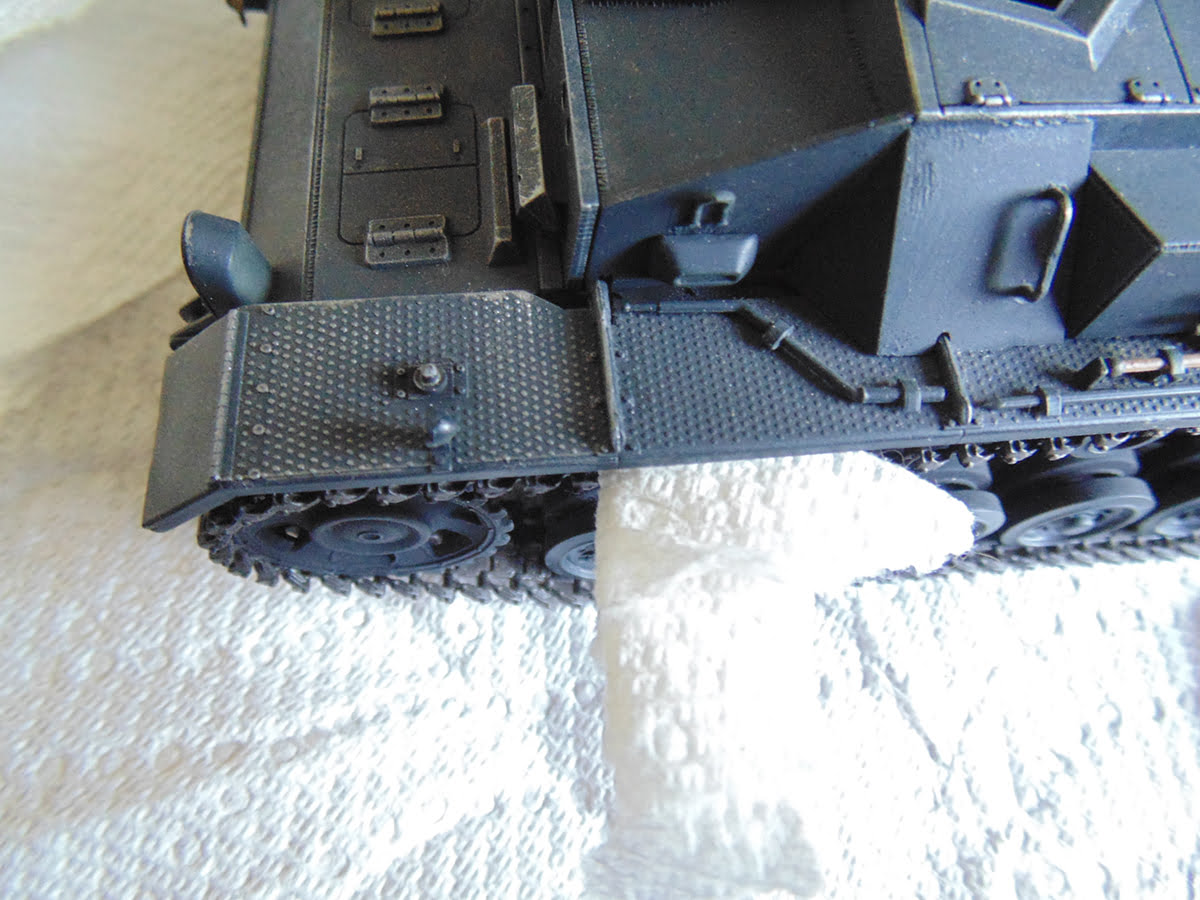
Like I said, a light feathering makes a dramatic difference in the realism of the project, as you can see with the two sections of diamond pattern on the walkway.
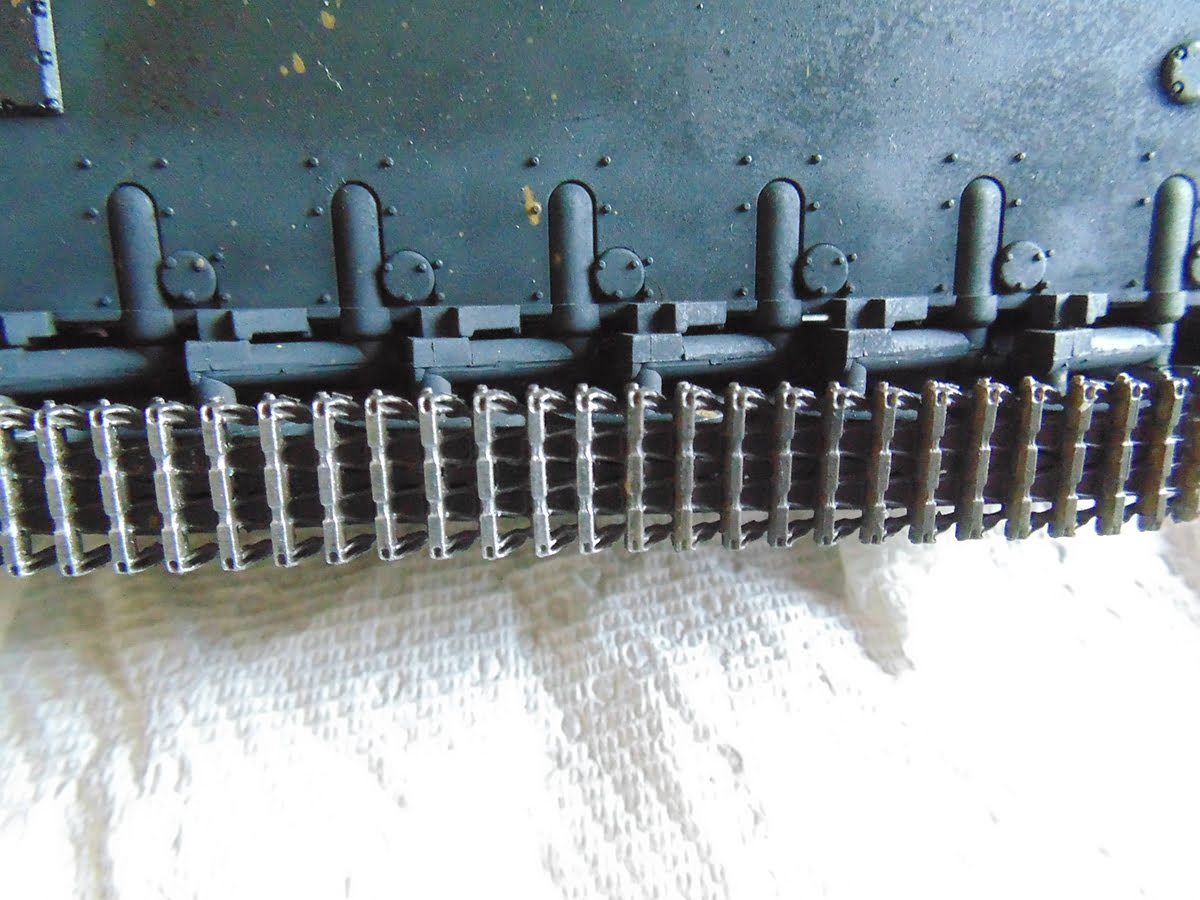
Tracks can be made to look more realistic by Dry Brushing with a metal color to appear as worn as you want. Obviously, the more paint you leave on the brush the heavier the effect.
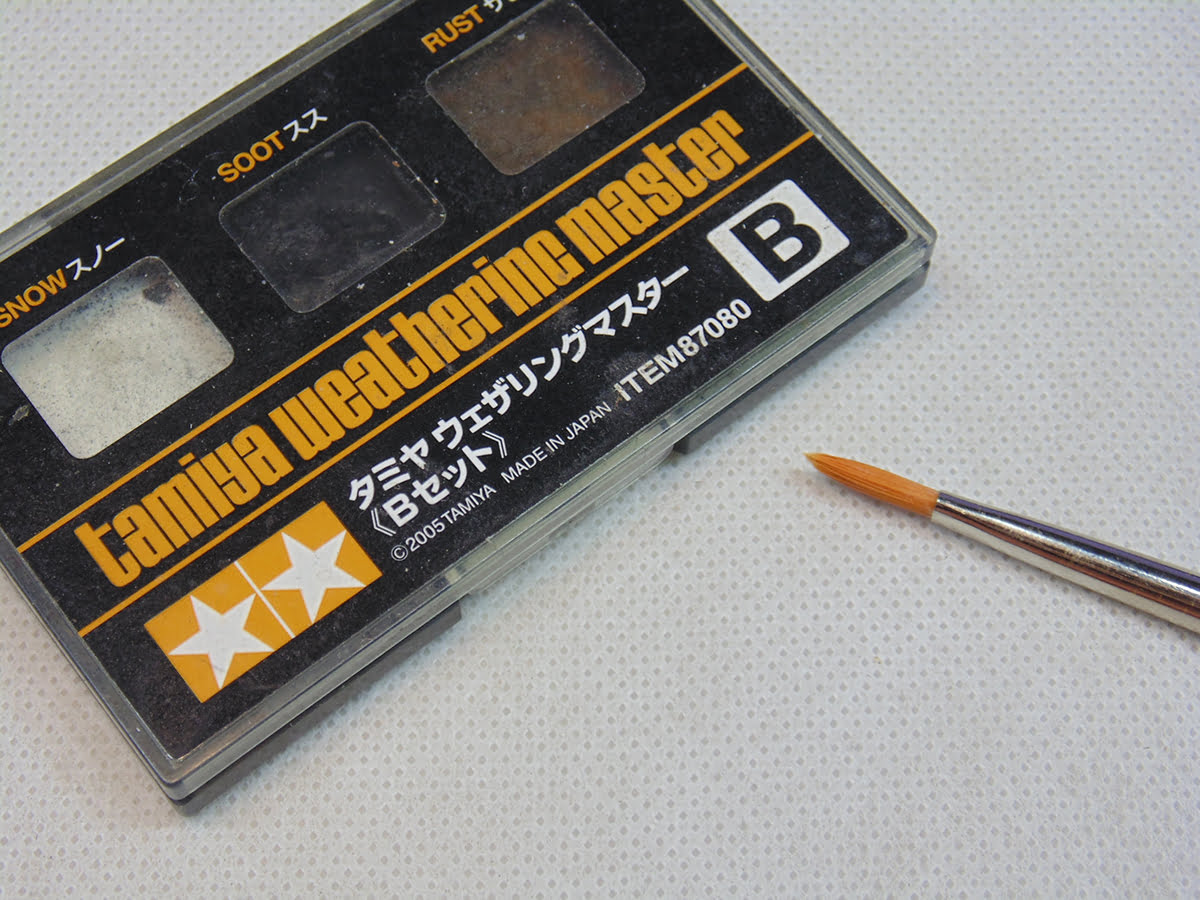
Now I’ll show you a couple of the more common places to Dry Brush on an aircraft. Tamiya Weathering Master products are a must for any hobbyist. They’re so versatile you can use them on automobile, aircraft, armour, marine and really any project.
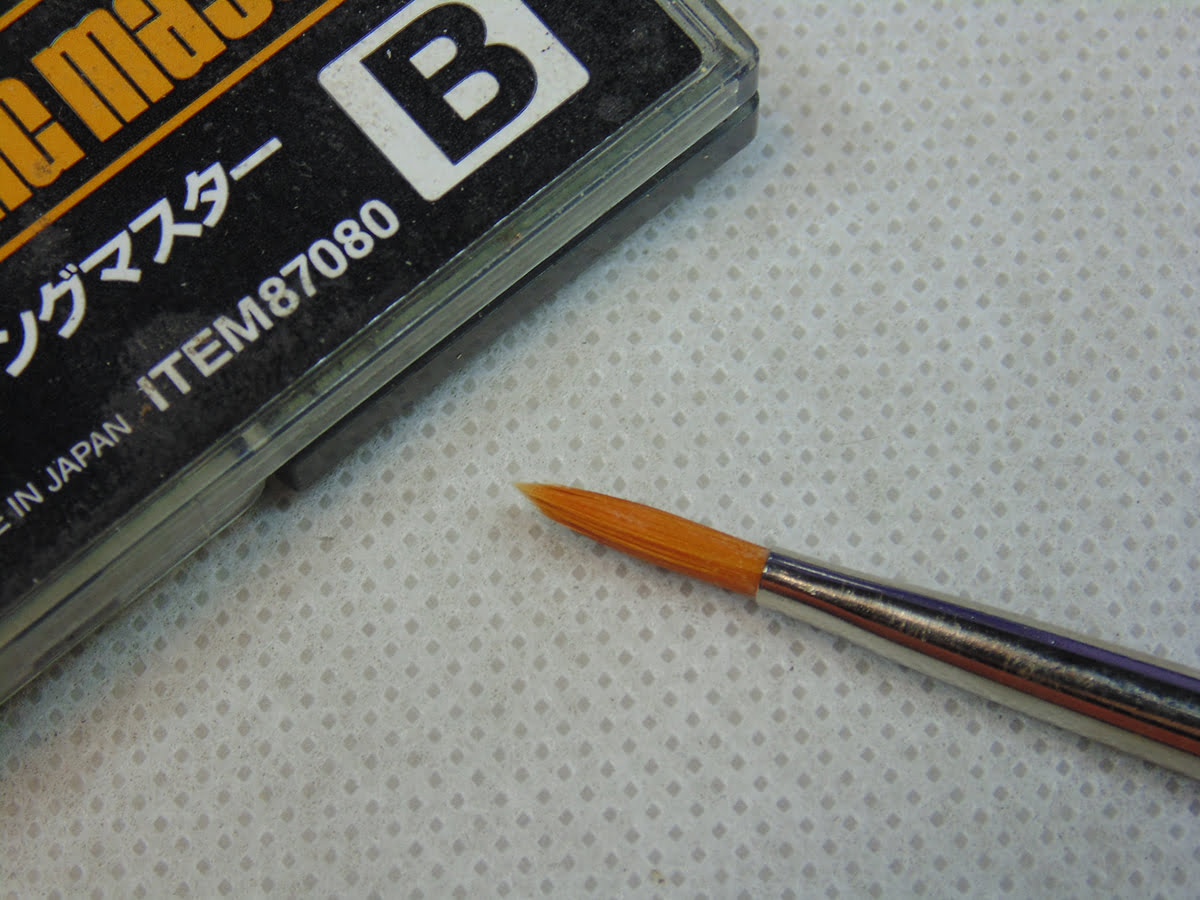
Having a sharp brush tip, as with this 502 Abteilung #4 filbert, will keep your pigment or paint in a tight spot or you can fade the effect with the broader side. Sunward Hobbies carry a vast supply of brushes of all shapes so you do not have to buy anything special from an arts supplies store.
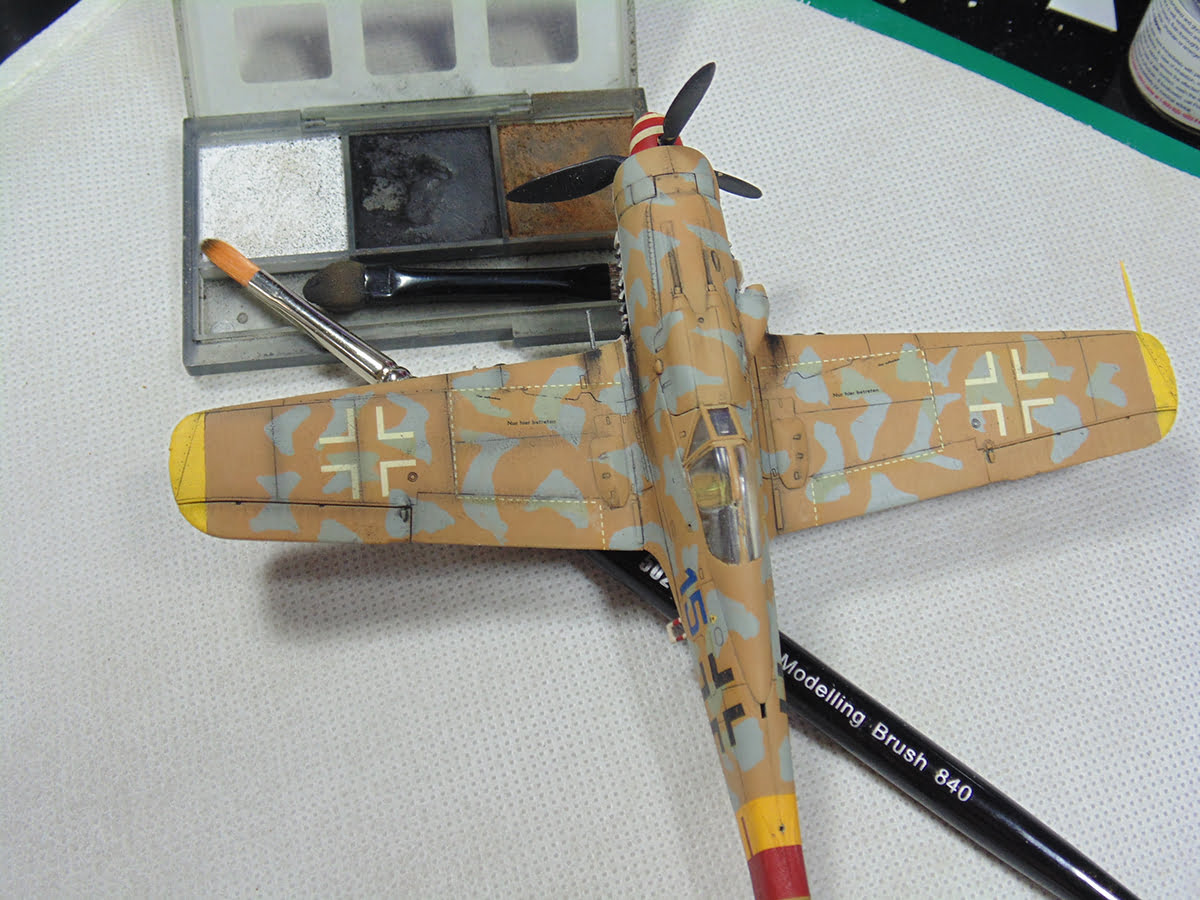
Here’s a Tamiya 1/72 BF-190D WWII German fighter. A popular look is to shade the panel lines, giving the model more depth. Note the plain look of the right-wing vs the left. A few dabs in the black pigment then lightly running the brush tip along the panel will get you this look. By doing this gently you can see your progress and more importantly when to stop.
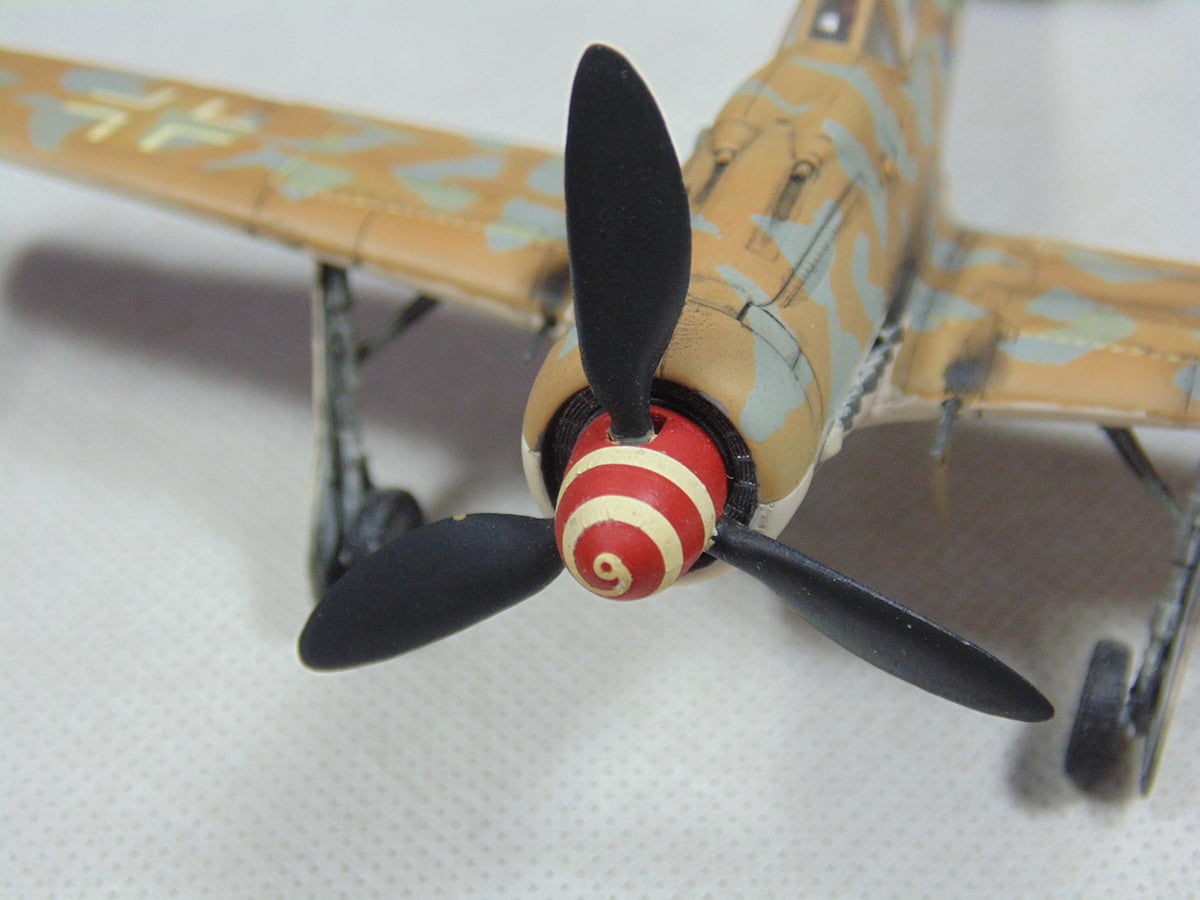
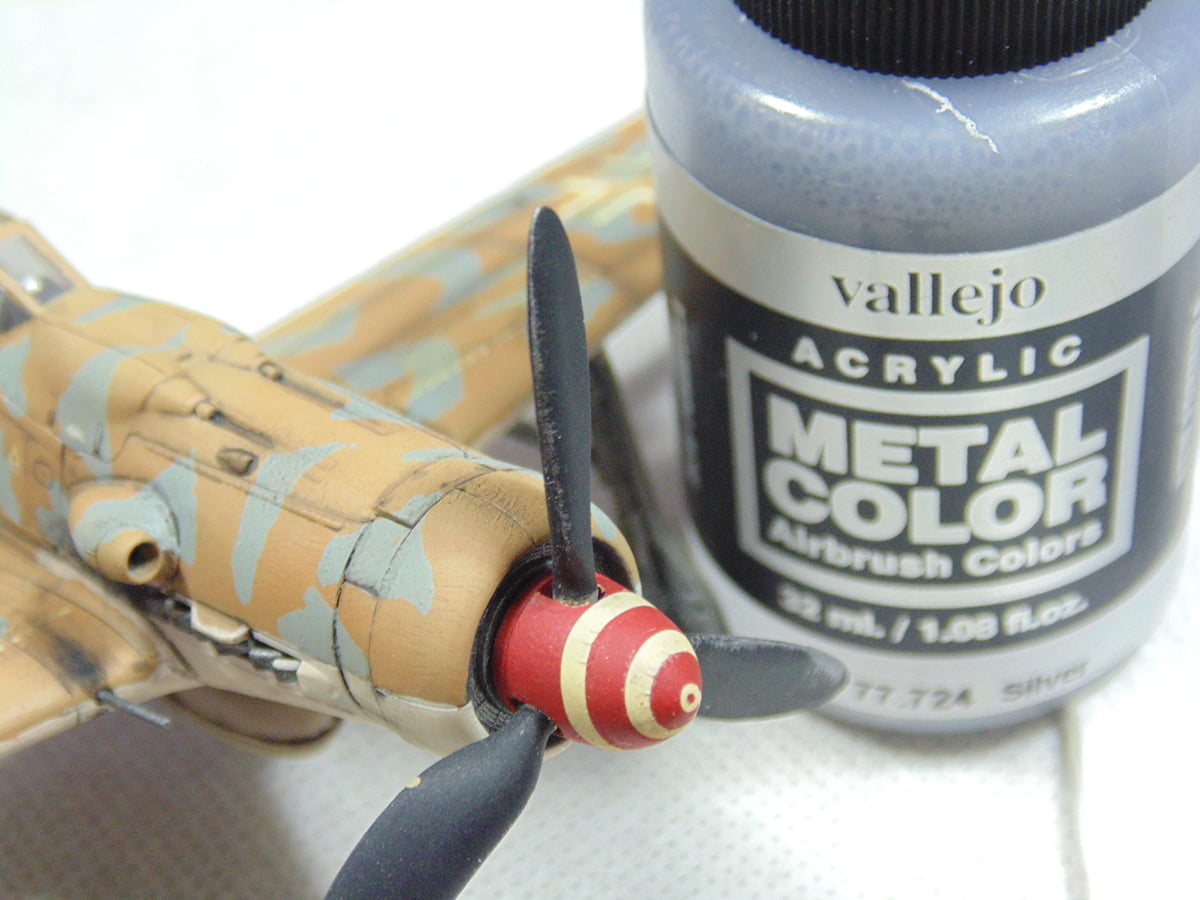
Another often Dry Brushed part of an aircraft is the propeller. The leading edge carves through the air and any dust or particles quickly wear down the paint. Here’s another before and after of the propeller. Many people new to or returning to the hobby are apprehensive about adding such detail to smaller scale subjects. Sunward Hobbies have plenty of tools which can create super fine detail.
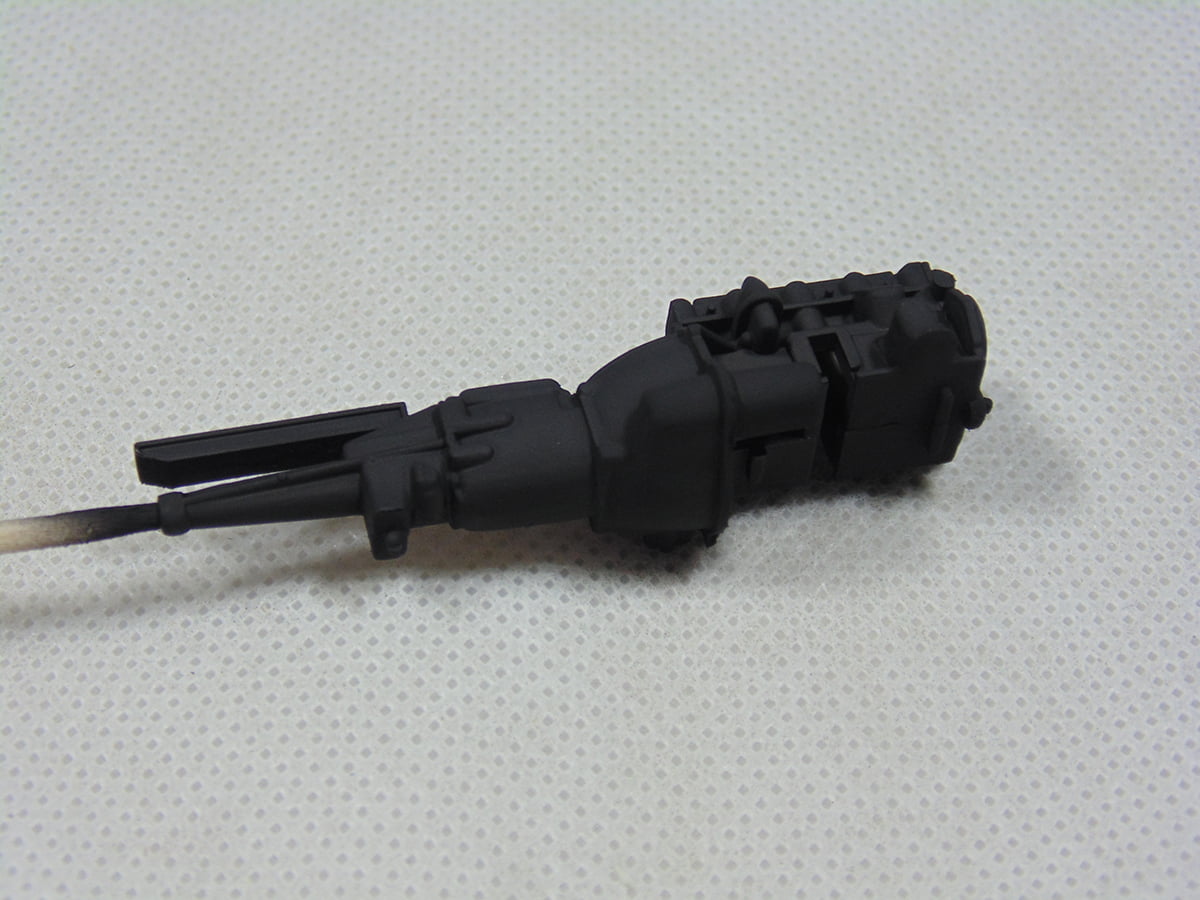
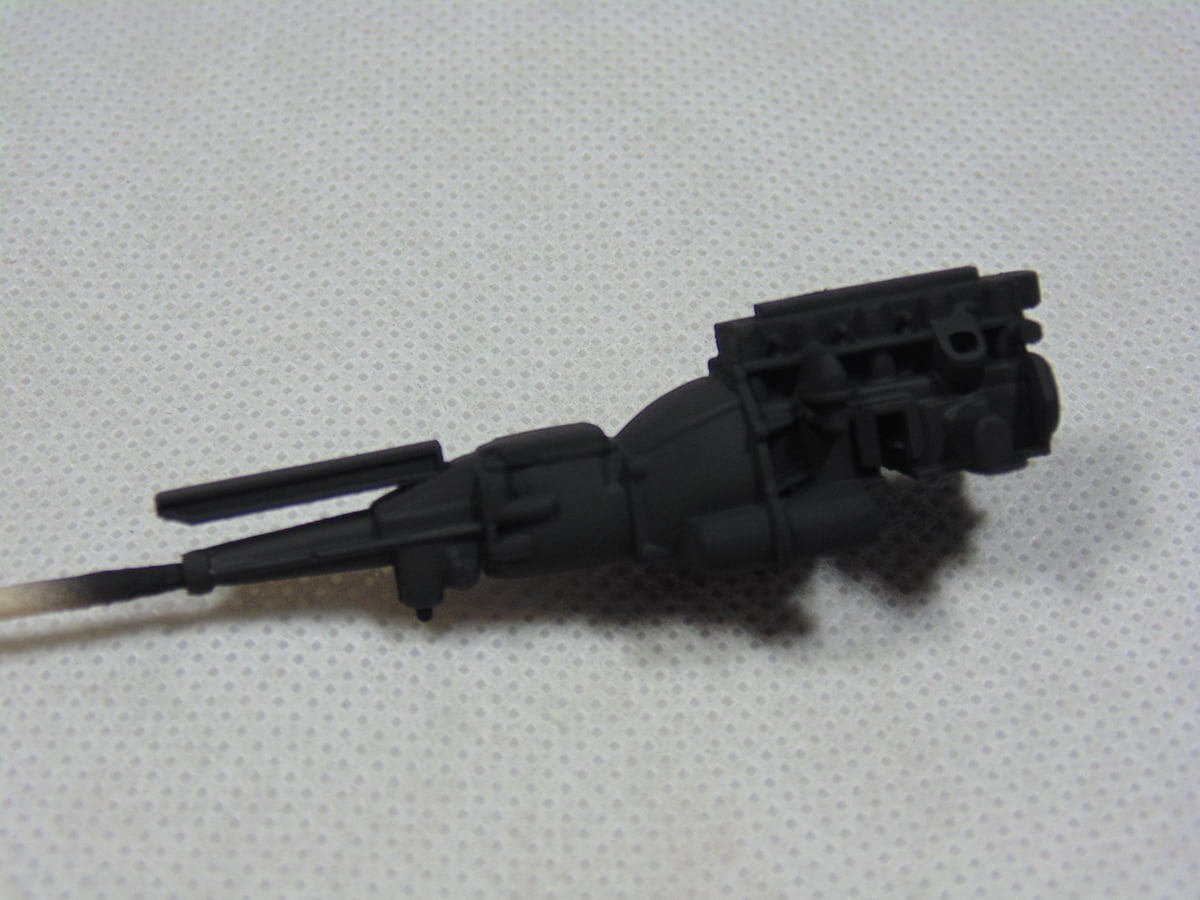
Now let’s bring out the 3D look of a car engine. This is the four cylinder out of a Tamiya 1/24 Lotus Super 7, awesome kit by the way! For this example, it was prepped with Mr. Primer 1000 then three coats of Tamiya XF-1 Flat Black. You need to have a proper coat of primer and paint because you’re going to be rubbing the surface. If the finish is too thin you’ll risk going down to bare plastic. It’s almost impossible to get a decent Dry Brushed look on bare styrene, you want the underlying color as an accent.
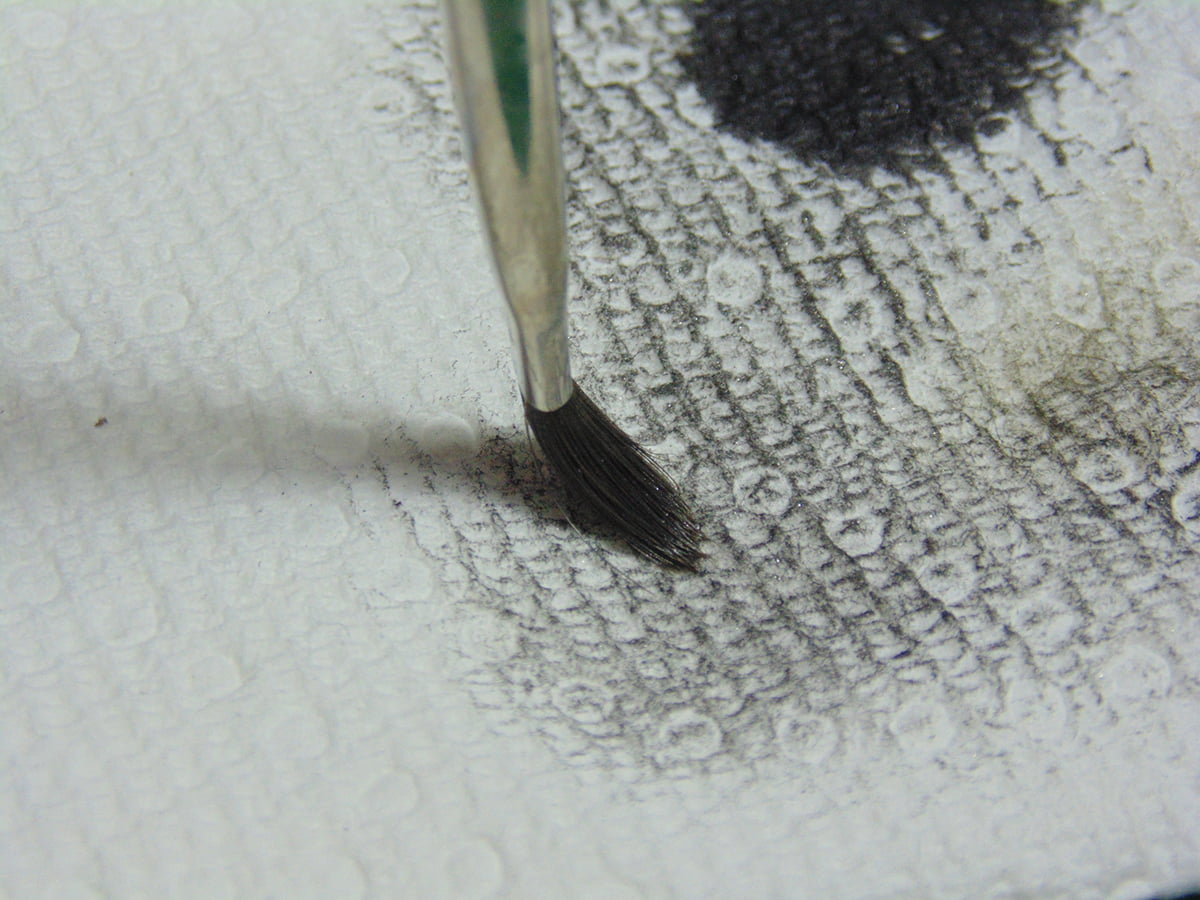
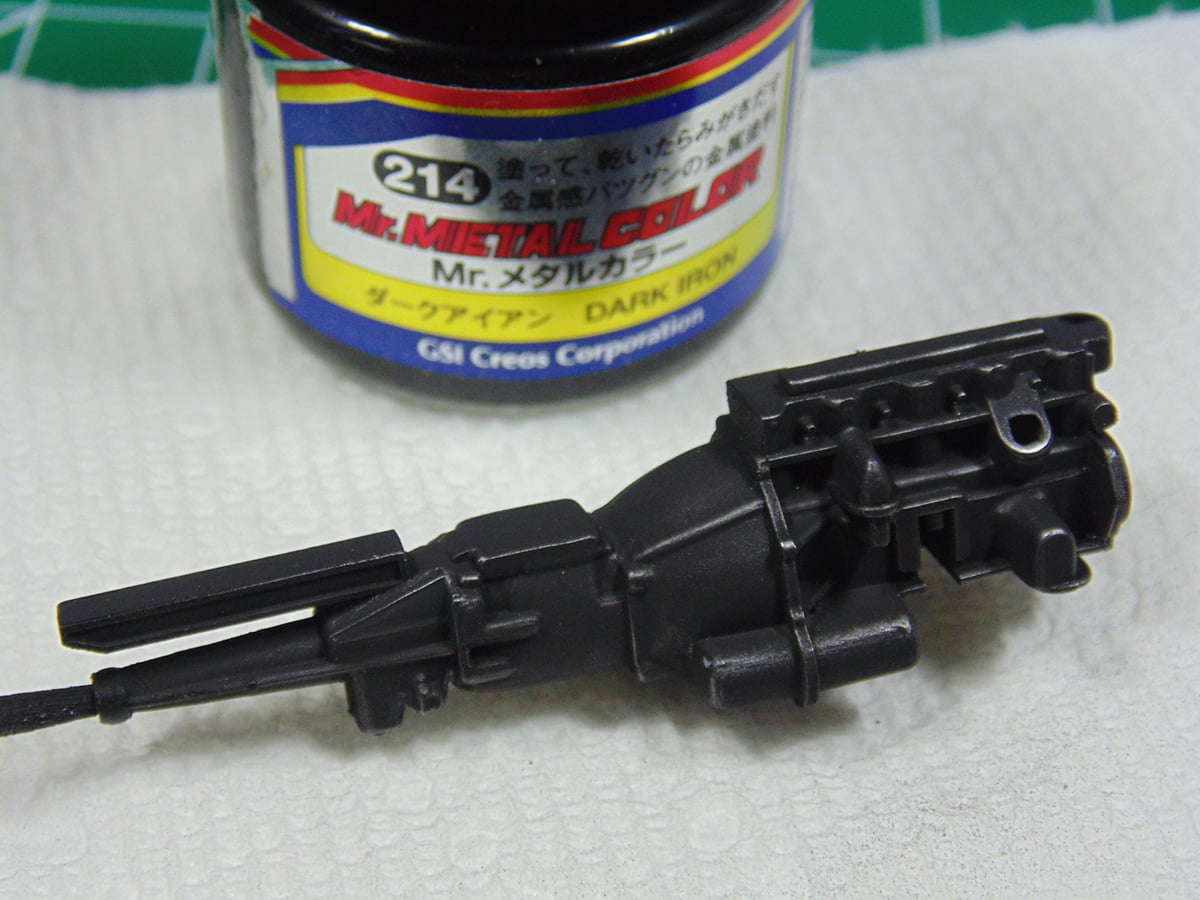
I’m going to Dry Brush this part with a metalizer. Here’s a tip, swirl your brushes when removing excess or cleaning. Dry Brushing can be really hard on the hairs and by twisting the hairs into themselves will extend the life of the brush.
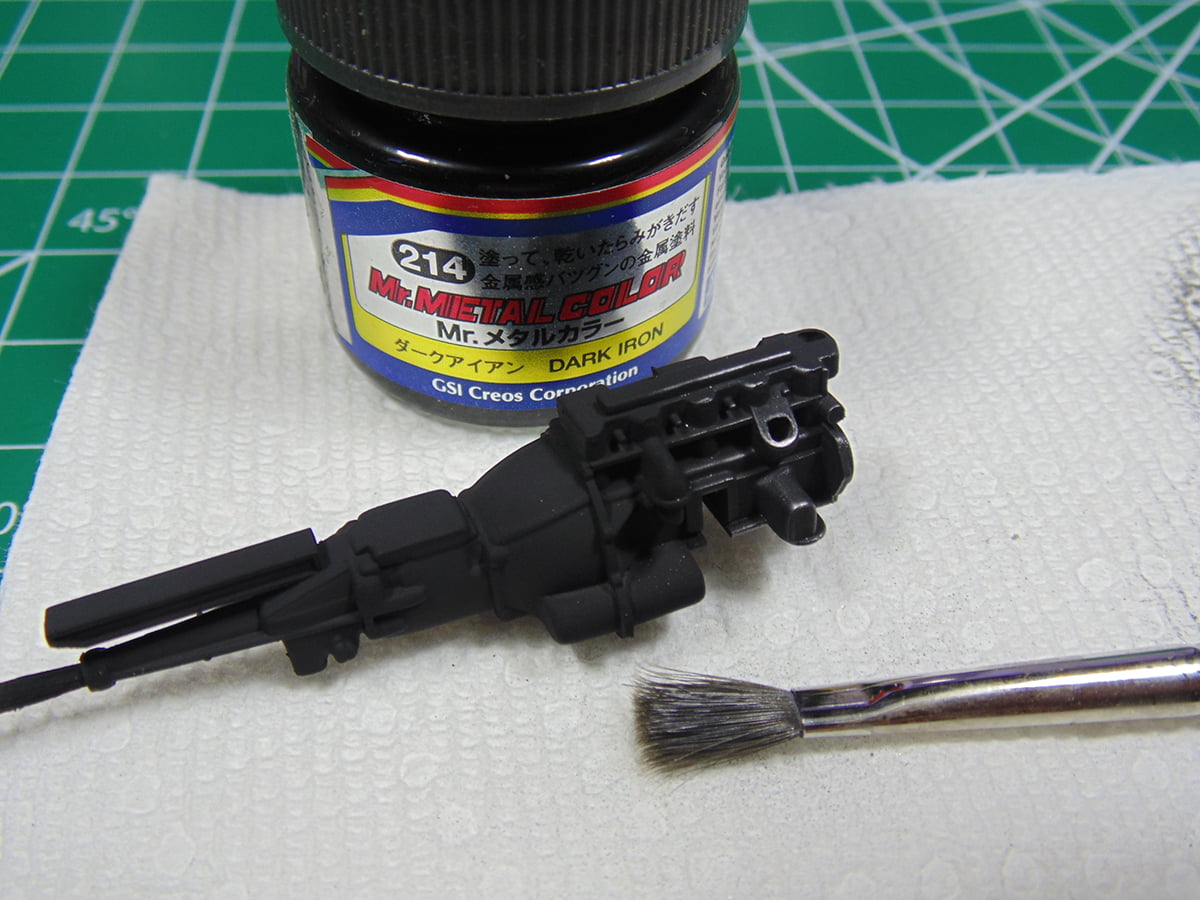
One of the nicest effects on flat colors are Mr. Metal Colors. In this case I’m using 214 Dark Iron with a brush that is only used for the darker colors of this brand. You can really go to town with how much highlight you Dry Brush. Also, with this product you can swirl your brush in the paper towel to get some more dry pigment to add. Here your can see the huge difference with the half Dry Brushed part. Be it an engine or ejection seat anything with a dark finish can be made to look more life like.
Here’s the completed engine ready to have more parts added. It’s pretty stunning on its own I feel.

Finally, I show you how to add shade and highlights by Dry Brushing this 1/35 figure. After sanding and filling the part is primed. Yes, it isn’t complete. This is for demonstration.
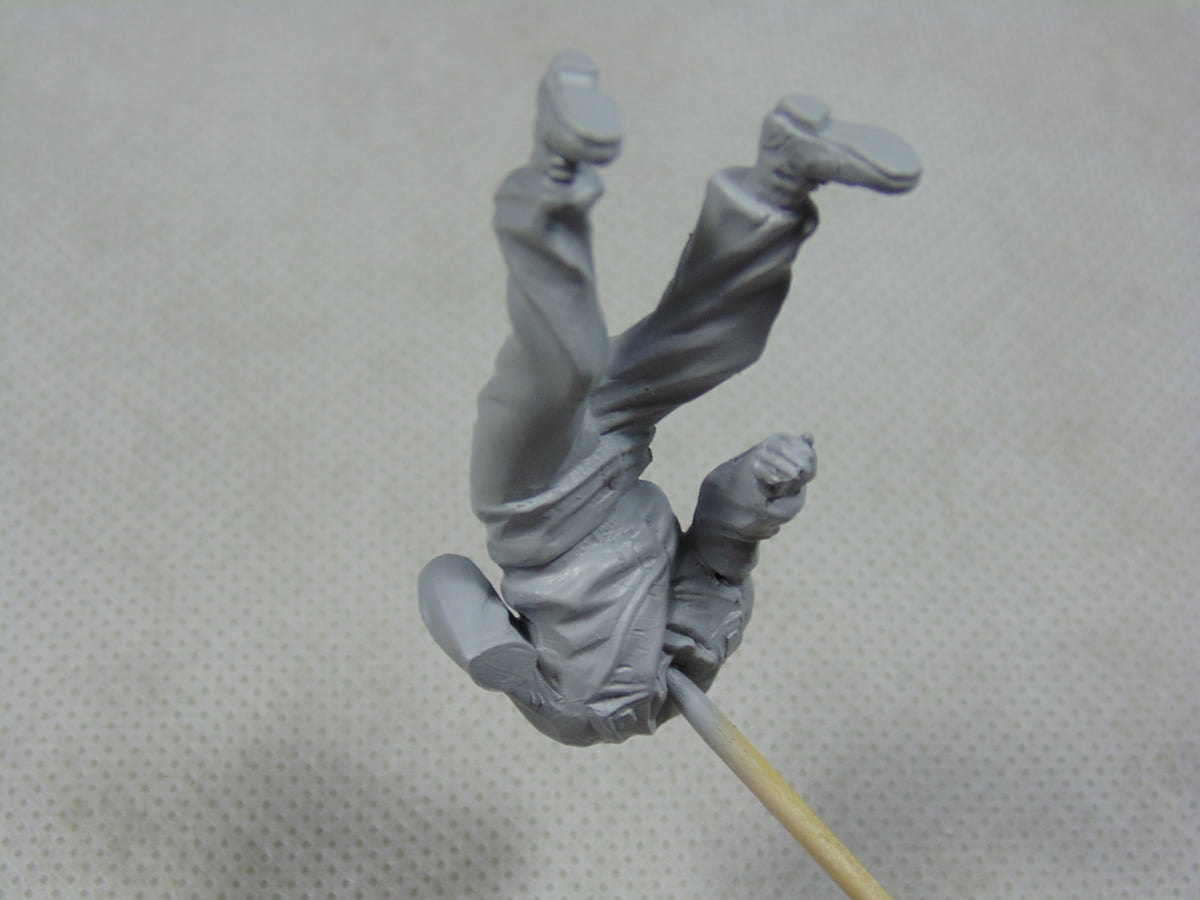
A common dye color tone in many uniforms is this green grey. I’m going to take the time to show you two effects. Let’s grab some hobby masking tape.

Here’s a tip, to reduce the chance of masking tape lifting your paint and primer from a part you can quickly “De-tac” (make it less sticky) by putting it on a bare part of your skin. The tape will still adhere to the part and is easier to remove.
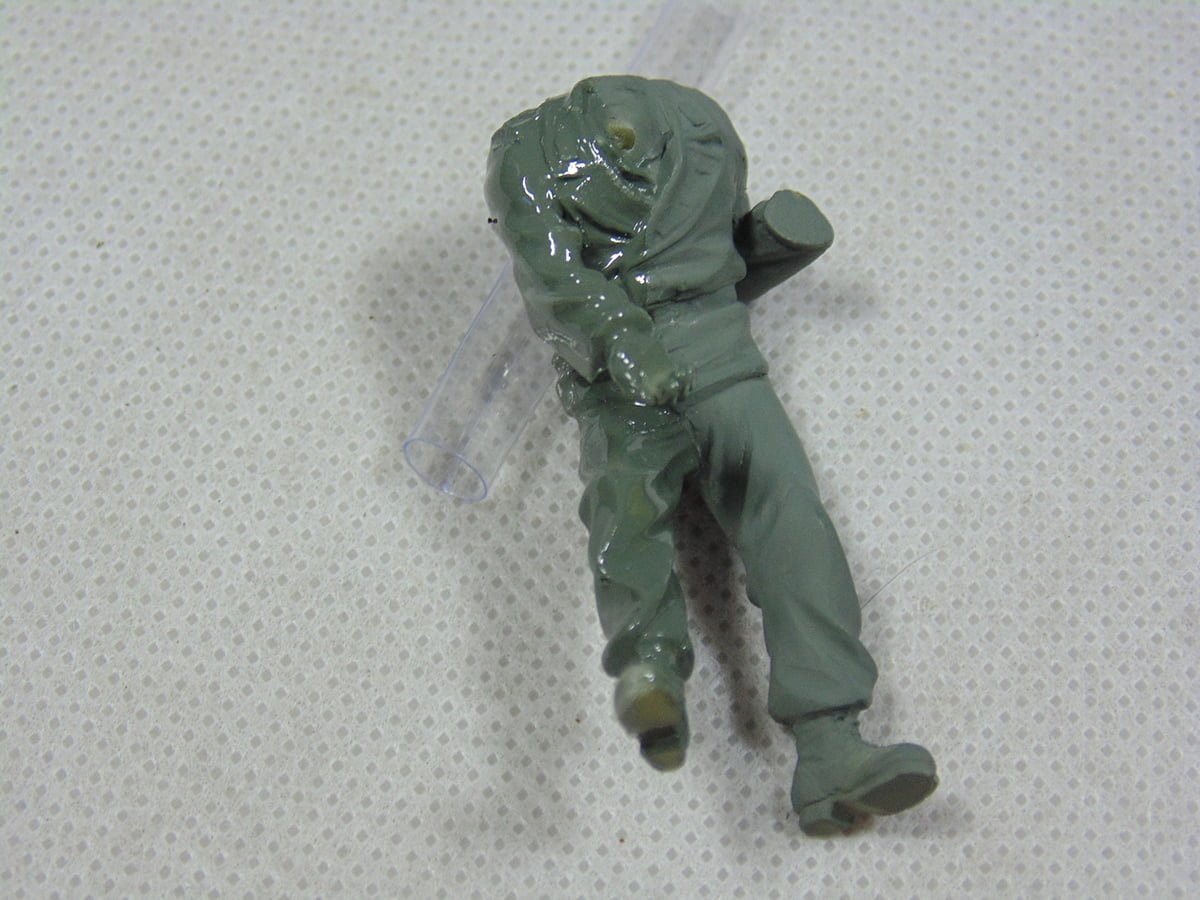
I’ve masked off one side and clear coated. This will show the different looks you can achieve by Dry Brushing with artists oils and pigment powder.
I took the time to oil wash one side with 502 smoke black. There’s no need to get into how to use oils right now. The idea is show you the look of clear coating to protect your base coat. The black wash was roughly cleaned and now I’m adding a grey to highlight.
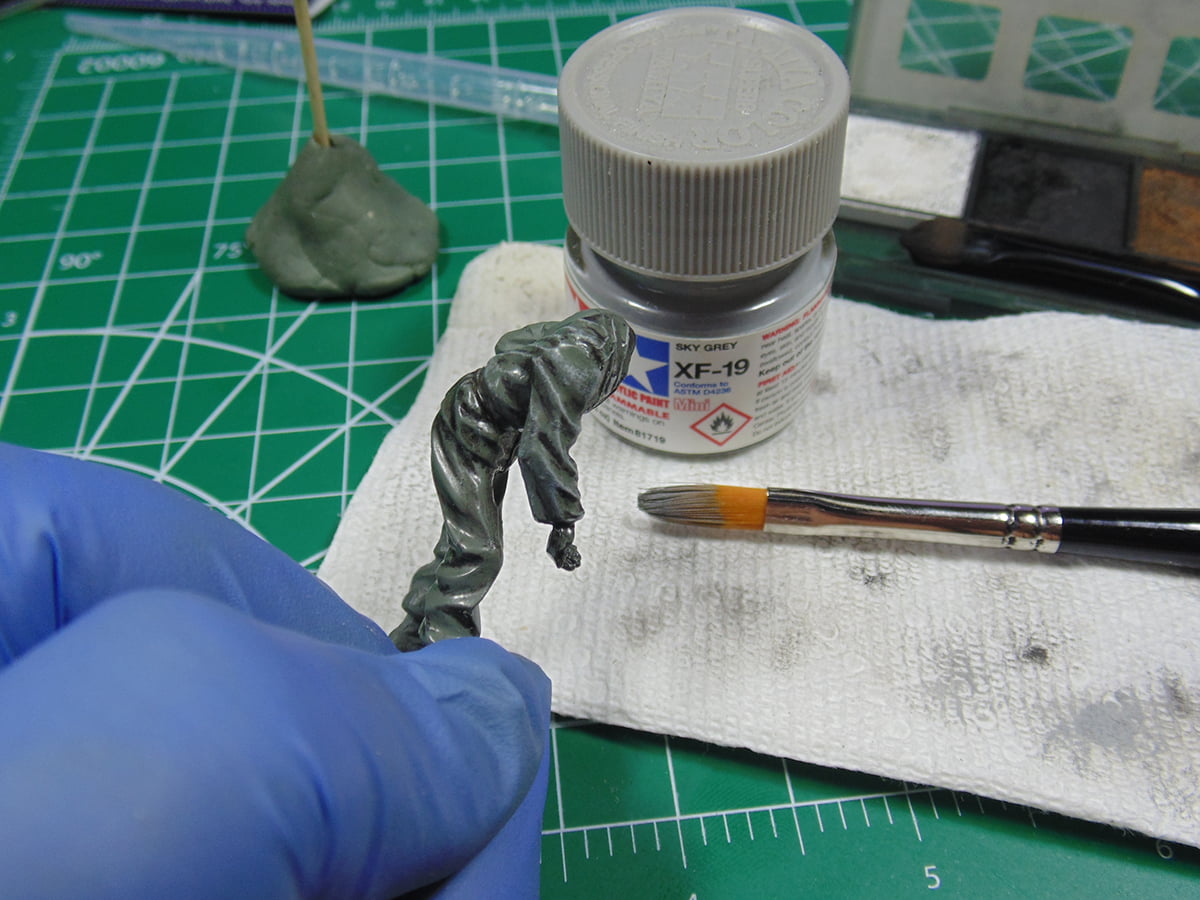
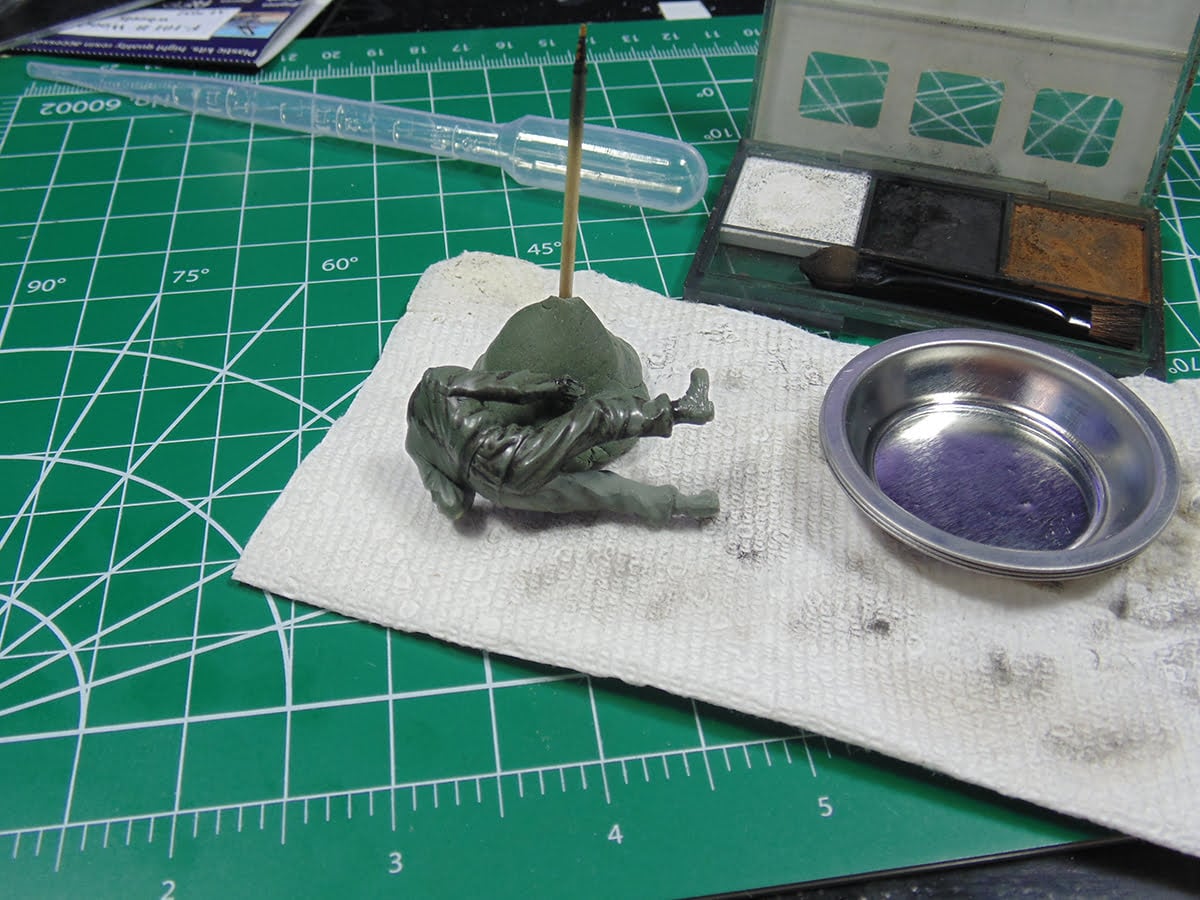
Even regular Tamiya paint can be used to Dry Brush. It also illustrates that different colors can be used to get a different contrast. Lightly Dry Brushing on the high points of the uniform folds really adds tons of depth plus an added 3D effect with the base color and dark shade.
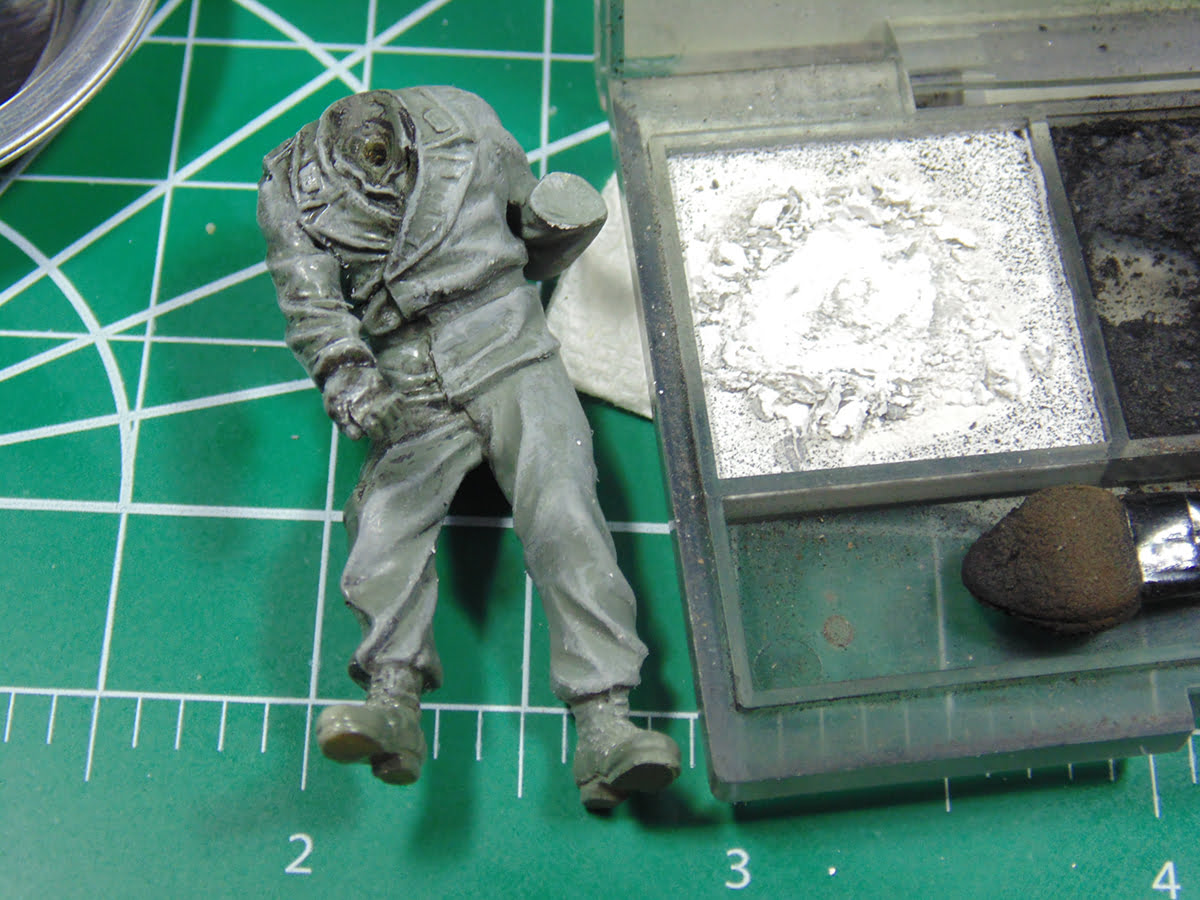
The uncoated side will accept pigments and Dry Brushing super easily. Now this is white, but it could be a lighter shade of green grey or khaki. The point is, on an uncoated base color Dry Brushing takes very little time to get a result.
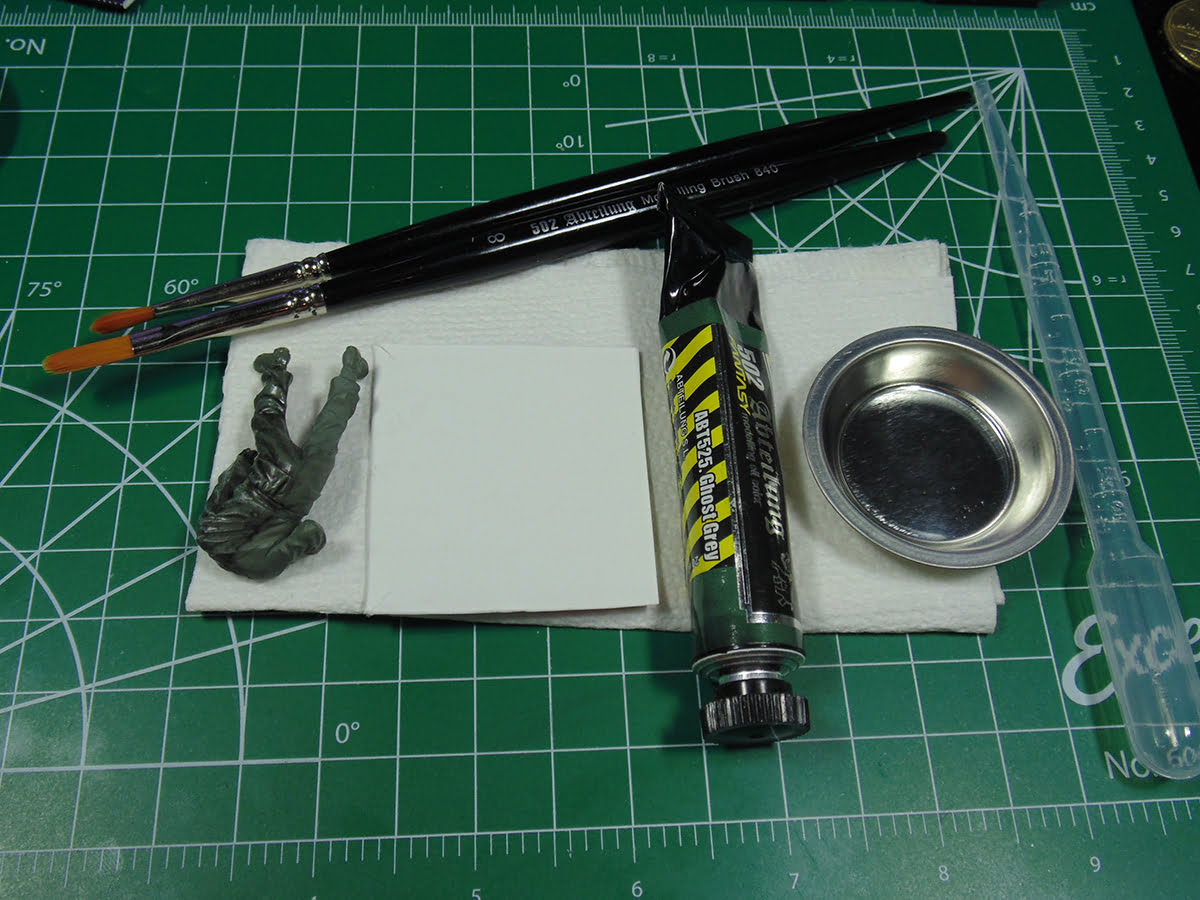
In the final example I’ll use some Ghost Grey 502 Abteilung oil on the clear coated upper leg.
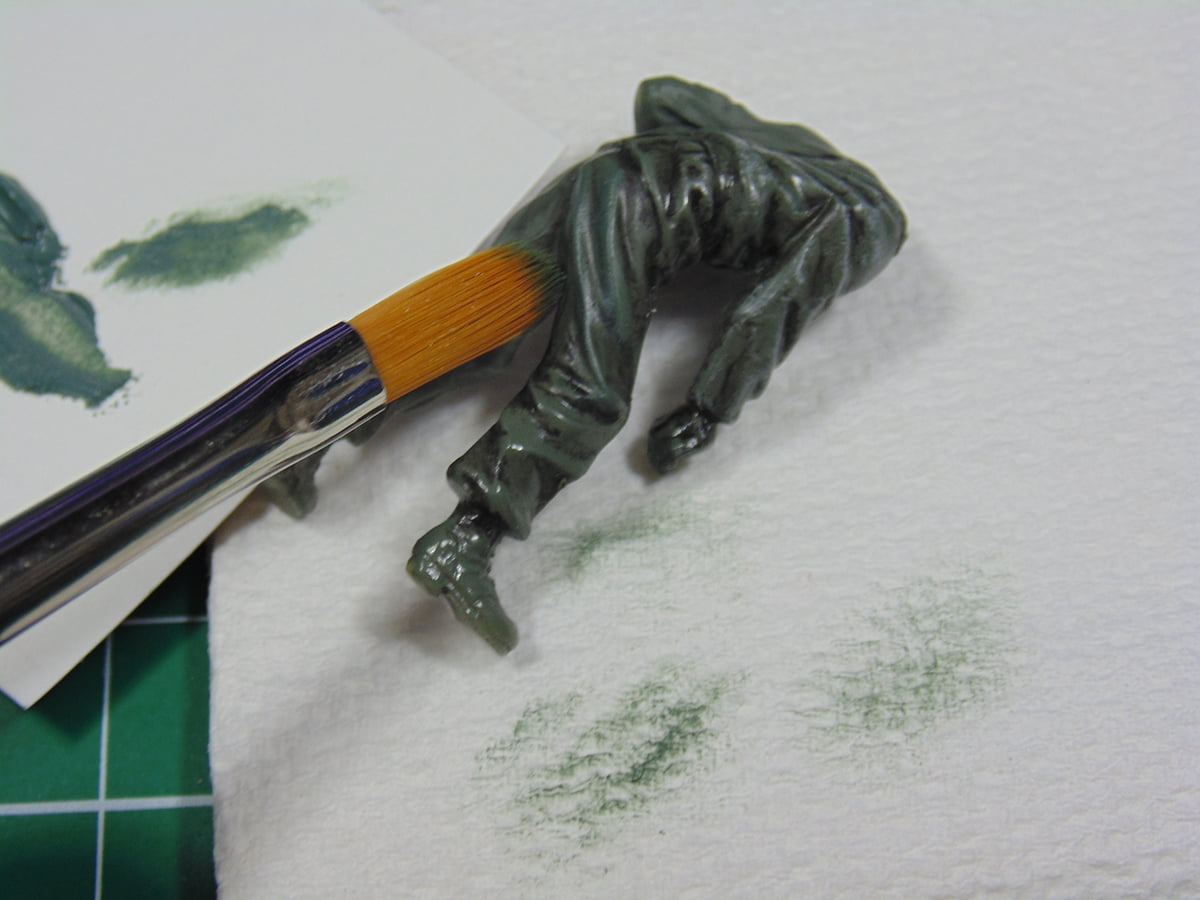
It’s obvious, the difference in how much better it is vs the lower leg. Technically this isn’t Dry Brushing, since the oil is fluid, yet the method used is.
I sure hope this was informative and lessens your reluctance to give Dry Brushing a try. It’s highly recommended that you buy a model for practicing. Paint a wing, car body or tank part to get your own technique down pat and have some fun.
If you have any questions please ask when you pick up or make your Sunward Hobbies order. Thanks for following along and enjoy your hobby.
H.G. Barnes is a former voice-over artist and retired sales and marketing professional. He’s the author of two large volume science fiction adventure romance novels with many more in the works. For well over 40 years he’s been building scale model replicas and now does commission work for clients in Canada and the USA, plus completes projects for companies in Asia and Europe.
Actuellement, HG est impliqué en tant que rédacteur associé avec les chaînes de magazines en ligne de KitMaker Network.