
Cements and Glues Tutorial Part 2
Part 1: Cements and Glues Tutorial
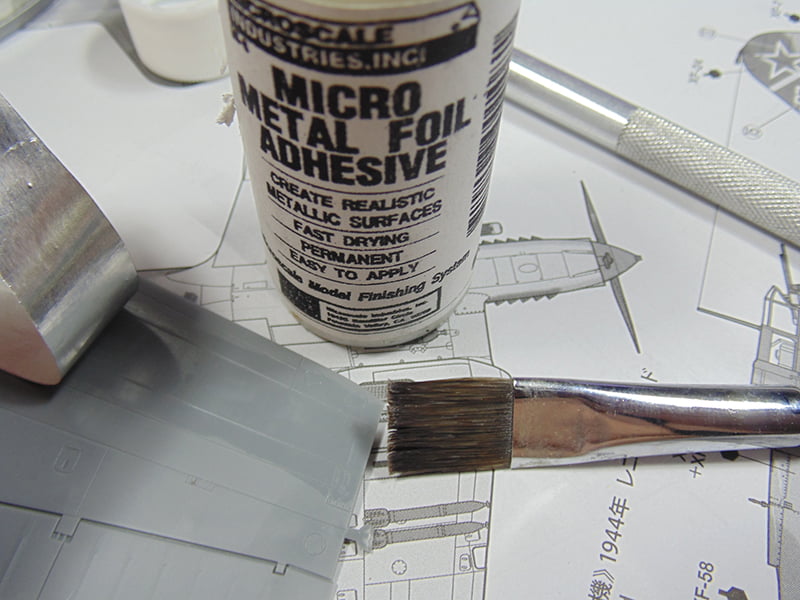
PVA can also be used for a subsurface bond. This is Microscale Metal Foil Adhesive, another of my favorites.
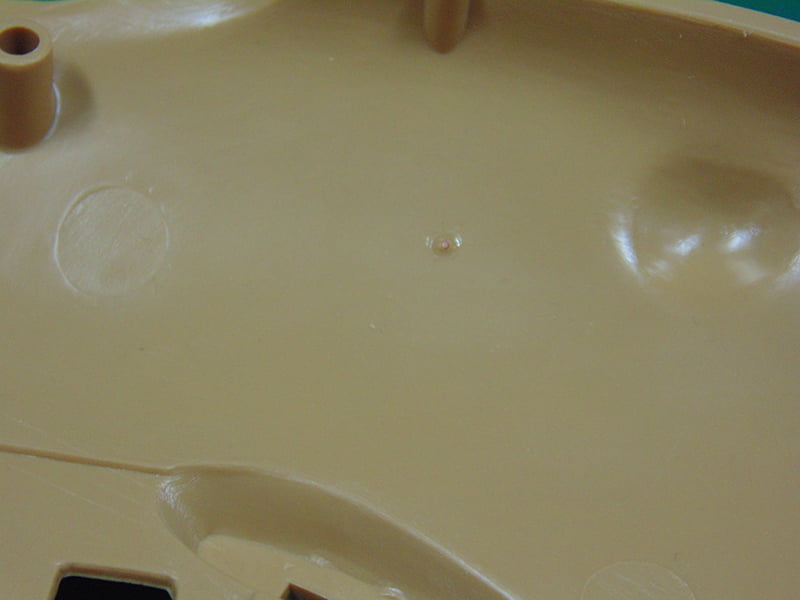
In this example it’s a 1/48 Tamiya IL-2 Shturmovik WWII aircraft. I want to recreate the look of a quick repair on the lower wing half.
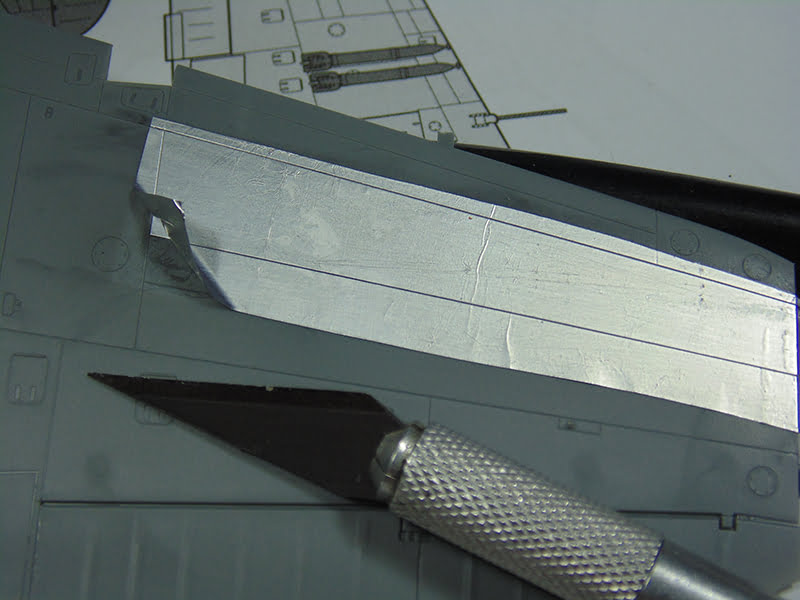
After a wide brush stroke of the PVA the Bare Metal Foil brand of aluminum was scuffed up and crinkled then burnished down to get that used appearance. Then the Tamiya panel lines were scribed and the excess removed.
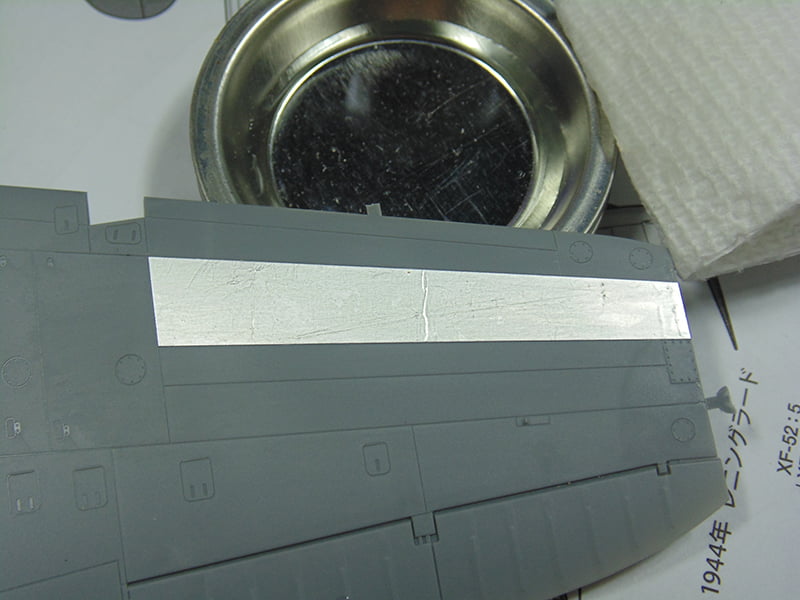
Let this PVA dry for at least 6 hours before working with it, but gently clean the area with IPA isopropyl alcohol then a moist cloth right away. Once fully dry you can mask, weather, rivet and post shade to your heart’s content.
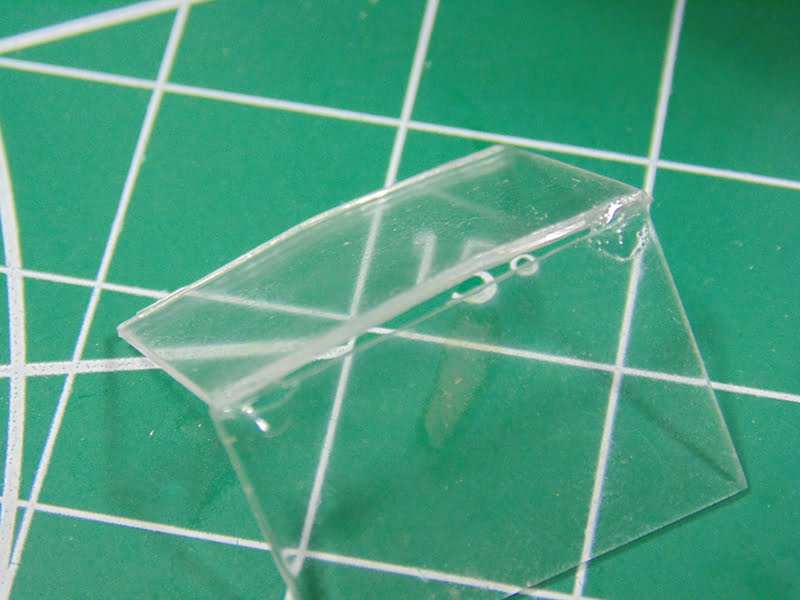
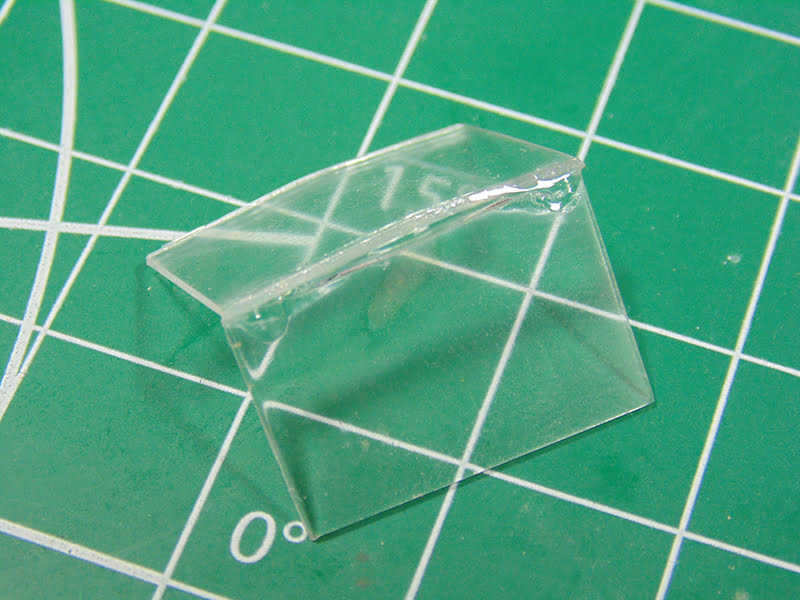
Now we’ll look at CA. BSI Cyanoacrylate adhesives are sometimes known generically as instant glues, power glues or superglues. They can also be used as a very effective gap filler. Since they are more fluid than epoxy they run or wick along a seam much thinner and run down a part far less, meaning less globs to sand. Here I’ve taken two clear parts that are not styrene and tacked the ends.

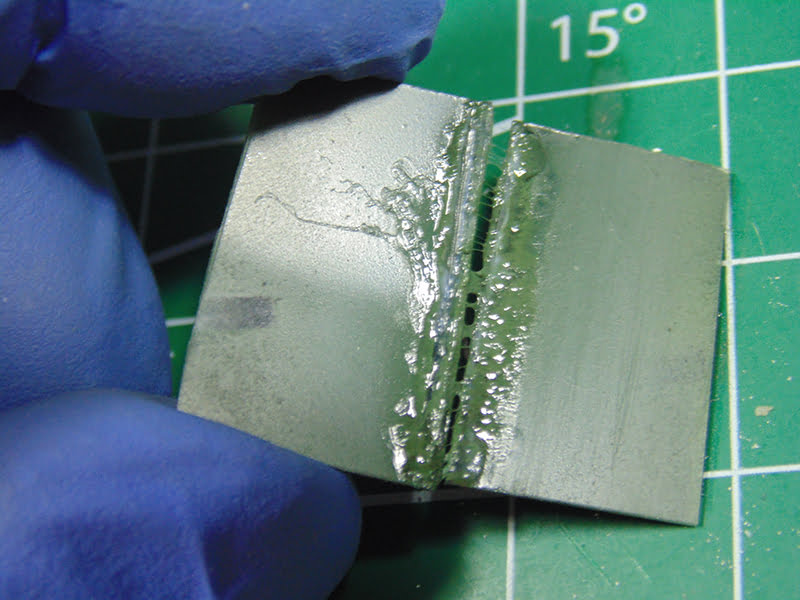
Some model parts will have gaps that are not easily filled with primer/fillers. I’ve intentionally warped one side to demonstrate. CA will bond almost anything and there are a variety of different types for the different substances you want to bond, i.e. rubber, foam, plastic, paper and metal. Sunward Hobbies carry an excellent supply of these products including a chart to help you. As you can see, we have a fairly nasty gap to correct in these joined clear parts.
One drop placed in the center of the part filled the gap then ran along each side giving me a completely connected seam. I know it doesn’t look pretty now but just wait.
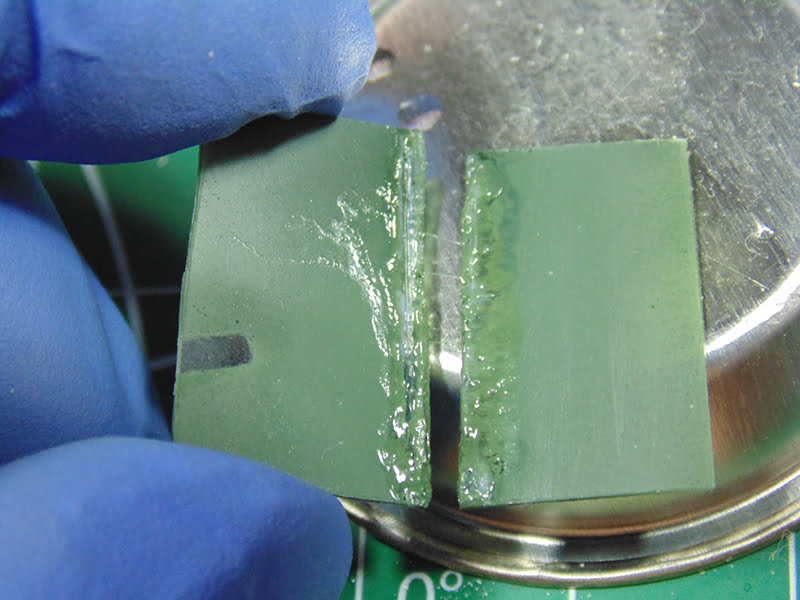
With minimal effort the part was sanded smooth and sprayed with AK US Interior Green. There are a few pin holes, however, but this is common.
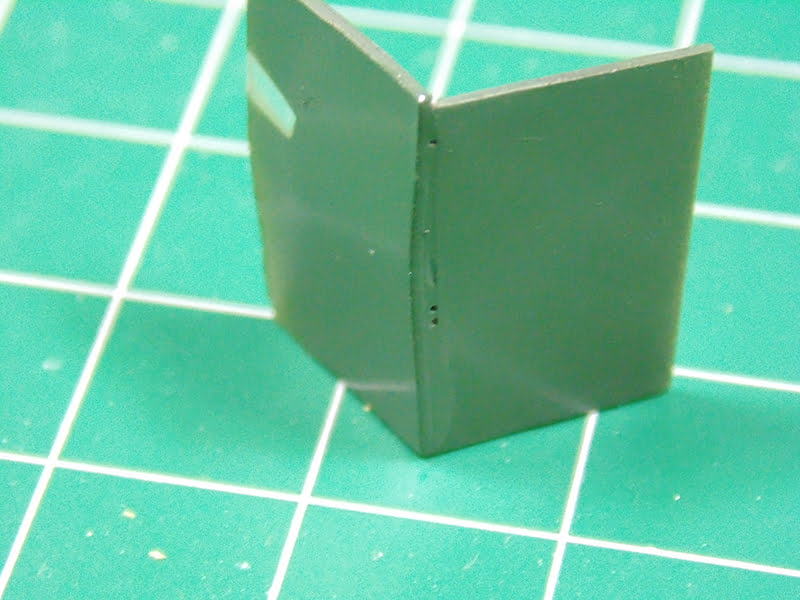
These can easily be filled, or in the case of a tank make weld marks with the filler.
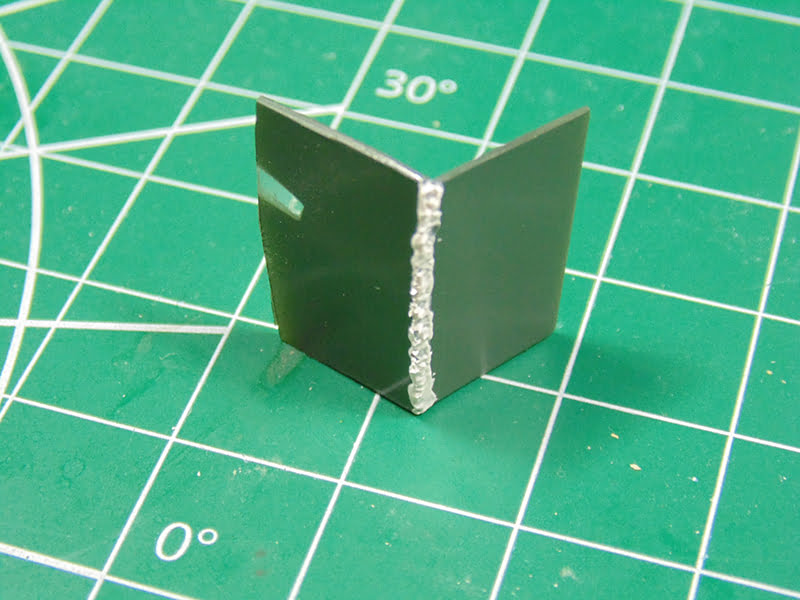
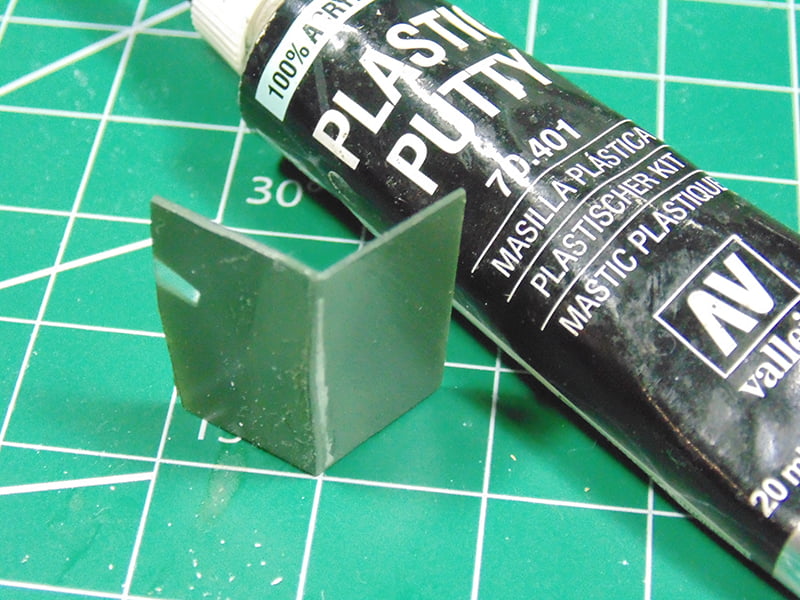
The obvious being sand it smooth, in this case with Vallejo Plastic Putty, and “POOF” it’s a smooth right-angle part. The thing I like about CA as a gap filler is how quick and easily it cleans up and how good it looks after.
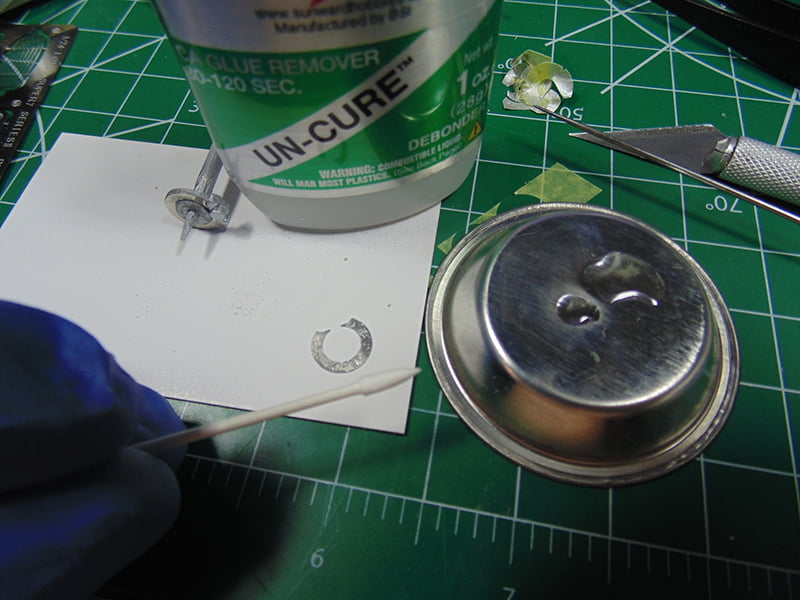
But what happens when you get a part wrong or it’s in the wrong place? It happens to every modeler. A De-Bonder such as BSI Un-Cure will soften the CA and liquify it.

Place a few drops on a tin cup and use a toothpick to work it into the area. It takes only a bit of time before the CA turns to goo and where you can slowly get the parts to come free from one another.
After a short while the parts are now separated and ready to be further cleaned up. Note that a de-bonder will eat styrene and turn it to goo as well. So, act fast with a dry paper towel to clean the de-bonder and CA glue from your part. That said, De-bonder is a must have for anyone using CA glue.
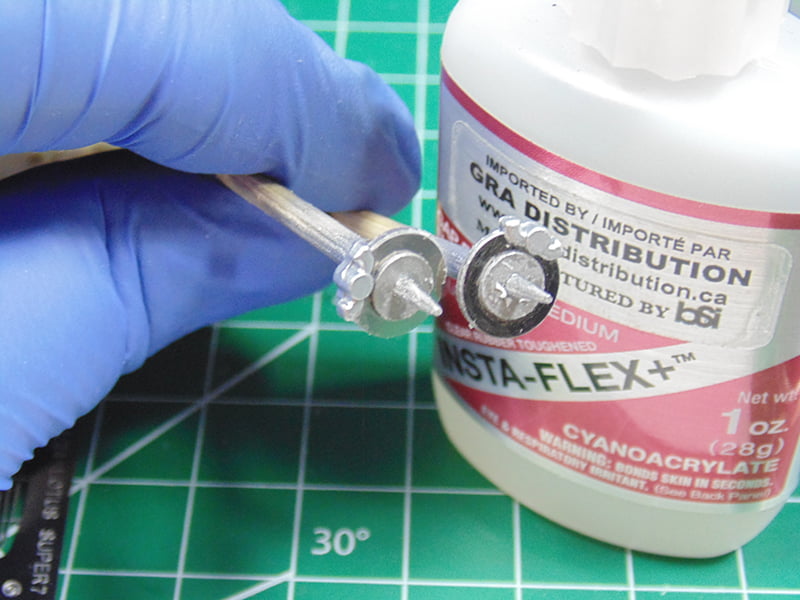
The most common use of CA is to bond metal to plastic. In this example I’ll be adding the photo-etched metal brake rotor parts to the plastic. I took the time to prime, paint and mask these wheel parts of 1/16 Tamiya Lotus Sports Car. The masks were removed but the plastic is very clean and shiny. It has to be scuffed up in order for the CA glue to have something to bite too.
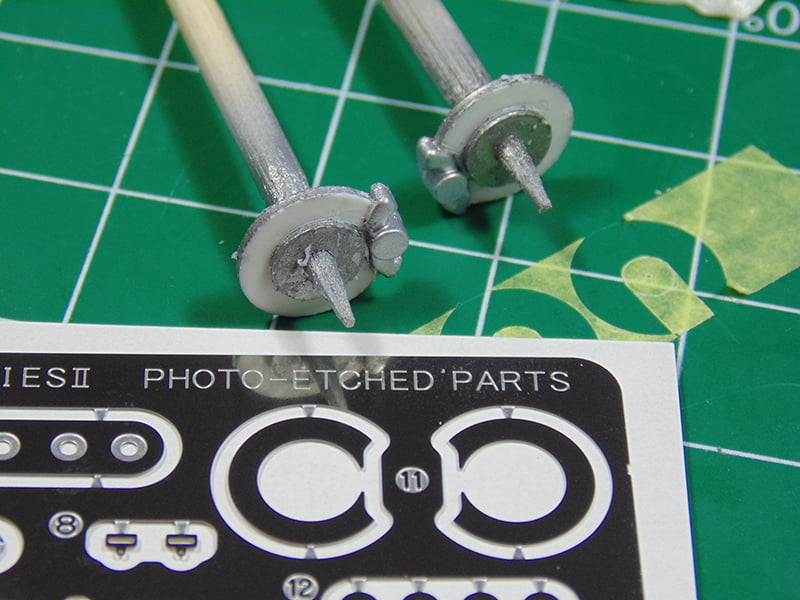
The metal has to be scuffed up as well since it is highly polished. The more scratched the more minute bits of surface area there will be for the CA to cling onto.
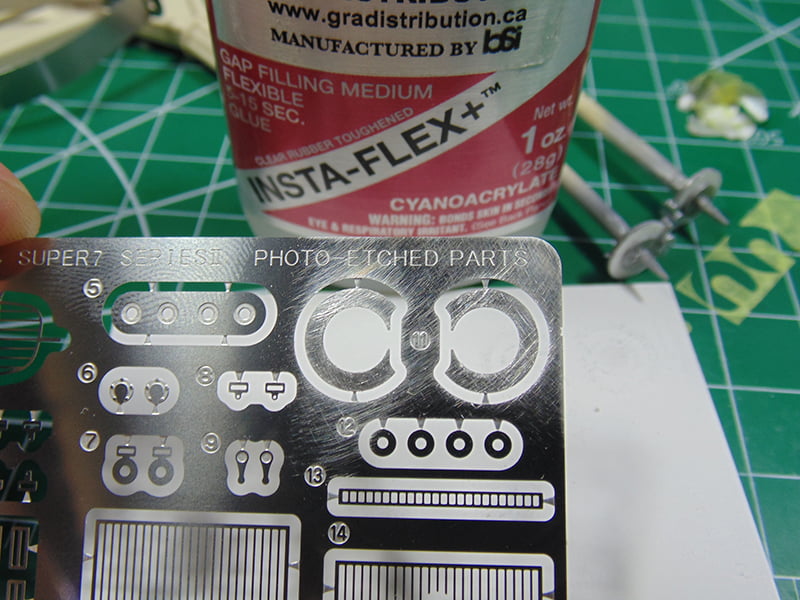
Don’t add too much CA glue as I did here for you to see. A small touch of the product on the surface will quickly spread out under pressure when you’re clamping the parts together. No problem though, I have some de-bonder and fine cotton swabs near by. Please consider picking up some sharp and stiff Q-tips. They have many uses from cleaning up panel line wash excess to getting into hard-to-reach places.
A lovely looking addition to your model is the detail of photo-etched metal.
I can’t leave the topic of CA glue without mentioning why I like the Flex-Cure and related types of CA. Metal is commonly known to fly off or “pink off” easily. When BSI and others added rubber to their formula it improved the amount shear force the metal parts could withstand before disappearing into no-man’s land. Make sure your metal and plastic have been scuffed up.
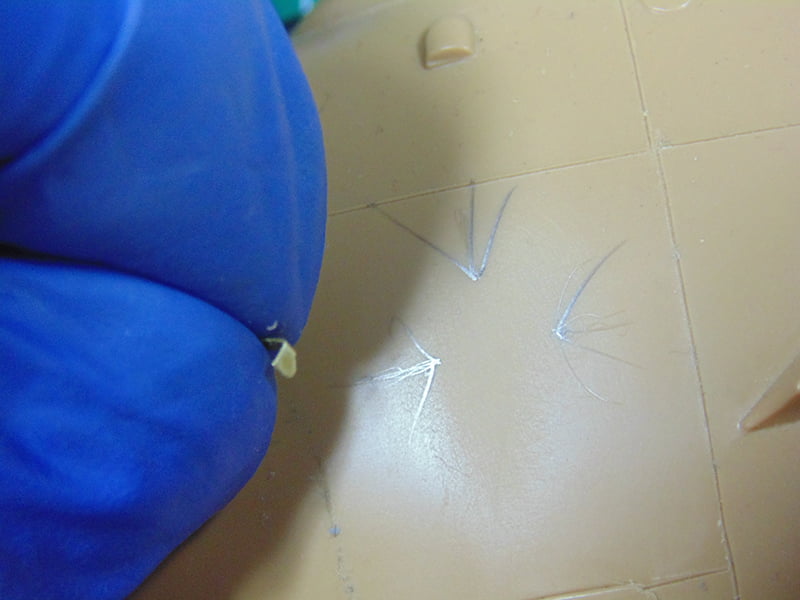
Shear force is the pressure coming from any one side and the bane of modelers working with metal parts. The rubber in the CA along with properly prepared parts will go along way to help. Even with that, If you do have a mishap the parts must be cleaned free of old CA. CA does not like to stick to CA.

Here’s a tip on grab handles. When you’re at the store buy some #80 drill bits and knock a hole for one end all the way through and counter sink the other. Dab your applicator in a tiny bit of CA and place on the holes then add your handle.
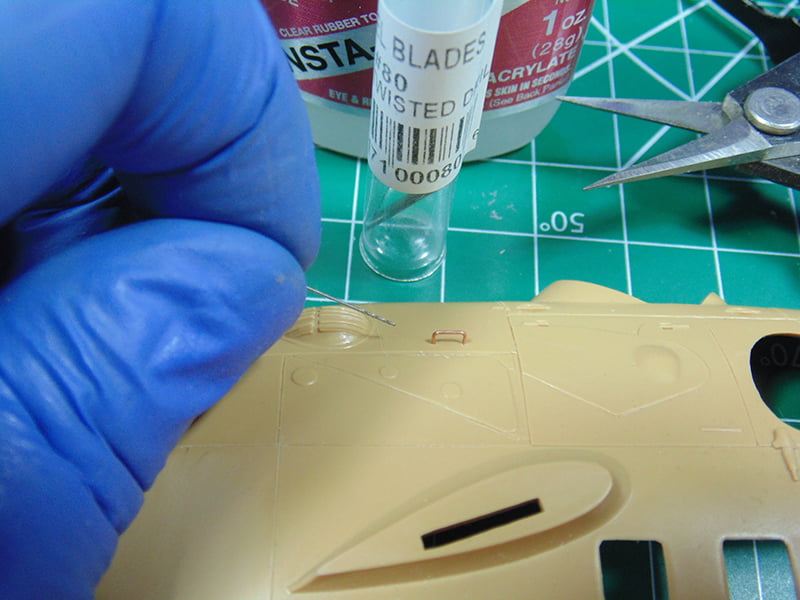
Flip the part over and add a dab to the end which has gone through for a super secure fit.
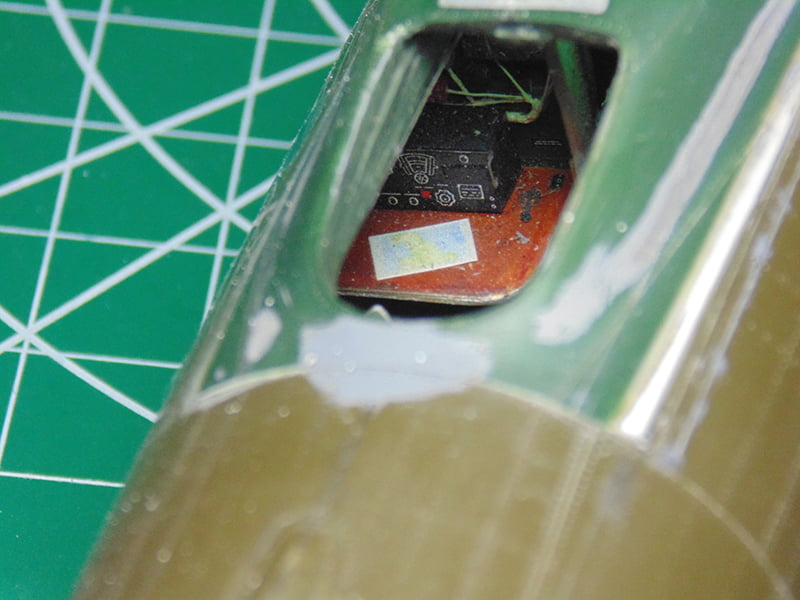
Another great product to have in your tool chest is an all-purpose gel adhesive. UHU glue will not wrinkle paper so it’s perfect for adding wall posters in dioramas or fixing paper flags to ship masts and lines.
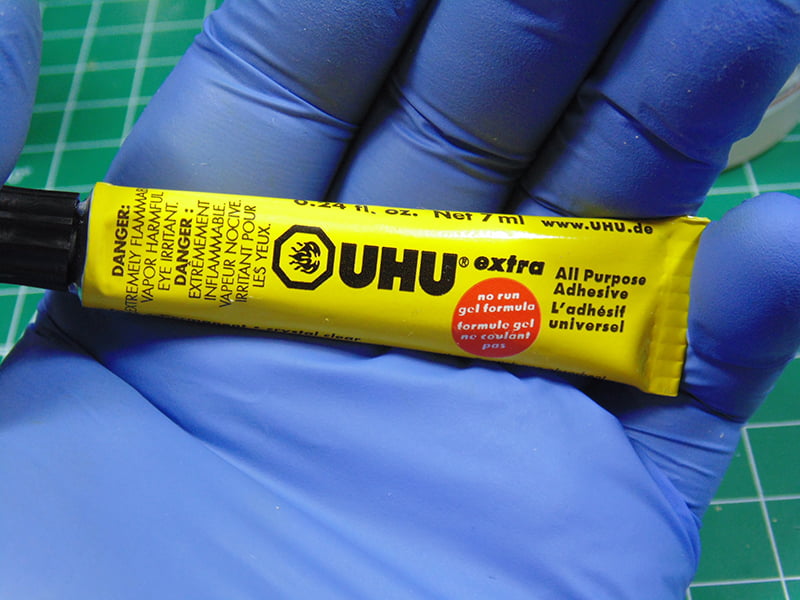
Here is that 1/48 Revell B-17 Flying Fortress. On the radio room table is a tiny paper map England. It is permanently fixed in place with UHU Extra.
Last but not least are the many types of Butyl Acetate or plastic weld cement products. Sunward Hobbies carry many more than what I’ll cover so visit the store or use the search function on the website. This will give you a good starting point to begin your next purchase though.
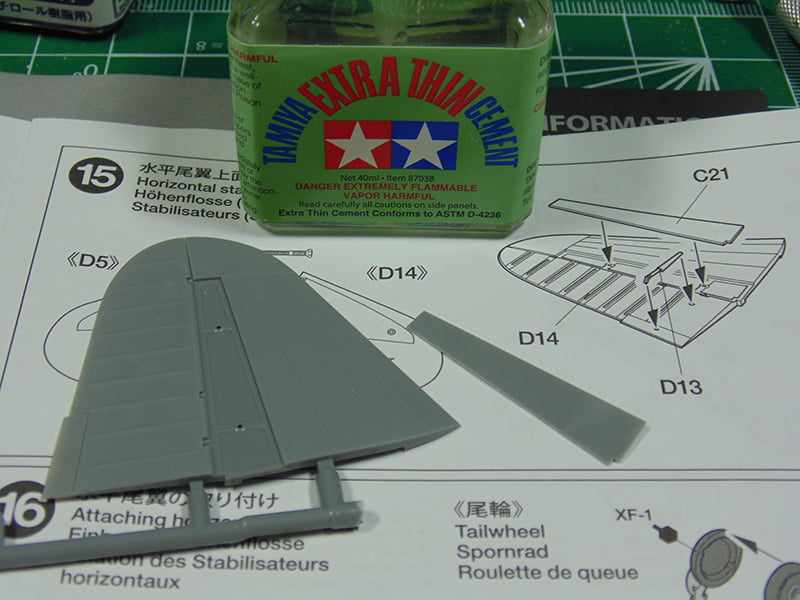
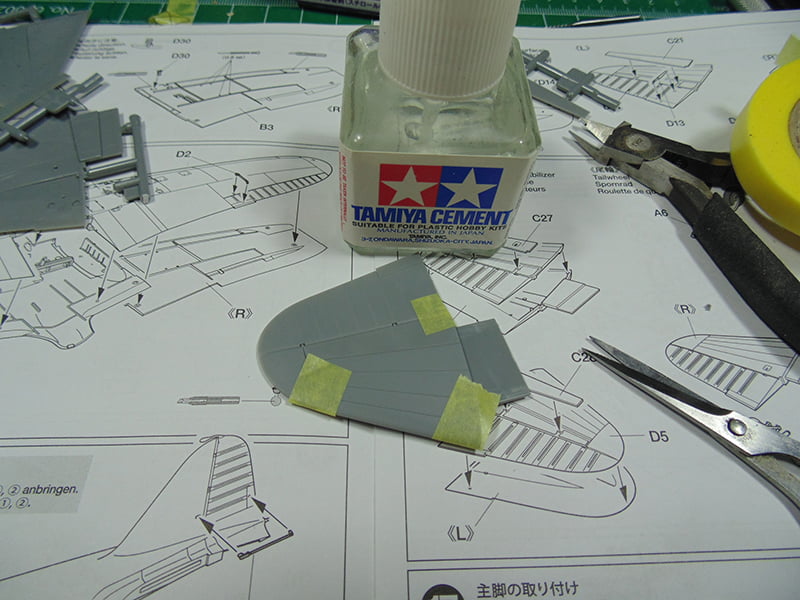
The most recognized styrene plastic cement is Tamiya Extra Thin. It and the others chemically melt the plastic causing the two parts to blend together. Once flashed off or dried they form a powerful bond.
The small brush is great for adding tiny amounts in just the right spot. Here’s a tip, when the bottle gets very low you can extend the length of the brush to reach the very last drop. The acetone evaporates within several seconds making work progress smoothly. Note, if a drop falls in the wrong place DO NOT touch it. Simply let it dry, it won’t eat all the way through or leave a serious blemish. Wiping it away while still wet will leave a mark that’ll need fixing.
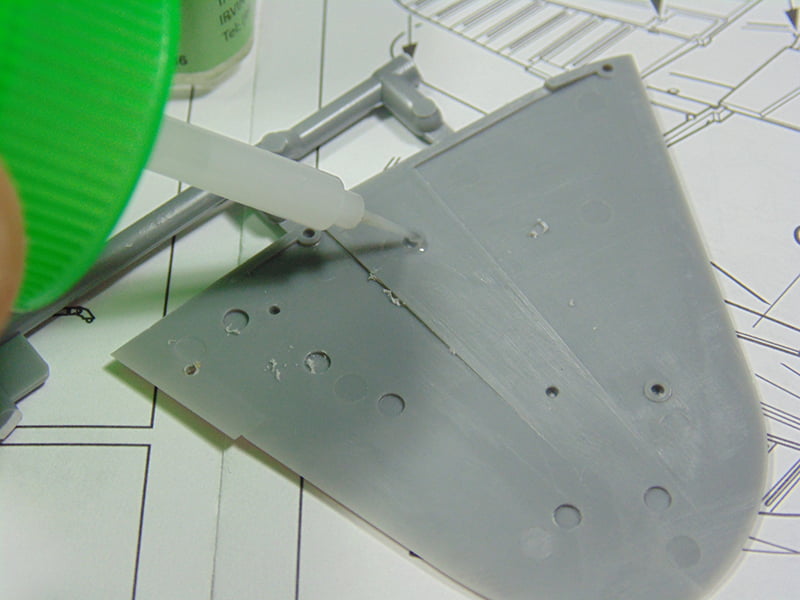
An absolute “must have” is the slower drying cement. Many times, you will need to cover a larger area, for example when putting two wing halves together. The regular type from any cement manufacturer which Sunward Hobbies carry will give you the time needed to put down the cement then the part and make adjustments. Here I’ve added a dab to each of the three connecting pins of the stabilizer. If this were a quickset cement the first pin hole would have been dry as I added some to the third and ultimately not bond.

I can now add some hobby masking tape and go on to the other side or task. The nice part about these Tamiya products is they can work with each other.
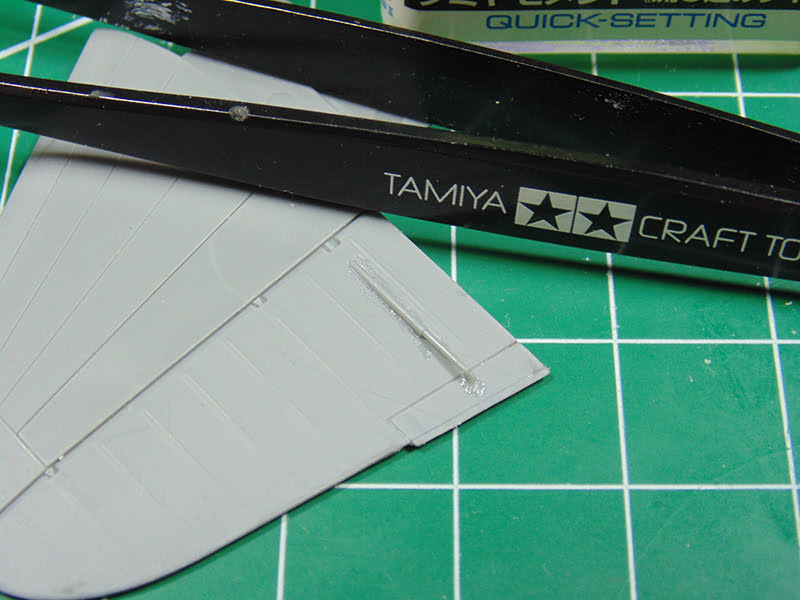
The new Kid on the block in cements is Tamiya Extra Thin Quick Setting 87182. Sometimes you need a part to bond quickly. Extra Thin can take up to 10 seconds to form a bond strong enough to keep long thin small parts in place. Quick Setting cement dries in a few seconds.
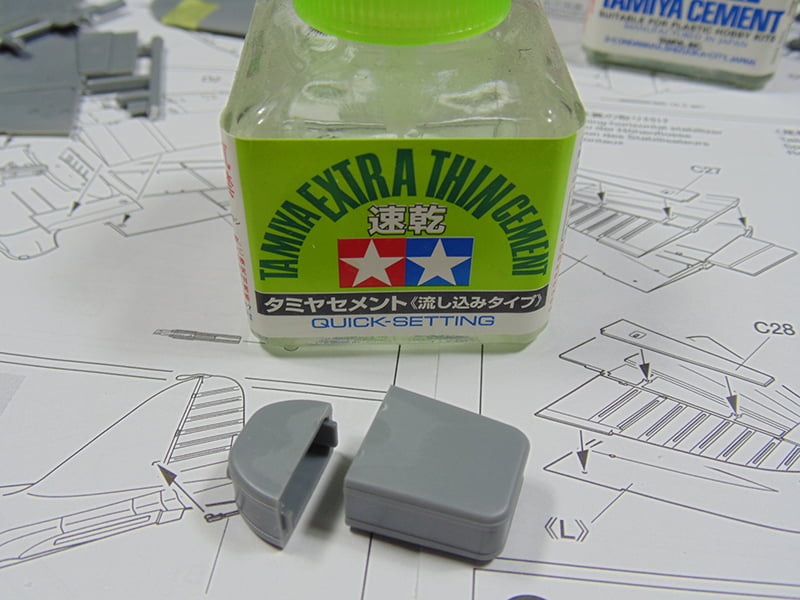
And just like regular Extra Thin it will flow along a seam line rapidly. I usually have all three bottles ready to go during a project.
Small parts, like this trim tab control arm, are best installed first then a small dab of Quick Setting will bond them in place. Another very useful tool to have around.
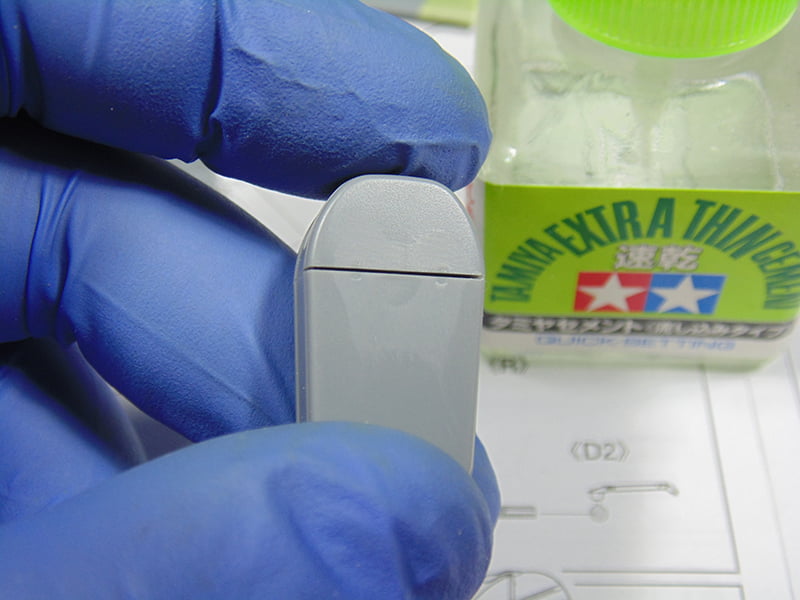
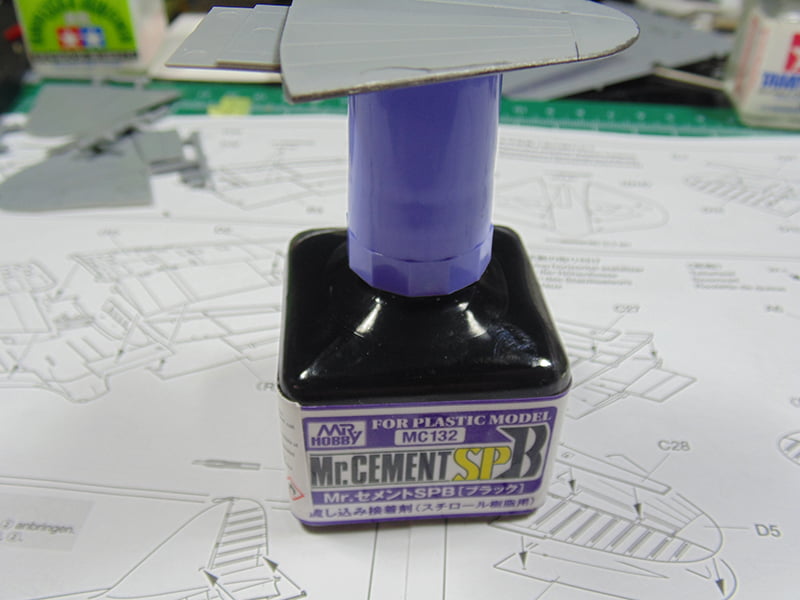
Recently Mr. Cement have added a black dye to the already great Mr Hobby SP cement. Let’s give it try on the unbonded edges of the stabilizer.
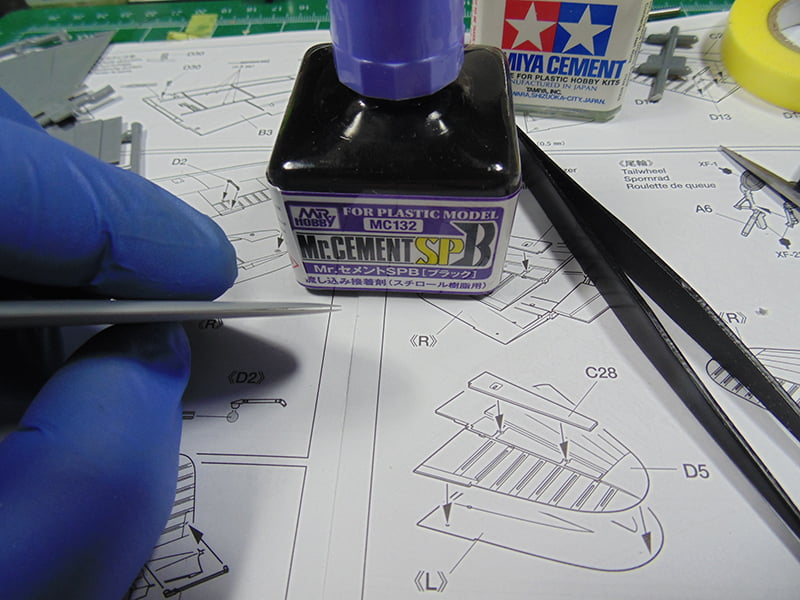
With all quick setting cements there’s a risk of the product flowing to places you don’t want. Here’s a tip, try laying the brush tip at a 90degree angle.
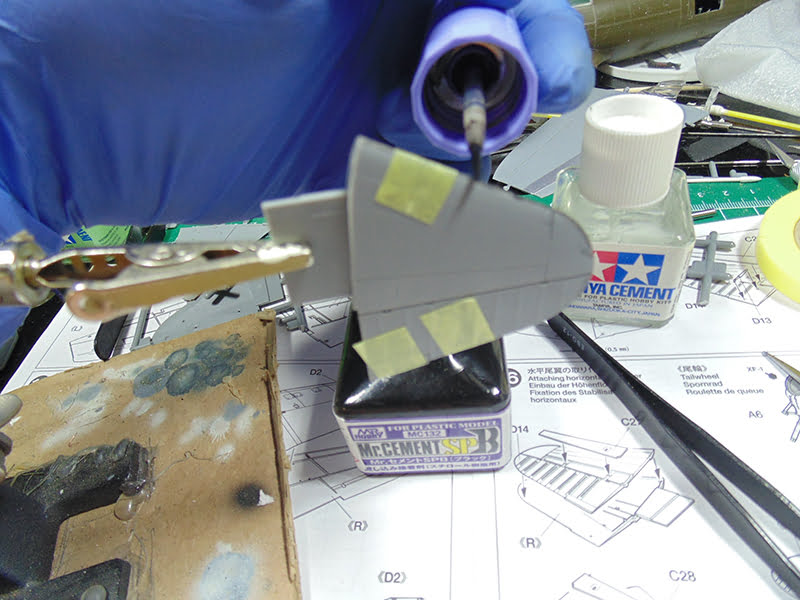
The cement will get pulled up into the two mating parts as well. This has prevented countless “cement runs” and lost time in clean up.
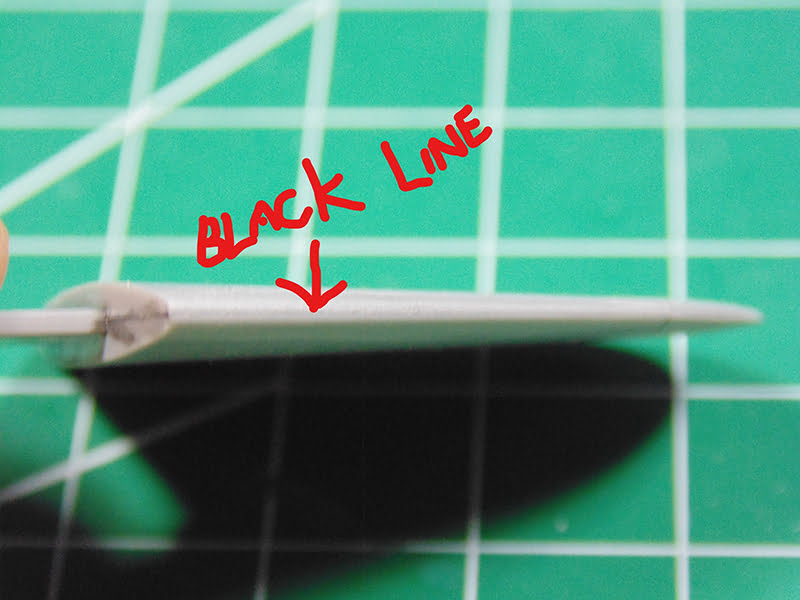
The point of the black color is to be able to see that you’ve cemented the entire area. You know where to add more or know where needs to be cleaned up.
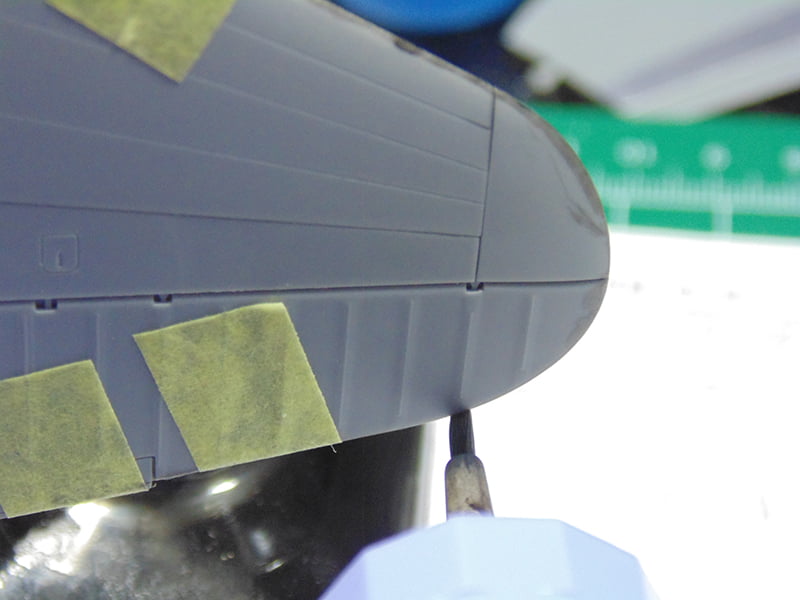
Please forgive the slightly blurry shot, but you can still easily see where the cement has wicked around the entire front of the part even after I sanded it smooth. Note the black line in the center of the stabilizer.
I’ll leave you with one final trick. You can “un-weld” any of these cements, just stick to the same brand you started with. Here I’ve made a hole and will pin it.
About the Author:
H.G. Barnes is a former voice-over artist and retired sales and marketing professional. He’s the author of two large volume science fiction adventure romance novels with many more in the works. For well over 40 years he’s been building scale model replicas and now does commission work for clients in Canada and the USA, plus completes projects for companies in Asia and Europe.
Actuellement, HG est impliqué en tant que rédacteur associé avec les chaînes de magazines en ligne de KitMaker Network.