Cements and Glues Tutorial Part 1
Part 2: Cements and Glues Tutorial
Hi! In this Sunward Hobbies tutorial I’ll show you some common Cements and Glues, go through a few basics and give you a few tips on how to make the project more fun. As always, all the models, materials and supplies are available at Sunward Hobbies. No special items were used in the article, it’s all stuff anyone use and techniques anyone can do.
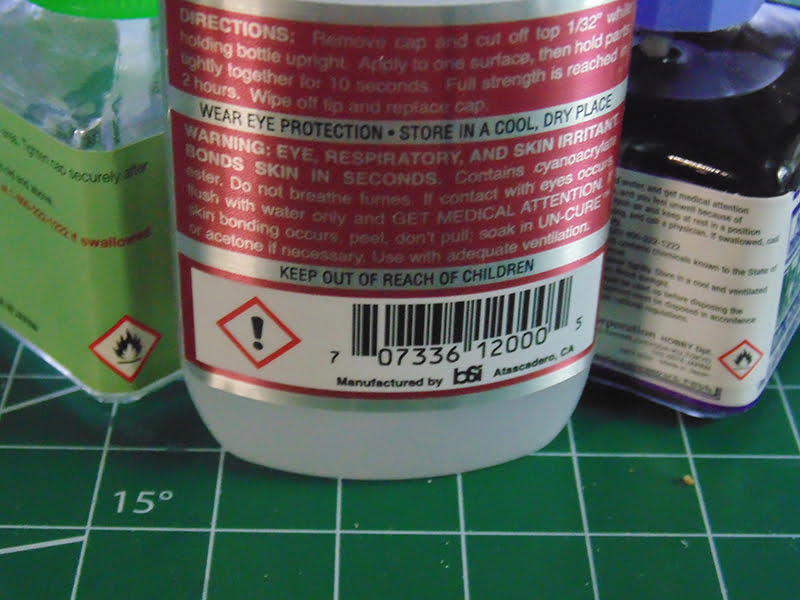
Before you begin, please read the labels and observe any cautions and warnings. It’s always recommended to work in a well-ventilated area.
There are two basic types of adhesives for modeling, Glue and Cement. Glue uses natural substances to bond while Cement use a combination of chemicals to either form a mechanical or plastic weld to adhere parts.
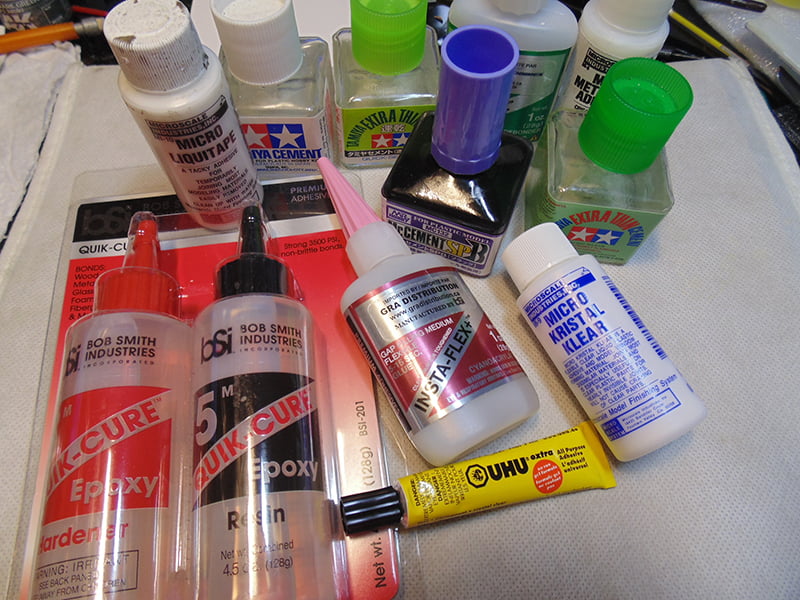
Depending on the specific task it’s good to know what will work best for you. This will also help filtering through the numerous brands and types within that brand. Sunward Hobbies have vast selection of adhesives to choose from and are more than willing to help you select a type that’s perfect for each job. I’ll go through a variety of types so you can determine which is suitable.
Epoxy Cement combines a resin with a chemical hardener. It clings to the surface by getting into micro valleys, cracks and scratches. Depending on the hardener, and when properly mixed, you can have up to 15-30 minutes of “working time” before the epoxy bond begins to really take hold.
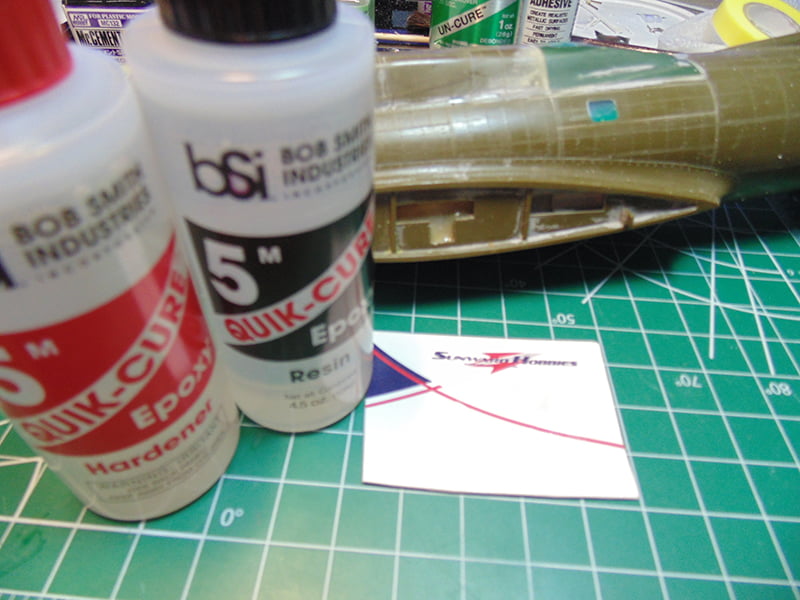
In this example you can see a 1/48 Revell B-17F Flying Fortress. Note the glossy area in the middle of the wing-root, that’s a 5-minute epoxy powerfully bonding a resin bomb bay to the plastic. My preference is to have separate bottles since I get much better control over how much comes out of each bottle. The common twin tube with a plunger may either combine the two substances or have them touch at one end when they come out of the dispenser. By putting a drops that don’t touch next to each other I can mix when I’m ready. I can put multiples down on my card and use them easily, as opposed to pulling off the cap of the twin tube for each part or use. Separate tubes are by far less messy too. Epoxy will bond almost anything very well except for organic material. They sand well, but can be difficult to run a panel line scriber and riveter through.
PVA or Polyvinyl acetate PVA, PVAc, poly ethynyl ethanoate, is commonly known as wood glue, white glue, carpenter’s glue, school glue, or Elmer’s glue in North America, is a widely available adhesive used for porous materials like wood, paper, and cloth.
There are many brands on the market which are formulated for modelers that Sunward Hobbies carry. I’ve been using this brand for ages so it will be the one for these demonstrations.
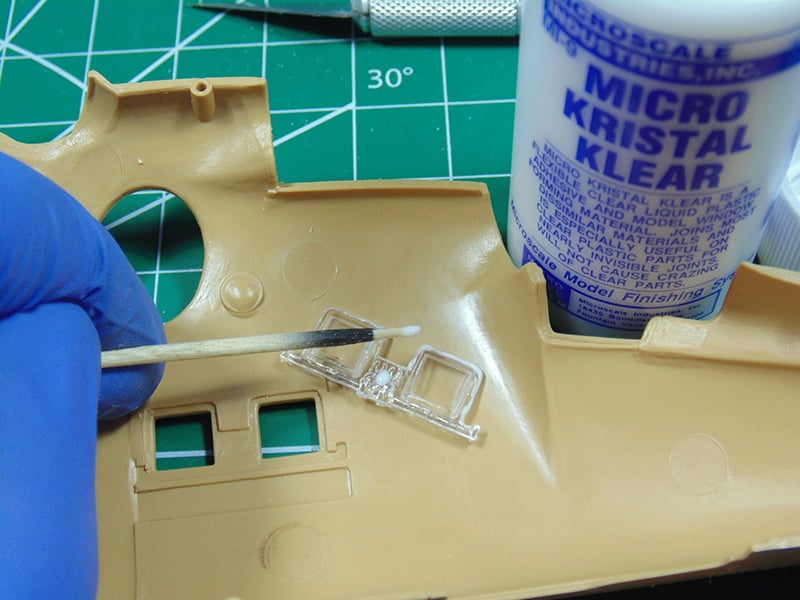
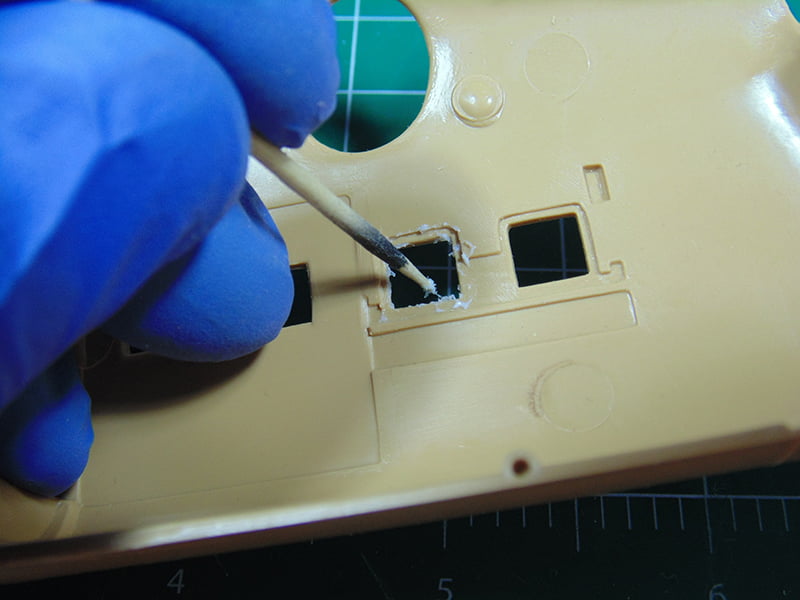
Krystal Klear can be used in three primary ways. As an adhesive it’s milder than epoxy and I’ve easily removed parts that have been joined in the past. As its name implies it will give a clear bond and is great for windows. It can be applied with a brush or toothpick.
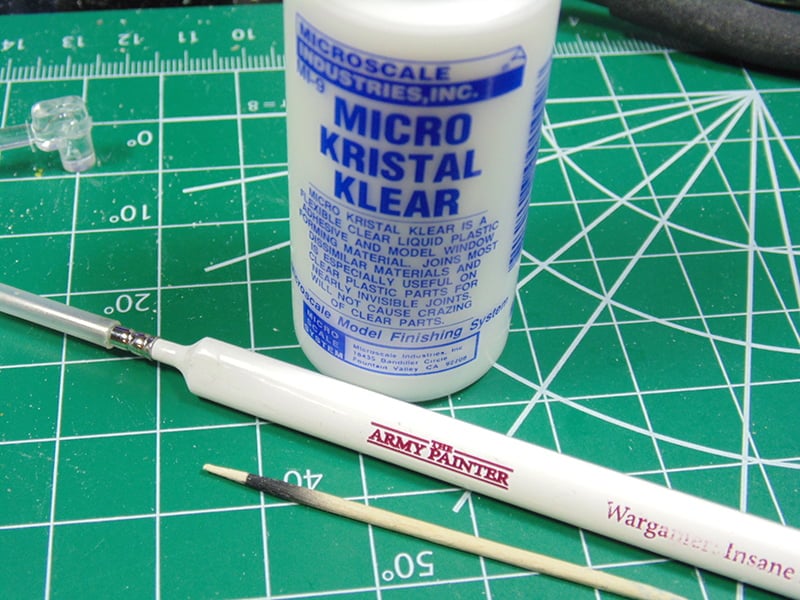
Applying it is easy. Here I’m using a 1/48 Revell MiL-24 HIND D, that you can pick up at the store.
For me control is everything, hence the toothpick. Make certain you get enough on the part though to form a secure bond.
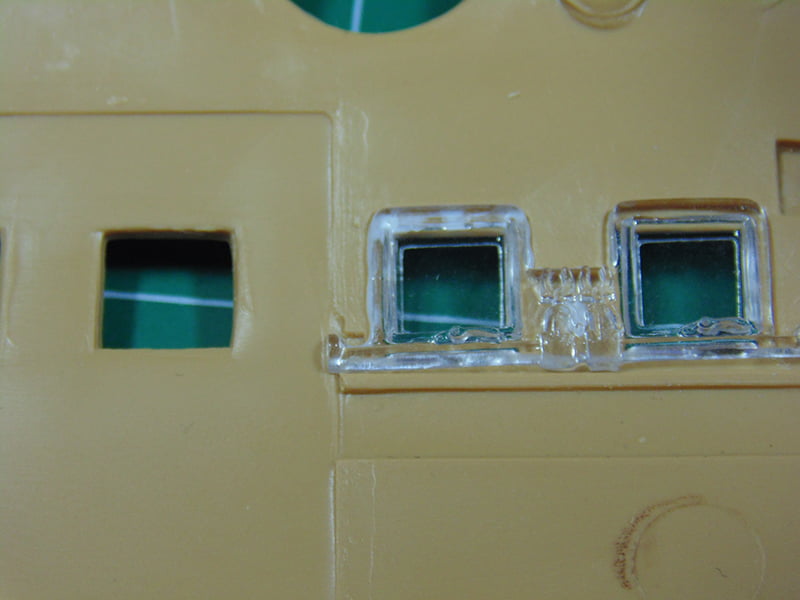
Thumbs down on that attempt. Look at the left window and note the limited coverage. This will not due, so out it came to have a heavy coat.
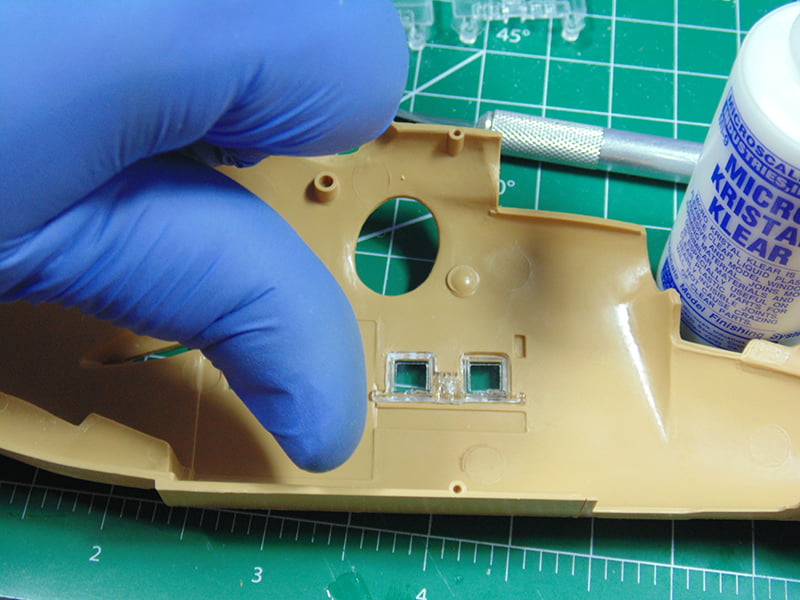
The reason for having both surfaces, the clear part and sand plastic, be sealed with PVA is two-fold. Obviously, first is a secure bond and second is a complete seal will prevent over-spray or hand brushed paint from leaking inside.
Don’t fret is you get some extra oozing out. This MicroScale product is water based and easily wipes away with a moist paper towel or wet cotton swab. A workable drying time is about an hour but several more would be best.
You can easily remove the part up to 6 hours after fitting. The PVA will literally peal off and be ready for a wipe with water or alcohol.
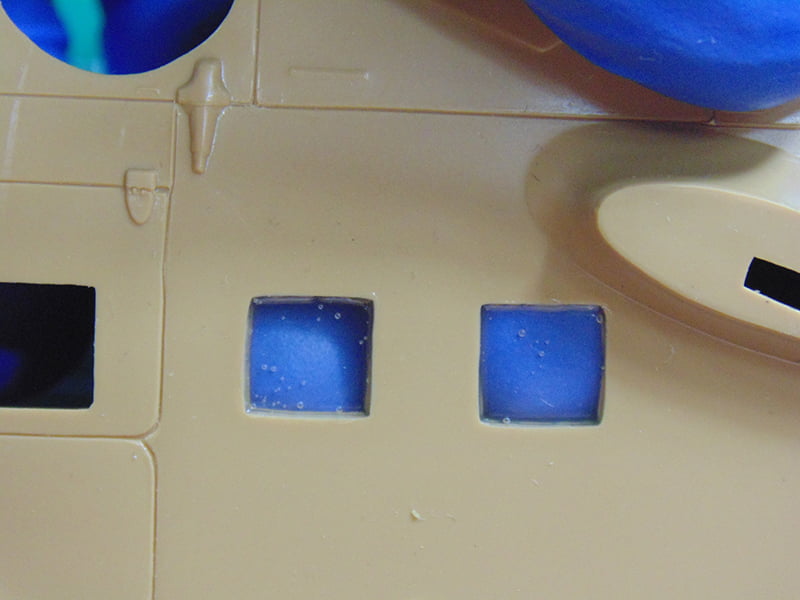
PVA’s next use is making small windows. Begin by lightly touching the part’s edge with the product then repeating the process. You’ll soon be able to pull the PVA towards the center and lift the applicator out.
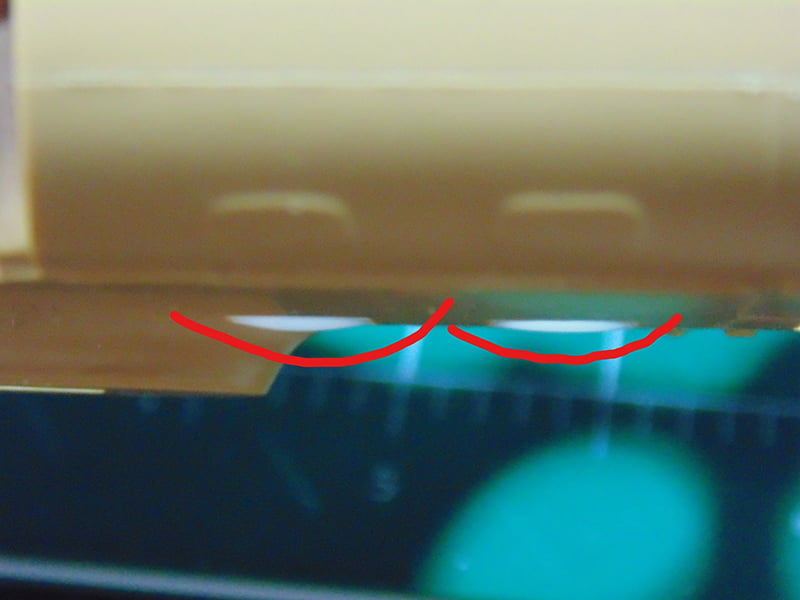
The thickness depends on how much PVA you apply. In this shot you can see the left window sags more than the right. It’s difficult to make the right thicker once the applicator has been removed, so some practice is required if you want to get better consistency. To get your windows flatter, continue to flip the part over as the PVA begins to set. It only takes about 15 minutes and you should be safe, but it depends on the amount of PVA plus your environment.
After a few hours the PVA has dried enough to see results. It’s clear enough to read the label from the bottle.
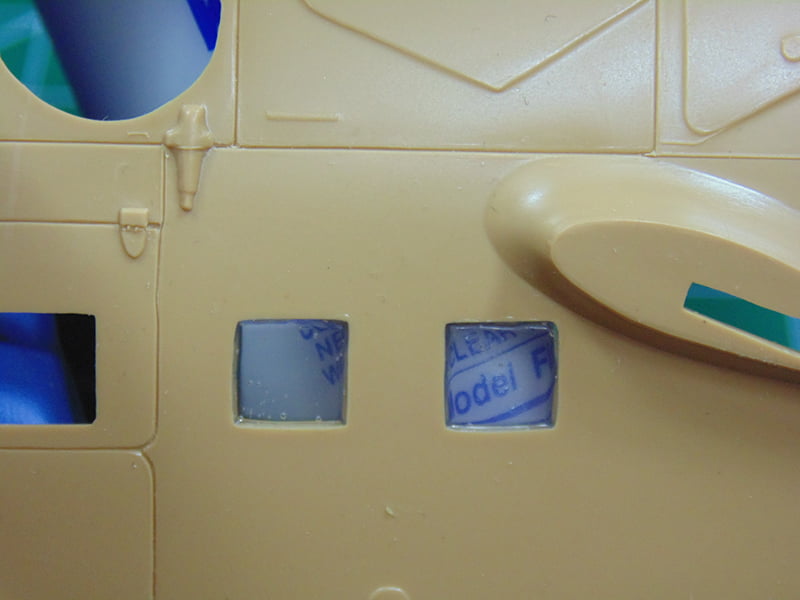
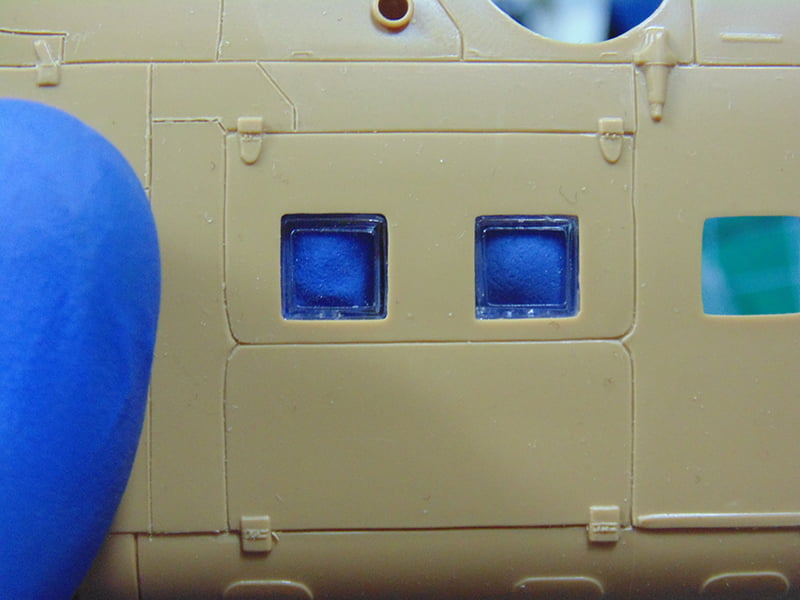
In this example I’m showing you two things. First, the window has bubbles. This happens when PVA is over mixed or shaken too much and applied too quickly. Take your time, move the applicator up and down and watch for bubbles. Second is that this is a pretty large space to fill and the absolute limit of what I’d do.
Naturally, this will have to be removed and redone but it does show that an effect can be made. For example, say you have a small ship’s bridge where the portholes where not hollowed out in the plastic. You can drill them out and now create your own windows easily.
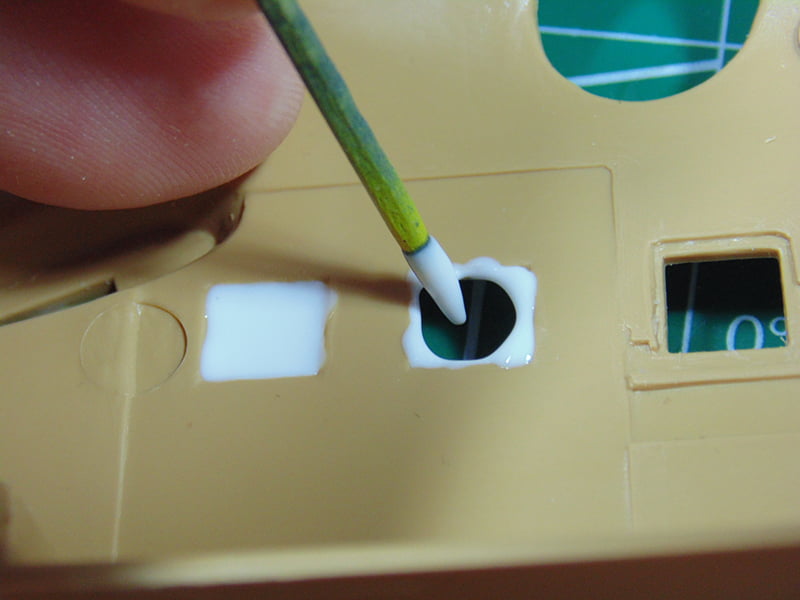
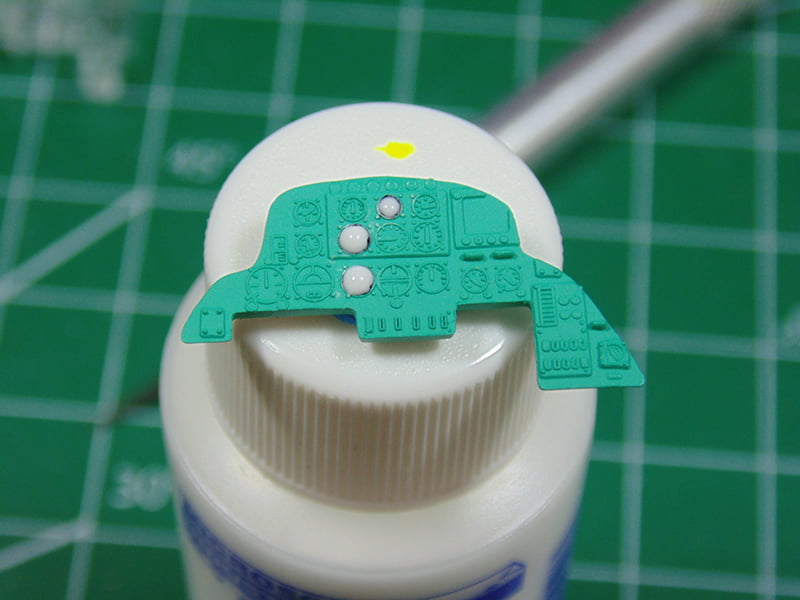
For the 3rd application I took the time to prime, paint Russian Turquoise then add three colors to a few instrument gauges. Make sure the paint has dried for a couple of hours. Dip your applicator into the jar, NOT the cap, and extract a small amount of the PVA. Hold your applicator, in this case a toothpick, at a 90 degree angle directly above the part and touch the surface. You may need to work the PVA around a bit to get it to cover the entire circular surface, but make certain you have a dome shape of the fluid.
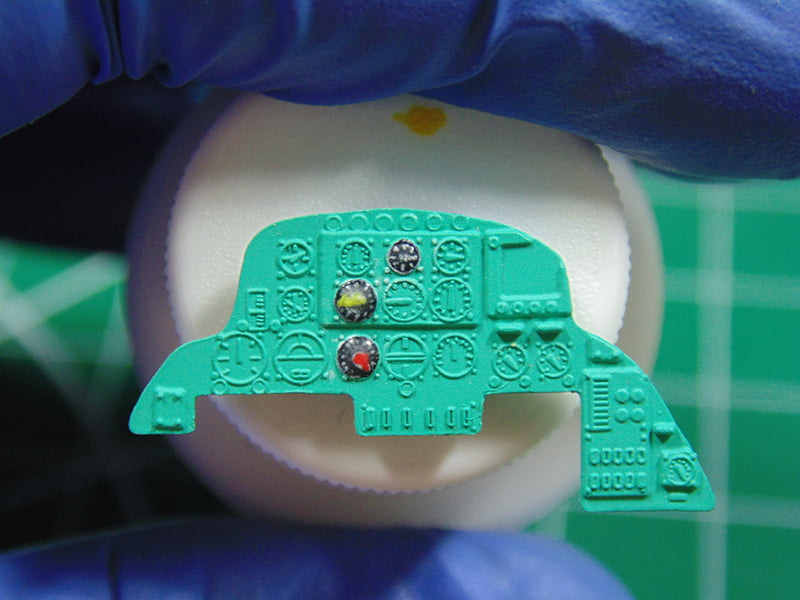
After a few hours you’ll see the PVA becoming clear and in 24 hours it will be “Krystal Klear”. This application works great for car lights, spot lights and even can be mixed with food coloring since it is water based. Some aircraft and ship navigation lamps are a solid clear glass and this added use fits the bill.
Another PVA formula I adore is Microscale Liquitape MI-10. Apply it, sparingly, to the surface you would like to temporarily keep together.
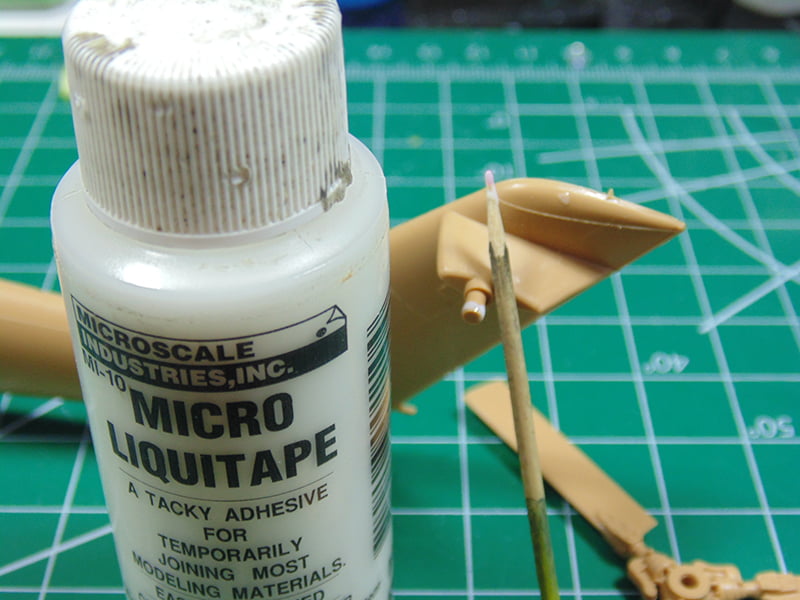
It’s good to go when the PVA has turned clear. You should let it get to this state, otherwise it will take much longer to dry and properly adhere.
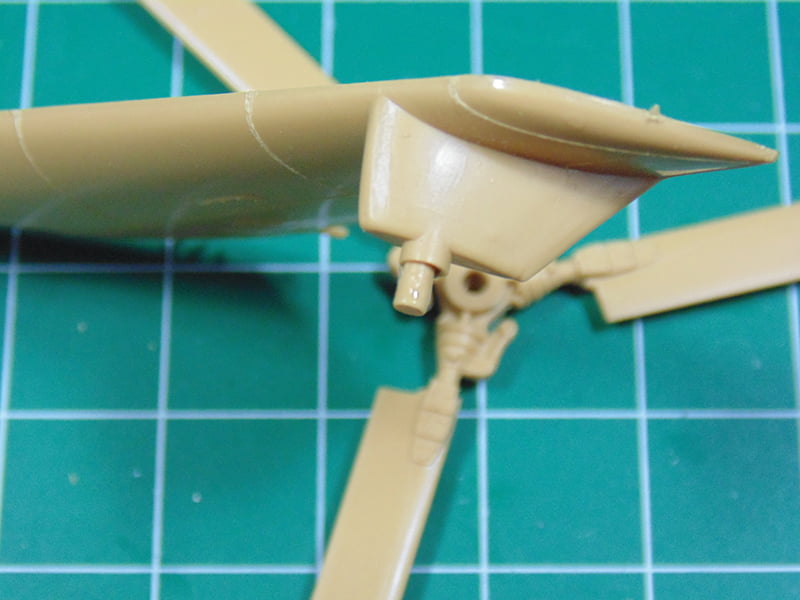
Attach your part and let it sit for 5 minutes. The part will still move slightly but will stay put enough for you to feel confident it won’t get lost or fall and be damaged. This is perfect for those who want to take a model to a show and are worried about breaking propellers or rotor blades when putting them in and pulling them out of a box. Not to mention all the handling during any shipping or moving events.

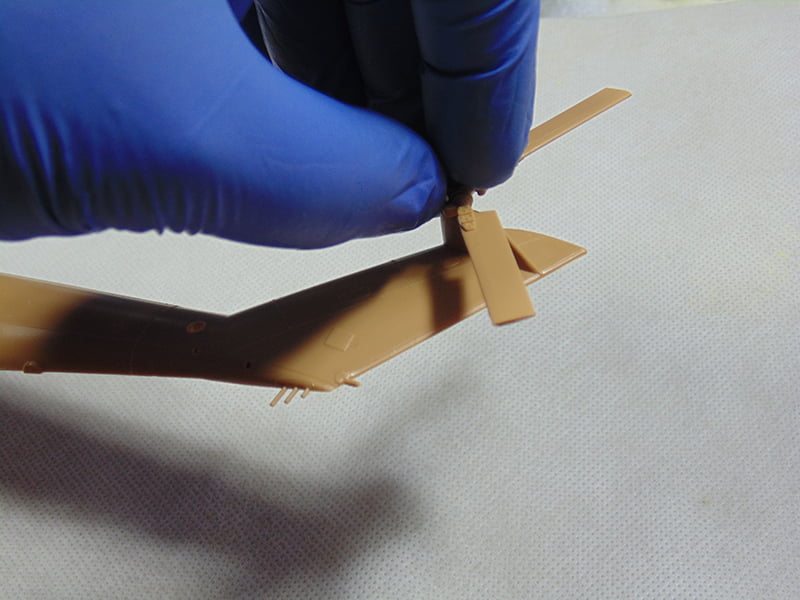
Don’t worry about the bond strength. You can see how I’m lifting the entire heavy part with just that small amount of PVA Liquitape applied.
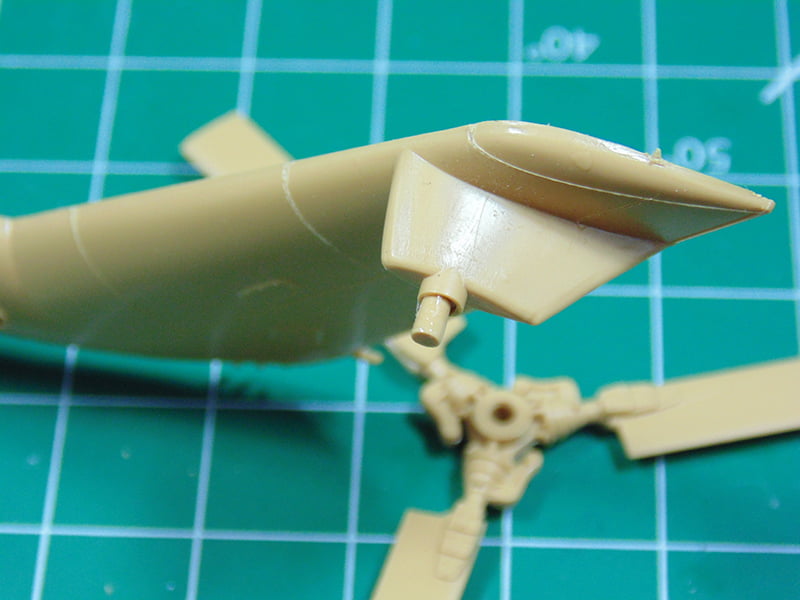
After, you can detach and clean up the surfaces or assemble and disassemble as you see fit.
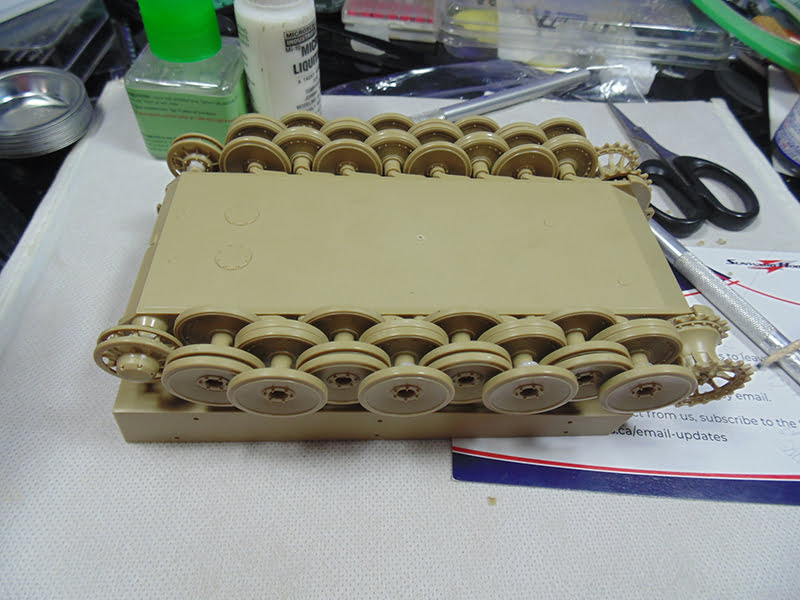
Another recent use of this PVA was to temporarily attach the entire road wheel assemble of a 1/35 Tamiya Tiger 1. This PVA came in very handy to keep the tracks in one place while making the length of tracks.
Continues in Part 2: Cements and Glues Tutorial
H.G. Barnes is a former voice-over artist and retired sales and marketing professional. He’s the author of two large volume science fiction adventure romance novels with many more in the works. For well over 40 years he’s been building scale model replicas and now does commission work for clients in Canada and the USA, plus completes projects for companies in Asia and Europe.
Actuellement, HG est impliqué en tant que rédacteur associé avec les chaînes de magazines en ligne de KitMaker Network.