Artesania Latina Bluenose II Build – Part 2 of a Series
In this Sunward Hobbies tutorial, I’ll be continuing with Artesania Latina’s Bluenose II build with Part 2. You’ll see some techniques to make the build easier plus learn some tips you can use on your other models.
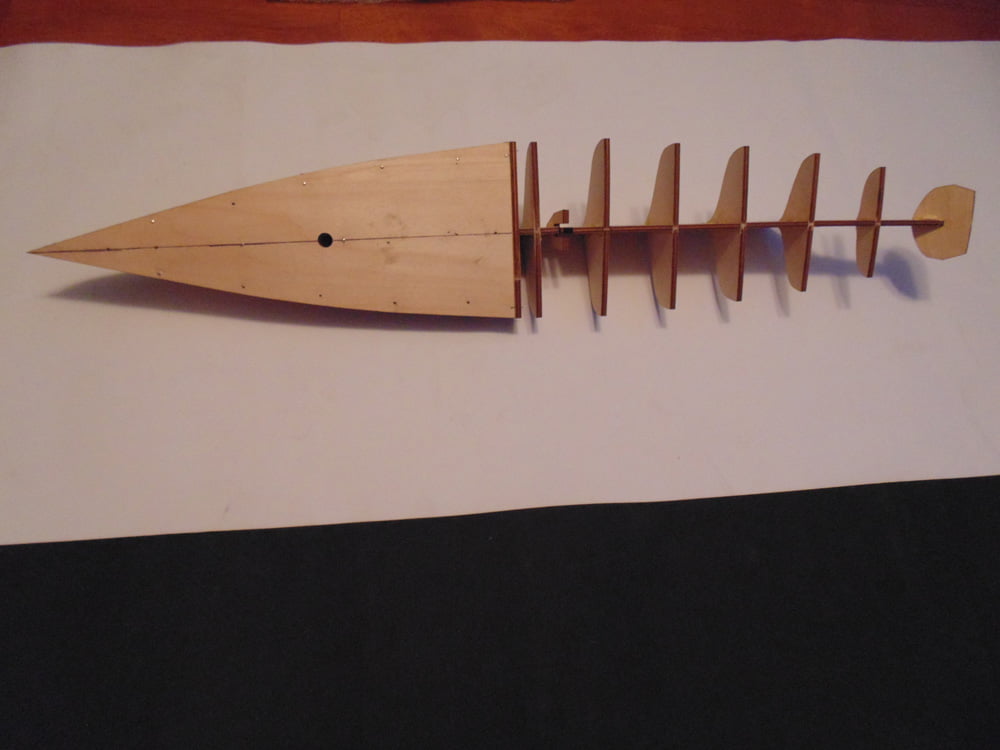
So, you’ve completed the skeletal hull frame and are ready to add some life to this beautiful replica. As mentioned in Part 1 there is a warp that needs to be fixed. Most of this correction is forward amid ship.
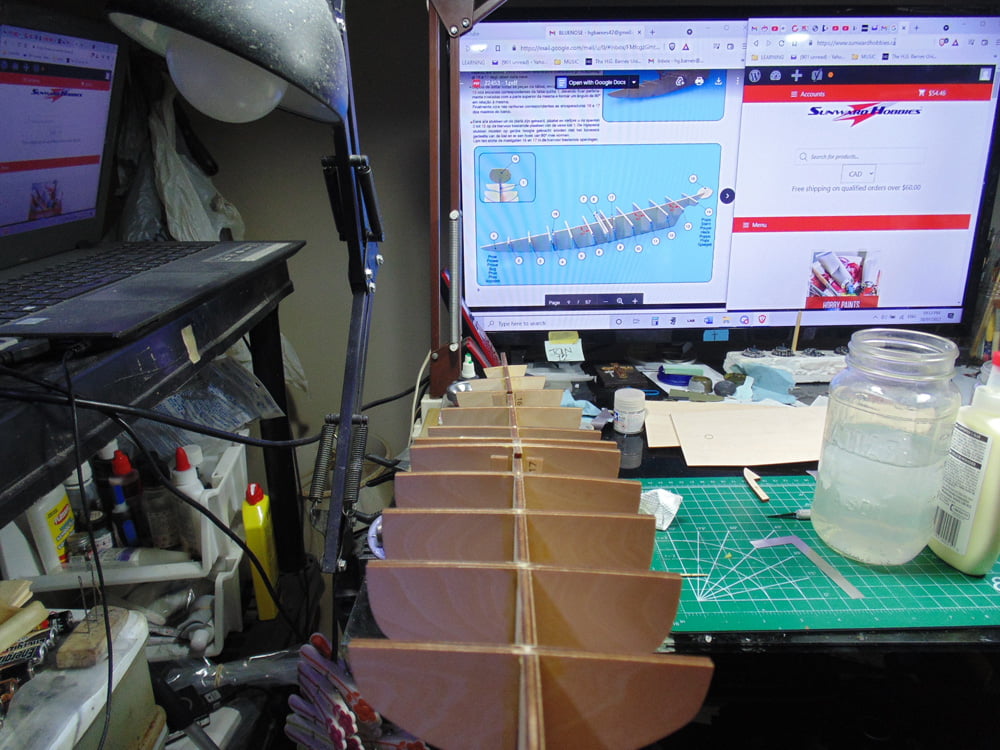
I’m going to use the deck to correct this, but first some preparation. Brass nails are included, yet they just can’t be inserted, even with the Artesania Latina’s “Nailer Tool”. I’ll confess my first couple of attempts to nail failed due to the high quality of the wood.
I went back to the methods I’ve used in the past. First, the nail’s thickness was measured.
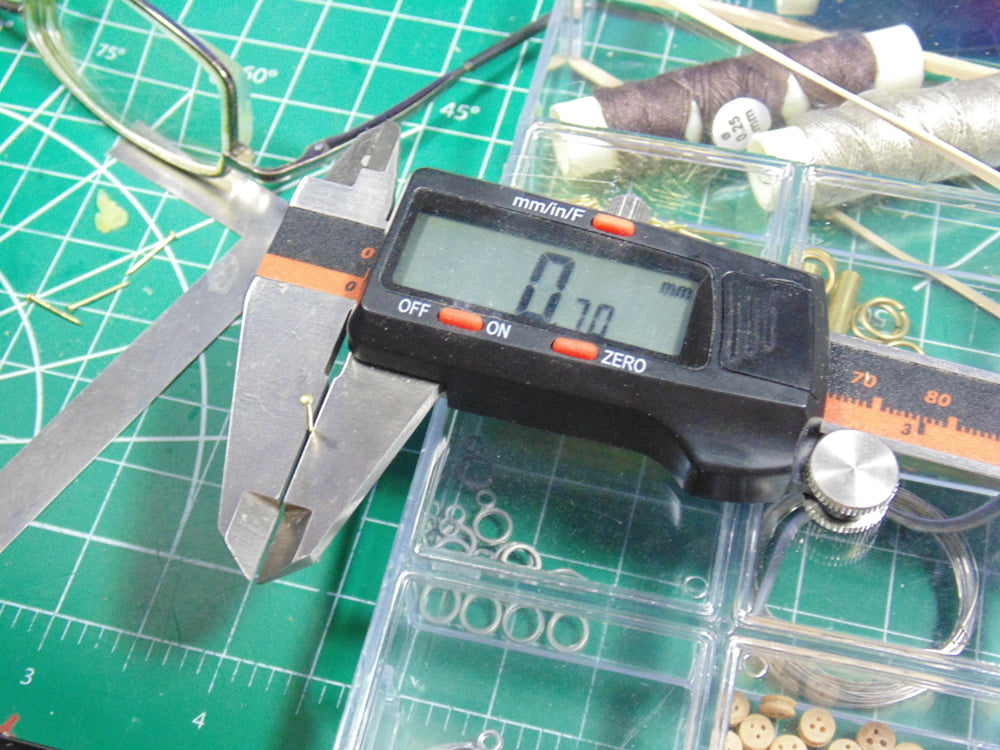
Next, I took a 0.4mm drill bit and twisted the frame until it was correct at each cross support and marked the pilot hole. Sunward Hobbies have a great selection of tools for drilling and a huge selection of drill bits. You should make the pilot hole smaller than the nail so as to allow the nail something to bite into and grip.
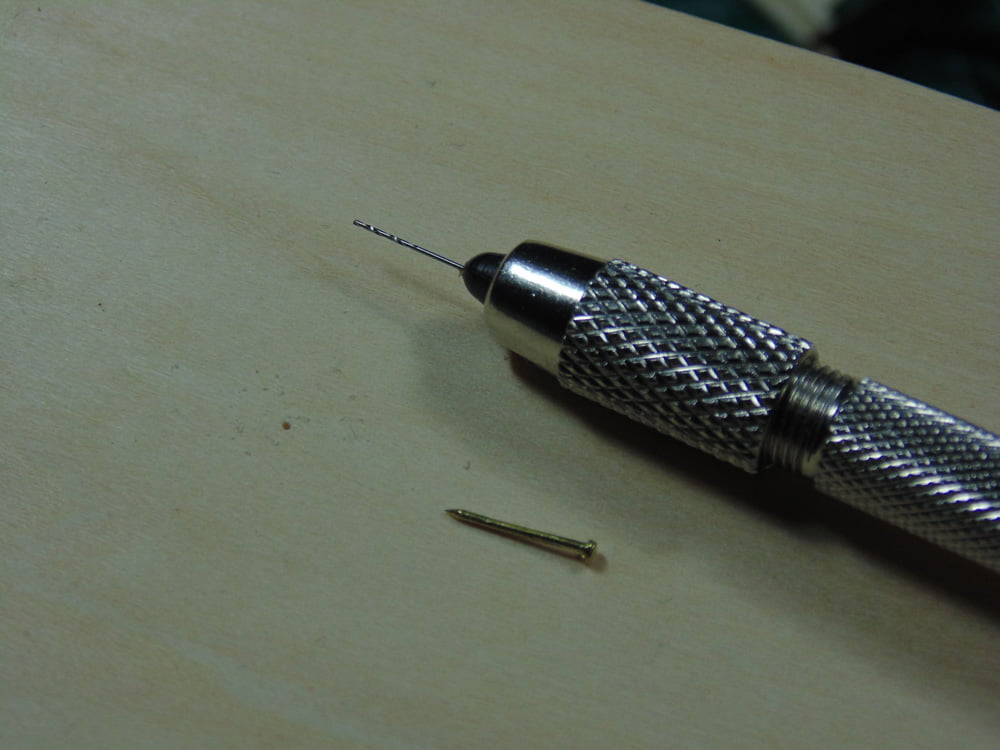
Then I used my Vallejo mini file to notch slots into the tip of this Excel tweezer. You do not want to nail all the way through because you’re going to line up the frame with the deck to fix the twist. Also, you’ll do this at each cross support starting at the middle of the ship. Trust me, it sounds like a lot of work but it isn’t. Basically, get your nail started in the pilot hole, pull the frame true to the deck, then use your Nailer-tool or hammer to sink the brass into the frame straight down the center only. Repeat this method and continue to correct the bow to the left or right.
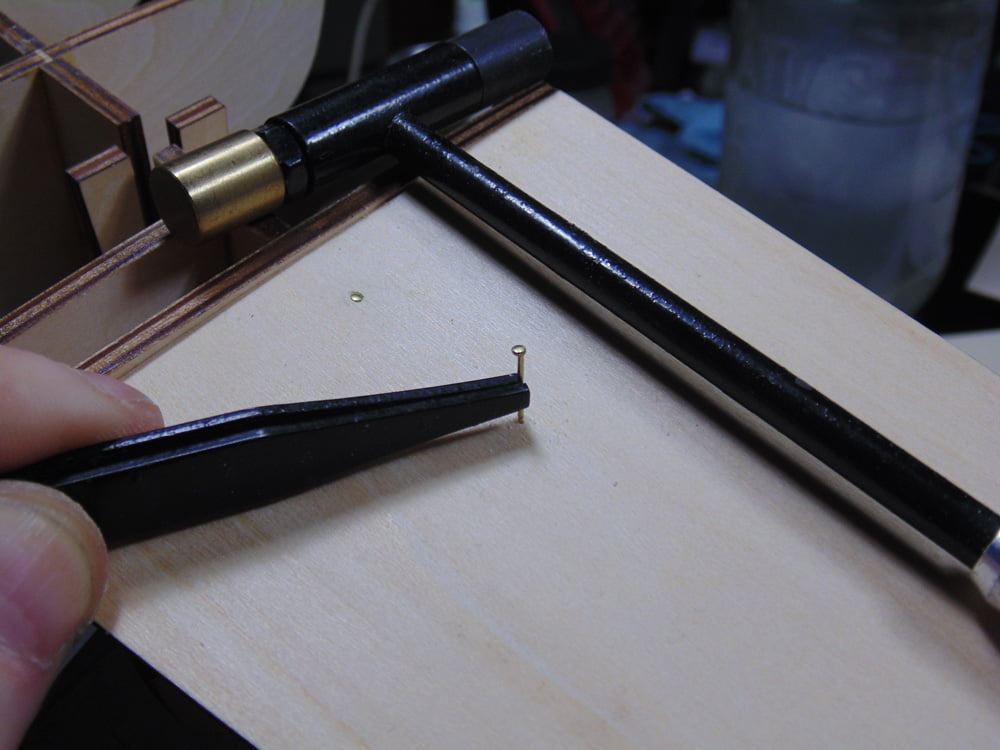
Now you can secure the port and starboard sides. Make certain you have a solid backing when nailing. Even with pilot holes it is easy to bend a nail.
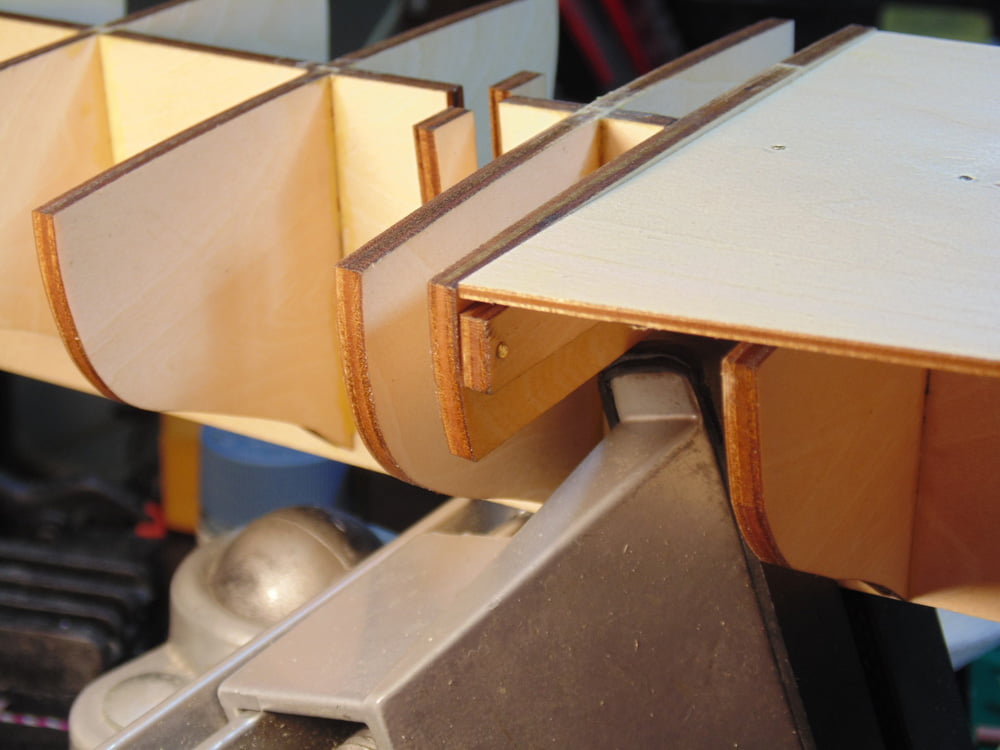
Here you can see the correction made to straighten the frame with the deck. Notice how slight the difference is, so don’t worry about cracking the wood or having to put too much pressure to get the result you want.
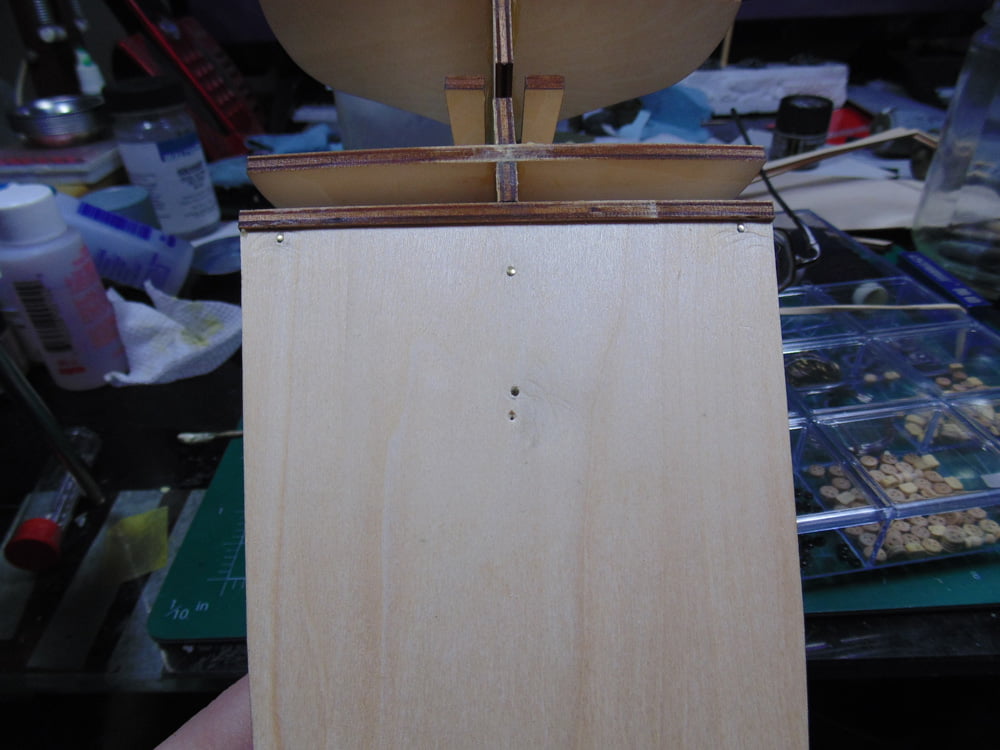
After each correction some wood glue was added for extra support and longevity. The vice is used just in case the nails happen to pop out a little.
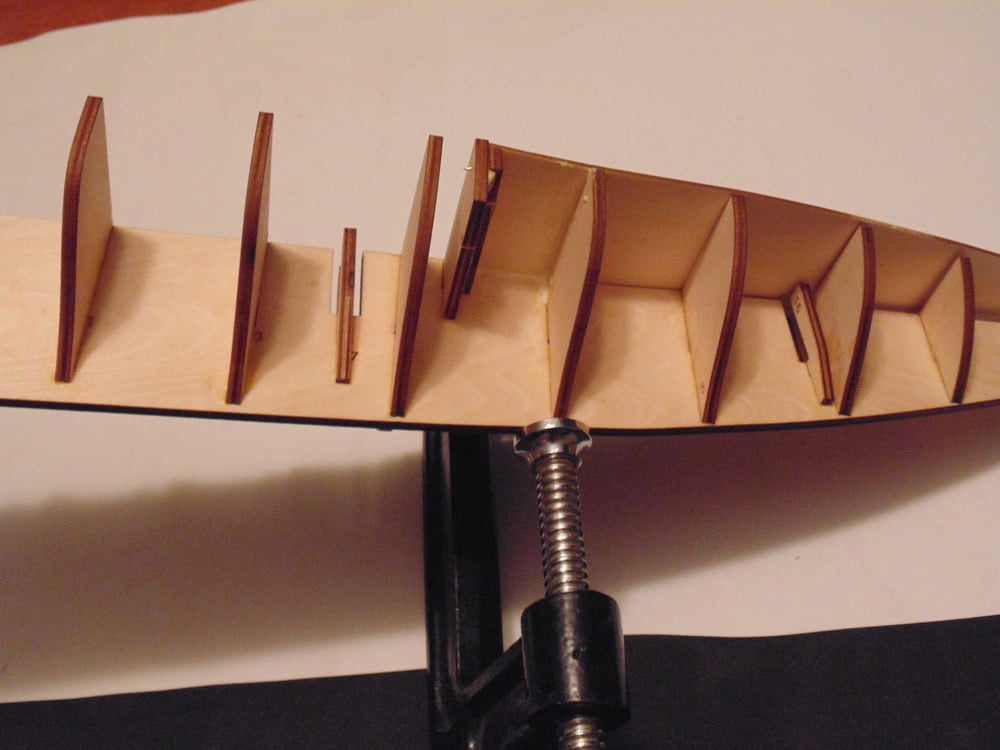
Again, nail down the center first for your correction then nail the sides to lock it in. Don’t forget to add some wood glue as you go along, but make sure you clean up the excess as too much fluid may create another warp.
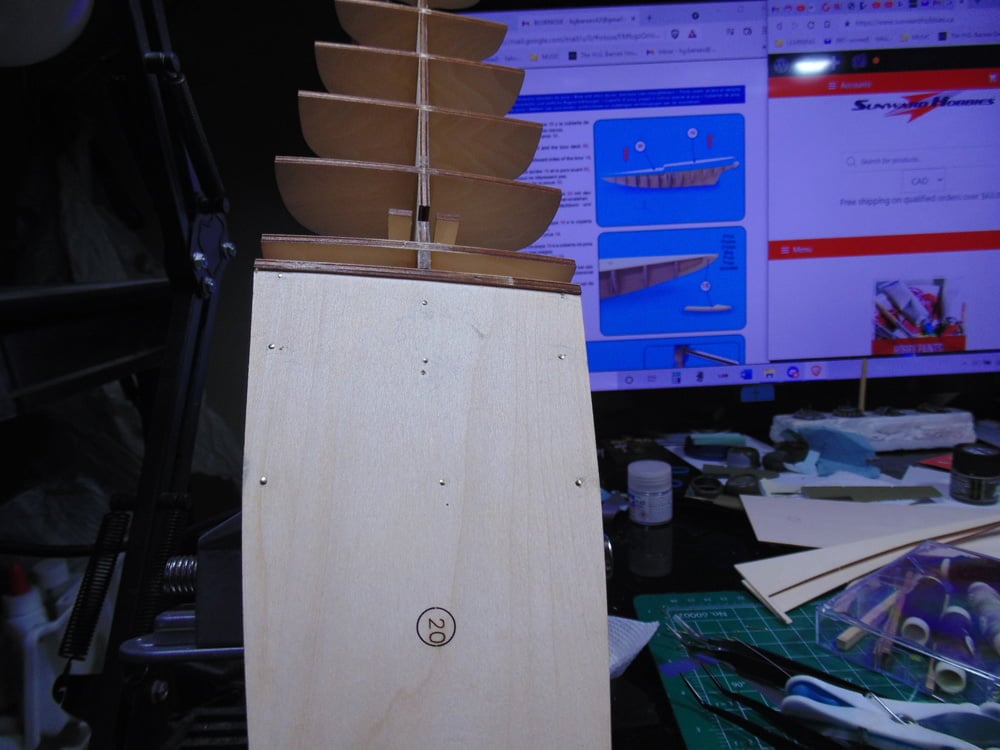
I can’t tell if this was intentional by Artesania-Latina, but it sure did make me smile. Imagine a fishing schooner… well you get the idea smile. The center line was drawn so I could eyeball the corrections needed. Now the aft needs some minor fixing.
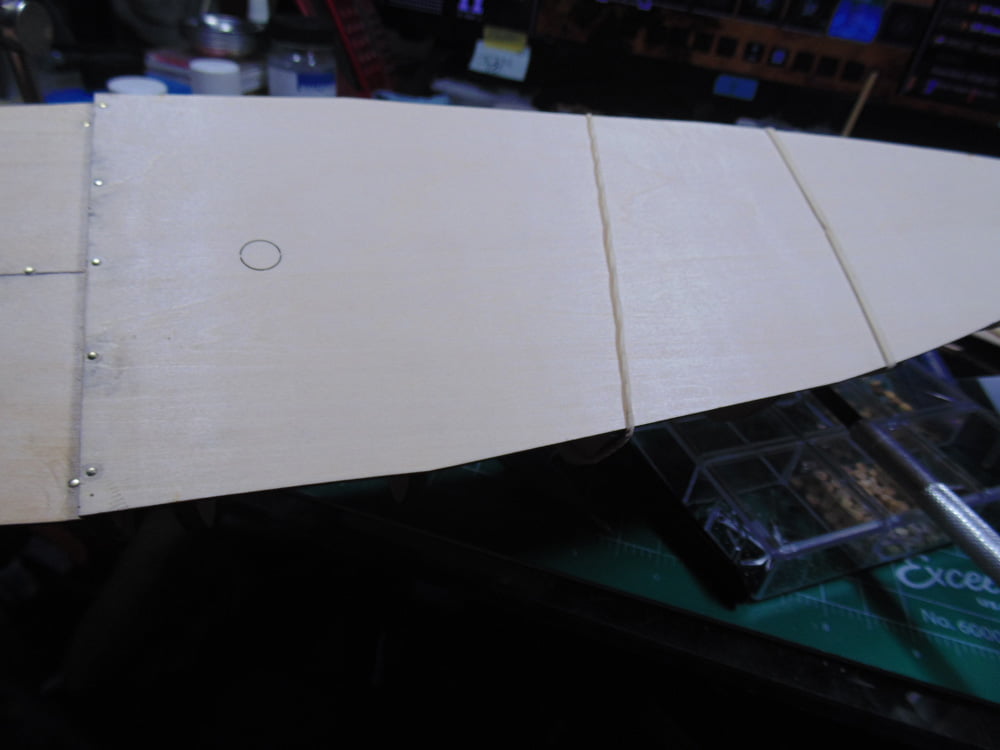
A few more nails got put on the aft deck for extra support. Then some rubber bands to bring the deck down true to the frame so I could see how much correction had to be done.
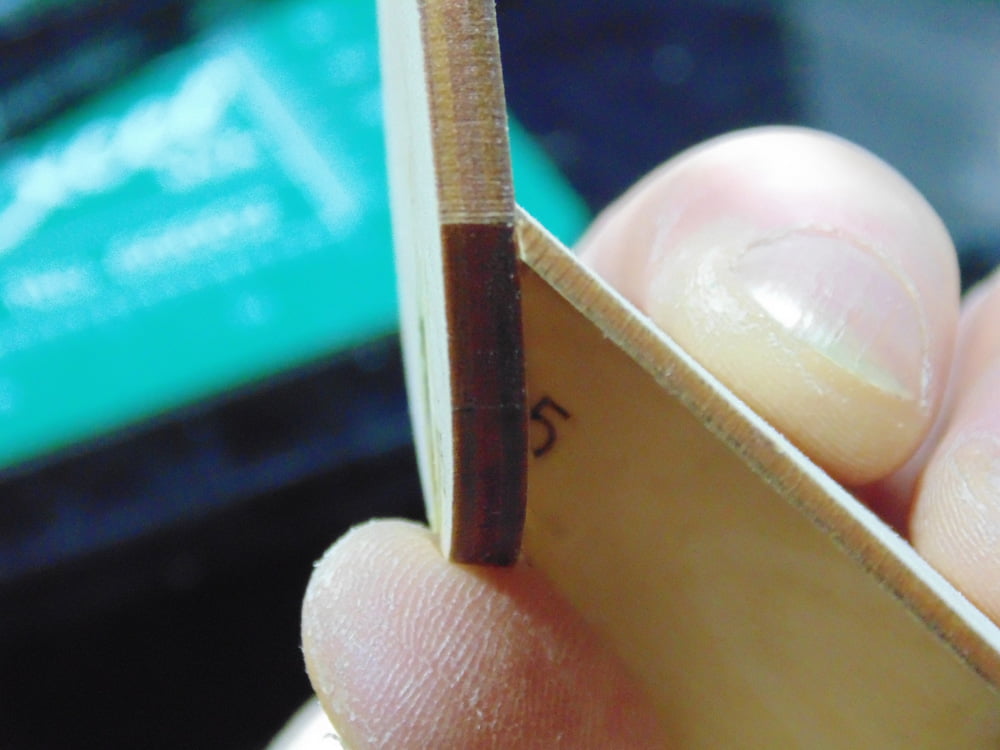
The back edge of the deck was sanded on an angle to match the bow plate. This way you have a mating surface to glue for excellent support.
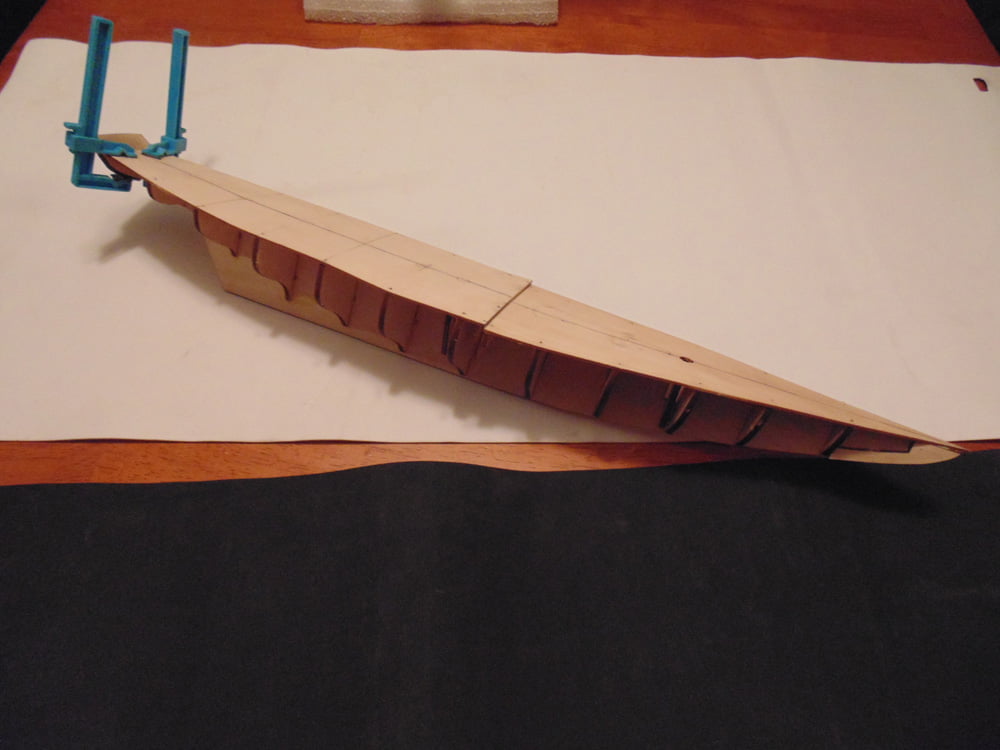
Using the same process as the forward deck was repeated on the back deck. Then the two prow parts fit like a glove with just some wood glue. The slight waviness will be corrected when the deck planks go down, as you’ll see later.
Thank you for following along with this extended tutorial. If you have any questions about the techniques or products used, please feel free to ask when you place your next Sunward Hobbies order.
If you have any questions about the products used or the methods in this article, please feel free to ask the staff when you pick up or place your next order from Sunward Hobbies.
H.G. Barnes is a former voice-over artist and retired sales and marketing professional. He’s the author of two large volume science fiction adventure romance novels with many more in the works. For well over 40 years he’s been building scale model replicas and now does commission work for clients in Canada and the USA, plus completes projects for companies in Asia and Europe.
Currently H.G. is involved as an Associate Editor with KitMaker Network’s Online Magazine Channels
