Artesania Latina Bluenose II Build – Part 19 of a Series
In this Sunward Hobbies tutorial, I’ll be continuing with Artesania Latina’s Bluenose II build with Part 19. Previous Part 18
In this Sunward Hobbies tutorial We’ll continue with the Artesania Latina 1/72 scale Bluenose II fishing schooner. In Steps 48 and 49 you’ll be hanging tri-sails. I’ll continue sharing tips to make installing them easier and show problem solving examples.
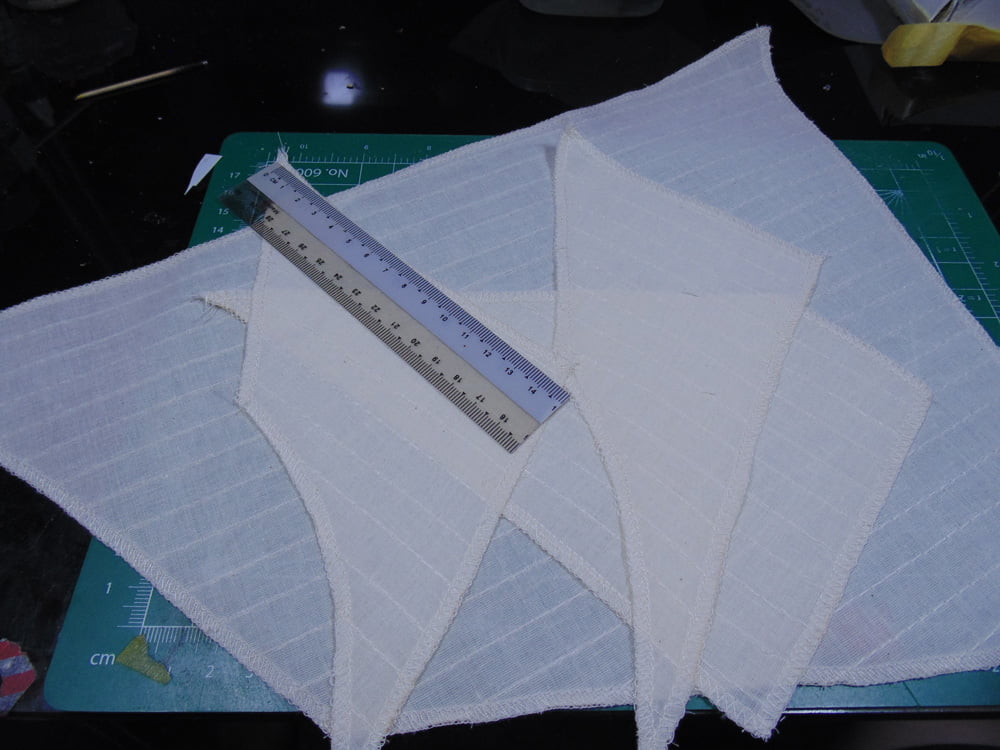
There are two very similar topsails. To get the correct one for the foremast simply measure the back length of the sail and hold it up to the jib and mast top.
Once again dilute some Elmers wood glue then saturate the points where any rings or lines will be attached.
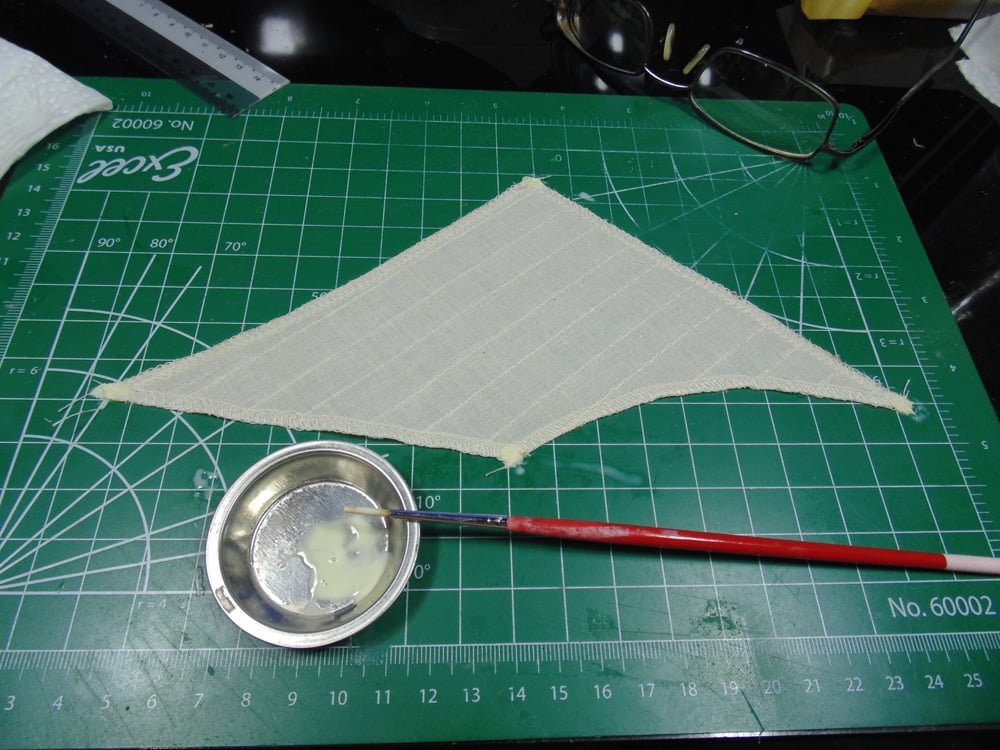
Make certain the glue has fully hardened before punching or drilling any holes. If the glue is even slightly damp the corners will warp as they fully dry.

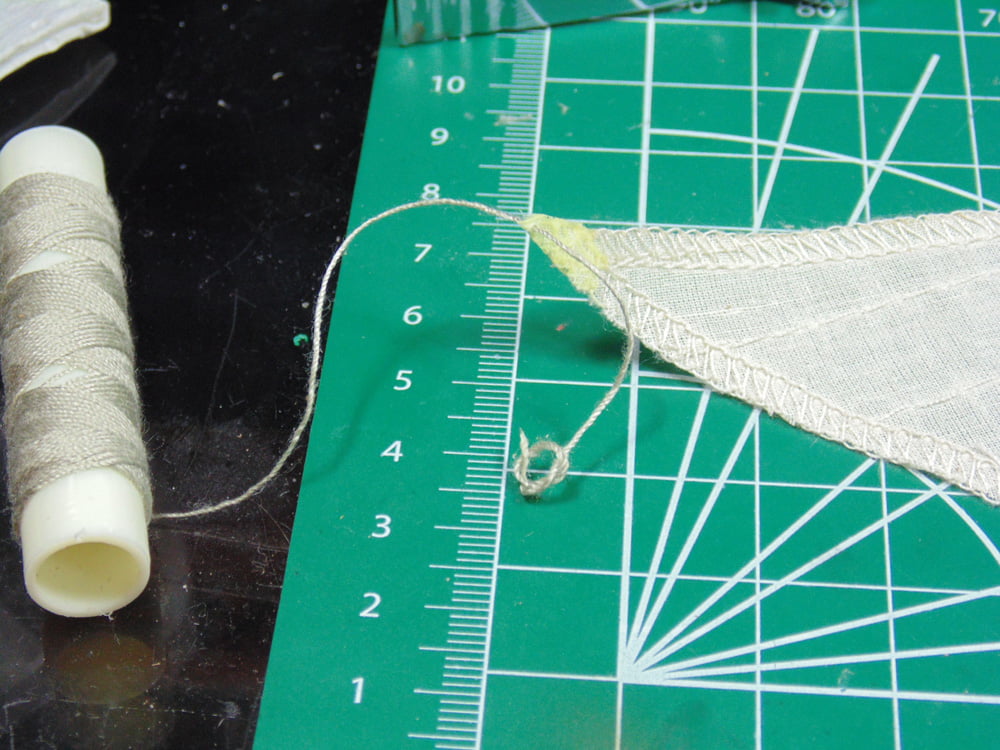
Try to get your holes as close to the tips of the sails as possible for a much cleaner look. Make a knot and add a dab of BSI Cyanoacrylate CA glue then let that dry before pulling it tight to the hole.
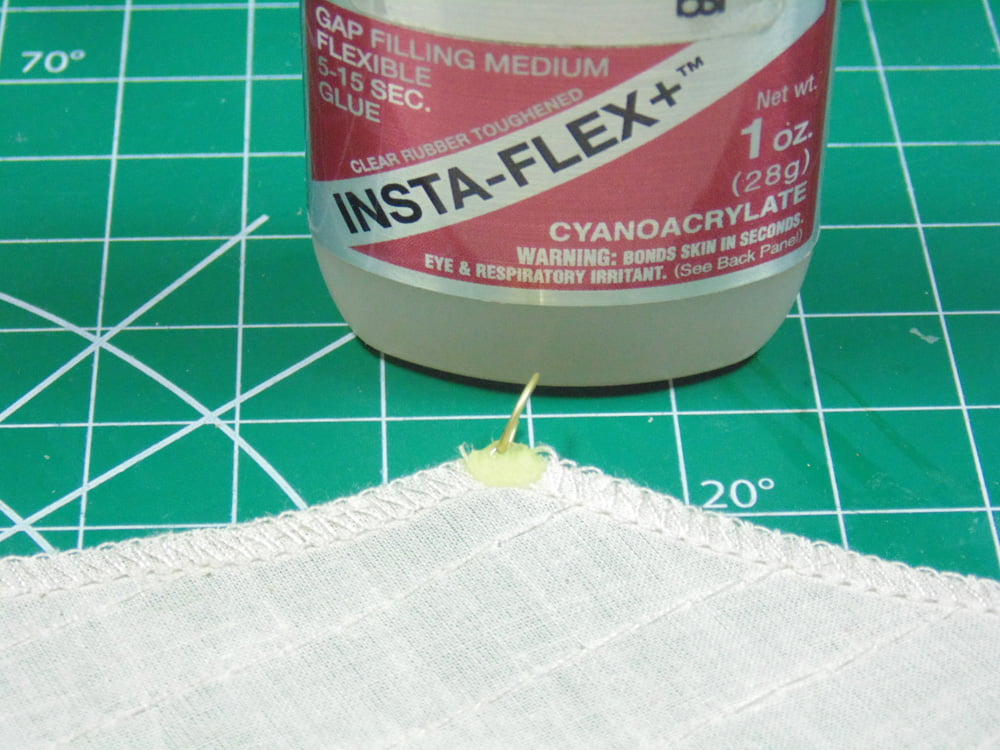
The rings can be a major pain with how much they move while slipping them on a mast or boom. Get the ring into position and add some Cyanoacrylate CA glue so they’ll stay put. This small step will save you lots of time fiddling around with them.
Thread the sail top in the block but don’t secure the line until all other connection points have been made. You can always fine tune each corner later. Then you can drop your spool.
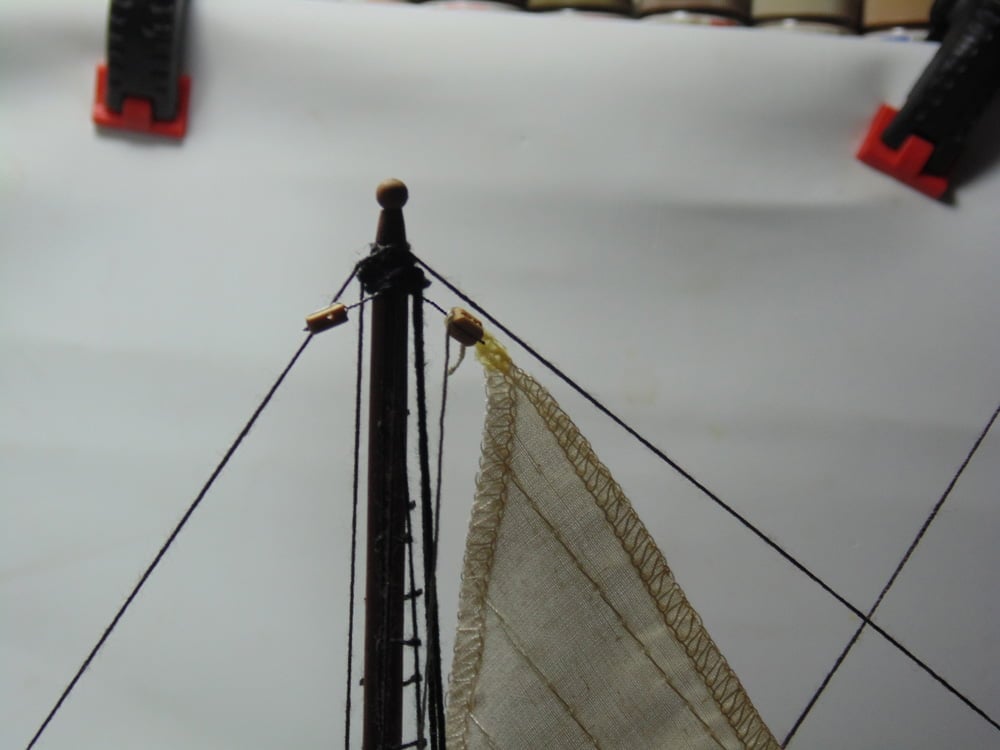
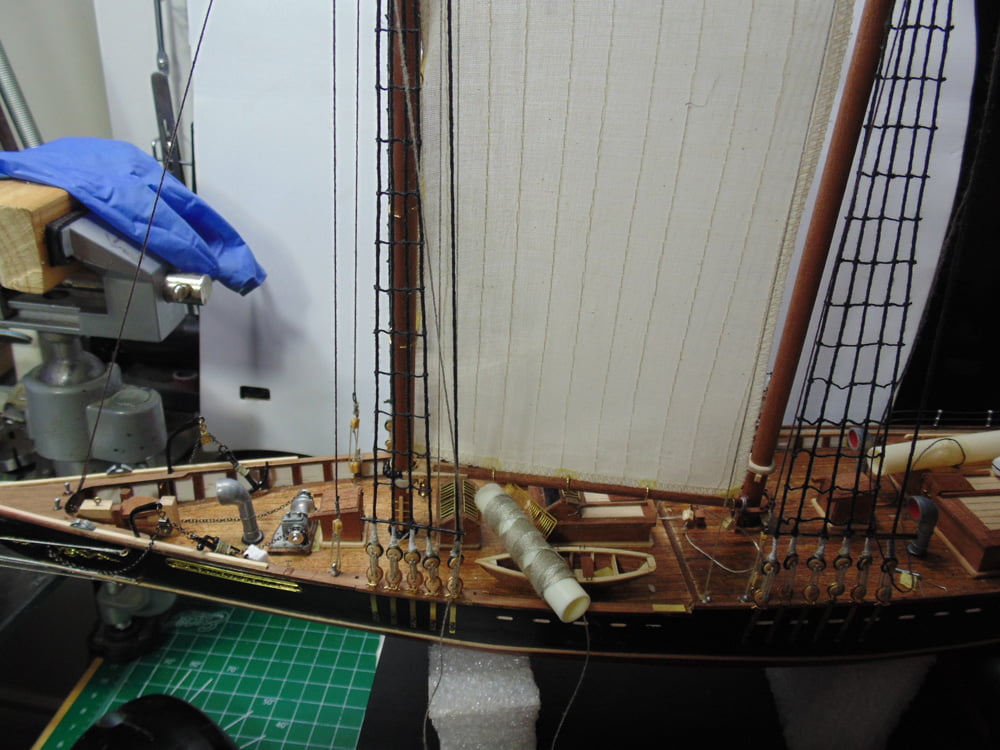
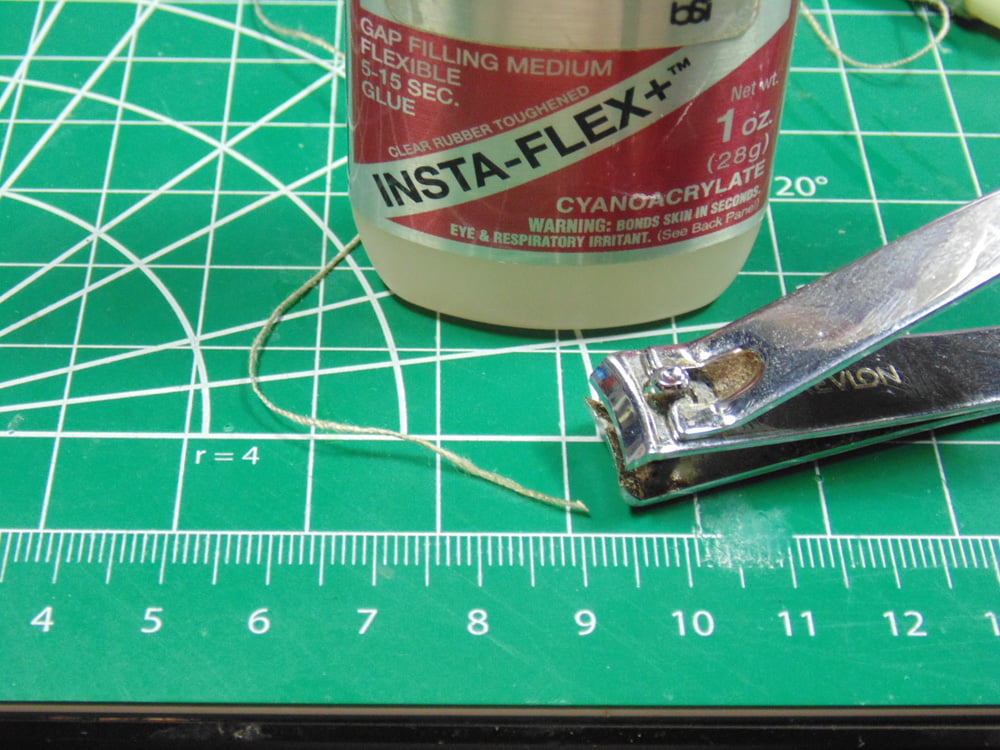
Again, make a needle and snip the end sharp. This will make threading the holes in the sails super easy.
Remember to thread the left side block on the jib. Note the knot in the other end of the line. Take your time here because there’s plenty of movement in the jib to throw off how tight the lines are for the tri-sail.
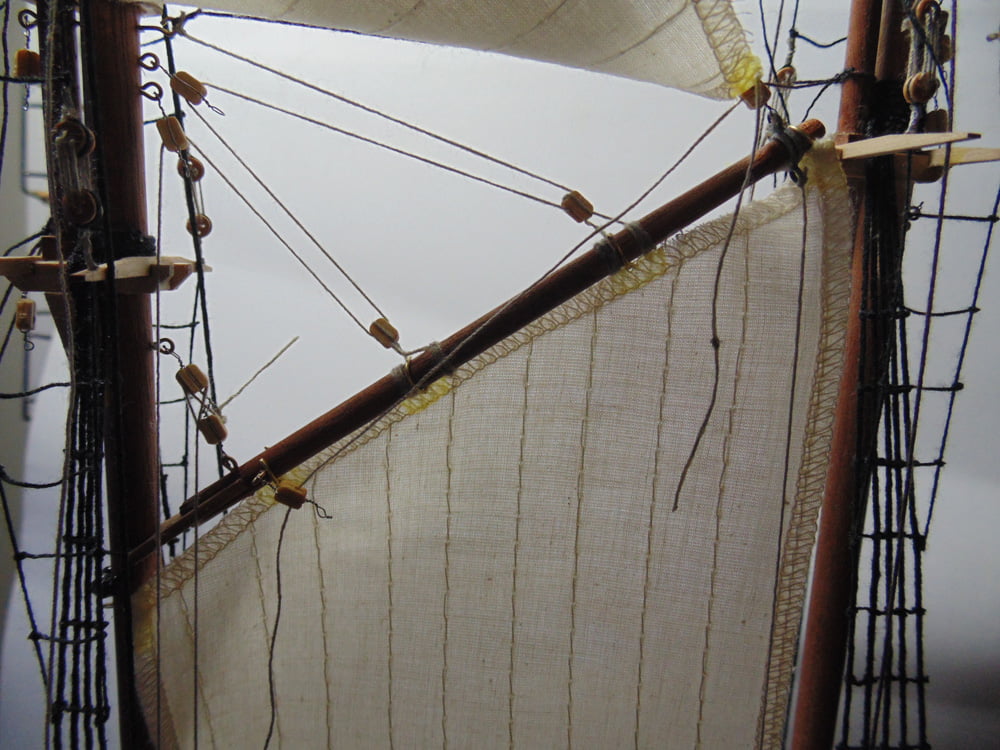
Use your Excel Blades tweezers to carefully wrap the line around the lower posts. Then add some Cyanoacrylate CA glue and finally an Excel Hobby clamp to pull the line tight as the Cyanoacrylate CA glue dries.
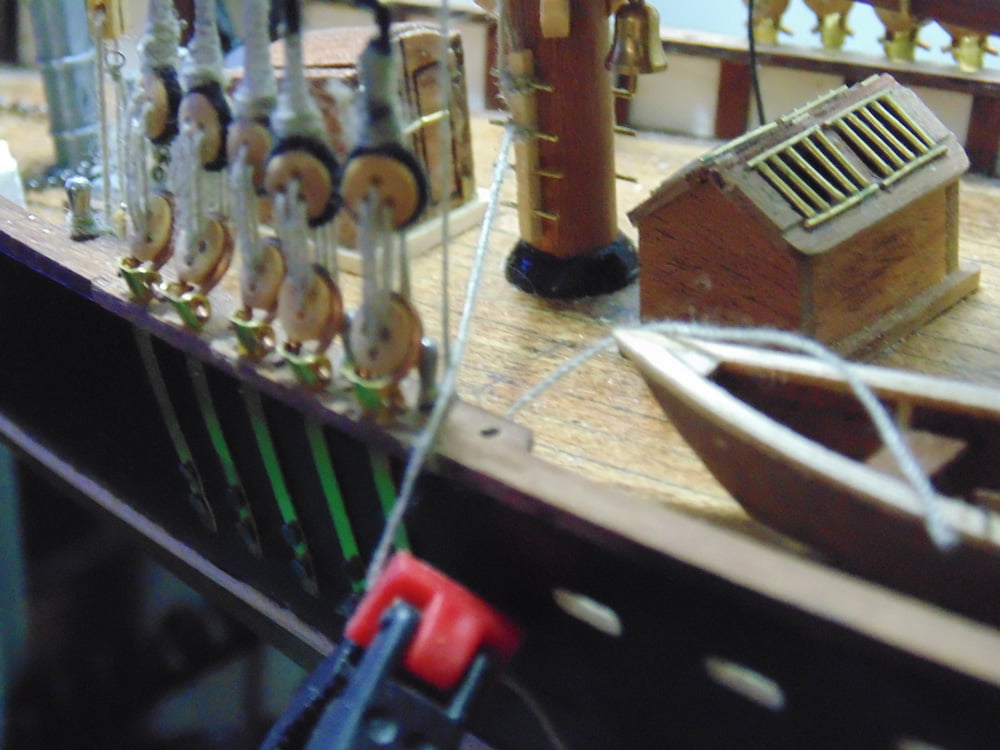
Now you can adjust the top wired block to get the look you want. It’s wise to constantly check each line in the area for equal tension.
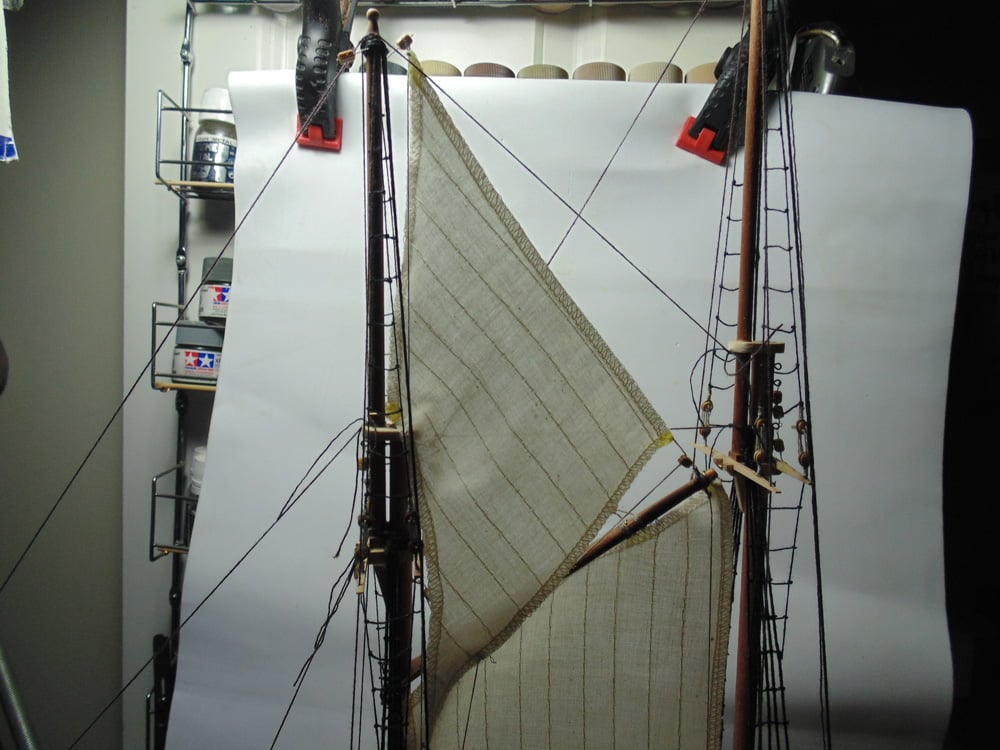
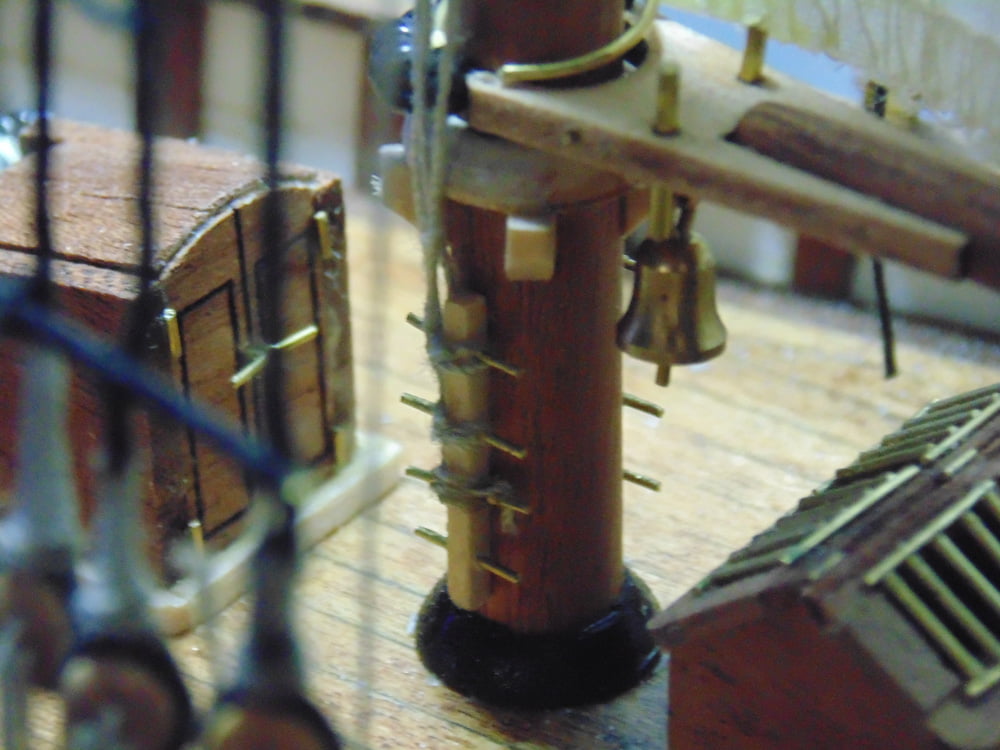
On the foremast boom you’ll need to tie the black rollers on the hanger. There should be just enough play in the rollers to lift the boom for later sail adjustment. Add a dab of Cyanoacrylate CA glue on the knot when you’re happy with the tightness.
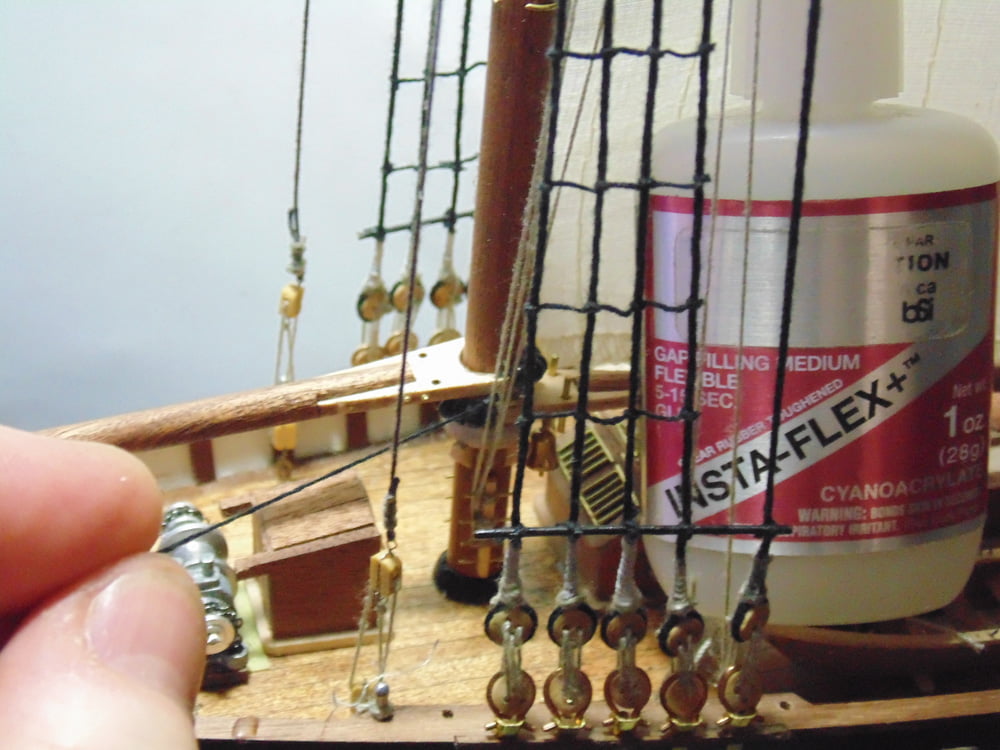
You’ll need three boom rings along with adding glue to your sail at the appropriate locations.
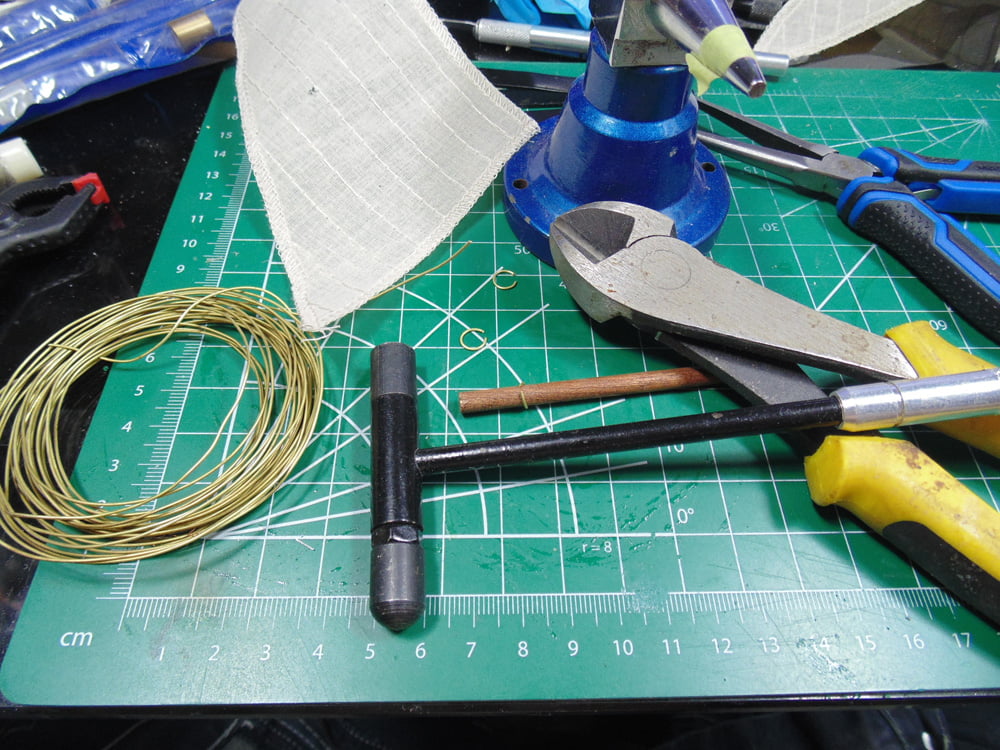
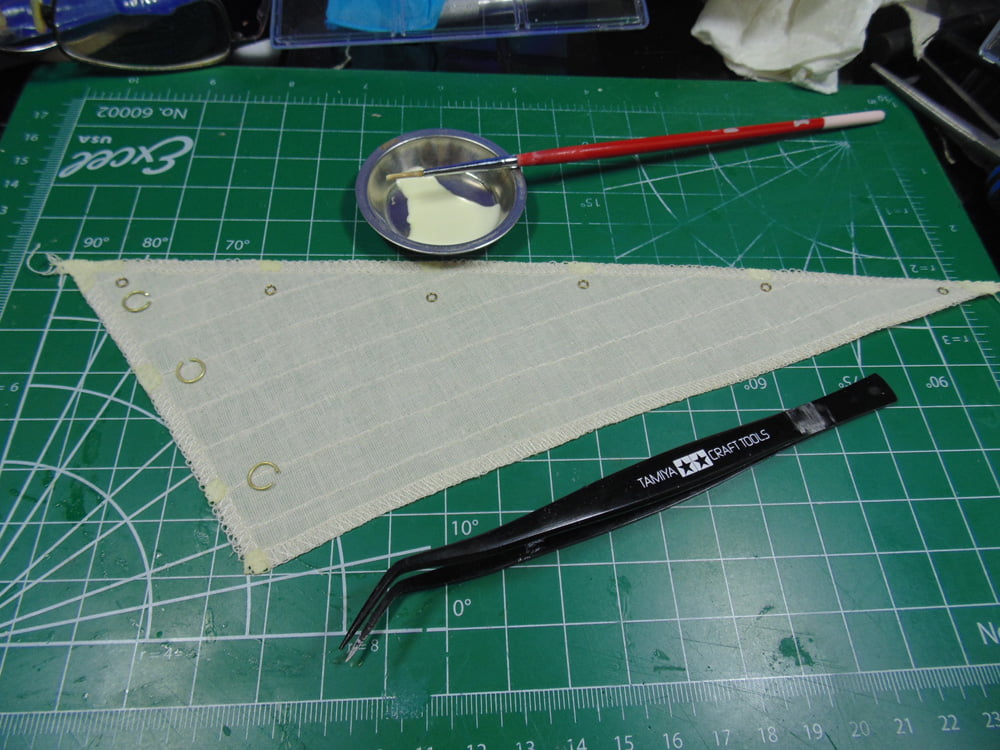
Don’t be afraid to saturate the spots with glue. Simply add some weights to keep the tips from curling up.
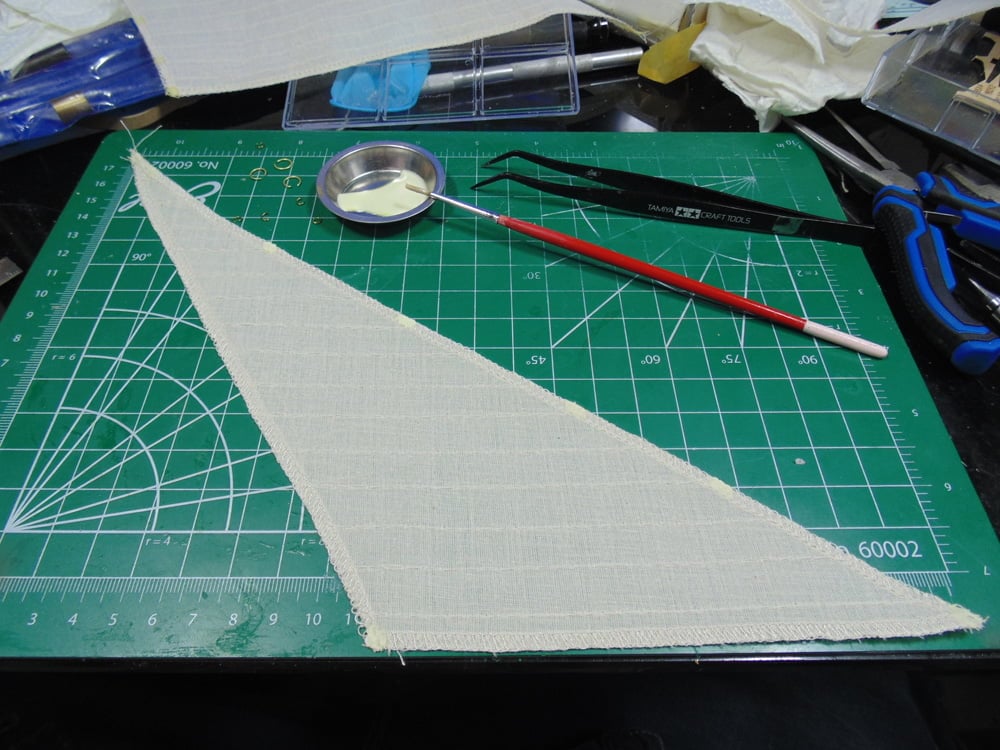
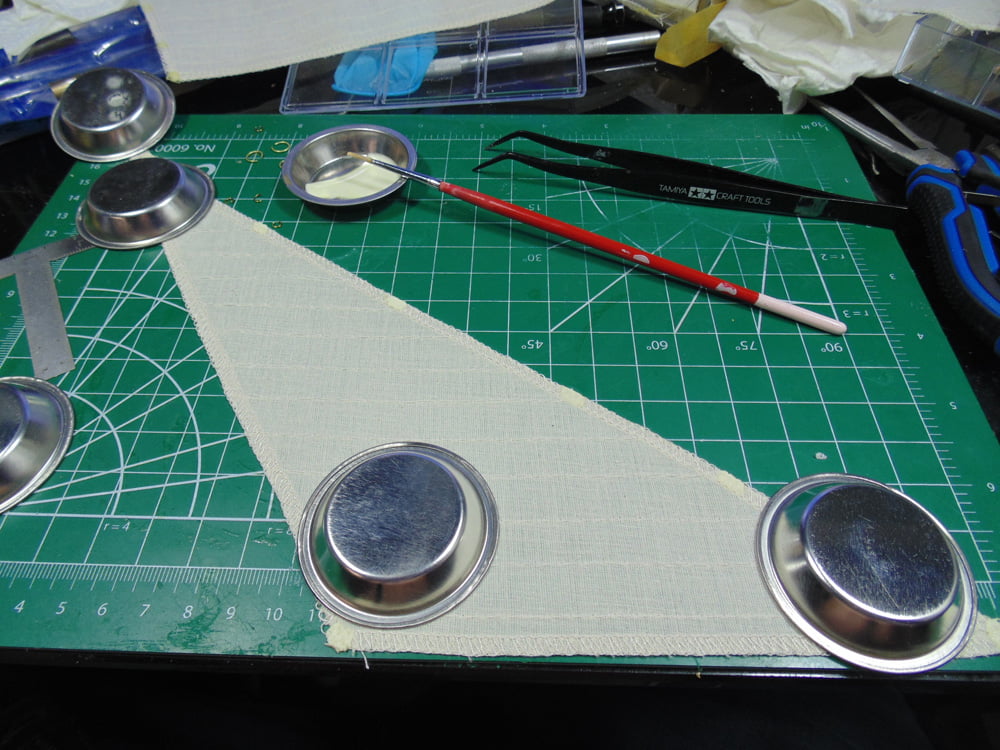
Use a couple of sets of angled tweezers to get into cramped spots. Tamiya long angled tweezers are a must for these places.
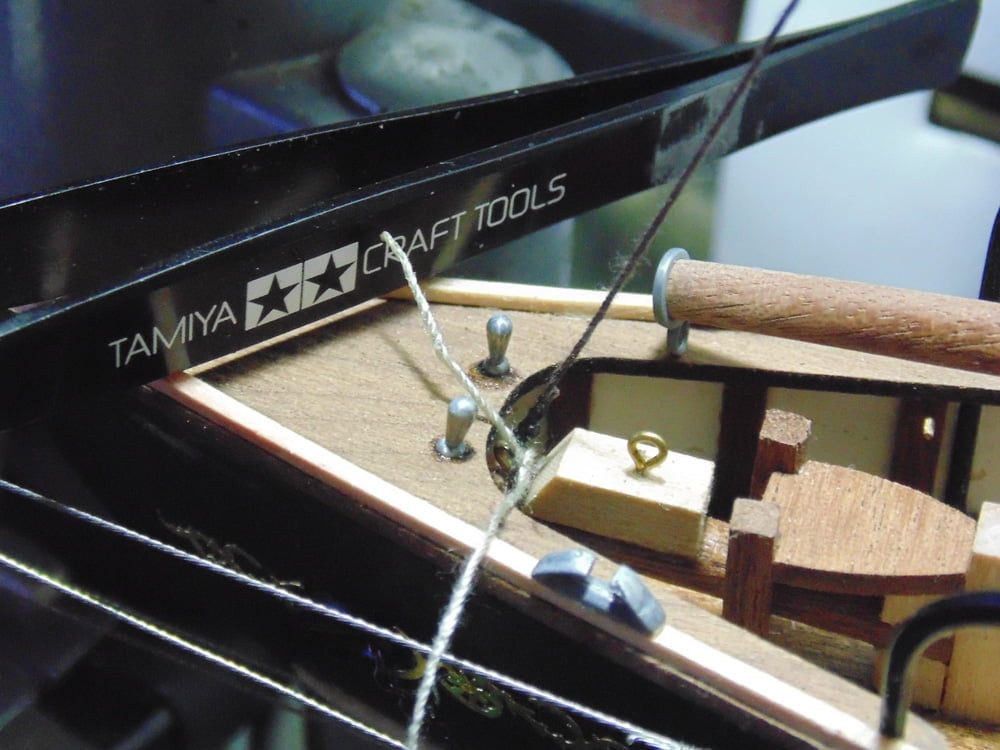
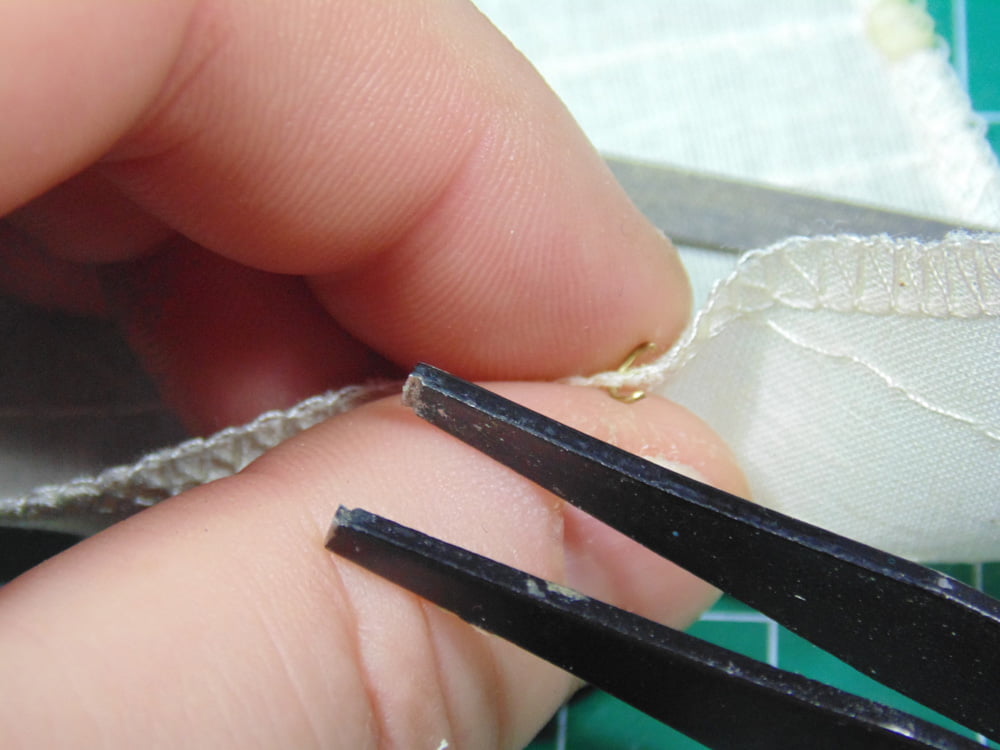
To allow the rings to slip in easier, consider filing smooth the ends with a micro file. The same micro files can slice a notch in an old set of tweezers. This tool will help greatly to hold and collapse the rings.
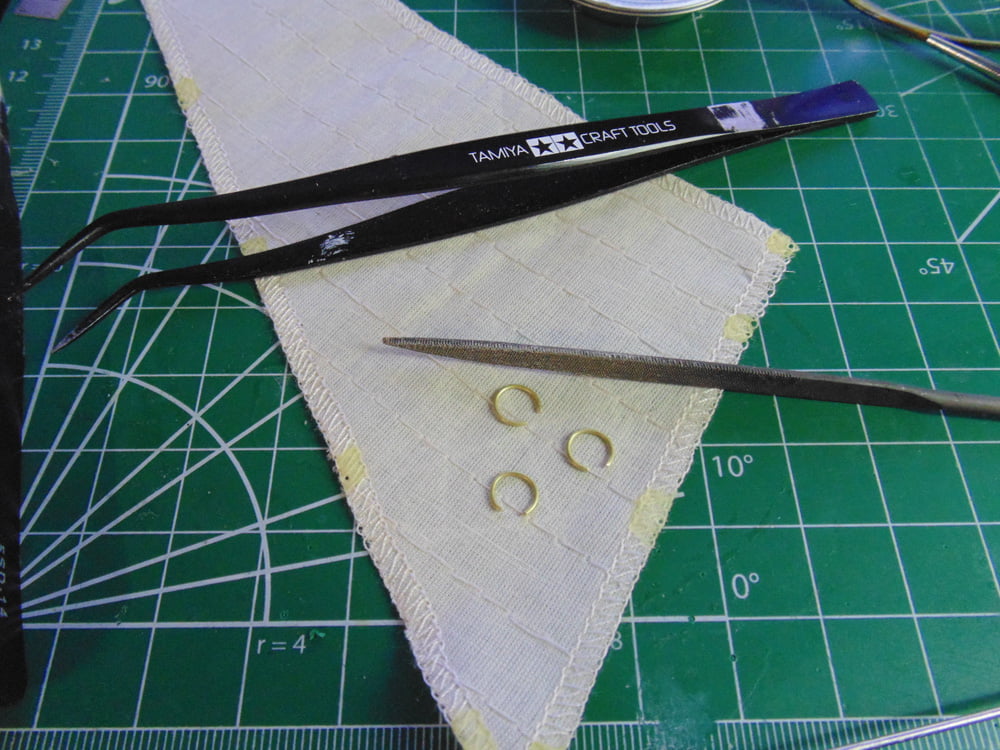
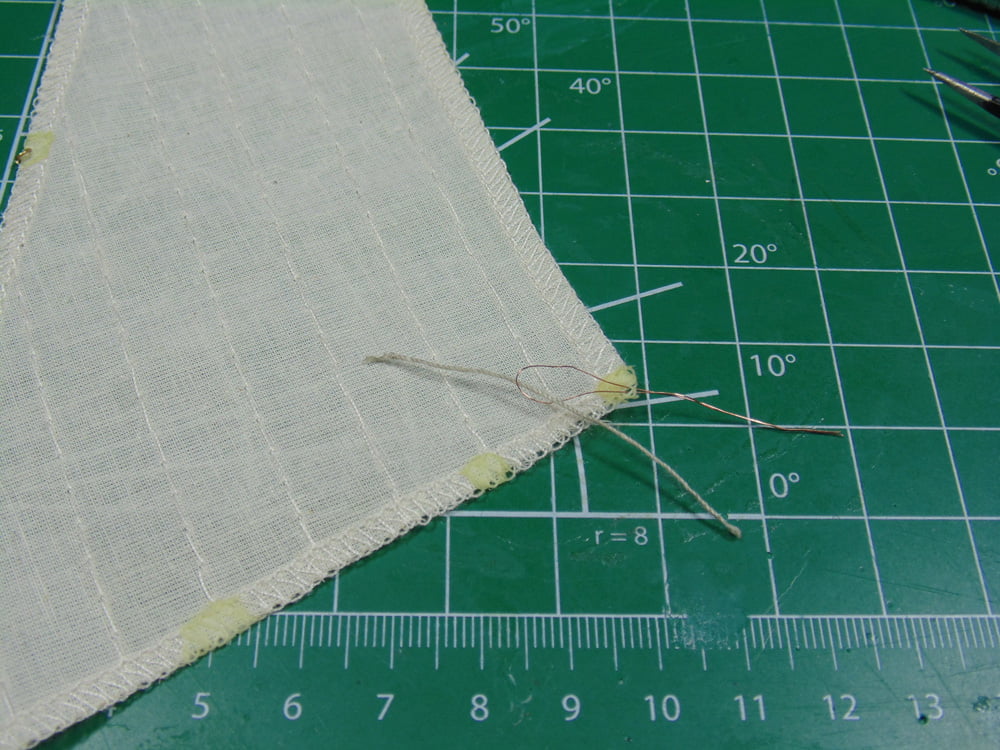
Use a thin piece of wire loop to pull your rigging through the holes. This is especially helpful for the thicker black rigging material. Do not make a Cyanoacrylate CA needle in this case which may rip the tip of the sail.
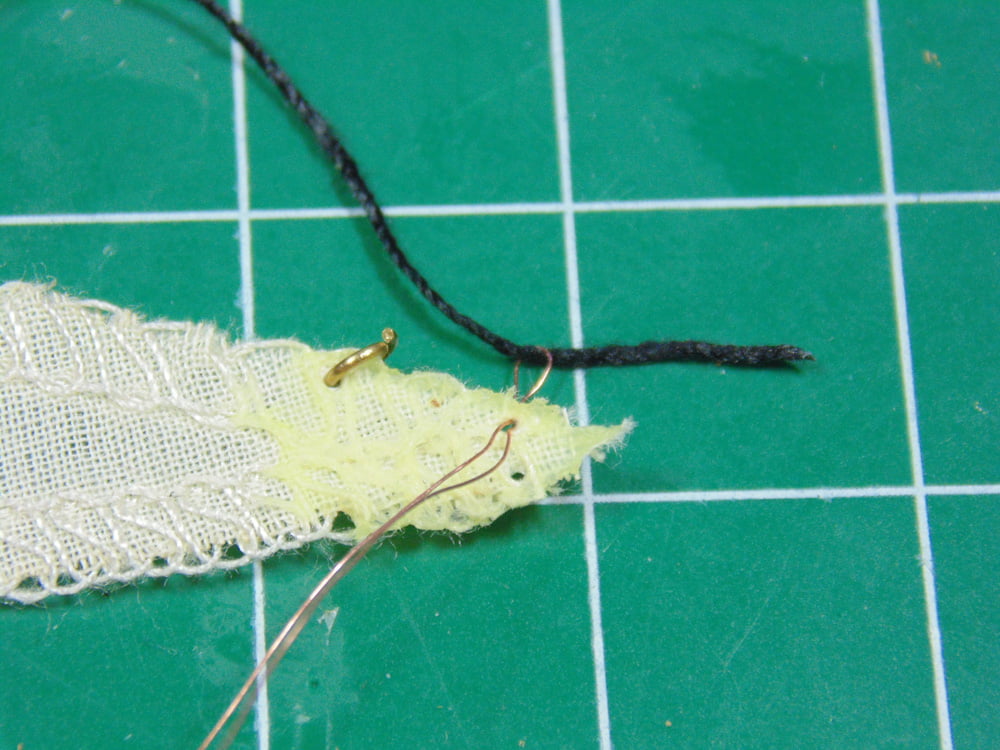
To keep the boom from flopping around while you’re adding rings and rigging, use a scrap bit of steel wire to make a loop. Trying to open the brass pin loop is extremely difficult and will most likely cause the wood block to come free.
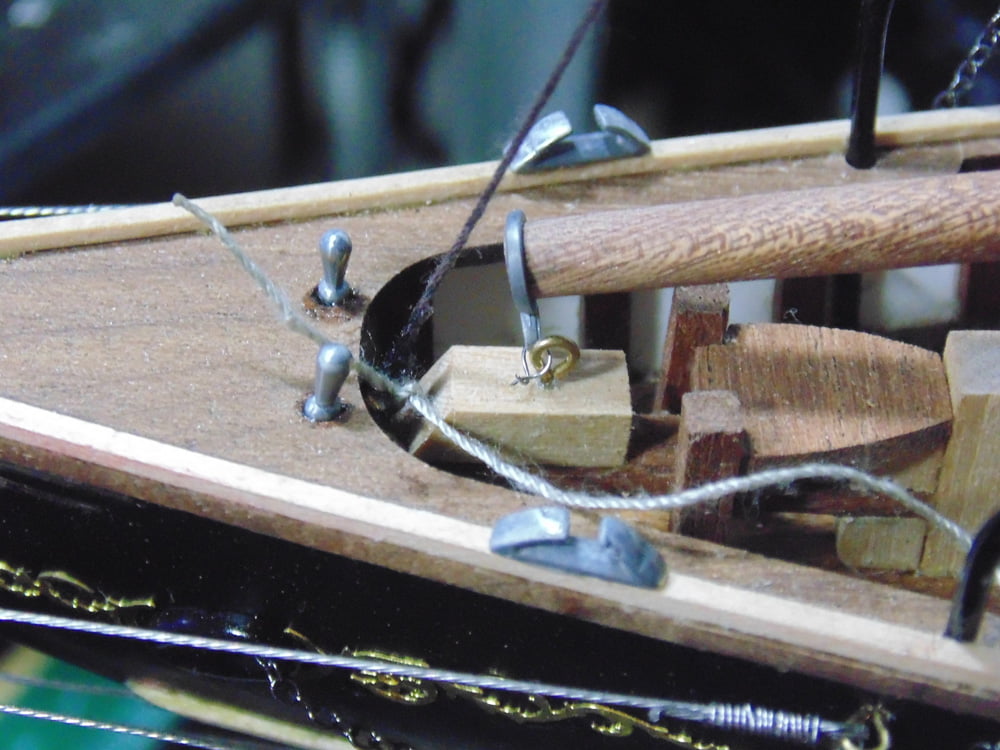
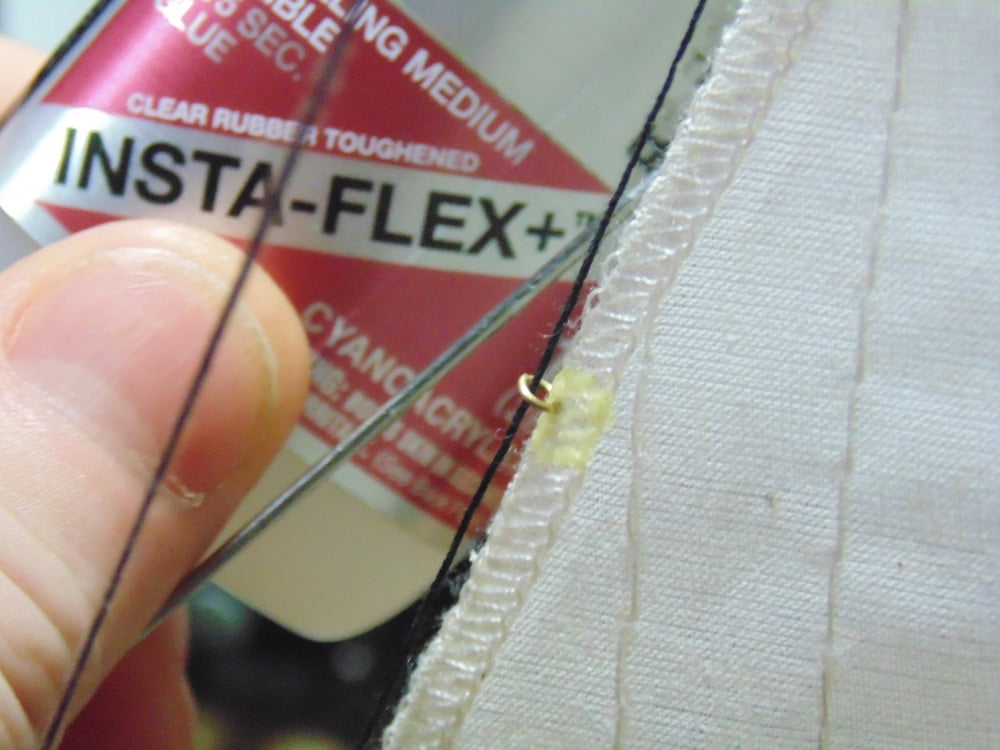
For the smaller rings use some Cyanoacrylate CA glue on the opening points. This will keep the line from popping out when parts are shifting around. You can purchase small Cyanoacrylate CA glue applicators from Sunward Hobbies. These tools are perfect for super small tasks.
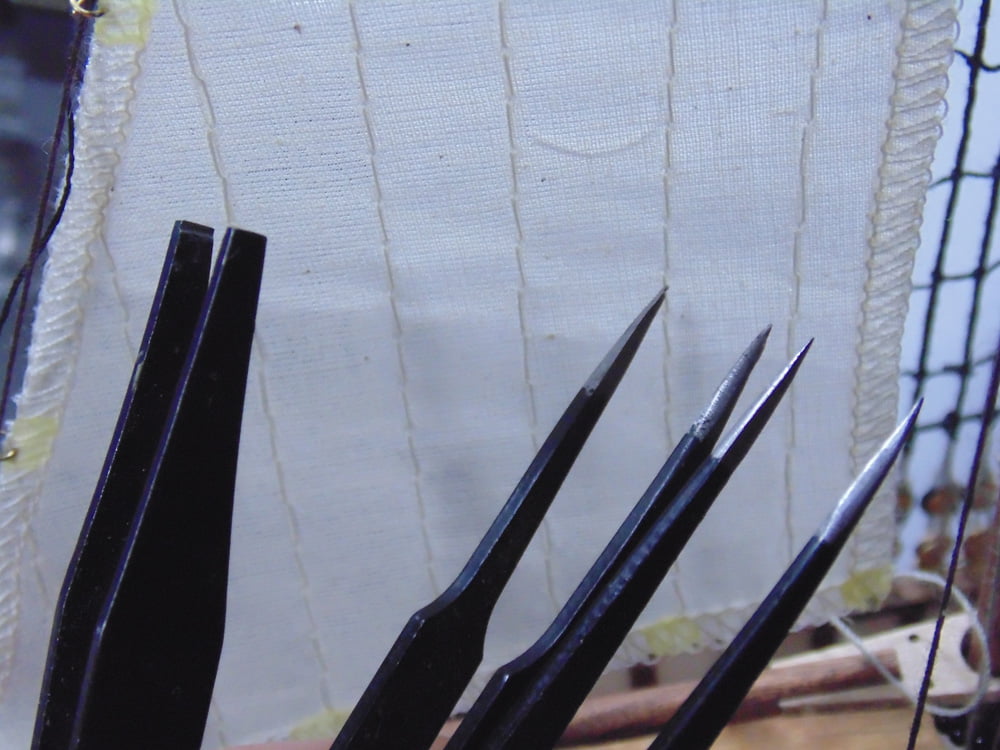
Have a variety of tweezers on hand since one tool will not suit all tasks.
The lower rigging and mast posts are difficult to get at and to tie. Make some loops then clamp them tight in your tweezers. Once you get one loop on the post you can then glue it and continue to wrap the line around a few more times.
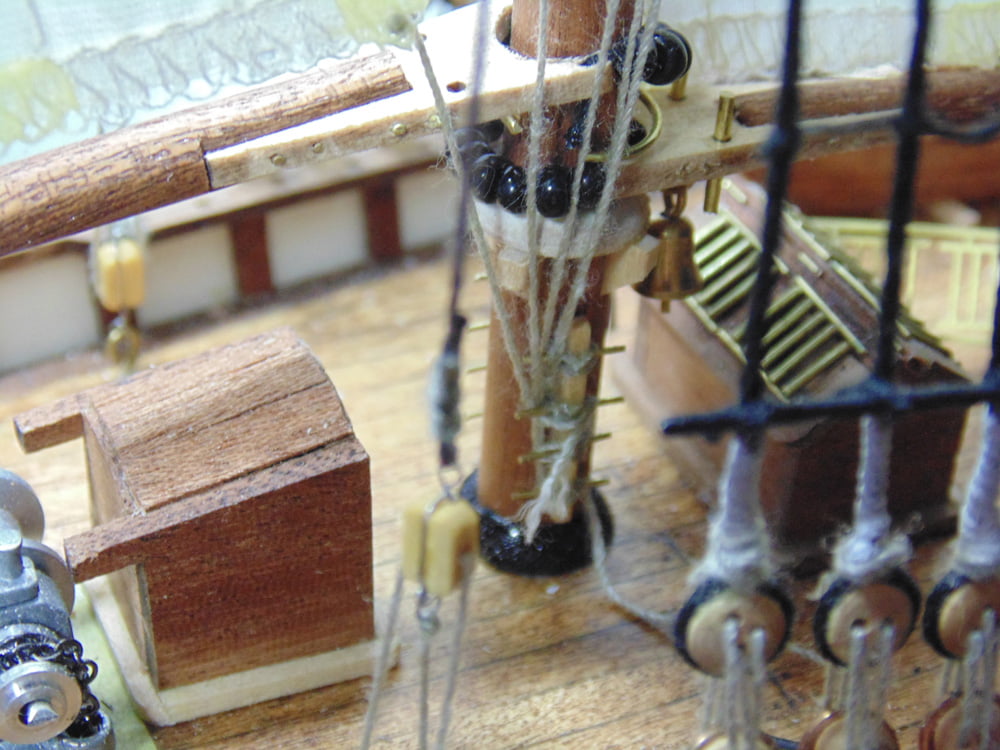
Luckily, the forward rigging pins are easier to get at. Hold your finger on the pinhead and pull the excess tight. The black line has a tendency to come free even after being tied.
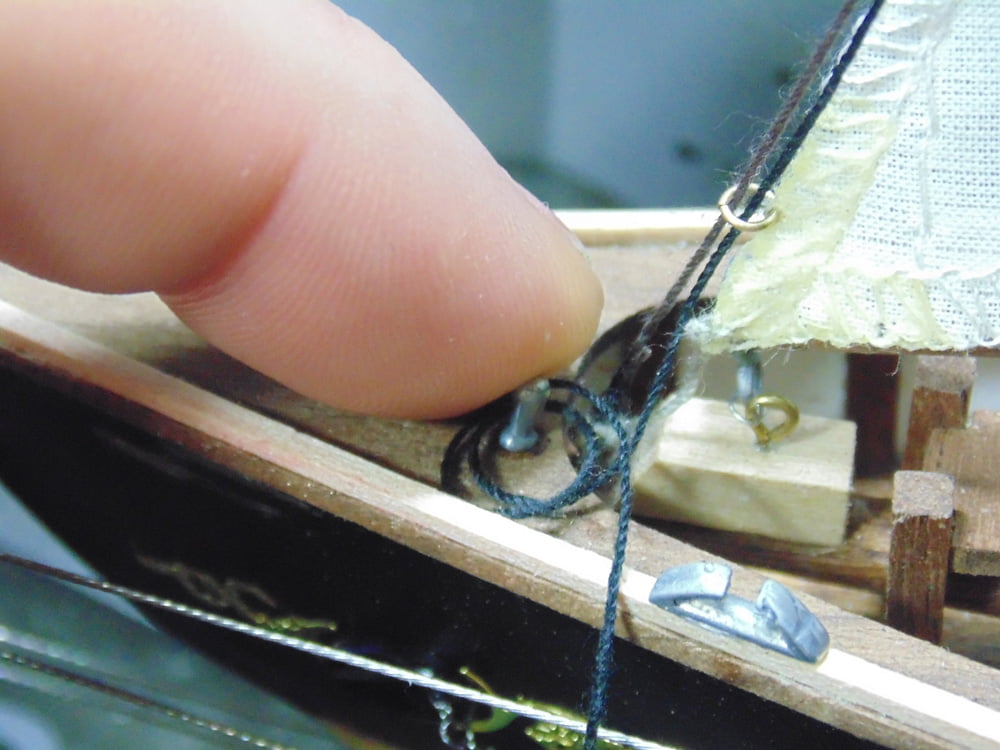
These two sails require many hours and patience, yet they look terrific. Take your time and make sure you do as much prep work on the sails prior to hanging and rigging.
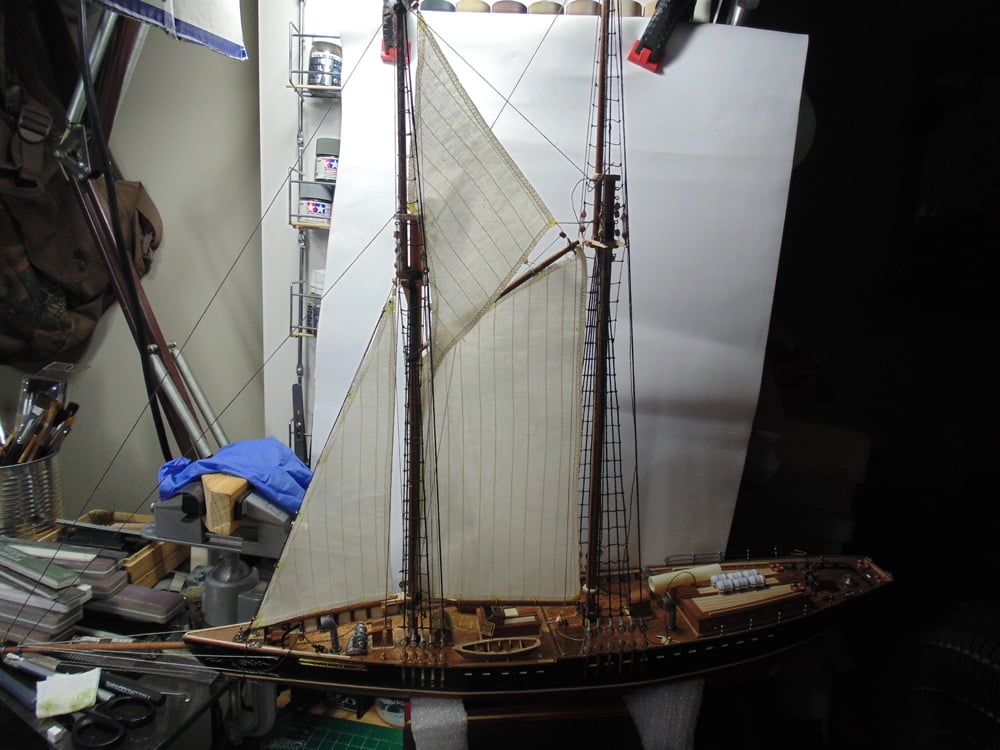
If you have any questions about the products used or the methods in this article, please feel free to ask the staff when you pick up or place your next order from Sunward Hobbies.
H.G. Barnes is a former voice-over artist and retired sales and marketing professional. He’s the author of two large volume science fiction adventure romance novels with many more in the works. For well over 40 years he’s been building scale model replicas and now does commission work for clients in Canada and the USA, plus completes projects for companies in Asia and Europe.
Currently H.G. is involved as an Associate Editor with KitMaker Network’s Online Magazine Channels
