Artesania Latina Bluenose II Build – Part 12 of a Series
In this Sunward Hobbies tutorial, I’ll be continuing with Artesania Latina’s Bluenose II build with Part 12. Previous Part 11
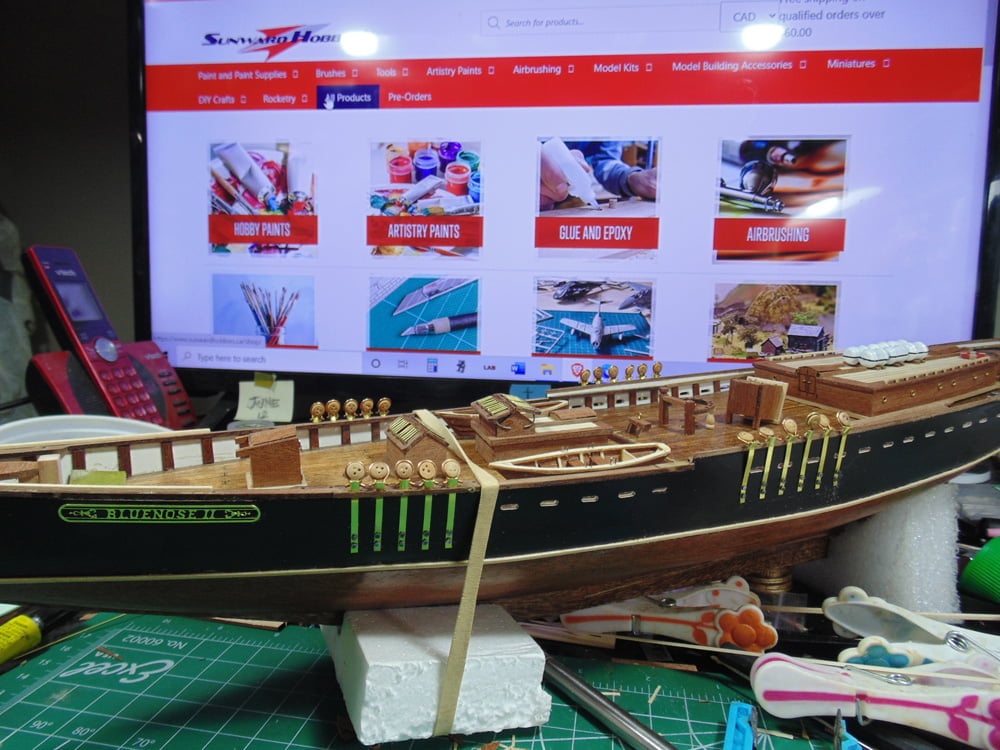
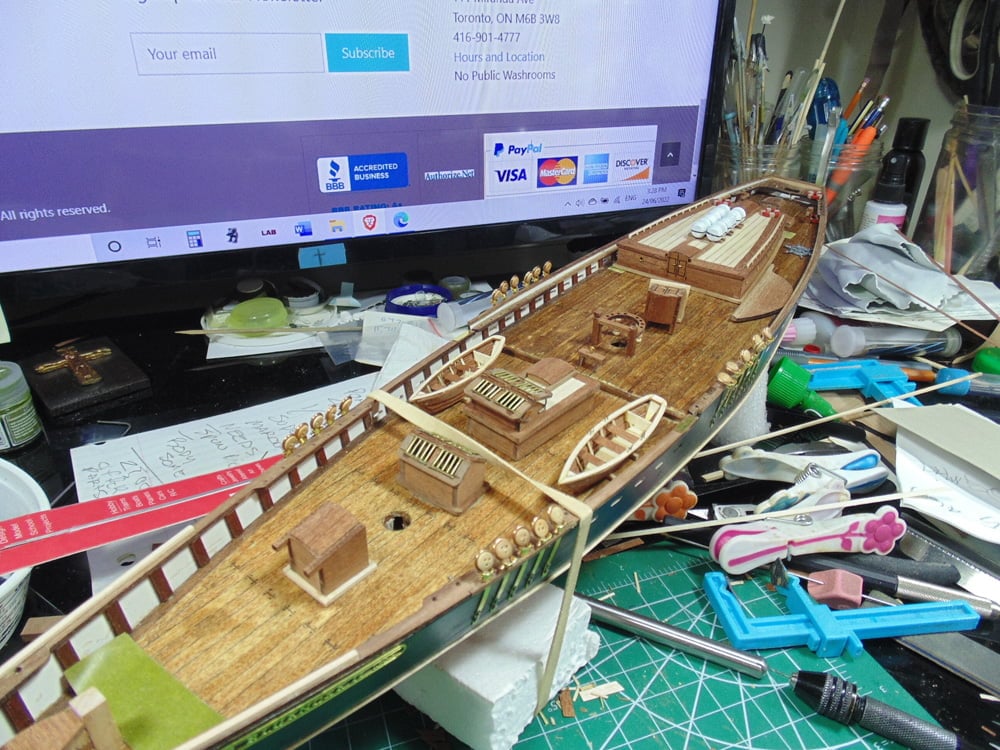
In this Sunward Hobbies tutorial I’ll be showing you some wonderful details added to the deck of the 1/72 scale Artesania Latina “Bluenose II” in steps 33 through to 36.
Very complicated work will be made easier to tackle. You’ll be problem solving issues (which occur on ALL models) along with how to bring out super nice brightness on a few major parts that will help you later on others.
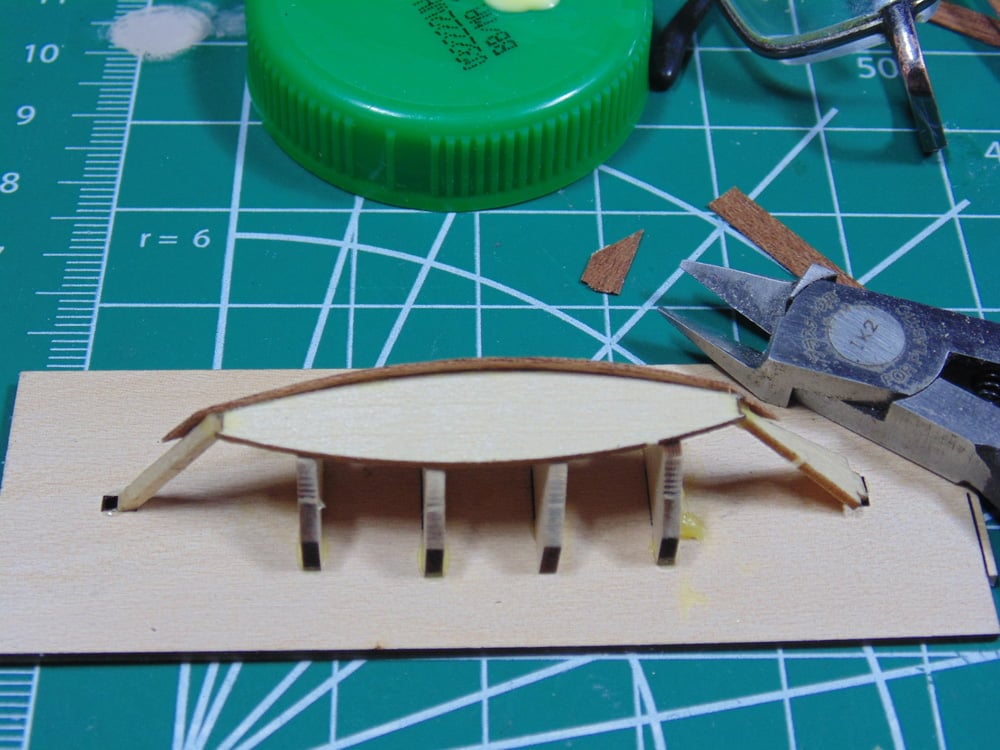
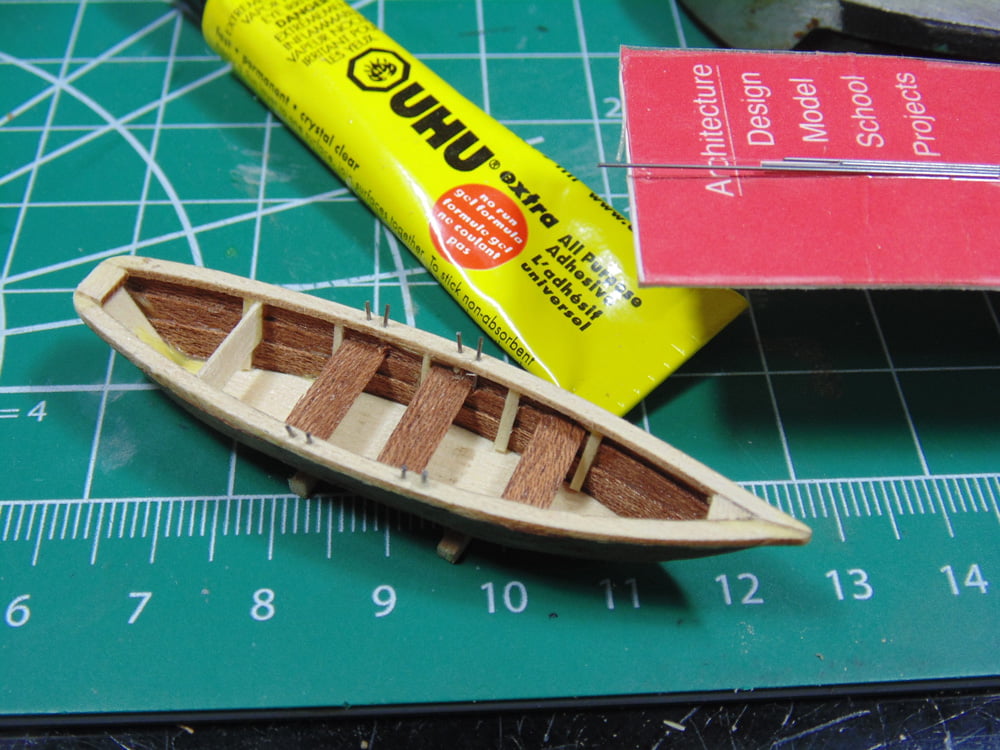
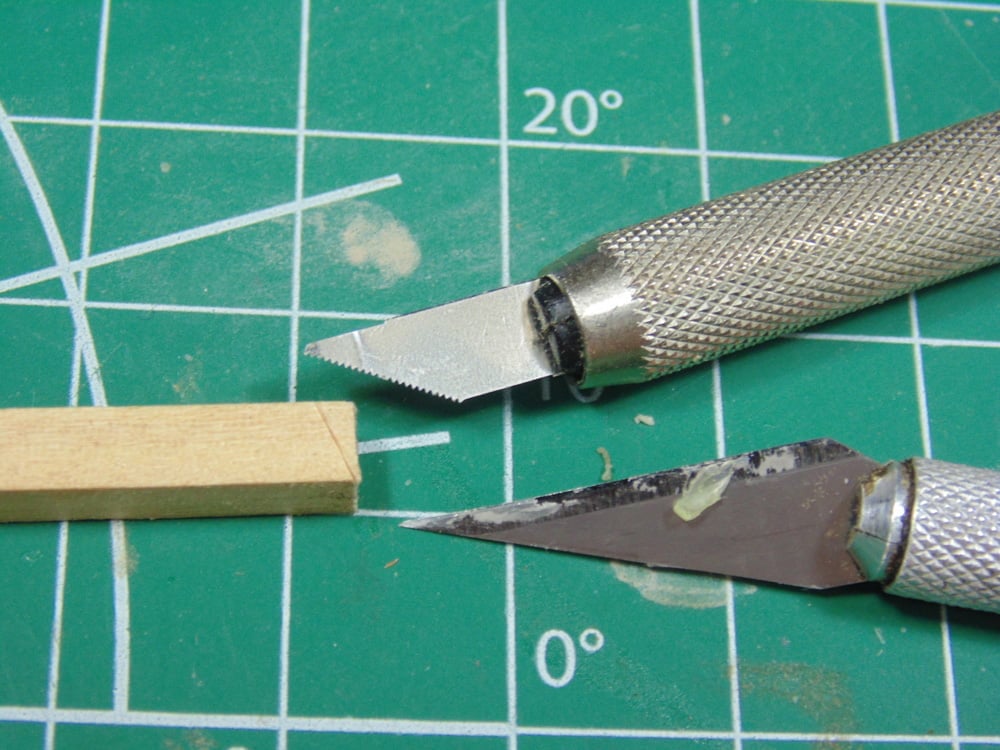
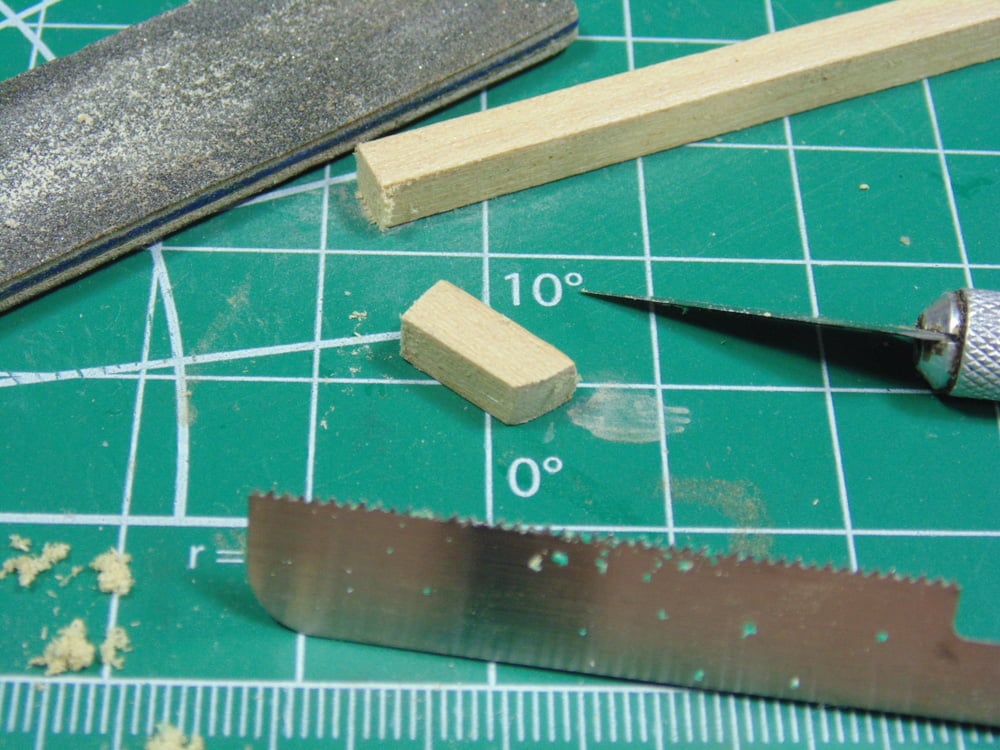
To make these long dories, naturally you’re going to sand and form each part at an angle so they look as curved as you can.
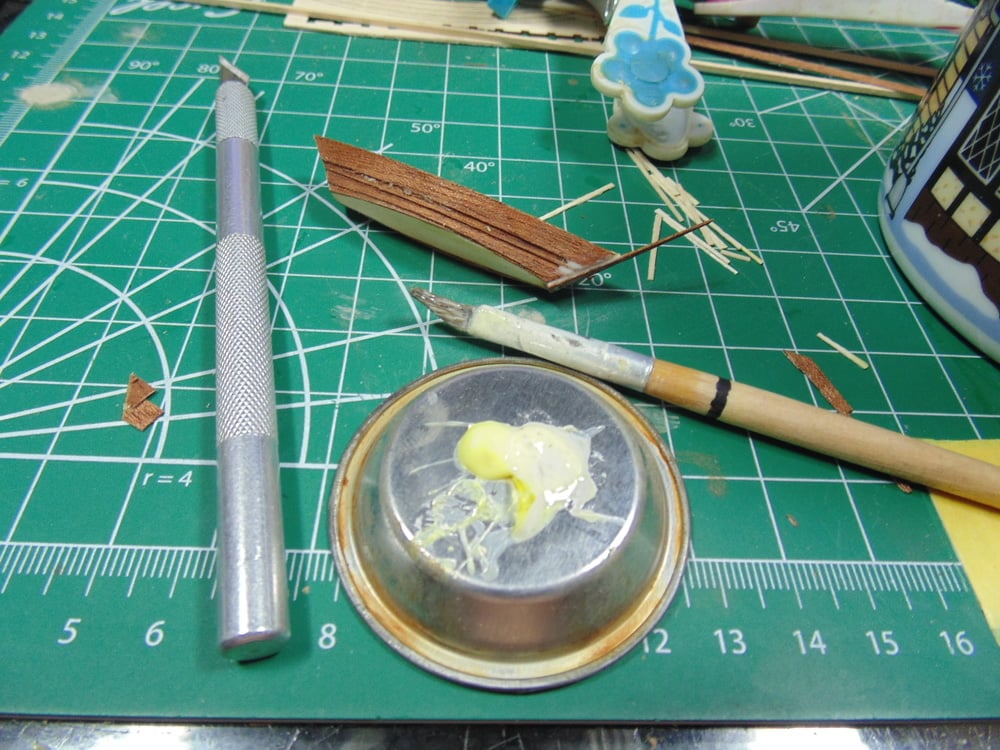
Once you’re done with this to the parts use a combination of Elmer’s Carpenter’s wood glue and a Microscale MI-10 tacky glue, which you pick-up at the store. These glues combined will let you sand the form the frame much easier without them snapping off and make the job quicker and fun. Let these parts rest for an hour though.
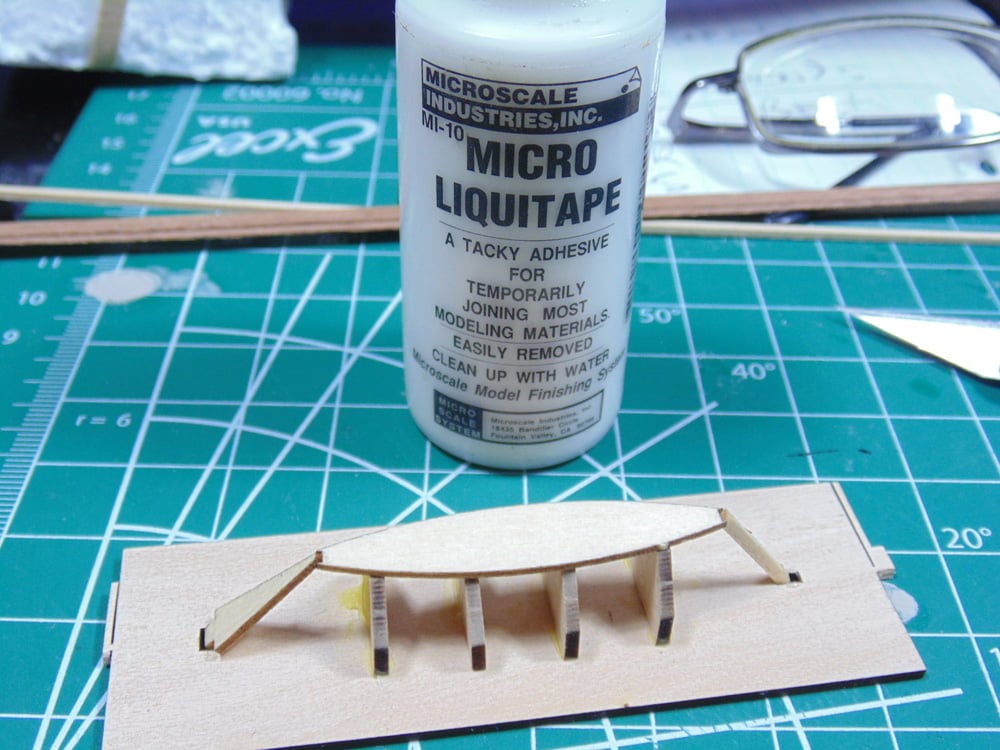
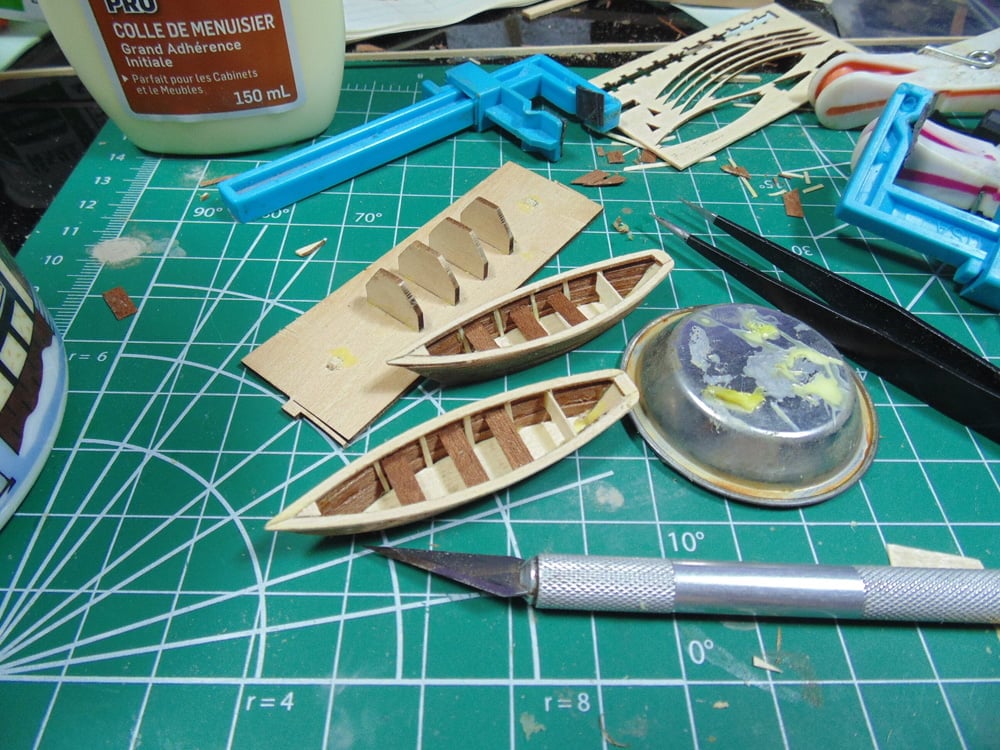
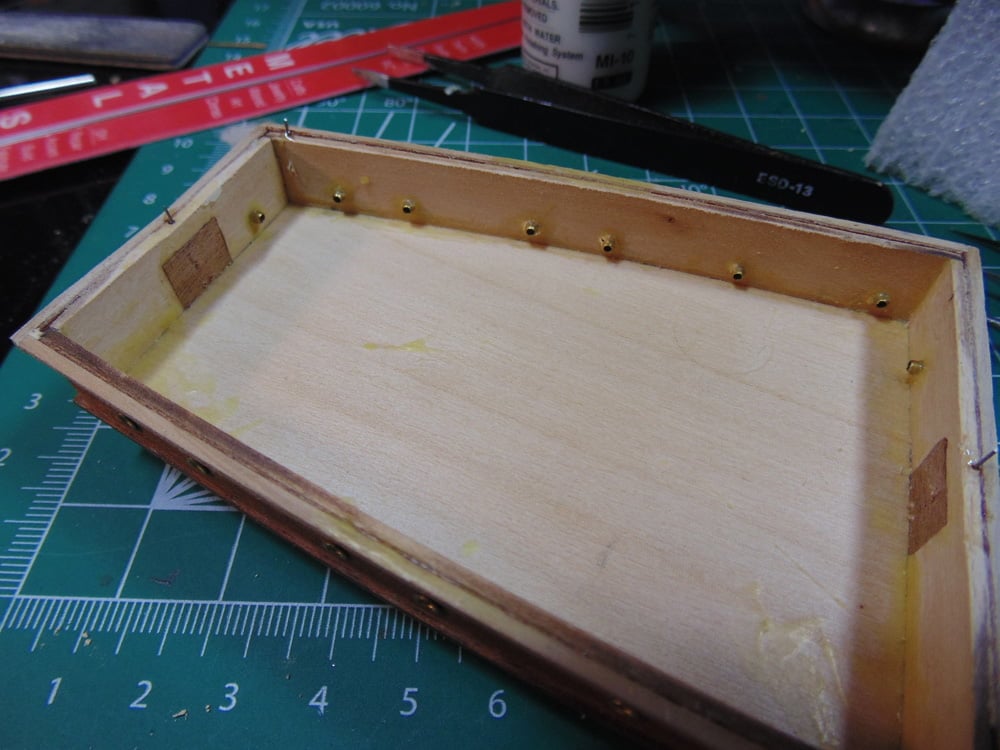
It’s a good idea to add some support to the underside of the frame. Regular carpenter’s glue will help stiffen the parts. These are tiny models of their own and add lovely detail to the overall look.
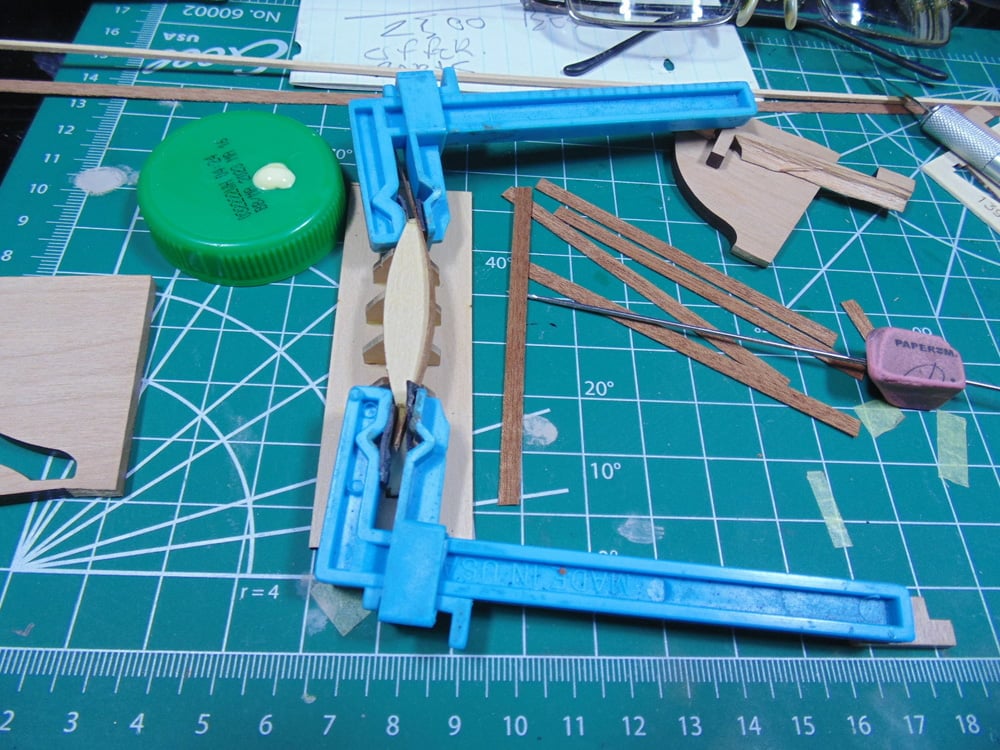
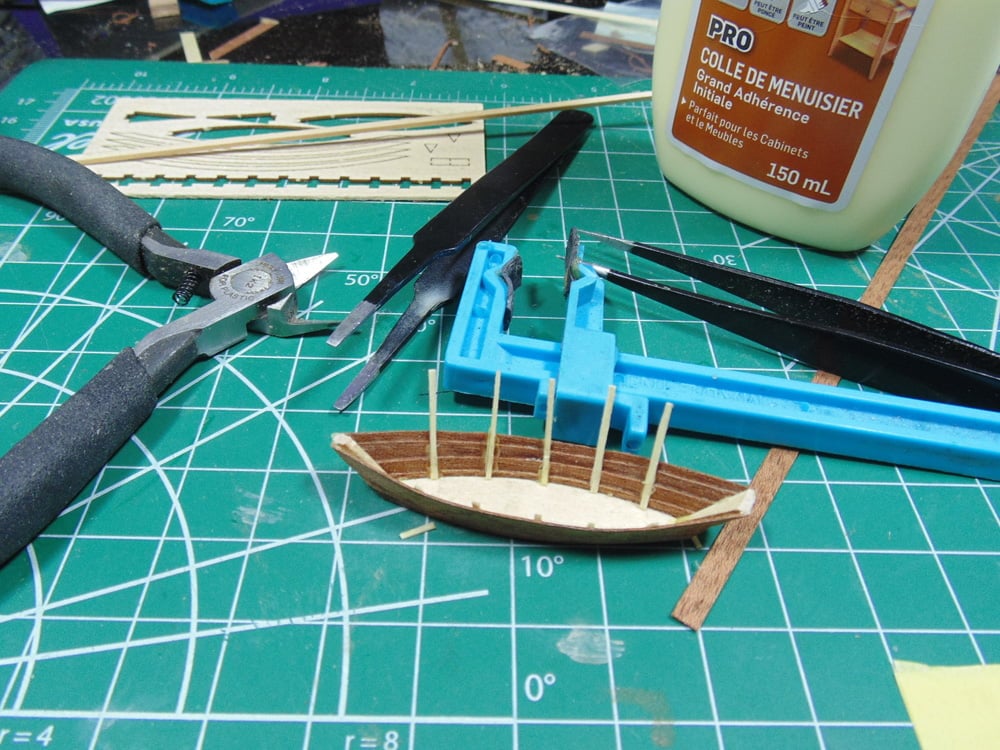
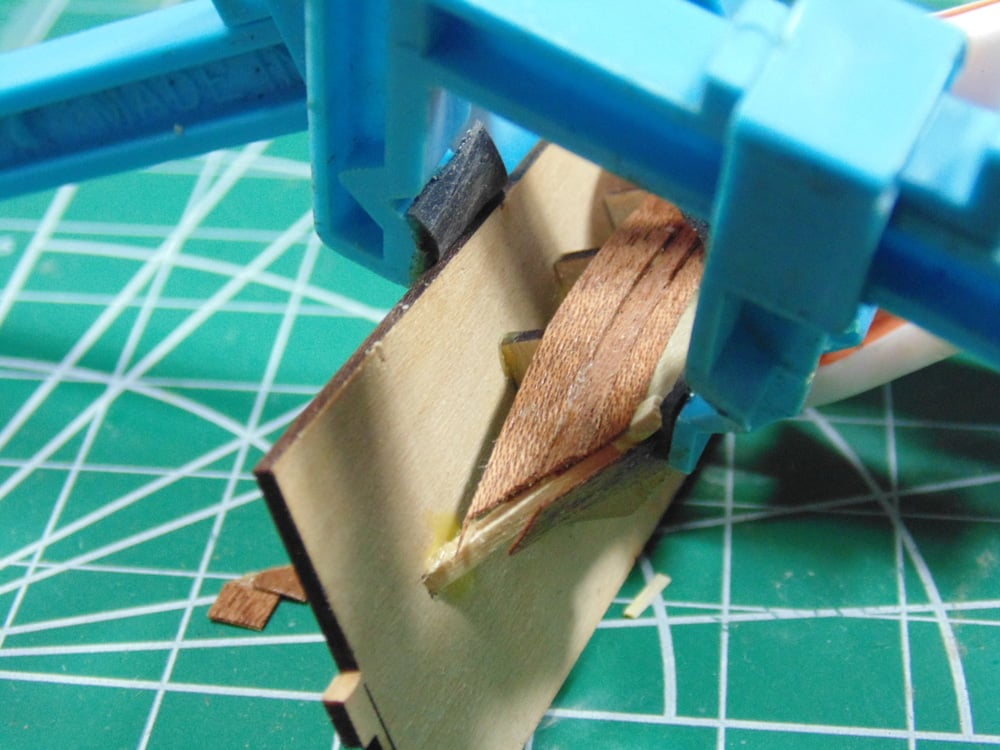
The planks will need some help conforming to the frame. Consider picking up some Excel mini “F” clamps. They’ve come in handy for me on countless jobs. Also, make yourself a mini glue applicator. This one with the pencil sharpener is an old airbrush needle, but use whatever you feel works best.
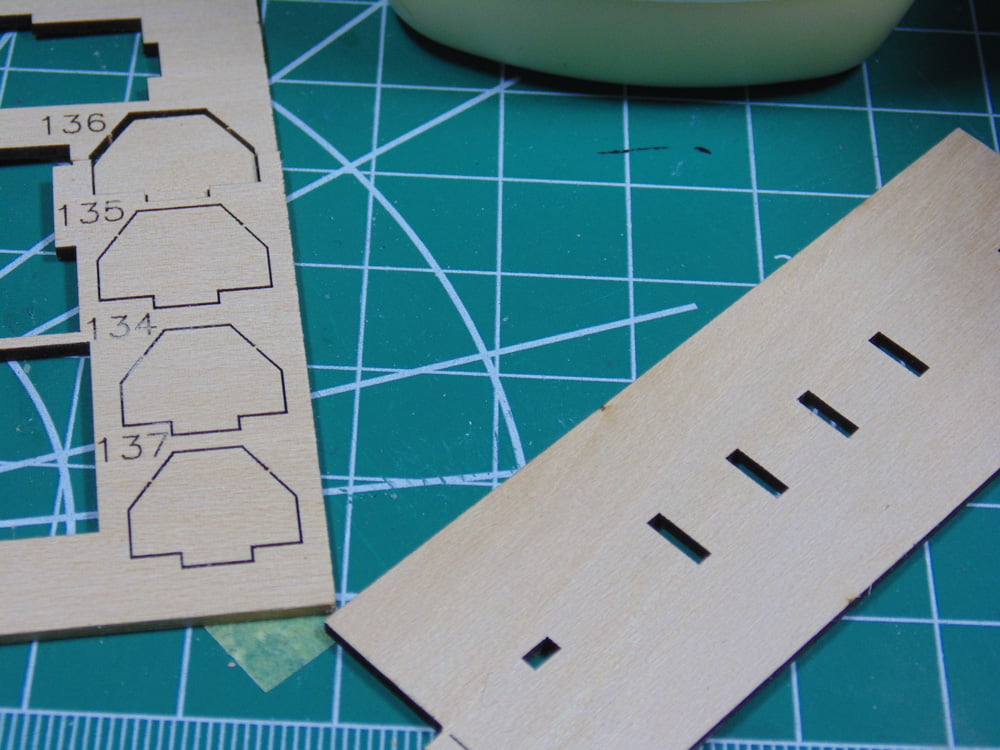
Don’t be afraid of going “overboard” on the lengths used to make the ribs on the longboats. There’s plenty of material supplied by Artesania Latina in this kit. Use side cutters to remove the approximate amount of excess then sand the rest.
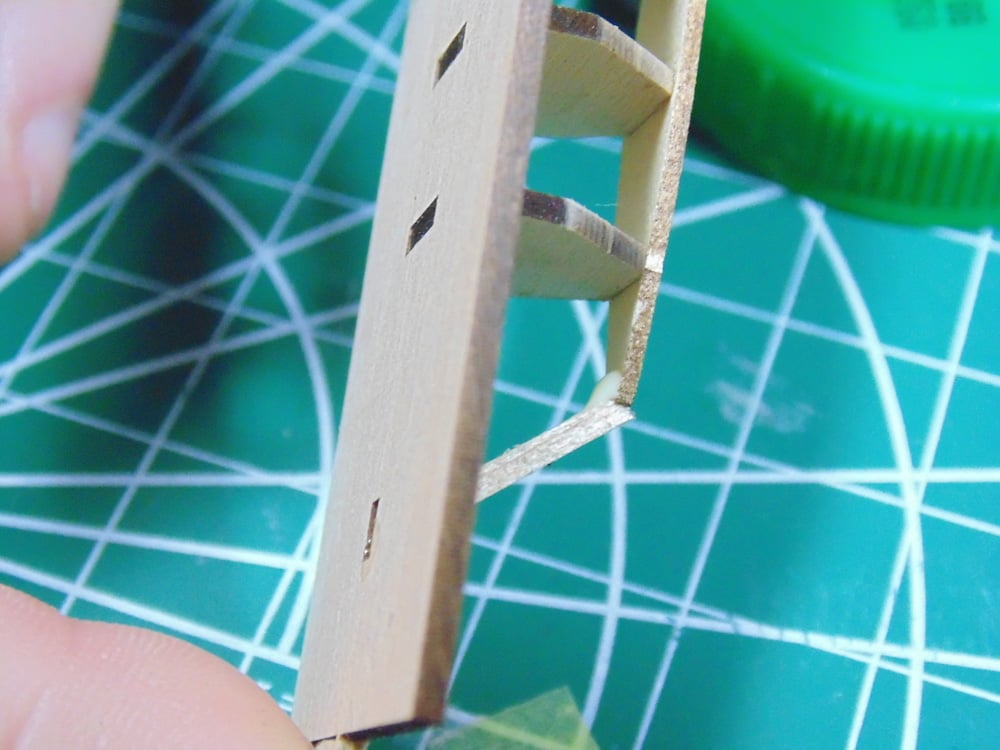
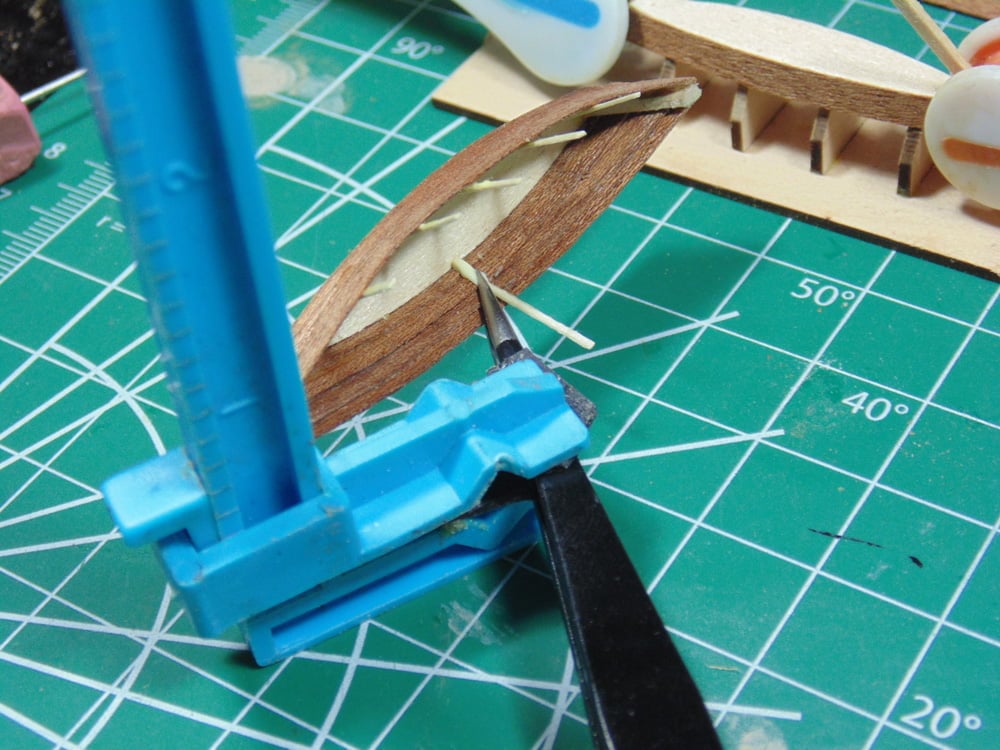
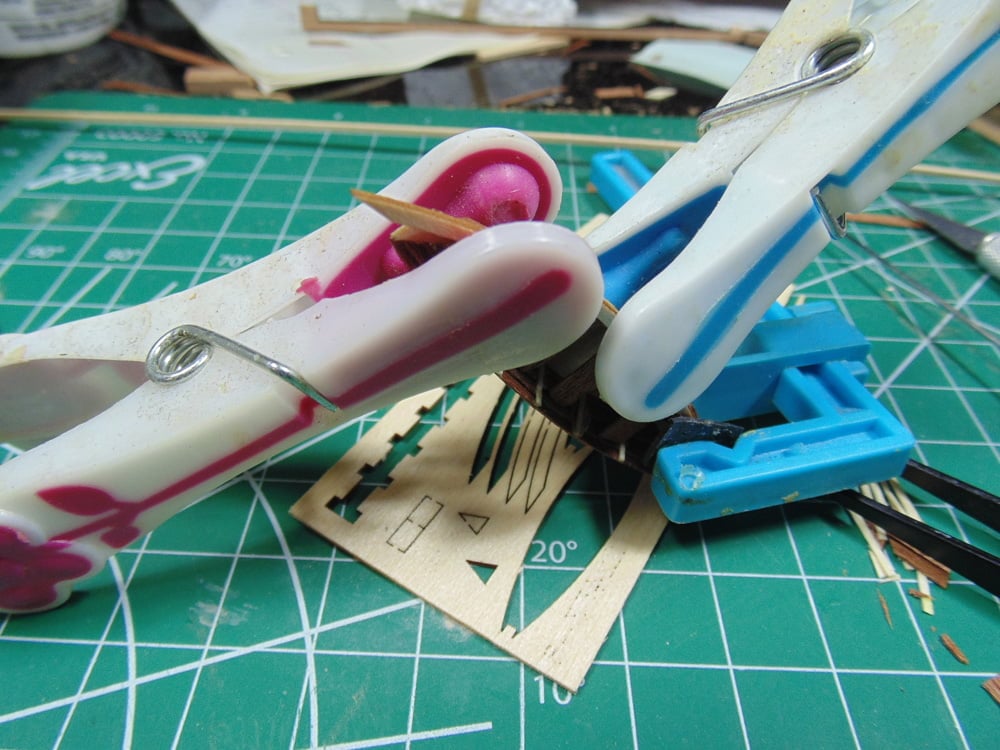
You can use your cutters to snip posts for the inner frame if more realism is wanted. On the Bluenose all craft and openings were covered in a hemp/cotton tarp. It’s your choice as to the level of detail. Clamp the tweezers with another clamp so the part stays put while drying.
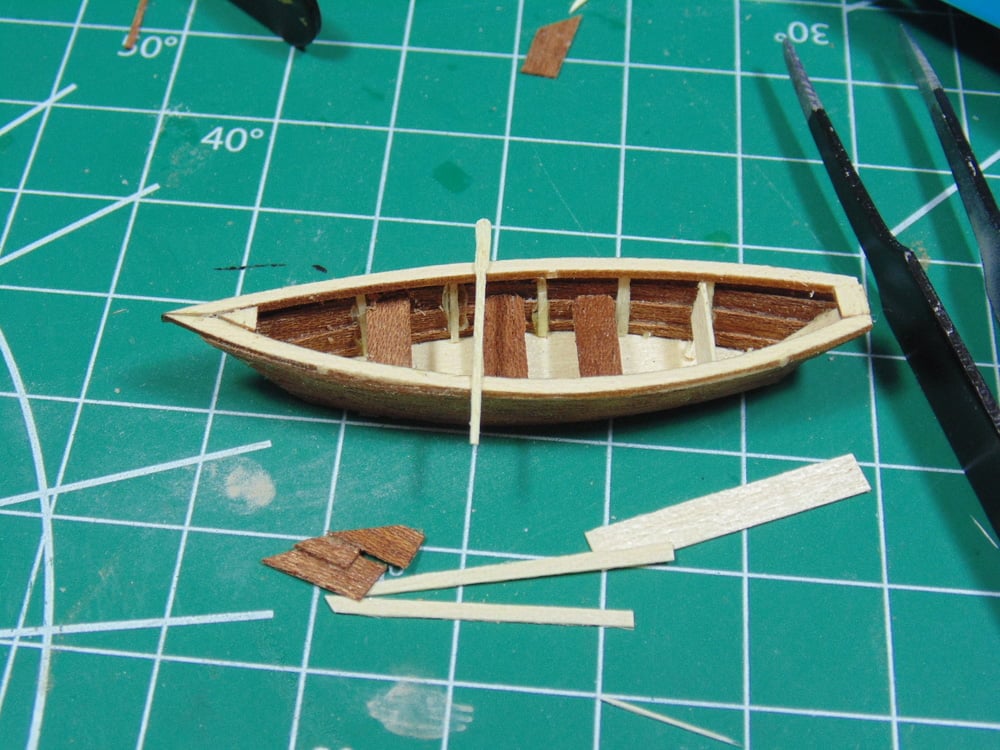
Here, I’ve went with 4 planks per side. I thought it more original, having been on the Bluenose II, and spent countless hours in fishing dories. Three planks would be much easier for you as the modeller.
Regardless, you’ll need to clamp down on several places of the frames to get the planks to behave. I use clothes pins because the rubber is very gentle yet firm. You can definitely soak this wood to make it flex easier. Just remember the drying time will be much longer.
At the ends, however, you must use a stronger clamp. Sunward Hobbies also sell these larger “F” binding clamps. Please consider buying them. Also, be prepared to invest a few hours into these little mini models.
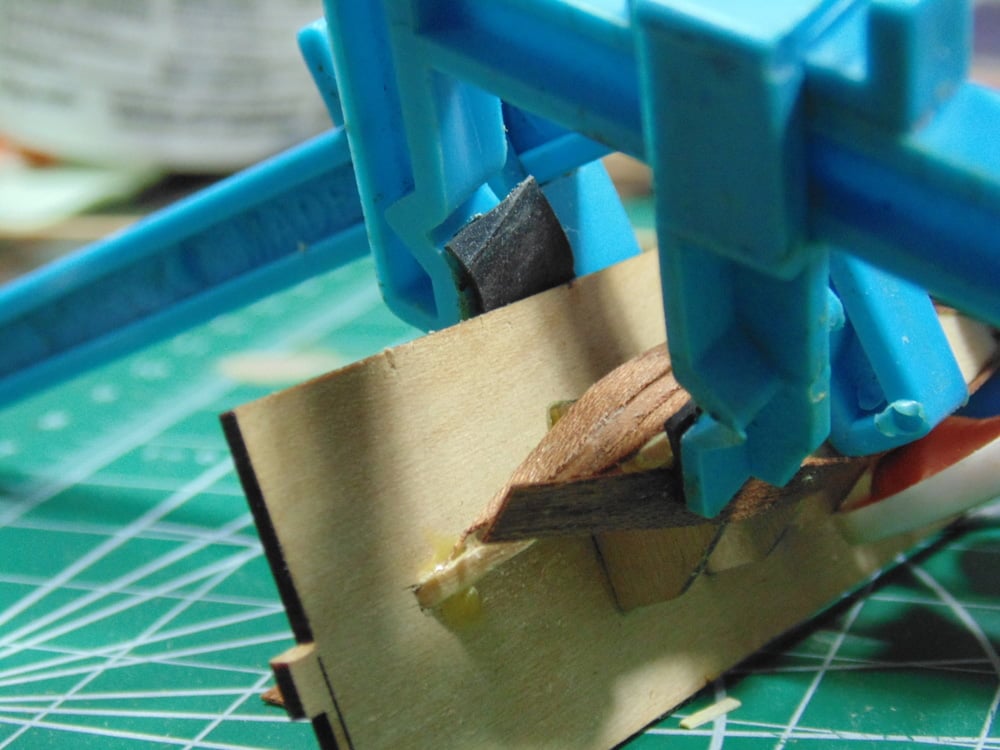
I found that wrapping around the excess wood helped terrifically in both forming the shape and allowing it to seal to the frame. Remember, there are plenty of wood planks, so a few extra half centimetres won’t matter. Just a builder’s tip.
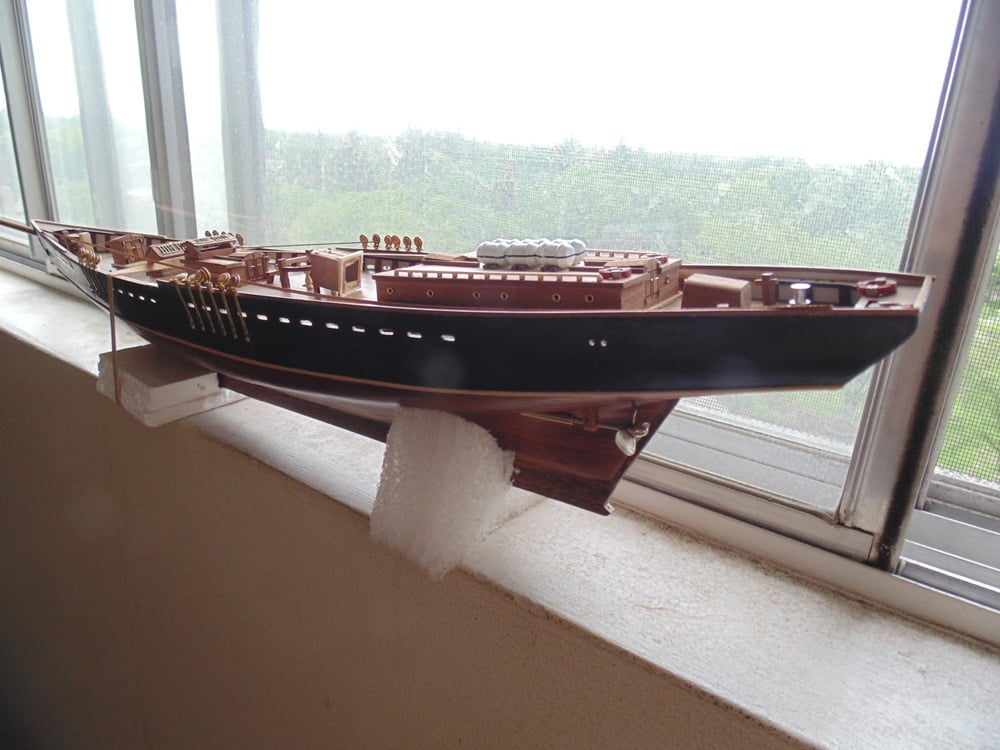
Here’s a preview of the details, roughly placed, to keep you interested, I hope. Regardless of the inaccuracies of this replica it is, after all, a replica.
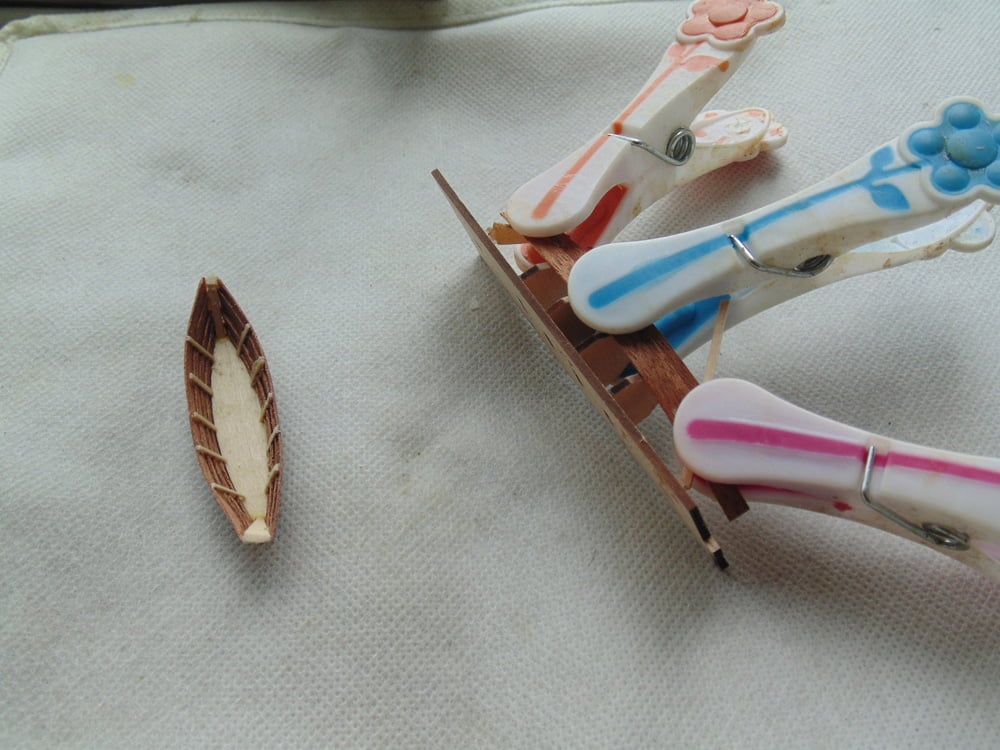
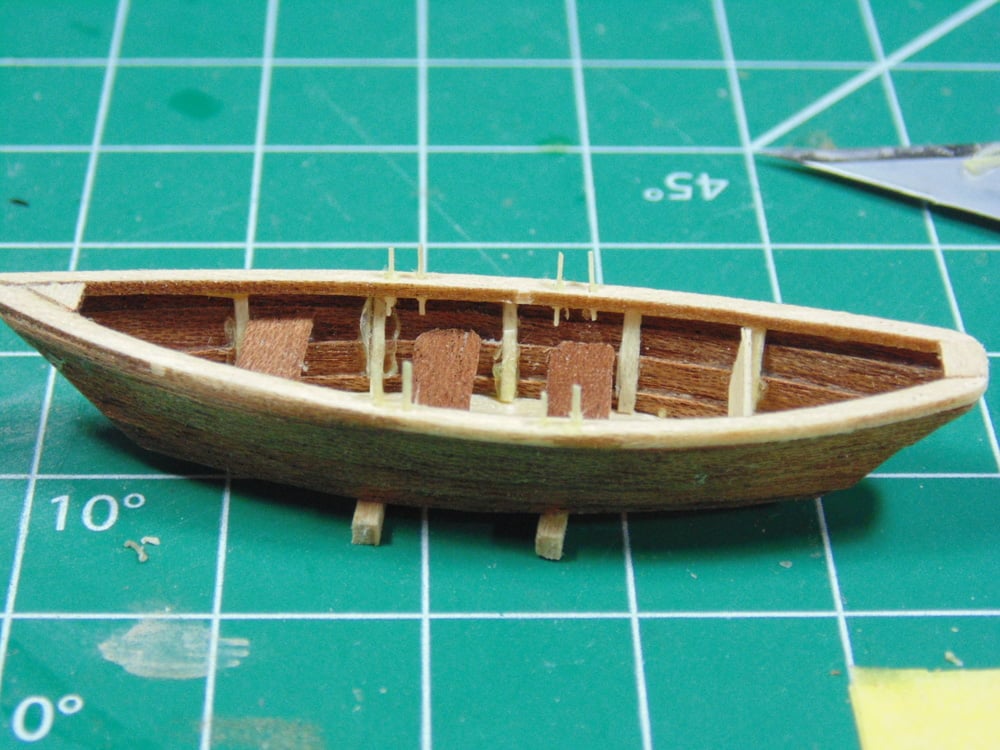
You will have some glue squeeze out of the clamped areas. This is expected, so my suggestion is to remove it with a blade and then lightly dampen an old brush to smooth the area out.
The top rails of the long boats are longer than the suggested length of the frames and may need to be bent in order to conform reasonably. Find a starting point at one end and let that spot completely dry solid. Next, bend these wood parts at selected areas of the frame then clamp and glue.
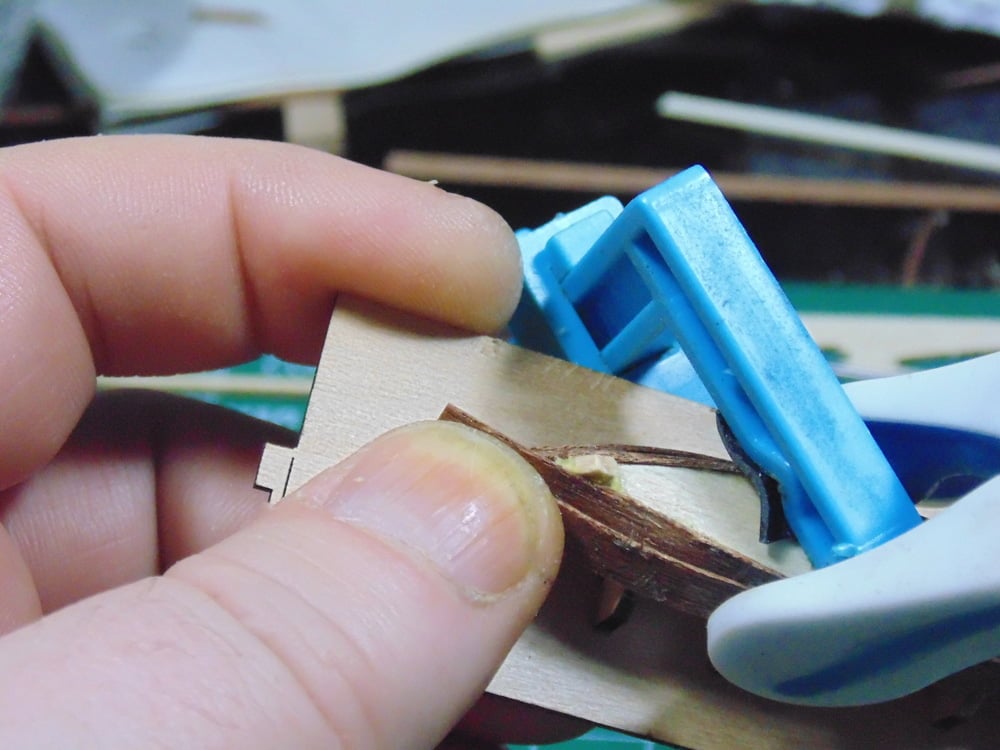
Once you have these important parts affixed and dried it’s simply a matter of sanding down the other details for install. For fun I decided to make an ore. One down… seven to go. Make sure to round off the edges of the dory for a better look.
For the ore posts there are two options. You can go the easy route and buy some metal rod and cement from the store or you can make little wooden ones.
I’d strongly recommend pre-placing your components to gauge the fitment as the parts in the instructions are different than what’s in the box.
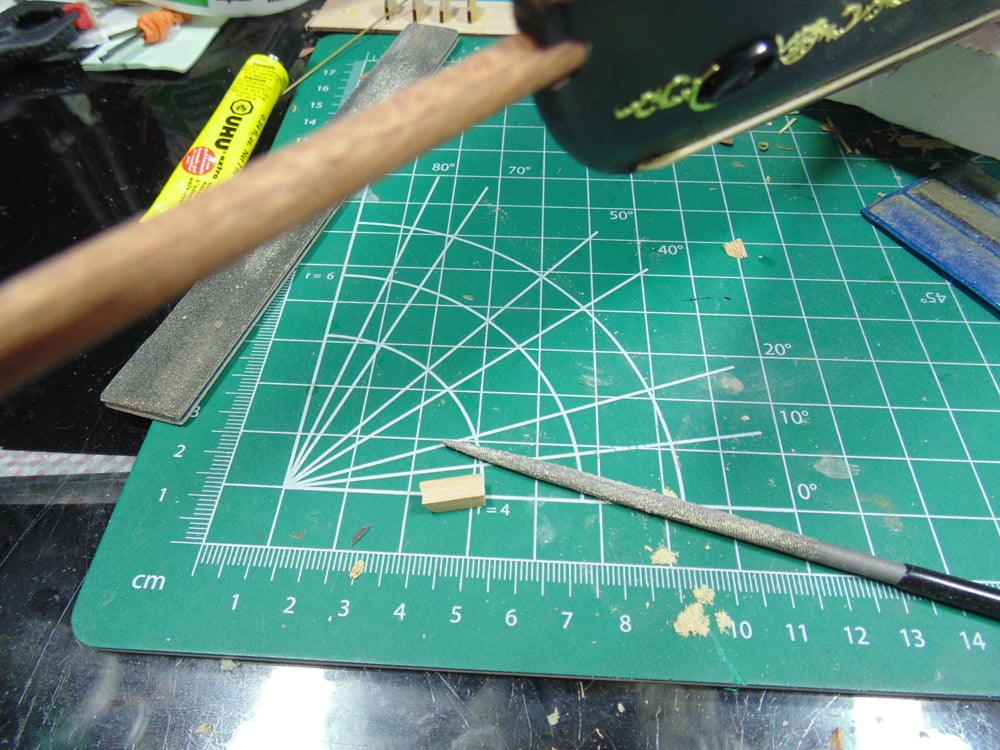
When making the sprite block consider using a blade to make a guide make and then use your saw. This also makes sanding much easier later.
To form the curved shape, you can use either a Tamiya or Vallejo rounded file. These tools slice through the delicate wood quickly so be gentle.
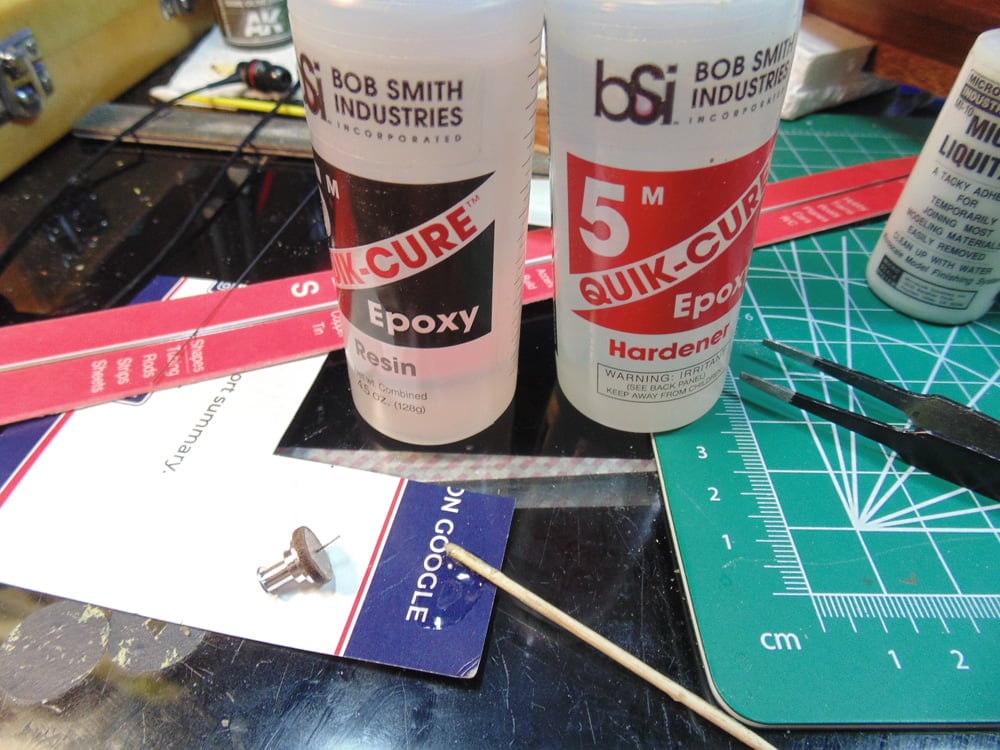
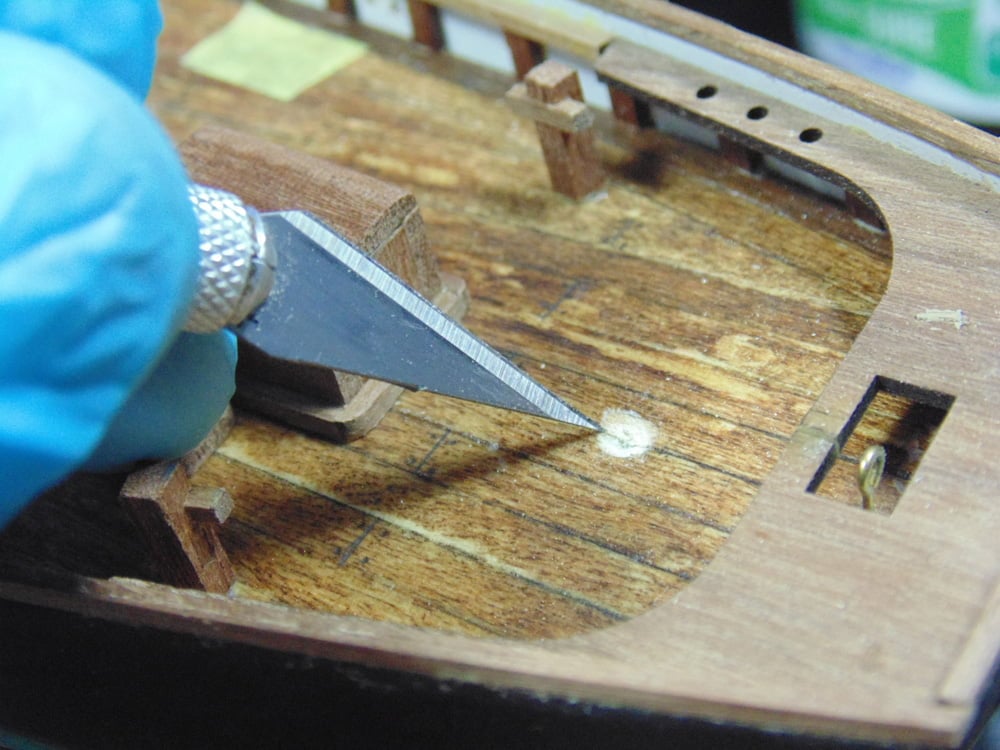
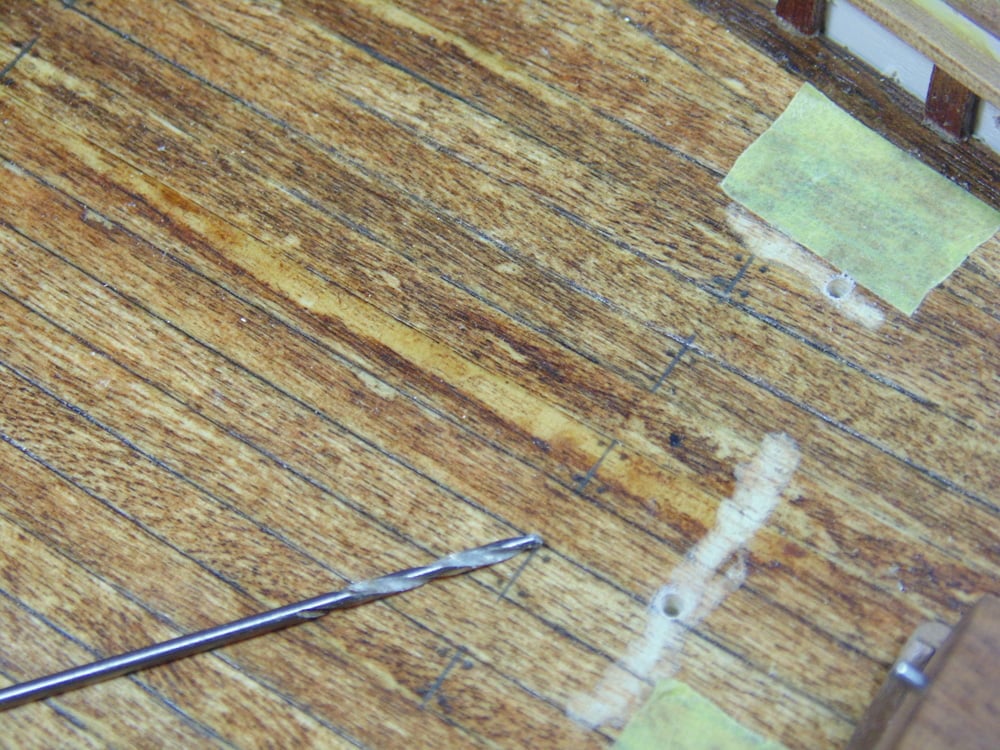
I’ll be repeating this advice a few times. Drill a hole to fit some K&S rod and use BSI epoxy to cement it. Next, score a small space at the location and drill into the spot. Make the opening large enough for some minor adjustments and the tiny gap for the epoxy to cling.
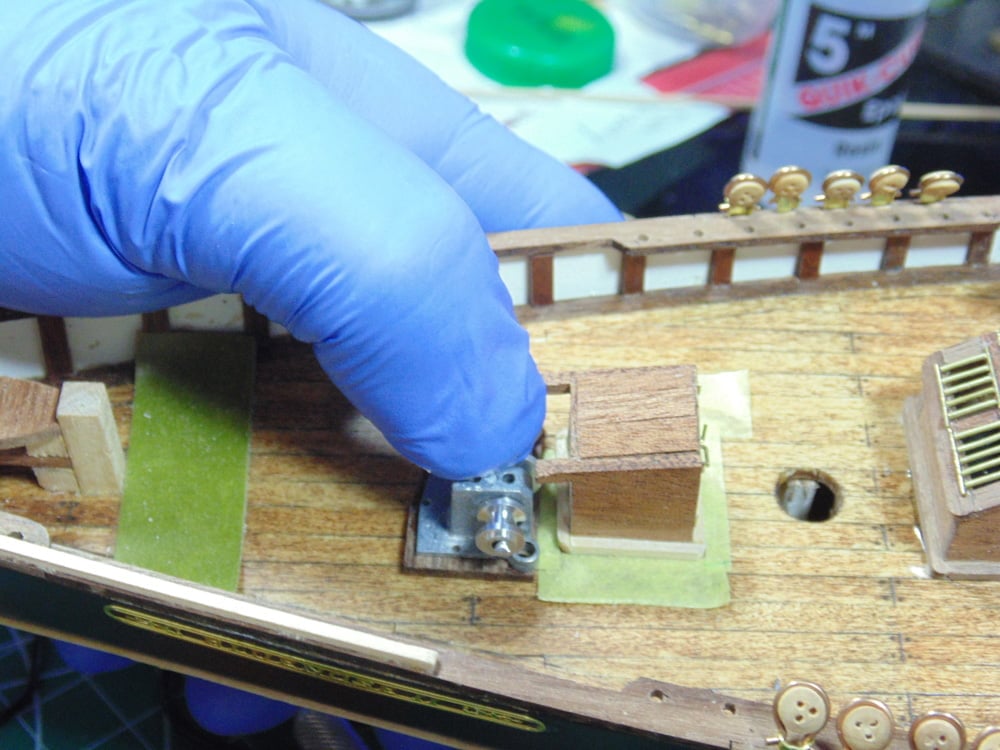
Use this same method for the other components, such as the main cabin. It’s always wise to lay down some tape at the exact border reference. Try to mark off three points, but at least two are necessary.

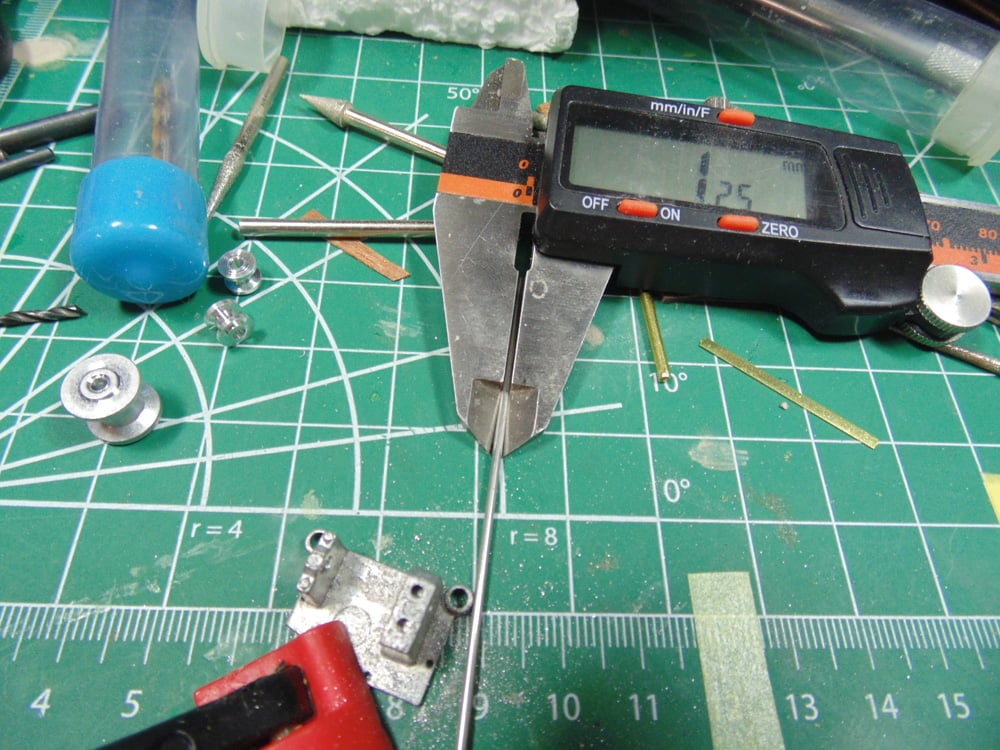
The steering wheel does not fit into the supplied rod. Use a reaming tool to slowly core out the center until it fits. The anchor block parts need to be cored out as well.

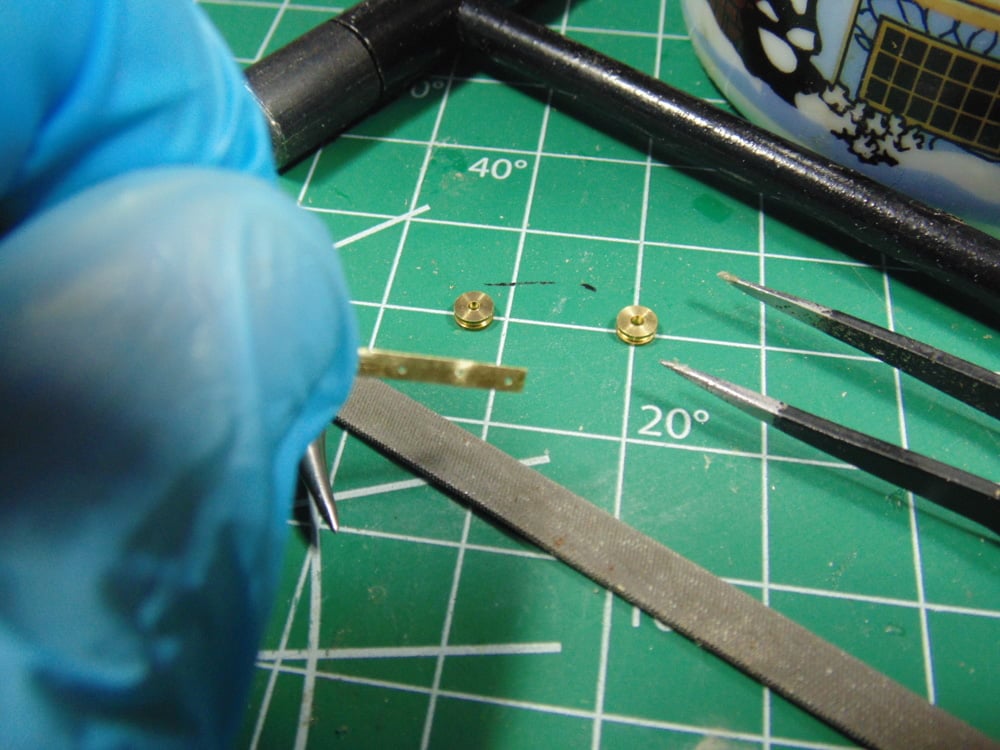
For the tackle wheels to fit properly please sand down the rough places you’ve drilled the holes then redrill them again to be smooth. I used a Tamiya photo etch bending tool then a hammer to get a better 90-degree angle. Also, when drilling the holes do this on a scrap piece of frame from the kit, it’ll save your cutting mat.
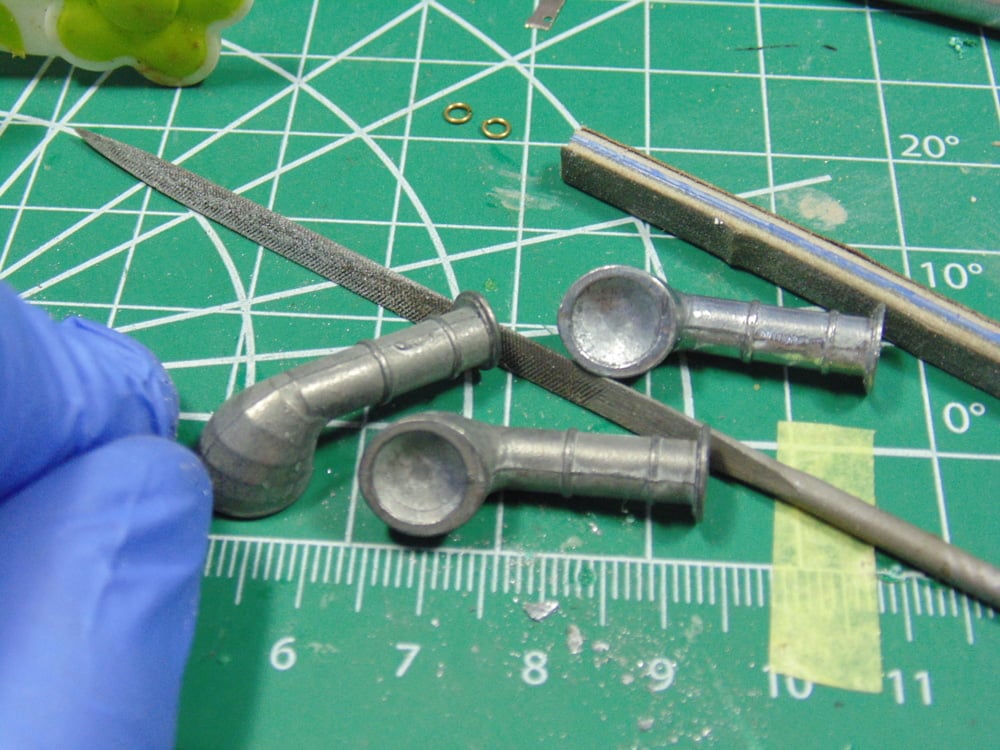
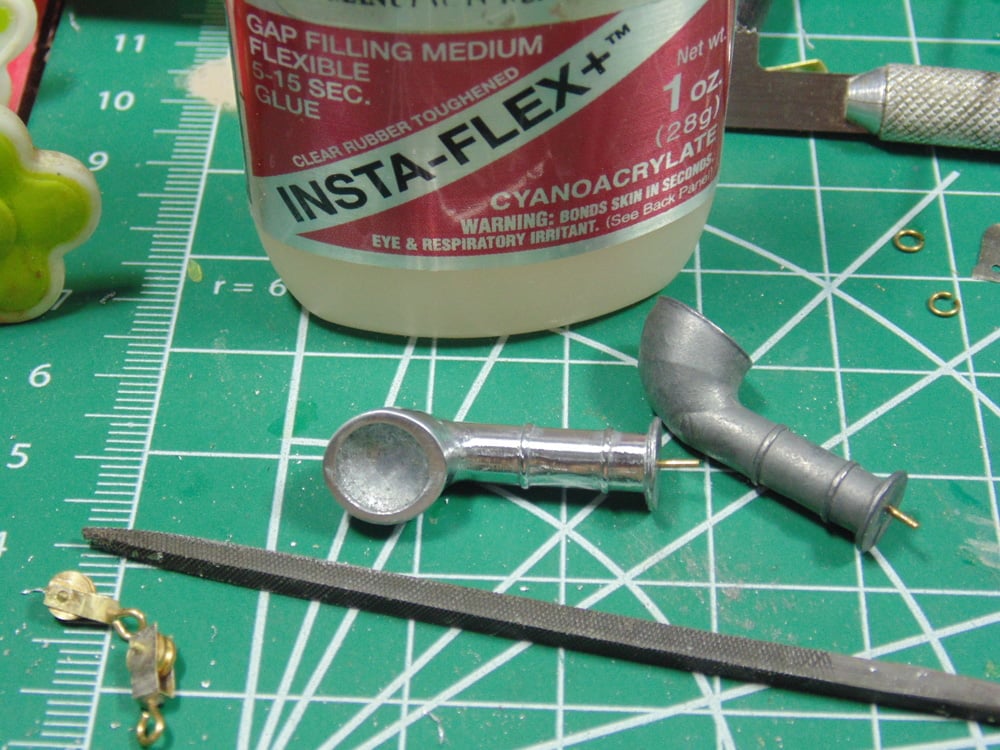
The vents will take you some time if you want them cleaned up. They have a lot of metal flash which can slowly be shaved away with some hobby files. Sunward Hobbies sell a great set of Vallejo mini files that have multiple shapes. I used three to get the parts cleaned up then polished them to a shine. Don’t forget to drill a hole in the bottom. These parts will certainly come free in the near future building process if not secured.
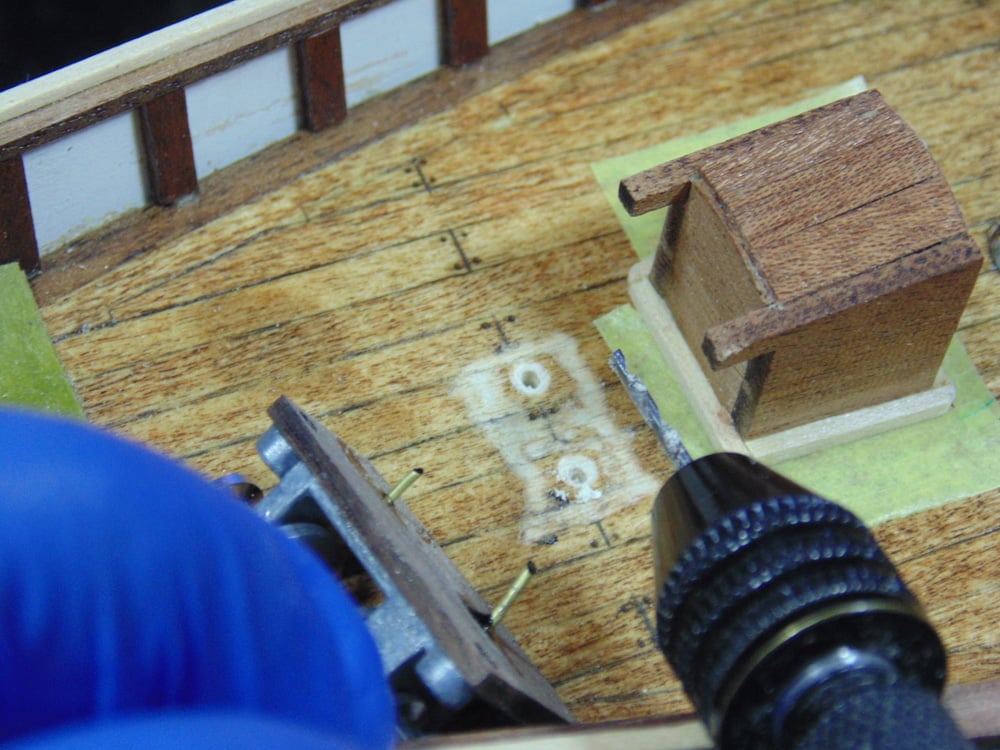
For placing the anchor block works, pin the bottom and add a dab of black paint to these tips. Accurately place the part and make your marks, then you can drill and score those spots for the cement. Please use epoxy for this type work since the different wood types don’t always work well with wood glue as a bond.
Thanks again for taking the time to follow the build. If you have any questions about Artesania Latina products or the techniques used please feel free to ask when you pick-up or place your next Sunward Hobbies order
If you have any questions about the products used or the methods in this article, please feel free to ask the staff when you pick up or place your next order from Sunward Hobbies.
H.G. Barnes is a former voice-over artist and retired sales and marketing professional. He’s the author of two large volume science fiction adventure romance novels with many more in the works. For well over 40 years he’s been building scale model replicas and now does commission work for clients in Canada and the USA, plus completes projects for companies in Asia and Europe.
Actuellement, HG est impliqué en tant que rédacteur associé avec les chaînes de magazines en ligne de KitMaker Network.