Artesania Latina Bluenose II Build – Part 10 of a Series
In this Sunward Hobbies tutorial, I’ll be continuing with Artesania Latina’s Bluenose II build with Part 10. Previous Part 9
In this tutorial I’ll be guiding you through steps 25, 26 and 27. This section is model with-in a model and great fun. You’ll get tips on wood working along with practical methods to solve problems and make the build more enjoyable.
Angus Walters captained the original Bluenose for over 17 years, so to replicate the general quarters area where he rarely slept was a pleasure. Captain Walters’ grandson worked alongside and taught my dad how to fish on deep sea trawlers.
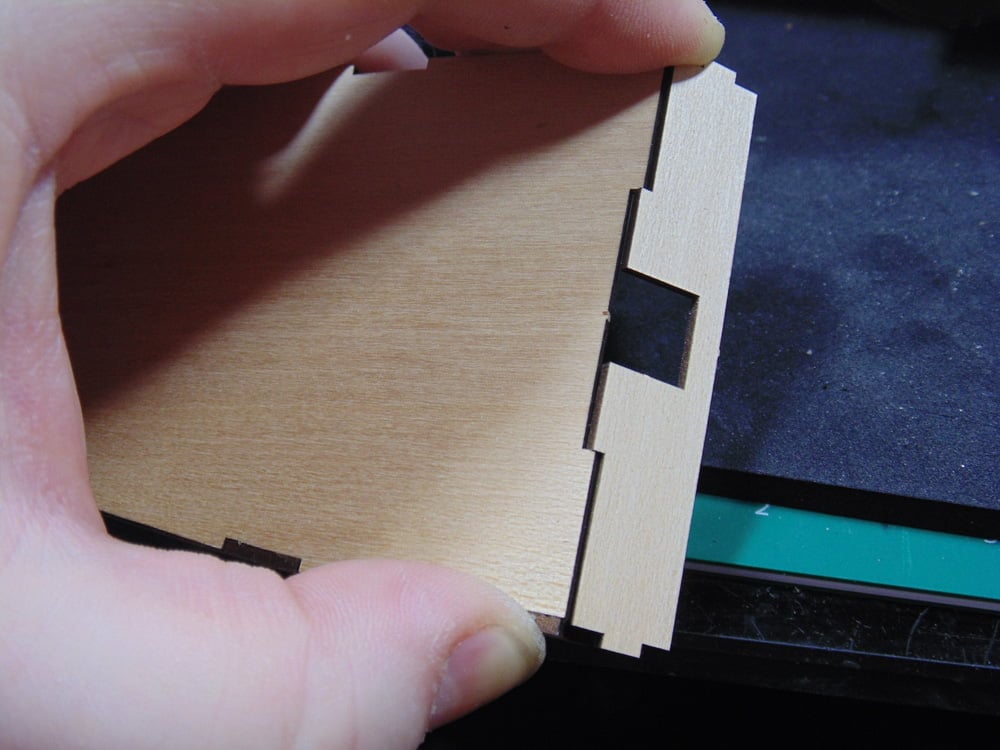
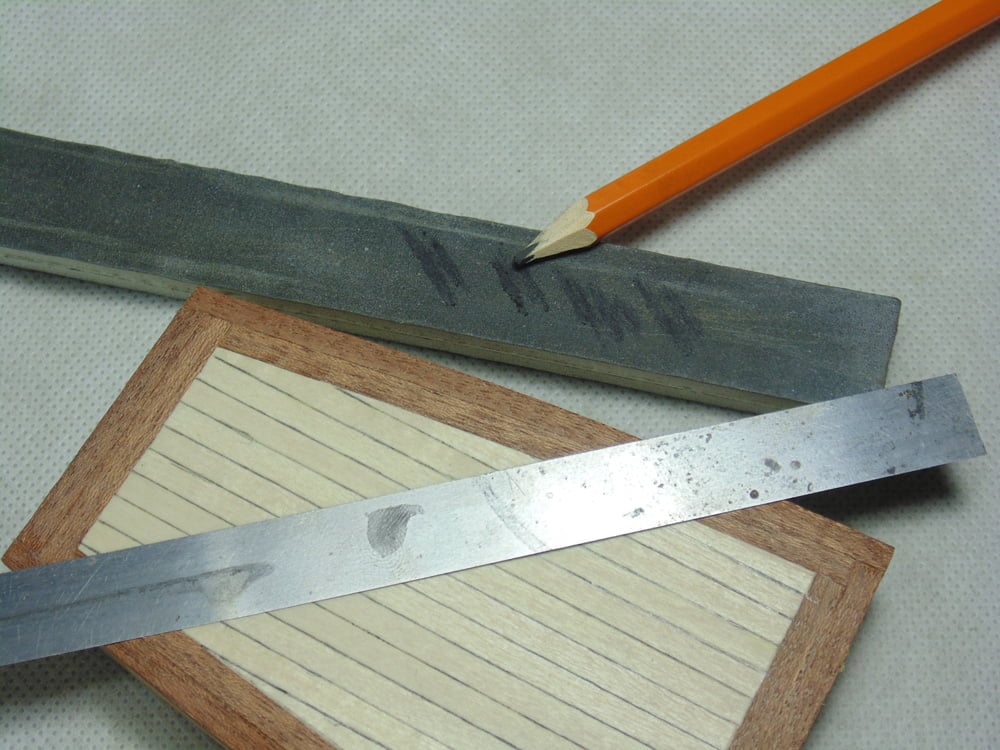
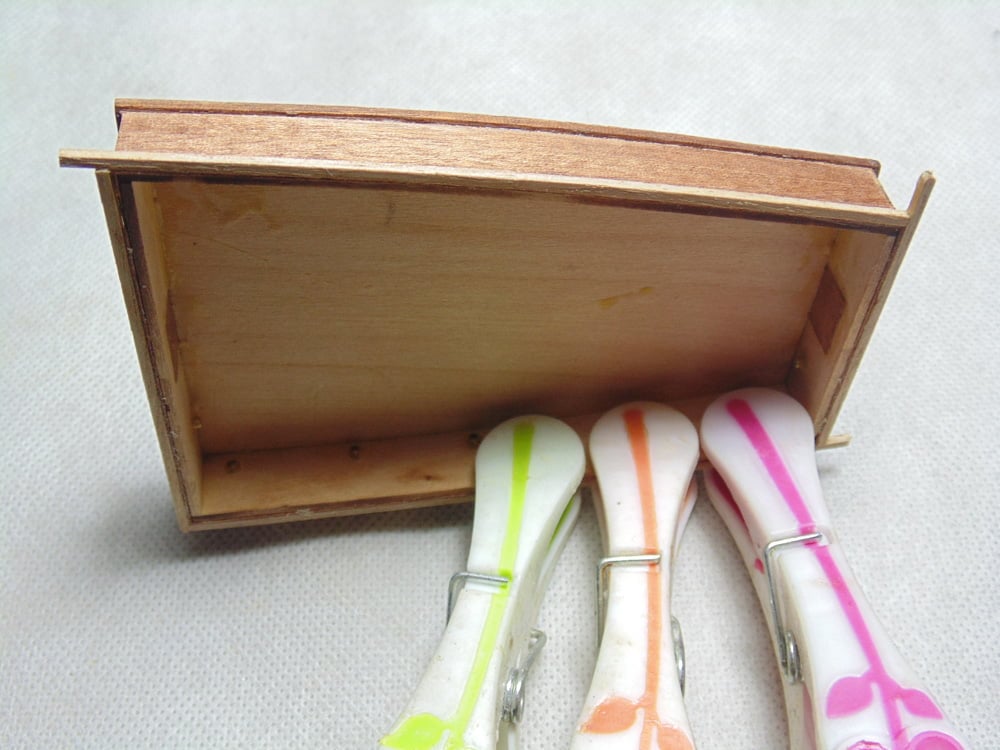
Test fitting every part is critical here. It’s only a few laser cut parts, yet they assemble properly in one direction, which is not mentioned in the instructions. Here’s a tip; make pencil dot or dots at the edge of the parts where you’re comfortable the fit is the best.
Regardless of the fit there will be some sanding. You can reduce this with some Excel Hobby Blades “F” clamps. I use Excel clamps with some packing foam or rubber to cut down on making imprint. At corners with an ill fit just use an Excel Blades razor saw to shave off the difference.
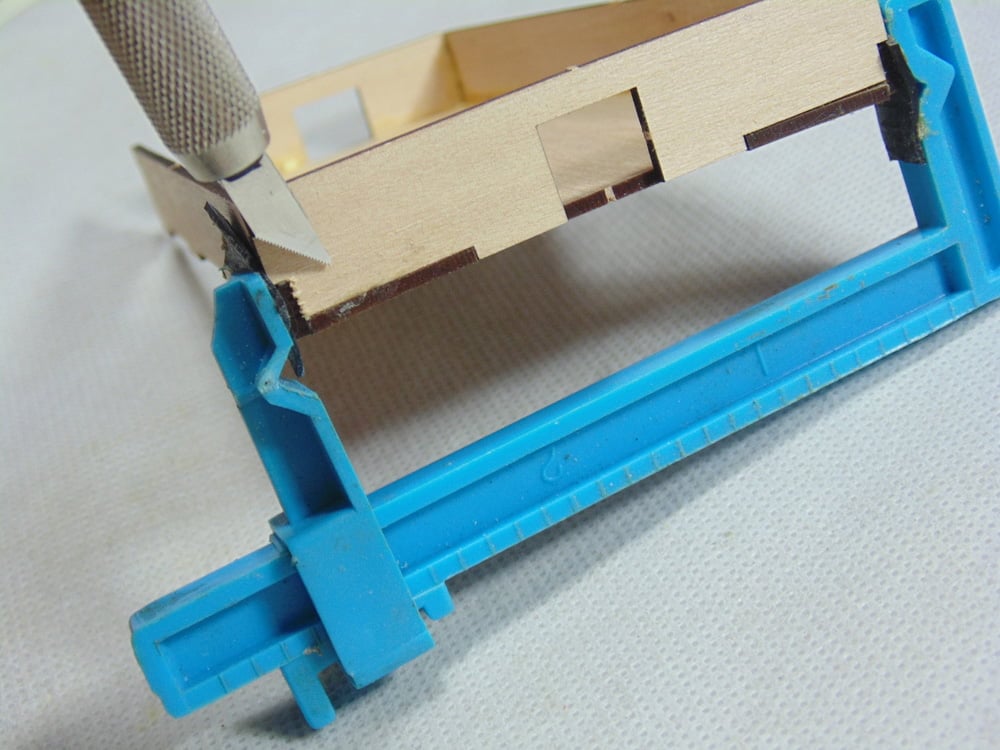
These are flat parts which need to be bent. Avoid wetting them. That may sound odd, but the wood used ages to dry. Again, use “F” clamps you.ve bought from the store to make the subtle adjustment. This will save you time, plus give a much better fit.
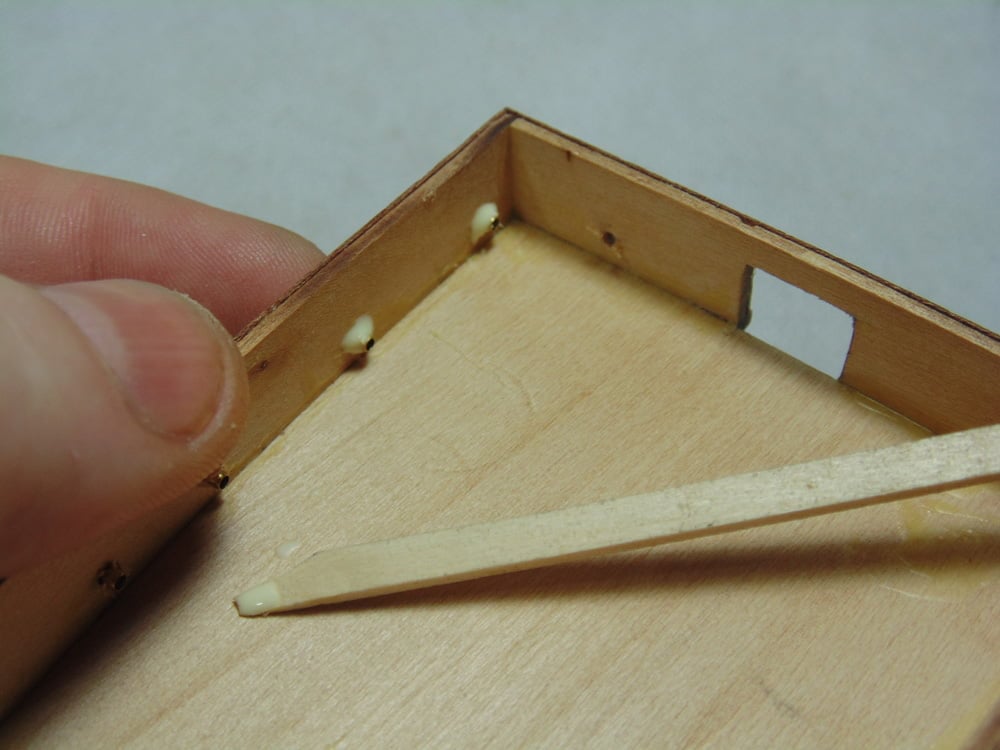
Once again, sand down the scorch marks from the laser cutting process. These areas will not stay connected properly if you don’t. A little extra colle on the unseen side will help.

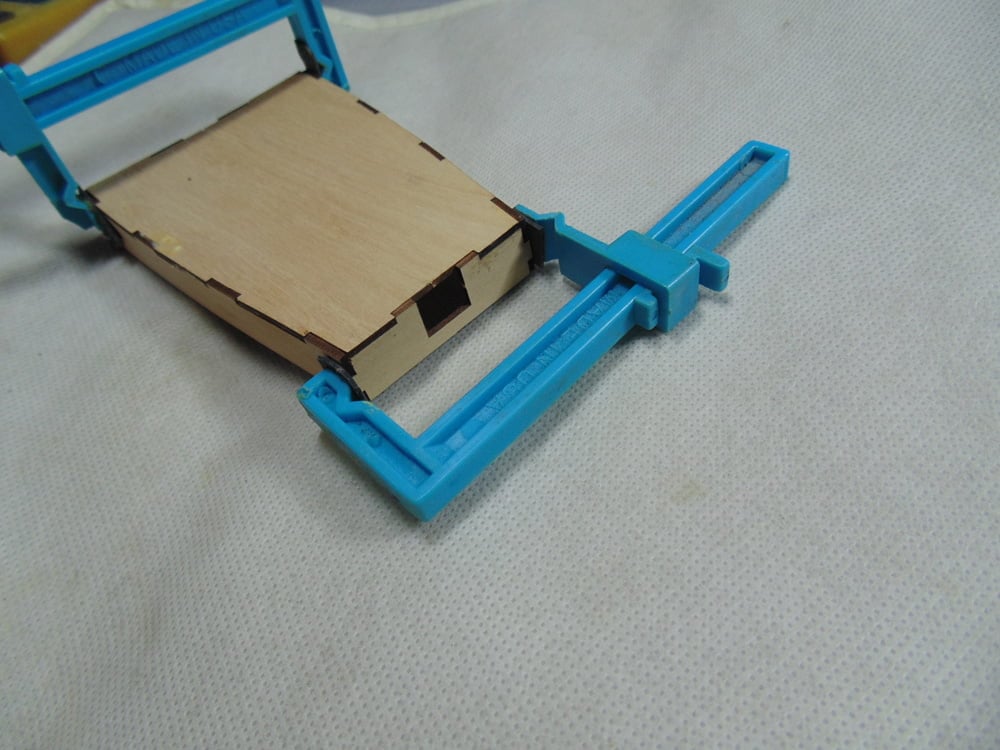
As quickly as you can rest the subsection on an absolutely flat surface and, if needed, force the parts to be level. My author’s desk is thick glass, so consider leveling your parts with something similar.
To warp speed the sheathing of the sappily wall planks, consider butting up to the straight edges and working your way around. This will save you time having to make the exact measurements on the final side.
Don’t get me wrong, this section requires some patients. Getting these parts to bend isn’t easy, but getting them to stay put was more challenging. Normally I would let the glue set at a certain point then let it set up. This short run, however, needed to be done all at once. Use your stiff clamps and follow the line of the cabin wall and do not let your eyes off it.


The inside lengths need some special attention. These short lengths can be frustrating to angle. Here’s a tip, don’t wet them and use minimal glue. The edges will roll up on you if there’s too much moisture in the substrate. Put a thin layer of glue on them and use your fingers to hold the part in place. It will take about five minutes for a firm fit to happen and then you can feel the placement as if playing the piano. Clamp it down.
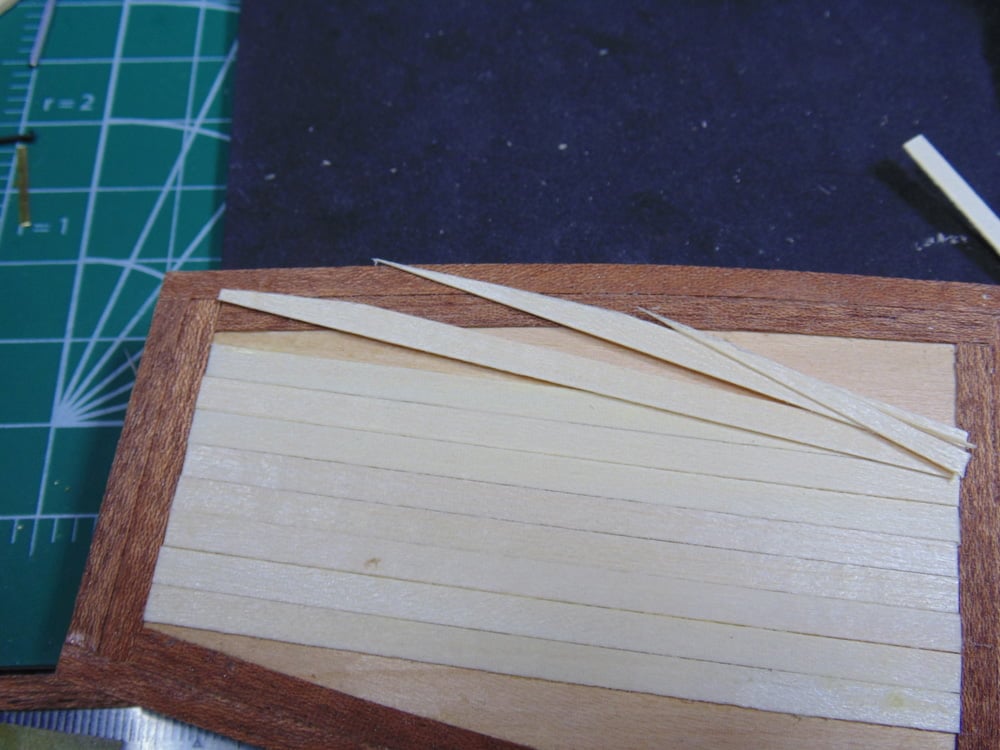
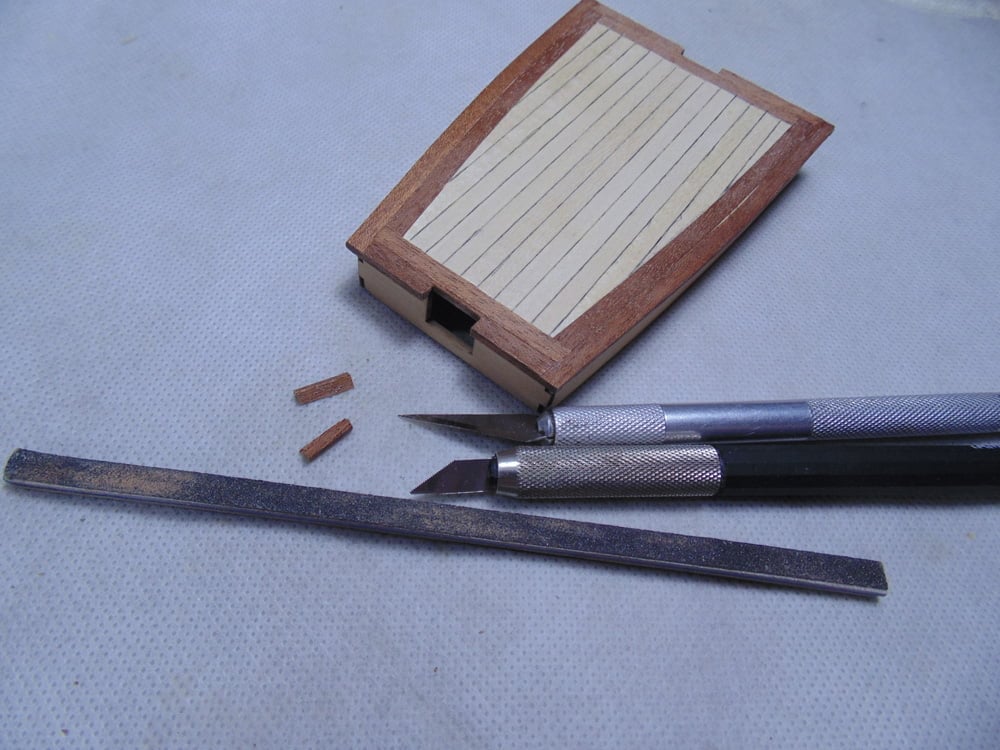
I’ve mentioned saving your scrap bits in a previous Sunward Hobbies article. Here they come in super handy and here’s why. The full lengths are very long and often get in the way. Even poked my face once and I’ve been doing this for a few years. Here’s another tip, use short lengths which are easy to manage for the best controled. Might sound obvious, yet sometimes that is lost. Install your short lengths in a circular fashion, this way you’ll have only one end to cut and fit, like I said before.

The instructions do not tell you to put short lengths of basswood down. They state putting pencil marks only. Place these planks from the center out.
As a model builder I’d suggest you measure and cut all your squared offed runs so all you’ll have to do is glue them is in one step. A basic set of Tamiya side cutters will work great here.
If you look close at the picture the edges are springing up. That’s natural and no fault of Artesania Latina. It simply what happens with wood and something which we craftsmen need to correct. Place some scrap wood in the teeth of your clamps to force the planks down. In this photo you can see the wood lifting if not forced down.
Wearing gloves helps reduce the skin oil since you’re going to coat the replica with a clear coat. Clear coat products do not react well with skin oil, or any oil, and will leave a visible print. However, if you want your own fingerprints on the model then super, and something recommended for generations to come. When sanding though, glide your finger with the path of part and sander. Keep an even pressure at each point and take your time.
To get the upper deck planks looking as the lower ones follow the steps in Sunward Hobbies’ Artesania Latina Bluenose II Build Tutorial Part 4. I’m not a salesperson, yet I would strong suggest purchasing the angle slicing tool. The trouble with high grade material is working with it. Having the correct tools will make this a much more enjoyable past-time.
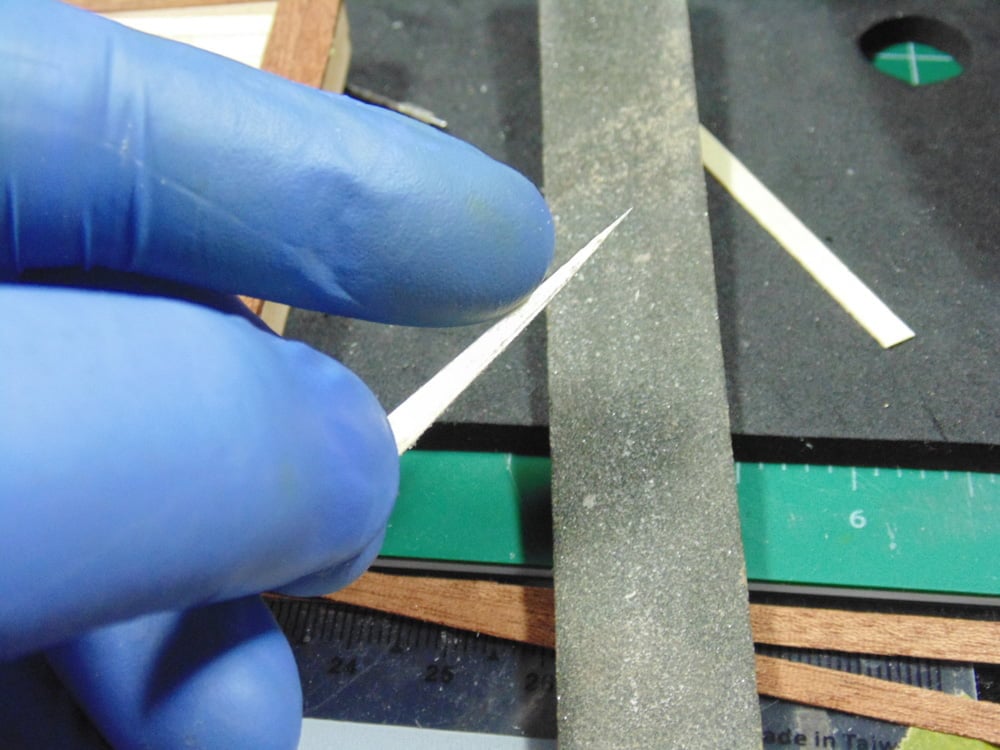
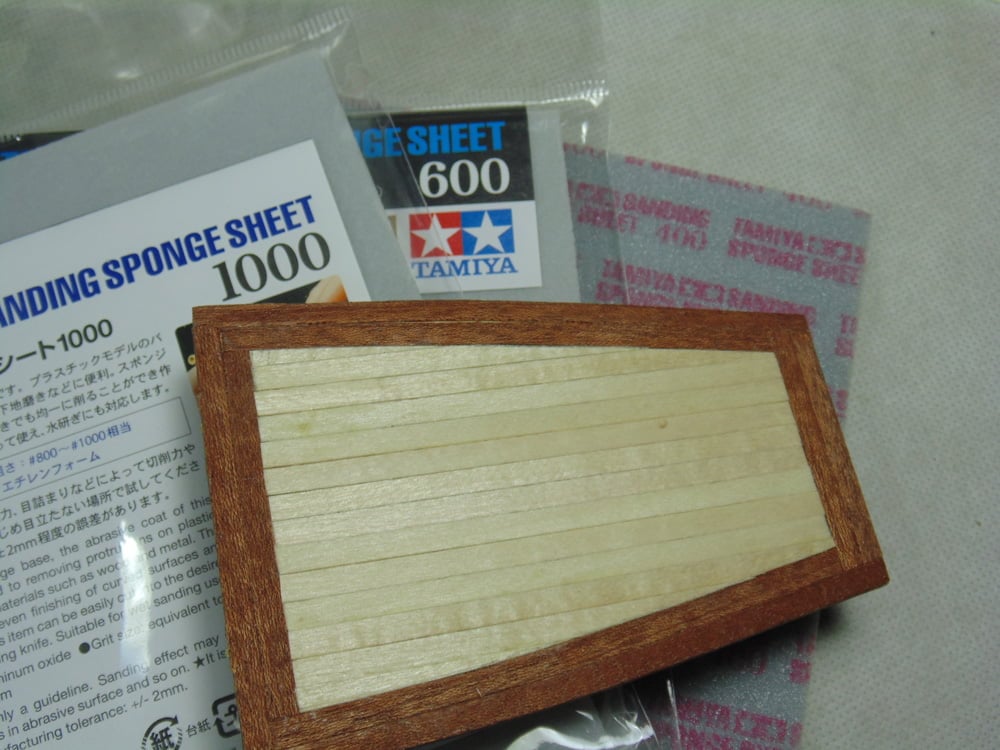
Naturally, you’ll need to do some sanding, you can’t get away from it. Some spare time and a few blocks or sanding pads will correct imperfections. Feel as you go. Move your fingers over the surface until you’re satisfied. It’s a person preference here. These Tamiya sanding sponges work well knock down the edges of the planks, but more so they allow me to “Feel” what I’m removing.
To make demarcation lines the planking once again I sharpened a regular pencil. Old school methods did the trip here. Remember, this is a 1/72 scale model and most of the imperfections will never be notices, unless it’s from another scale modeller. The point relax and enjoy the build. A basic sanding stick will sharpen your pencil. The six mechanical pencils did not work here. They kept jumping off at the edges of the grain. Use a straight edge but plant the pencil first, then line up the straight edge to the end point and practice your follow through. Then when you’re happy make the line. If you fail just gently sand it away.
The instructions make no mentions of the overhang of the cornices. Place them and make sure to slice inward as not to snap the parts free. Trust me, It happened to me twice. Again, cut inward.
Sand the edges in a stroke inward to the model. It will kick up some dust so make sure there’s some sort of ventilation.
Drilling port-holes is easy. The 2mm suggestion was perfect. Just keep in mind the refuse on the back end. Blow some of it away and use the rest as an anchoring point. The glue will stick better and prevent them from popping-out.
There’s a curvature on both sides of the walls. Select the best wood which curves to shape you want. Glue little by little and clamp as needed.
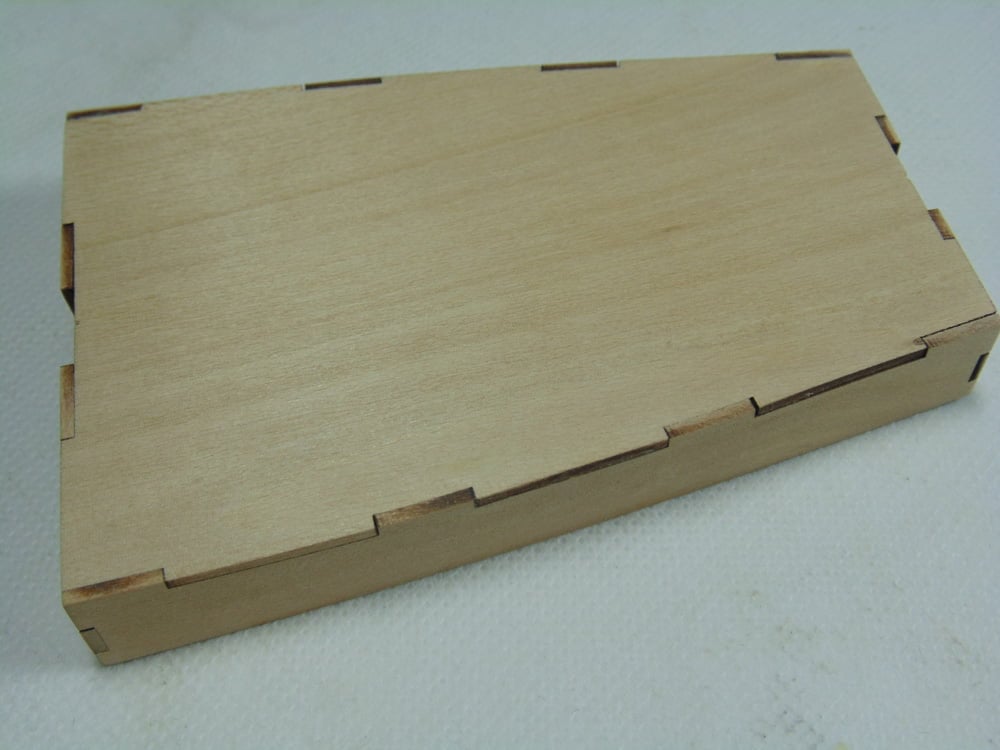
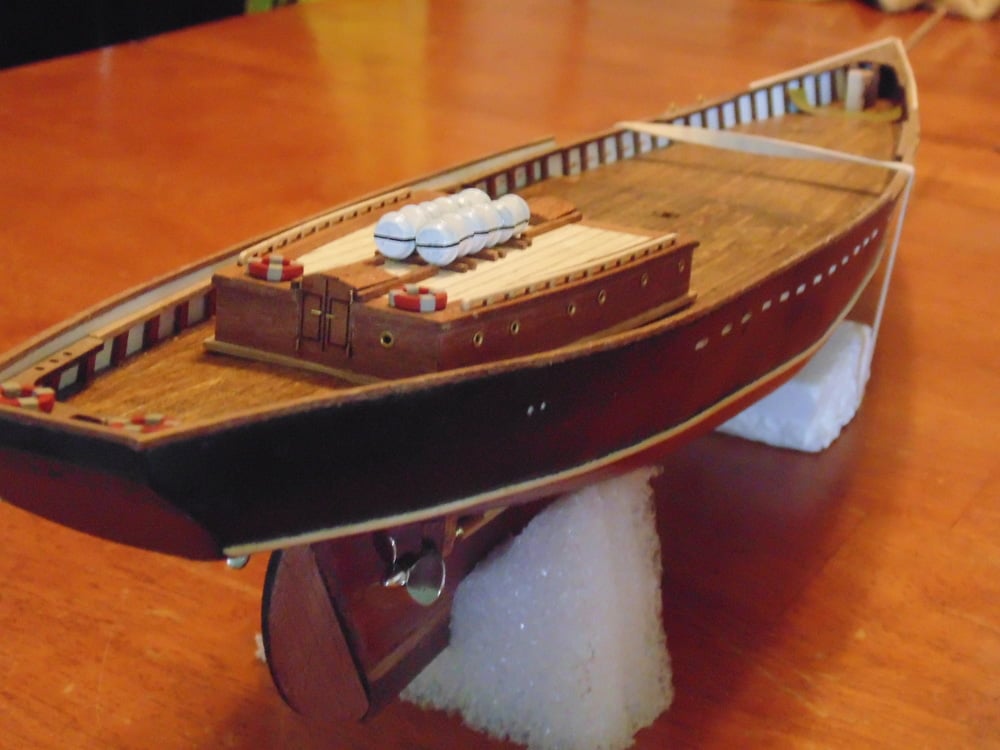
Yes, it’s a bit of work yet so rewording. Sure, there’s more to it than this, but I’ll tease you with a final shot.
Thanks again for taking the time to follow the build. If you have any questions about Artesania Latina products or the techniques used please feel free to ask when you pick-up or place your next Sunward Hobbies order
If you have any questions about the products used or the methods in this article, please feel free to ask the staff when you pick up or place your next order from Sunward Hobbies.
H.G. Barnes is a former voice-over artist and retired sales and marketing professional. He’s the author of two large volume science fiction adventure romance novels with many more in the works. For well over 40 years he’s been building scale model replicas and now does commission work for clients in Canada and the USA, plus completes projects for companies in Asia and Europe.
Currently H.G. is involved as an Associate Editor with KitMaker Network’s Online Magazine Channels