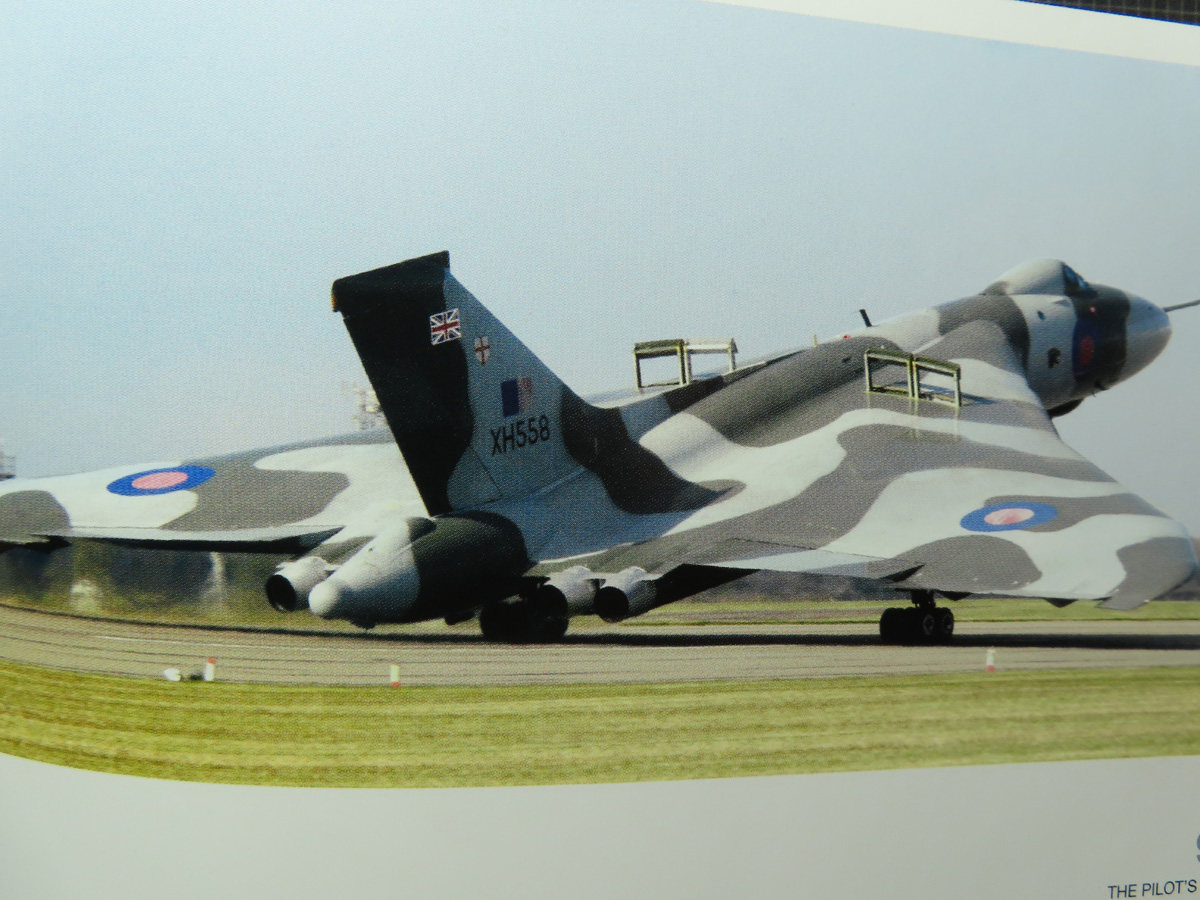
Airfix Avro Vulcan B.2 Black Buck
This is the ninth part of the Airfix Avro Vulcan B.2 Black Buck 1/72 Scale A12013 build and review.
Nothing is more revealing or satisfying than adding on a primer coat. The debate whether a primer coat is necessary or not will likely remain a debate within the modeling community for a long time as many modelers insist that adding primer is essential. Others will claim that it’s an unnecessary step as the paint will do the same work as adding on a primer.
I used to never add a primer coat, but over the past few years I have tried to prime my models, or at least I’ll prime the exterior as these sections will be handled the most as I build. Also, a primer coat is the best way to see if all of your sanding is flush and level with the rest of the model. This is where it can be the most heartbreaking for me as I’m likely to discover that I have to go back and sand some more when I’m all too eager to get on to painting.
As they say, patience is a virtue, but it doesn’t come easy, and scale modeling will certainly put it to the test.

I decided to temporarily glue on the canopy to protect the seats and other interior details. I like to use Mr Masking Sol NEO as a glue, as it will dry quite firmly to the parts, but when I need to remove them later on it will lift off without much force.
I taped the canopy down while it dried, as either the sides of the fuselage or the canopy were a bit crooked. I’ve tried to identify what has caused this, but I can’t figure it out.

Next, I glued the tail boom to the fuselage. The plastic that connected the boom to the model was a bit too thick, so I had to sand the edges to get a better fit.

Airfix includes options for open and closed airbrakes. Since I was going to be building this Vulcan before take off, I decided to glue the airbrakes closed. Pay close attention to the instructions at this stage, as they must be placed in a specific order. The parts all look the same but there are subtle differences to each one.

Now it was time for me to mask off the exposed bays. I began by placing modeling tape around the edges of the bomb bay. Using my pointed tweezers greatly assisted in placing the tape in the smaller sections.

My pointed Excel Blades tweezers were particularly useful when I needed to add tape to the corners. I folded the tape, and I pressed it firmly into the corner. Then I could press the tape down on either side creating a tight and secure bond.

I hope that this will be sealed enough to protect the paint, only time will tell once I have removed all of the tape from the model. In general, this is how I will be masking the rest of the exposed sections.

Instead of using more tape to fill in the rest of the bay, I used some paper towel cut down the size so that the edges rested next to the tape. I then applied a liberal amount of Mr Masking Sol NEO to connect the paper to the tape.

Here is the end result of the masking. It took time to properly lay the tape down, especially in the smaller sections, but I think that these sections are now properly protected so I can begin painting.

I also cut out the landing gear doors and the crew hatch. These parts needed minimal cleanup work done; just a light sanding around the edges to remove the seam lines.

When I tried to build the bomb bay doors I noticed some unsightly ejector pin marks that will need to be cleaned up before priming. I filled the holes in with Mr. Dissolved putty, and later on I’ll sand these smooth and paint them separately.

I used Tamiya Liquid Surface Primer Grey thinned with Mr. Hobby Levelling Thinner. I had a very easy time applying this primer, and I left it overnight to properly cure before I applied the main underside color.

The studio where I do my painting was still hot from earlier in the day. I had a fan blowing on me, to cool me down and to blow the fumes away. As a result of this, there are small bits of dust and debris that have landed on my primer.
This was an easy fix with some 1500 Tamiya Sanding Sponge, and I lightly sanded the primer to a nice smooth polish. The Tamiya Surface Primer also has a rougher texture so I would have been sanding this down anyway.

For the underside, I sprayed on AK Interactive RC296 RAF Dark Sea Grey (BS381C/638). It’s a really lovely color, a sort of smoky grey. I thinned it with Mr. Levelling Thinner (about 60-40 paint to thinner) and it was a real joy to airbrush.
Again the studio where I airbrush was quite hot from earlier in the day, and this caused the paint to separate slightly, so if you look closely there are some glossy patches, but this won’t affect the integrity of the paint.

I left some of the plugs from the sprues on the doors and hatches. This made it much easier for me to paint the parts with my Mr. Almighty Clip Sticks. I kept these parts all on the inside so when I need to add them to the model I won’t have much to clean up. Basically, I can cut the nubs off and right away glue the parts to the model.

Here is the newly painted underside with the color painting guide that Airfix supplied with the kit. I’m very grateful that Airfix added the British Color Standard to the painting guide so I could look up the exact color and see that it’s not a grey/blue, but a smoky grey.
I know that most companies try their best to provide the modeler with accurate references, but it never hurts to double-check these things before it’s too late and the model is nearly completed.
I’m very pleased with how beautiful this Dark Sea Grey from AK Interactive looks. I really like their paints. They are Lacquers but they spray as nicely and easily as Tamiya Acrylics. I’m sad that they are getting rid of the glass jars, as they are being replaced with plastic dropper bottles. And they are going to be pre-thinned from now on, I’m not a big fan of pre-thinned paints as I prefer to measure that myself.
But I will give them a try when they eventually come out, as I trust that AK Interactive will still have top-quality products.
Now the new long haul of masking the undersides so that I can paint the top. I’d better get started as this is where the real fun of painting comes in.
To be continued…
Jared Demes is a modeler from southern Alberta. He has been building models since he was 4 years old when his Dad first introduced him to the hobby. He has written for several magazines including, Fine Scale Modeler, Scale Aircraft Modeling, Phoenix Scale Models, and others. He has an interest in all modeling subjects, with a focus on WWII Japanese aircraft and Science Fiction.
Jared has won several IPMS awards for his modeling, and currently operates his YouTube channel rebelsatcloudnine, where he showcases model builds and product demonstrations.