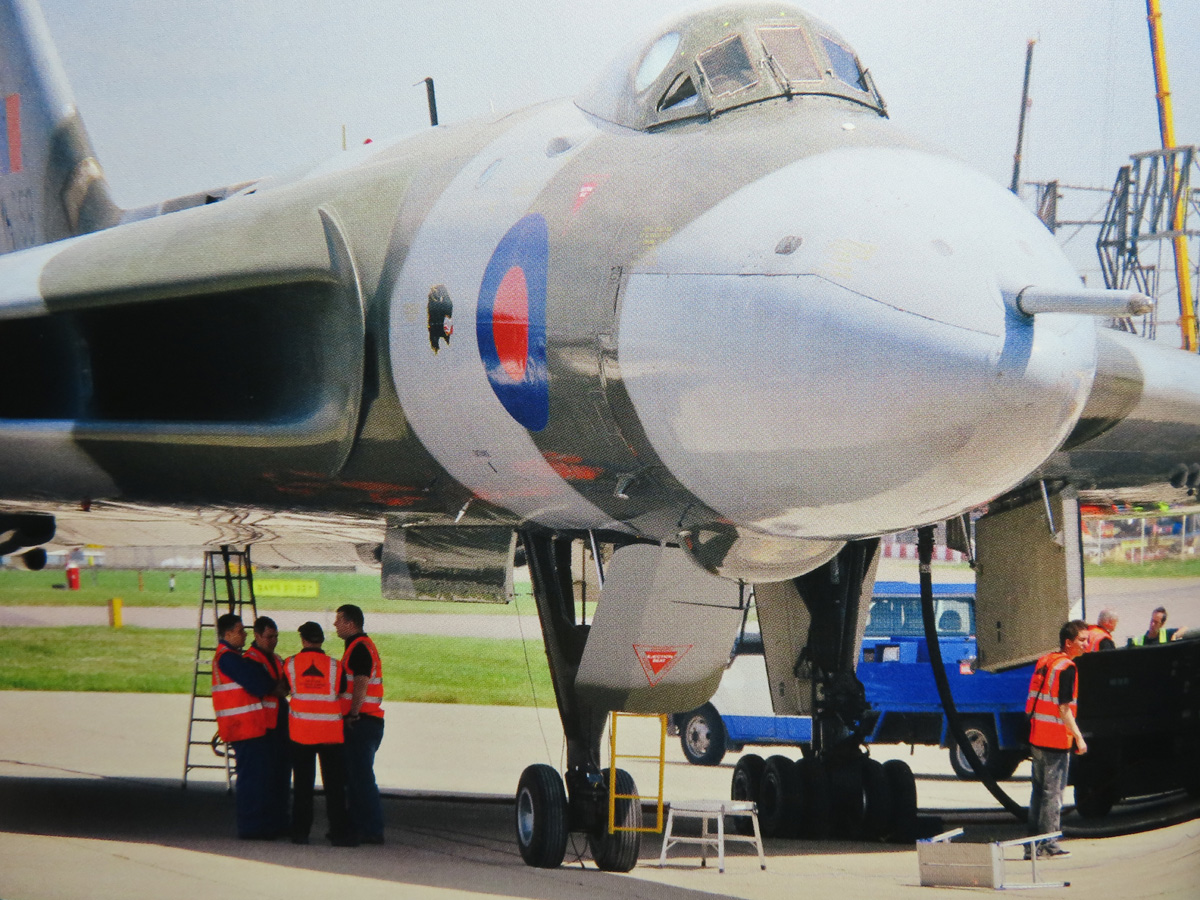
Airfix Avro Vulcan B.2 Black Buck
This is the eighth part of the Airfix Avro Vulcan B.2 Black Buck 1/72 Scale A12013 build and review.
Summertime projects always stand out to me for some reason. Last year it was the Tamiya 1:32 P-51D Mustang, and before that, the Tamiya 1:48 F-14A, and the year before that Moebius 1/1000 Scale USS Kelvin, and I won’t go back any further.
I should look forward to building in the dead of winter when it’s dark and cold out, but no, I kind of like modeling in these hotter days when it’s +35c, and I have to worry about the paint drying out too fast because the air is too warm. Or washing my hands multiple times because they’ve gotten sweaty fussing with tiny parts.
This week is going to be a scorcher, and I’m really excited as I’m almost ready to get some primer and paint applied. So far this kit is really turning into one of those memorable summer projects.

I began by applying a layer of Tamiya Liquid Surface Primer Grey to the Milliput that I put in the gaps of the splitters. The Tamiya Surface Primer filled in some of the smaller gaps and was smoother to sand down. I was pleased that there was very little to be sanded down and that the Milliput had done such a good job.

Many companies will frost over sections of the clear parts that are meant to be painted. They will usually apply the same texture as the rest of the model so that everything looks uniform once it’s painted.
This didn’t happen with the Vulcan, instead, the entire part was nice and clear. But we can easily fix this with some Tamiya 600 grit sanding sponge.
I sanded over the dome and it created this frosted effect. I had to be careful sanding around the circular windows as I didn’t want to scratch them. This quick sanding nicely mimics the rest of the grey styrene, as well it will help the paint and primer stick to this section much more securely than before.

I placed the canopy onto the fuselage so that I could see how much of the interior would be visible with the rest now sanded over. This will be similar to the final product. I knew it was going to be limited, but somehow I still feel cheated out of all those details I painted.
At least the clear parts are very clear and I can still see some of the things inside.

I masked off the windows will modeling tape. The frame around the windows was quite pronounced so I placed the tape down, and pressed around the edges with a cocktail stick. Then I took an Excel #11 blade, a brand new one, you don’t want to try cutting these with a dull knife, and I slowly cut out each of the window sections.
For the circular windows, I used a circle template cutter, which made masking a lot easier. I had a hard time masking the very small window sections just below the windshield wipers, so these areas were filled in with Mr Masking Sol NEO.
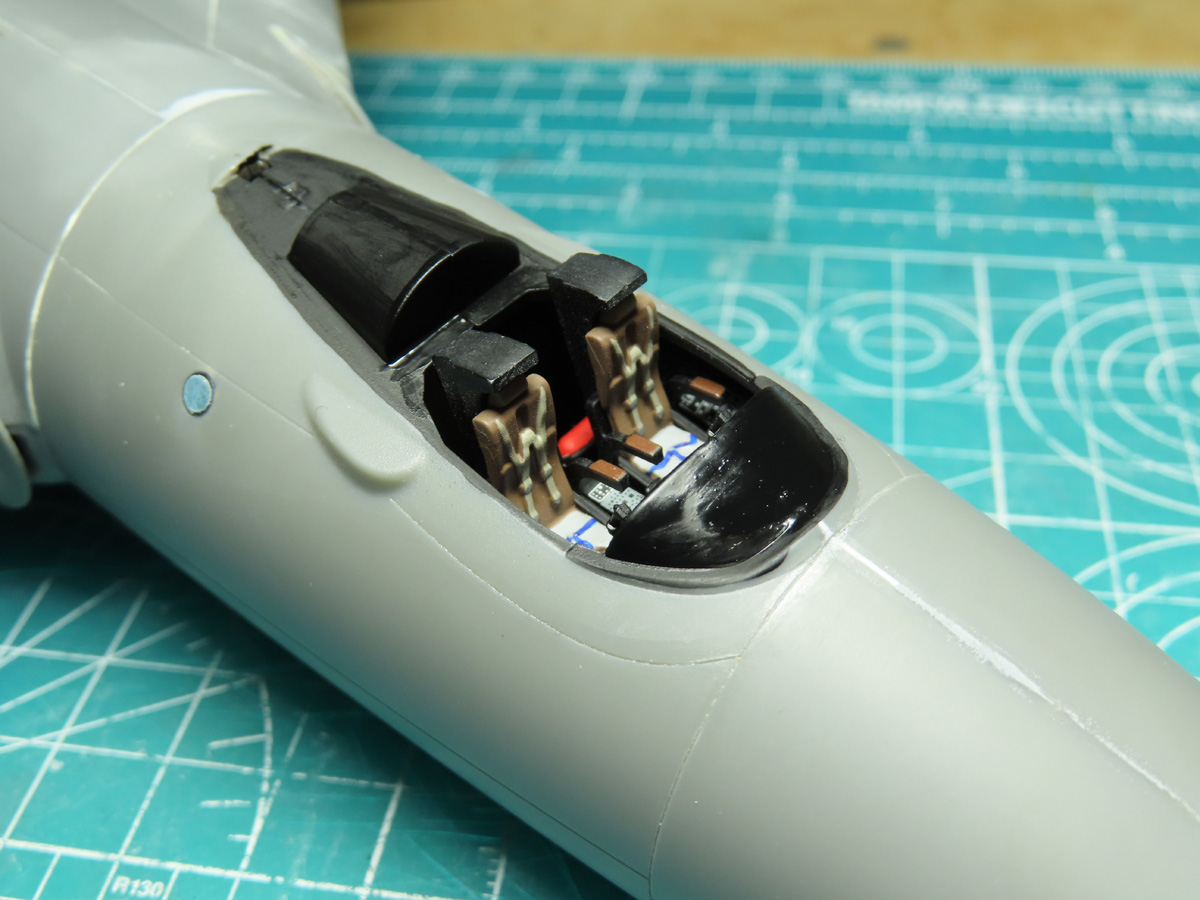
I was going to airbrush the rest of the cockpit section black, but I decided it was just easier to hand-brush it on. I applied 2 coats of Mr. Hobby Aqueous H-12 Flat Black. In this picture the paint is still drying, so that’s why there are glossy sections. I did forget to add a few drops of Tamiya Acrylic Paint Retarder to the mix, which would have helped it to level out properly. But as you saw before a lot of this won’t easily be visible.

The nozzles were an interesting bit of engineering. You placed 2 halves of the exterior of the nozzles around a center cylinder. Each of these parts was clearly identified on the inside so you wouldn’t mix them up.
The part that you see in the center goes on the backs when you are putting the halves together, and this part is supposed to keep everything straight and level.
I added some Tamiya Liquid Primer to the gaps and sanded the seams with a 600 Sanding Sponge. This seems to be a common theme with this build, that I’m going to have to have gaps that need filling in.

I was excited to get some painting done in between all of the building and sanding. The instructions call for the fans, jet pipe, and nozzles to be painted with Humbrol 53 Gunmetal. I prefer to use Tamiya XF-56 Metallic Grey, as I find it a less bold color compared to Gunmetal.
But I looked at some pictures, and I was surprised that the nozzles are quite a medium silver, with some burnt brown sections. I primed the parts with Mr. Surfacer 1500 Black, and then I applied on a coat of Tamiya LP-11 Silver.
I really like this color as it’s not as metallic and shiny as other silver paints, it can almost have a grey tone to it.

To paint the burnt effects on the nozzles I first used Tamiya XF-84 Dark Iron. I thinned this paint about 60% and I held it about 5 inches or more away from the model. This might be extreme, but I wanted to lightly paint the Dark Iron on and sort of have it fall onto the parts. As you turn the parts around you can still see the LP-11 Silver through the Dark Iron.
I was pleased with the effect of the Dark Iron, but to me, it was too dark (not the paint’s fault, it’s in the name after all). So I thinned some XF-52 Flat Earth, about 60% as before, and I lightly sprayed it onto the parts, which brightened it up quite a bit so I think for now I’m done with these.

I built the landing flaps and I had a lot of cleaning to do on the outer aileron parts. There was a lot of flash to deal with, and once I added them onto the wing section I found it difficult to glue them in place as they don’t really fit in place you are sort of supposed to guess how they fit in and then glue them in position.

I added the ducts and the tubes that run along the jet pipes. These pipes in particular were very difficult to add to the model as the drilling holes weren’t big enough as was suggested, and they needed to be drilled in at the angle they were installed.
To complicate this, one of the pegs on the pipes is supposed to fit right where the internal wing spar is located. These little pipes caused me a lot more grief than I’d like to admit, so I’m really glad they are securely fixed to the main model.

Lastly, I placed covers onto the ailerons (Shown here are parts F17 and F18). What I find really curious about these parts is that the instructions show that you can pose the ailerons and the landing flaps. However, Airfix has only included in the kit covers for posing the ailerons straight and level.
Perhaps these parts were considered but later abandoned, but I just find it curious.
Next is to add the tail section to the fuselage, and this will be really fun to see the model nearly completed. But I think I’ll hold off on that for a moment. This model is nearly all ready for a coat of primer and leaving the tail off for now will allow me to paint the underside without damaging this part.
So I think this is what I’m going to do, but before that I’m going to have to mask up quite a bit, the bomb bay, wheel wells, and lower hatch just to name a few. It’s got to be done right so that I can avoid any paint seeping through, so next time I’ll show you what I have planned, we’ll get it masked up and ready for some primer!
(And cross your fingers that I don’t have any seam lines to resand)
To be continued…
Jared Demes is a modeler from southern Alberta. He has been building models since he was 4 years old when his Dad first introduced him to the hobby. He has written for several magazines including, Fine Scale Modeler, Scale Aircraft Modeling, Phoenix Scale Models, and others. He has an interest in all modeling subjects, with a focus on WWII Japanese aircraft and Science Fiction.
Jared has won several IPMS awards for his modeling, and currently operates his YouTube channel rebelsatcloudnine, where he showcases model builds and product demonstrations.