
Airfix Avro Vulcan B.2 Black Buck
This is the tenth part of the Airfix Avro Vulcan B.2 Black Buck 1/72 Scale A12013 build and review.
With the underside now painted I was excited to begin painting the top of the camouflage. While I was reading further I stumbled on this picture from the Falklands War and I was surprised by a few things that I noticed.
Below is one of the Black Buck Vulcans, a C-130 Hercules, and a CH-47 Chinook helicopter. The color Airfix suggested for the lighter grey was Medium Sea Grey (BS381C/637), but this color is far too dark for what is shown. I believe that the Hercules is painted in this color, and interestingly the Chinook is painted in an even darker grey.
I believe that Airfix has made the paint suggestion for Medium Sea Grey as this is the color of most Vulcans. And as much as I was looking forward to using that color from AK Interactif, I’ll have to swap it for a lighter color. It’s also worth noting the green camo painted onto the missile, this would be an excellent added detail if you are building Black Buck 6.


I began by masking the Dark Sea Grey, and the most difficult place was going to be masking the line around the nose section. Thankfully, Tamiya 1mm masking tape made this a lot easier to do. I can’t stress how useful this product has been to my modeling the past few years that I’ve had it. It makes the work go quickly, and it has excellent tack, just enough to stick tightly to the surface of the model, but not enough to lift the paint.
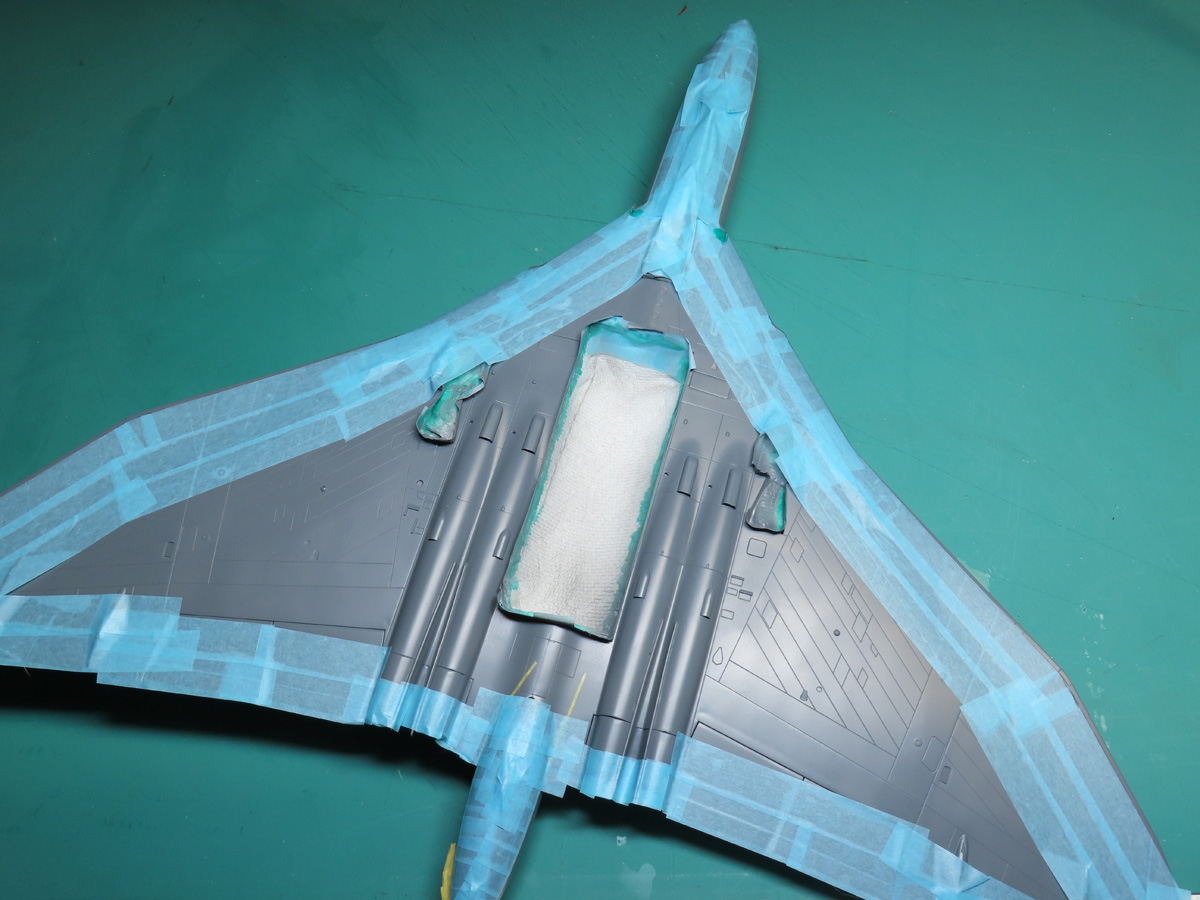
I didn’t need to tape up all of the underside, but I did notice on the painting guide, that the light grey and dark green are painted slightly on the underside of the trailing edge of the wing.

I almost forgot to paint the canopy section. I used Mr Hobby Aqueous H-12 Flat Black. This will replicate the proper black interior color for the Vulcan. Now when you look through the windows you will see black instead of a light grey primer.

I primed the upper side of the Vulcan again with Tamiya Liquid Primer Grey. I can’t recall a time when I’ve primed the upper and lower sections separately before. Not that it matters, but it’s just something I noticed when I was airbrushing.

Looking through my available paints I didn’t have too many colors that were really light grey. I find a lot of paints labelled “Light or Sky” grey tend to be quite dark. Thankfully Tamiya had a color close enough to what I was looking for, and that was XF-80 Royal Light Grey. I sprayed it on about 50-50 and I think it will be a close approximation to Black Buck.
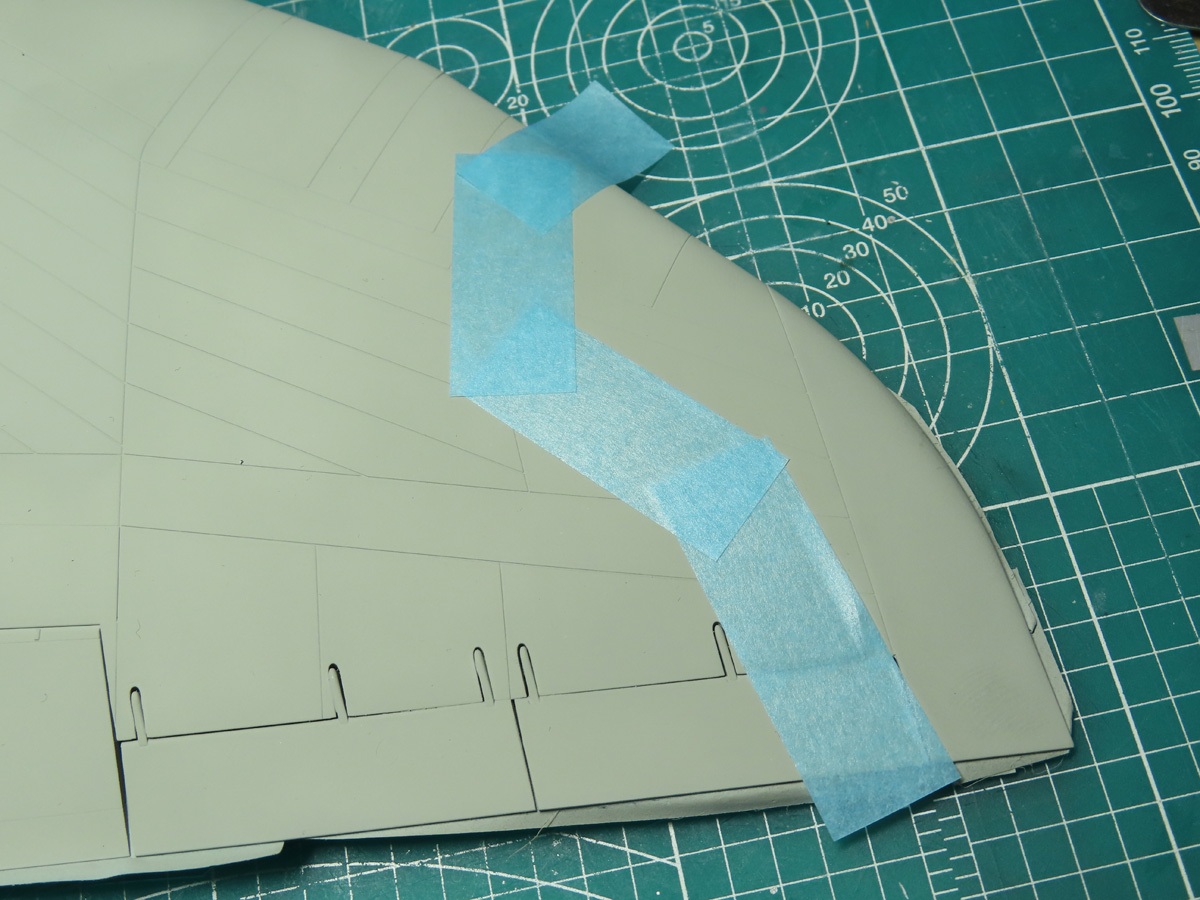
For masking the camouflage I went back to an old method of mine that has worked really well for me over the years. I had considered using my airbrush to freehand the painting, but upon closer inspection, the Avro Vulcan had a straight edge to the painting and not faded, so this will be a bit more accurate as well.
I took my hobby tape and I cut small sections of the tape, placing them in close approximation to where the lines will need to be distinguished.
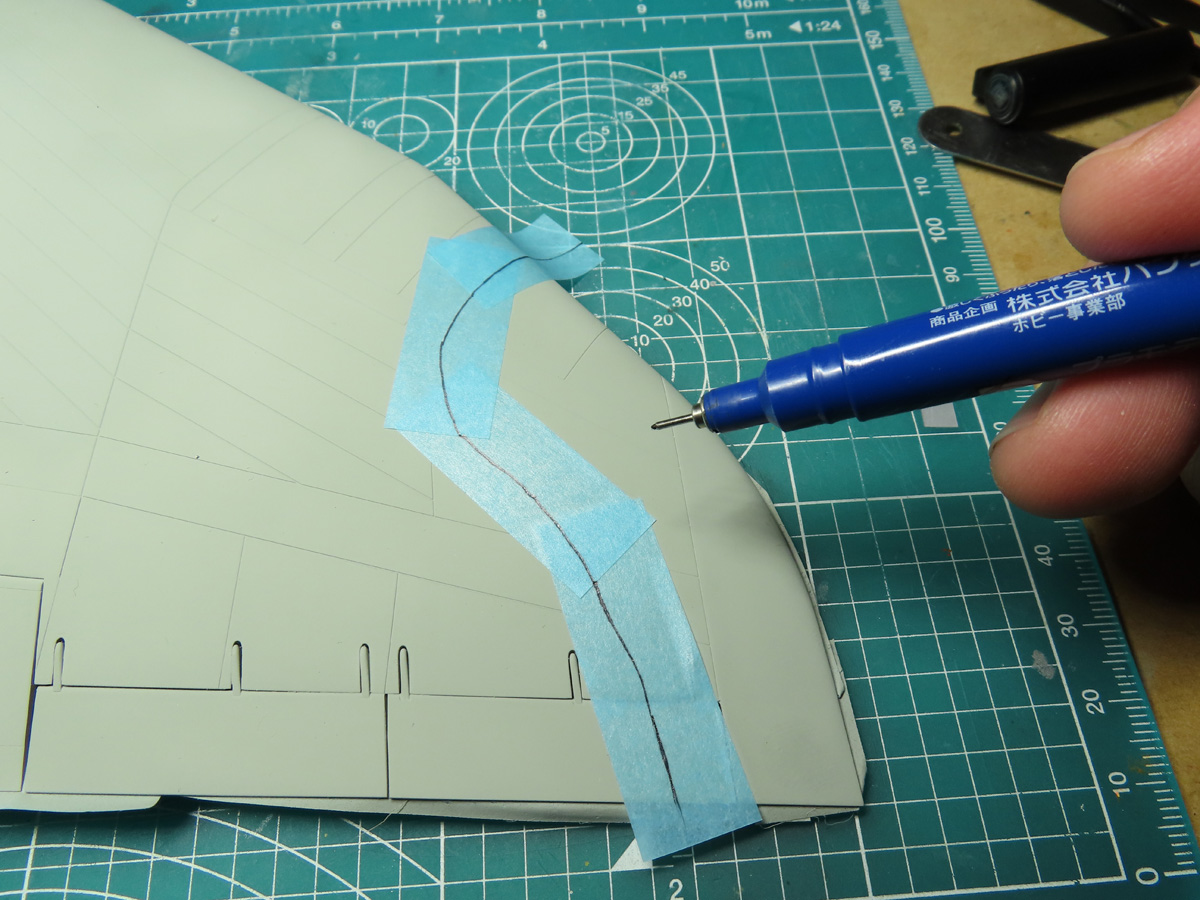
Following as closely as I could to the painting guide, I used a Gundam marker to mark out on the tape where the Light Grey sections would be.

I then lifted the tape onto my sheet of glass that I use for cutting. This small piece was acquired from my Dad’s workshop, but you could easily use something like a ceramic tile.
This glass works really well for cutting as it provides me with a tough and level workplace to cut from, and the glass doesn’t take away any of the tack from the tape ensuring a tight bond when I put the tape back onto the model.
And I have had this asked before, “Does it dull the knife blades”? Honestly, not really. I cut all of the tape on this Vulcan using the same Excel blade #11, and I’m not pressing so hard that the knife would chip or etch into the glass, but the knife stayed very sharp throughout the process.
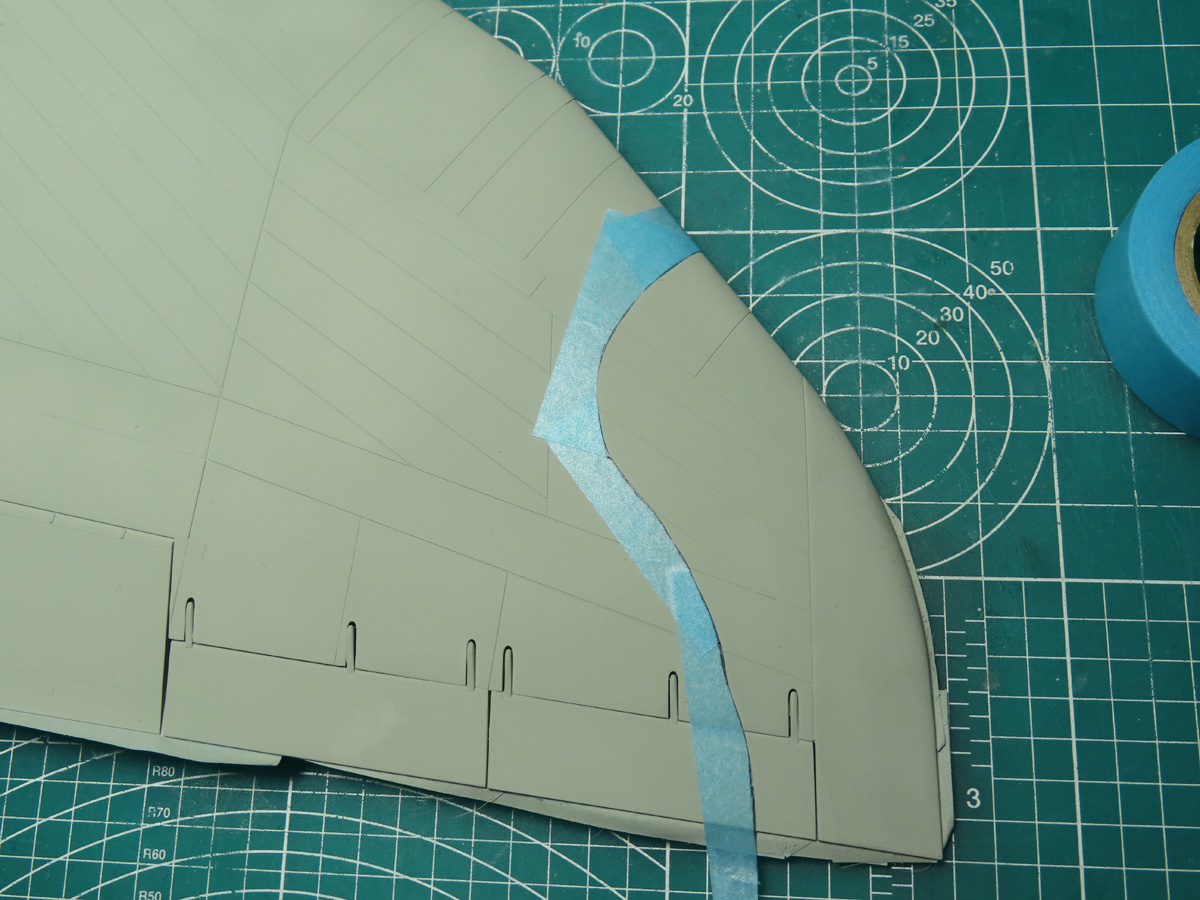
Now I’ve placed the tape back onto the model in position, and I will repeat this process all over the model. So now it’s time to settle in as this is going to take some time to complete.

Well, this masking took up most of my time this week, and it was tricky at times to make sure that the tape and curves were in the correct place. But now it’s completed and I’m ready to begin painting, I’ve decided to use Tamiya XF-81 Dark Green 2 (RAF).
I’ve used this masking technique on Spitfires, Lancasters and many other projects, and I really like to use this method as I have a lot of control with the paint rather than doing it all freehanded. Plus, I’ve found it difficult to free hand the camo on a 1:72nd Spitfire.

To avoid the XF-81 building up around the edges of the tape I’m spraying the Dark Green on in 3 light coats. This is the first coat, as you can see it’s quite splotchy at this stage. The paint was thinned about 55-60% with Mr. Levelling Thinner. And because the paint was so thin it dried quickly which allowed me to keep on spraying.

Here is the Vulcan all painted up. The XF-81 looks really great, and painting it on in those 3 thin layers resulted in some very smooth paint, which will be very helpful later on when a gloss coat is applied.
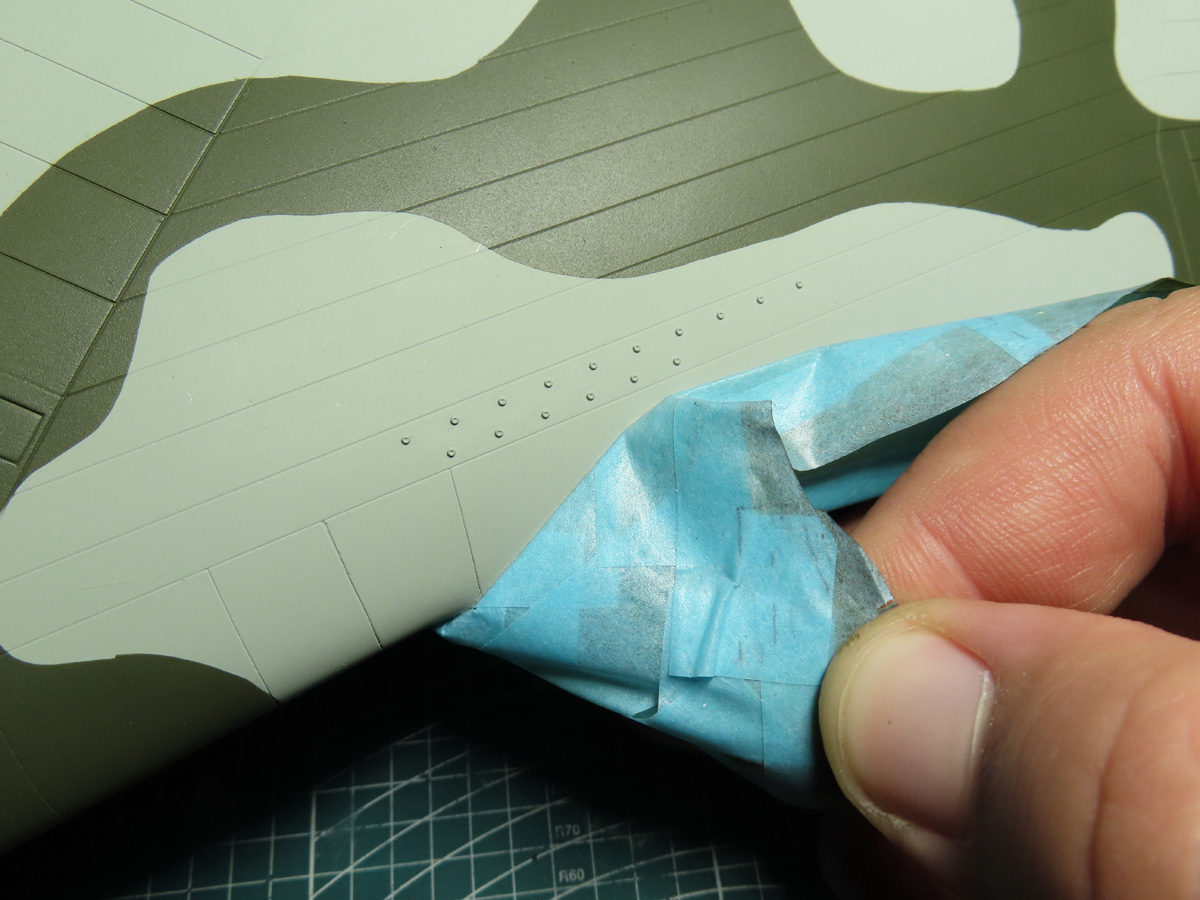
Now I still need to be careful when I’m removing the tape, even with a proper primer coat applied it’s still possible to lift the tape. Slowly peel off your tape, and avoid yanking it off quickly like a Band-aid. I know that this part of the build is really exciting, but there’s nothing worse than rushing, lifting the paint and having to go back for more painting.

So now what do you do, if you sprayed too much paint on and you’ve got raised edges? This is particularly frustrating if a decal needs to be placed on top, then it becomes quite obvious.
First, leave the paint alone to dry thoroughly for at least 24 hours. This will give the paint enough time to gas out and harden. Next, I’ll take some Tamiya 1500 Snading Sponge and I will slightly add pressure and carefully sand down the edges smoothing the paints out.

And here is my painted Vulcan. There are still a few smaller parts that I’ll need to paint up, but the majority of the work is completed. And all of that masking took me quite a while to accomplish, and seeing it now, it was all worth it.
There are several things on my modeling bucket list that I’d like to do; build the Chitty Chitty Bang Bang car. Light up a Star Trek model, and I’ve always wanted to paint the crazy camouflage on a Vulcan. So I’m really pleased that I finally got to do this, and I’m very pleased with the results.
Next, I’ll paint a few more details, and then I can add a gloss coat and get some decals added. At this stage, I’m excited as we’re getting closer to having this model completed.
I’d lastly like to note that at the beginning of this project, I had planned to build this Vulcan with varied colors to create fading, and through my research, I found that the Vulcans were fairly solid in their colors, so I abandoned this idea. However, they are awfully dirty aircraft with streaks running down the wings, so there will still be a lot of fun to be had there.
To be continued…
Jared Demes is a modeler from southern Alberta. He has been building models since he was 4 years old when his Dad first introduced him to the hobby. He has written for several magazines including, Fine Scale Modeler, Scale Aircraft Modeling, Phoenix Scale Models, and others. He has an interest in all modeling subjects, with a focus on WWII Japanese aircraft and Science Fiction.
Jared has won several IPMS awards for his modeling, and currently operates his YouTube channel rebelsatcloudnine, where he showcases model builds and product demonstrations.