Using Cyanoacrylate as a Tool
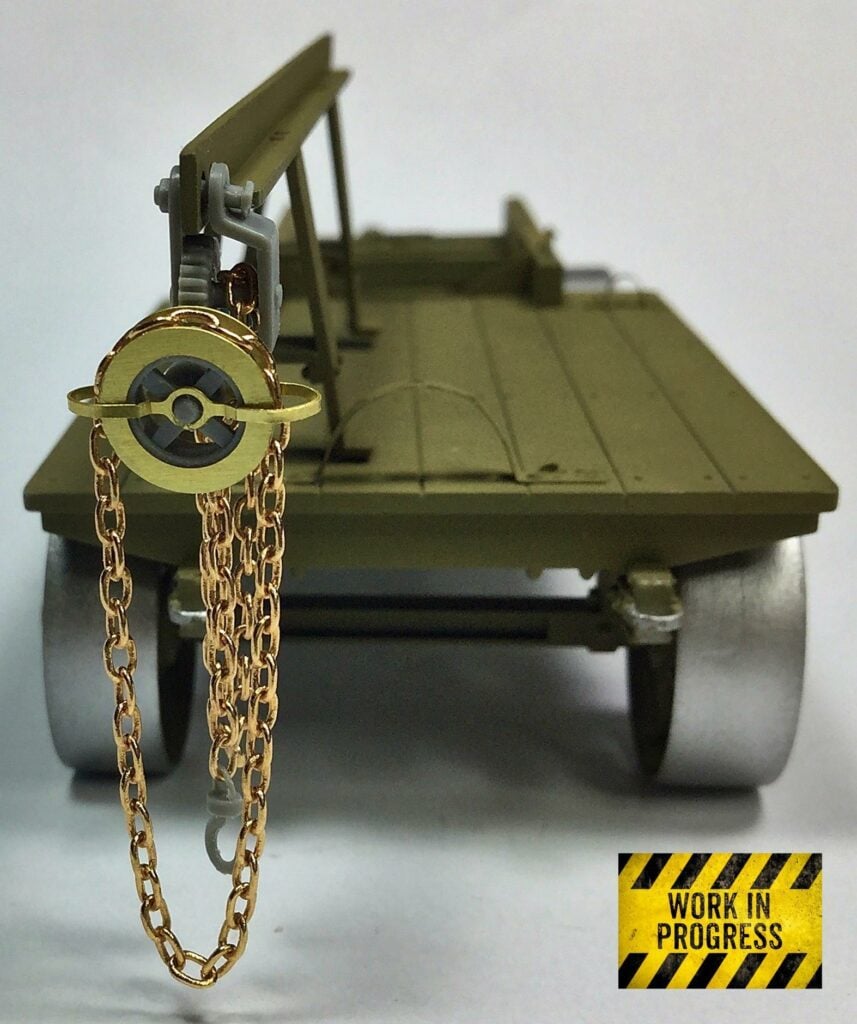
Skill Set: Experienced to Advanced
Learning to Work with Cyanoacrylate
Understanding What is Going On: The Science
Modellers have a love-hate relationship with cyanoacrylate. Some avoid using superglue altogether. Many consider it difficult to work with. Others find their fingers stuck together all too often. Those in the know love it.
Cyanoacrylate, also known as Cyano, CA, Super Glue, and Krazy Glue (names used interchangeably in this article), is derived from ethyl cyanoacrylate and related esters. Some brands are better than others, but all share one thing in common: a limited shelf life.
The liquid contents neither dry nor evaporate to harden but use hydroxide ions in atmospheric humidity to form chain-growth polymerization. Think of the CA molecules suddenly linking together, like an abstract metal chain, as they harden, and you get the concept. Once the bottle is opened, there is no way to stop hydroxide ions from eventually bricking the contents. The good news is that it can be slowed down.
Chain-growth polymerization in the presence of humidity, specifically hydroxide ions, forms long, strong chains, joining the bonded surfaces together. Because the presence of moisture causes the cyanoacrylate glue to set, exposure to normal humidity levels in the air initially generates a thin skin forming on the surface within seconds, significantly slowing the polymerization reaction. When applied in thin layered coats, Cyanoacrylate ensures the reaction proceeds rapidly for strong bonding.
Cyanoacrylate Accelerants or Kickers cause the polymerization to occur instantly, hardening the glue.
Regarding managing expectations, CA will not keep for prolonged periods, regardless of how stored. Expect it to go gummy or harden without notice. Some brands like VMS Flexy 5K contain a preservative to prolong CA’s working service life. Always test before use and be prepared to purchase a fresh bottle regularly.
Advanced and Master Modellers use various types of cyanoacrylate, slow, regular, and extra thin for different purposes during a build. This article will teach you how to tame cyanoacrylate and incorporate it into your model-building regimen.
The chain-growth polymerization is observable under a microscope. Now that we know what is going on, we are less likely to be bummed out when encountering a brick in the bottle or when we inadvertently glue our finger’s together.
Now that we understand some gene-in-the-bottle science, super glue is easy to work with and a versatile adhesive for modellers.
🗜️ ProTip: Releasing Stuck-together Fingers: If you inadvertently stick your fingers together with CA, reach for your bottle of Tamiya Extra Thin Cement 87038 (dark green cap) or Tamiya Airbrush Cleaner 87089 and apply it directly to the bond. Your fingers will automatically release within seconds as the cyanoacrylate dissolves. Uncure CA Debonder BSI161 also works to free glued skin. Immediately wash your hands thoroughly with soap and water to remove any residue.
⚠️ Use only polystyrene (HIPS), plastic-safe cyanoacrylate Accelerators or Kickers on your model kits. Automotive, woodworking, and industrial cyanoacrylate kickers may dissolve your build, ruining your project. Use only recommended plastic-friendly CA accelerants on your model kits.
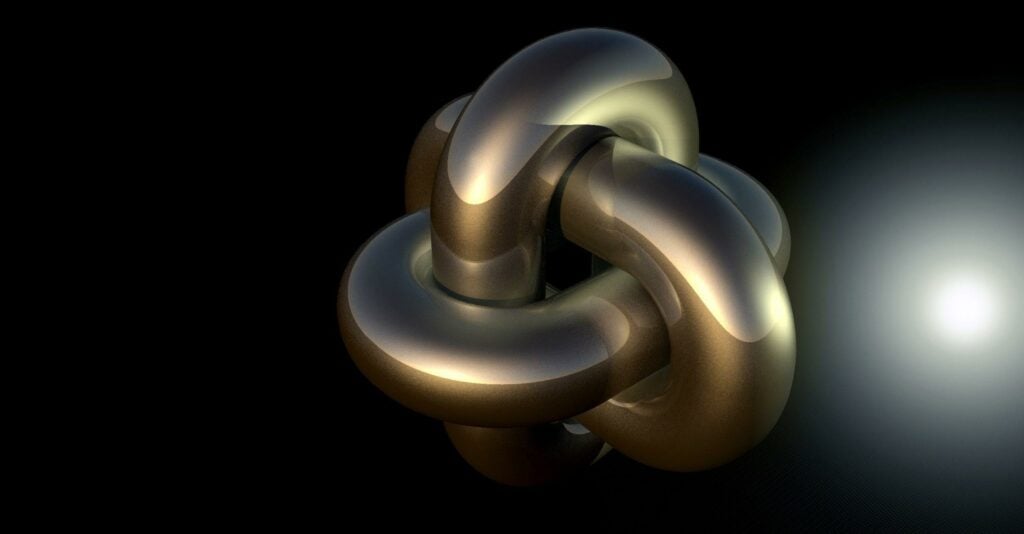
Cyanoacrylate Glue and Plastic Cement Adhesion Differentiation

Cyanoacrylate liquid forms a mechanical layer between two parts, securely holding the pieces together like a layer of cement holding two bricklayers together. CA does not dissolve styrene or resin.
Plastic Cement liquifies both polystyrene (HIPS) parts, permitting them to inter-dissolve and become one piece. Unlike cyanoacrylate, the hotter the plastic cement, the greater the inter-solubility depth. Plastic cement types are not used to attach cast or printed resin.
💡 A heavy application of CA Glue produces a weak bond. The thicker the mechanical attachment layer between two parts, the weaker the adhesion point. Always apply CA in a thin layer.
Rubberized Clear and Black Cyanoacrylate
How-to Apply and Repair Cyano Misapplication

Anti-shear Properties
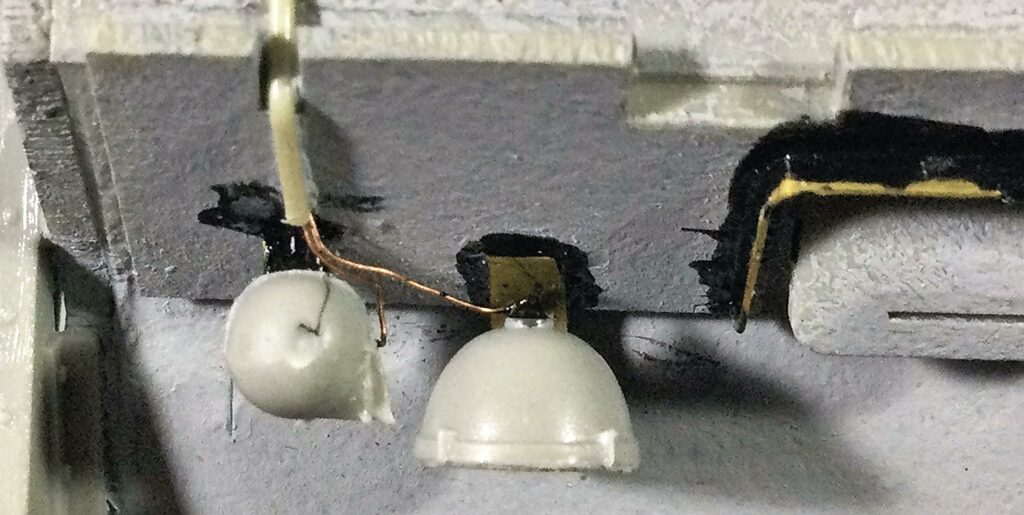
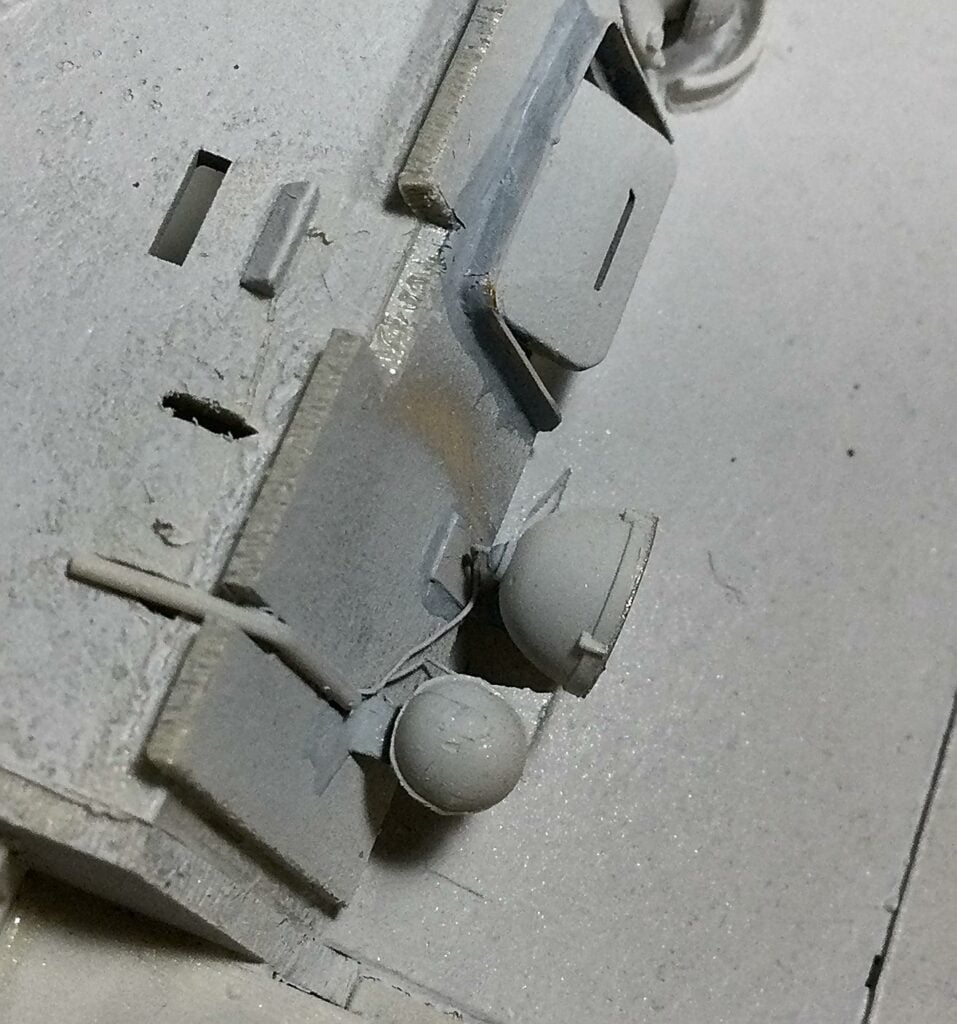
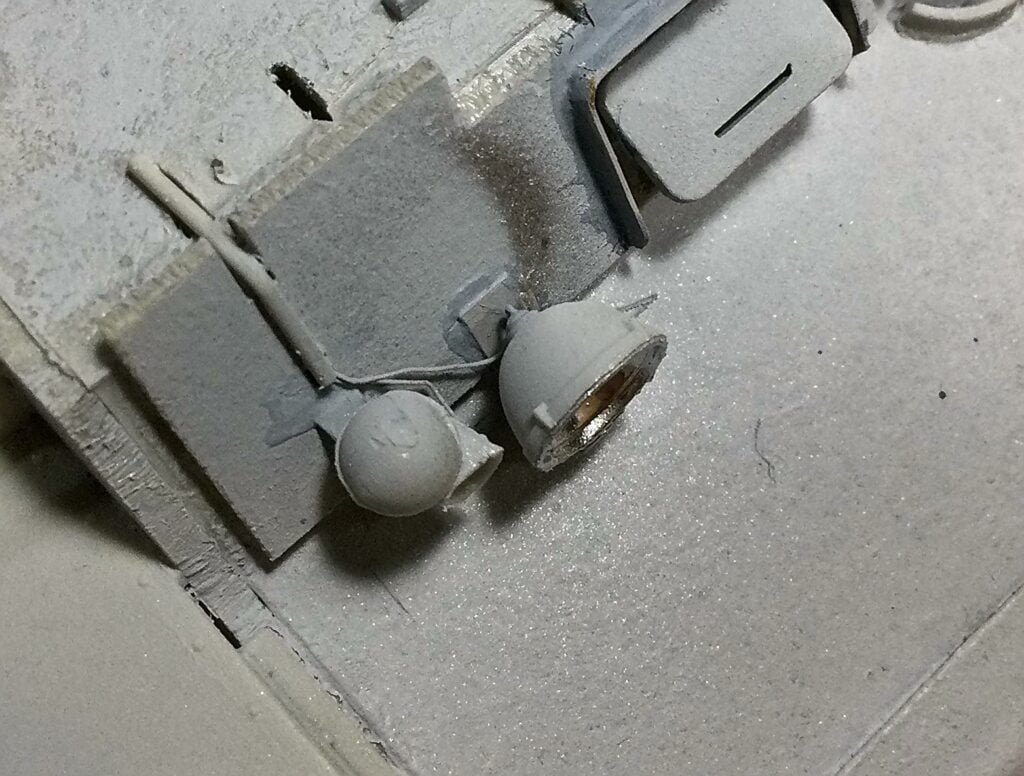
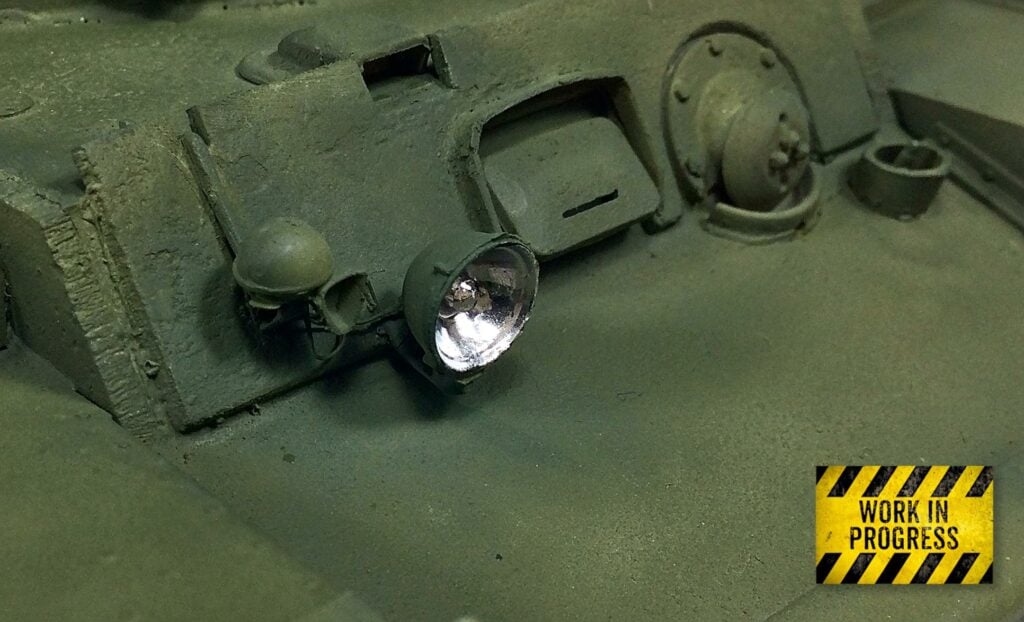
For modelling purposes, the most important factor to consider is anti-shear properties, that is, the ability of a part to withstand a sideways bump or knock without pinging off the build or an arm separating from a resin figure’s torso when accidentally knocked off the work area and impacting a hard-surfaced floor such as hardwood, tile, or marble.
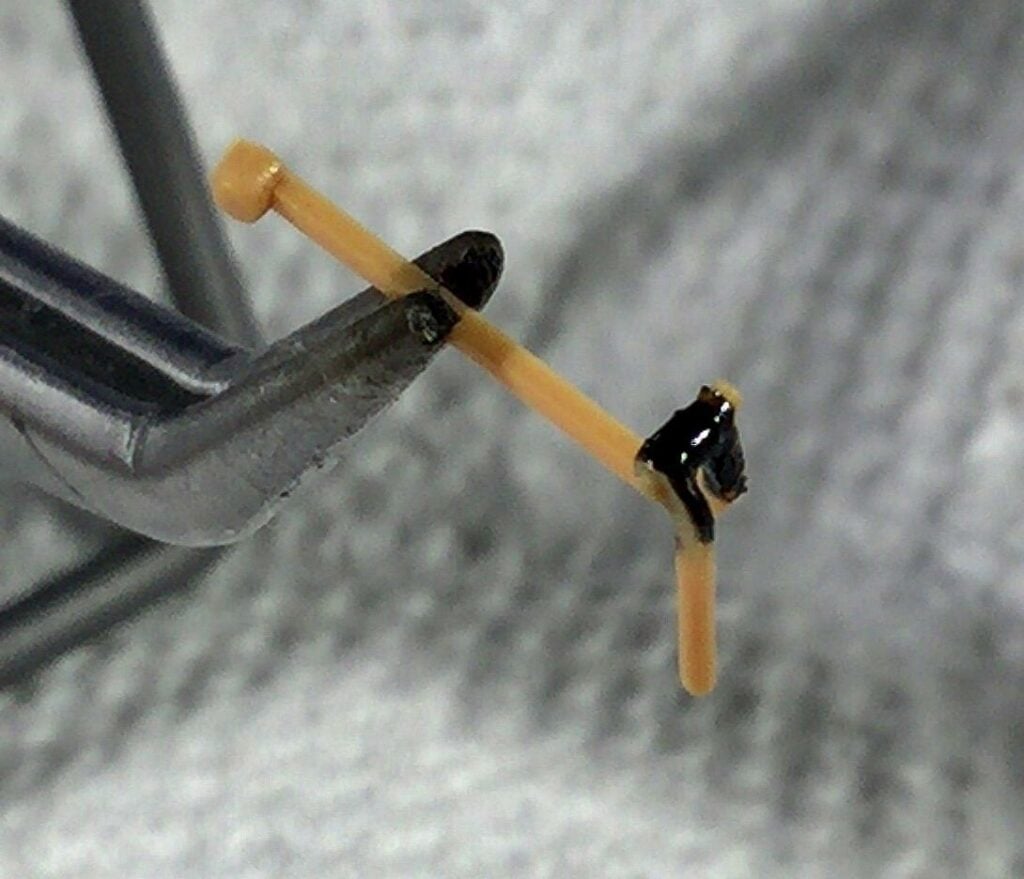
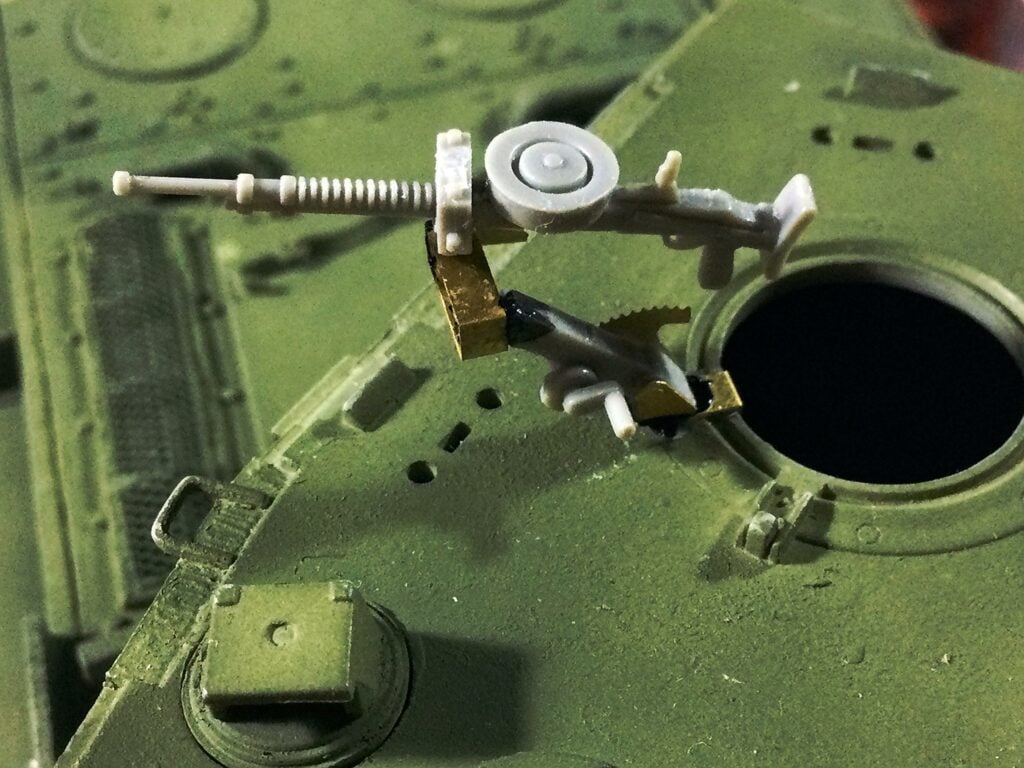
Unless the cyanoacrylate is formulated with a rubber composition, normal CA dries like hard candy and breaks as if it were when attempting to remove it from a surface with a hobby knife. Others, like VMS Flexy 5K cured state, resemble hardened bubble gum firmly stuck to the sole of your shoe. It’s hard yet has flexibility.
The flexibility of the rubber compound actually gives the adhered parts greater anti-shear properties due to their ability to absorb sideways shock without breaking off, within reasonable limitations.
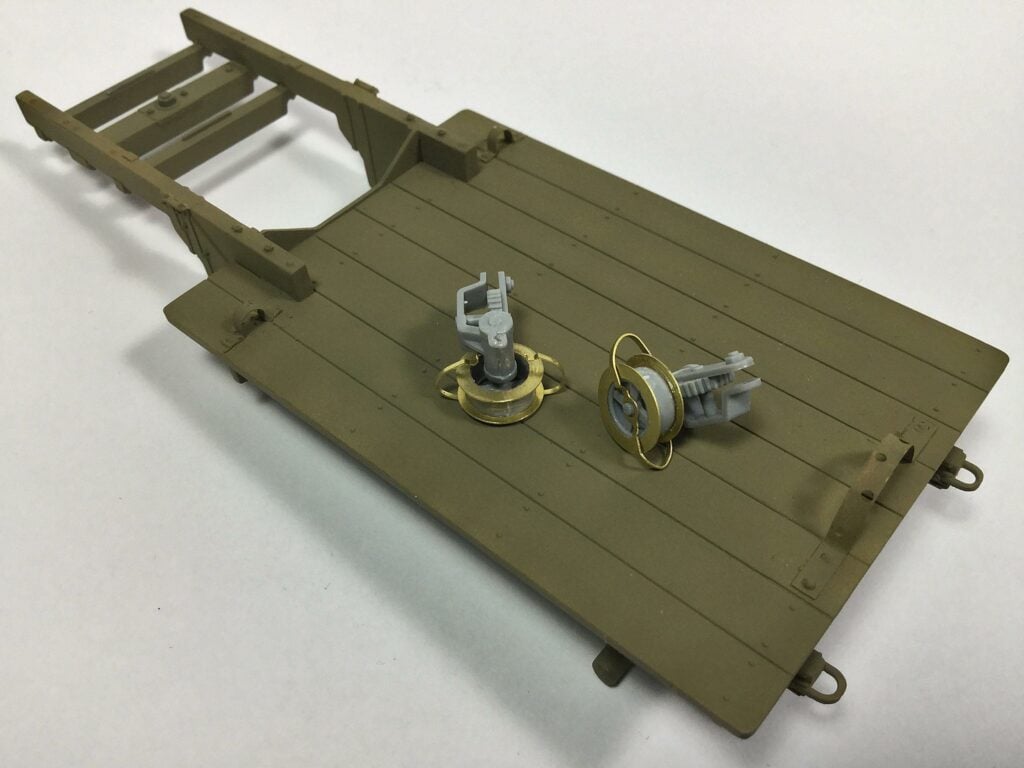
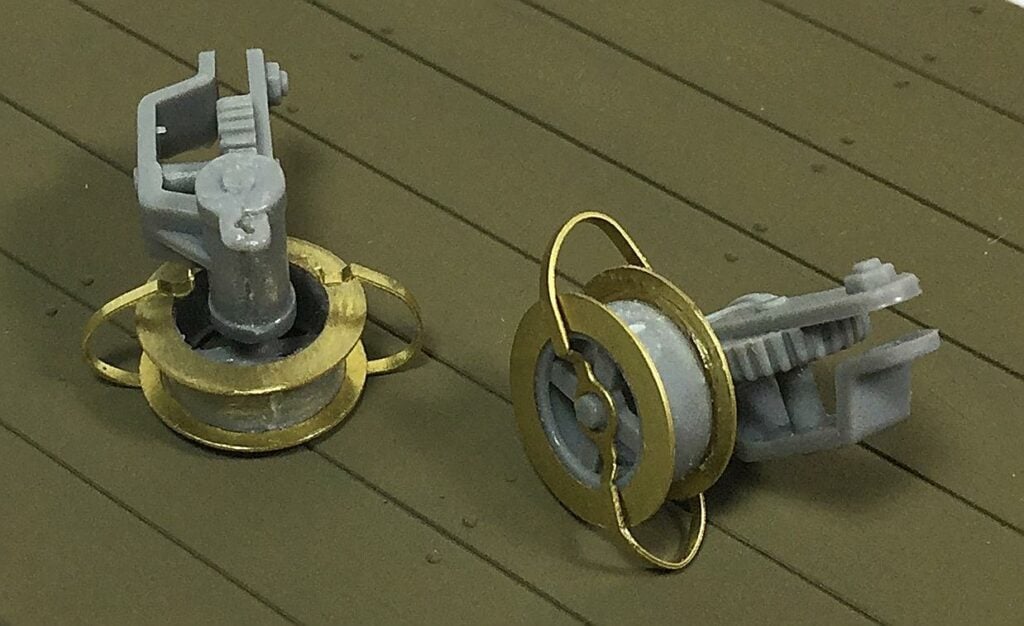
Excellent anti-shear properties give peace of mind.
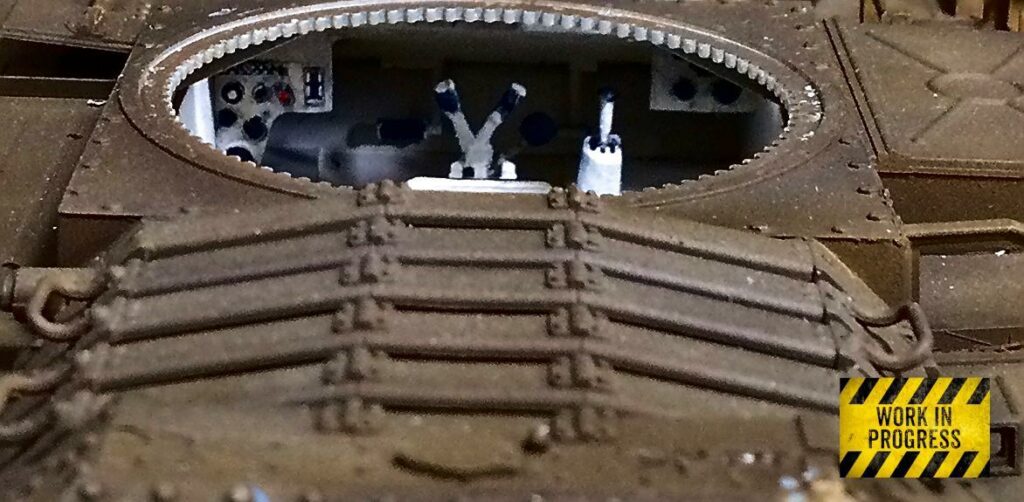
Cyanoacrylate Application Best Practices
The Blob: Working Surface
Dispense a drop or a blob of CA glue, depending on the amount anticipated for the job at hand, on a piece of styrene, glass or a metal sheet or paint cup, never on cardboard, as it absorbent material. Immediately clean the dispensing nozzle tip with an old terry cloth, never with a paper towel, and recap bottle tightly to help extend the service life of the product,
Applicators
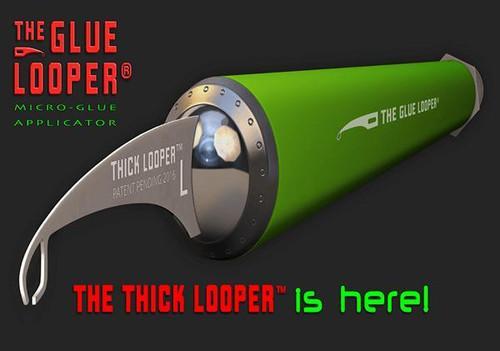
Small parts can be held with tweezers and dipped in the CA blob. Others prefer to dip a small diameter wire (brass or copper) into the glue, apply it to the piece to be fastened, and position it.
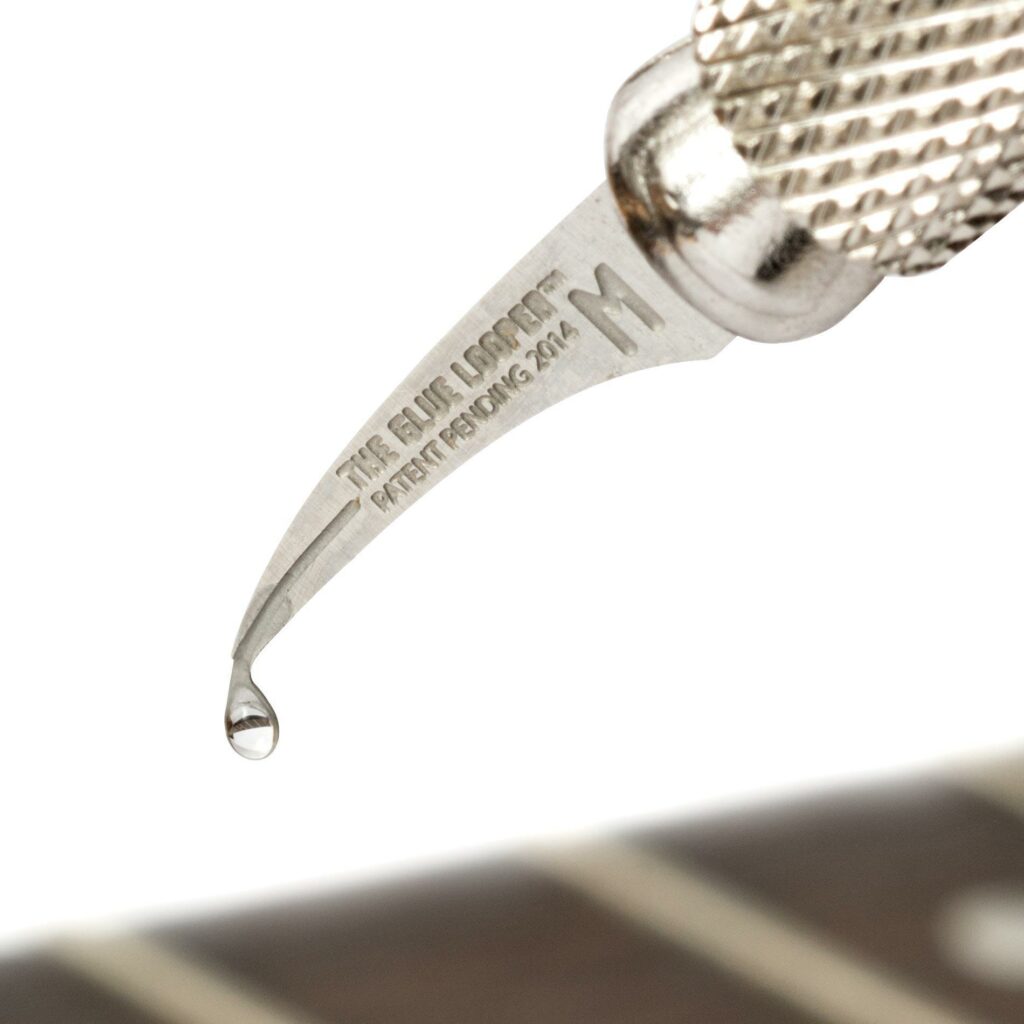
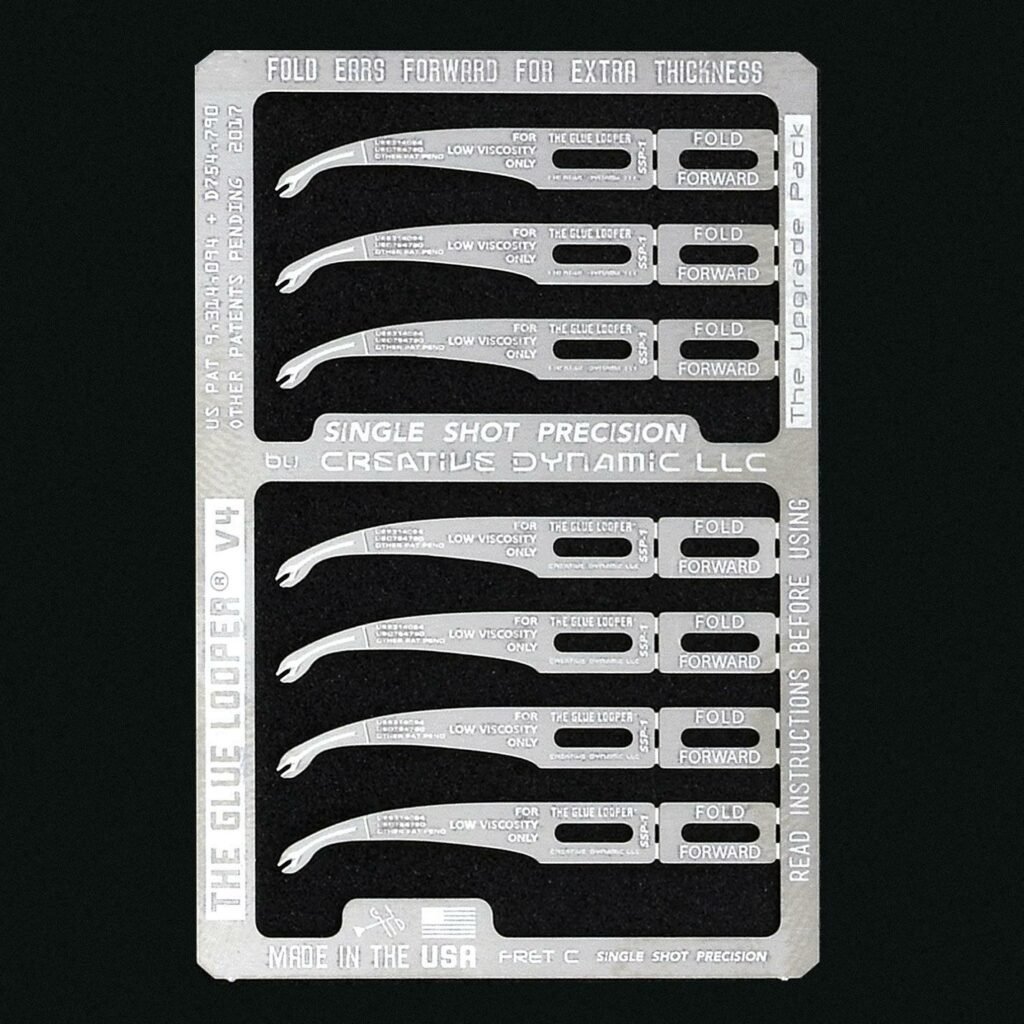
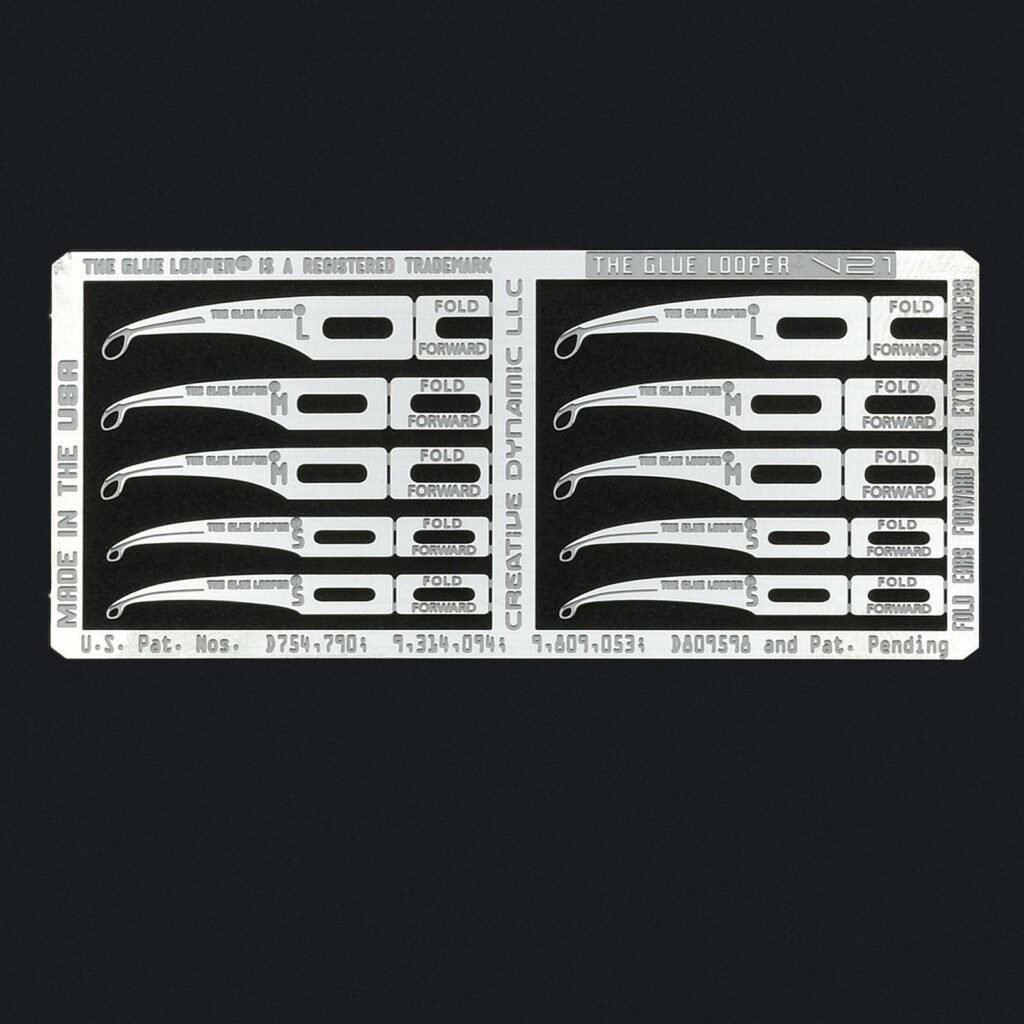
The smaller the diameter of the applicator wire, (0.4 or 0.5 mm) the greater control. Commercially available applicators are scientifically designed to work with cyanoacrylate viscosity properties.
Although they look over the top or gimmicky, they actually are effective and work well.
Depending on the cyano, high-viscosity (slow or gel) or low-viscosity (extra thin) applicators are available. Extra Thin Cyanoacrylate has a lower viscosity and surface tension than water, with high capillary and seep characteristics.
Cleaning and Care of Applicators
Removing hardened CA from a wire by burning it off with a flame is acceptable for wire; however, there is a better way for expensive superglue applicators.
Acetone, Tamiya Airbrush Cleaner 87089, Tamiya Extra Thin Cement 87038, and Uncure CA Debonder BSI161 dissolve CA glue on contact, making it easy to remove and preserve the application tool.
🔥 ⚠️ Using a flame to burn or flame off cyanoacrylate from an applicator destroys the precision metal tool. Always use a CA solvent.
Fixing Problem Installations
One of the greatest reluctances for using CA glue is fixing a problem installation before and/or after it hardens. A prerequisite to mastering superglues is having the necessary tools and supplies on hand before commencing a project, large or small.
Here we address and problem-solve common cyanoacrylate challenges.
Barrier Films: Body Oils from Fingerprints and Mould Release
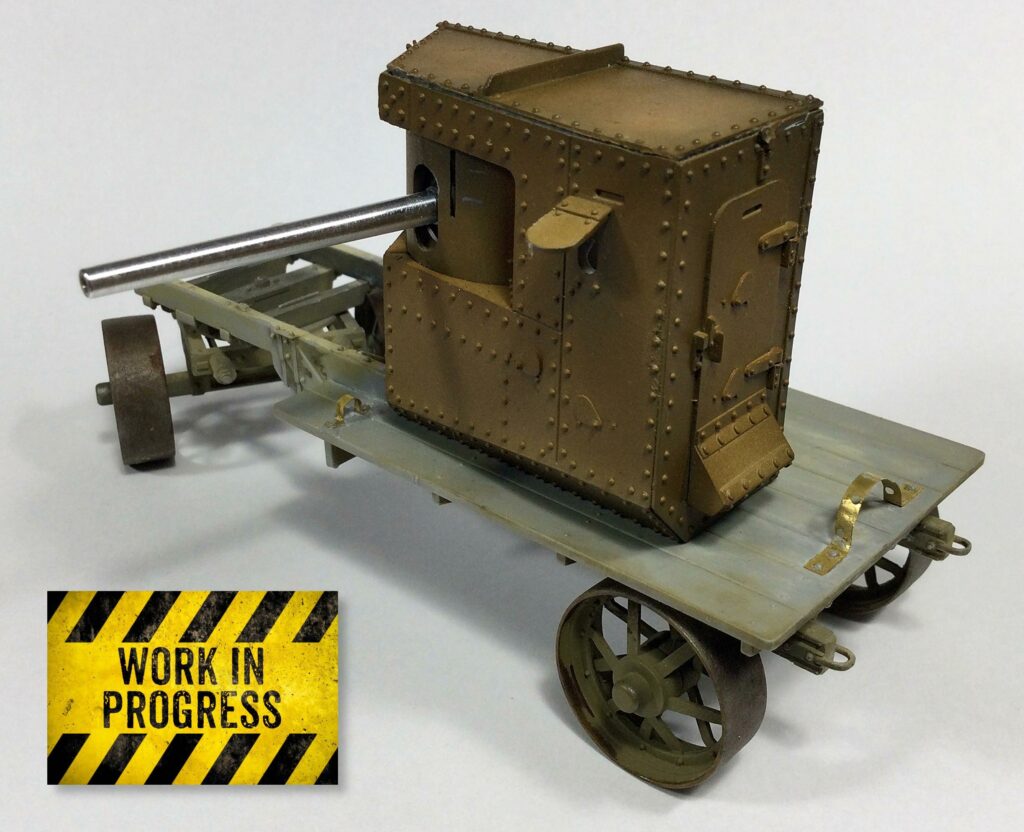
One invisible culprit working against modellers is body oil and mould release, also referred to as release agents. Fingerprints and injection moulding release products leave behind an invisible film that creates a barrier interfering with the proper adhesion of CA and, in many instances, paints, especially water-based acrylics. When dealing with such small photo-etch adhesion contact points, a degreased surface or a fingerprint is the difference between a successful adhesion event or a failure and a lost part.
💡 The primary reason water-based acrylic paint lifts off a finished surface with masking tape is the result of a poor surface bond caused by a barrier film of finger oil or mould release. Another cause is the absence of a primer or an improper primer.
Clean the kit area and photo-etched part(s) where cyano is to be applied with Isopropyl Alcohol (99%), or better yet with, Tamiya Lacquer Thinner 87077, Mr.Color Thinner GUZ-T104 or Real Colors Thinner AKI RC702.
You will be surprised to know, Tamiya Extra Thin Cement 87038 and Tamiya Airbrush Cleaner 87089 effectively degrease photo-etch parts. The aforementioned solvents require no drying as they flash off immediately leaving no residue. The next step is to prepare the photo-etch surface for superior adhesion.
⚠️ Use Tamiya Extra Thin Cement 87038 and Tamiya Airbrush Cleaner 87089 only on photo-etch for degreasing purposes.
Photo-Etch Shiny Surface and Patina
The number one reason a cyanoacrylate bond fails, other than using an old bottle at the end of its shelf life, is a shiny, smooth surface on photo-etched brass or metal alloy. The second reason for failure is surface oxidation, also known as patina, the tarnish coating the metal.
Sanding with medium-coarse abrasive scores and etches the metal with an irregular surface of microscopic mountain peaks and valleys. This is necessary to form a maximum bonding surface. Removing the patina and possible dip coatings, which some PE manufacturers apply over the frets, will ensure a complete bond.
Use 600 – 1000 grade paper and sand only the spots that accept the cyano. Joints created this way are superior and stronger than smooth, non-sanded metal, which can be problematic if unprepared. When you sand your brass fret, you will see the change in colour to a brighter surface, which is a sign of a well-prepared surface.
As cyano hardens, the chain-growth polymerization has irregular surface textures with which to bond.
Wipe sanded photo etch surfaces with a degreaser liquid.
💡 Even seemingly shiny, pristine frets are covered with some oxidation, often occurring within minutes, depending on atmospheric conditions. It’s natural for the brass to form a patina layer over time. If you can’t see it, it doesn’t mean it’s not there; this also applies to dip coatings.
Misaligned Part
The number one problem when using cyano is discovering a part is misaligned. Although the glue appears hard, it still cures for several more hours. In this window of opportunity, slide the tip of your hobby knife between the parts to separate them.
Once the parts come apart, pry free the remaining glue in the same manner by sliding the tip between the glue residue and the part from the side. The hardened adhesive should release from the surface. Typically, hardened cyano will scrape free for reapplication and positioning of the part.
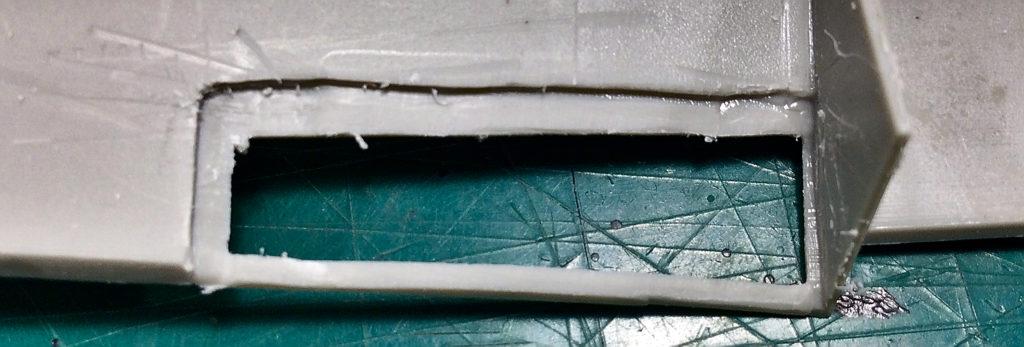

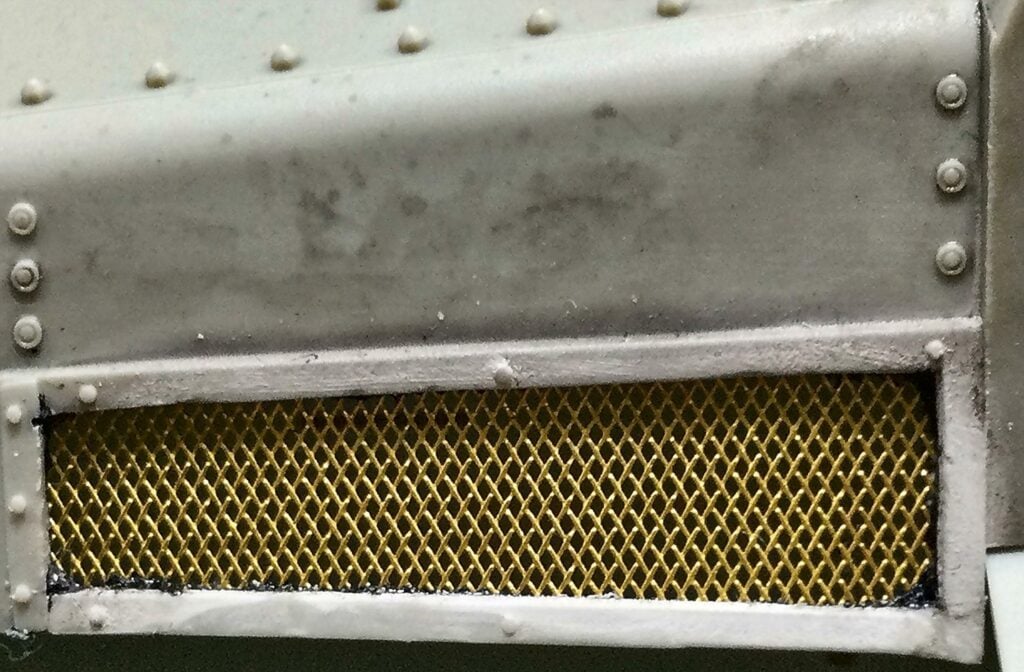

UN glass fibre pencil is an excellent tool for removing hardened cyano. CA Debonder may also be used to soften and dissolve cyanoacrylate for removal. Care must be taken to ensure the CA Debonder does not dissolve and mar styrene in the process. VMS Debonder.
CA Tools and Supplies
- AK Crayon interactif en fibre de verre AKI 8058
- Tamiya Lacquer Thinner 87077
- Mr.Color Thinner GUZ-T104
- Real Colors Thinner AKI RC702
- Tamiya Extra Thin Cement 87038
Gussets and Other Strengtheners
Use Your Bottle of Cyanoacrylate Up Before it Bricks
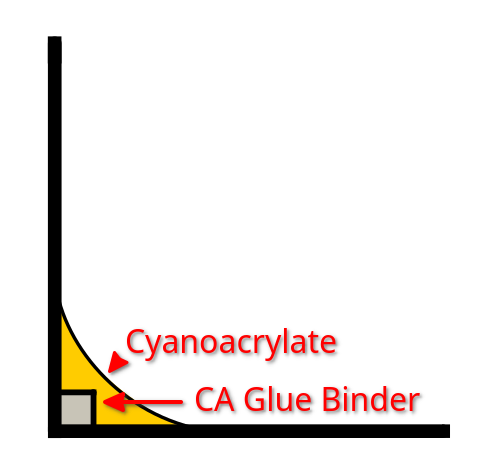
Cyanoacrylate Gap Filler and Gusset Plates
CA Putty
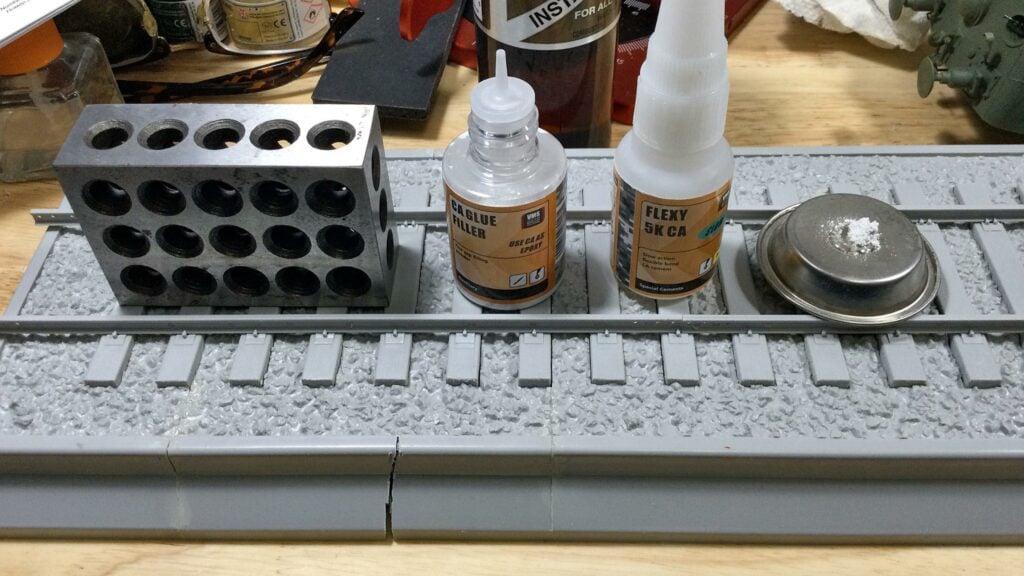
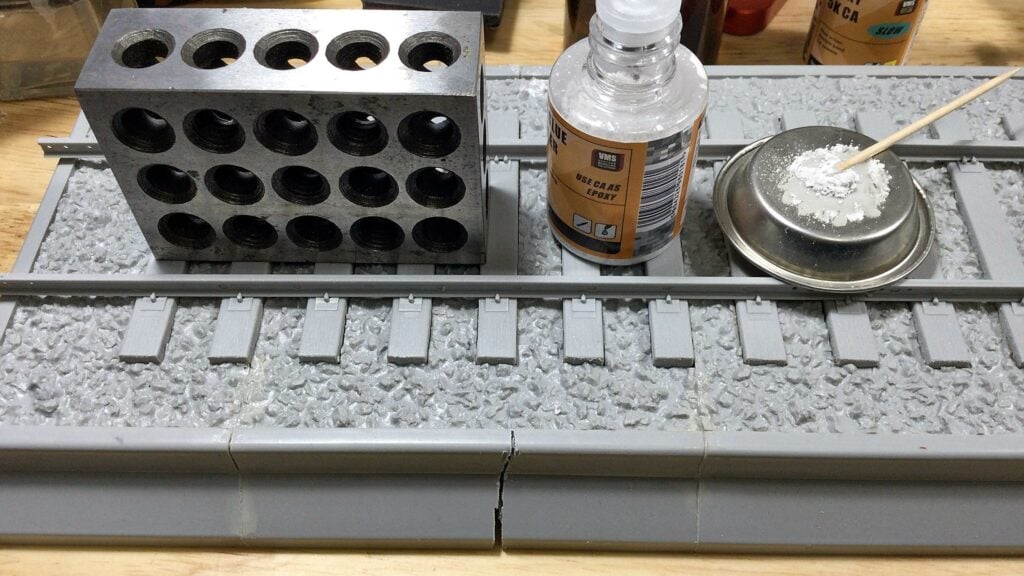
CA Glue Binder, such as VMS Filler Powder for CA Glue 25ml. Mixed with this fine powder, CA glue turns into fast-curing putty you can use for instant gap filling, much like standard putty, but without the usual wait.
You can mix fast-curing putty using your CA glue and this filler powder whenever you run out of putty or the standard type is too slow. CA putty dries to a solid filling that is easily sanded down. You can apply this filling in layers and combine fillings with other putties if necessary. Mixing with VMS Flexy 5K SLOW CA Glue is recommended for greater open time. A handy 50 ml dropper bottle with a fine tip ensures easy powder application to the mix and will last you very long!
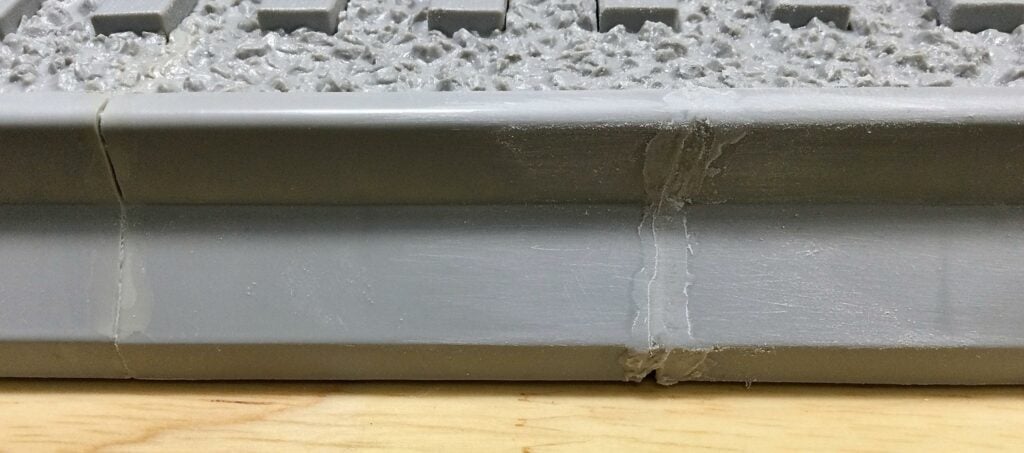
🗜 Use: Dispense a portion of CA glue on a piece of styrene, glass, or a metal sheet; never on cardboard, as it will absorb your glue. Spray some powder onto the glue and mix it with a toothpick until you reach the consistency of putty. Quickly apply the putty and even it with a hobby knife to minimize the residue around the gap. Once the filling is dry, sand it with medium-grade paper and follow with fine-grade paper.
Diorama Cyano Concrete
Rather than putting away that partially used bottle of cyanoacrylate, especially knowing its timer is counting down to the brick status, use it as cyano concrete to reinforce large, difficult parts that benefit from extra structural strength,
Adding Bicarbonate of Soda (bicarb soda), also known as baking soda, to cyanoacrylate instantly activates and hardens it. The baking soda powder absorbs the CA liquid and adds to the cyano concrete volume.
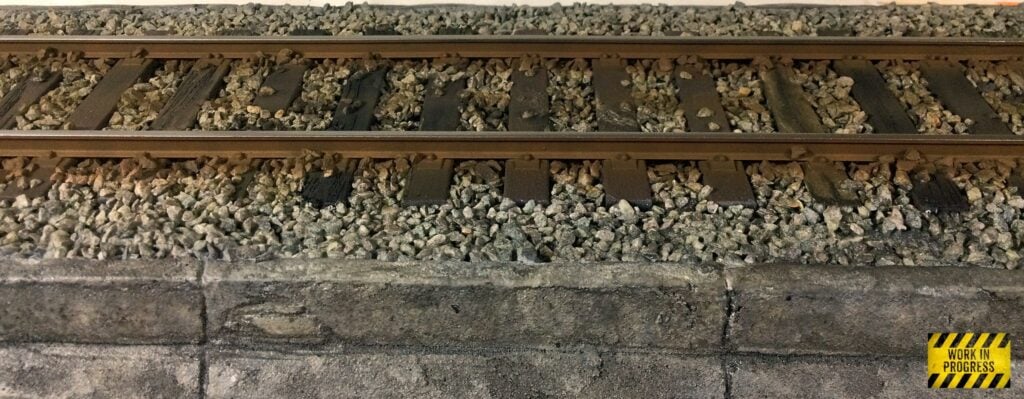
Cyano concrete is excellent for adding texture to debris.
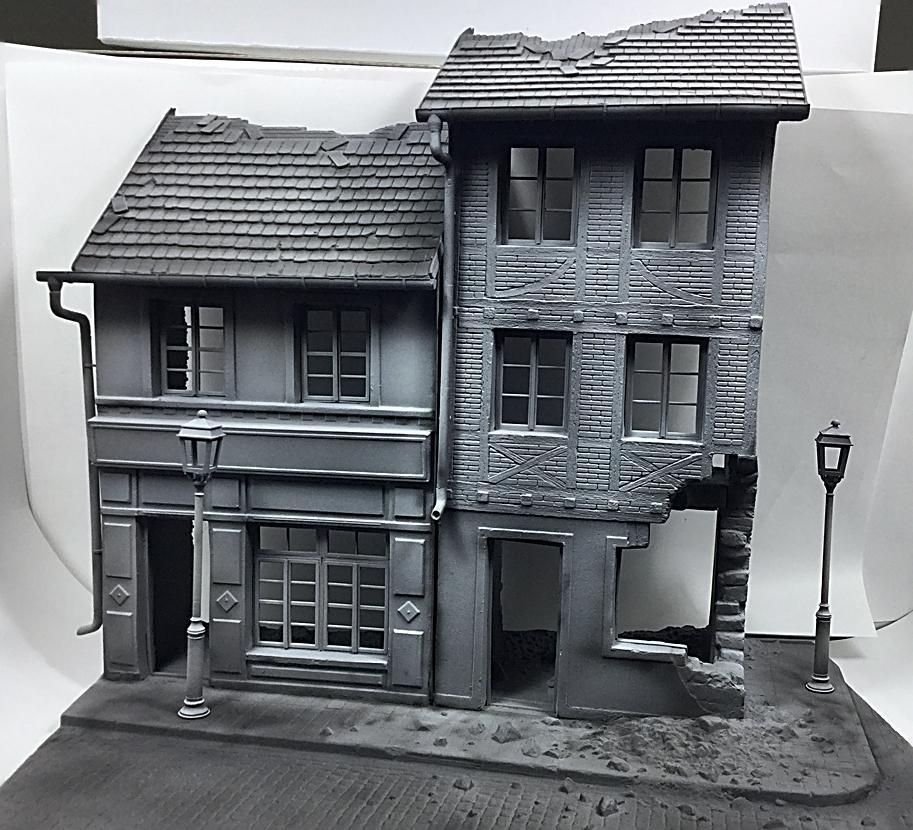
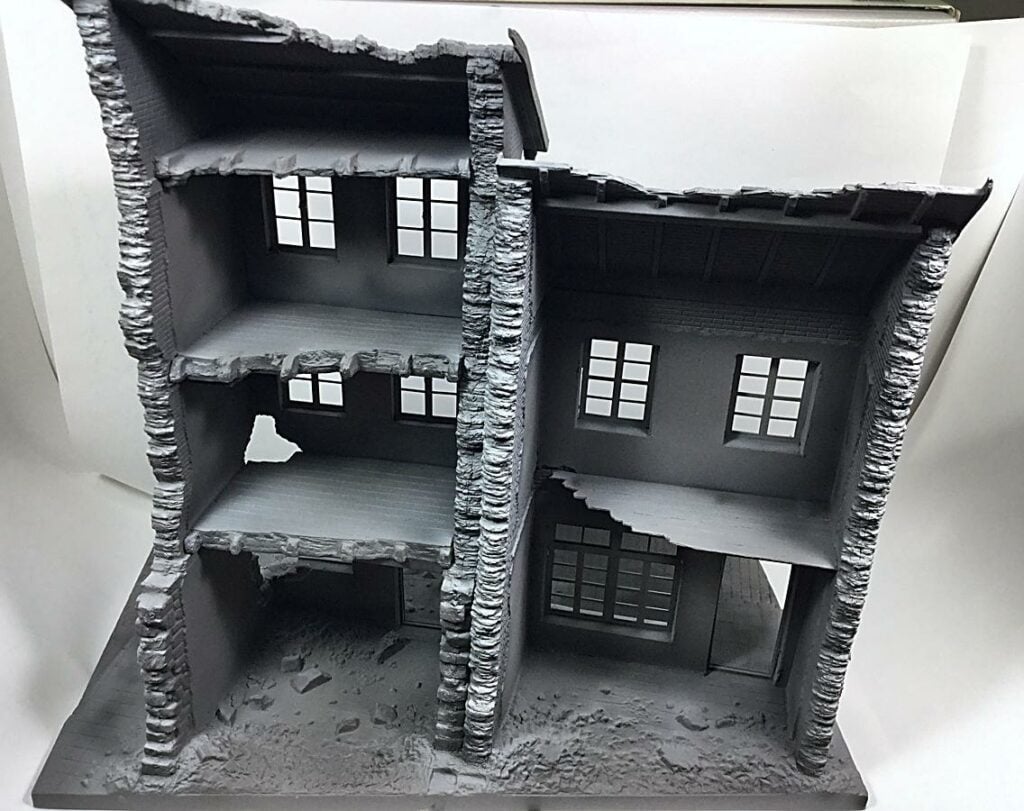
When Reinforced Resin Plastic Cement is Not Enough: Cyano Concrete
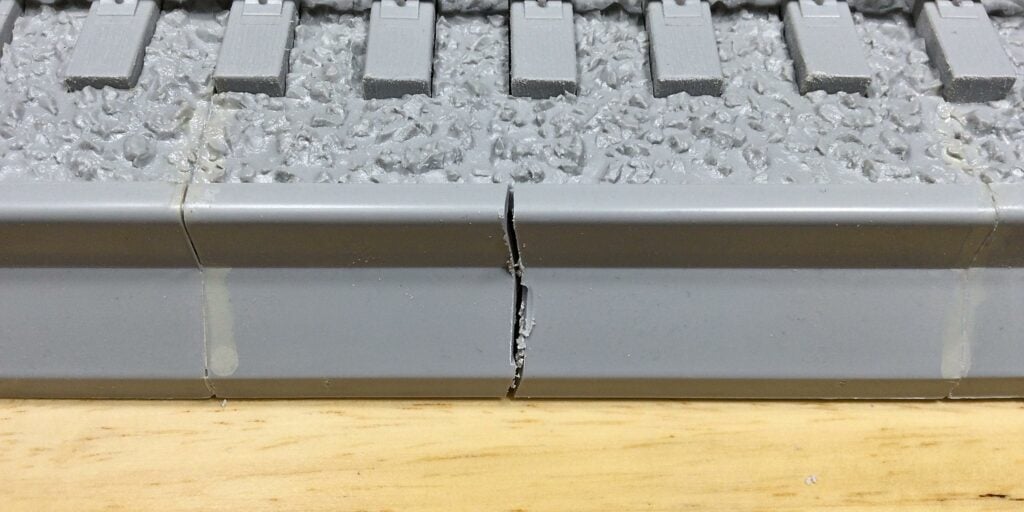
Plastic Cement reinforced with resin has limitations when more significant material volumes are required, such as strengthening complex angles or acting as a gusset reinforcing plate for a joint.
There are three types of cyanoacrylate filler and binder: VMS Filler Powder for CA Glue 25ml, Ammo by Mig Magic Dust and Bicarbonate of Soda (bicarb soda), also known as ordinary baking soda. The latter is for gussets and internal, out-of-sight reinforcement.
VMS Filler Powder for Ca is inert, meaning it does not accelerate the hardening process. It permits longer working time for precision work such as a gap or injector pin mark filling. It will eliminate ghost-seems that persist with normal hobby putty. It is immune to the stripping process when repainting is desired.
The Modellers Guide to Advanced Plastic Cement and Cyanoacrylate Use
Advanced Plastic Cement and Cyanoacrylate Use for Styrene: Part 1
Advanced Plastic Cement and Cyanoacrylate Use for Styrene: Part 2
For more information about the benefits of using VMS Flexy 5K, watch the following video.
James Wooldridge is An enthusiastic scale modeller, researcher, amateur historian, and contributor to scale modelling sites, including Scalemates. He is an active and progressive Facebook Group Expert, Presenter, and Scale Modelling Club Video Host.
