
Skill Level: Advanced – Difficult – Time Sensitive Product
Read Time: 12 minutes
Common Mistakes to Avoid When Applying 2K Clear Coat: №.3
A 2K Clear Coat can yield outstanding results; it’s essential to be aware of common mistakes that compromise the finish. Avoiding these pitfalls is crucial for a successful application.
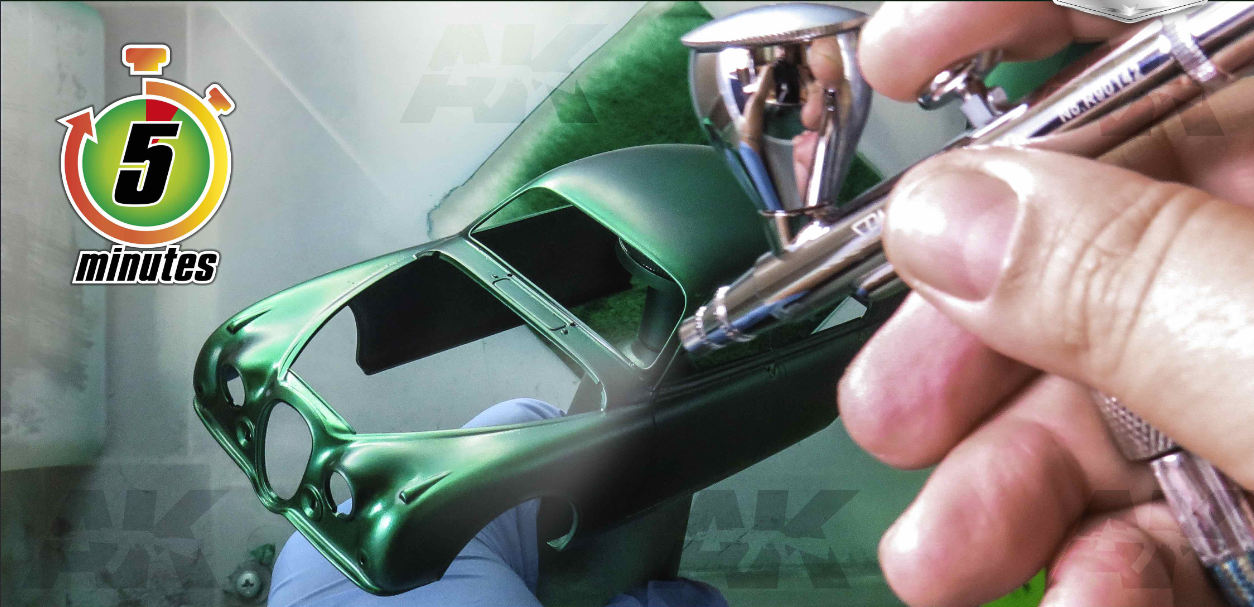
Uneven Coats: One of the most common errors is applying uneven coats. This can result in visible variations in gloss and thickness. To prevent this, maintain a consistent spraying distance using side-to-side movement with overlapping passes covering the last wet pass by about 50% to ensure even coverage.
Improper Drying Times: Rushing through the drying process can lead to issues like orange peel, wrinkling, solvent pop, and coating layers that are unable to outgas. Follow the manufacturer’s recommendations for flash times between coats and the overall curing time to ensure a flawless finish.
Evaporator Drying—Curing Oven: Invest in a temperature-controlled unit with an auto shutoff timer. Curing is accelerated when the temperature is 85—90 °F or 30—32 °C. Always test before use to determine the proper temperature for the material being used.
Over-application: Applying too much clear coat in a single pass can lead to runs and sags. It’s essential to maintain a controlled spraying technique and avoid excessive build-up.
Contamination: Even the smallest particles of dust or debris can ruin the finish. Ensure your work environment is clean, and use a tack cloth to remove any particles from the surface before applying 2K Clear Coat.
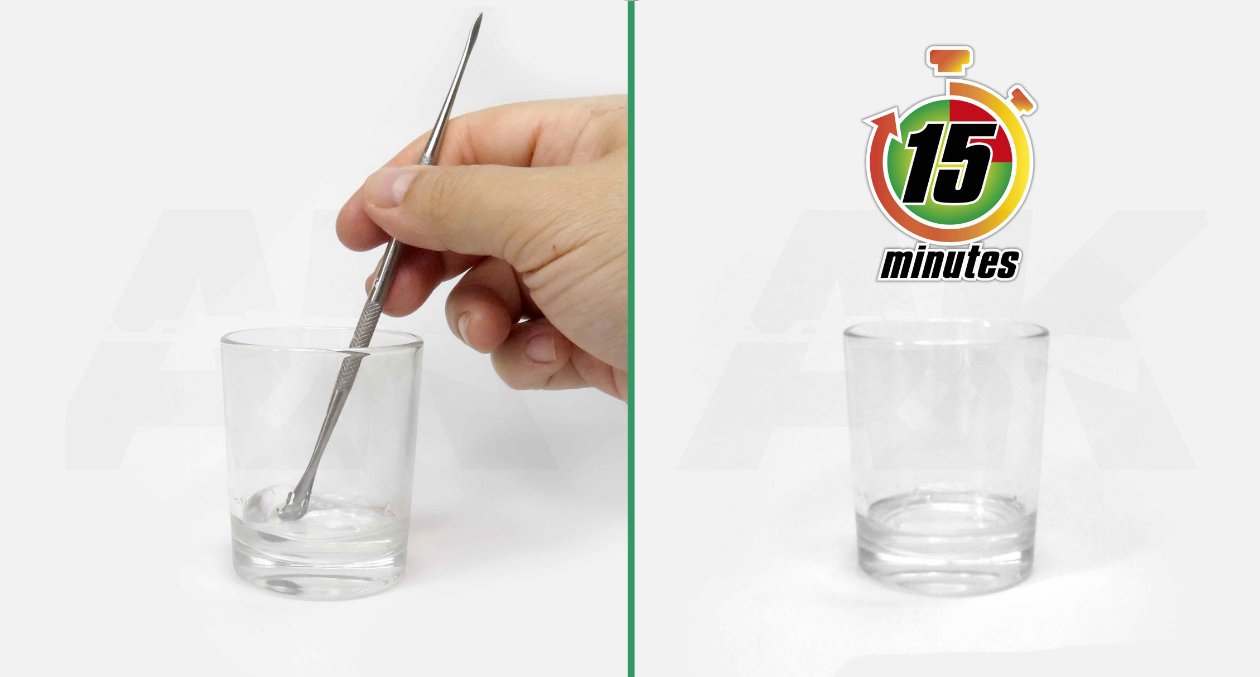
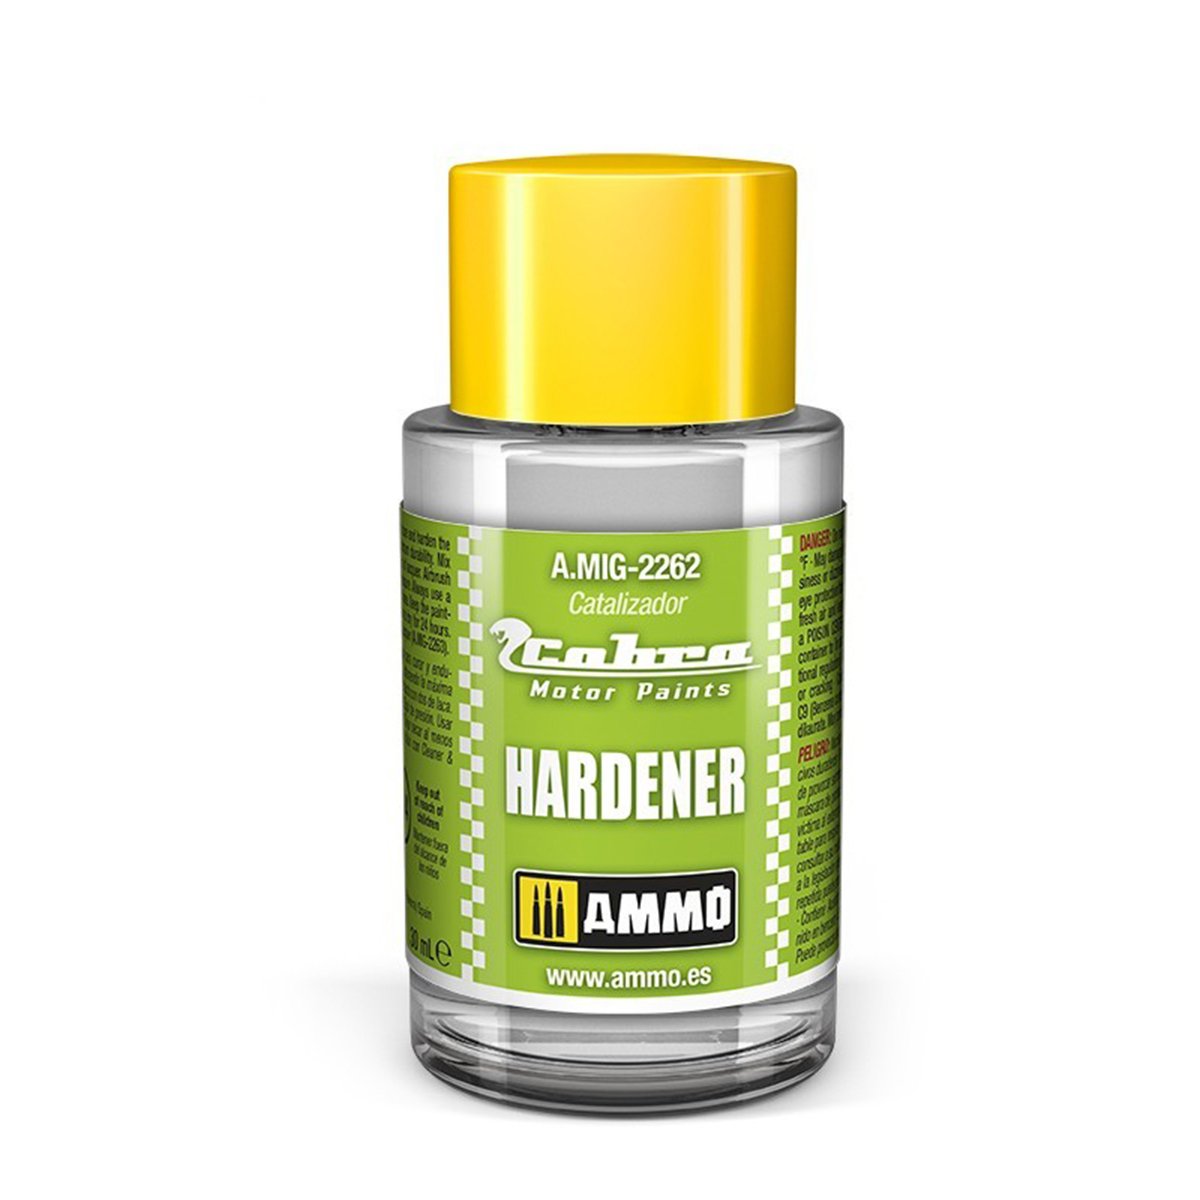
Inadequate Mixing: Deviating from the recommended mixing ratio can result in a 2K Clear Coat that doesn’t cure properly or lacks durability. Always measure and mix the components accurately.
Incorrect Airbrush Setup: Using the wrong nozzle size or air pressure settings can affect the quality of the clear coat application. Refer to the manufacturer’s guidelines for the proper setup.
Poor Surface Preparation: Skipping or rushing through surface preparation can lead to adhesion problems and defects in the finish. Take the time to clean, sand, and smooth the surface properly before applying 2K Clear Coat.
Ambient Conditions: Extreme temperatures, humidity, or airflow can impact the clear coat application. Follow the manufacturer’s recommendations regarding environmental conditions. Humidity over 60% affects 2K Clear Coats. Do not apply in a cool, damp basement, on rainy days or when a storm is expected. The ideal temperature range for application is 20—25 °C.
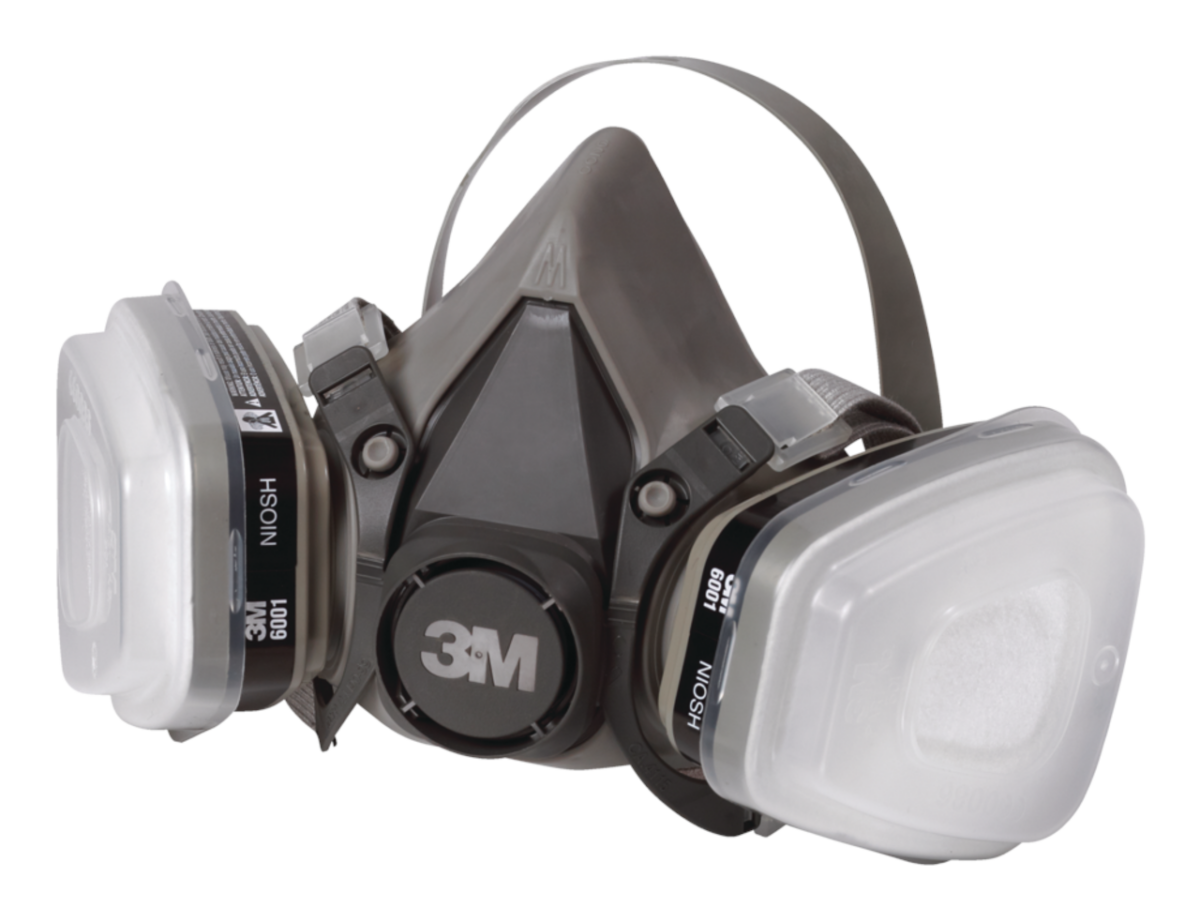
Inadequate Safety Measures: Neglecting safety precautions, such as wearing appropriate protective gear like gloves, safety glasses, and a respirator, can pose health risks when working with 2K Clear Coat, solvent thinner, and hardener. Imagine breathing in cyanoacrylate aerosol particulate and having it cure in your lungs, and you get the idea of why precautions are necessary. It’s a professional product not intended for amateurs or casual use. Yet here we are.
Practice: Purposeful practice builds confidence and familiarity with 2K Clear Gloss characteristics. Anticipate failed clear coat jobs until you master the art of clear coat application.
Lack of Patience: Rushing through the application process can lead to disappointing results. Take your time, follow the steps meticulously, and allow proper outgassing and curing times.
💡 Being mindful of and avoiding these common mistakes, you can significantly improve the quality of your 2K Clear Coat application and achieve a masterful finish.
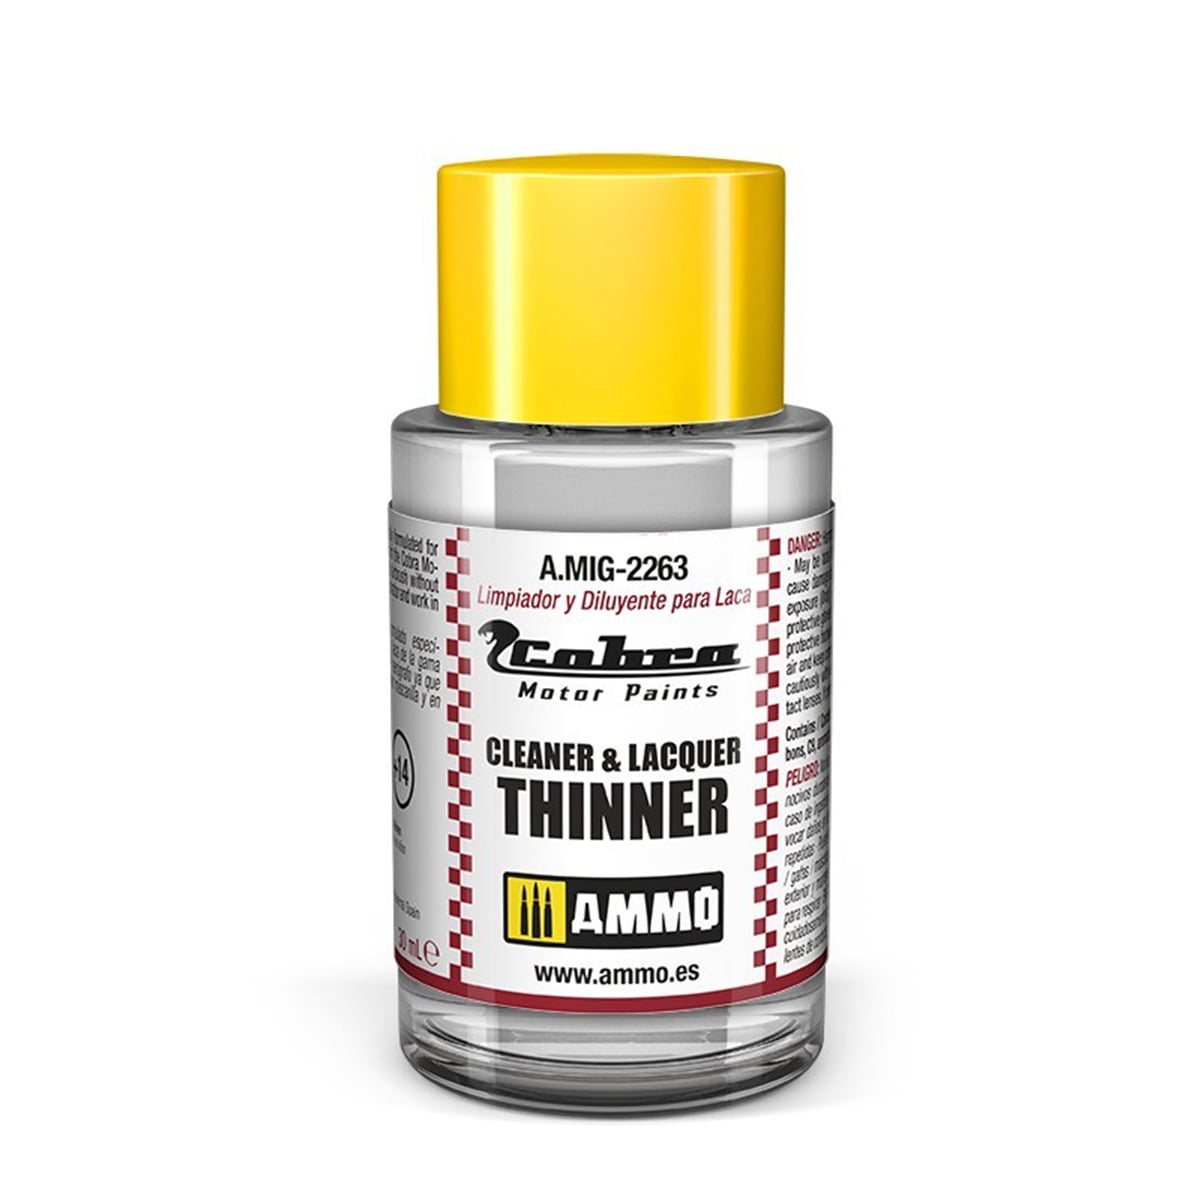
⚠️ 2K Thinners are not your typical hobby lacquer thinners. Use of other thinners may result in failed material coatings and a permanently clogged airbrush.
Tips and Tricks for Achieving a Flawless Finish with 2K Clear Coat
Achieving a flawless finish with 2K Clear Coat requires proper technique and some insider tips and tricks. Here are some expert recommendations to help you attain that glass-like, super-gloss reflective shine.
Data Sets: To master any material coating, keeping copious notes of each step allows you to perfect the application process and figure out where it went pear-shaped. Record:
- drops or mL of product
- drops or mL of solvent thinner
- drops or mL of hardener
- mixing and stirring time
- rest time of component mixture before application, if applicable
- compressor regulator pressure Bar/PSI
- material nozzle flow
- spray pattern, angle and airbrush distance from the surface
- material surface wetness: light coat, medium coat or heavy coat
- initial coat thickness
- outgas wait time before recoat
- airbrush spray swath pattern
Temperature Control: Maintain a controlled working environment with a stable temperature. Extreme temperatures can affect the curing process and the final finish.
Airbrushing Spray Technique: Hold the airbrush at oblique angles to the surface while maintaining a consistent distance moving laterally, from right to left, overlapping left to right, etc. Keep the airbrush moving smoothly with overlapping damp material. Test the airbrush spray pattern on test cards to determine the best application strategy for the project or parts.


Overspray: Mask off surrounding areas and use a spray booth or an enclosed space to minimize overspray. Airborne hardened particulate settling to bond with the surface and wasted 2K Clear Coat creates pebbly surfaces. Advanced users effectively reduce overspray by incorporating a dedicated MAC Valve or an integrated MAC Valve with a Quick Disconnect feature.
Blending: When applying 2K Clear Coat to a repaired area, mix the clear coat transitioning beyond the repair area to create a seamless transition between coats, especially after repairs. Build the new area up to equalize coating levels for a smooth surface.
Wet Sanding: For the smoothest finish, consider wet sanding between coats with fine-grit sandpaper (e.g., 1500-2000 grit). This helps remove any imperfections and promotes adhesion between layers.
Polishing and Buffing: After the clear coat has fully cured, use a high-quality automotive polishing compound and a buffer to achieve a mirror-like shine. This step can significantly enhance the final appearance.
Quality Modelling Products: Invest in high-quality 2K Clear Coat products from within the modelling ecosystem for the best results.
Use Practice Test Cards: Before tackling a project, airbrush your technique on styrene test cards for accurate product assessment, refining your skills and achieving consistency.
Lighting: Adequate lighting is crucial for spotting imperfections during and after application. Ensure your workspace is well-lit to catch any defects early. Use Daylight LED Bulbs with a Colour Rendering Index of CRI 80+.
Patience: Allow the clear coat ample time to cure fully. Rushing the process can result in a compromised finish. Follow the manufacturer’s recommended curing times.
Combined with proper technique and attention to detail, these tips and tricks can help you achieve a flawless finish that rivals professional automotive paint jobs.
How to Properly Cure and Protect the 2K Clear Coat
Curing and protecting the 2K Clear Coat are critical to longevity and performance. Here’s a comprehensive guide on how to do this effectively:
Curing: Proper curing of the 2K Clear Coat is essential for achieving its full strength and durability.
Temperature and Humidity: Cure the clear coat in an environment with controlled temperature and humidity.
Airflow: Ensure adequate airflow to help with the curing process. This prevents solvent entrapment and allows for proper outgassing.
Curing Time: Follow the manufacturer’s recommendations for curing time.
Avoid Contamination: During the curing process, keeping the coated surface free from contaminants, such as dust or airborne particles, is crucial. To prevent contamination, cover the area or use a clean environment.
Avoid Fingerprints or Maring: While the clear coat is curing, avoid any physical stress or contact with the surface, as this can lead to imperfections or a failed job requiring rework. Wear nitrile gloves.
Recommended Products and Tools for Applying 2K Clear Coat
To achieve a masterful-looking application of a 2K Clear Coat, it’s essential to have the proper products and tools. Here are some recommended items to ensure a successful clear coat application:
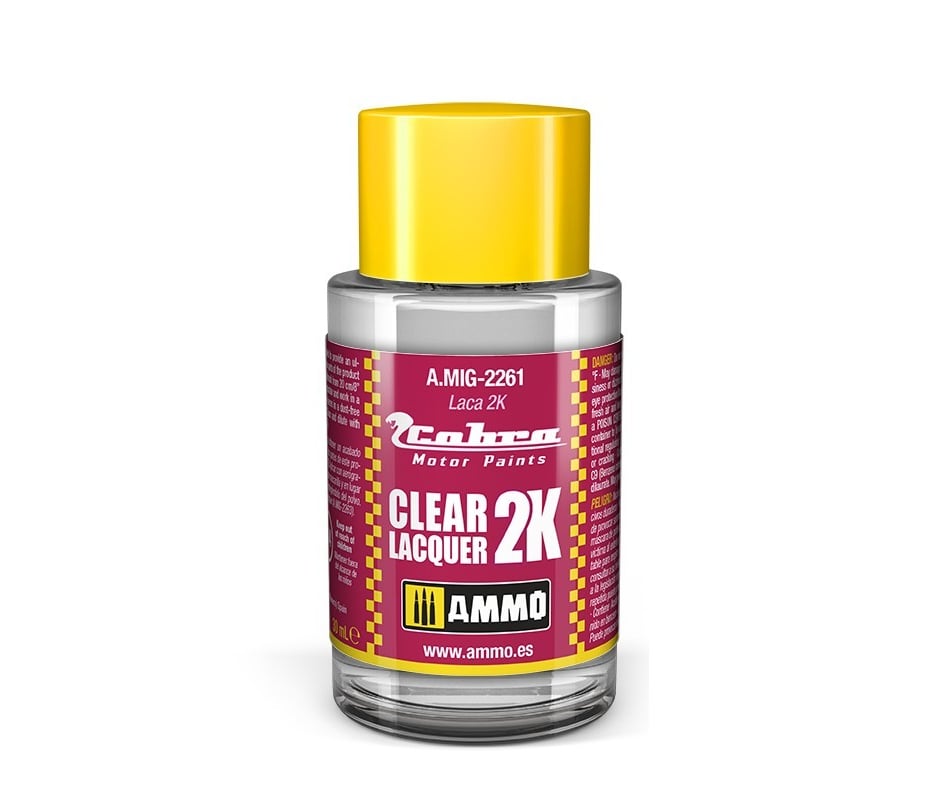
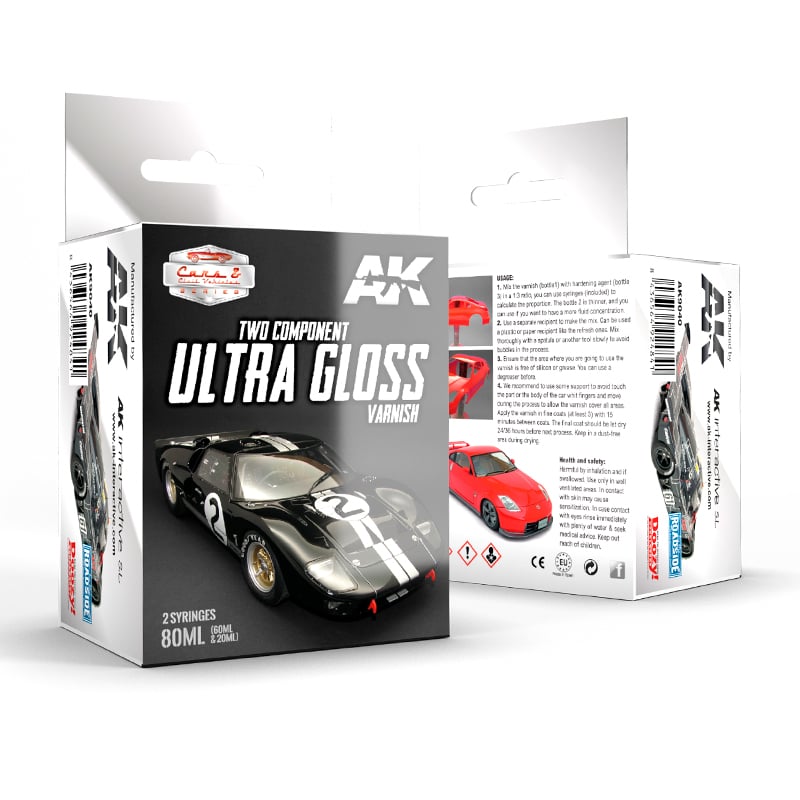
2K Clear Coat Kit: Start with a high-quality 2K Clear Coat kit from a reputable manufacturer. These kits typically include the transparent resin and activator in the correct proportions for your convenience.
Airbrush: Invest in a quality airbrush with an appropriate needle size to handle clear coat application material flow. Ensure it is compatible with the viscosity of 2K Clear Coat and allows for precise control of the spray pattern.
Respirator: Protect your respiratory health by using a respirator with organic vapour cartridges. This is crucial when working with 2K Clear Coat, as it contains chemicals that may be harmful if inhaled.
Safety Gear: Wear appropriate safety gear, including nitrile gloves and safety glasses, to shield yourself from potential chemical exposure.
Nitrile Gloves: Long-lasting nitrile gloves keep hand, fingertip and body oil from getting on your project. They are great for keeping solvents and other materials off your skin.
Tack Cloths: Use tack cloths to remove dust and debris from the surface before applying 2K Clear Coat. These sticky cloths are highly effective in ensuring a clean surface.
Sanding Materials: Stock up on various grits of sandpaper (800 to 2000 grit) for surface preparation and wet sanding between coats. Sanding blocks and sanding sponges can also help achieve a smooth surface.
Mould Release and Finger Oil Removal: Thoroughly clean the surface before applying 2K Clear Coat using dish detergent or Isopropyl 99% mixed 1:1 with distilled water. Dry thoroughly.
Masking Materials: Use masking tape, plastic sheeting, and paper to mask off areas you do not want coated with 2K Clear Coat. This prevents overspray and ensures clean lines.
Buffing and Polishing Tools: Invest in polishing compounds to achieve a mirror-like finish after the clear coat has cured.
Paint Mixing Supplies: If you’re mixing your clear coat, ensure you have accurate measuring tools such as graduated mixing cups and stirring sticks.
Proper Lighting: Adequate lighting is essential for spotting imperfections during and after application. Ensure your workspace is well-lit to catch any defects early.
Airbrush Spray Booth: Whenever possible, work in a controlled environment like a spray booth or enclosed space to minimize dust, overspray, and environmental factors affecting the application.
With these recommended products and tools in your arsenal, you’ll be well-equipped to achieve professional results when applying a 2K Clear Coat. Quality tools and materials are essential for ensuring a smooth and flawless finish.
Troubleshooting Common Issues with 2K Clear Coat Application
Even with careful preparation and application, issues can arise when applying a 2K clear coat. Understanding common problems and how to troubleshoot them is essential for achieving a successful outcome. Here are some common issues and their solutions:
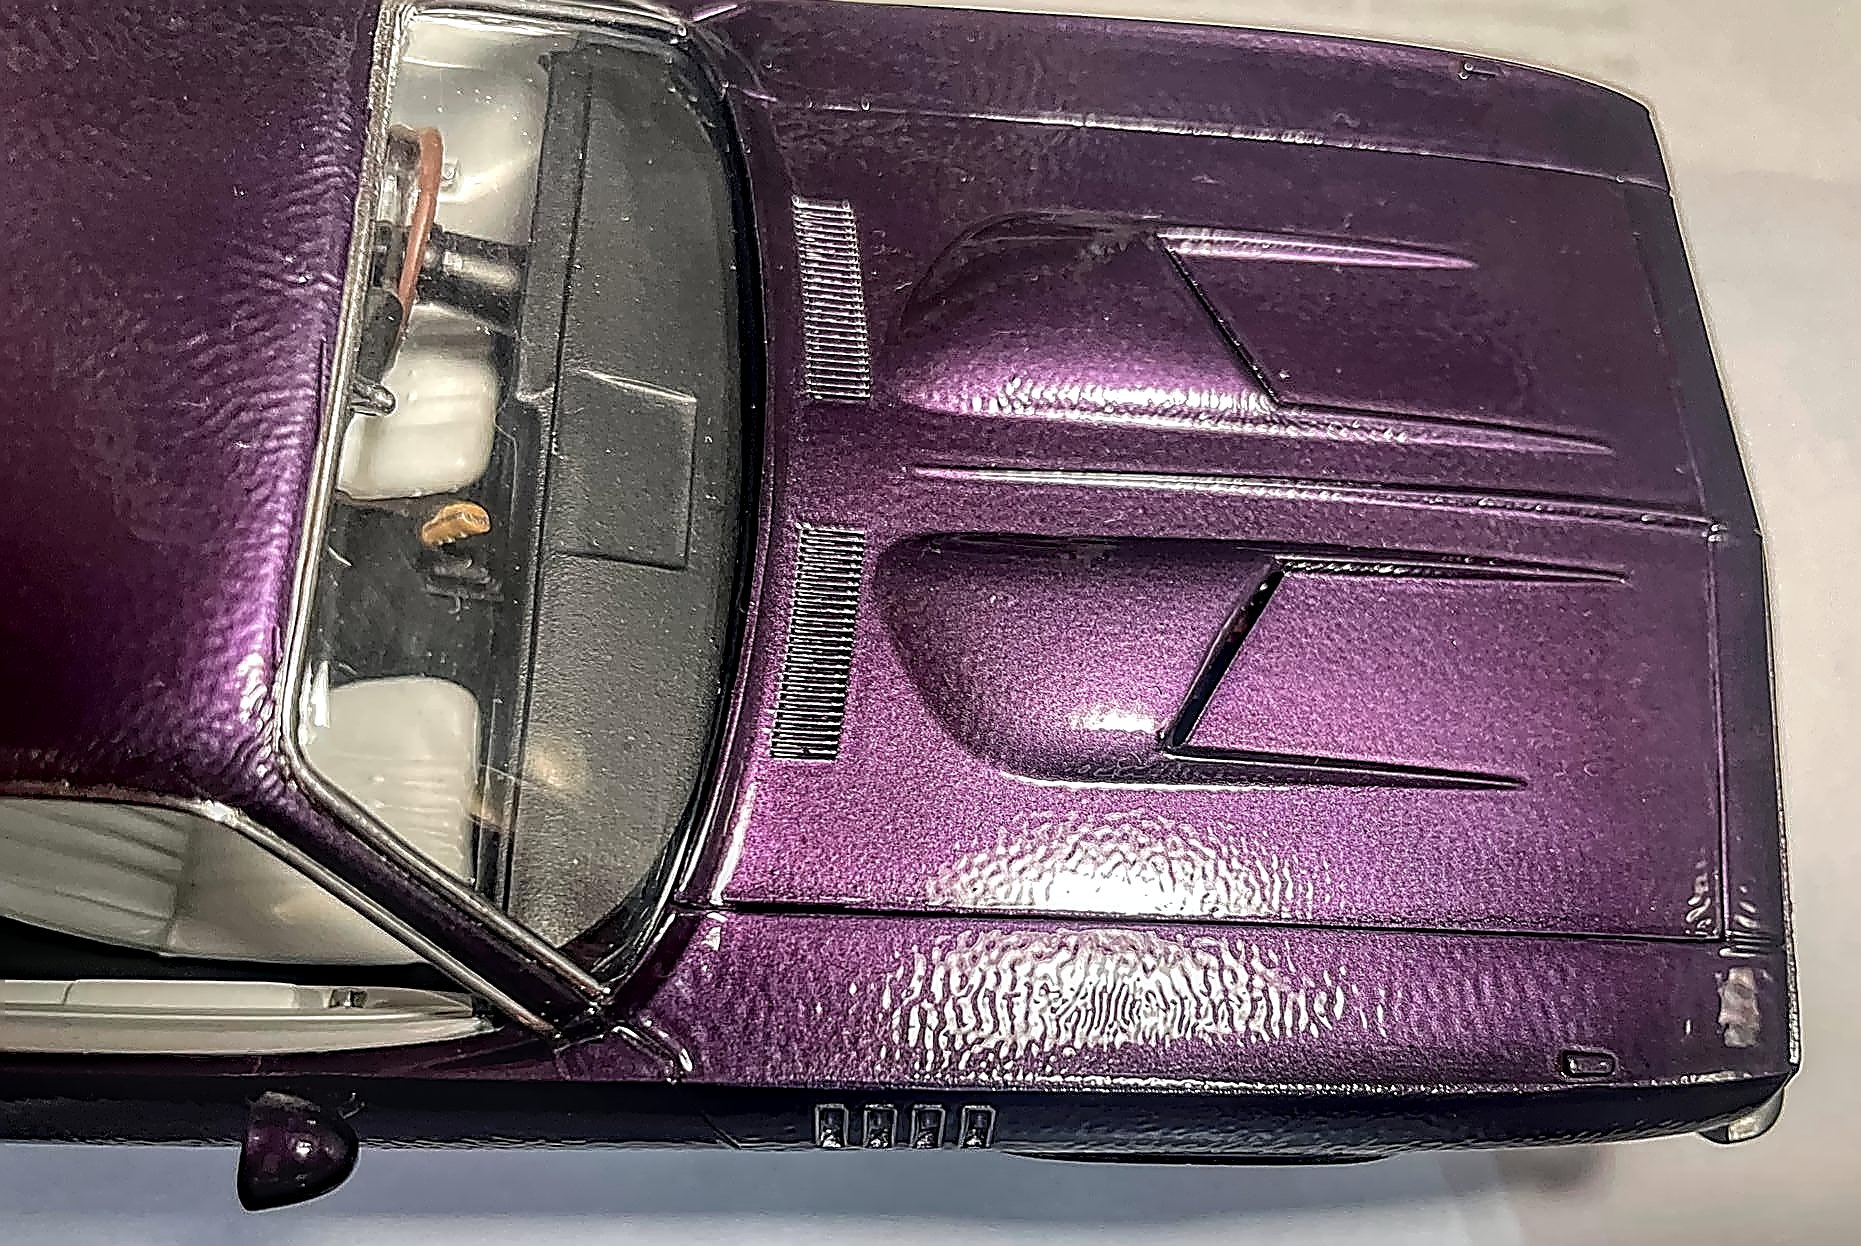
Orange Peel: Orange peel texture can result in a rough, dimpled surface. To address this, sand the affected area with fine-grit sandpaper (1000-1500 grit) and then polish it to a smooth finish.
Orange Peel Maker
OutGassing – OffGassing: Solvent Vigorously Boiling at Room Temperature
This 5-second video shows what is unseen when using a solid colour and any clear coat thinned with a volatile organic solvent. If the paint layer is not permitted to flash off (outgas), the energy seen in the video continues to work under the next coat, generating orange peel or paint pop. The trapped energy being released causes poor and failed paint jobs.
Runs and Sags: Over-application can lead to runs and sags in the clear coat. If this happens, allow the clear coat to dry completely, then sand the affected area with a fine-grit sandpaper and polish it to blend with the surrounding finish.
Fish Eyes: Fish eyes are small, circular craters in the clear coat caused by contaminants. To resolve this issue, sand the affected area, clean it thoroughly, and reapply 2K Clear Coat using proper cleaning procedures.
Dry Spray: Dry spray results in a rough, grainy texture. It can be caused by incorrect air pressure or distance from the surface. Adjust your spray gun settings and technique to ensure proper atomization.
Cloudiness or Blushing: Cloudiness, often called blushing, occurs when 2K Clear Coat appears milky or hazy. This can happen in humid conditions. To correct it, allow the affected area to dry completely and then sand it with fine-grit sandpaper before polishing.
Adhesion Issues: If the clear coat doesn’t adhere properly, it may peel or flake. To improve adhesion, ensure proper surface preparation, including thorough cleaning and sanding.
Color Mismatch: Improper blending can cause a noticeable difference in colour between the clear-coated area and the surrounding paint. Carefully blend the clear coat into the adjacent paint for a seamless transition.
Solvent Pop: Solvent pop results in tiny bubbles in the clear coat due to trapped solvents between coats. To fix this issue, sand the affected area, allow it to dry, and reapply 2K Clear Coat while ensuring proper flash times.
Softened Styrene: Improper use of solvents and DIY thinners may result in softened, sagging or dissolved styrene, ruining the kit and causing a failed clear coat job.

Dust Particles: Dust particles settling on the clear coat causes imperfections. To address this, sand the affected area lightly, clean it thoroughly, and reapply 2K Clear Coat using proper dust control measures.
By recognizing and addressing these common issues, you can troubleshoot and rectify problems that may arise during the 2K clear coat application process. This ensures a professional-looking finish and customer satisfaction.
Previous Post: How to Apply 2K Clear Coats on Model Cars and Trucks
James Wooldridge is An enthusiastic scale modeller, researcher, amateur historian, and contributor to scale modelling sites, including Scalemates. He is an active and progressive Facebook Group Expert, Presenter, and Scale Modelling Club Video Host. James is also the executive founding member and KSM Group expert at Kawartha Lakes Scale Modellers.