The Essential Tools Required – Part 2
Plastic kit building is a hobby that can provide substantial enjoyment with minimal investment in materials and supplies. Let’s begin by informing you of the additional essential tools required from part one. As mentioned in part one, these are the additional specialized tools that can enhance specific tasks.

Sandpaper
Sandpaper, whether wet or dry, is necessary for complete finishing. Grades like No. 300, 400, and 600 up to 1500 are what you should purchase for the final finishing, more advanced modellers use up to 2000 grit. These sandpapers should be available at Sunward Hobbies.
Sunward carries a sanding product with a Mylar backing called Flex-I-File. Once more, experience will reveal which goods are most effective for you.
For some finishing steps, like roughing primer paint to accept finish coats, some modelers prefer to use fine steel wool instead of sandpaper because steel wool typically retains rivet detail. You may also want to consider another useful tool for cleaning the plastic model is an old toothbrush.
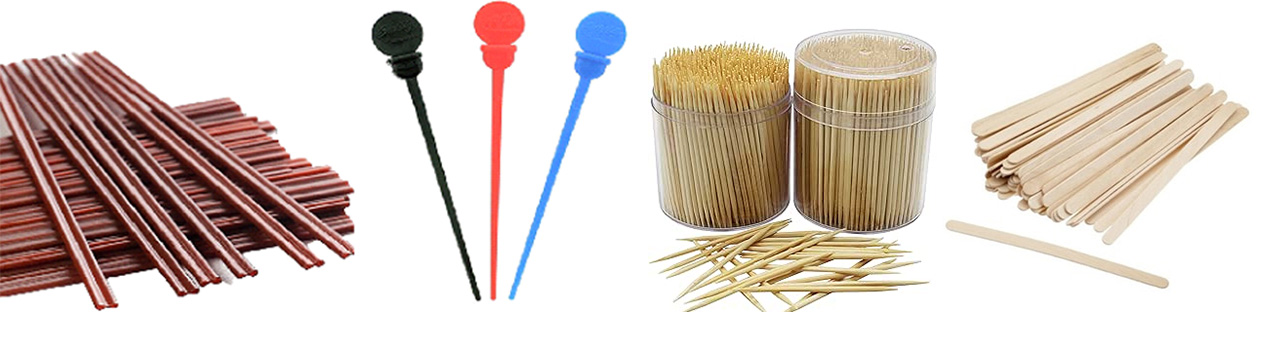
Woodware
Flat wood toothpicks, cocktail sticks, coffee-stirring sticks, are used to apply tube cement, place body putty, and stir paints. Small dowel rods, with the ends cut at an angle, can be especially useful in spreading putty in contoured areas. I have seen and done using toothpicks to hold on to engines, tires, even the model airplane through the nose. So, a bit of imagination with things around you can be your new tool.
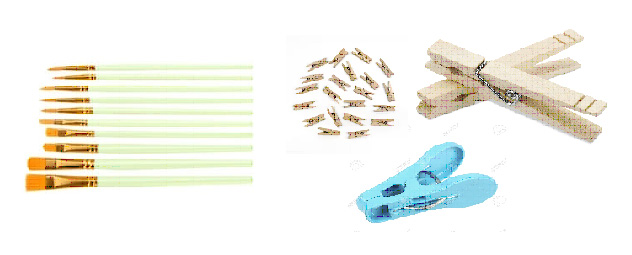
Hobby brushes
Small brushes, especially entry level ones, are used for the application of liquid cement. applying adhesives to cleaning and making arts and crafts; you can never have enough of these versatile brushes. Microbrushes are also a great tool to apply materials. Made with wood or plastic handles that feel comfortable in hand and usually with bristles with all square trim, these multipurpose brushes are ideal for painting or trim, applying various liquids where it’s needed in very small quantities or brushed on. They’re great for most paints, varnishes, acrylics, even gesso, and glues, so not only are these brushes durable, but they’re also disposable,
Clothespins
Clothespins, particularly the spring-clamping type, are employed to hold flat parts together while the cement is drying. You may also want to shape and file the clothespin so that it grips without biting into the plastic parts.
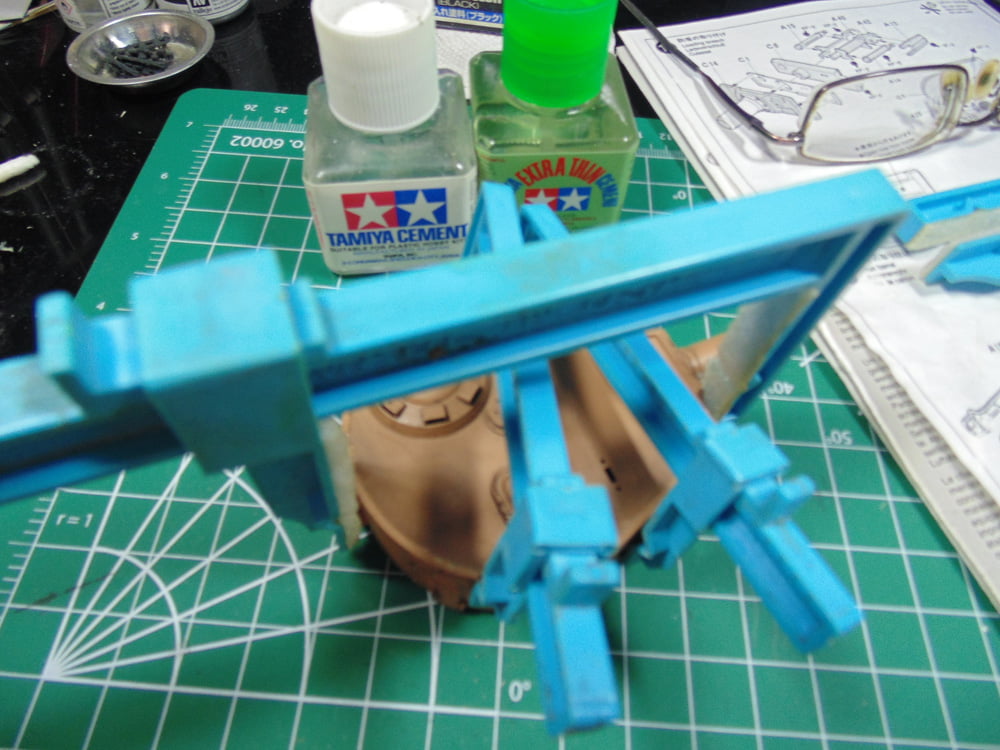
C-Clamps
Small C-clamps, available from Sunward Hobbies, do an excellent job of holding parts together, although the clothespins usually work just as well and are less expensive.
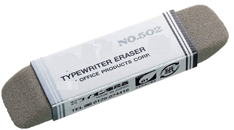
Eraser
A typewriter eraser, also known as a rubber in other countries, is helpful for removing chromed surface from chrome plated parts where they must meet other parts for cementing. It also a good file cleaner. They come in different shapes and composition; such as the Artist’s gum eraser, Vinyl eraser, Elastomer eraser, Kneaded erasers, Poster putty, Electric eraser, Fiberglass eraser and the Felt chalkboard eraser all eraser that somewhere sometime you may find it useful for that one purpose during your hobby career.

Cutting boards and rulers
One can opt out with an Excel self-healing cutting mat. These are reversible “self healing” mats and made from a unique composite PVC vinyl material, designed for both rotary blades and straight utility blades.
These boards turned out as the perfect for modelers, graphic artists, designers, and more. The boards are self-healing, durable, and made for general purpose cutting mat. (I may do a paper on this little gem at a later date)
A straightedge, or metal ruler, is recommended as an aid in scribing straight lines in plastic and in cutting sharp, true edges in tape and masking materials.
Stiff cardboard or hardboard should be considered as a working surface to be placed over the desktop or tabletop at which you are building your model. The board will provide a protective surface for your knife work and cutting. You may want to use two boards: one for general cutting, fitting, and sanding; another to be kept dust-free for assembly cementing. Also suitable as a cutting surface, especially for critical work, is a sheet of Plexiglas.

Alligator clips
Alligator clips are spring metal clips with long, serrated jaws. The primary use of alligator clips is to establish temporary electrical connections when clipped onto terminals and components. They get their name from the resemblance of their jaws to alligator or crocodile teeth / jaws.
The clip generally used is the type called the memo clip, and it’s made of high-quality metal steel and the surface is galvanized, which is anti-corrosion, tough and not easy to break and is durable. Others are made with a wooden shaft.
One can easily clamp small plastic parts for painting or gluing and prevent them from falling. A resourceful hobbyist can also make his/her own, all is needed is an alligator clip and a stirring stick, or similar, then all you do is shave or fashion the end of the stick to fit in the wire fixing part of the clip, and by clamping down on the two wings the stick will stay in place till it’s time to replace it, to remove the stick you just reverse the process. Some of us prefer a bit of white glue to be placed on the stick as it is being fitted in the clip, this will steady the wooden stick.

Sprue cutters
Sprue cutters are for trimming and/or snipping the kit components from plastic trees or sprue.
If you were to consider making a plastic model, the first specialist equipment you would probably buy would be a pair of plastic cutters.
Sprue cutters are made expressly to cut tiny plastic components for scale model construction. Because of their thin, pointed shape, sprue cutters can squeeze into the tight spots in sprue trees.
The single edge and double edge sprue cutters are the two varieties offered by manufacturers.
One jaw of a single-edged sprue cutter has a cutting edge, and the other jaw serves as an anvil. They are excellent for cutting and cleaning up nubs since this makes for a smoother cut with less crushing force on the plastic.
Compared to the double-edged, single-edged have a sharper but more brittle cutting edge that is often narrower and more acutely inclined.
Conversely, double-edged nippers can be more effective in cutting parts off the sprue because their blades have cutting edges on both jaws.
The double-edged sprue cutters have thicker, less sharp blades but overall stronger construction.
It’s crucial to use caution while using this tool to prevent harming transparent parts and stress coloration—those little white spots left behind after cutting the nubs.
Here are some tips.
1. Avoid Using Too Much Force: It’s crucial to use just enough pressure with the cutters to cut through plastic. When plastic is bent or breaks due to excessive force, transparent parts may break or get stressed out, then you have another problem in your hands.
2. Keep them sharp: If your sprue cutters are dull, the plastic may crush rather than cut, leaving a rough and sometimes a white edge with rough spots. This may result in transparent portions breaking or stressed coloring. When the cutting edges get dull, pay attention to them and replace them, I have been asking about resharpening, but a new one is a better bet. Cutting further away from the part is usually a safe choice if you are unsure about the cut.
3. Handle Clear Parts Cautiously: Clear parts are more fragile and sensitive, and sometimes tougher. To avoid breaking or crushing transparent pieces during cutting, it’s crucial to handle them carefully and provide support during cutting. It may be worth to place the sprue firmly on the cutting board and support the plastic to be cut, sometimes a precut by a sharp X-Acto knife (hobby knife) can get the cutting started cleanly.
4. Use the Correct Tools: Sprue cutters may not be able to cut some plastic parts because they are too intricate or fragile or plastic composition. It could be needed to use additional tools in these situations, like a hobby knife.
5. Be careful on the actual cutting step, be aware that placing the cutting edges the wrong will cause the pieces to take flight, so position yourself in a way that if it flies away you can retrieve the piece, or simply cup your hand over the cutting area, with the cutting tips away from your fingers, sometimes those cuttings can get pesky and fly away.
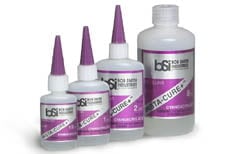
Modeling glue
Not speaking for everyone but many people including myself, sometimes take for granted the ability to assemble model kits and miniatures. On the surface, it looks easy enough—you just need to glue the pieces together, a bit of paint and you’re done, right? Well, not quite. Selecting the proper adhesive to keep everything together is the most critical step in building plastic kits and or miniatures. BSI CA Glue, also known as Super glue or cyanoacrylate, is particularly well-liked by wargamers, plastic model makers, miniature hobbyists, and the fervent gunpla lovers. Super glue is strong, long-lasting, and fast-drying adhesive. But not all super glue is made equally.
I can’t complete the list without talking about glue or adhesives and I am not going to get in with the brands or choices, I know modelers that live by the brands and some others live by the chemical composition, others by fad, and so on, and it turns out that, from what I have seen and heard, the contact cement and ca adhesive, (or more technically known as cyanoacrylate glue) are the adhesives of choice and in heavy current demand.
It wouldn’t be fair to the others if I didn’t mention PVA glue, BSI Epoxy glue, Tuft glue, glue in spray form, glue for stencils, glue for transparent acrylics, and others like carpenter glue and other types of white glue . . .. .and so on.
So, as there are too many brands that sell “glue”, some of them are extremely specific and others are for general use, others are rebranded, and others are testing the market and or just repackaged.
My suggestion is to talk to Sunward store staff expert or join a club and bring up the subject with the veterans, join a forum on the web, most members are very happy to explain, it’s their time to shine their knowledge, or go to a hobby show and look and ask, eventually you’ll figure out what the adhesive for your purpose is.
Adhesives have a bright future ahead of us that might revolutionize industries and change how we construct and engage with the world. These are developing into dynamic, intelligent materials that can adjust to our demands and difficulties as we look further into the horizon of invention. Even in the modeling world or for hobbyists, imagine adhesives that provide real-time information regarding the joint’s structural stability in addition to adhering materials together.
The glue business can greatly benefit from nanotechnology, because of their capacity to create stronger molecular connections, I am not so sure if I am stretching it here, but there are numerous examples of extraordinary adhesion processes have already been shown to us by nature such as the way mussels adhere to underwater rocks and geckos cling to walls. Bio-inspired adhesives that imitate these natural tactics may be developed in the future, and the modelling world may just benefit from all this.
Adhesives have the potential to become more ecologically friendly as the world’s focus on sustainability grows. Suppose adhesives decompose naturally over time without causing harm to the environment, or that they are easily removed from materials during recycling operations, that will be the modeler contribution. . .. won’t it?
Advanced aids
There are many other aids available to the modeler, but most of them can be considered as luxuries which need not be purchased until you have a definite need for them.
These items include:
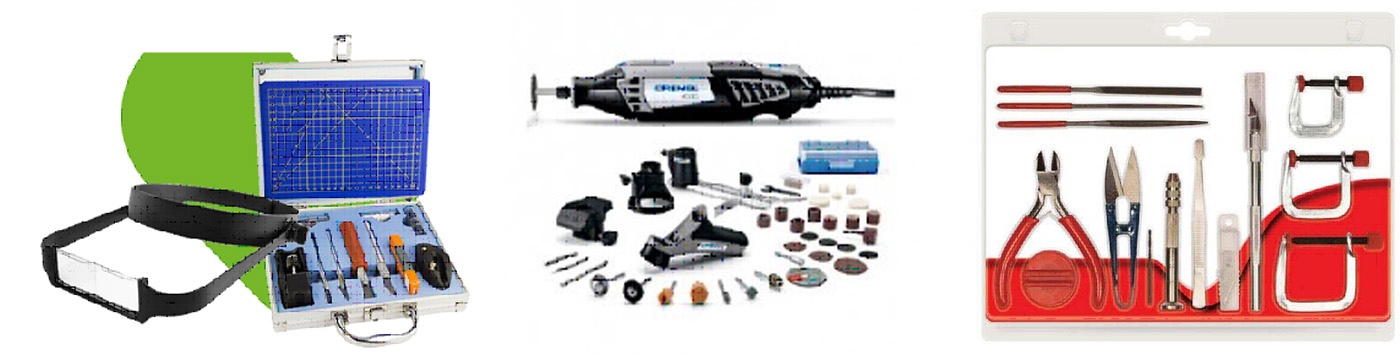
Vise—Holds parts, allowing the modeler free use of his hands. Usually, the jaws must be covered with cloth or cardboard to protect the plastic from becoming impressed.
Stationary vises clamp to the work surface or are held by air pressure (vacuum). Small hand vises, such as the PanaVise made specifically for modelers, can be set on any flat work surface and are useful for holding small parts or pieces of plastic for shaping and filing.
Third-hand tweezers —Similar in concept to a hand vise, the small base sits on the worktable and has tweezers that grip the part, permitting the modeler to work with both hands free.
Dental tools —Have high quality but a bit on the expensive side, but if that is the tool you want to work with, go for it!
So, consider buying items, as pictured on this page, once you have acquired advanced modeling skills.
Thomas Ricci has been building model airplanes since the age of 12. When I reached the age of 14, he formed a club with the Royal Canadian Air Cadets Squadron in Toronto, and helped build plastic model airplanes for general displays.
Over the years, Thomas has continued to build aircraft and joined local modelling clubs within the Greater Toronto Area (GTA).
His skills are now focused on building Italian aircraft, and aircraft flown by Italian pilots and or engineered by Italian engineers. The main goal is to build the aircraft as historical accurate as possible with a story line.
A list of past and ongoing modelling participation by Thomas include:
-Peel Scale Modelers, Aerobuffs, IPMS Italy, IPMS Toronto
– Founder and President of the Club Frecce Tricolori of North America No117
– Participated in the MB339 aircraft model building and display representing the Frecce Tricolori PAN in Oderzo and Rivolto (UD) Italy (2012)
– Founder and Supporter of the Checkertails di Lesina, a monument dedicated to the U.S.A.A.F. 325th Fighter Group, Checkertails; Lesina (FG) Italy (2011 – present)
Previous Post: Part 1