Tamiya Lockheed Martin F-35A Lightning II 1/48 Scale Kit 61124 – Part 6
In this Sunward Hobbies article and review I’ll be continuing with the major and finer details of the Tamiya F-35A Lightning II in 1/48 scale (item # 61124). Previous: Part 5
You’ll do some further masking and weapons detailing. Plus, there will be a couple of added details.
If you wish to skip the entire weapons bay and landing gear then follow Step 39. It’s a simple thing to do by just cementing the included parts. My choice was to paint and attach all parts and run through with you the experience.
The front flaps are a pressure fit, but you can cement them. The fit is really tight and some mild force is needed. You can mitigate this by lessening the connection points. The blunt end of a hobby blade works for this or you can use a specialized tool. Sunward Hobbies have these items in stock, so just ask one of the staff for help.
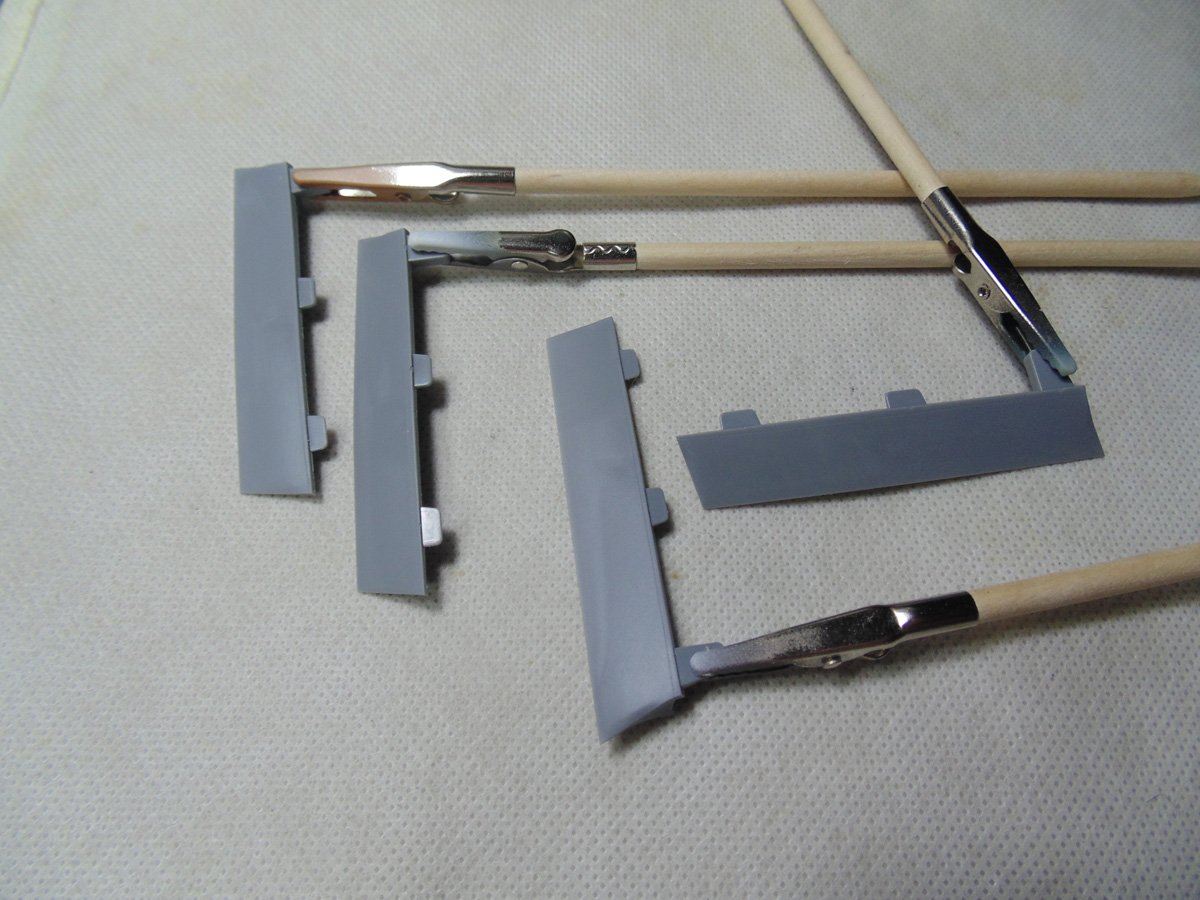
Use some clamps to marry up the parts because they have very specific notches. And while the fit is good your model may be different then the one sent to me, being it was a touch warped at the tips. Place a dab of cement on the connection points to get you started then add more along the seam lines where required.
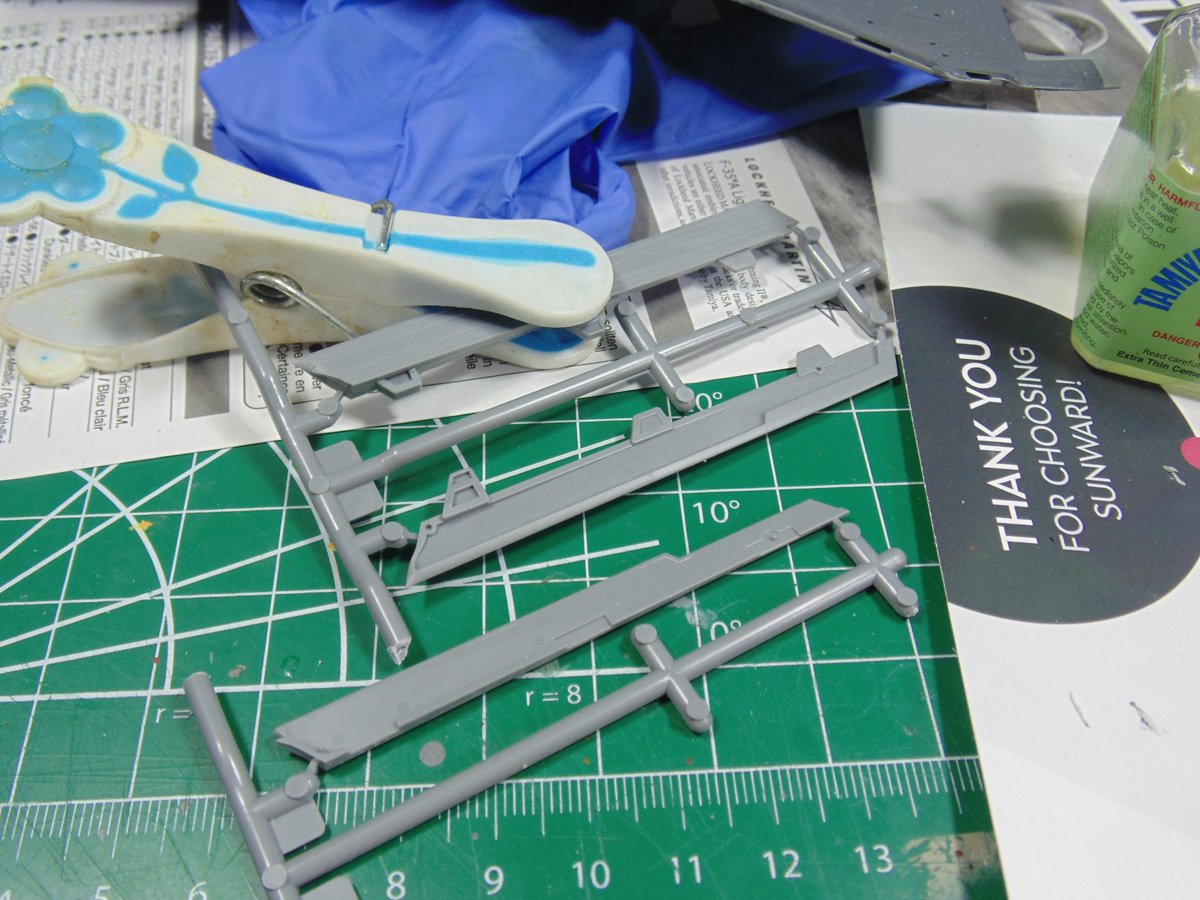
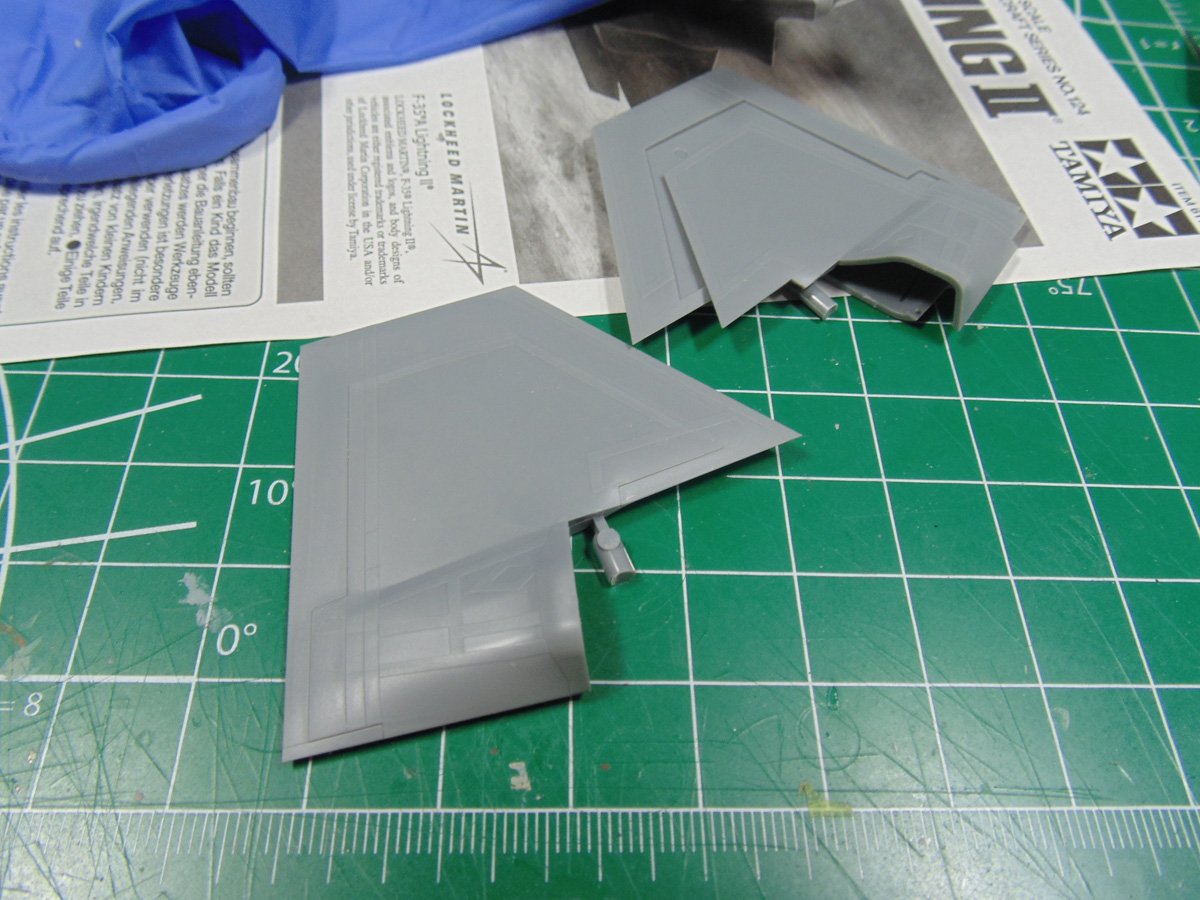
The stabilizer parts are incredibly well made. The precision of all the parts of this replica is head shaking. Very little cement is needed here. I prep my connection points with a tiny touch of glue and let it melt the area. Then let the extra thin run into the seam lines, but only at points where the glue points will not be seen. Also, let your cement or glue cure! Too many times have I seen modellers rush things along.
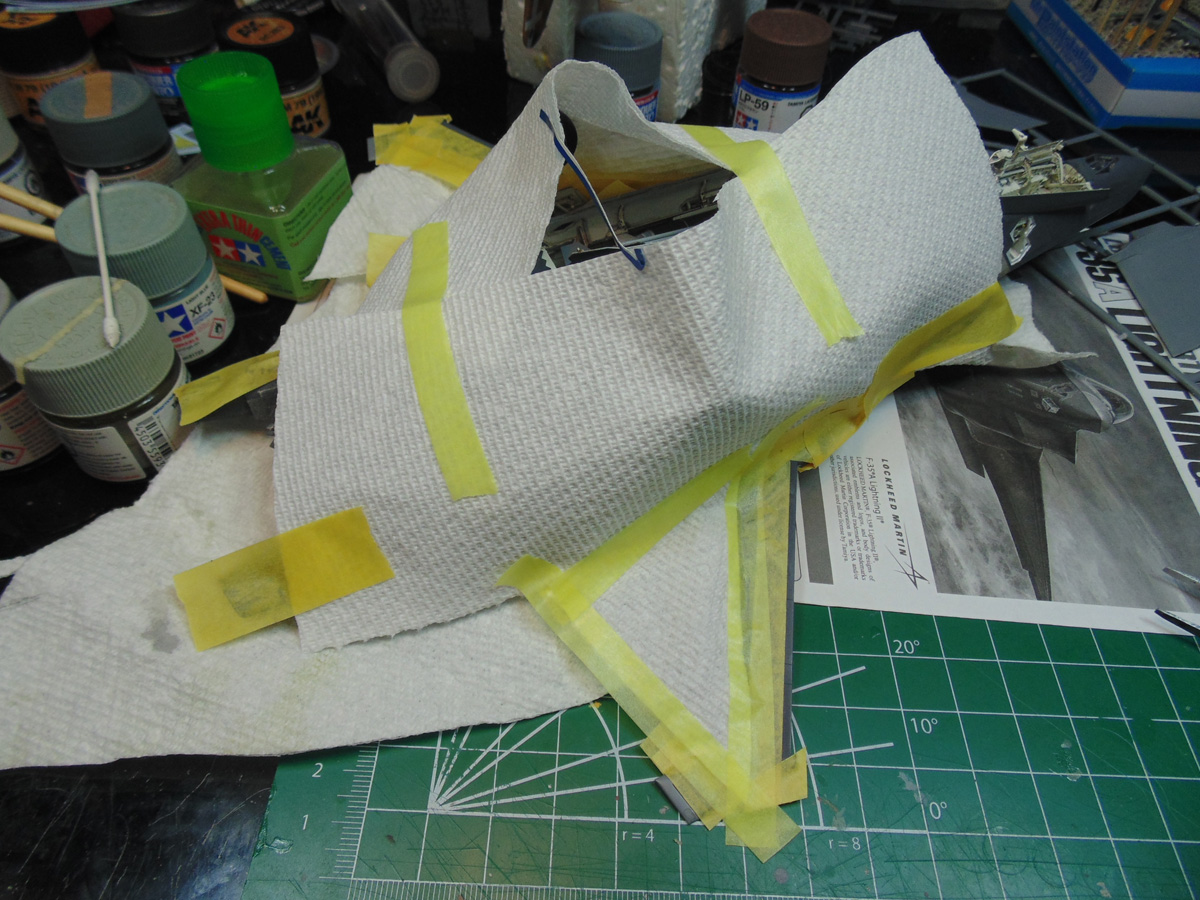
Now for some masking in Step 41. I’ve had “Over-spay” clean-up to do a few times, hence the masking job. Sure, it’s a bit work, yet worth it. Take a few hours and mask off the area. Once again, this is a super cool model which deserves the effort.
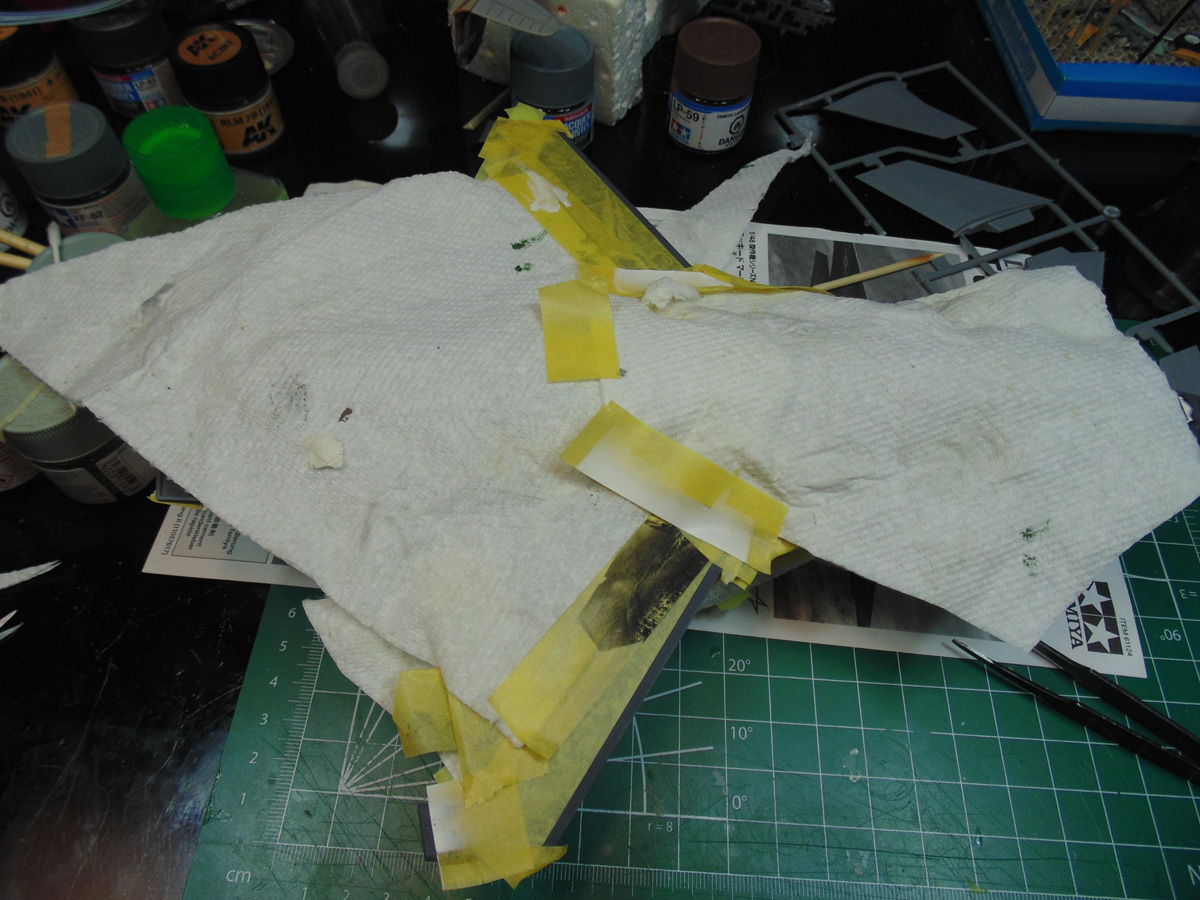
Both the leading and trailing edges have to have a mixed color. You can mix these in your air-brush drop by drop or use an old paint jar. For ease of use I just go by drops. That’s your call as a modeller.
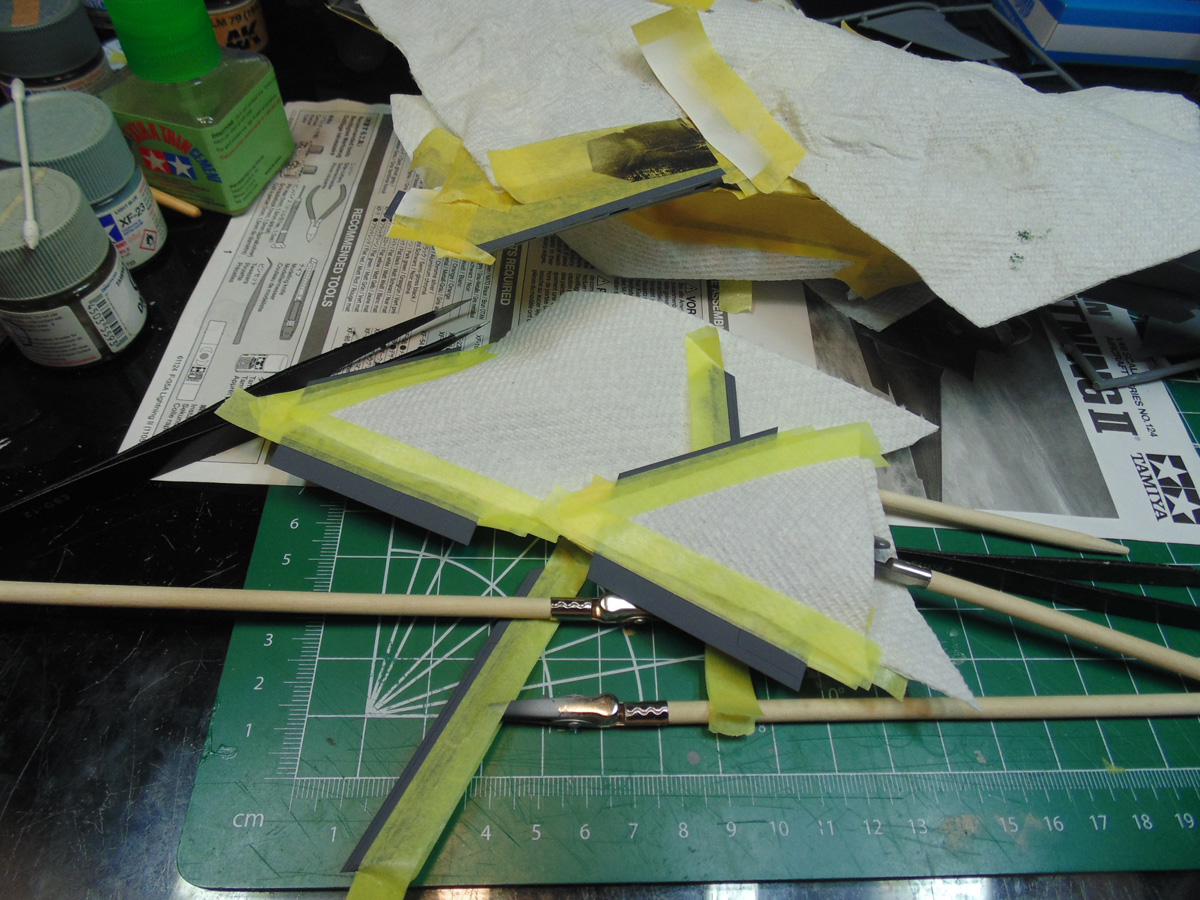
These mixtures are specific but not difficult to make, heck if I can do them any one can. Here’s a tip, add your thinner first into your cup or jar. Mix it well for the best results. It’s a very interesting brown grey color and adds an awesome bit of detail to your replica. I’d mix up 4 times the amount.
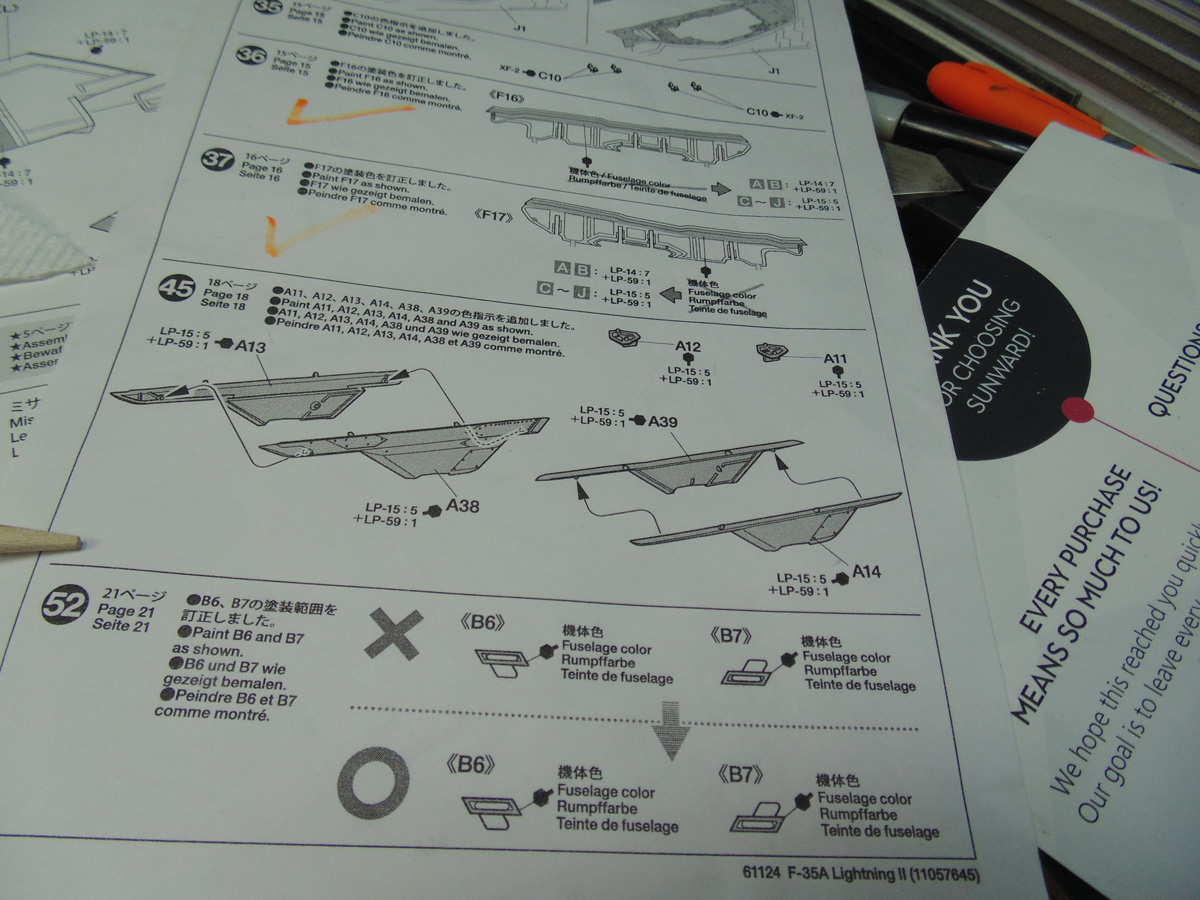
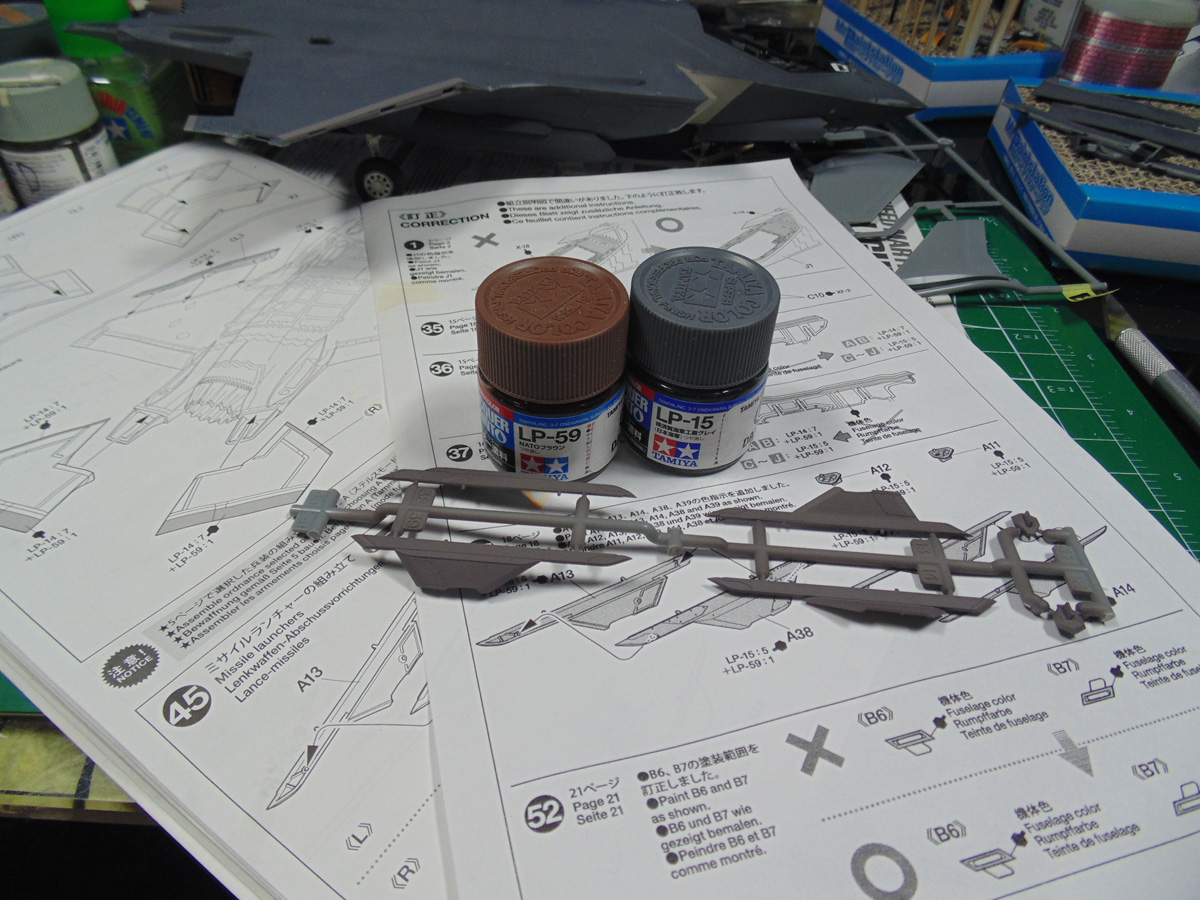
I’ve mentioned this before but you have to follow the “Corrections” page to get the best accuracy. We all make mishaps from time to time. Thankfully Tamiya has noticed this and offered an easy-to-follow sheet. Step 45 shows how to adjust the color of the weapons pilon compared to the instruction booklet. Remember, these parts have a super tight fit so don’t go overboard with the amount of cement.
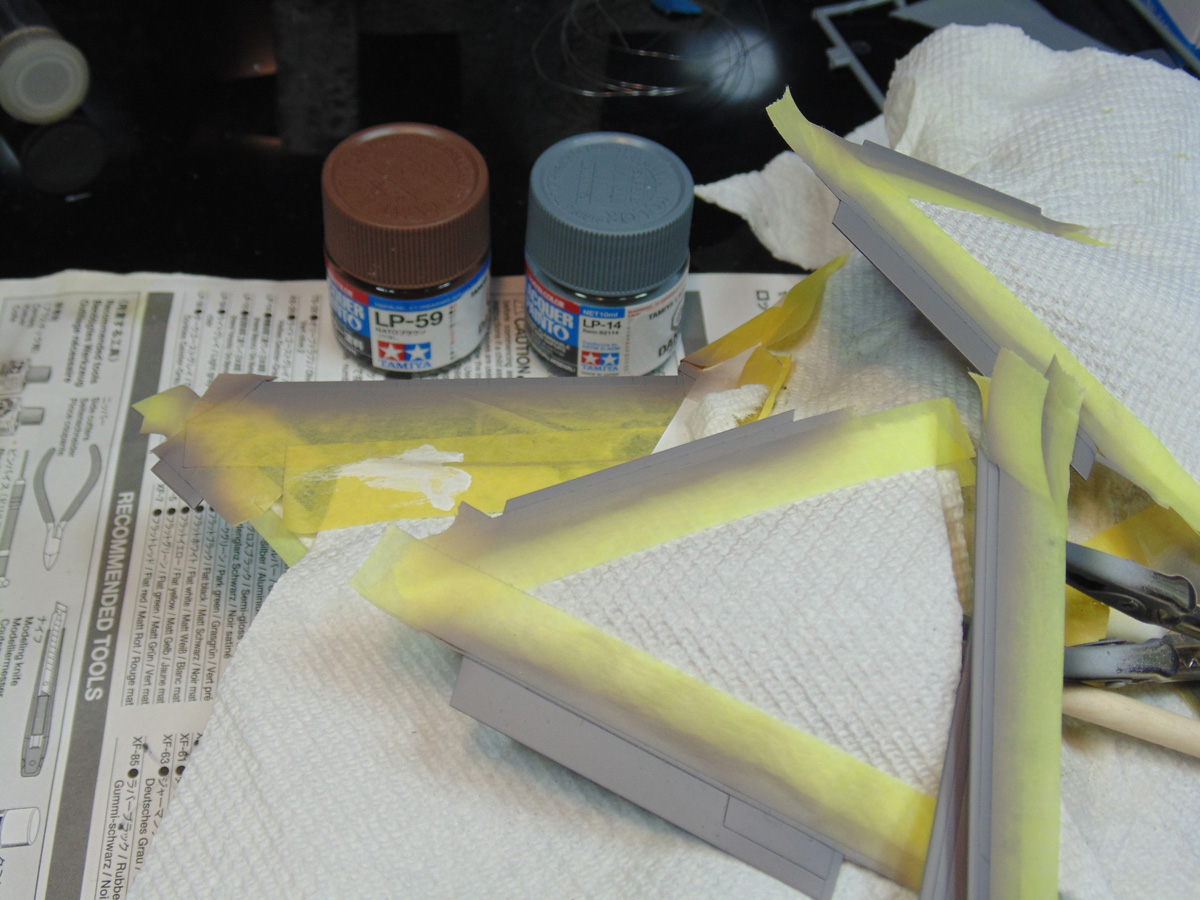
You can see the brown/grey mixture of LP-59 and LP-15. The off grey tone adds a really nice contrast with the parts of the kit. More importantly, it’s cool for you to have some fun at a normally boring part of the build.
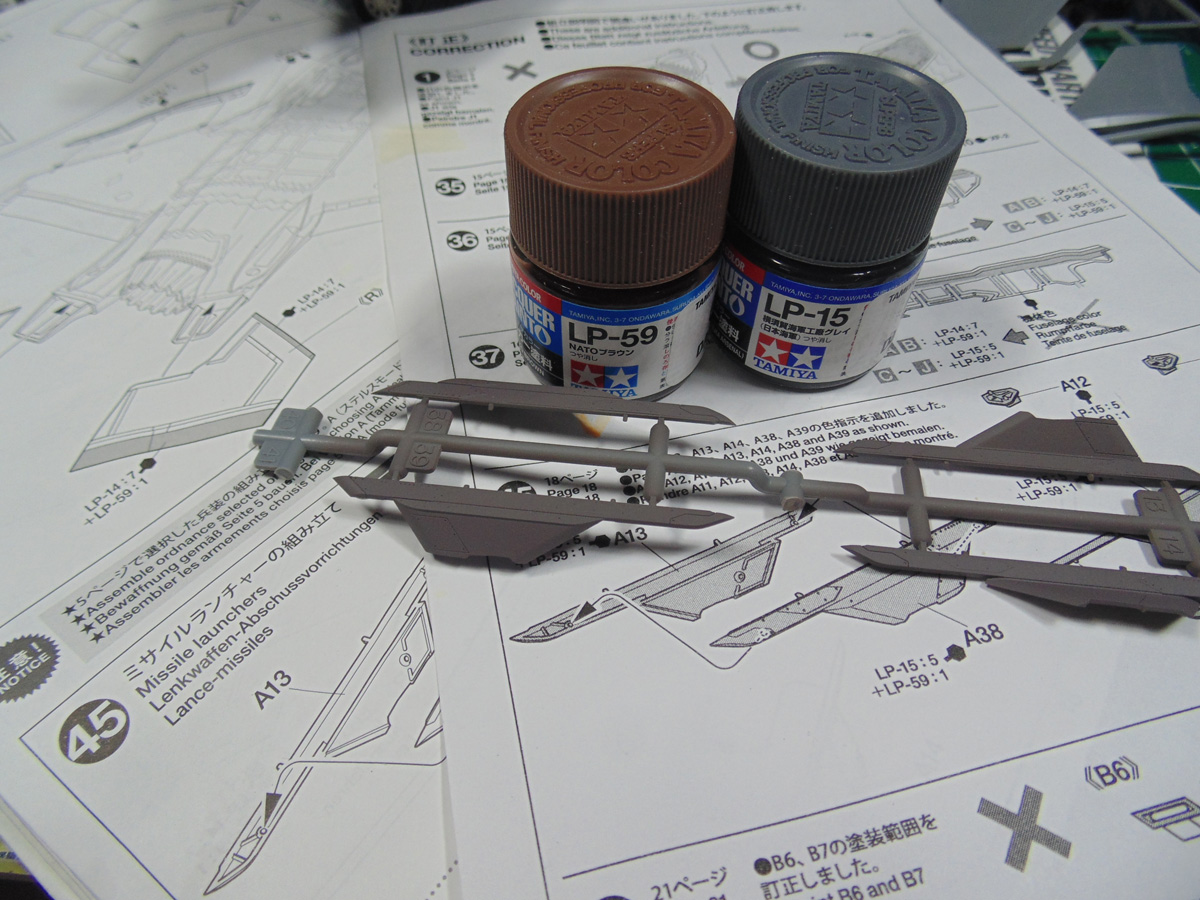
When you mix these colors, make certain to mix them really good. Normally I’ll stir them for a few minutes. It cuts down on dust and gives a smoother coat.
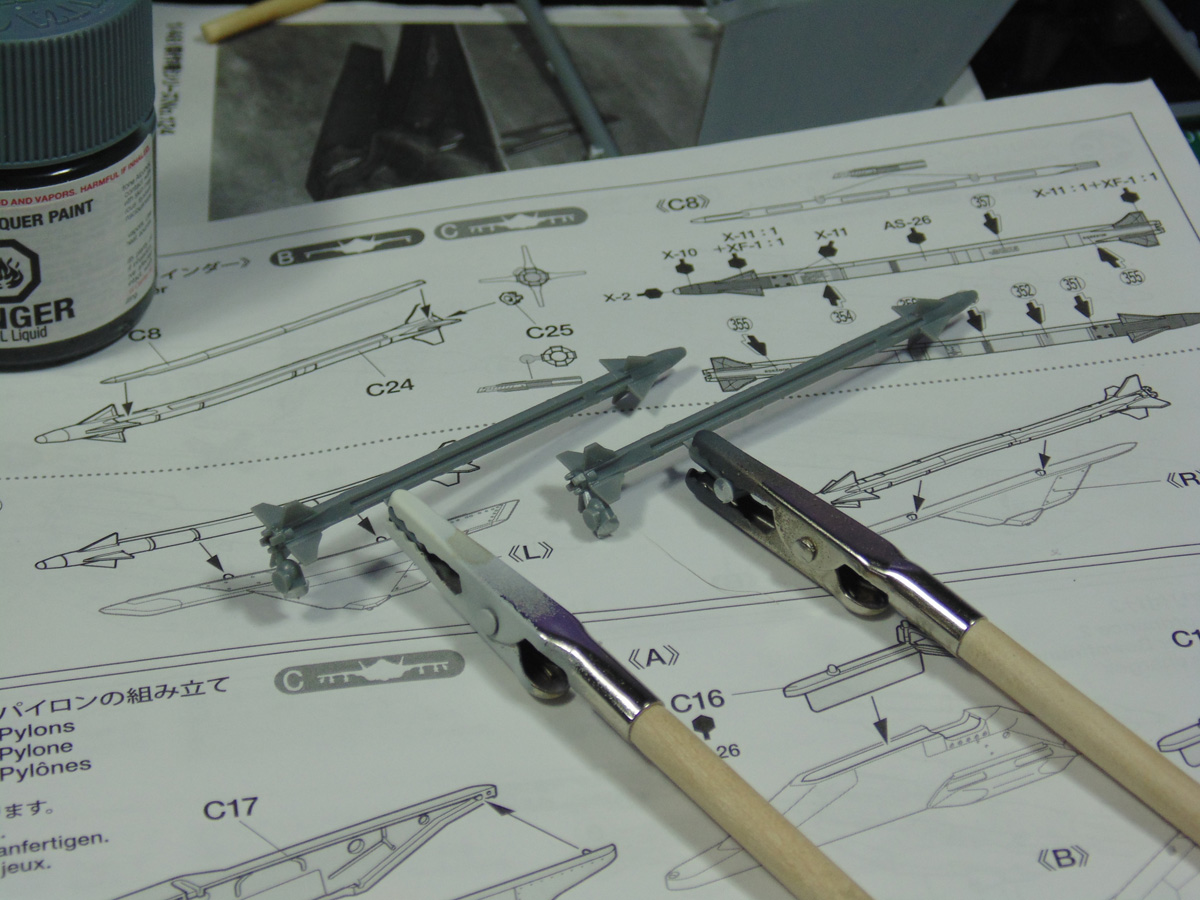
Now on to some ordinance. The AIM missiles are another model within a model. Lots of color changes and plenty of decals. The base color of your choice should be close to the recommended Tamiya offering, yet they have other tones which match. Stick with the lacquer if you can because it’s durable and has a nice slick finish for the decals to lay on.
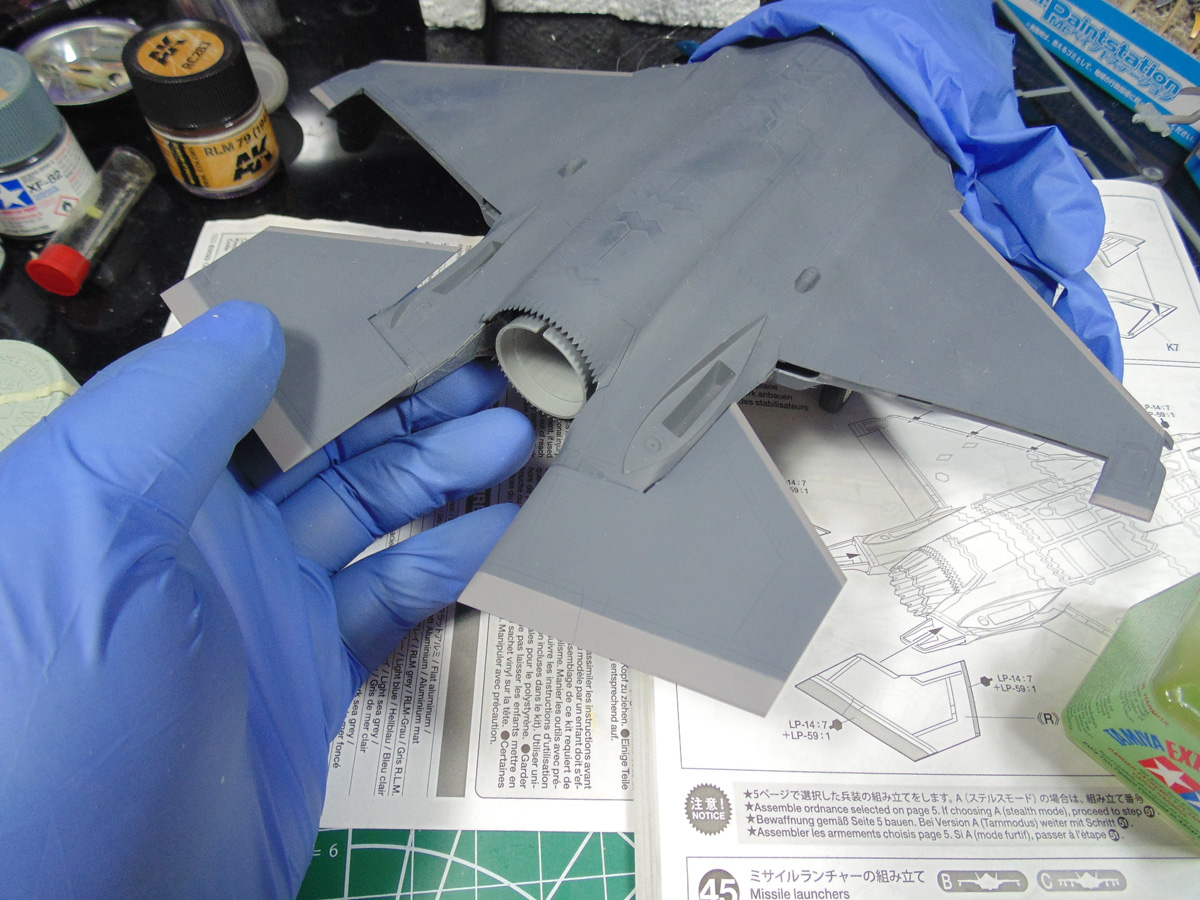
You can see I’ve removed the exhaust novel. As mentioned before, it was only attached for show. The back stabs need to go now. Yes, this is against the instructions but because of painting you might consider doing it this way. These parts, as well, have a super tight fit tolerance. You’ll smile with the fit, no joke, press them in hard.
Now it may not be like this for your model, mine had some issues with connecting the weapons holders. Not a big deal, just clamp them LIGHTLY and you’ll be fine. Use rubber coated clamps whenever you can. Also, don’t be afraid of using many clamps on one part or the next, you can always clean up the cement squeeze later.
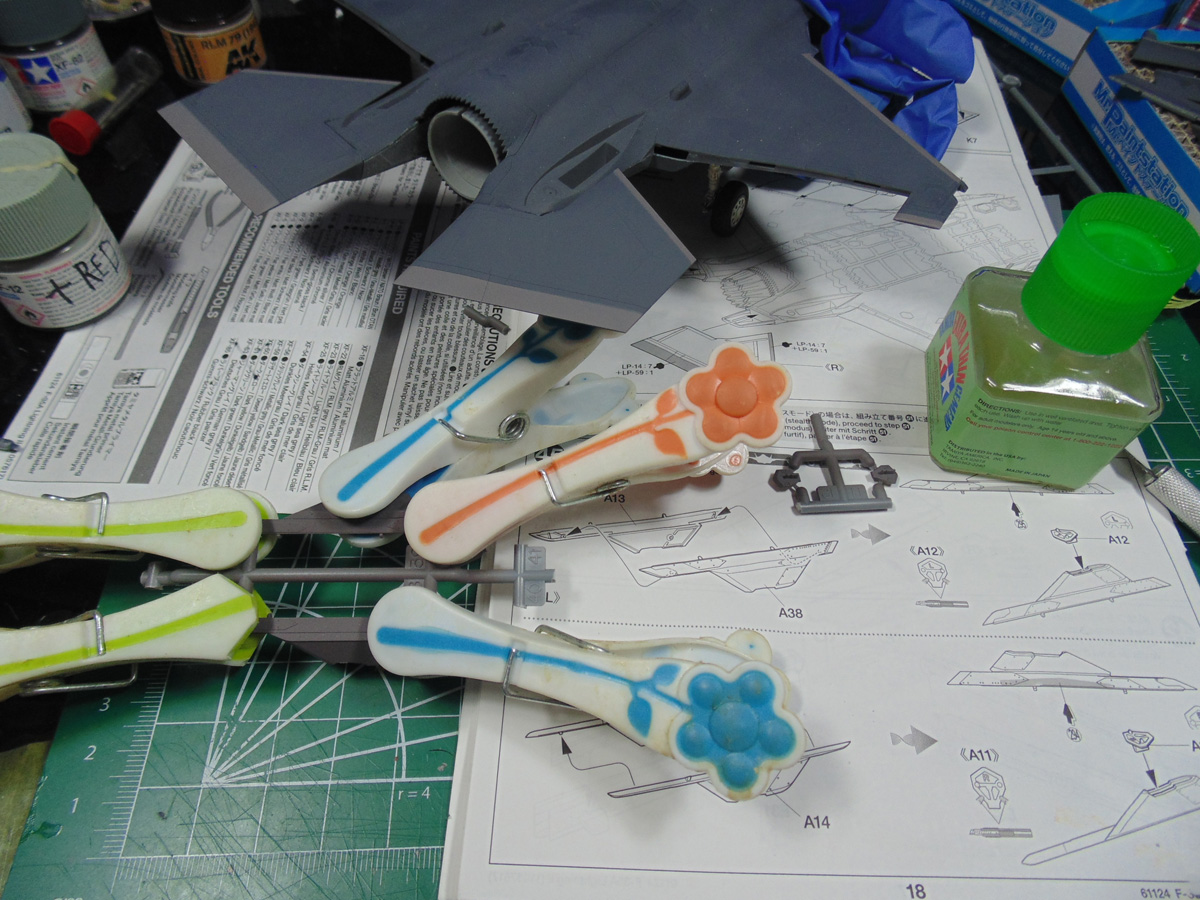
The results of all the masking is a treat, regardless of the time invested. A sprayed area will always look better than a hand-painted spot on your model. With all the tips now done we can move on.
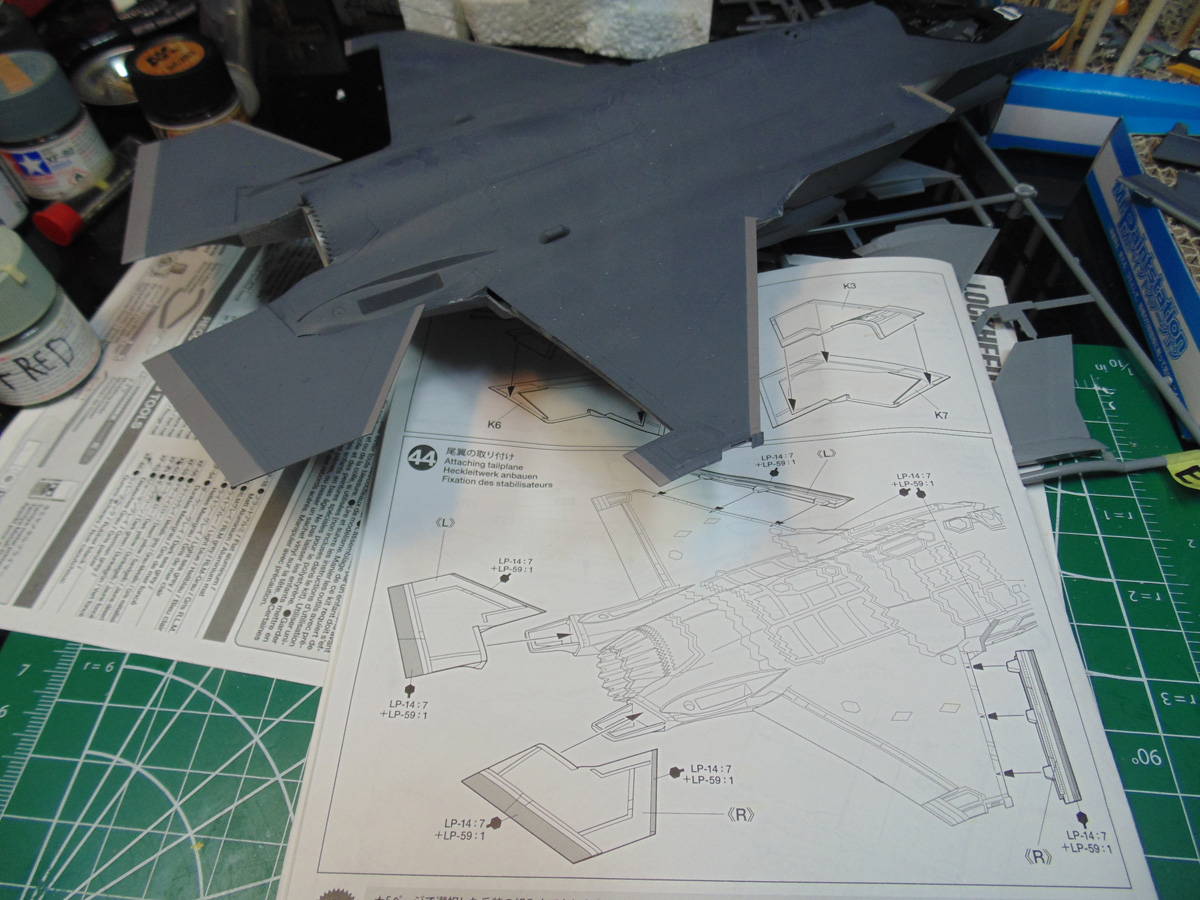
Tamiya call out for a specific color for the edges of the wings. Mask these off as well once the previous paint has had a good couple of hours to dry. LP paints dry quickly and bite into the styrene. I find adding an extra drop of paint helps.
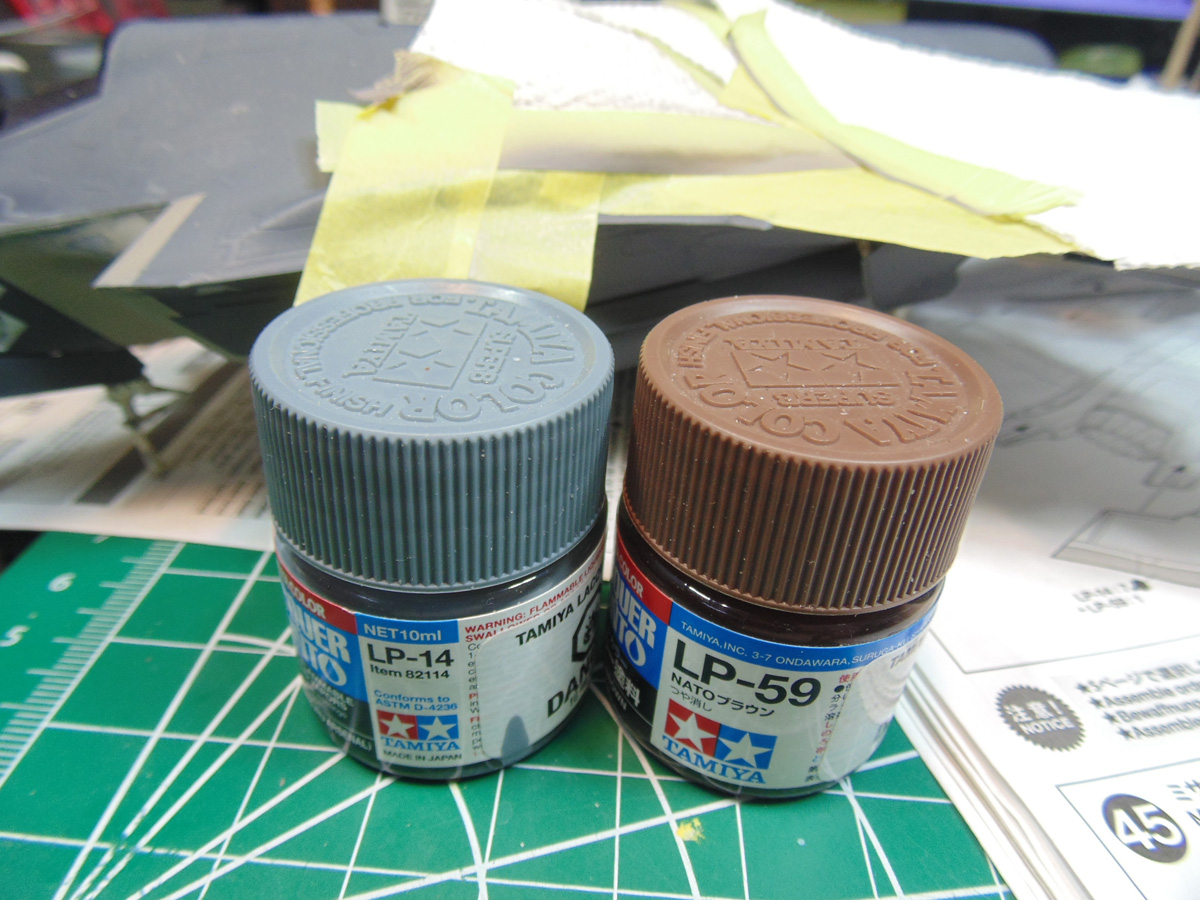
There’s a call to paint the underside and no demarcation lines, so I just painted the upper side. Again, so much detail in such a small replica. You reuse your masking tape twice but be mindful of painted edges. Little bits of paint may get transferred onto the dark gray.
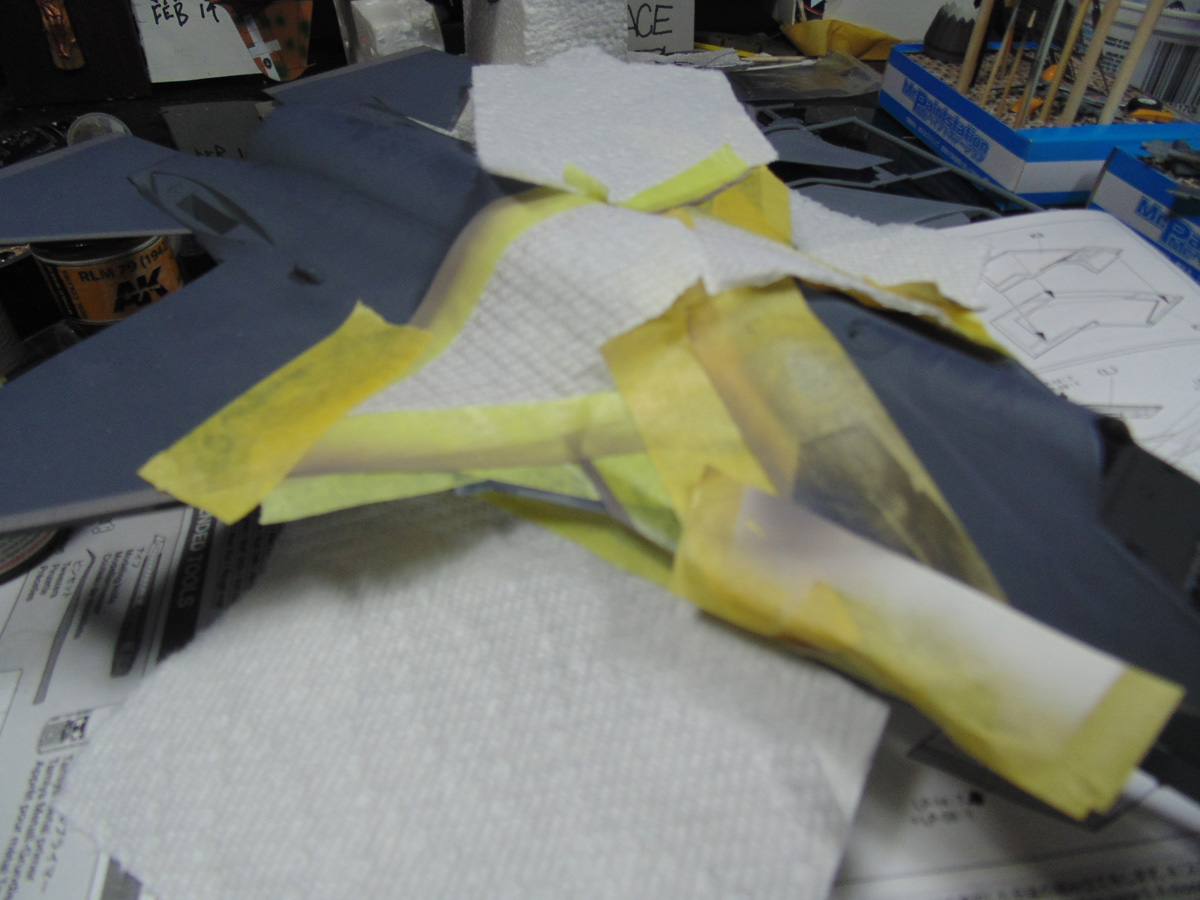
Here you can see the subtle difference in the brown/gray tones of the edges. The old camera does not do it justice. This area gets feathered off with a buffing sander later, thusly don’t fret if the lines may be paint heavy.
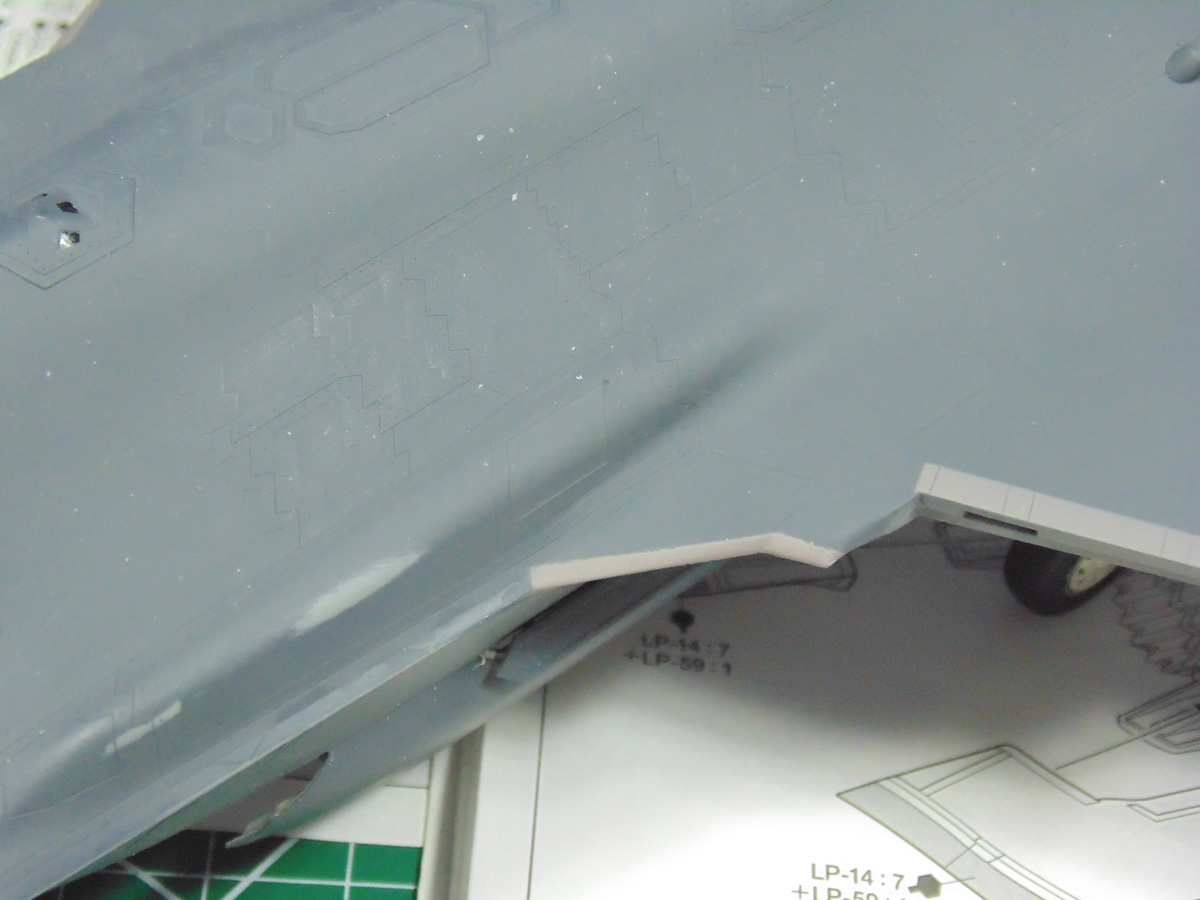
I didn’t want to bore you with more masking pictures. The front wing flaps have a slight down angle. Use the same paint formula mixture as you just did on the leading edge. Don’t force these parts into place, just a little wiggle will help them seat.
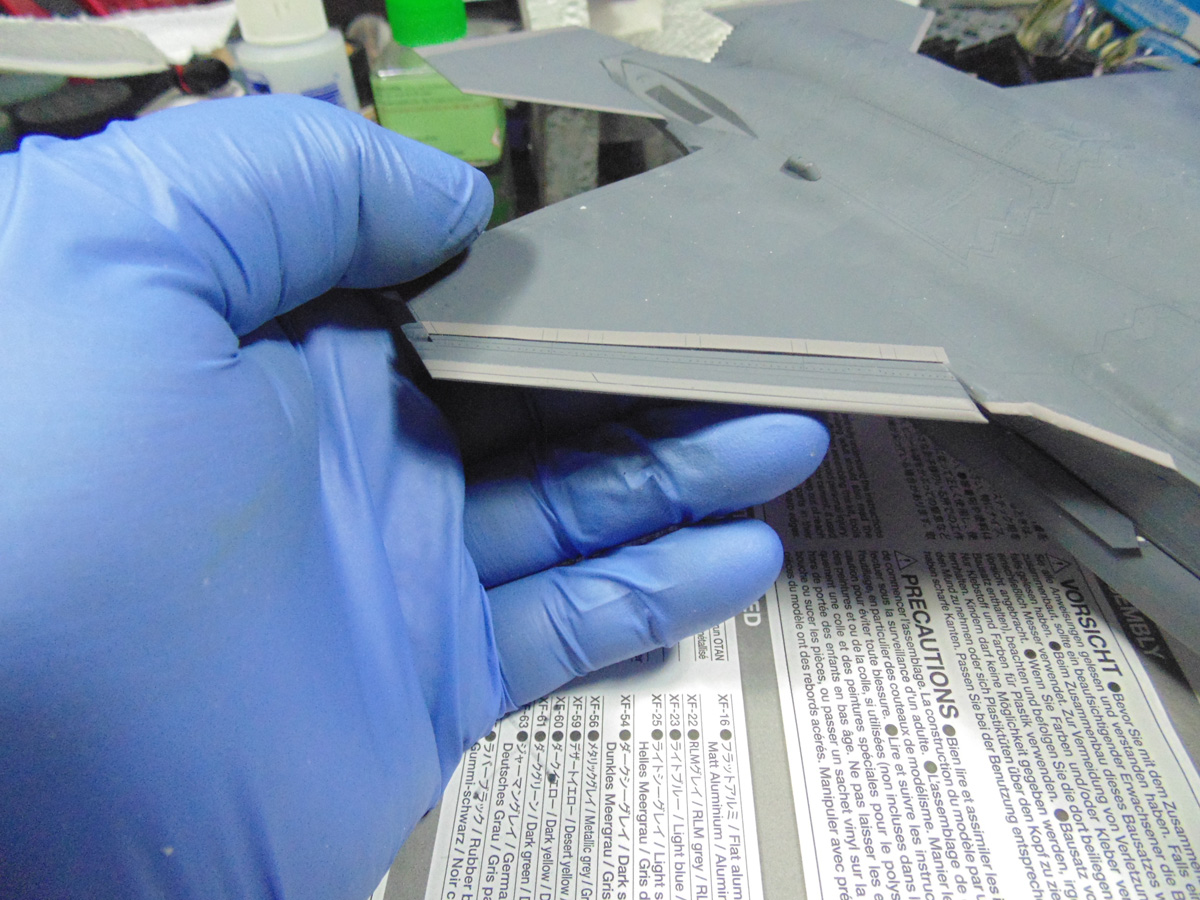
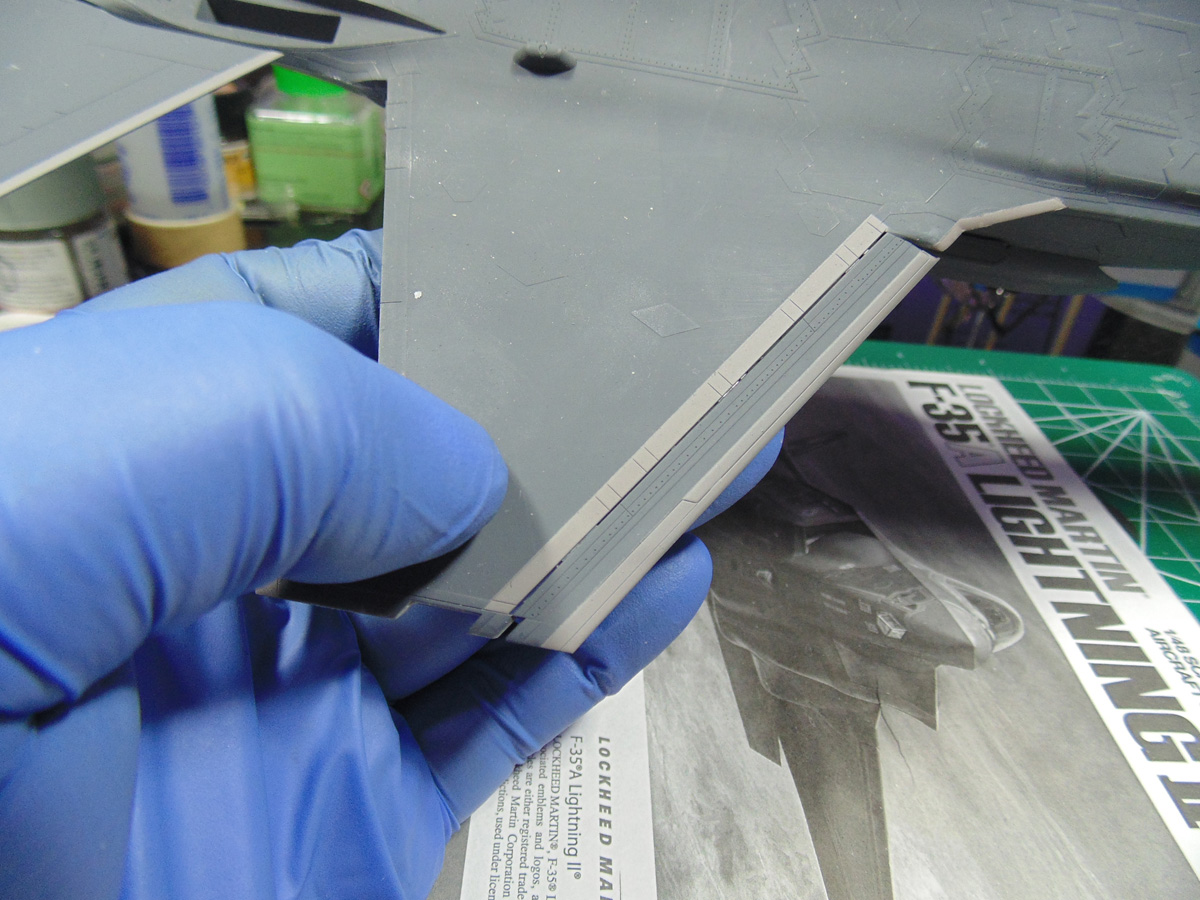
Personally, I believe the slight gap is engineered for air flow. Regardless, it adds a more dimensional scope to the kit. Both sides are exactly the same in appearance.
Adding some teeth to this bird will take some time and a steady hand. Because I used Mr. Color 316 for the bays it seemed appropriate for the accents of the missiles. I’m using four paint manufactures on this project. Please make sure you mix them significantly enough for the best result. The body of the missile is one drop of 316 to five drops of LP-37 to get the look of AS-26 (which I do not have one hand). The color is exact anyway, it just took a few minutes of blending. The missile tips are painted in Mr. Hobby 316.
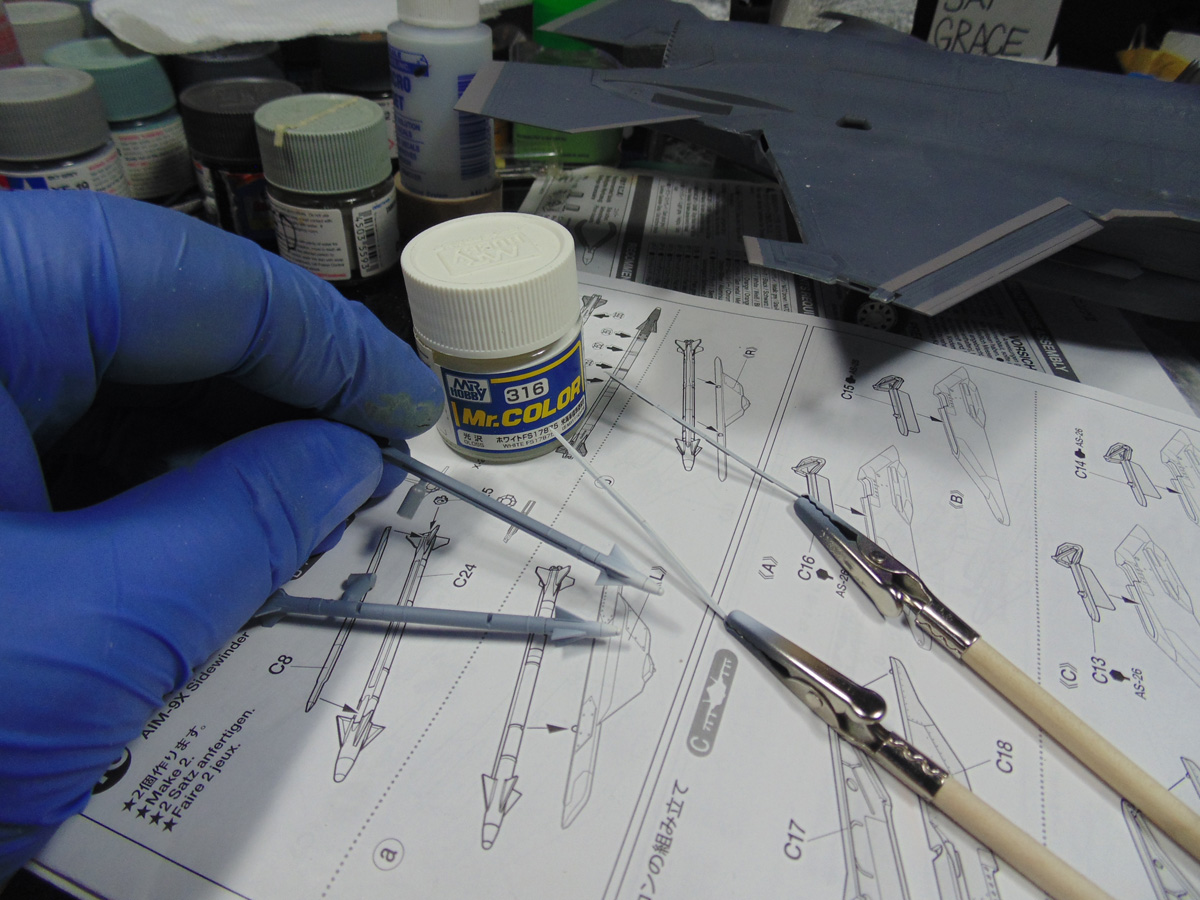
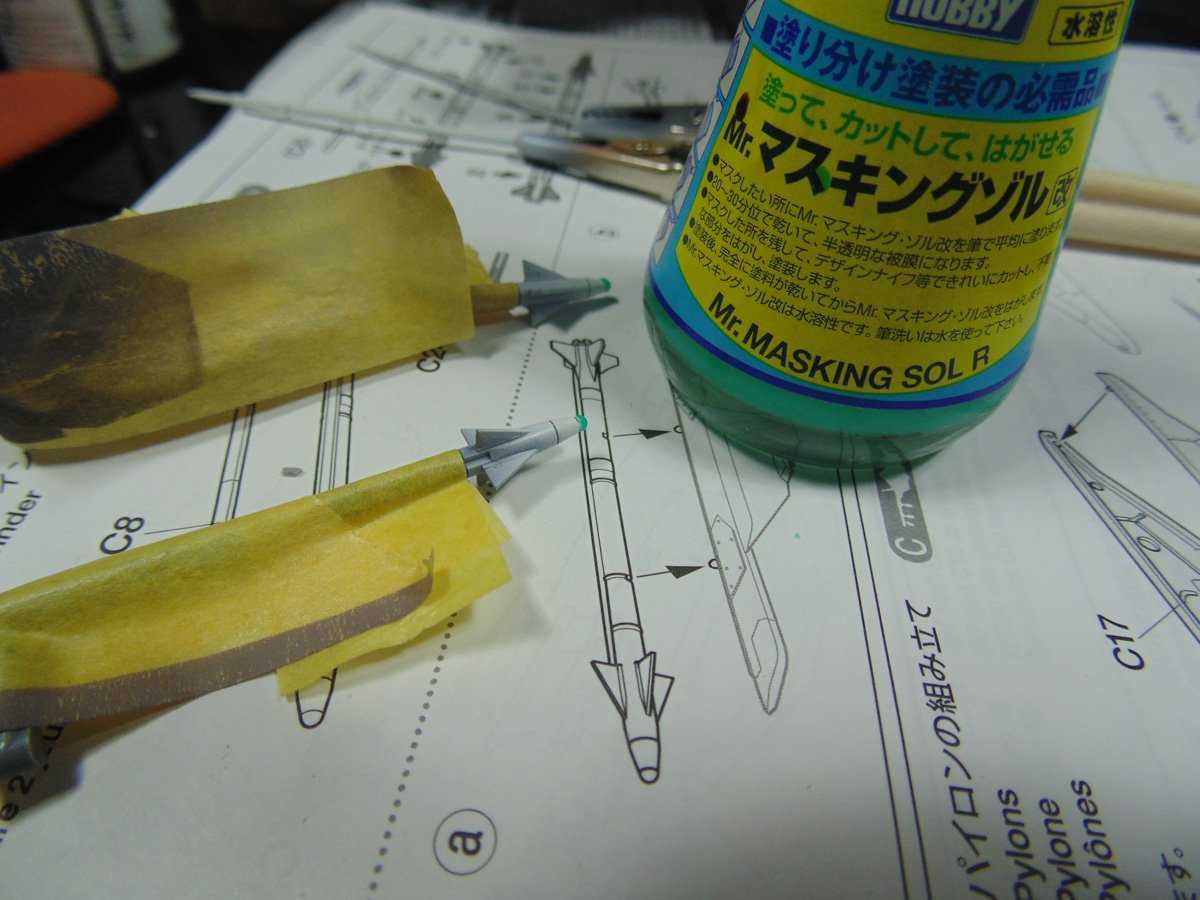
Instead of hand painting the nose tips I airbrushed them and after a goodly number of hours I lightly touched some friskers on them. It’s one of those small details which I feel makes a difference and can be noticed. Mr. Masking SOL R is a more liquified solution than many others.
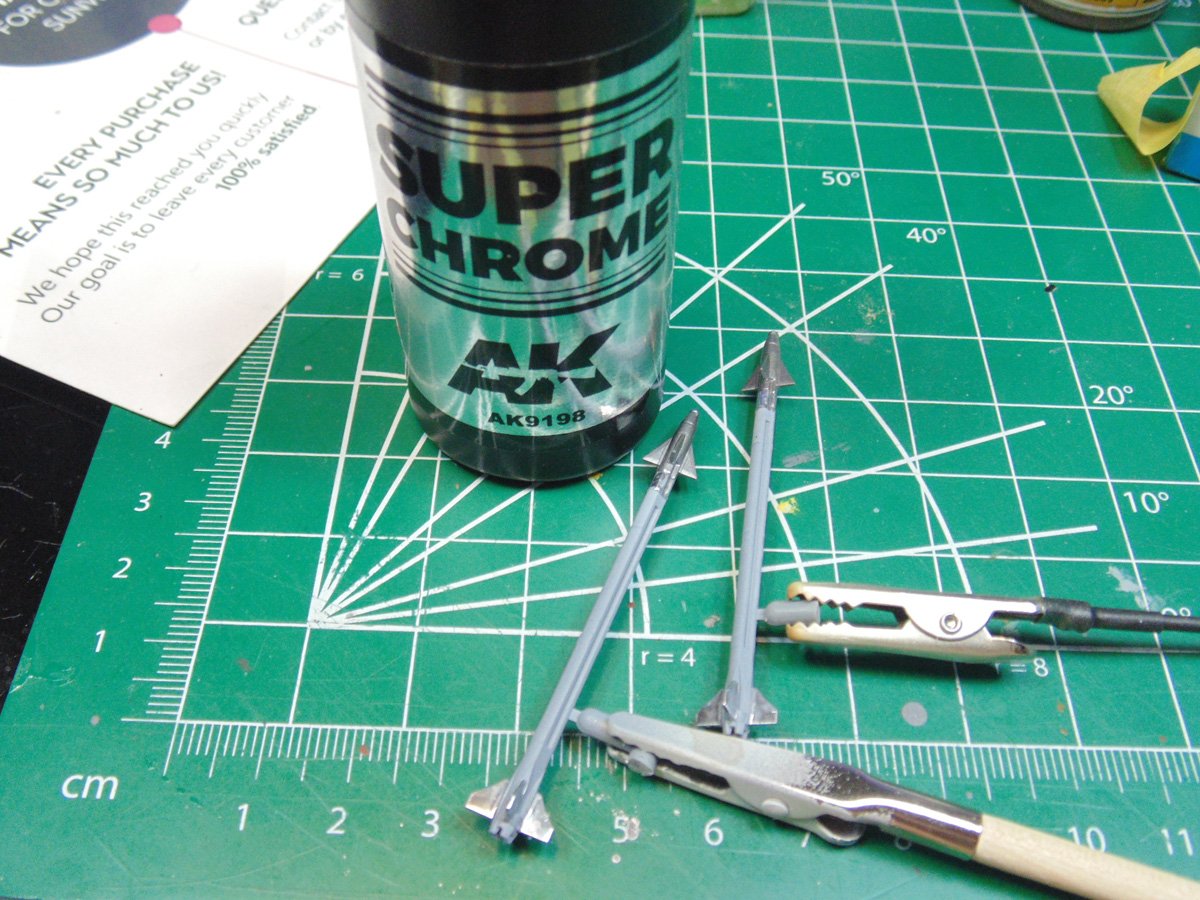
Now these nose cones can be airbrushed with a metal color. Use any dark metallic. Even the manufacturer told me the colors varied depending on when their metal arrived. The fins, however, were polished a brighter metal. Consider picking up AK Super Chrome, it hand paints like a dream and airbrushes so bright it’ll blind you. Once again, the camera doesn’t do it justice.
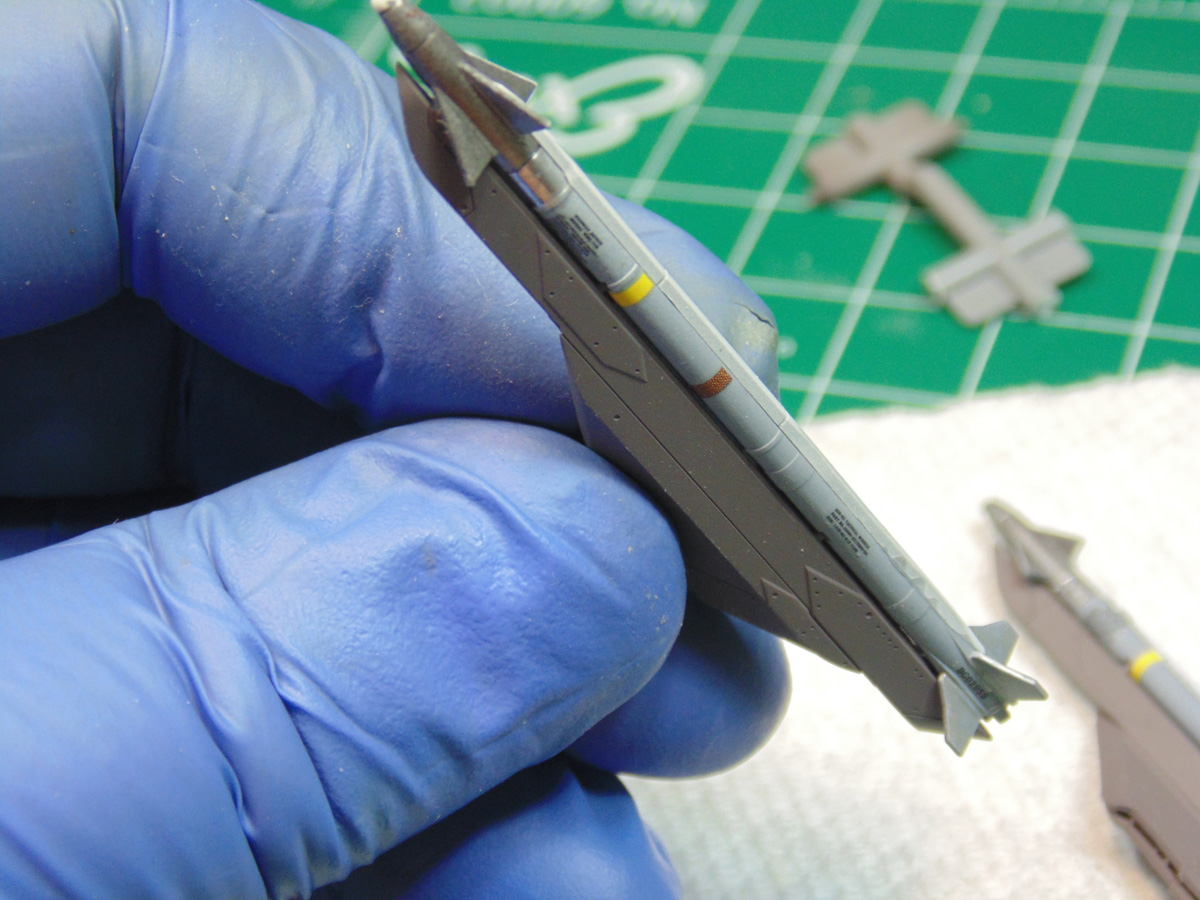
There’s plenty of decals to add on these missiles. Later the pylons will get a drybrush of metallizer prior to being attached. Lots of hours invested into this section of the project, please consider it time well spent.
If you have any questions about the products or methods used in this article, please feel free to ask the staff when you pick up or place your next order from Sunward Hobbies.
H.G. Barnes is a former voice-over artist and retired sales and marketing professional. He’s the author of two large volume science fiction adventure romance novels with many more in the works. For well over 40 years he’s been building scale model replicas and now does commission work for clients in Canada and the USA, plus completes projects for companies in Asia and Europe.
Currently H.G. is involved as an Associate Editor with KitMaker Network’s Online Magazine Channels.
