Tamiya Lockheed Martin F-35A Lightning II 1/48 Scale Kit 61124 – Part 1
In this Sunward Hobbies article and review I’ll be showcasing the Tamiya F-35A Lightning II in 1/48 scale (item # 61124). You’ll also see weathering and masking tips to make your life easier along with how to make the project less daunting.
This is an amazing kit. The engineering put into it is jaw dropping, so forgive me if you see the words “incredible, terrific, splendid and Tamiya” repeated over and over. Yes, they ask my opinion from time to time, but I don’t work for Tamiya. These comments are for YOU, the everyday modeller.
First, let’s take a sneak peek into what’s in the box.
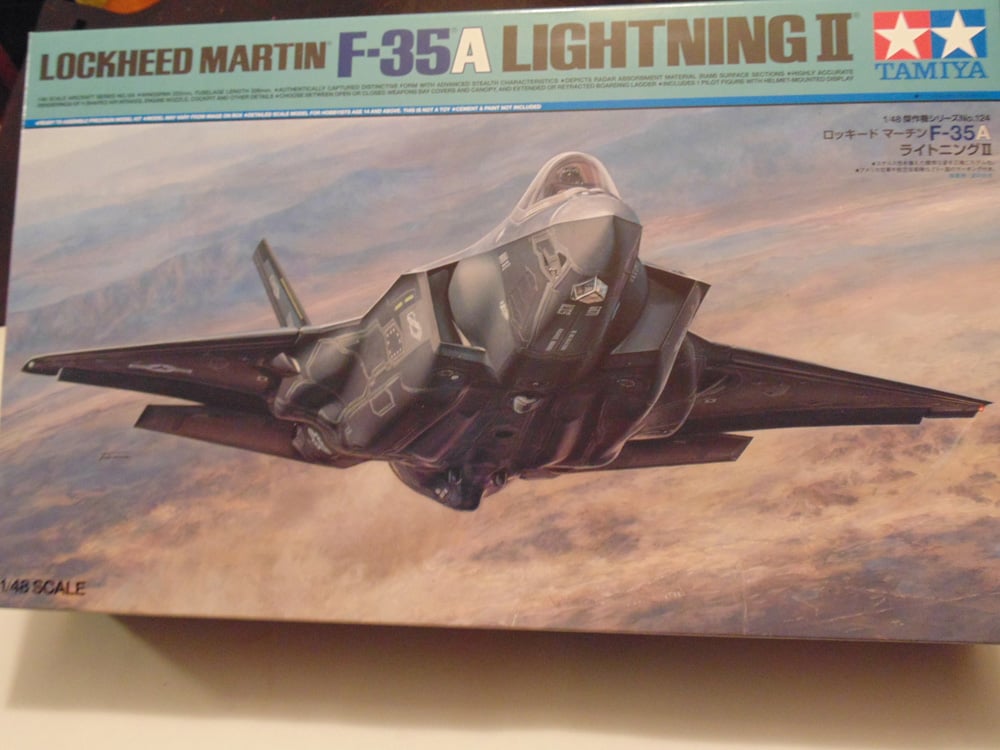
Even the box artwork is a great reference as to how you might want your model to look like.
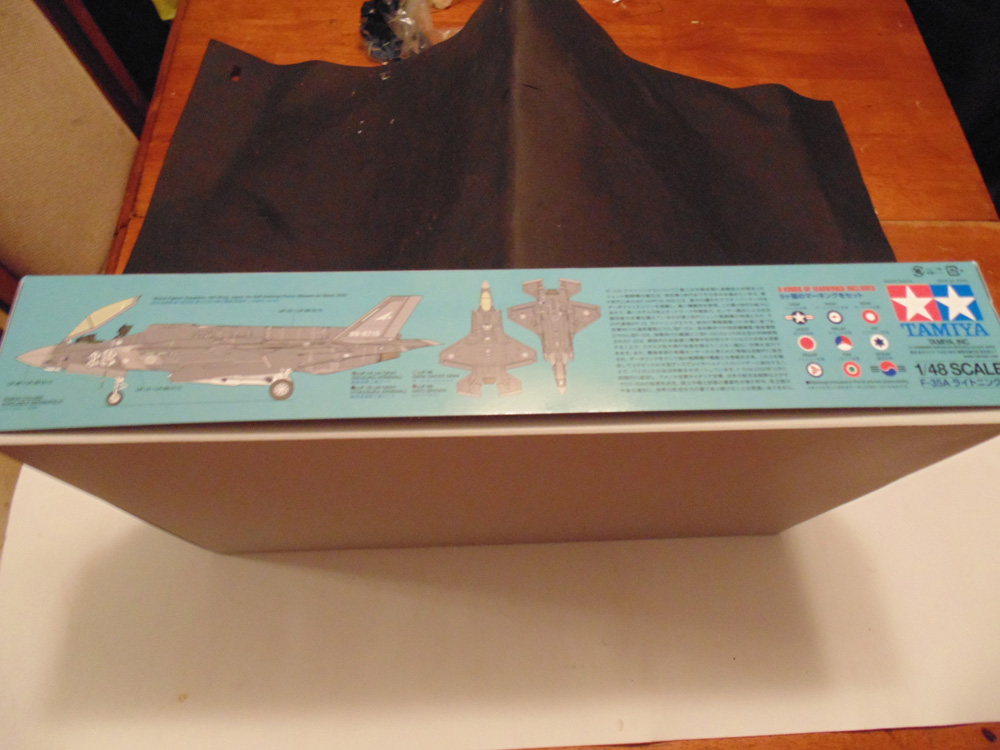
The side walls of the box also have nice information.
The Contents
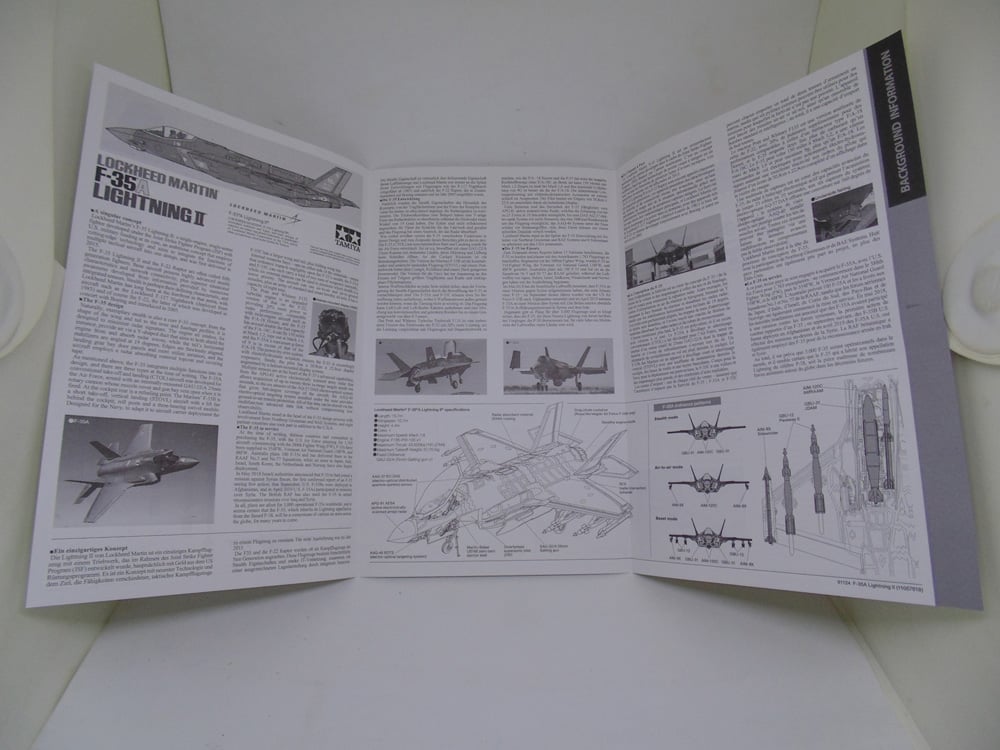
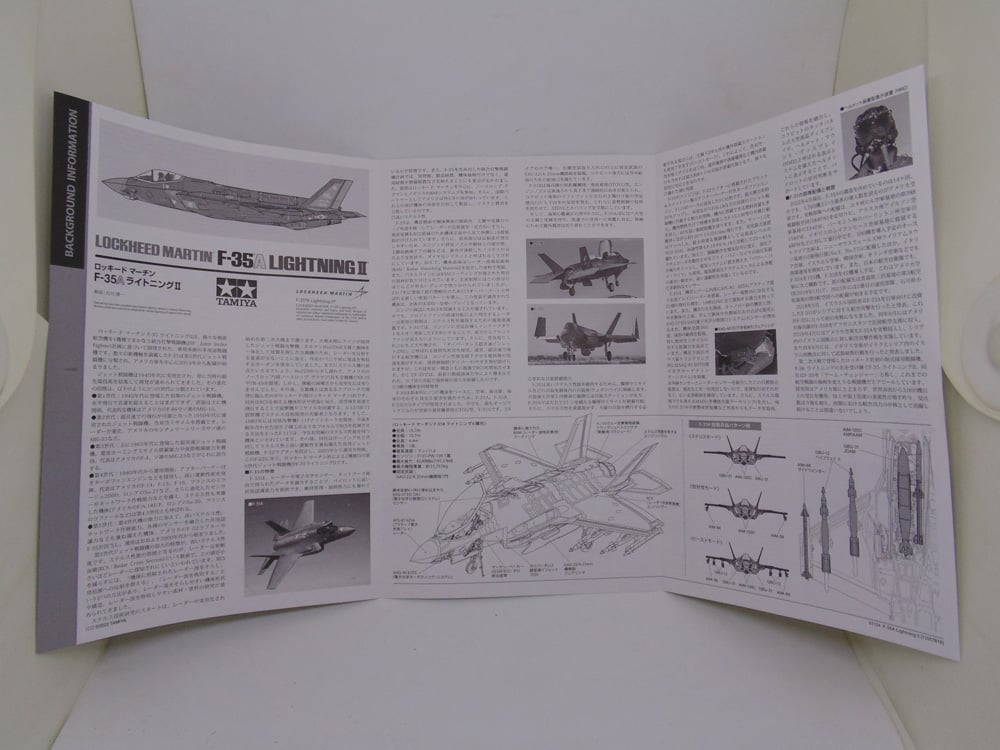
The information guides are excellent. Printed in several languages, they give you fun facts to make the build more interesting.
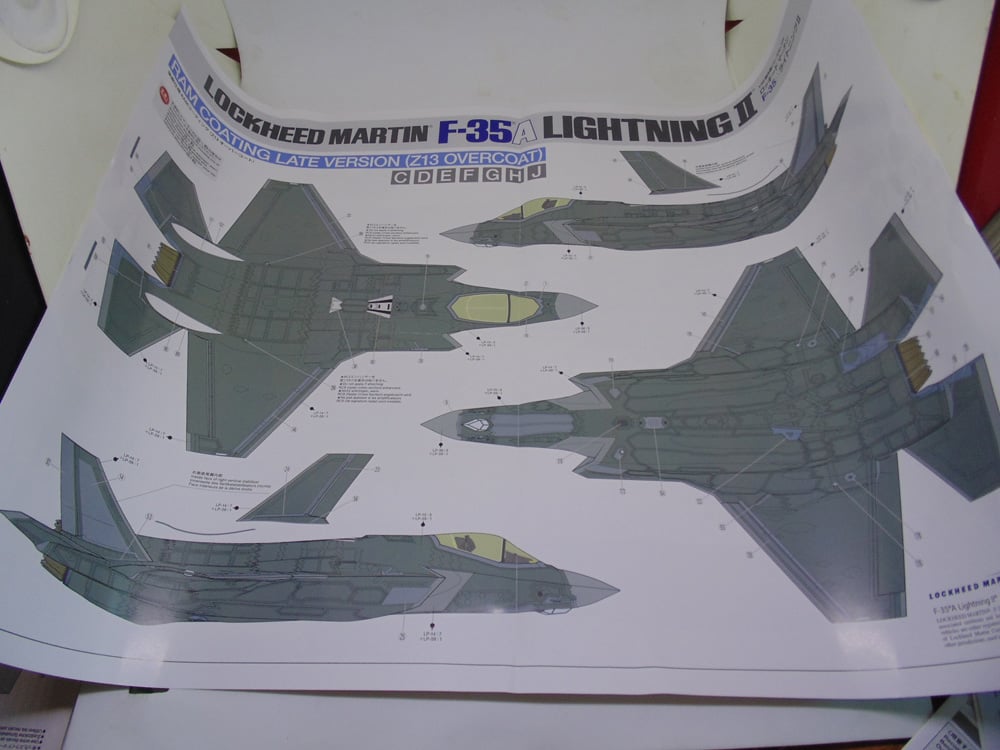
There are many examples to chose from, but what’s terrific is that you get a clear reference as to where both the stencils and markings go.
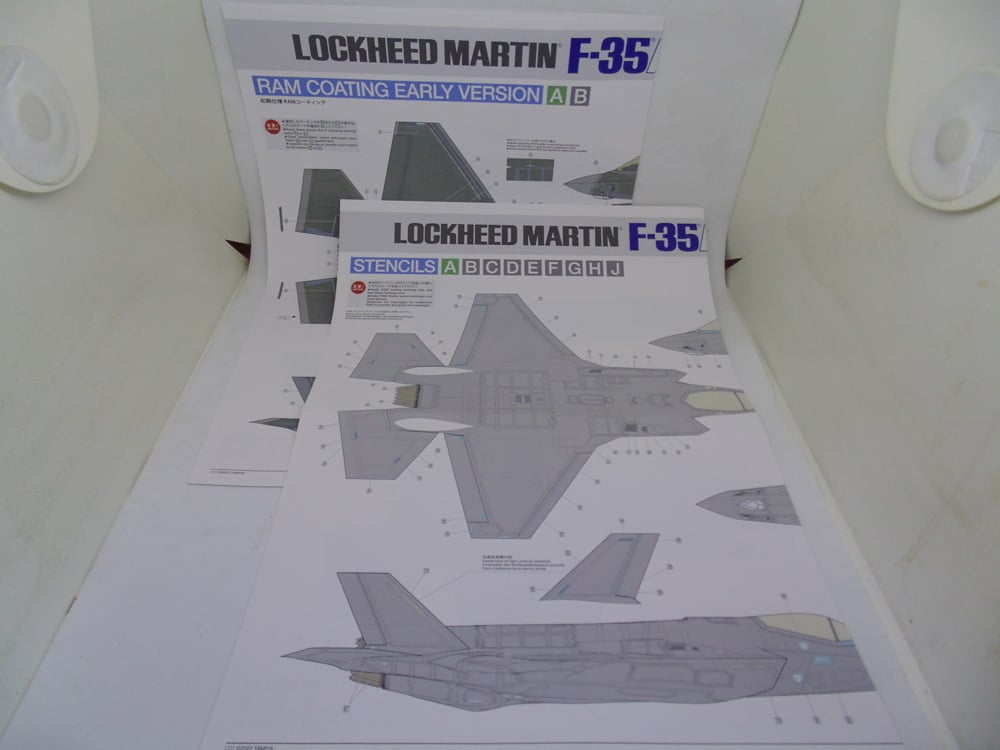
Printed in vibrant color, you could easily frame these posters. Plus, it will help as an aid with weathering.
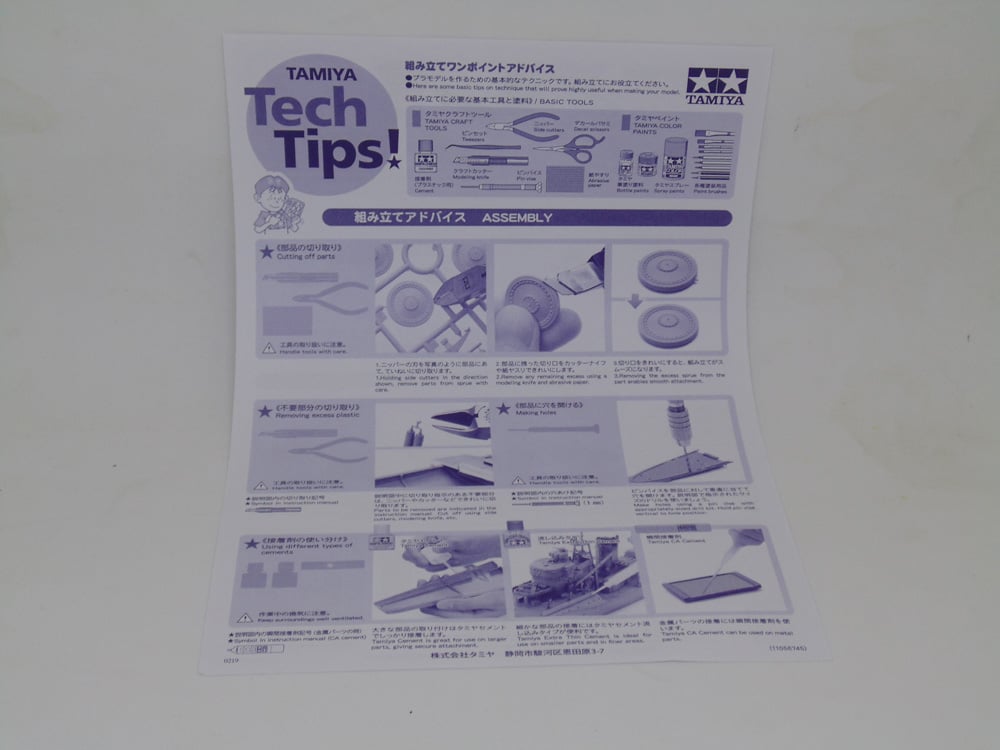
Novice modellers will enjoy the added tips.
The instruction manual is dense with clear information about how you want your replica to look. Read this pamphlet over a few times, once you’ve decided which aircraft version will go on your shelf.
Here’s a look into how Tamiya have done a splendid job:. Tamiya 61124 instruction manual PDF
Now for some detail to back up the instructions.
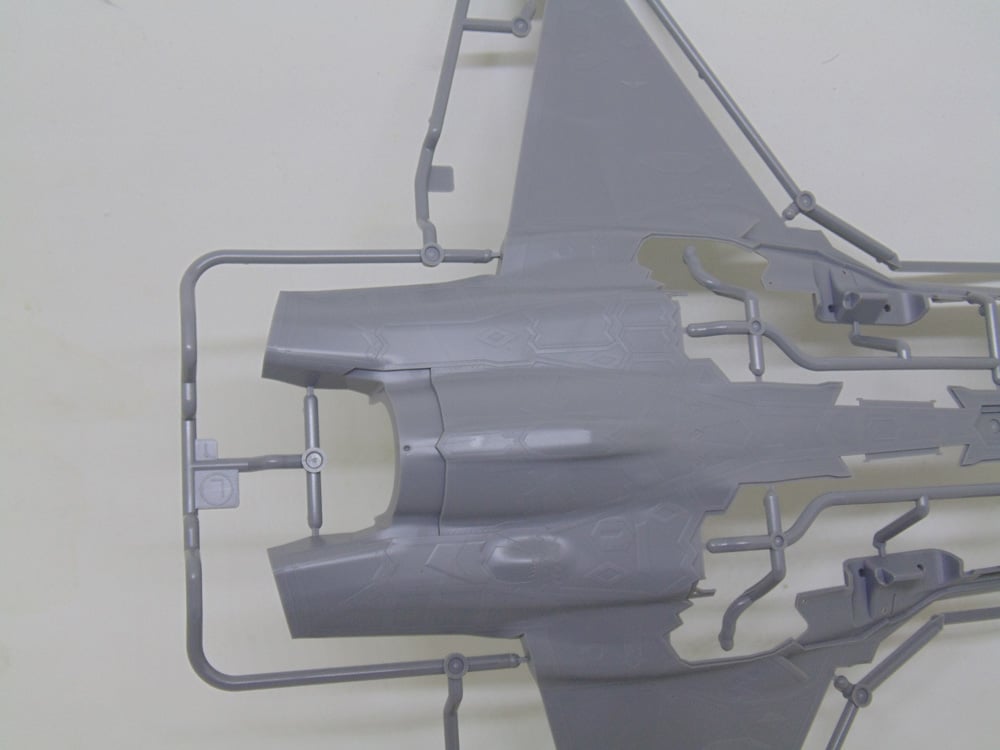
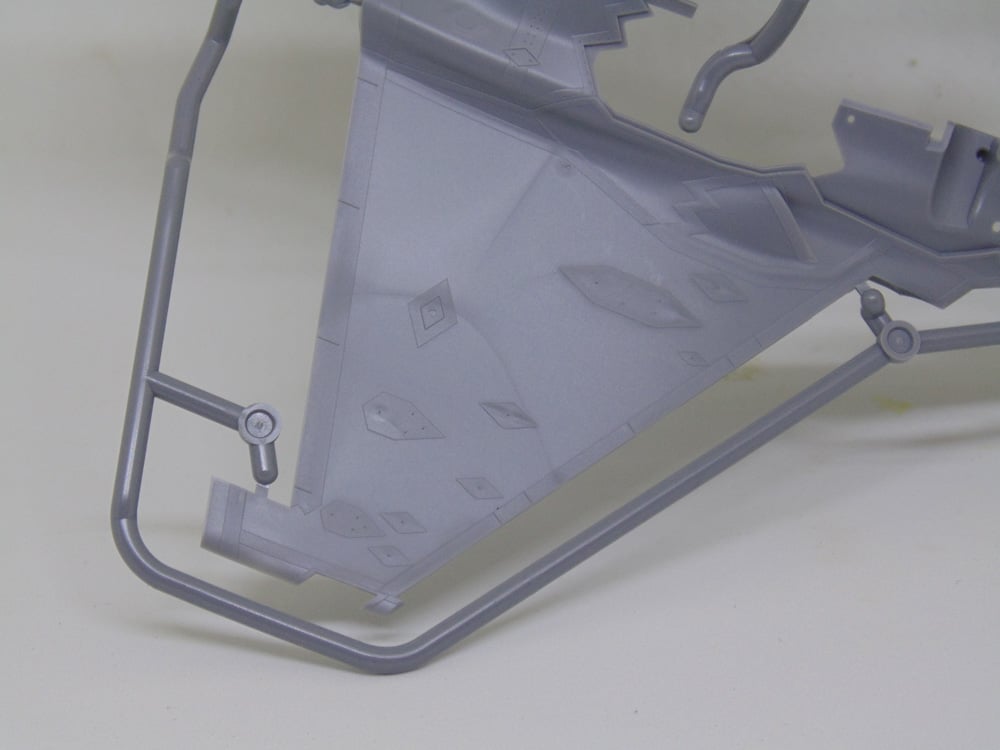
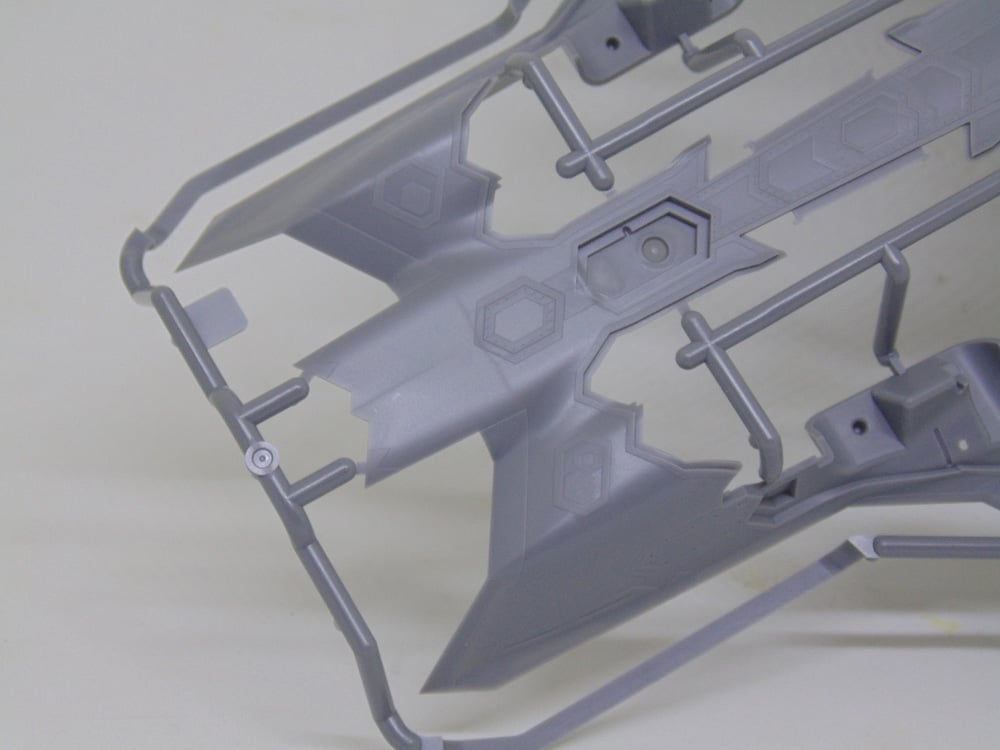
All of the sprue trees have been made for the modeller’s convenience when it comes to removing parts. It’s a small thing but very kind considering there are 14 to snip your parts from. Here are some samples of the incredible detail Tamiya replicated.
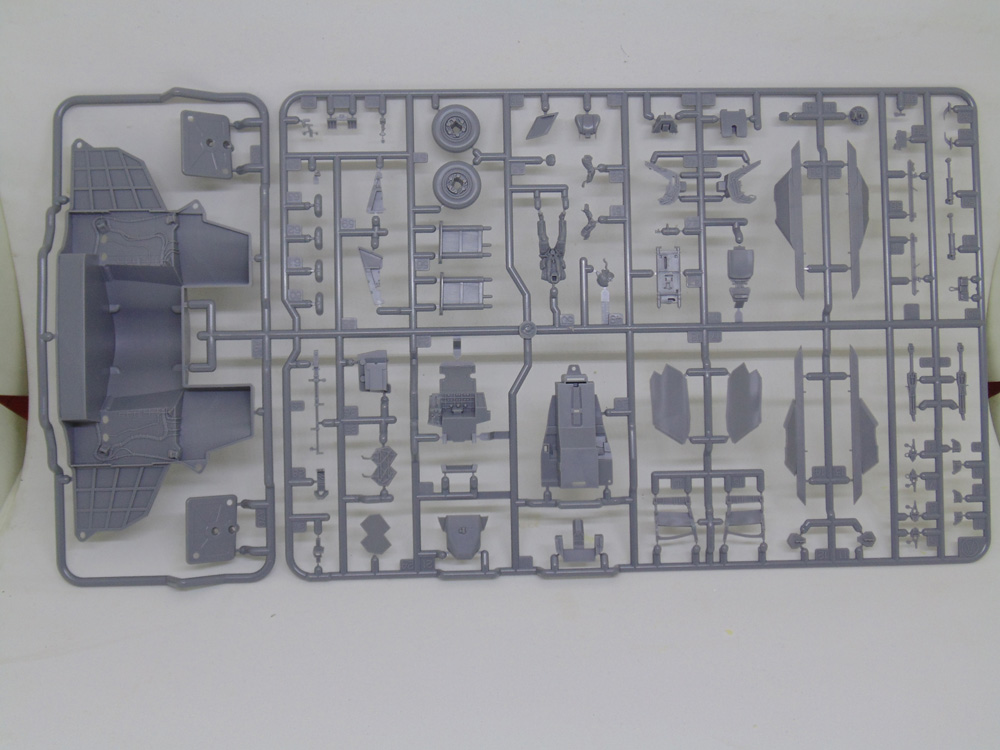
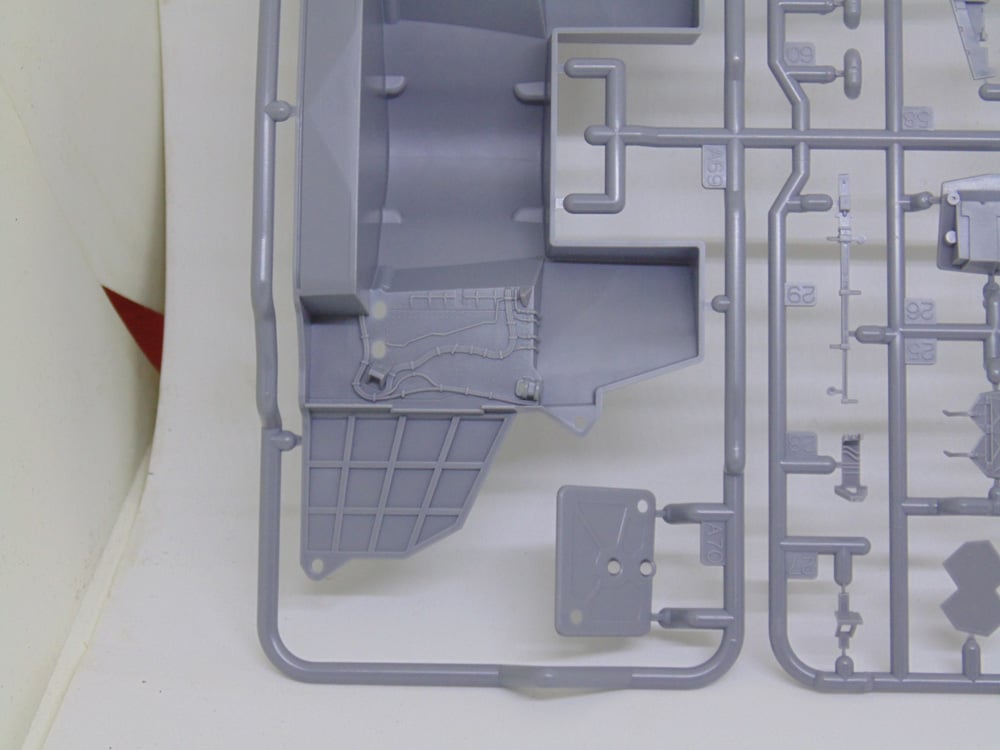
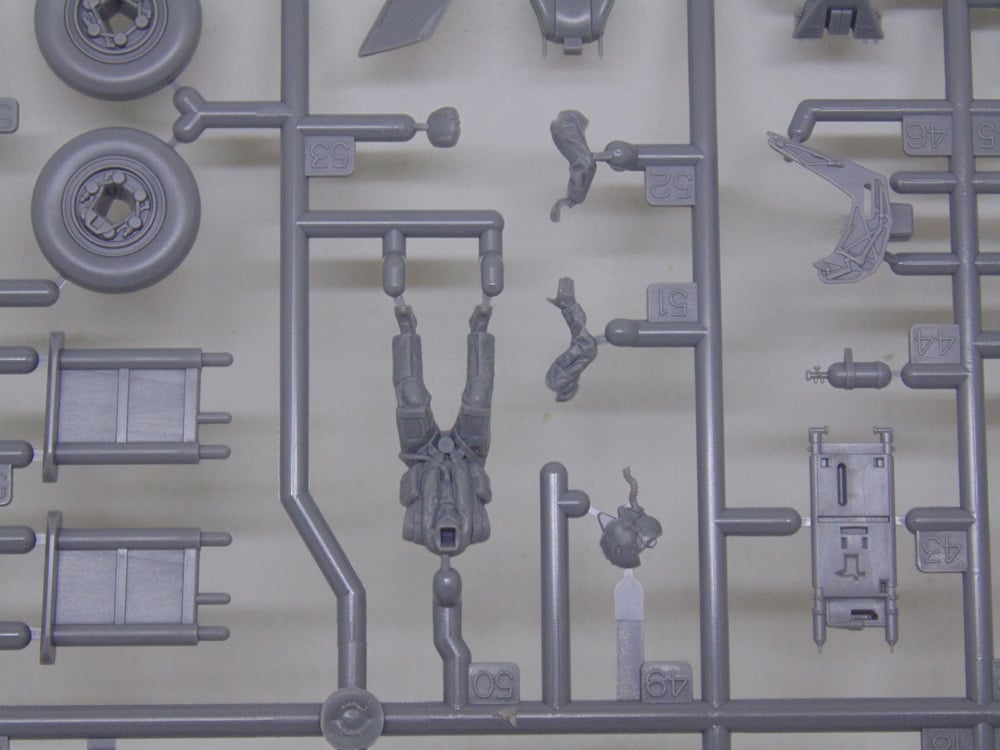
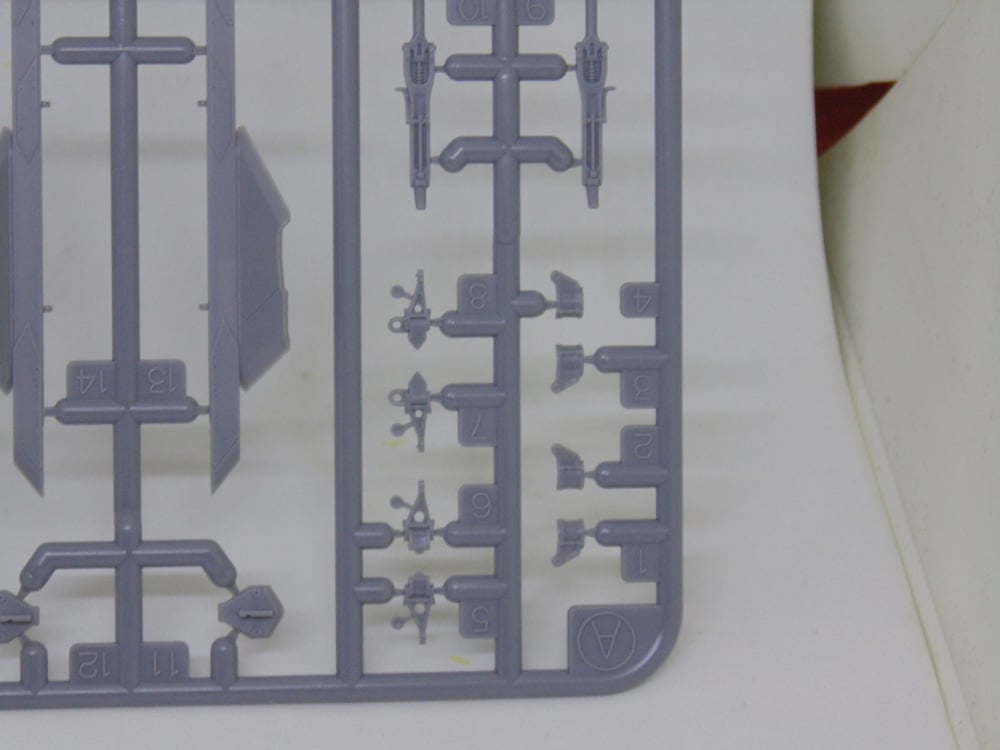
And now for sprue C and onward.
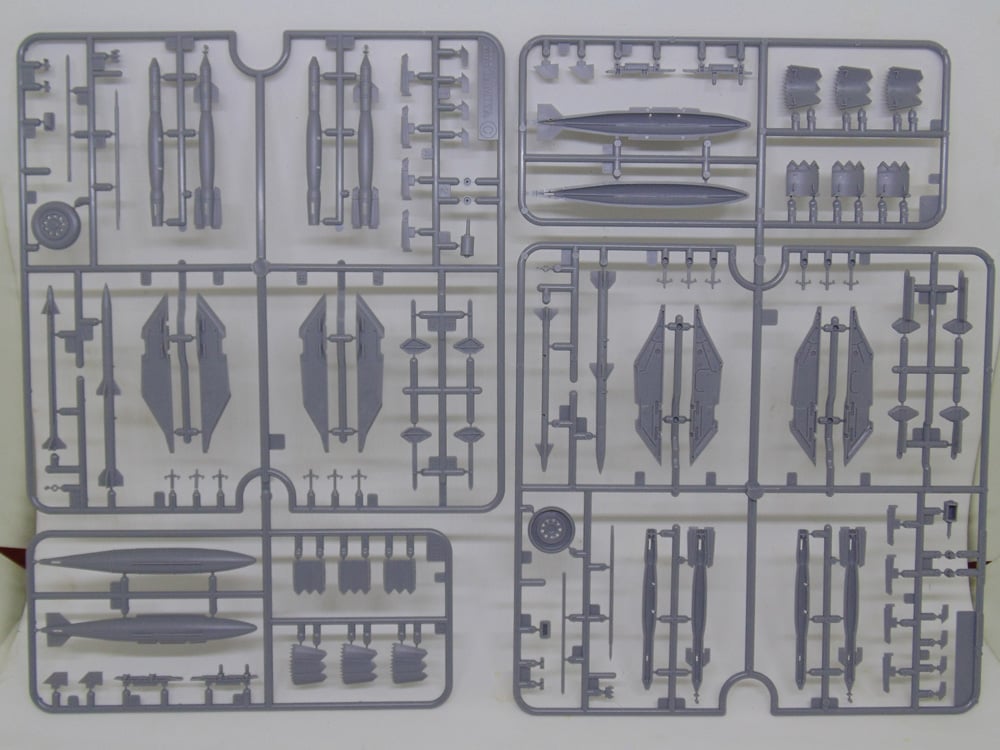
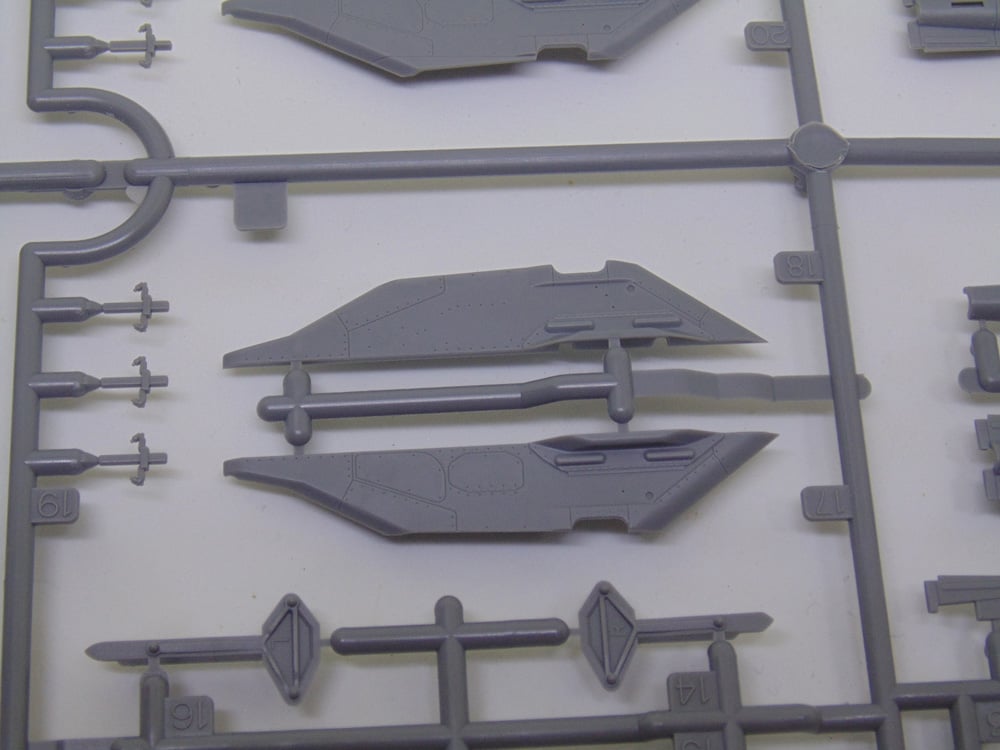
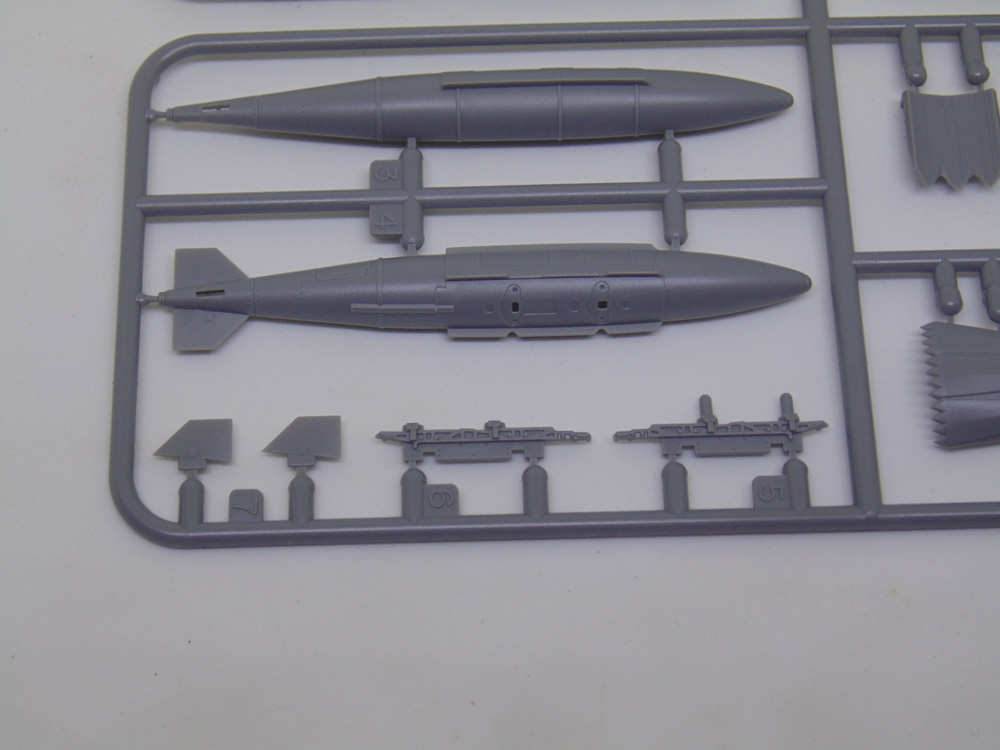
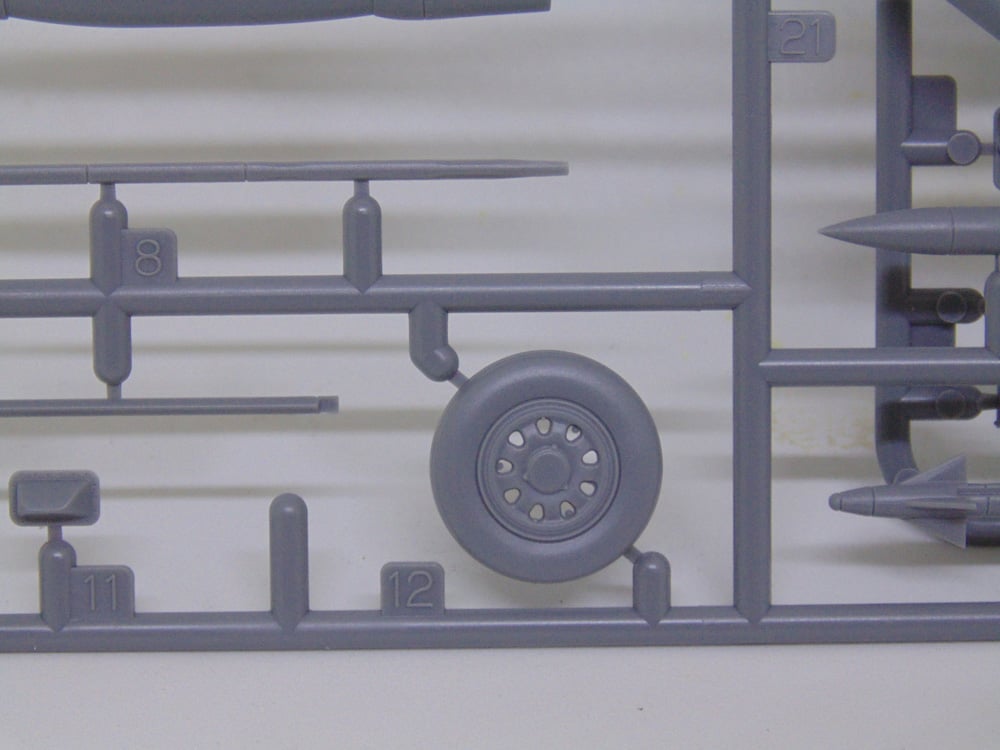
There are duplicate E/M sprue trees.
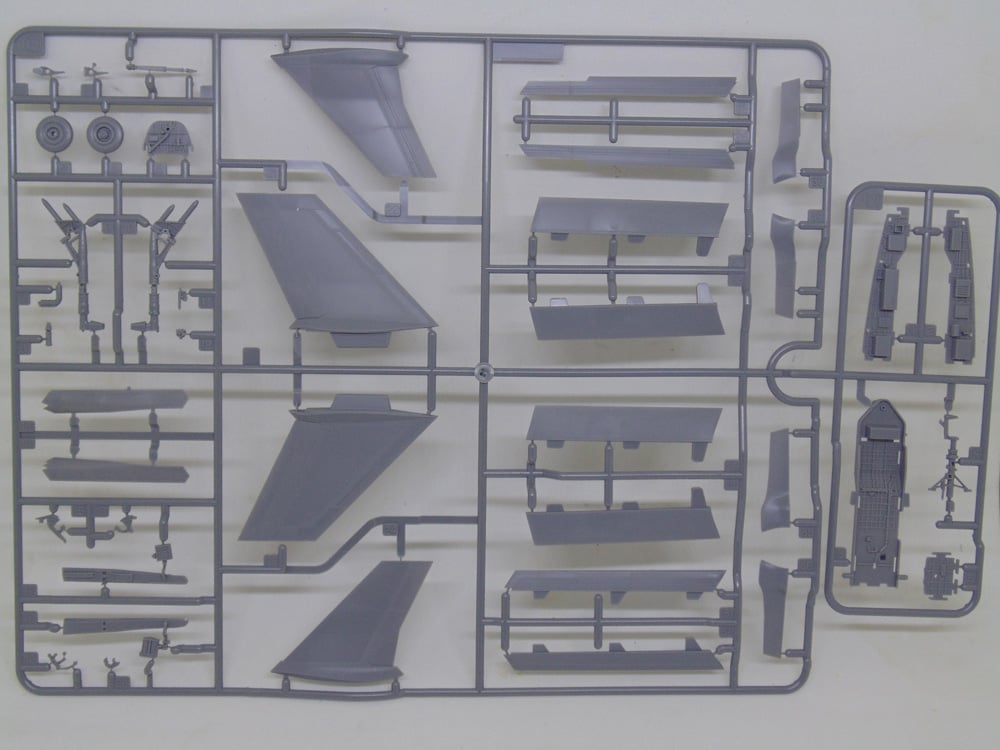
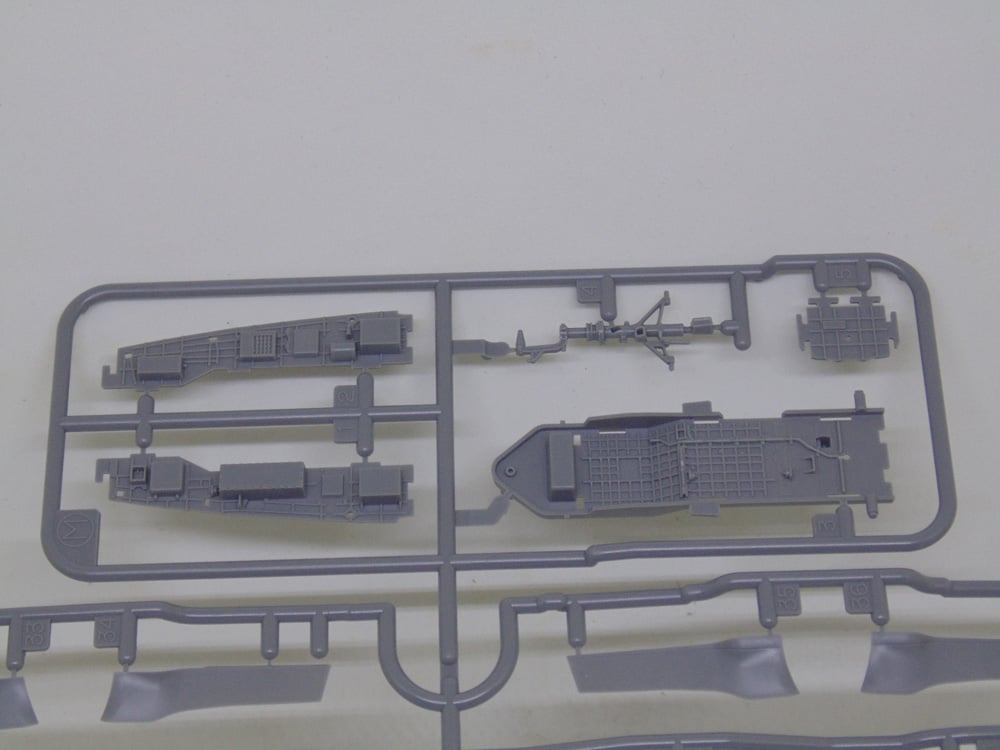
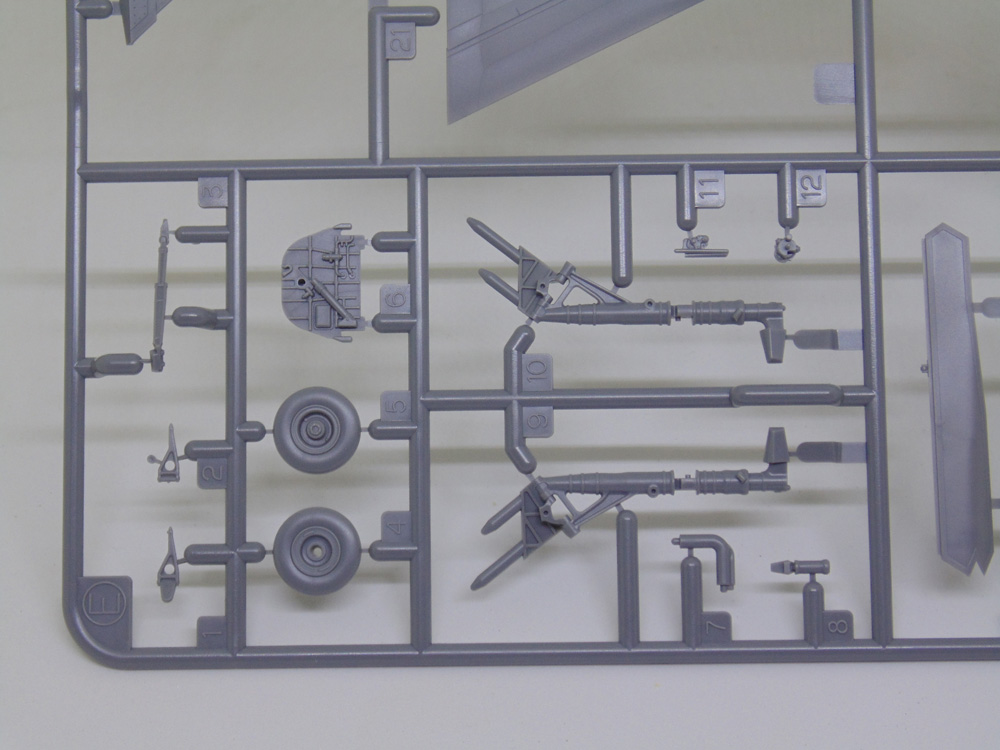
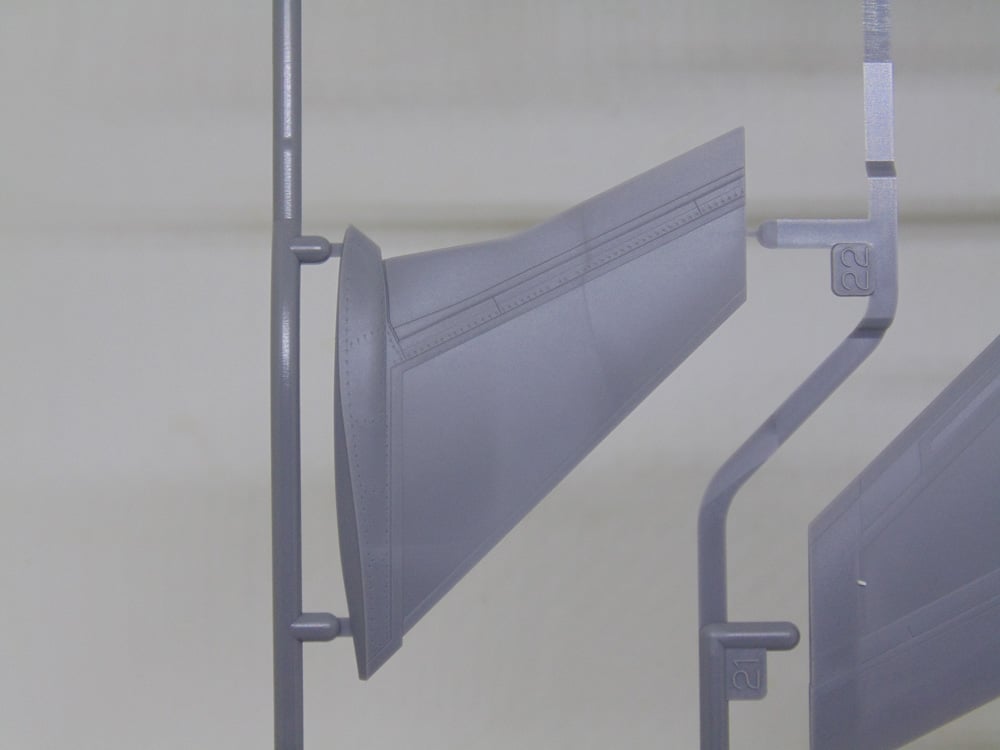
And now the rest of them… enjoy!
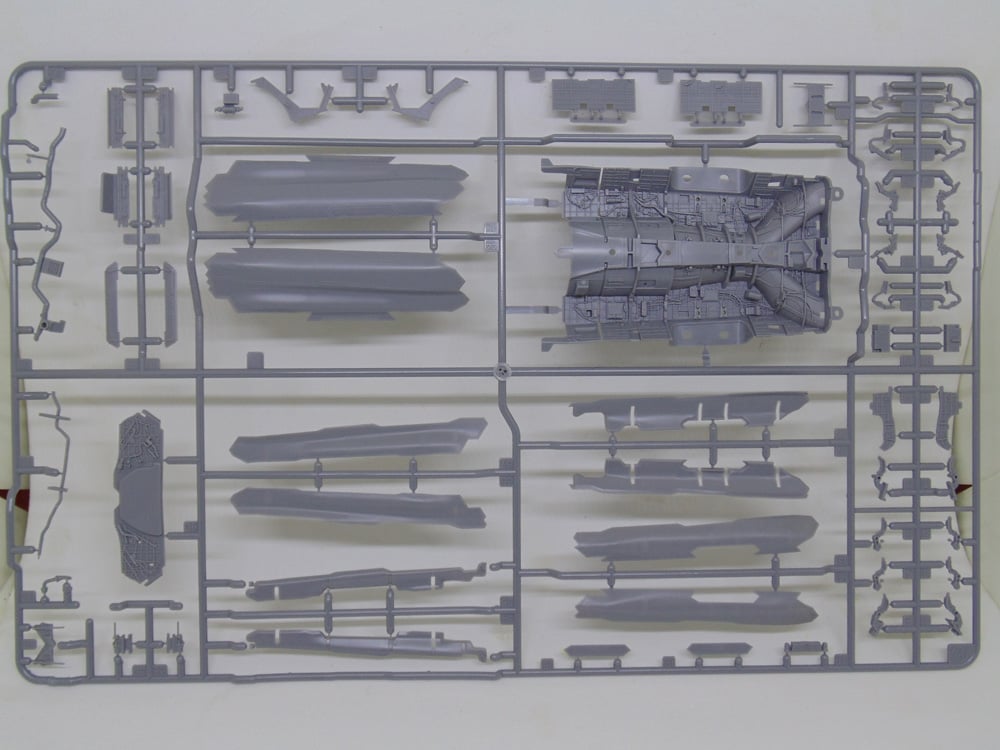
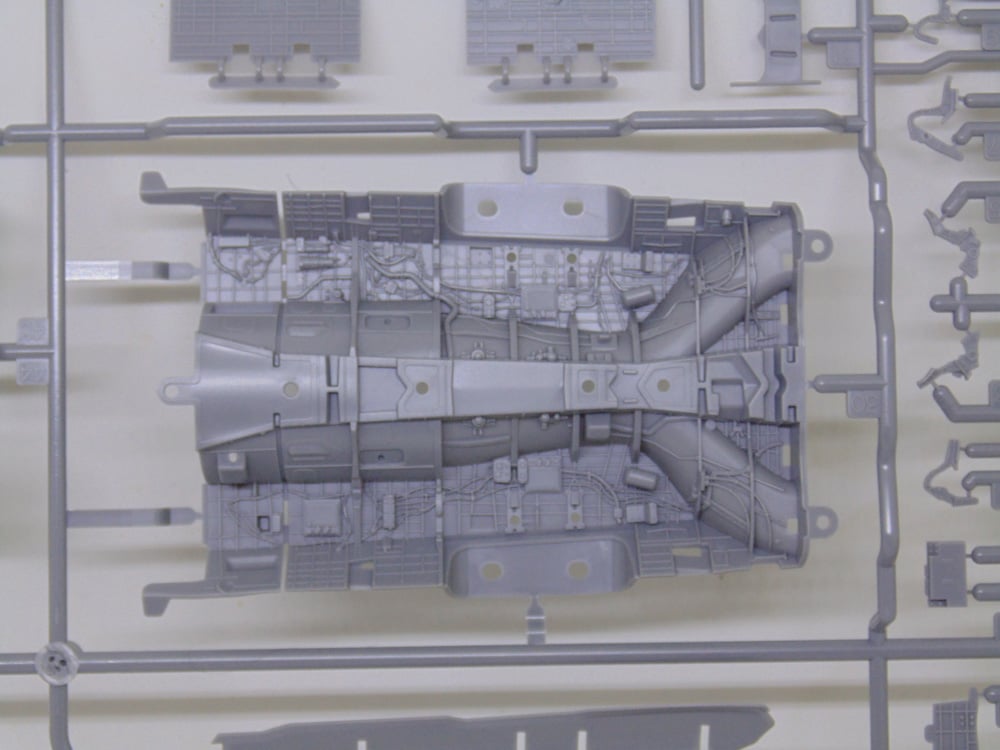
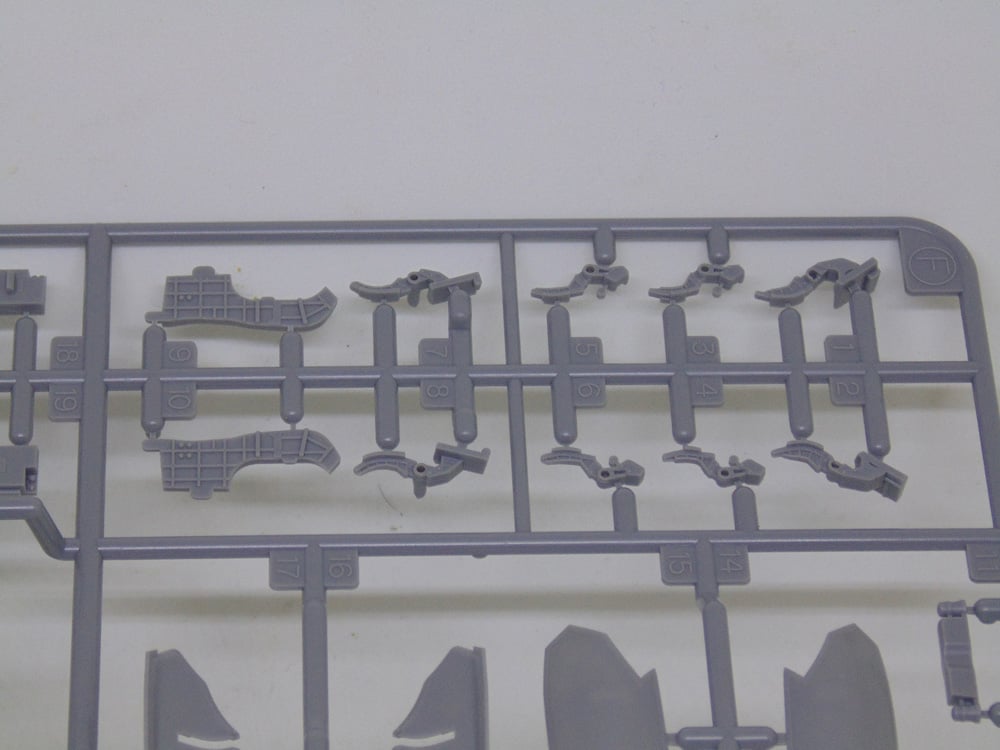
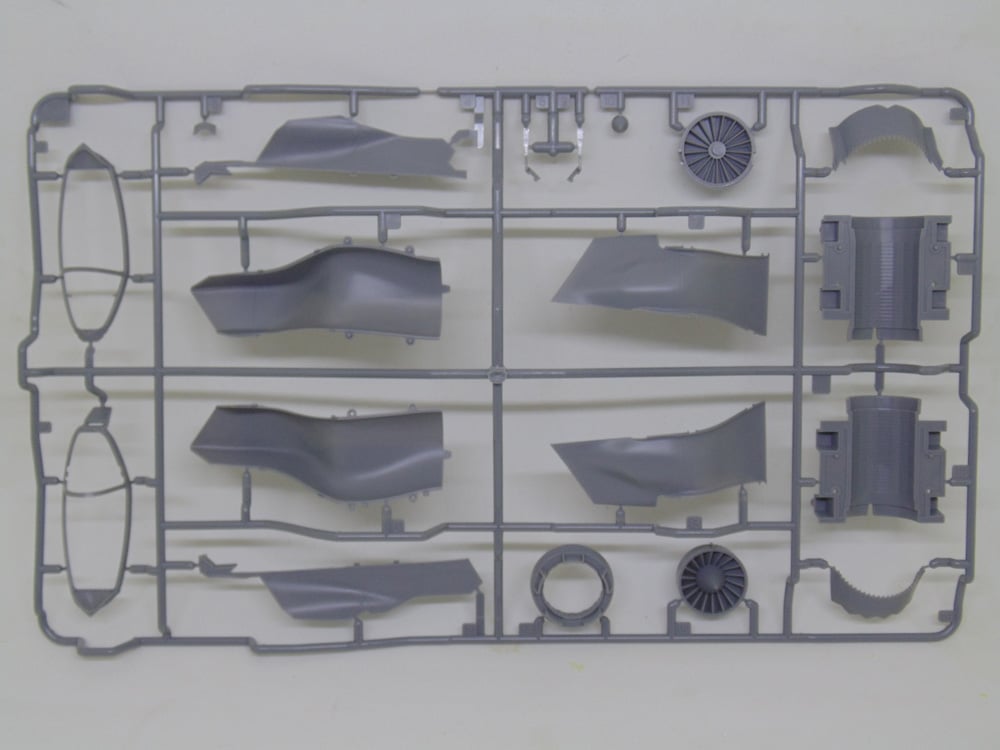
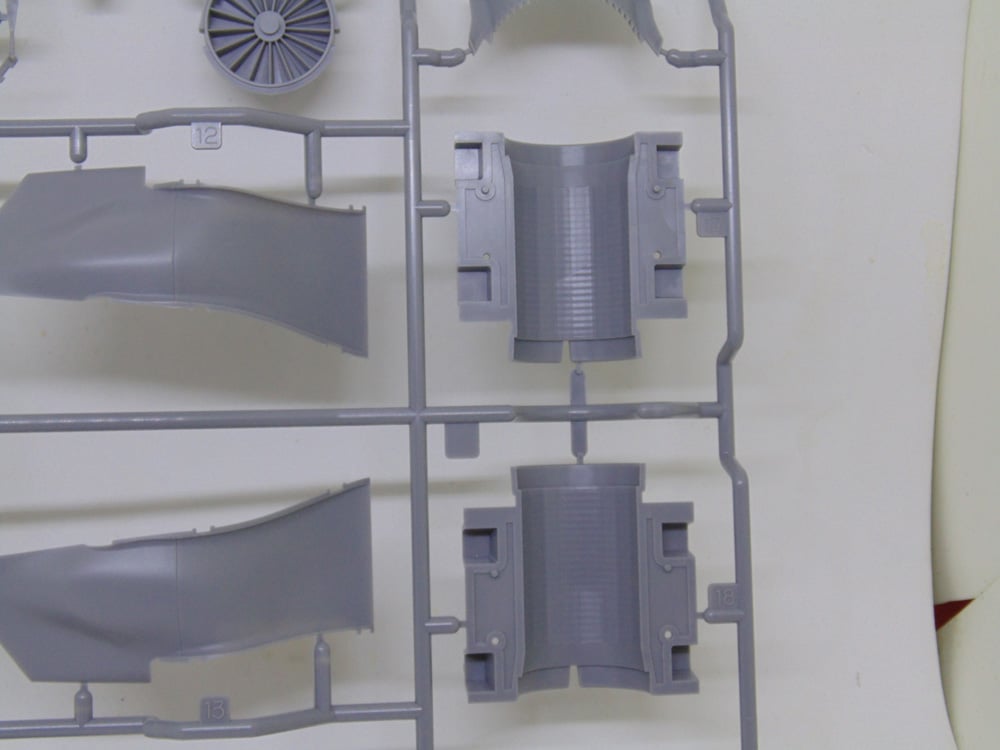
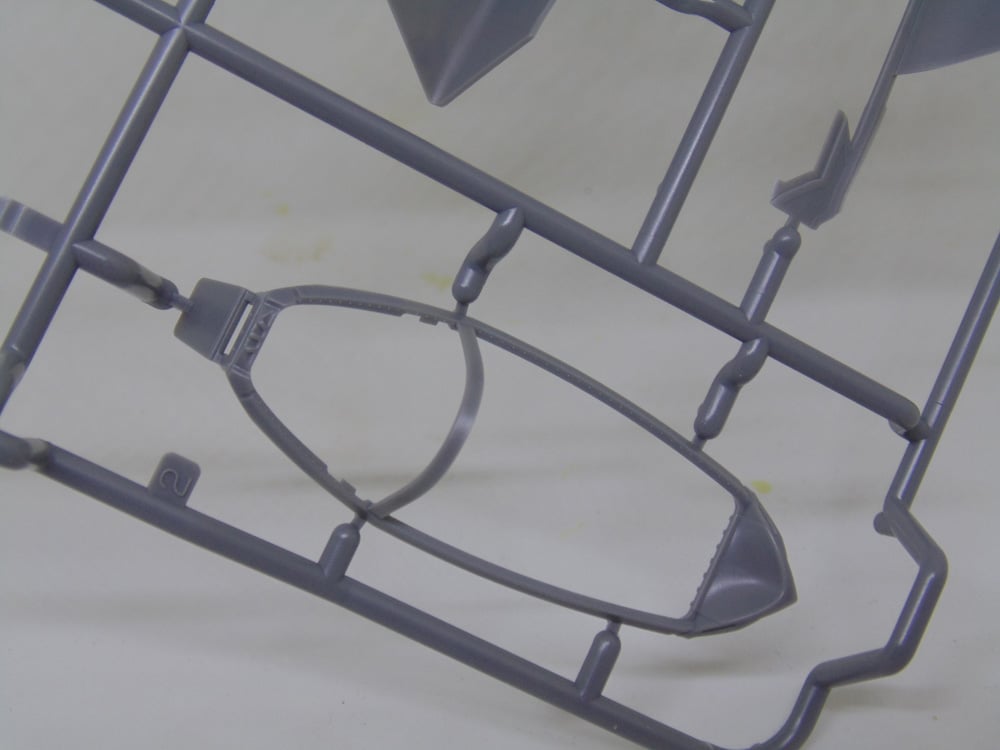
The RAM pattern may be a little thick, but the paint will knock that down.
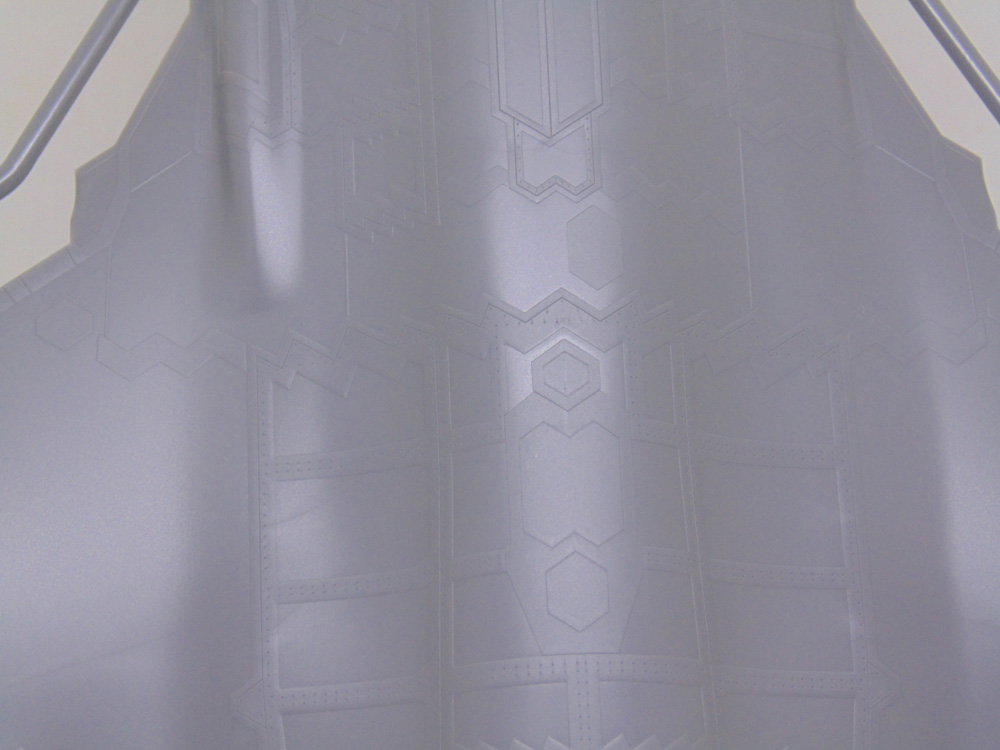
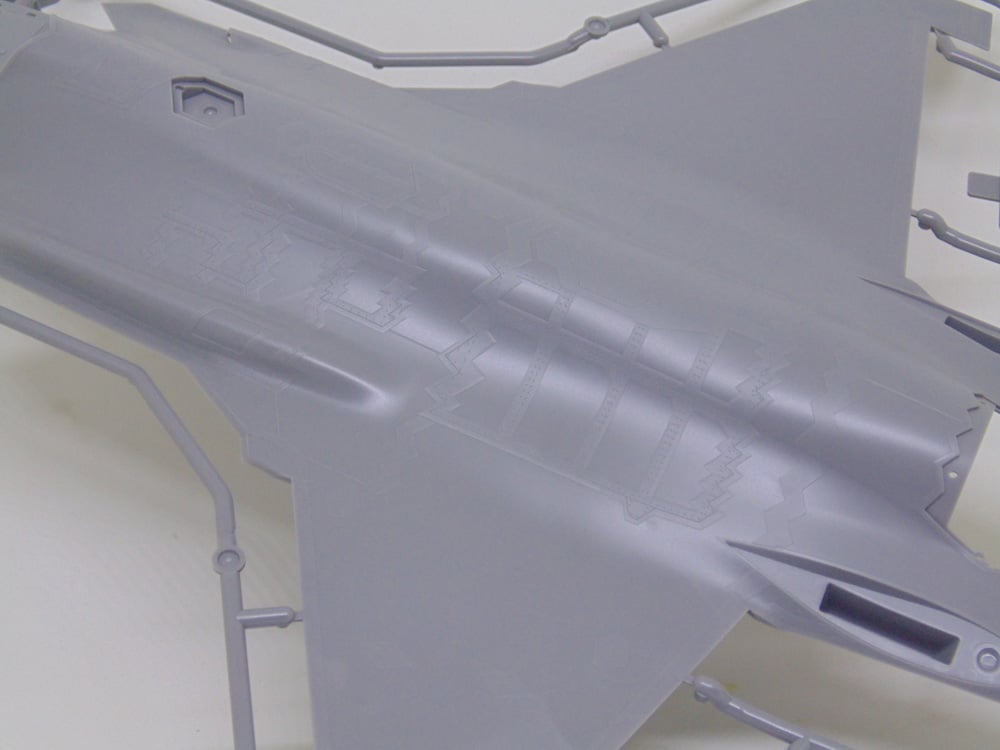
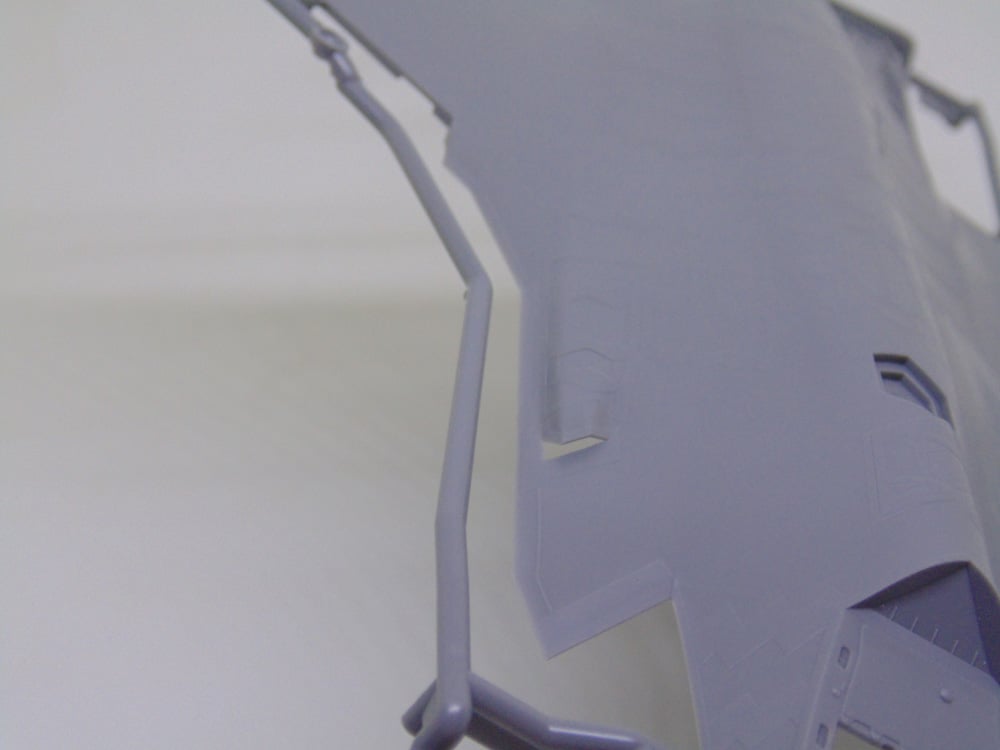
Here, you can see the remarkable work put into the upper and lower frame.
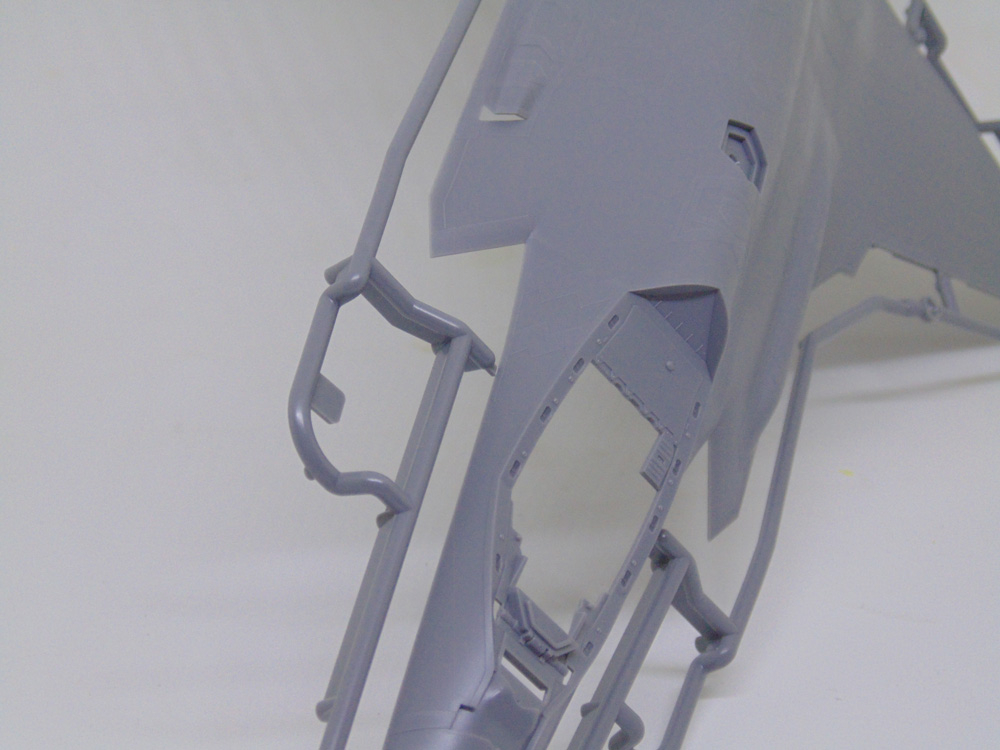
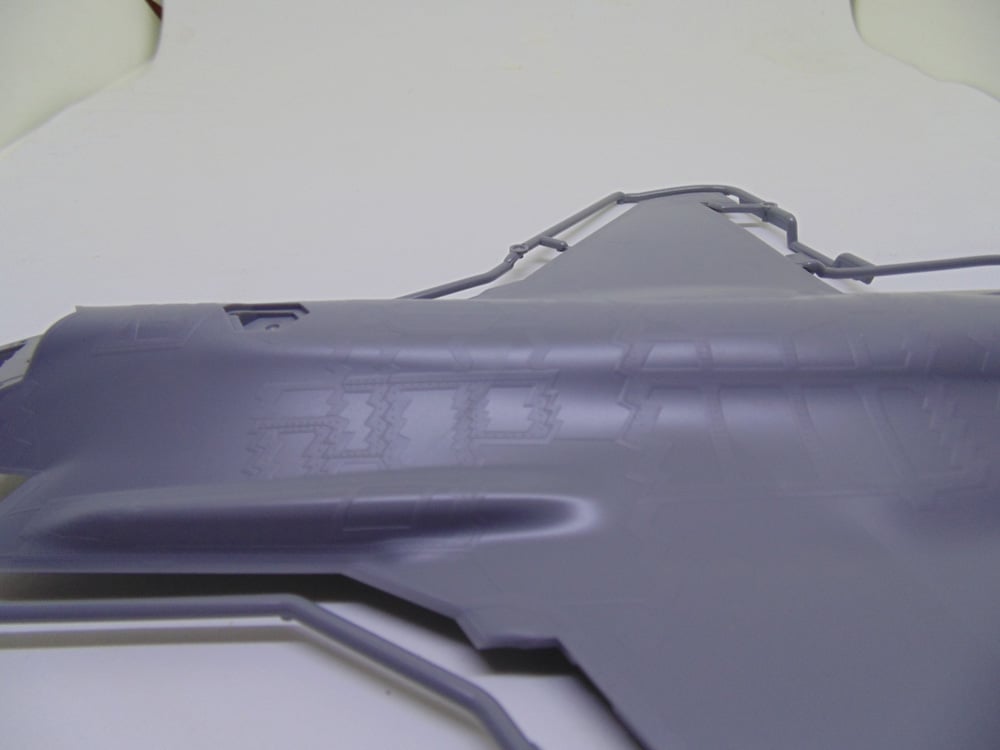
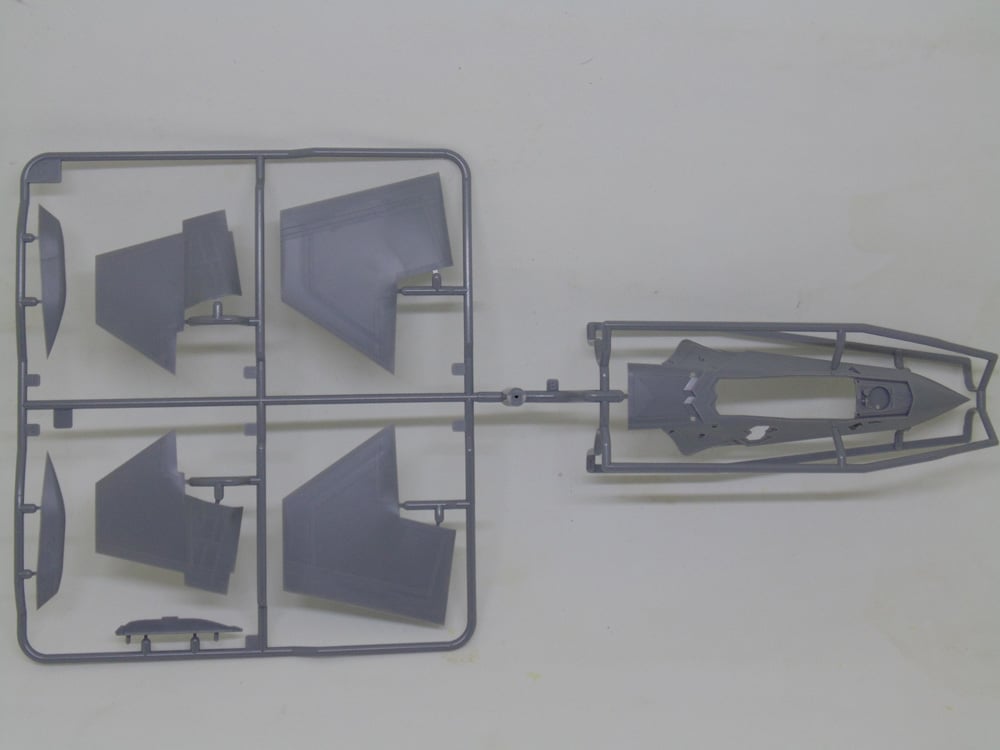
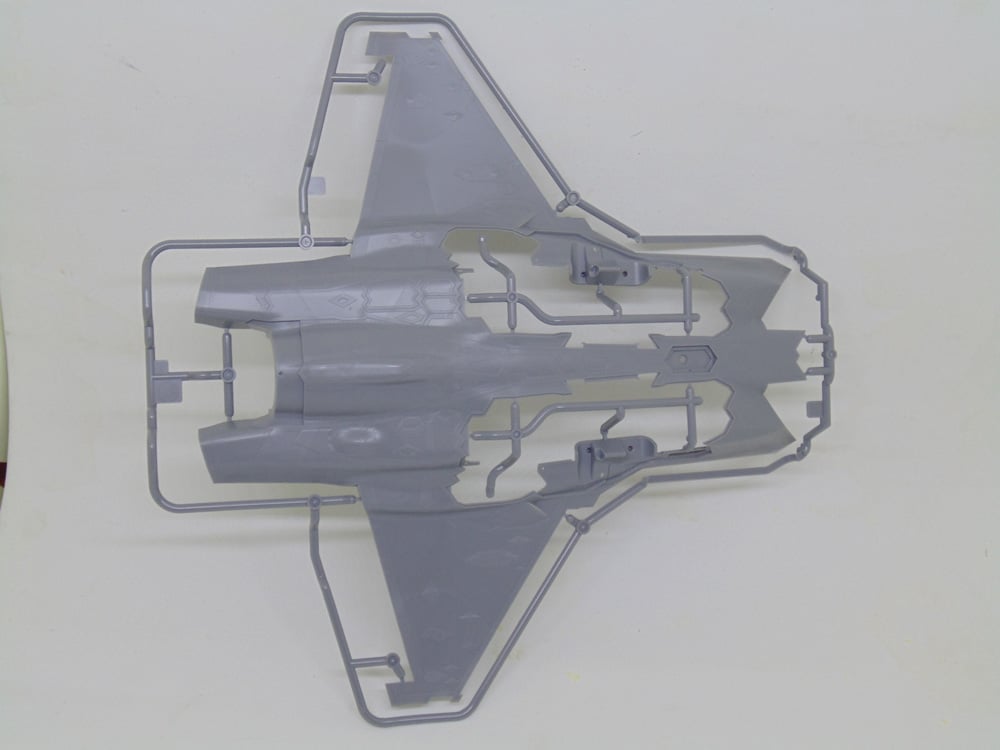
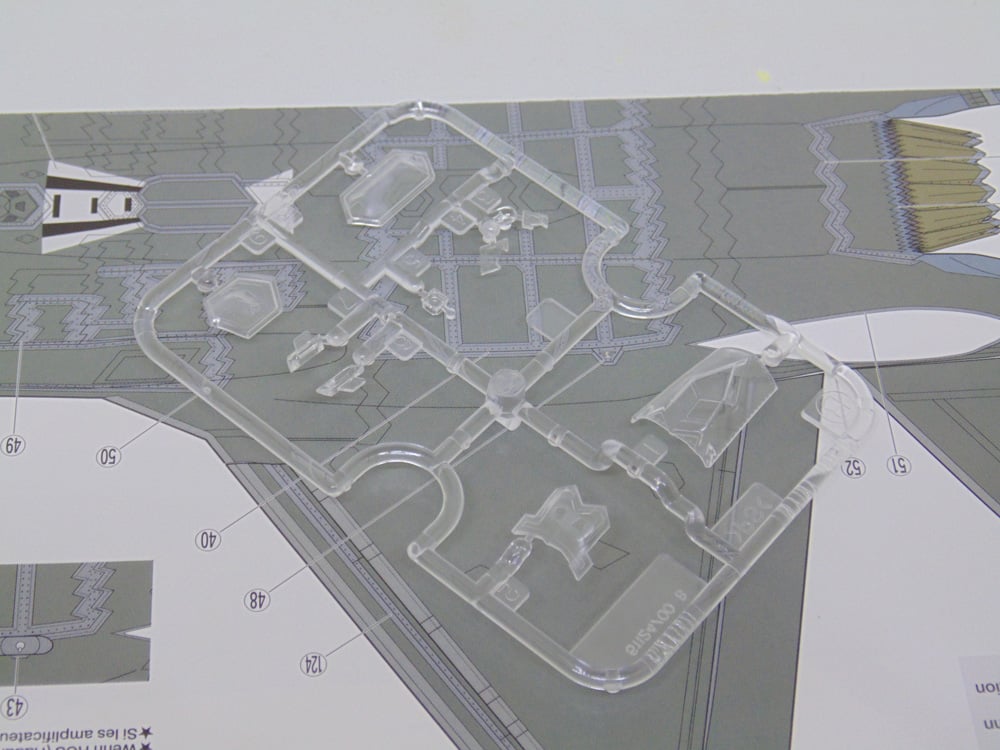
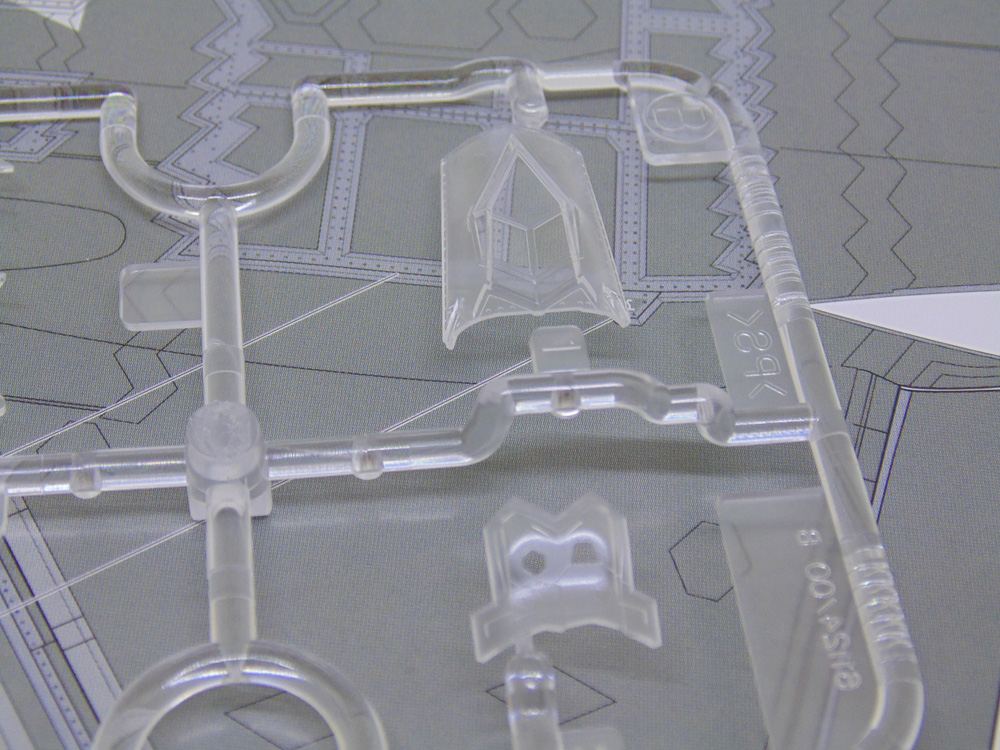
Note that Tamiya have supplied 2 canopy options.
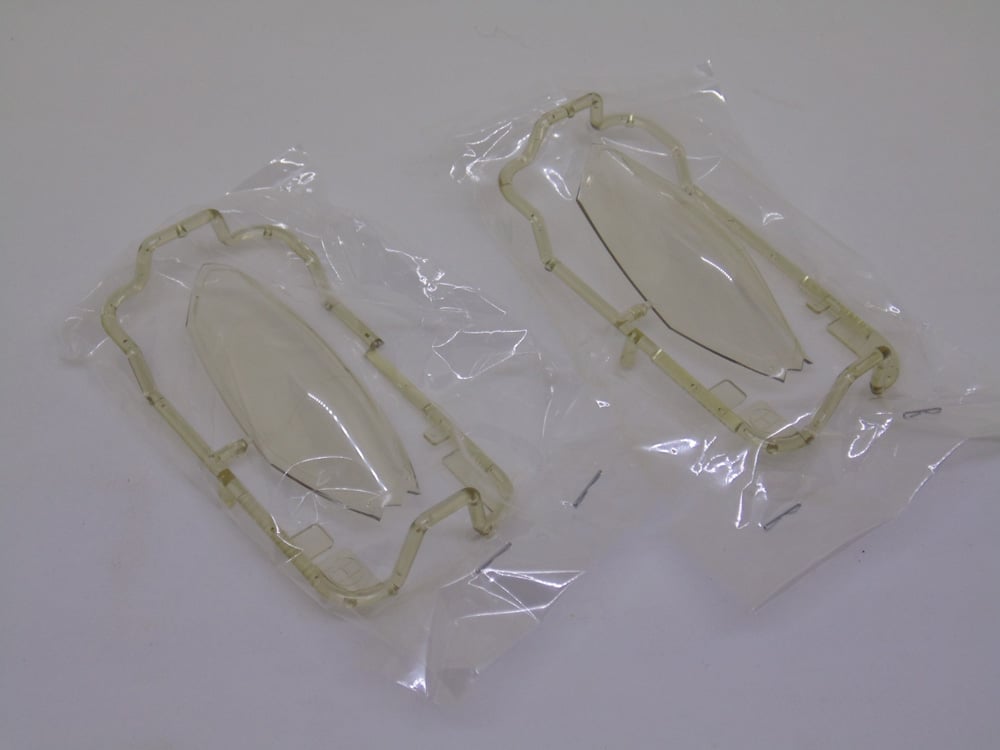
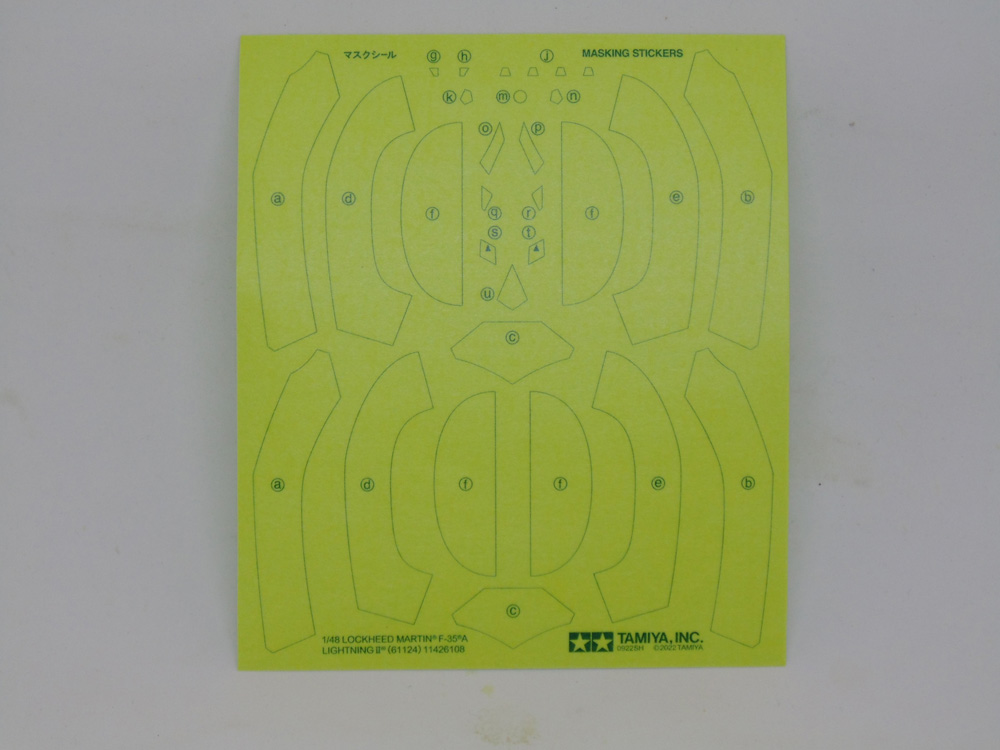
The clear parts are, thankfully, blended into the nearby detail, making masking a sinch. More on this in a few seconds.
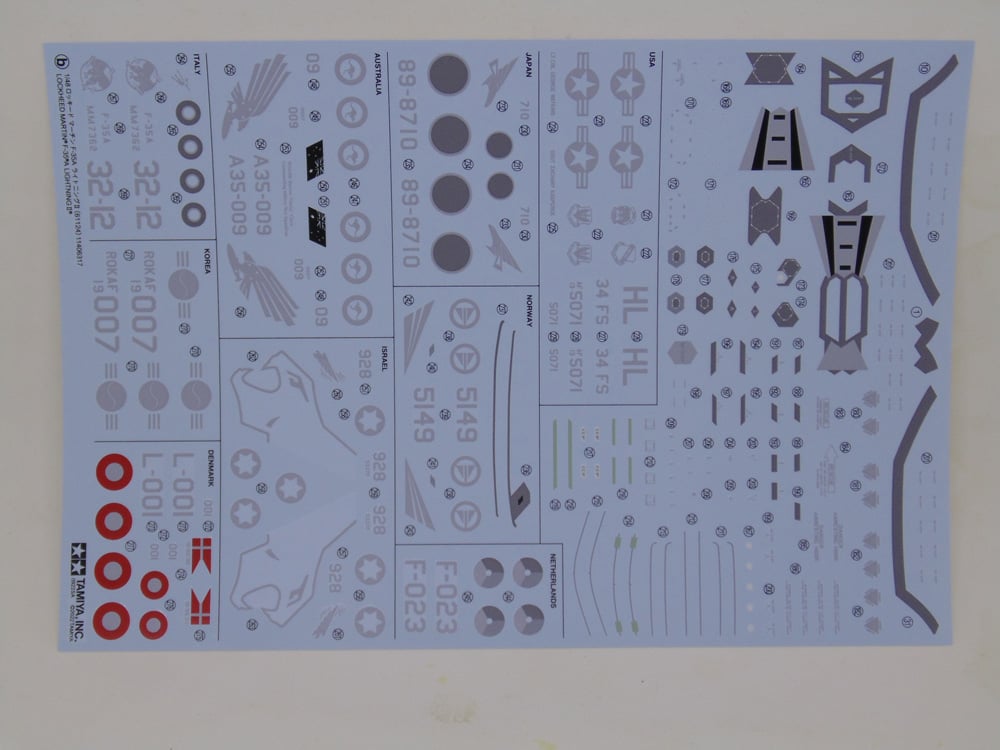
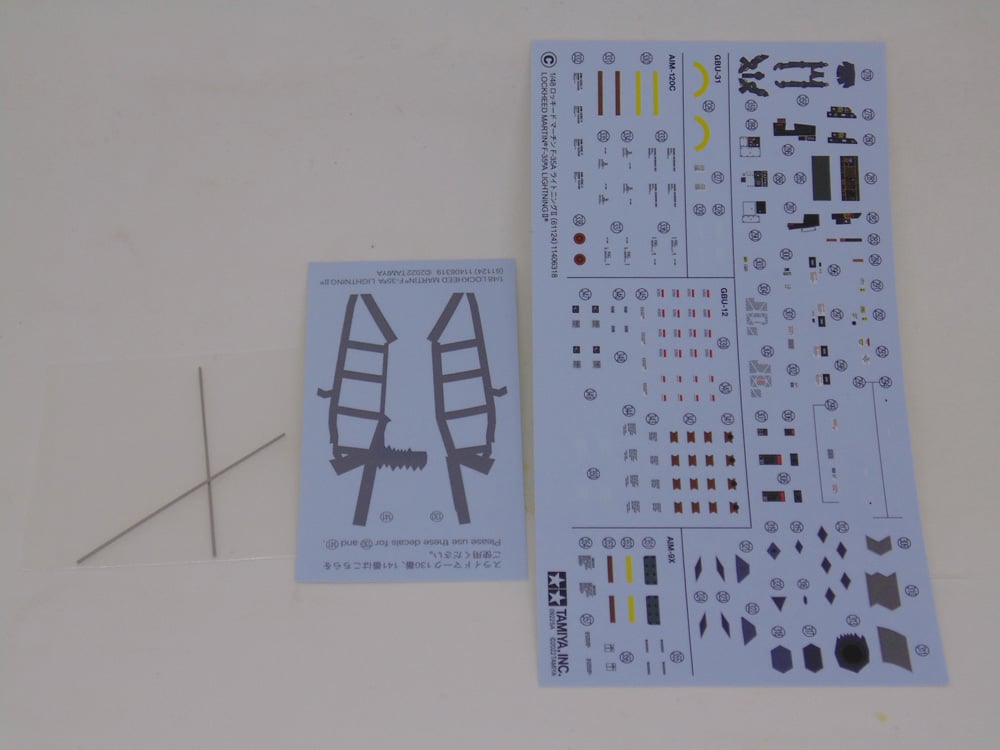
The national marking decals are excellent. Nice and thin, they come off the sheet with no fuss. Buy some setting solution and saturate the area. Once you have one point nailed down you can then swivel the decal in its final location.
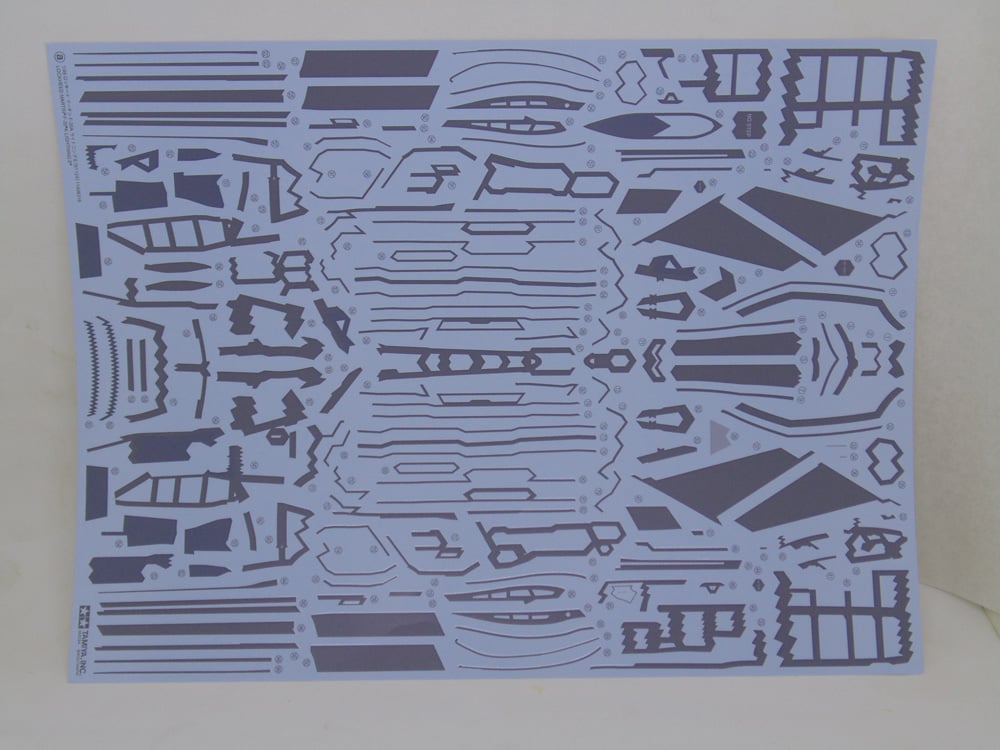
Tamiya included metal rods for the Bombay doors along with excellently printed ordinance stencil decals.
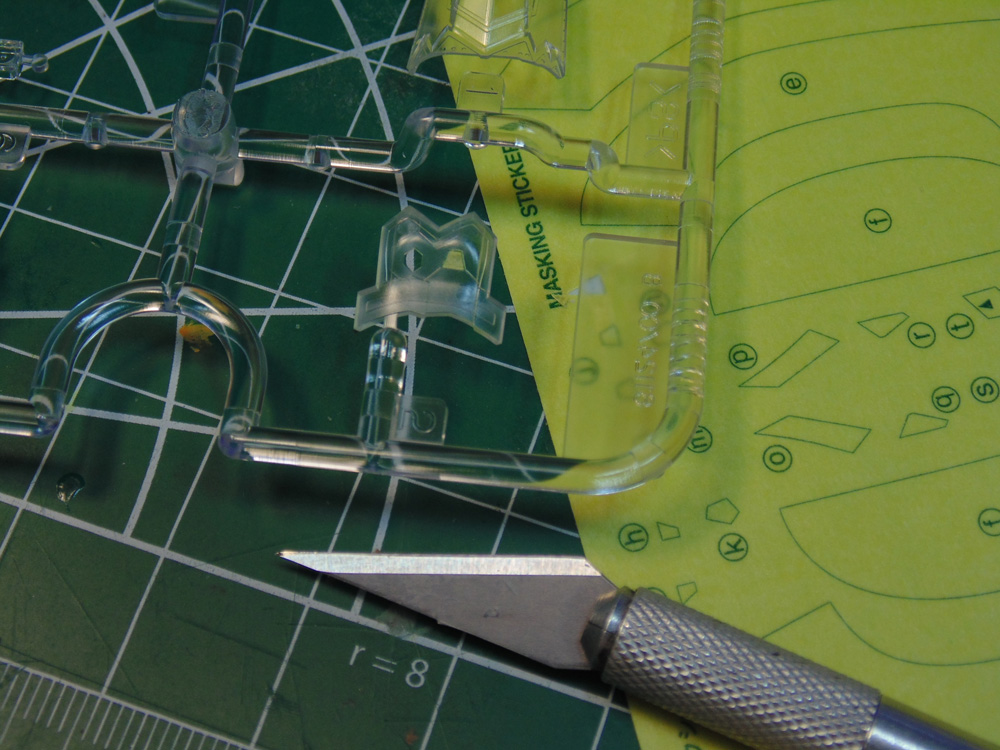
A masking sheet is included for those fine glass areas.
Now for STEP 1.
Please please, read through the instructions several times. Tamiya do not give paint guidelines for the everyday modeller. Select an option and stick with it. This replica will be from Japan or the JASDF. It will lessen the complication when reading through the instruction manual.
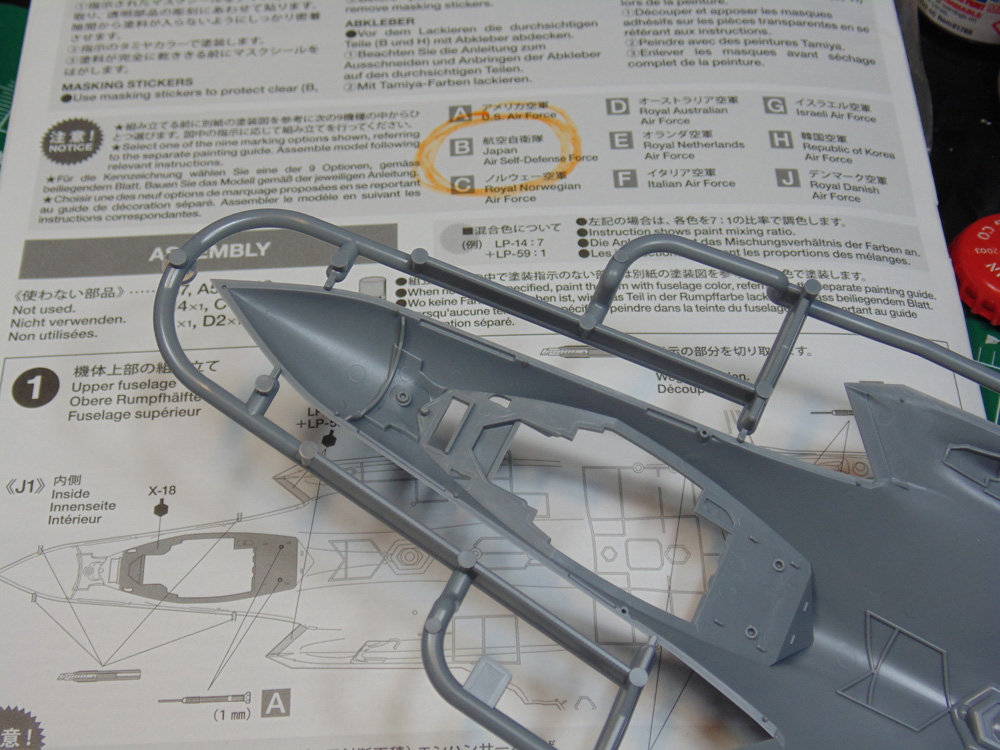
Also, note the precision of the release tabs and how they are easily removed after snipping. This means almost zero chance of messing up the curve of the plastic.
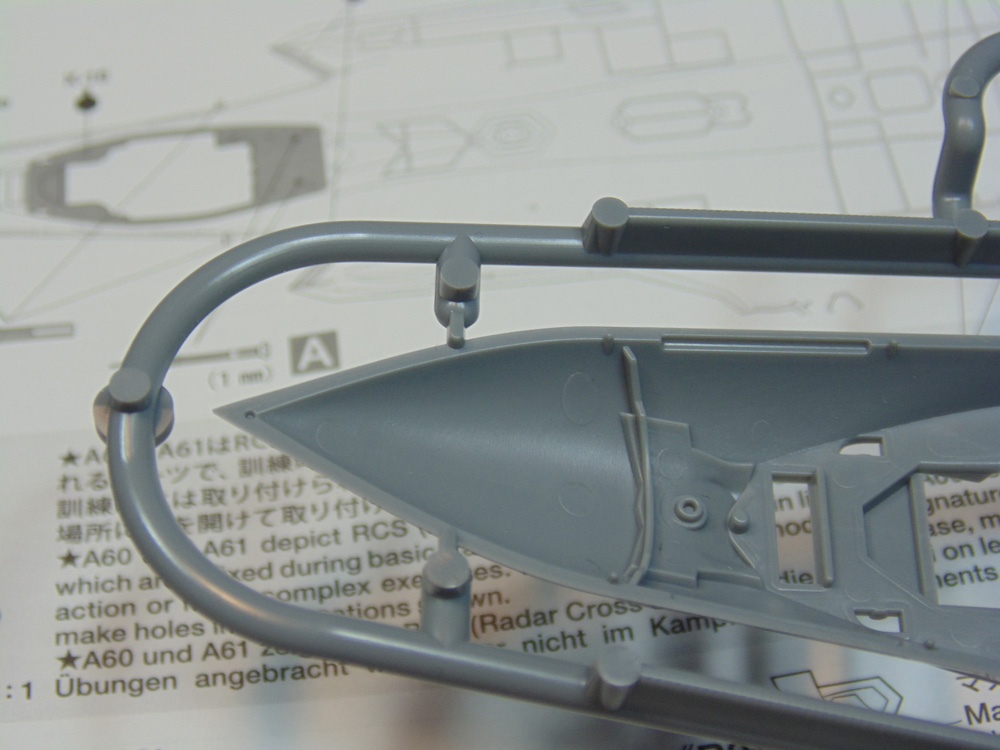
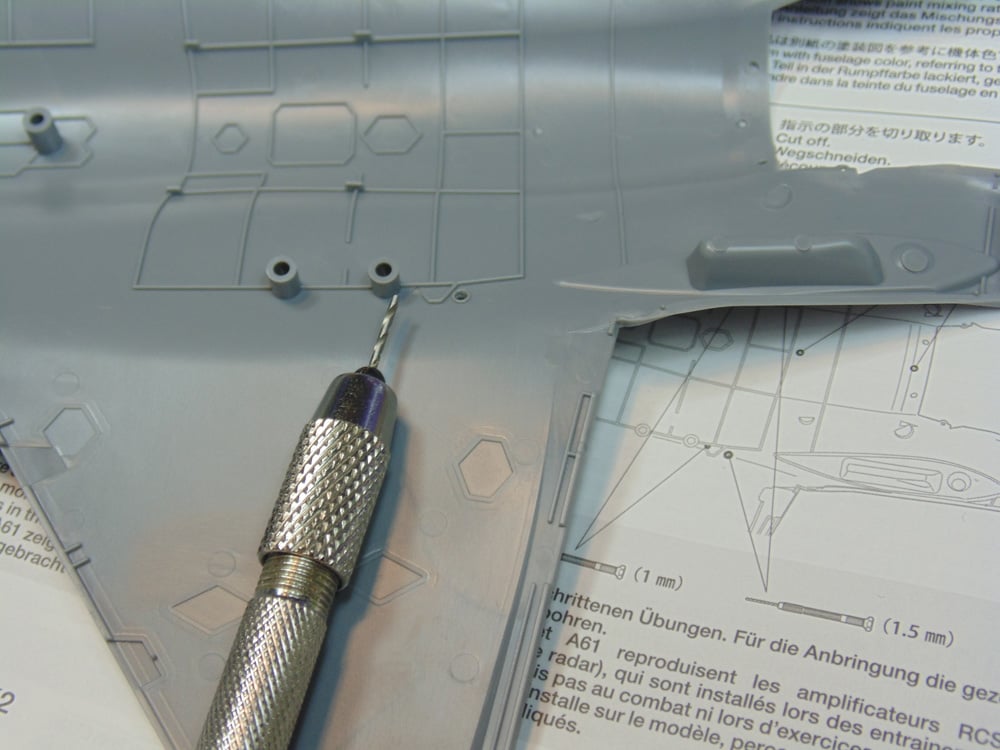
For this version I need to add the cross-radar parts. You can buy a nice pin vice from Sunward Hobbies. It works smoothly and allows you a super fine indent into the styrene.
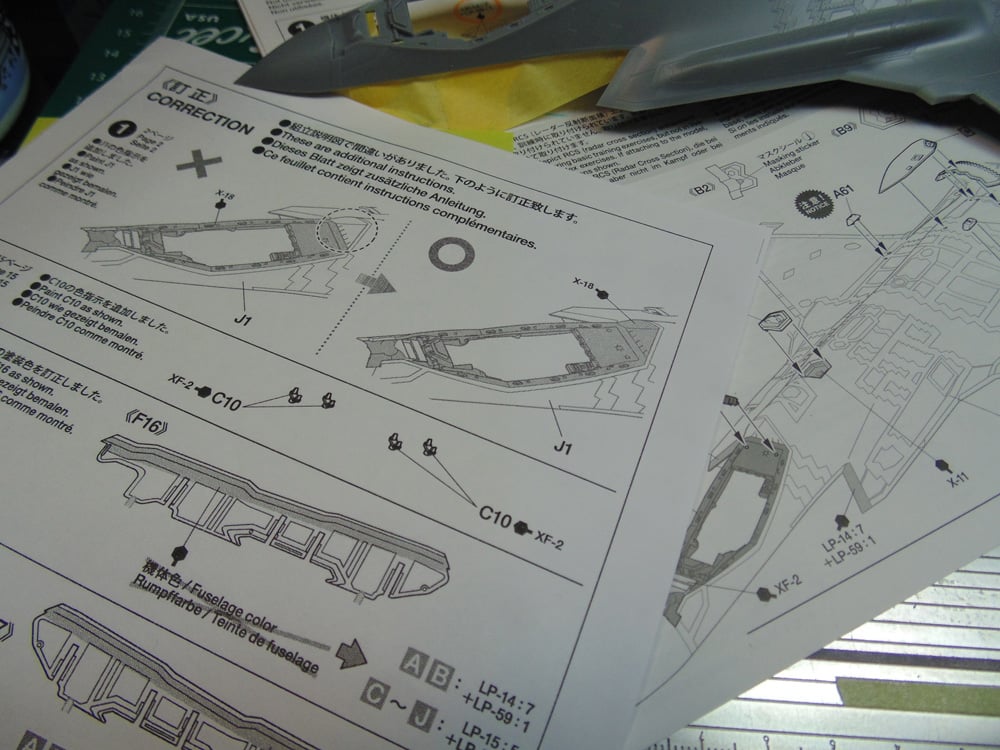
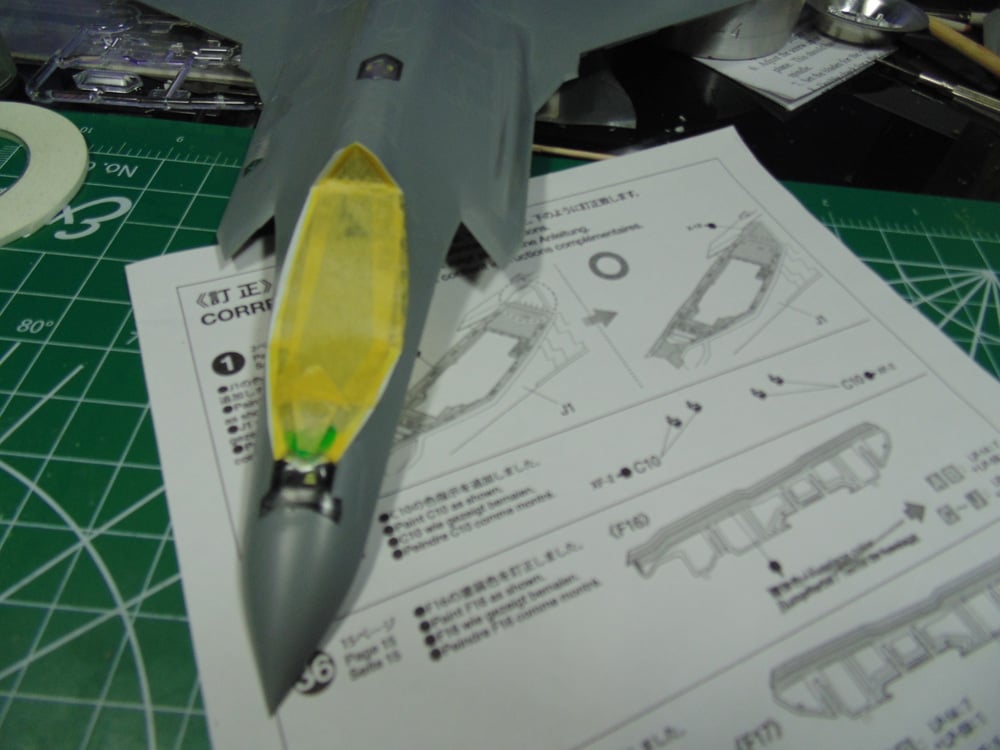
When I see a “correction” sheet it’s like getting a gift. Someone has built this model before production and then told their boss “We need to fix this”. And so did Tamiya. Follow the corrections sheet.
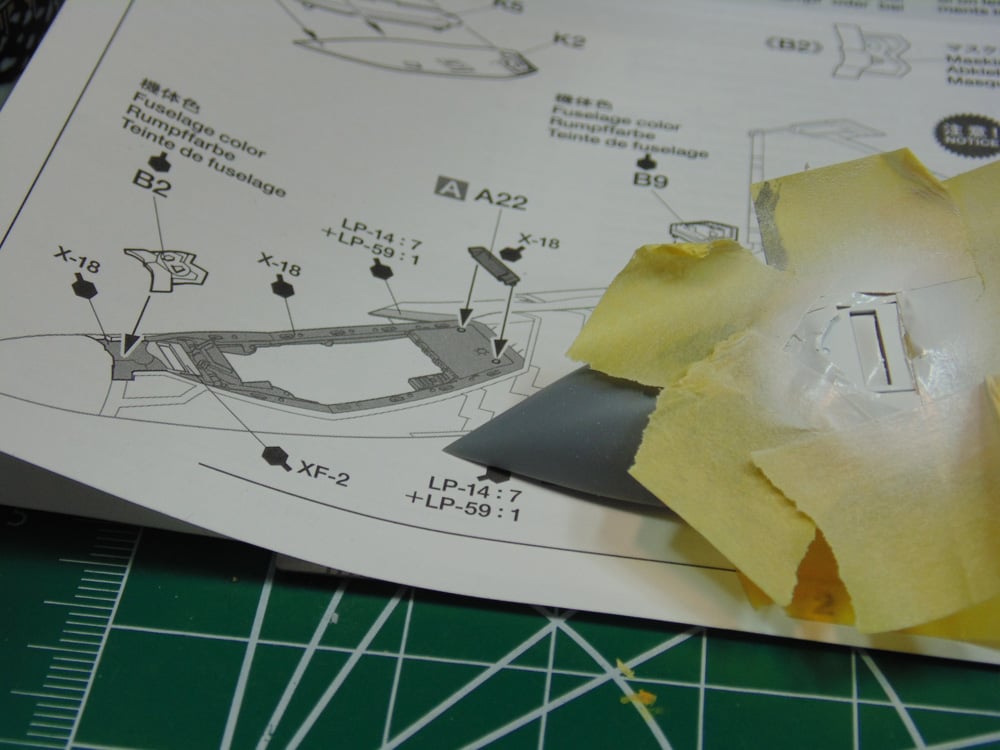
Be mindful how sharp these parts are, no joke. I pricked my finger and thumb twice because the mold is so sharp. Always mask the lighter colors first. Due to the fine detail in the cockpit area no primer was used. You’ll have to mask this top nose area twice. Make certain the paint has completely hardened.
When cutting the masking lines, to get the best fit slice inside and over the inner edge. Please use a new sharp N0.11 blade for the best results. You can buy them from Sunward Hobbies. They are really inexpensive and a must-have for any project.
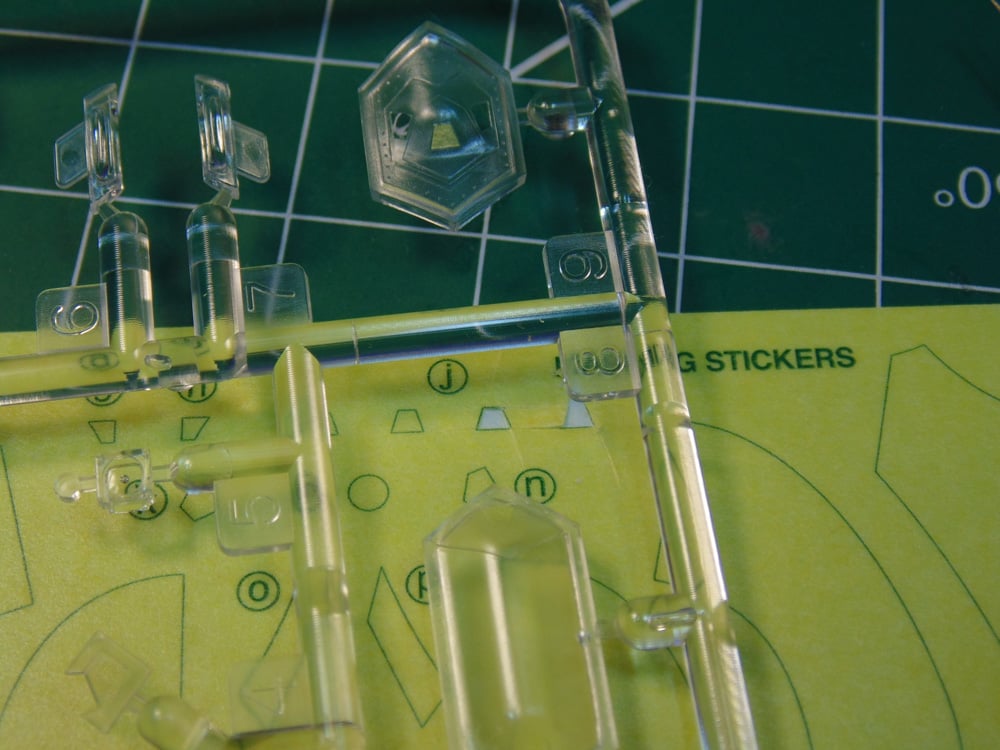
Yes, it’s minor detail yet deserves some attention. First I sprayed some AK Interactive black base then followed up with some AK Interactive chrome to replicate the silver/chrome look. There are plenty of products on the market, this was my choice.
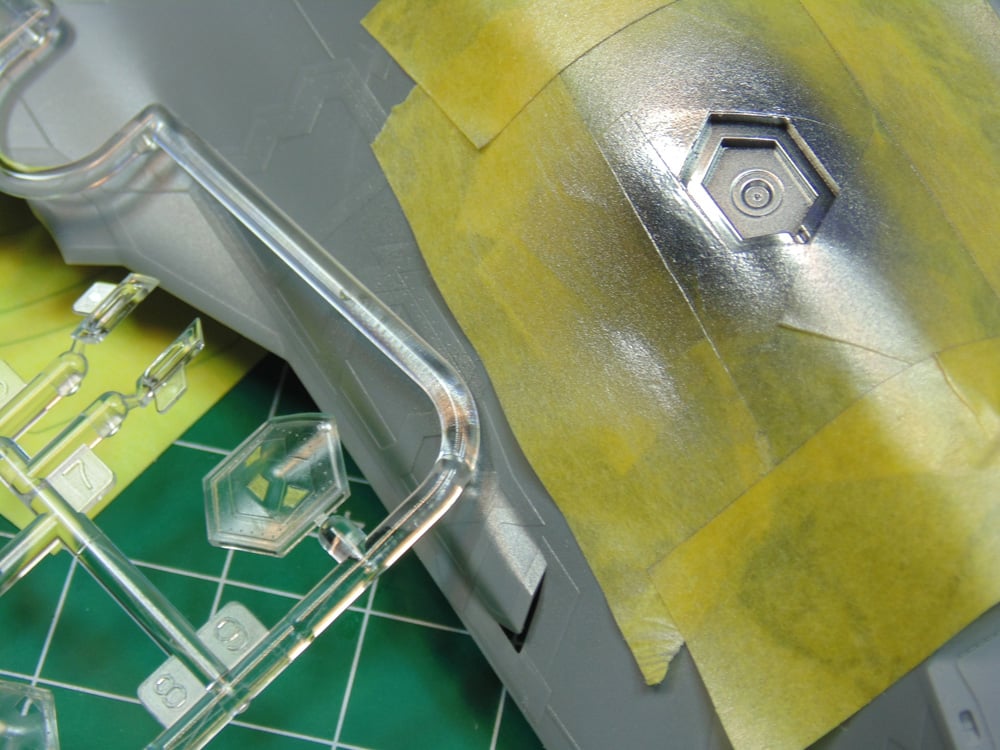
The upper half of the nose section has a curve. Here, I’m using some Tamiya flexible 2mm tape.
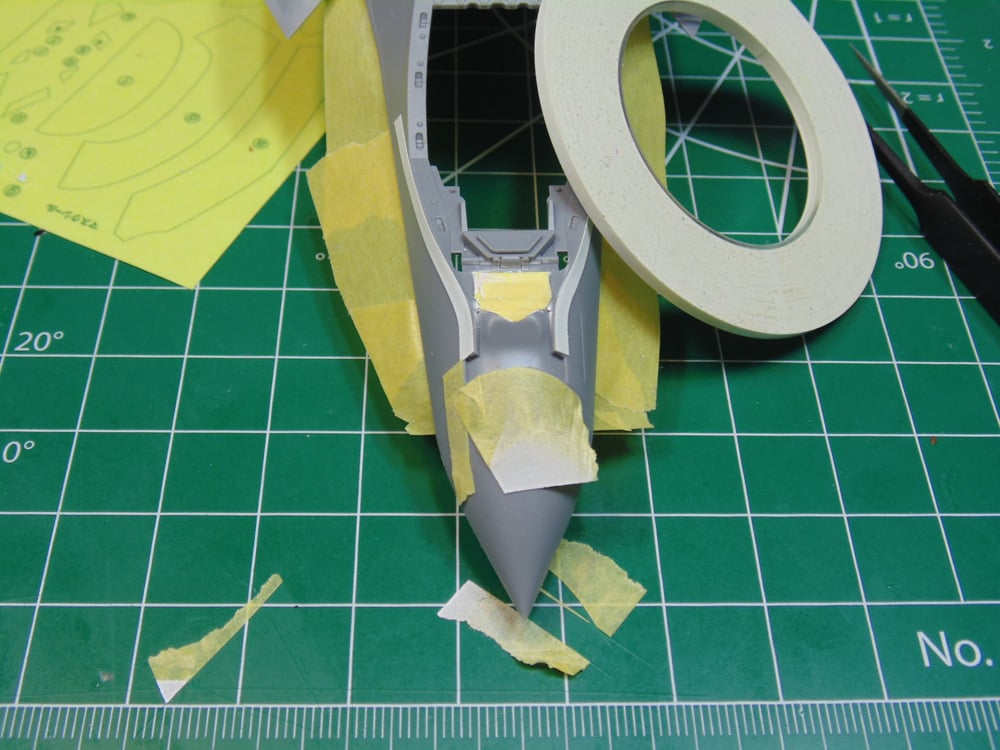
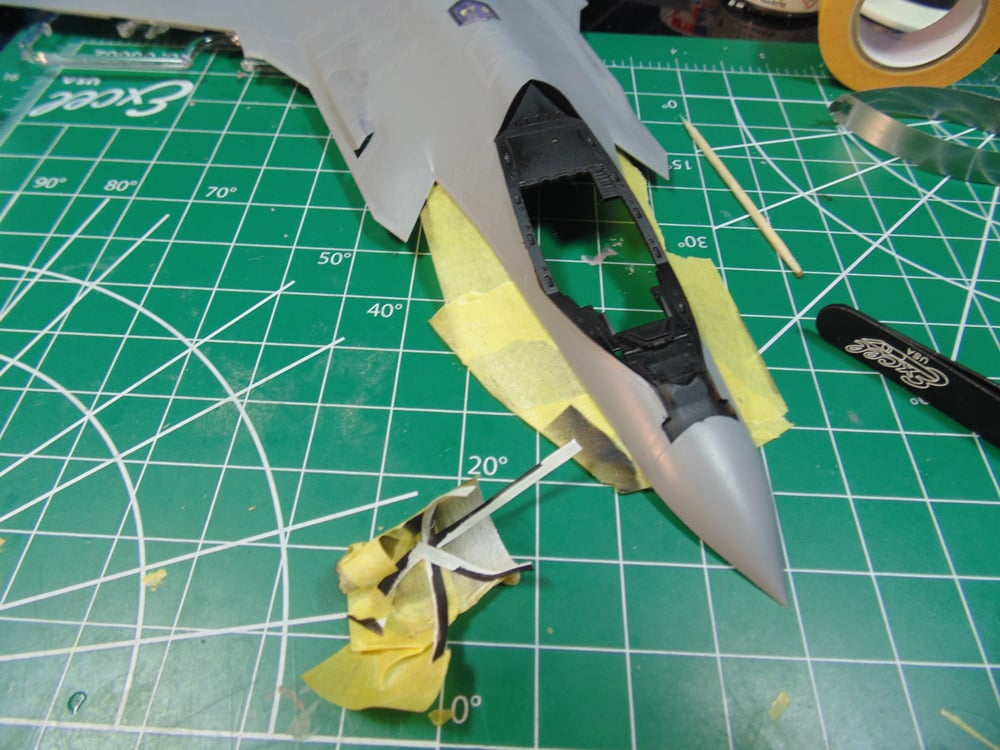
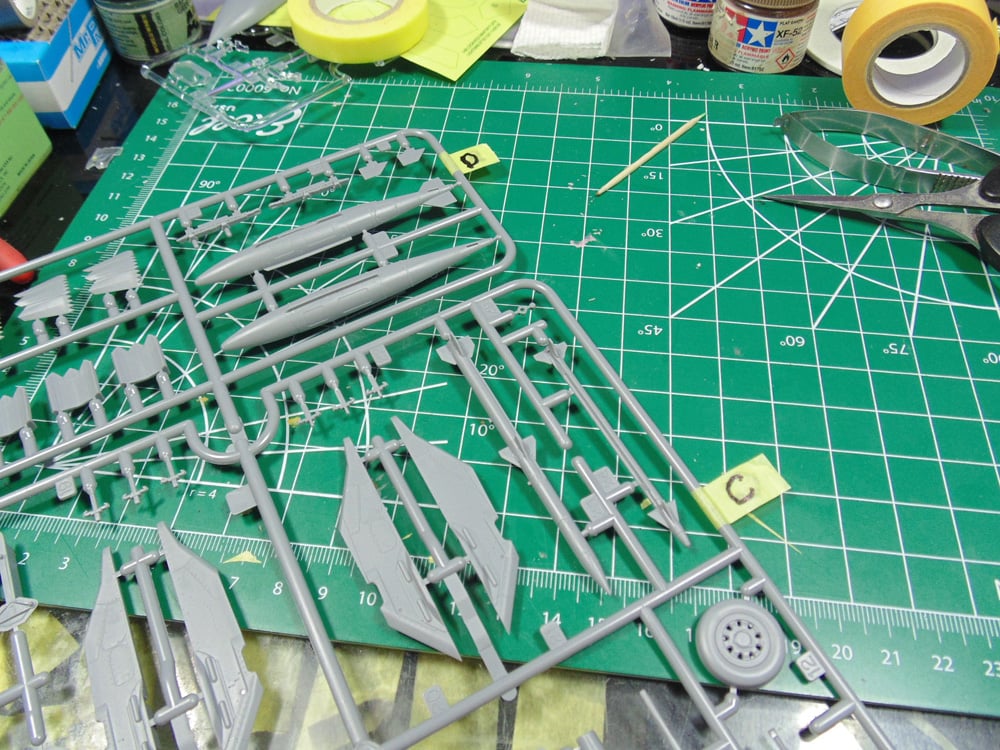
Here’s a tip, label your sprues for quick sight. It’ll save you countless time and frustration looking in the box when you need a part.
After spraying the semi-gloss you’ll need to mask it off to prevent the over-layerage. I’m doing these extra steps to make the model look as real as possible. You decide how far it’s going to look.
Finally, for step 1, you can see the result. A spectacular model in the works.
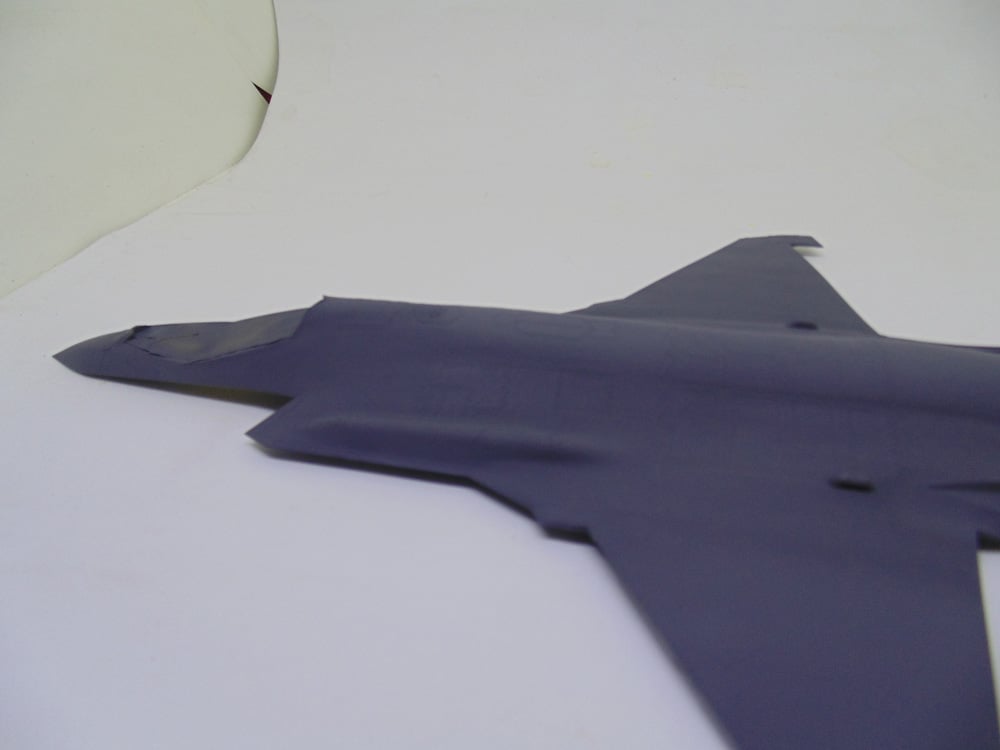
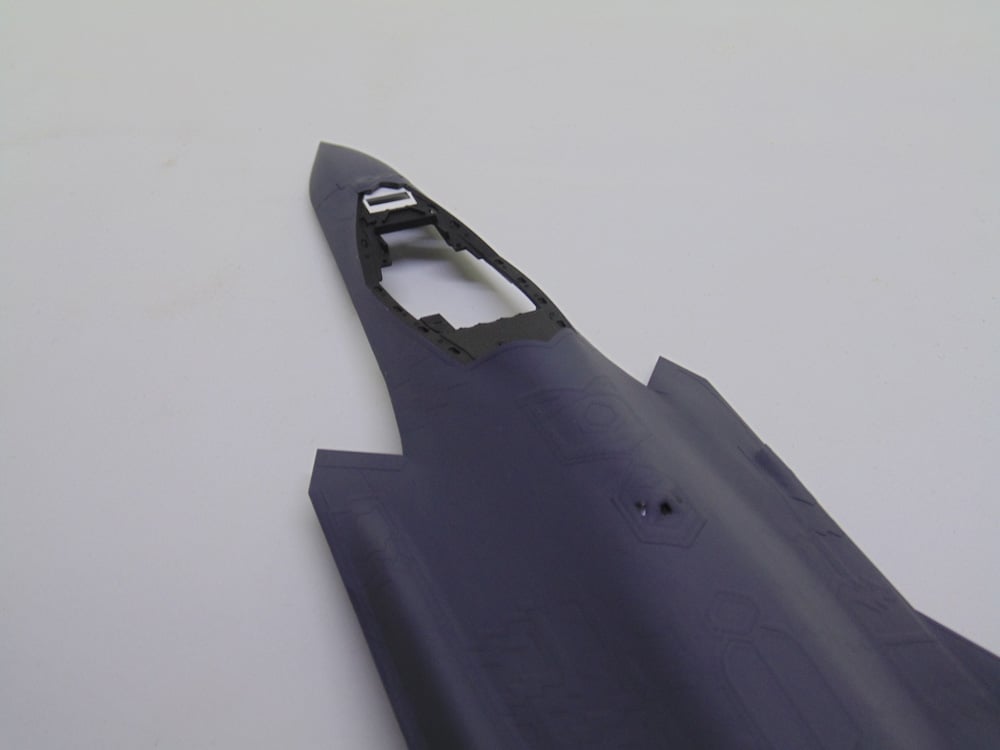
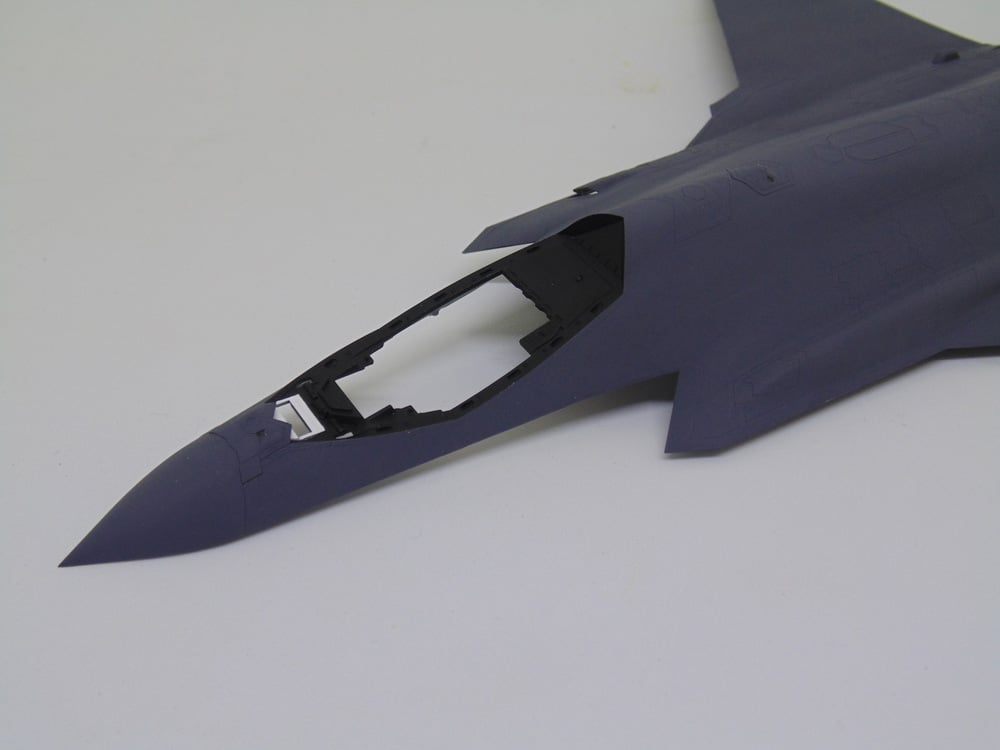
Stay tuned because there’s plenty more to come on this “Best in Class” replica.
If you have any questions about the products or methods used in this article, please feel free to ask the staff when you pick up or place your next order from Sunward Hobbies.
H.G. Barnes is a former voice-over artist and retired sales and marketing professional. He’s the author of two large volume science fiction adventure romance novels with many more in the works. For well over 40 years he’s been building scale model replicas and now does commission work for clients in Canada and the USA, plus completes projects for companies in Asia and Europe.
Currently H.G. is involved as an Associate Editor with KitMaker Network’s Online Magazine Channels.
Next: Part 2
