Tamiya German Tiger I Mid Production Tank Build Part 4 of a Series – Last Post
In this Sunward Hobbies tutorial, I’ll be continuing with the Tamiya Tiger Tank Mid Production build with Part 2. This is a 1/35 scale plastic model kit and the mid-production model of (Kit No 35194)
In this Sunward Hobbies tutorial I’ll be finishing the Tiger 1 mid-production 1/35 scale model from Tamiya’s kit 35194. A super awesome kit to assemble with great fit and plenty of options, should you choose.
As an author I like a theme or story for a replica project. This subject is called “off to battle”. When these machines were delivered, they were not camouflaged. It was a choice of the crew to paint them as wanted.
So, in this article I’ll be doing something rarely seen and unique, specifically for Sunward Hobbies.
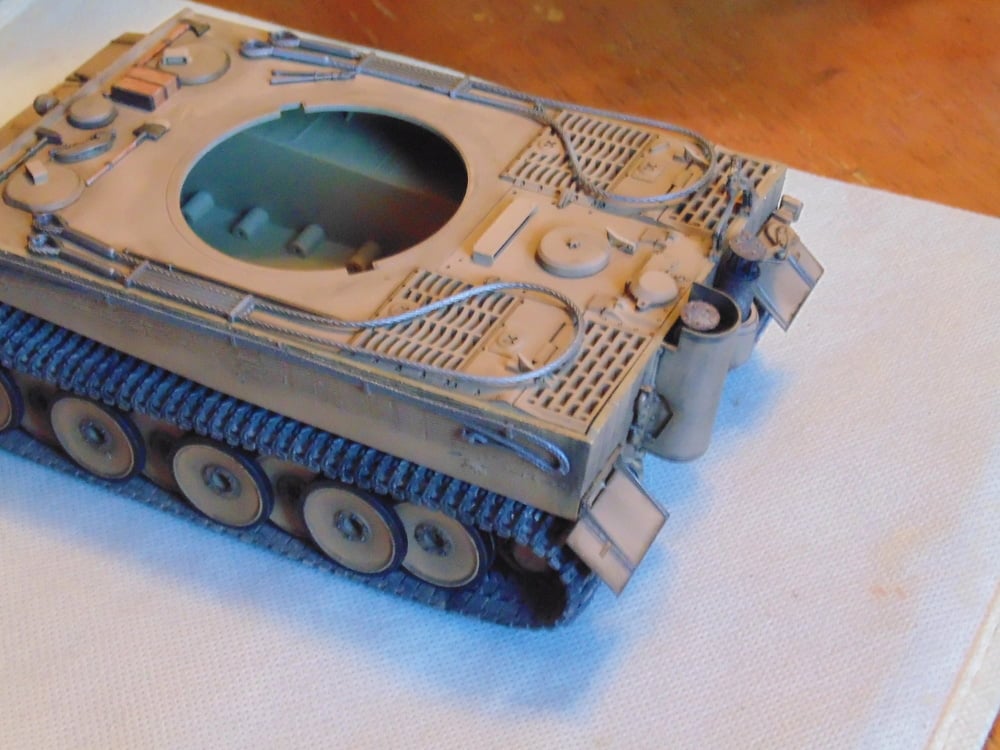
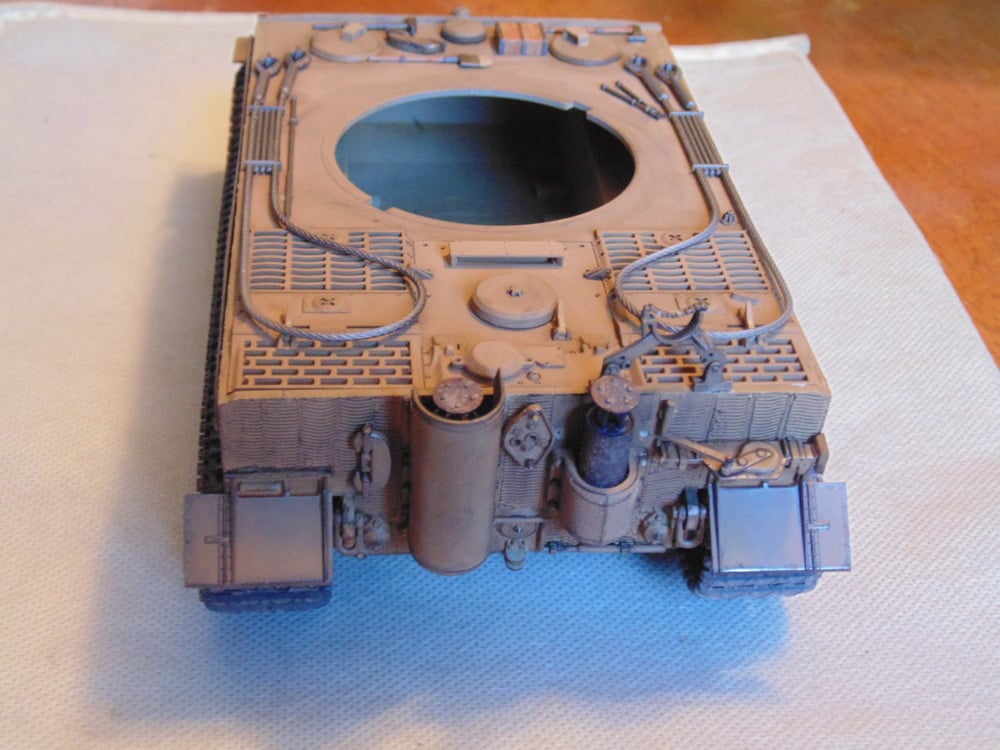
I’ve done dozens of camouflaged replicas for clients around the world, yet this is a first for me. Making a model look as if it came from the factory and driven to the receiving unit. Yet, it had to look slightly worn.
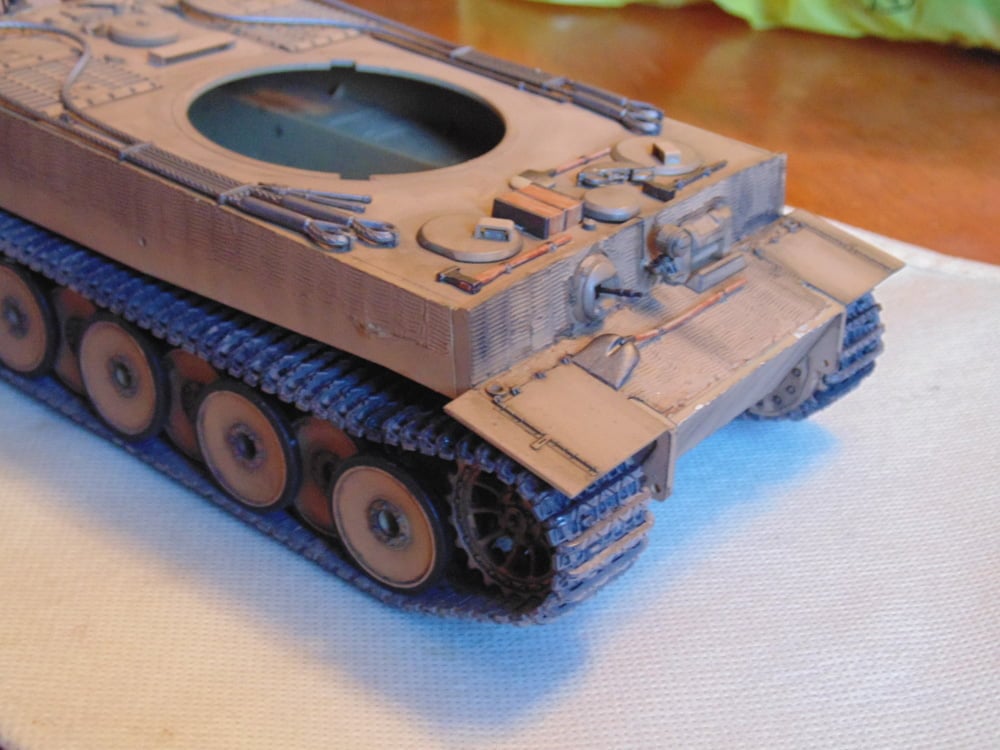
Here you can see more highlights featuring Mr. Color 214 being dry brushed on the edges. It adds a blackened metallic look which can be added to any stage of your build project.
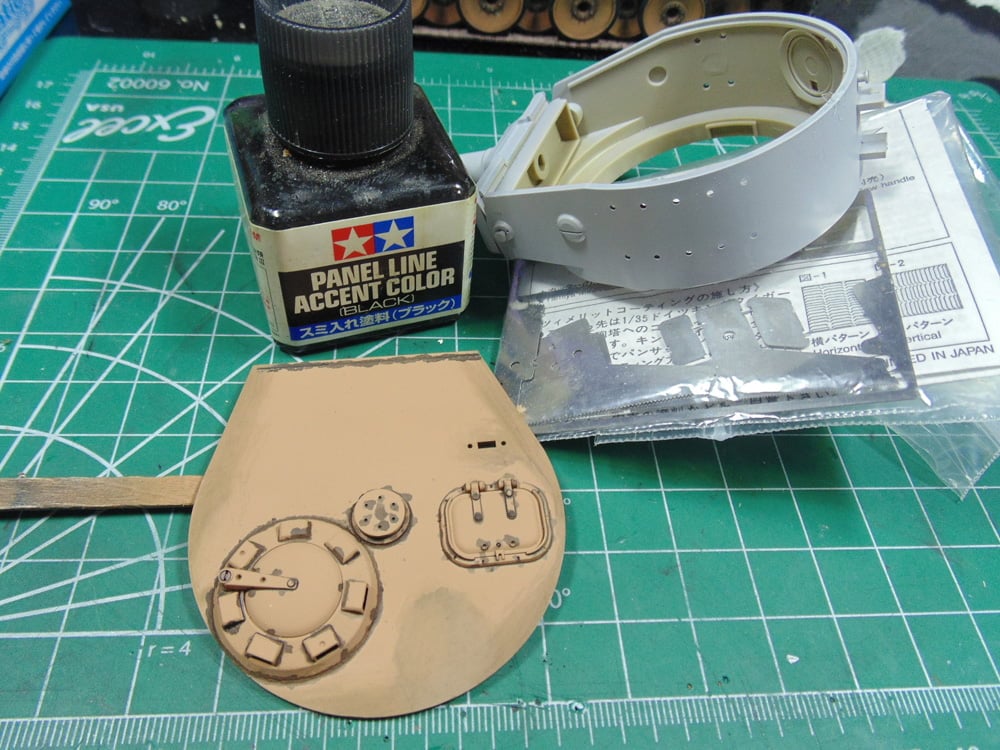
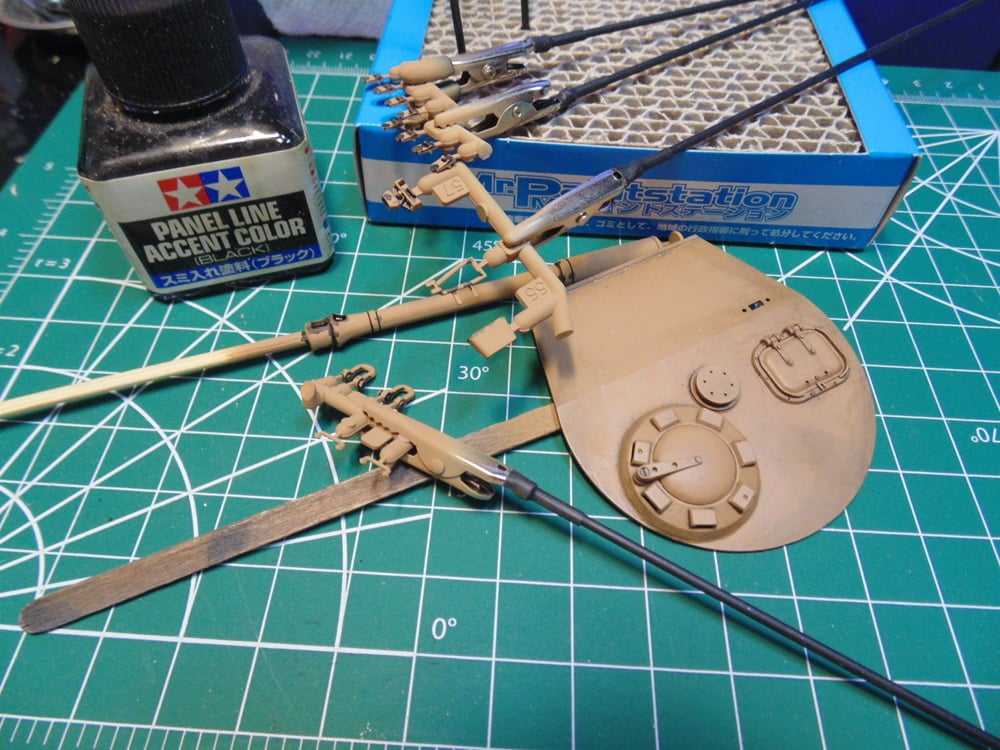
The top plate of the turret should be or can be as filthy as you want. Again, I’m using panel line accent and later will use enamel thinner to fade it off. A full tutorial on this method is just for the asking. Also, I’m preparing (fine sanding) the sides of the turret. Since they’re going to have a Zimmerit coating. Make certain the surface is smooth and primed for proper adhesion.
As mentioned before, clean free the teeth of the Tamiya Zimmerit tools. Use some warm water and a paper towel, if you don’t have a micro wire brush. You’ll need all of the 0.7mm devices to get the look you want. Remember, this can be removed if you are not happy with the result.
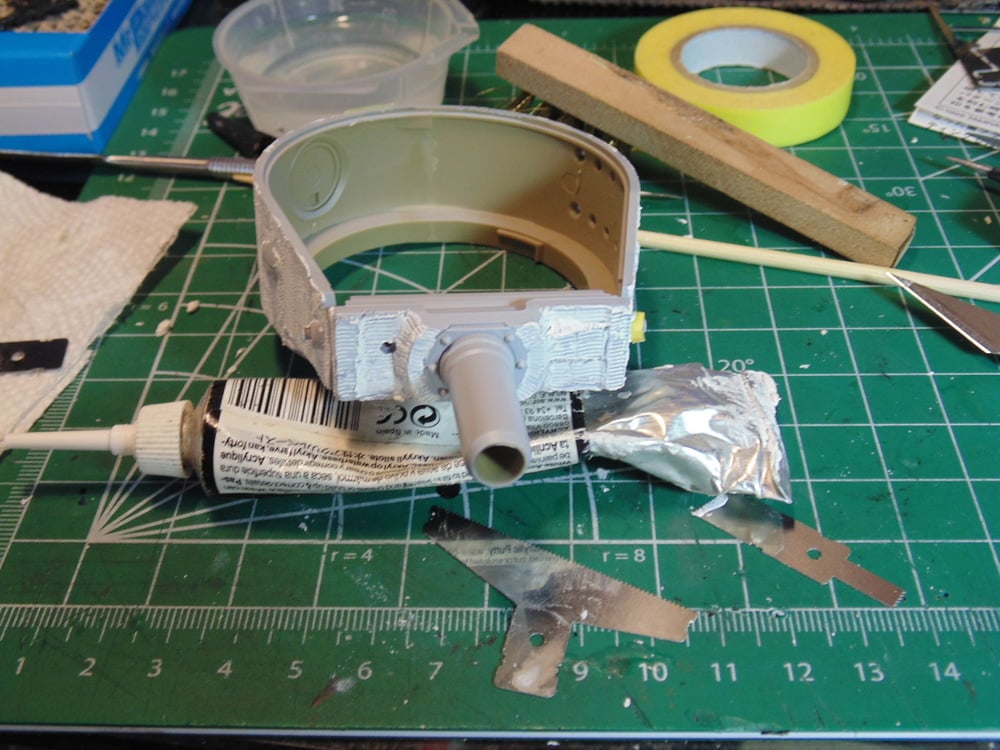
With the Zimmerit applied, leave it dry for a couple of hours or overnight. You want the sharpest or hardest surface when dry-brushing to pull out the boldest detail.
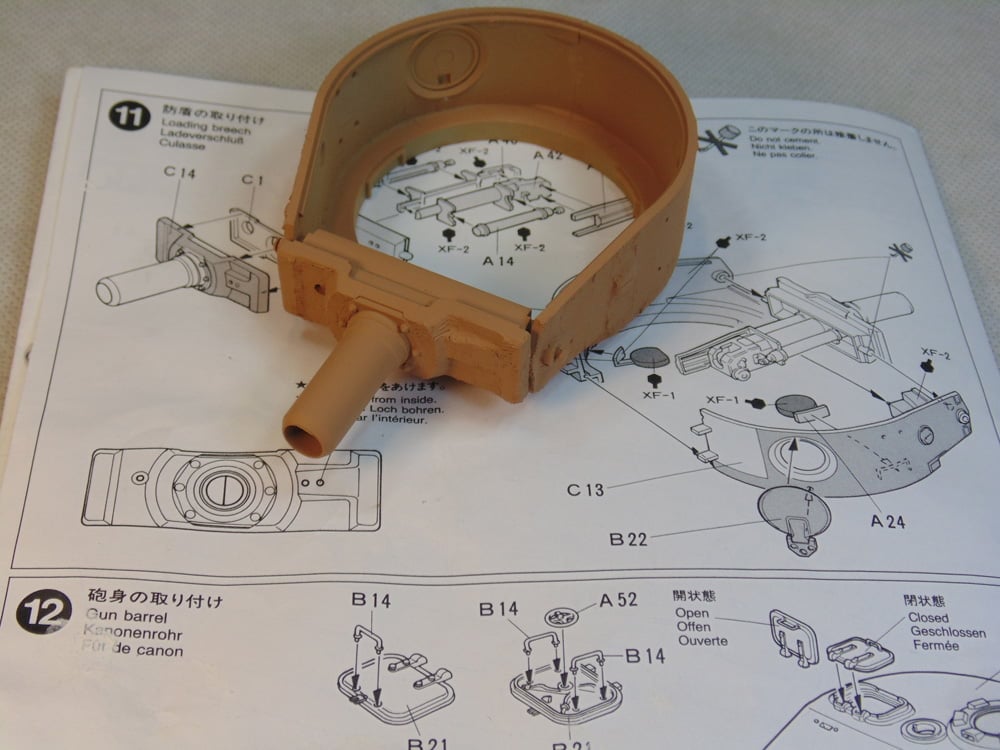
This project has closed hatches, thus there was no need to assemble the limited interior parts. However, you should attach the back brace to move the 88 up and down. This movement will help with weathering down the road. Also, don’t worry about the bright desert sand color. The weathering/filth will bring the color to the darker yellow as suggested in the instructions.
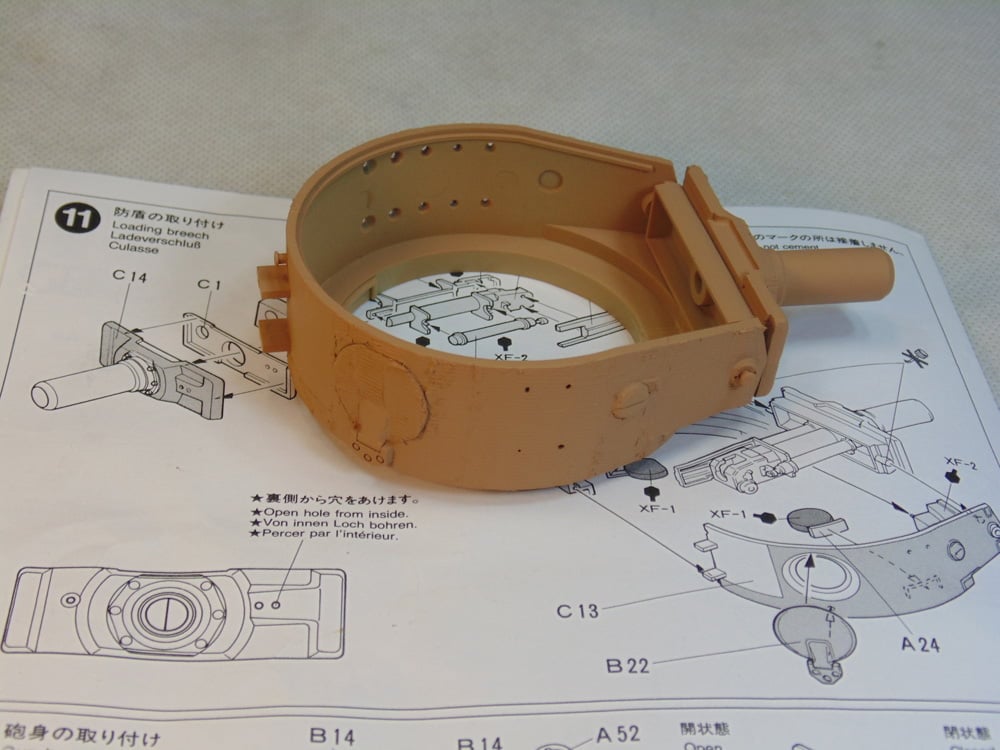
Some areas need to be cleaned of flash lines while others are a complete waste of your time. Fit the components and decide, yet trim off the excess filler from your Zimmerit application. Again, make sure there’s a full up and down movement of the barrel.
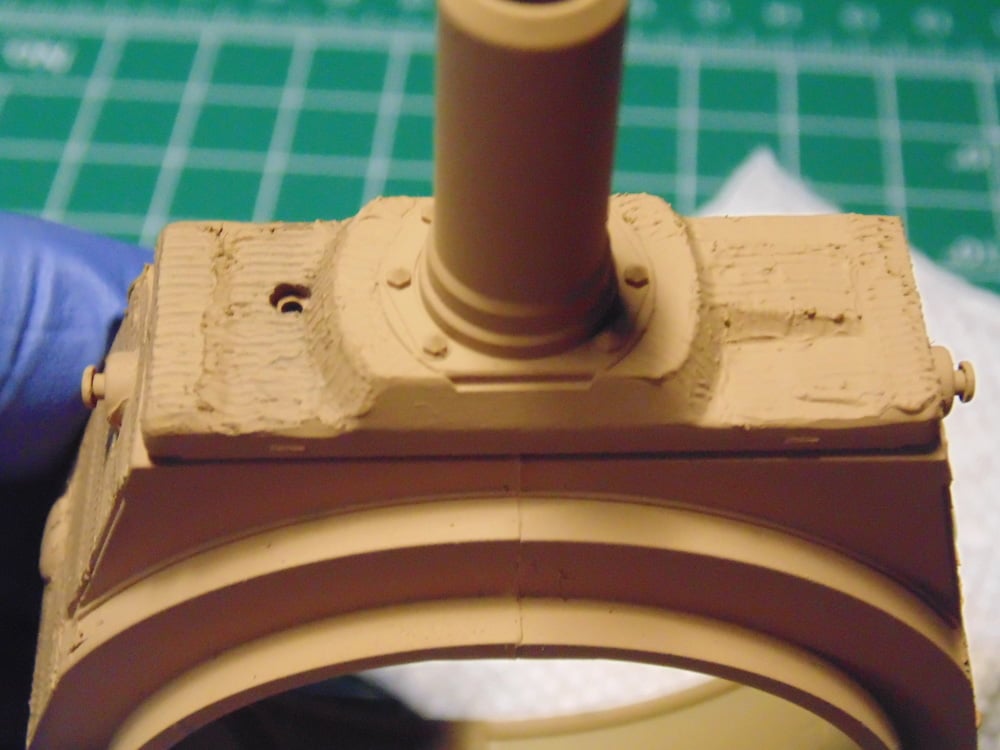
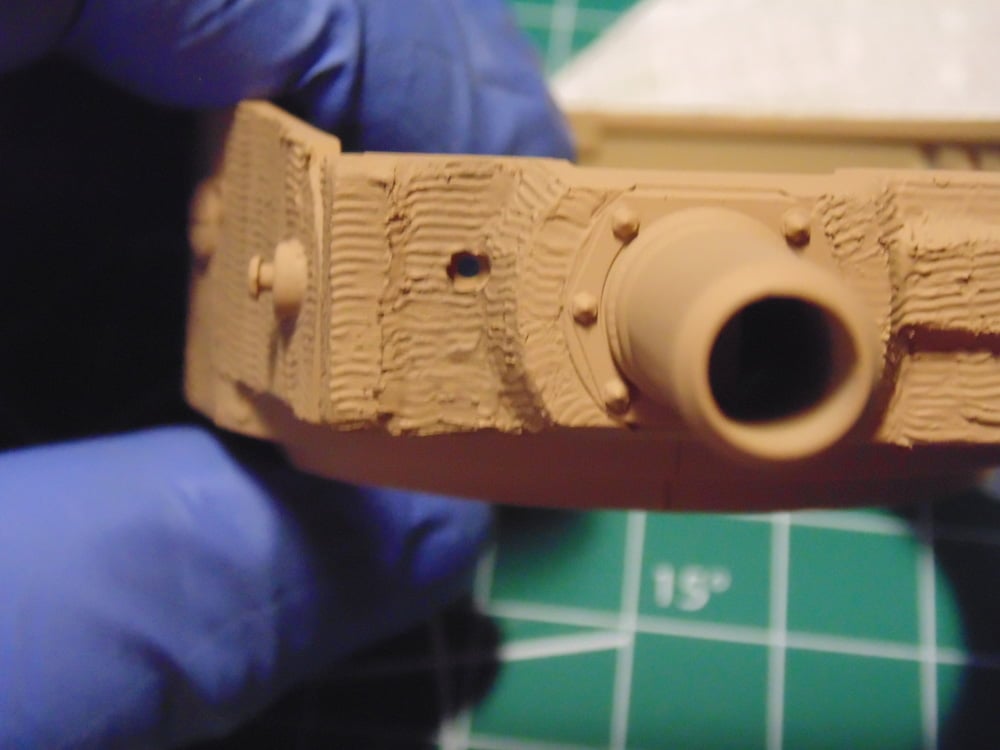
You need to wait for the selected putty to harden and due to being painted. This will take some time, but there are plenty of other tasks to have fun with while that’s happening. In this photograph it shows how I need to clean up the area around a gun hole.
As mentioned in previous Sunward Hobbies articles, when feathering on pigment use a white paper towel to gauge the level of highlighting you want. Just touch the tip of the brush in the pigment, then gently brush the paper towel.
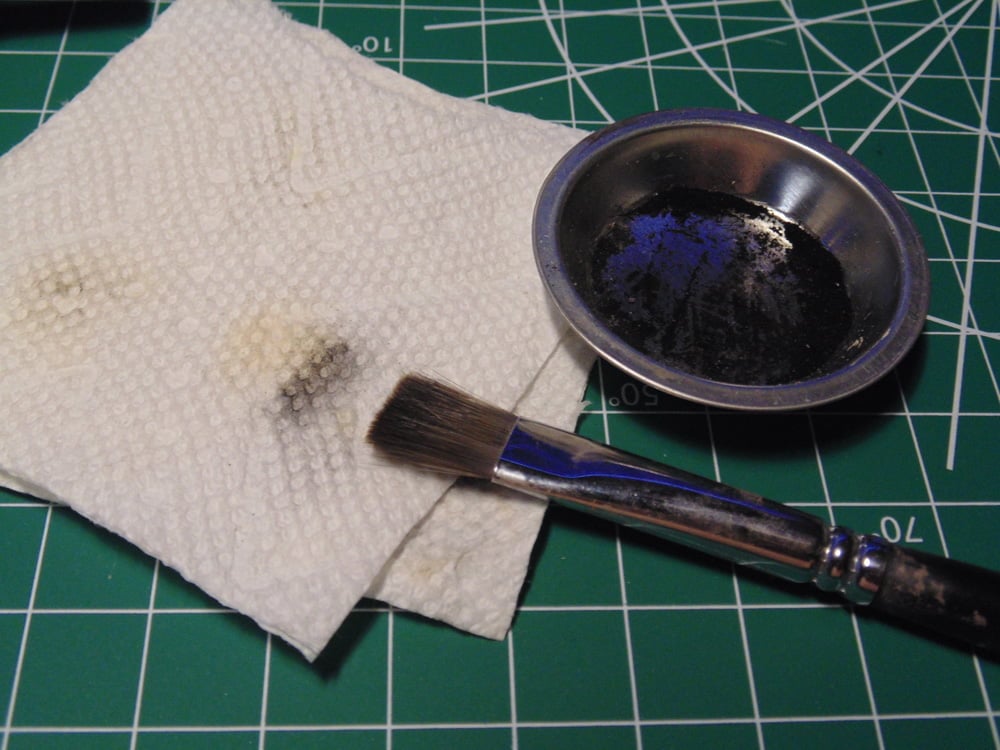
AK soot pigment is ideal for exaggerating raised lines as if they came out the factory finishing line. Use whichever pigment suits the look you want. The great part is you can go to town on how much is needed for the appearance, just make sure you have the right brushes. This picture shows how I’ve feathered off the excess pigment prior to dusting.
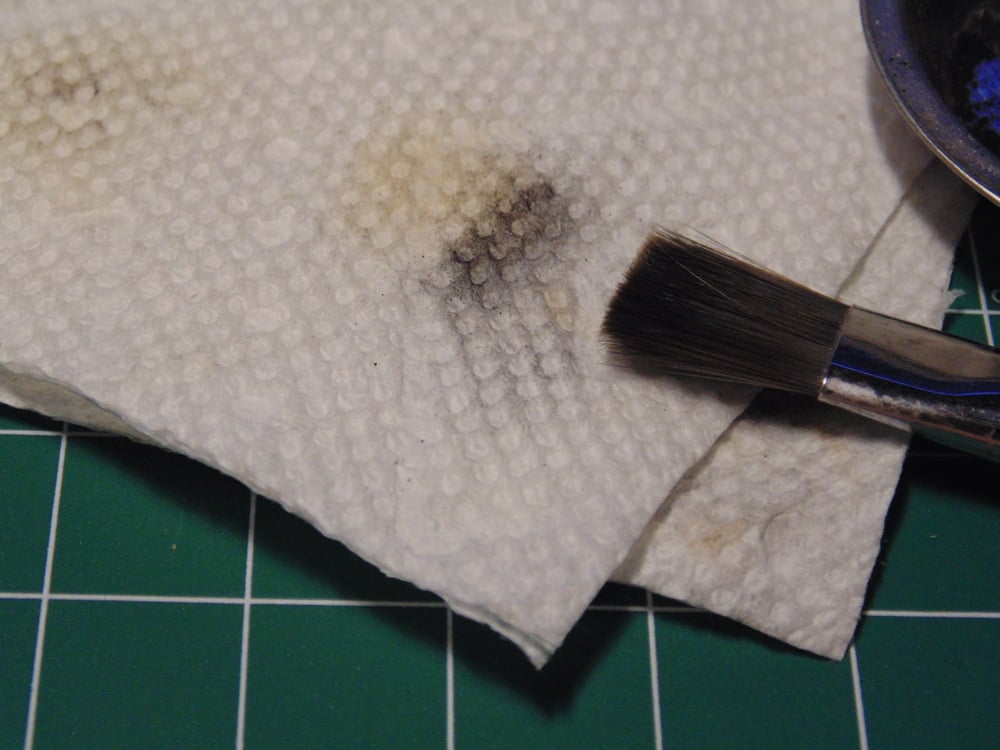
Here you can see the work in progress as explained. Very gently run your brush over the high points to get the effect. Remember, you can always remove this with enamel thinner if it looks too heavy.
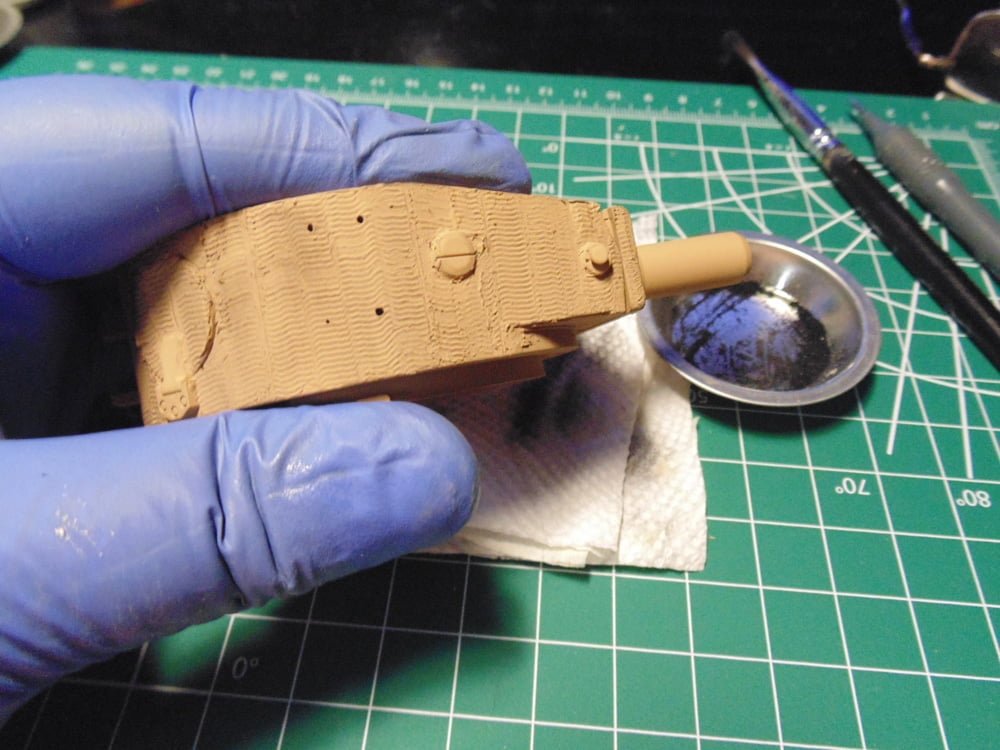
The top of the turret was dabbed with accent filler then, after it dried, was touched up with AK Interactive pigment fixer. This blended the black tone into the sand color. You can see how sharp the color contrast between the turret top and the parts are. Again, choose whichever pigment accent color is right for the subject you’re replicating. Keep in mind that the enamel thinner takes a few seconds to loosen the pigment, so be patient and gently rub the area with your damp brush.
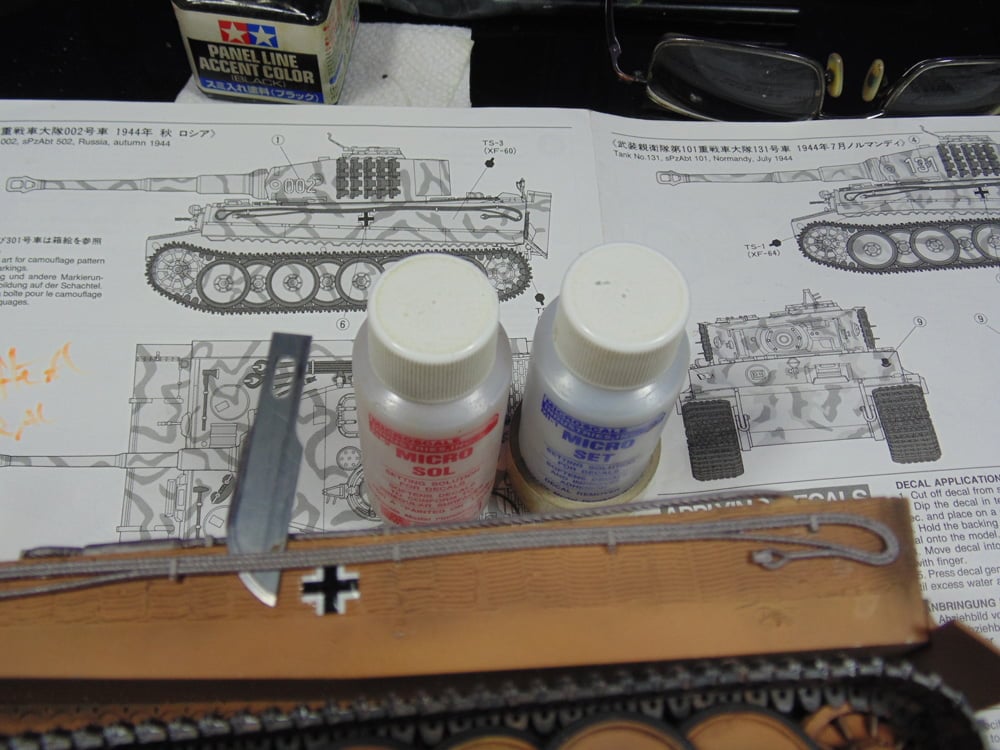
Now for some decals. Use an old blade to lift the left side cable up. I like Microscale products for this job because of the rough texture in the Zimmerit. Micro Set gives you enough time to position your decal before it dries. Consider picking up AK rubber brushes from Sunward Hobbies. These brushes are great for many painting tasks and superb moving wet decals into just the right spot.
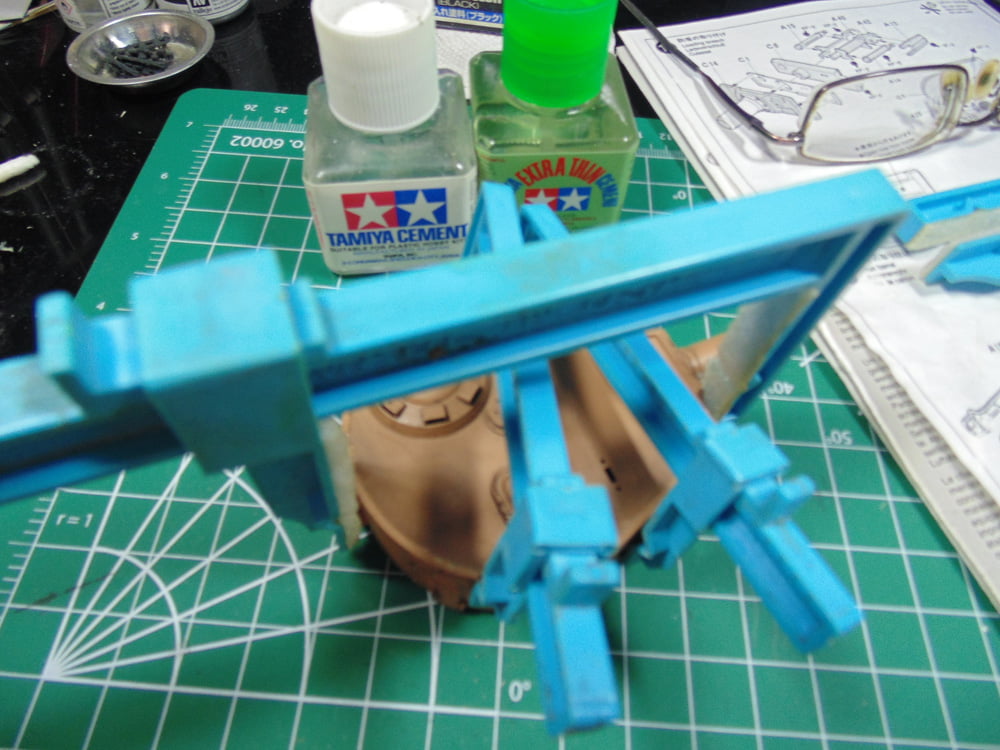
To get the turret top fit to be as tight as needed, begin with a slow drying glue along the edges. Then when your clamps are in place follow up with extra thin cement. You can also run a bead under the bottom to ensure a strong bond, as I did here.
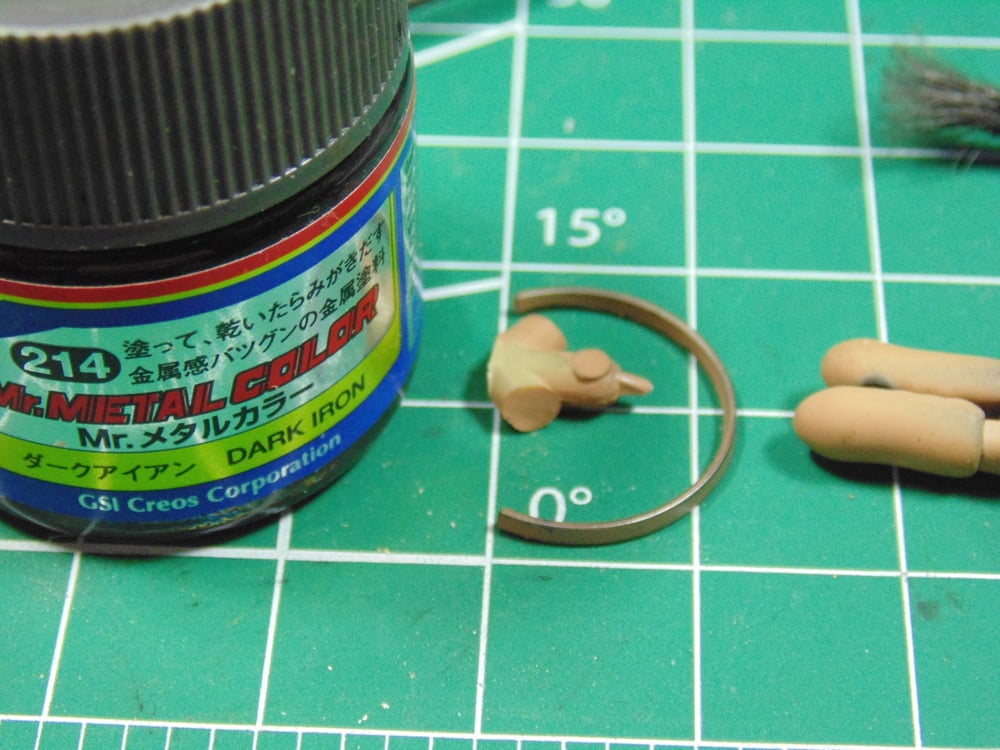
Delicate parts should be weathered separately. You have much more control of the look this way and a vastly lower chance of breaking them. Here I’ve dry brushed on some metallizer.
Now you can go around and add pigments to any missing places on the upper hull. It’s your call to add pigment fixer. The dull coat of the paint is sufficient enough to grip the tone you want to use if the replica is not going to be man handled in the future. This is the perfect time to highlight critical areas since most of the model has been completed.
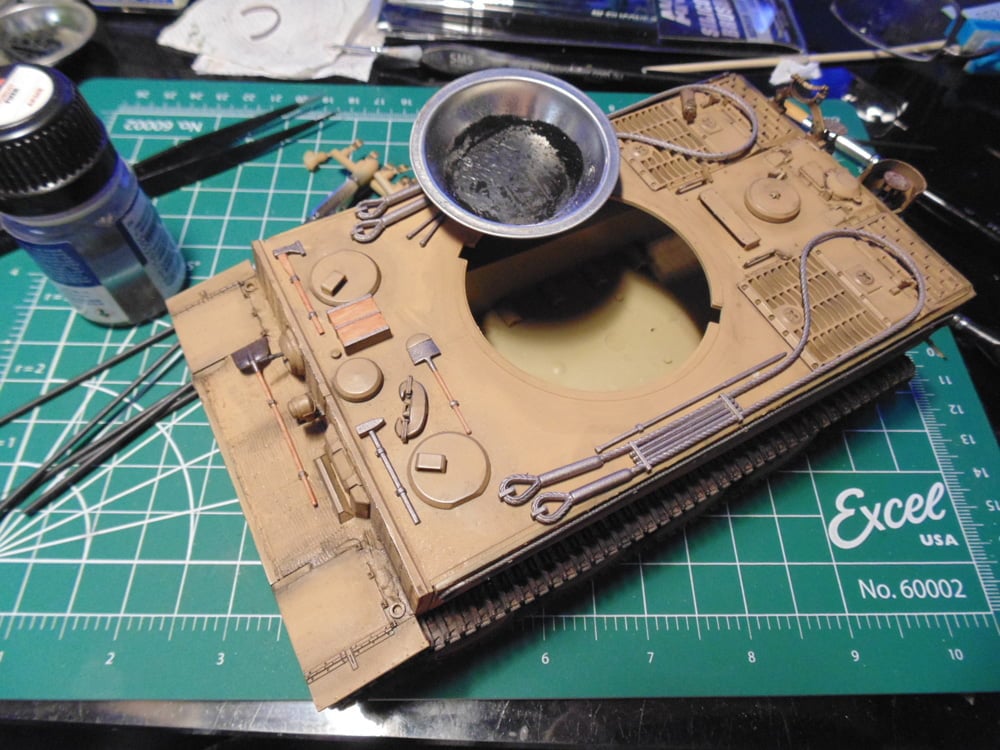
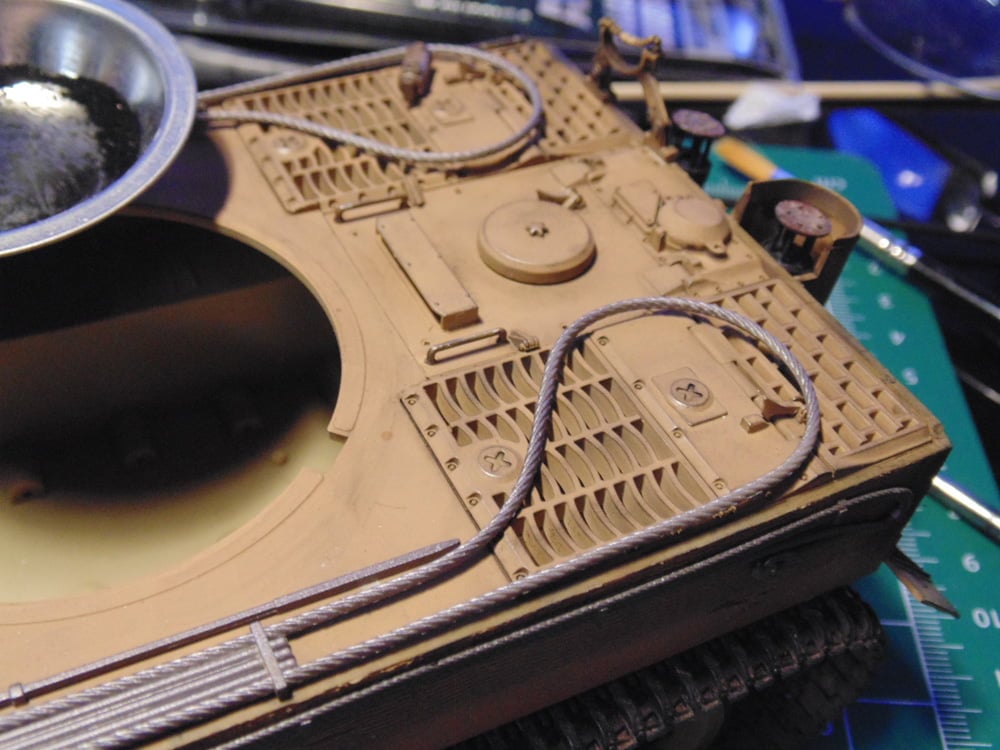
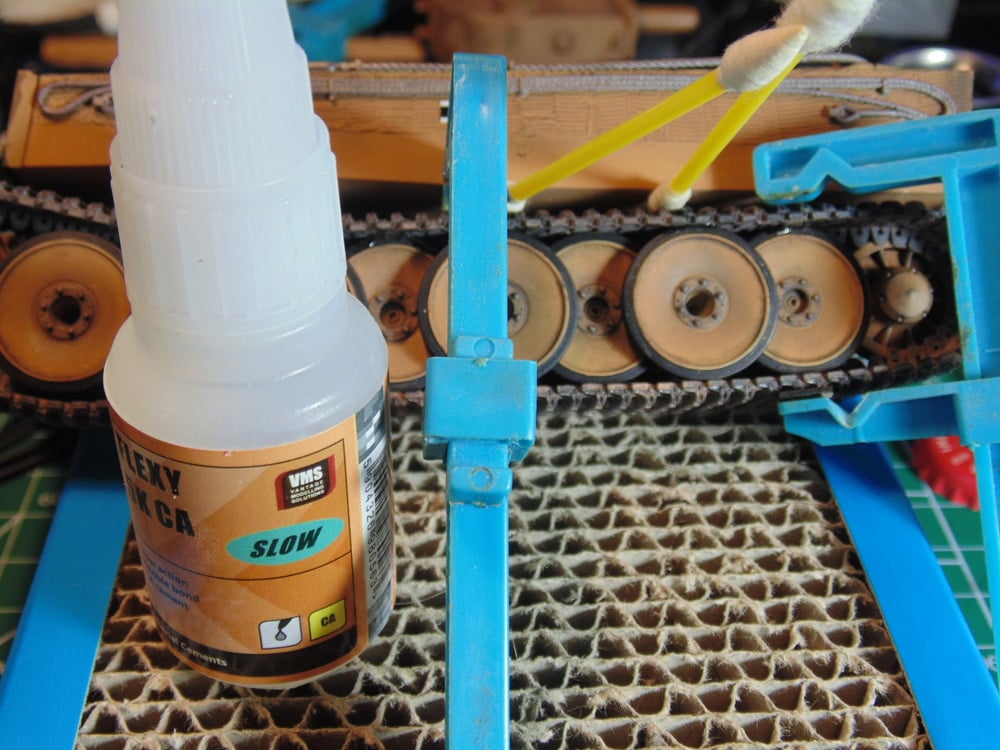
With the upper and lower hull joined and weathered you can compress the tracks to the road wheels. VMS CA works well for this because you’ll be dull coating it later and this product doesn’t mind being painted. Let your CA set for an hour. The Mr. Hobby paint stations are terrific to angle your project.
Here I’ve dry brushed some metallizer on the turret. A simple task that adds tremendous depth to your project, should you wish to do this. Use a high-quality brush for the task so you can control the contrast.
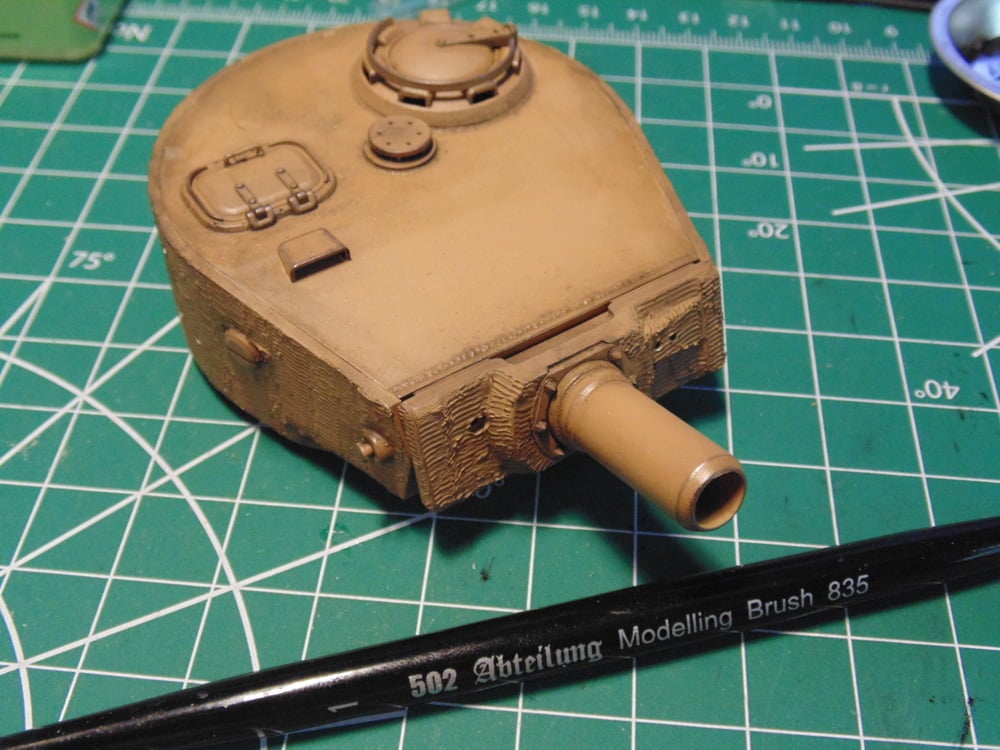
In this picture you can clearly see the middle has been “roughed up” more than the outer ring and mildly weathered in the inner rings. The choice is yours.
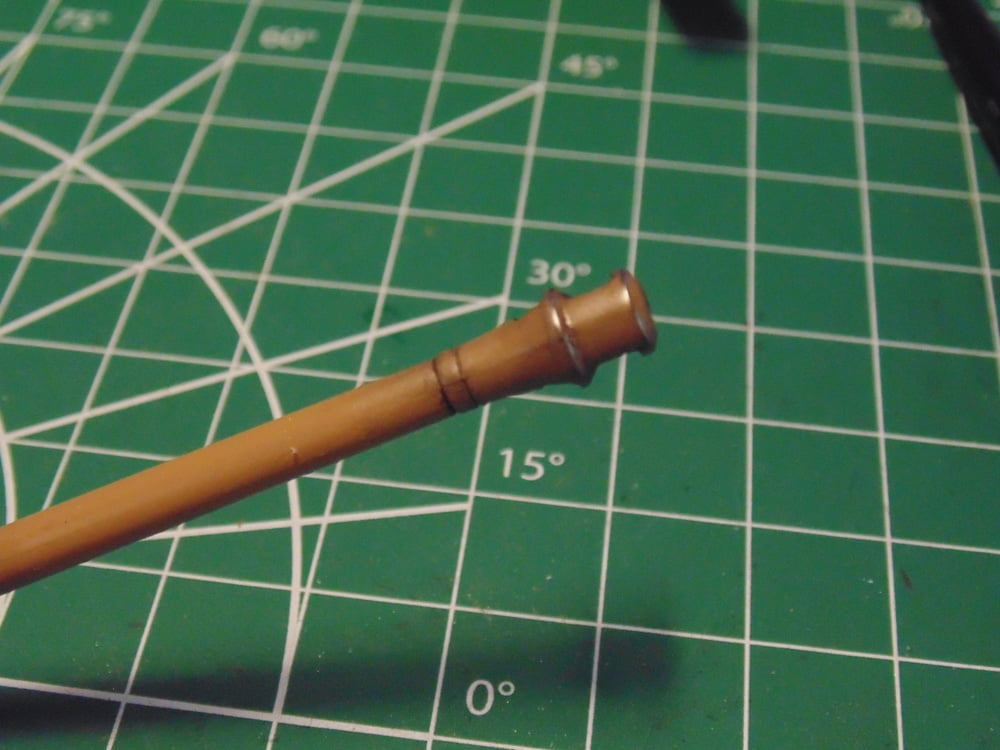
The amount of wear and filth depends on your desire as a modeller. I like things that have been worked on to look as such, but that’s an artistic call.
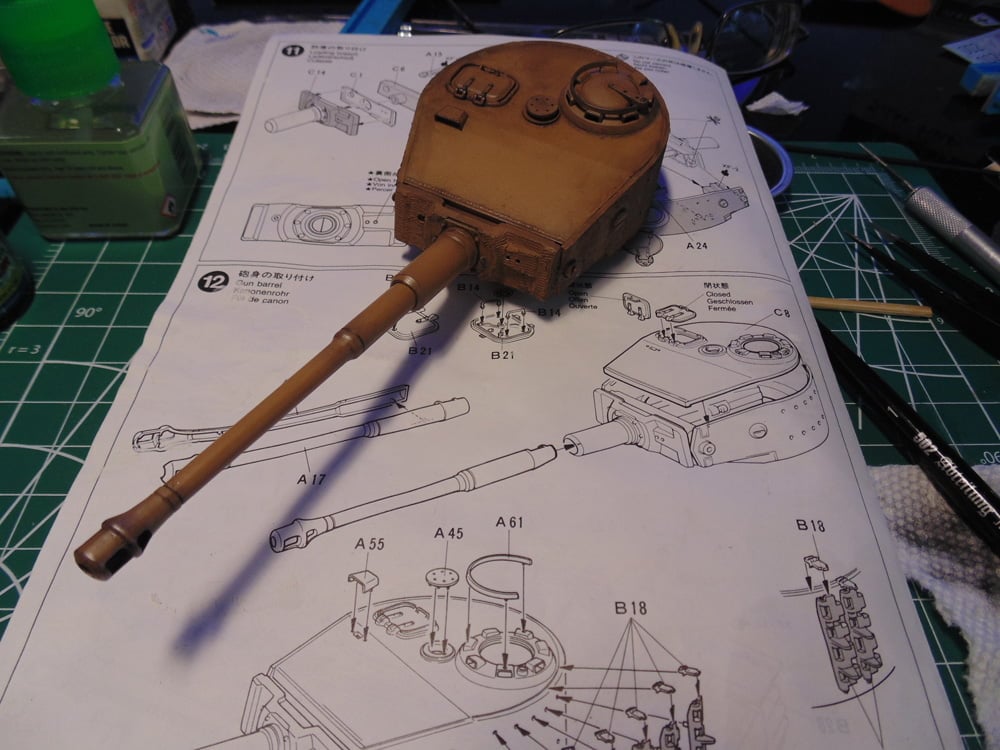
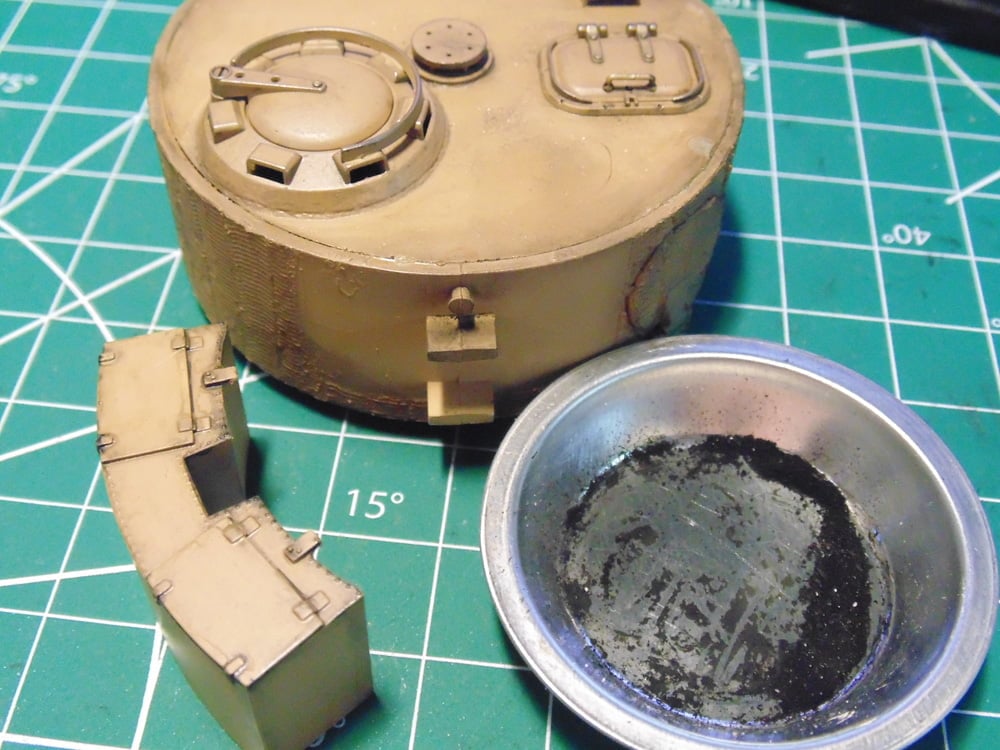
To complete this project, I have to jump around between steps. I really like Tamiya instructions, yet they don’t include weathering notes. Sometimes you must think ahead, to even the final step, to work out a plan of how parts need to be connected. Adding fragile parts makes no sense since they might be snapped off during affixing others. So, I’ll leap-frog ahead and attach the stowage compartment. Naturally, it was weathered up. You can also black dust any bright sand-colored spots here as well.
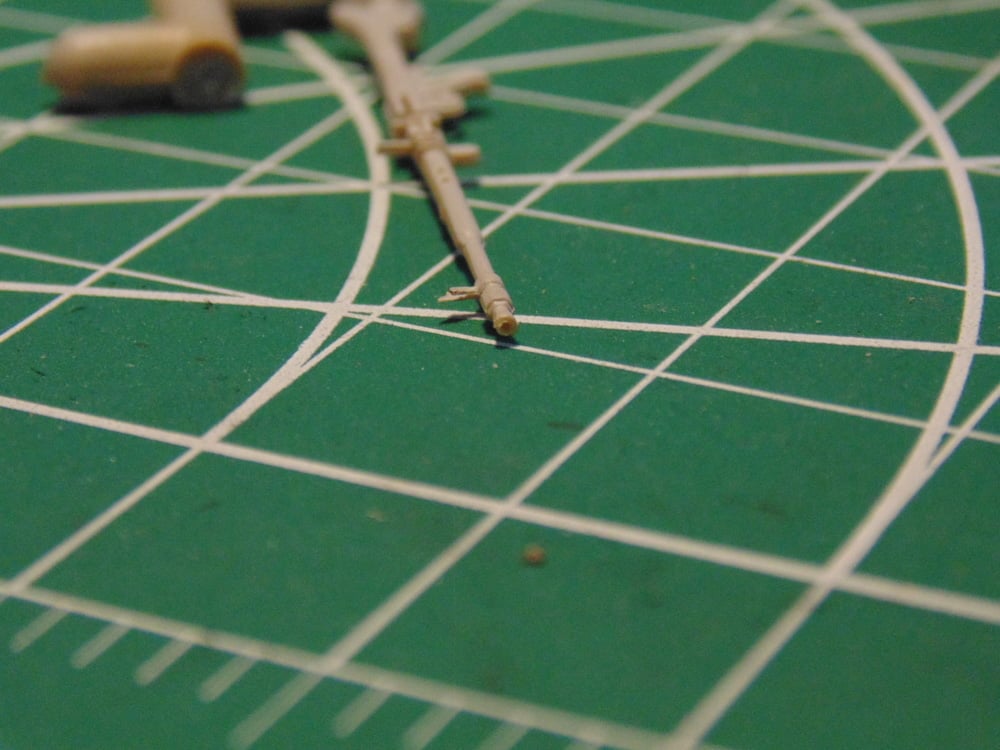
While that part was drying, I spent some time to core out the muzzle of the anti aircraft gun. There’s always plenty of other things to do while something else is taking its time to settle down. Pickup a tube of No#11 Excel blades then puncture a hole in the center then use an Excel No#78 drill bit to make the beginning hole and move up to what you feel is appropriate. If the plastic dust does not come away with a brush it can be melted into the part with a tiny droplet of extra thin cement.
Make sure to add the spare tracks before attaching their holders. This way you can align these bits properly. You may want to consider using a dab of CA to the track’s connection points because the pins are not very long, plus there is the Zimm thickness.
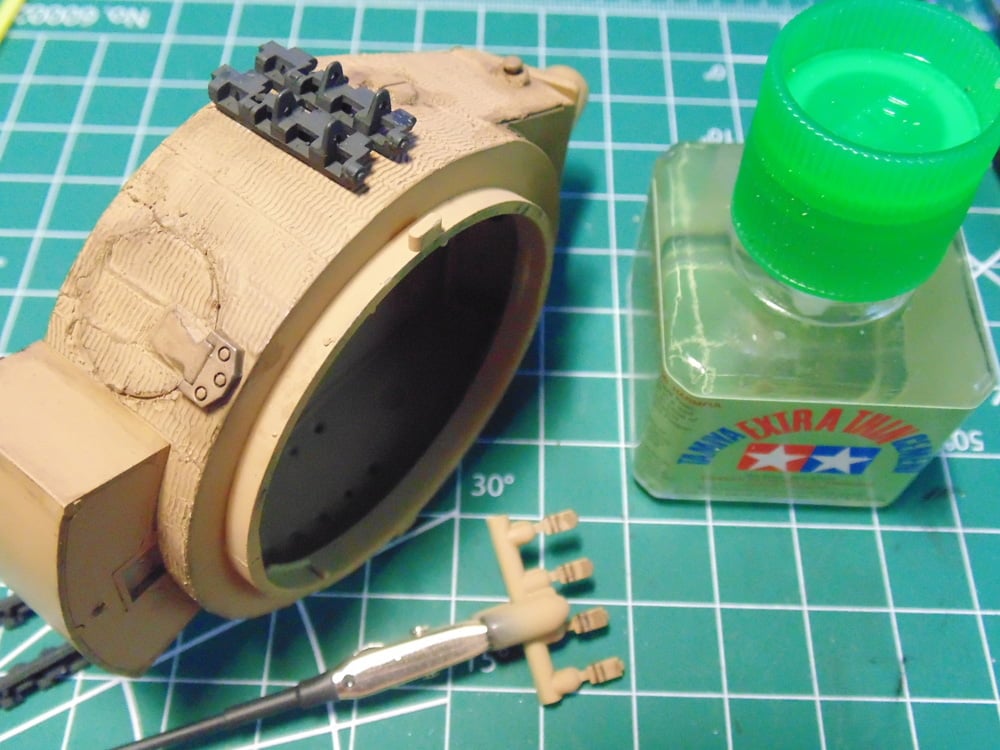
When applying the larger decals over raised details let them dry before puncturing any spots which have not fully conformed to the surface. Then let each application of setting fluid to dry as well before applying more. It may take several coats, but they will “bed down”.
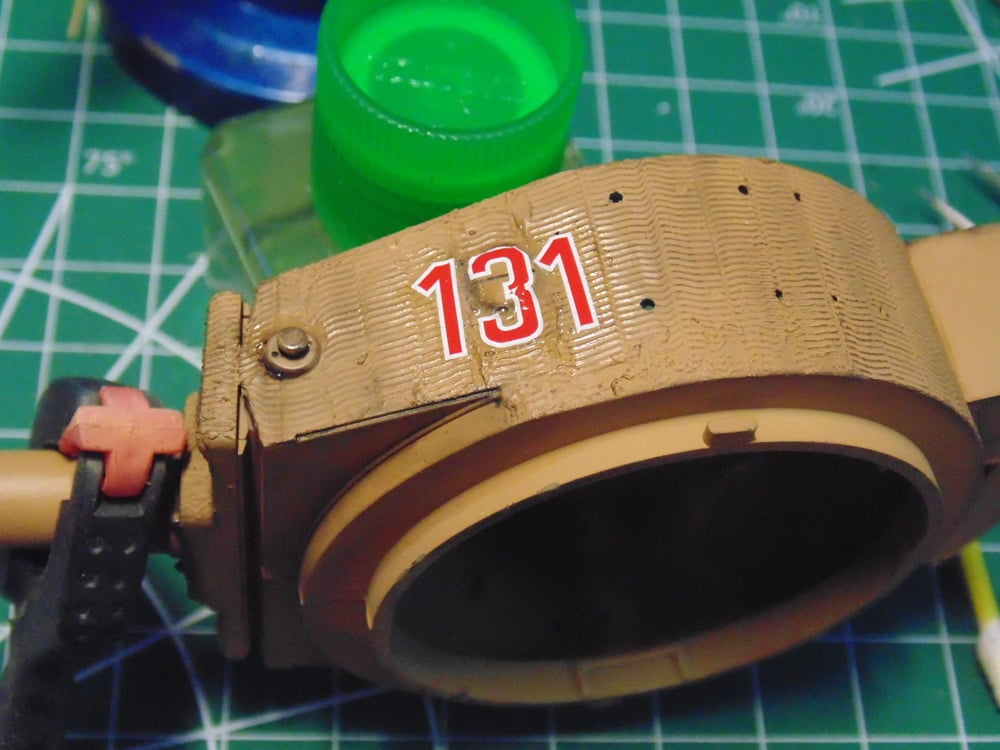
In this picture you can see the different stages of cleaning up the filth from the panel line wash. Wet your brush with enamel thinner or pigment fixer then bath the area and let this sit for several seconds. Now you can gently rub the places you want to be cleaner and wipe the pigment off your brush. Repeat this until you are pleased with the look.
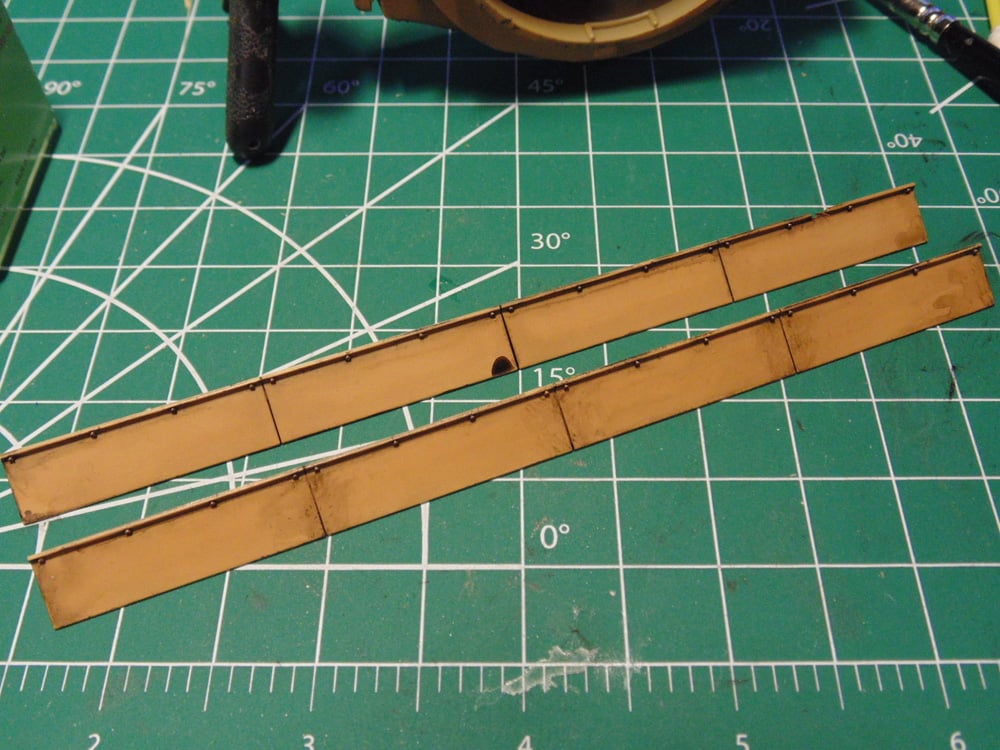
Here’s a tip for quickly touching up spots on parts snipped off the sprue tree. Tamiya extra thin cement is great for melting and blending acrylic and lacquer paint. It will knock down any plastic burrs at the same time. This will save you a huge amount of time with shaking a jar of paint, applying and cleaning up the brush.
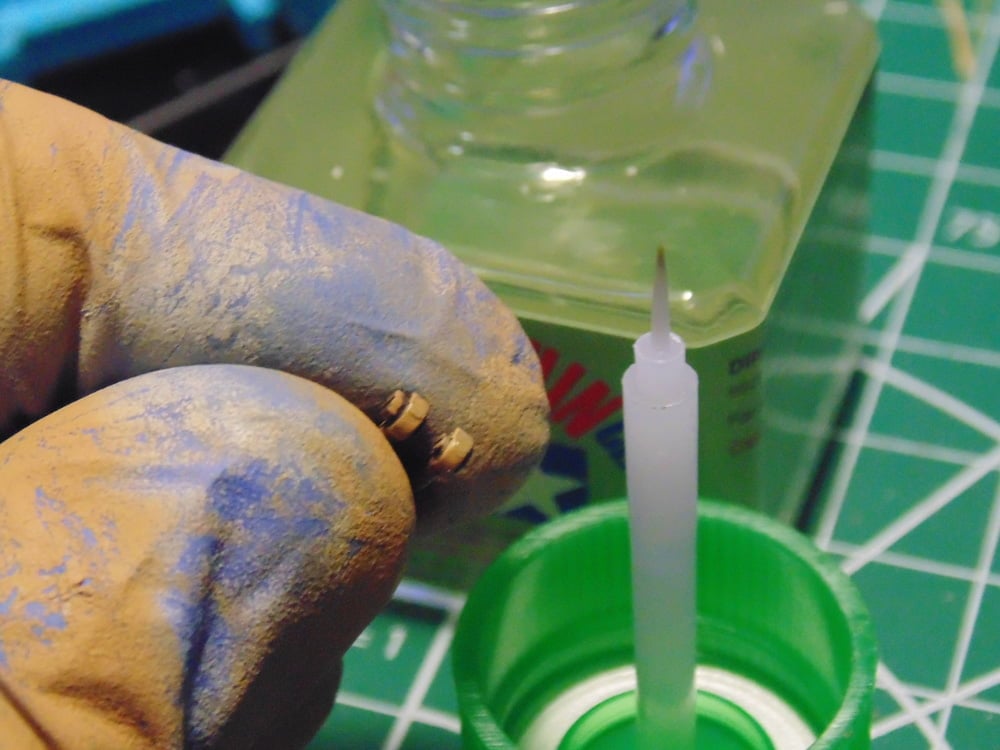
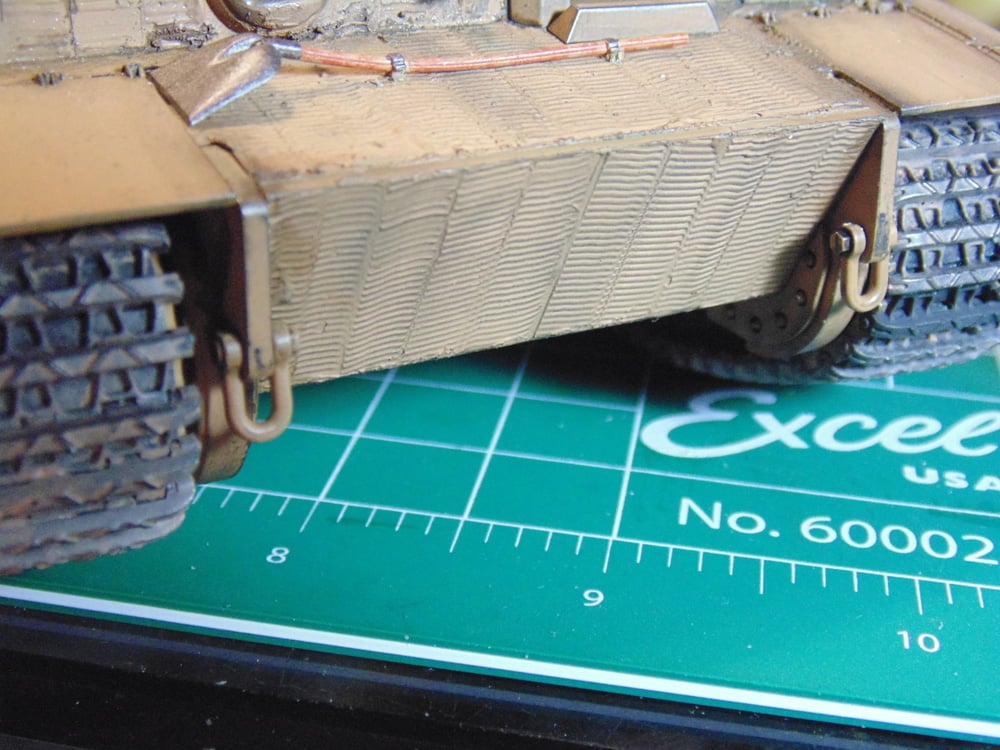
With the tow clasps attached, you can now dry brush any desired pigments or metallizer. Keep in mind that pigments will come off on your fingers, so be careful how you handle the model.
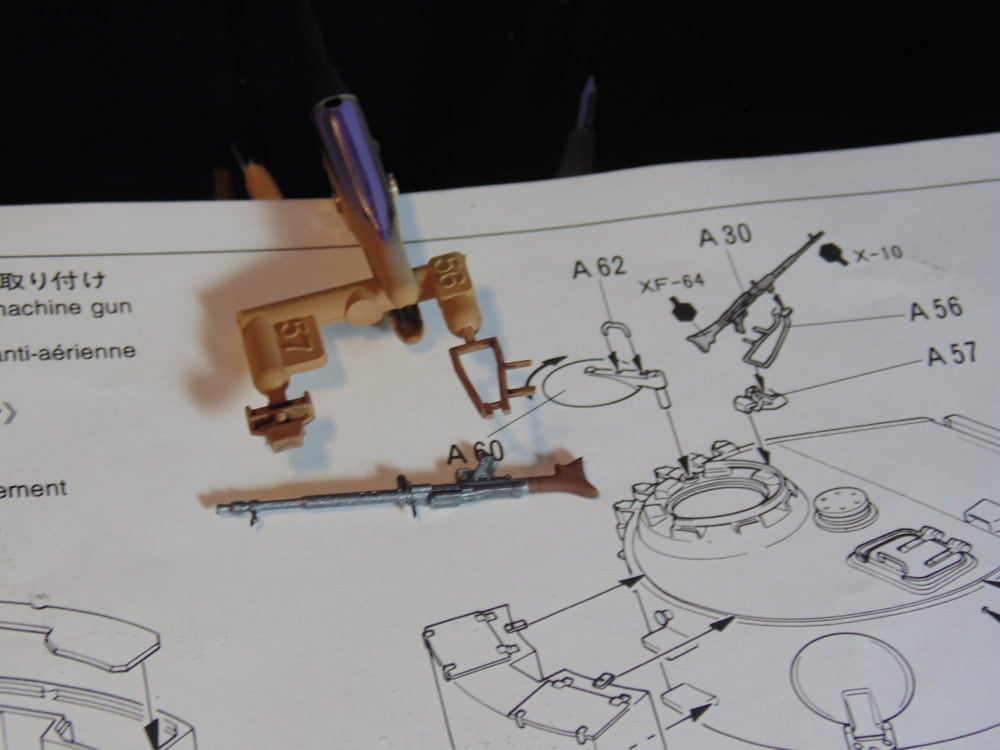
Regardless of the instructions, I always attach delicate parts last. Here you can see the anti-aircraft machine gun parts having been slightly weathered.
The unit insignia decals go on much more smoothly if the model is turned up or down at a 90degree angle. It will make your experience easier plus allow the decal to stay put and dry more evenly.
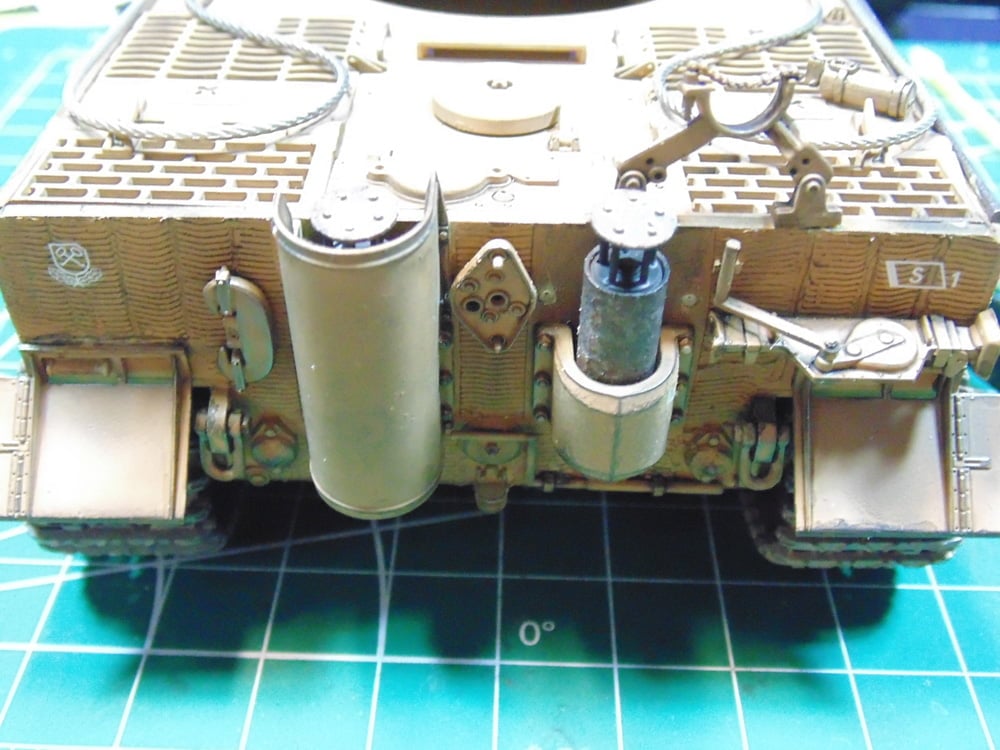
Use a bit of material to assist the parts to rest upon while drying. Always try to clean off the connection points free of any added pigments, paint and primer, especially when it comes to small part placement. Note the darkened metalized lines from the dry brushing. Again, this technique adds tremendous depth to any project you want to look worn and real life-like.
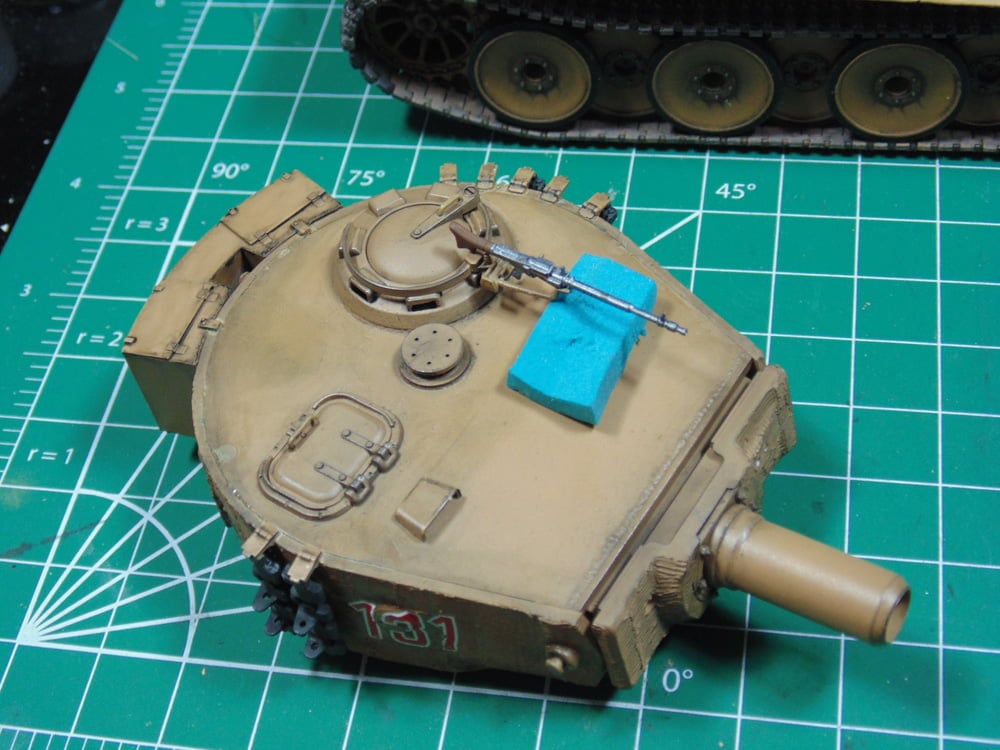
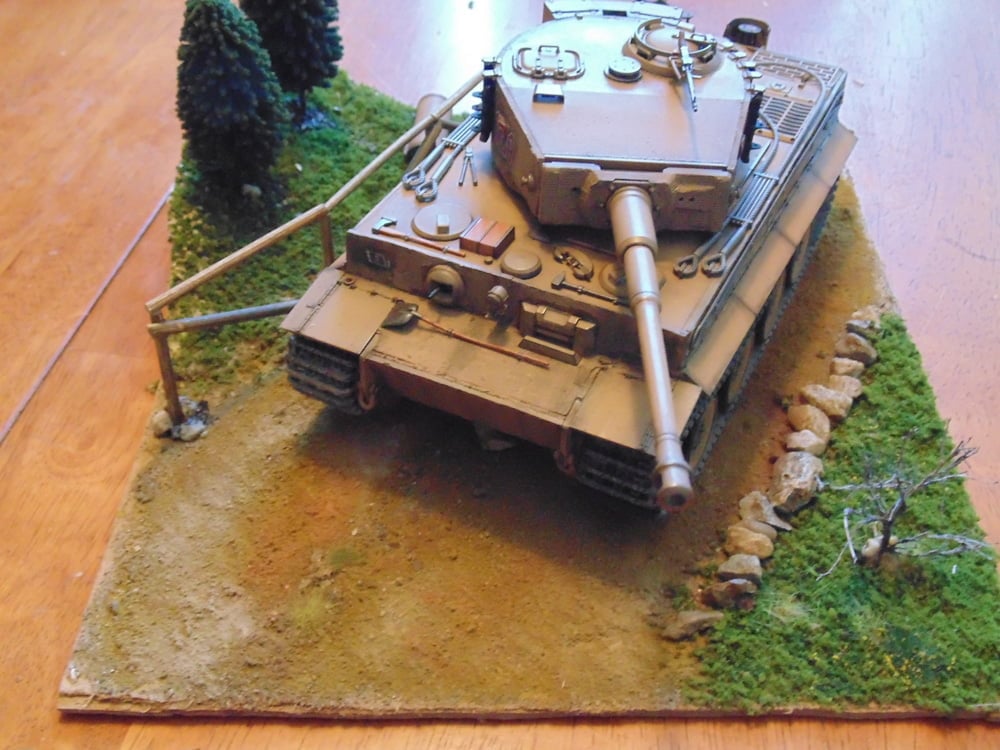
To complete this Sunward Hobbies tutorial I felt the Tiger 1 belonged on a country road. You can purchase everything you need to pull this off. The great part is it doesn’t take any special skill due to all the excellent products, just use your imagination.
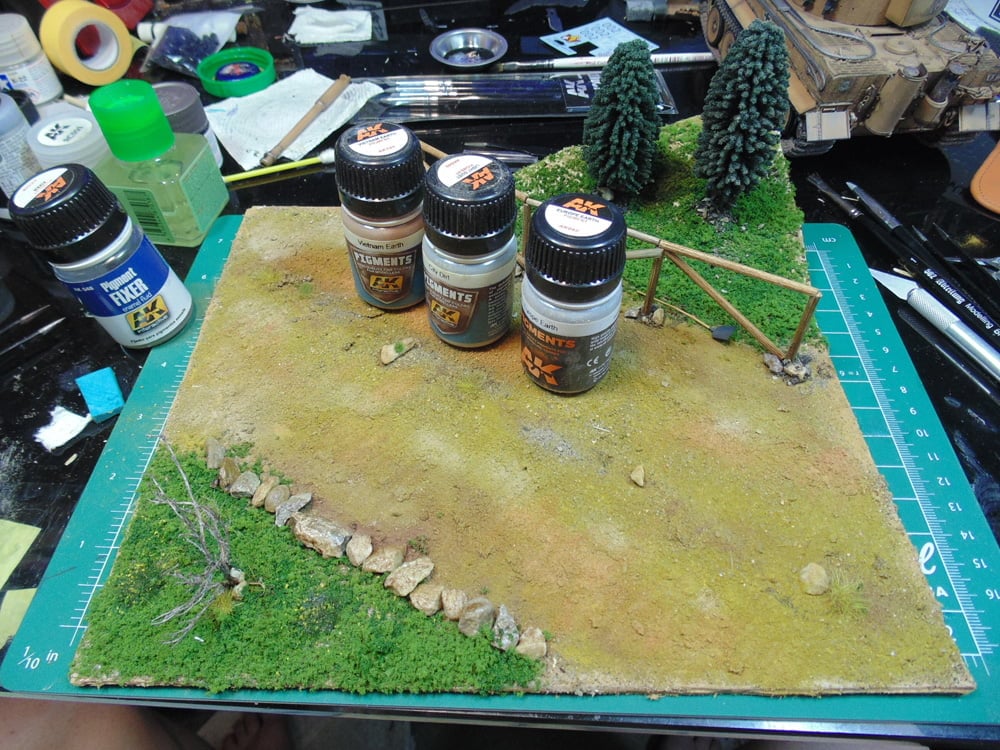
A slab of cardboard or thin wood, some Styrofoam, sticks for fence railing, premade trees, ground effects and tiny rocks. Poof, you have a cool looking base to display your work.
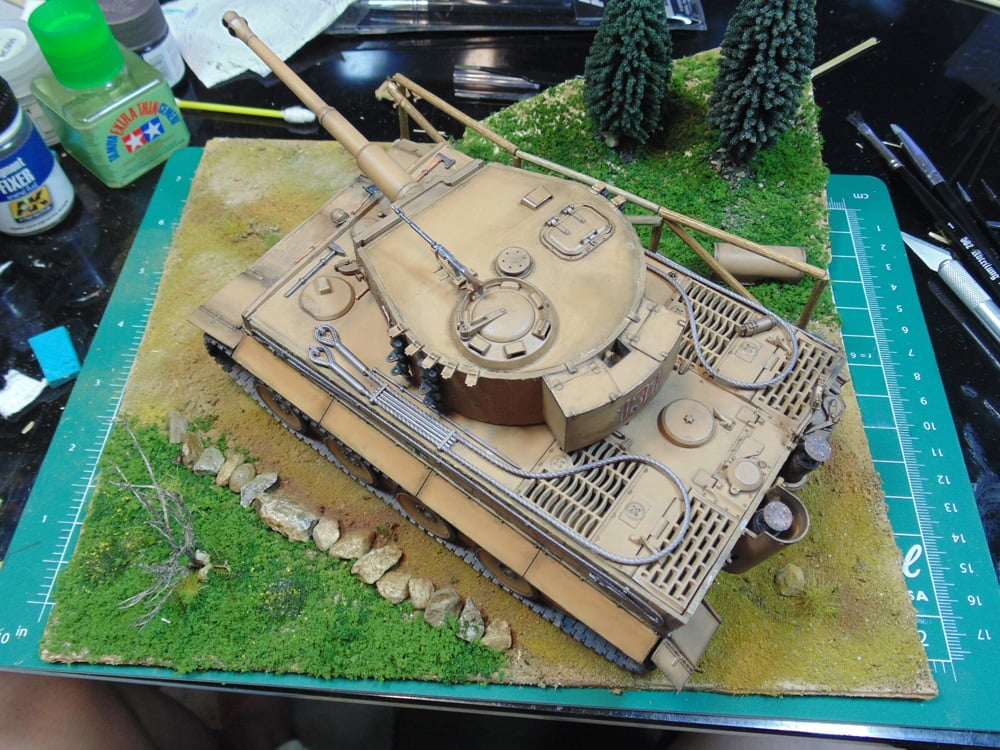
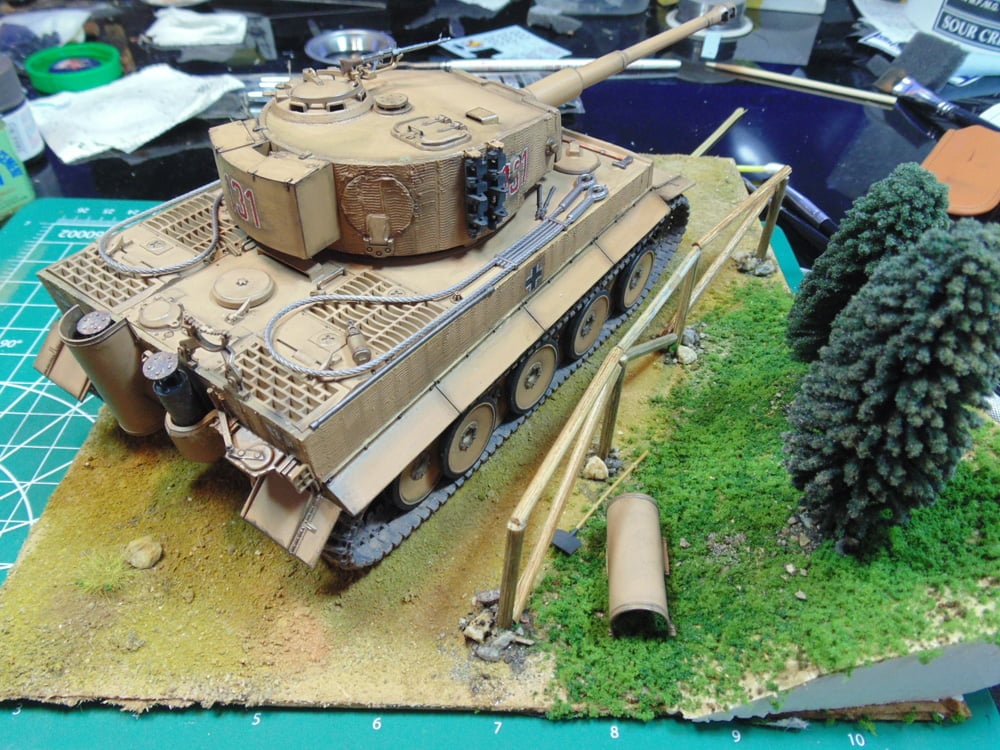
There’s no doubt you can go to many lengths to give a replica, such as this, an even more worn and battered look. These tutorial tips will give you a starting point. The best part is all the materials you’ll need are at Sunward and the staff are more than happy to help. Happy Holidays.
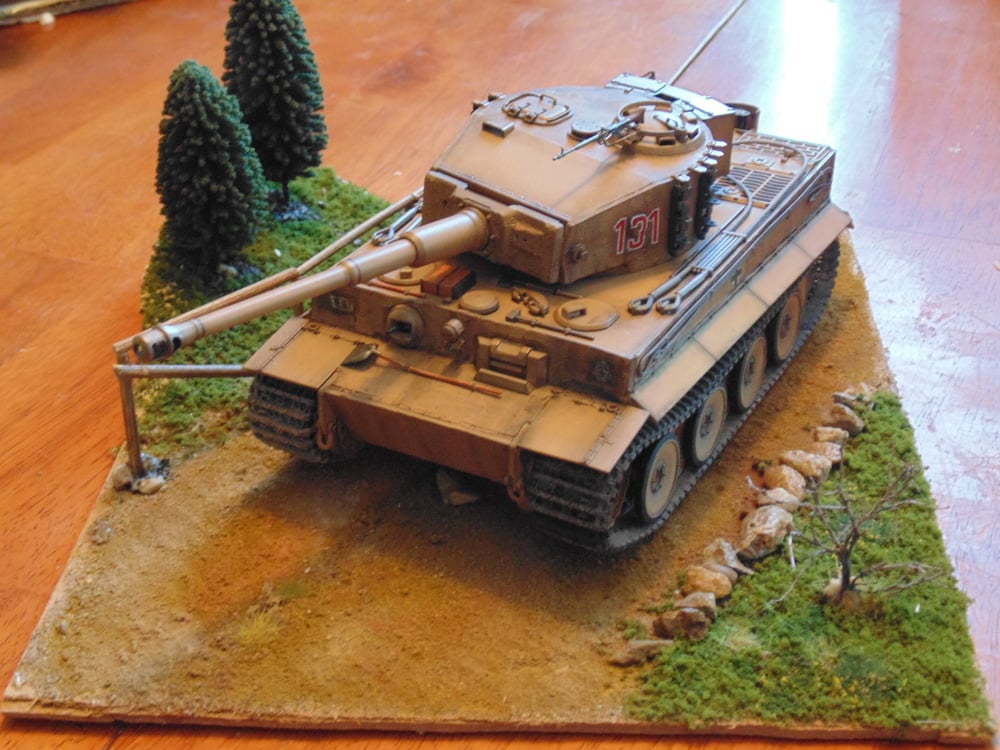
If you have any questions about the products or methods used in this article, please feel free to ask the staff when you pick up or place your next order from Sunward Hobbies.
H.G. Barnes is a former voice-over artist and retired sales and marketing professional. He’s the author of two large volume science fiction adventure romance novels with many more in the works. For well over 40 years he’s been building scale model replicas and now does commission work for clients in Canada and the USA, plus completes projects for companies in Asia and Europe.
Currently H.G. is involved as an Associate Editor with KitMaker Network’s Online Magazine Channels
