Tamiya 1/48 F4U-1D Corsair with Moto-Tug
This is the fifth part of the Tamiya 1/48 F4U-1D Corsair with Moto-Tug 61085 build and review.
As I mentioned in previous posts, I had expected the painting to be fairly straightforward with some minimal chipping in a few places. But discovering that picture I changed gears and I’m set to create a more weathered and beat-up Corsair which is going to be a lot of fun.
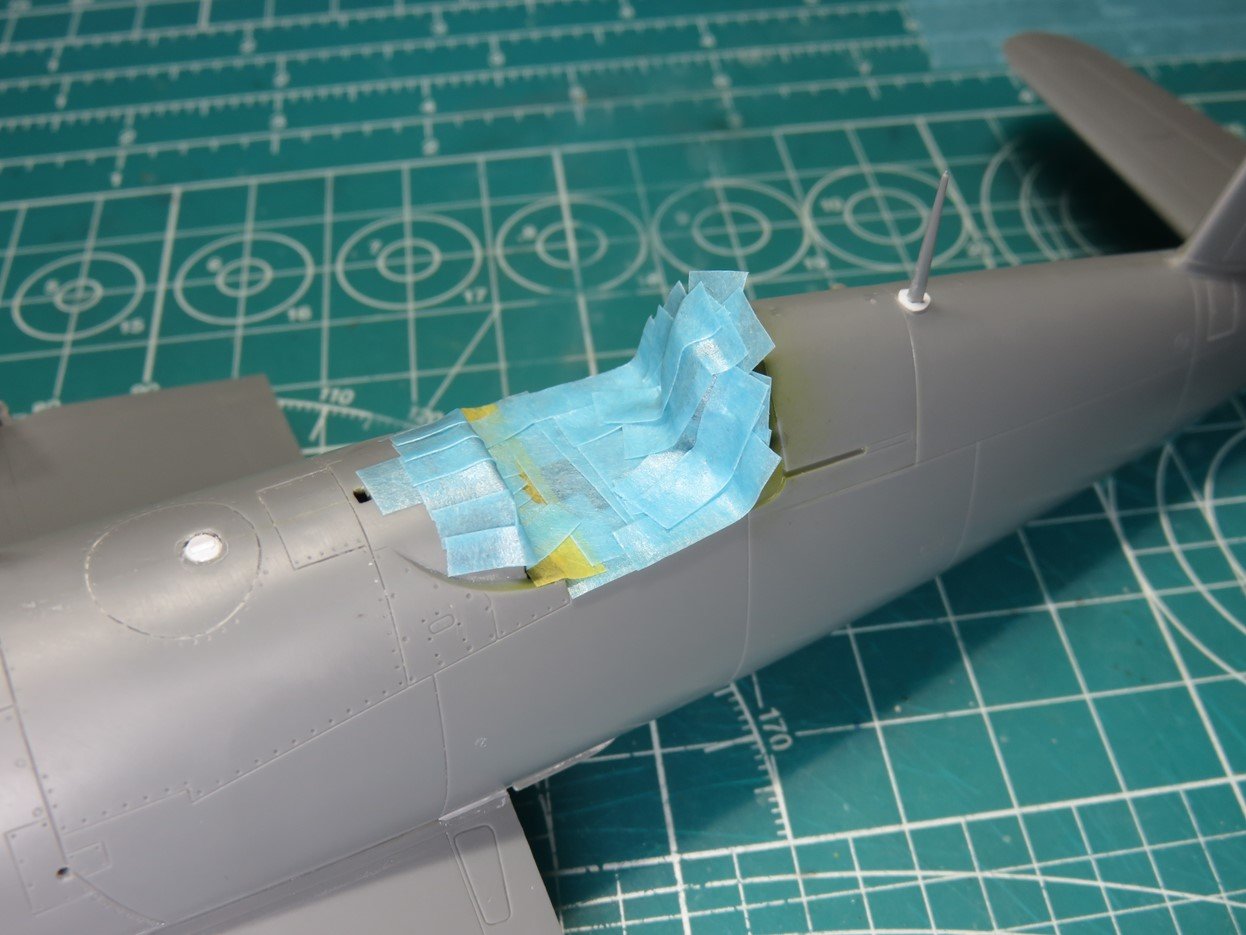
The first step would be the long process of masking up everything I’ve just spent all of this time working on, so I planned to be very thorough here. Using a lot of small pieces of tape I was able to carefully mask up and around the cockpit.
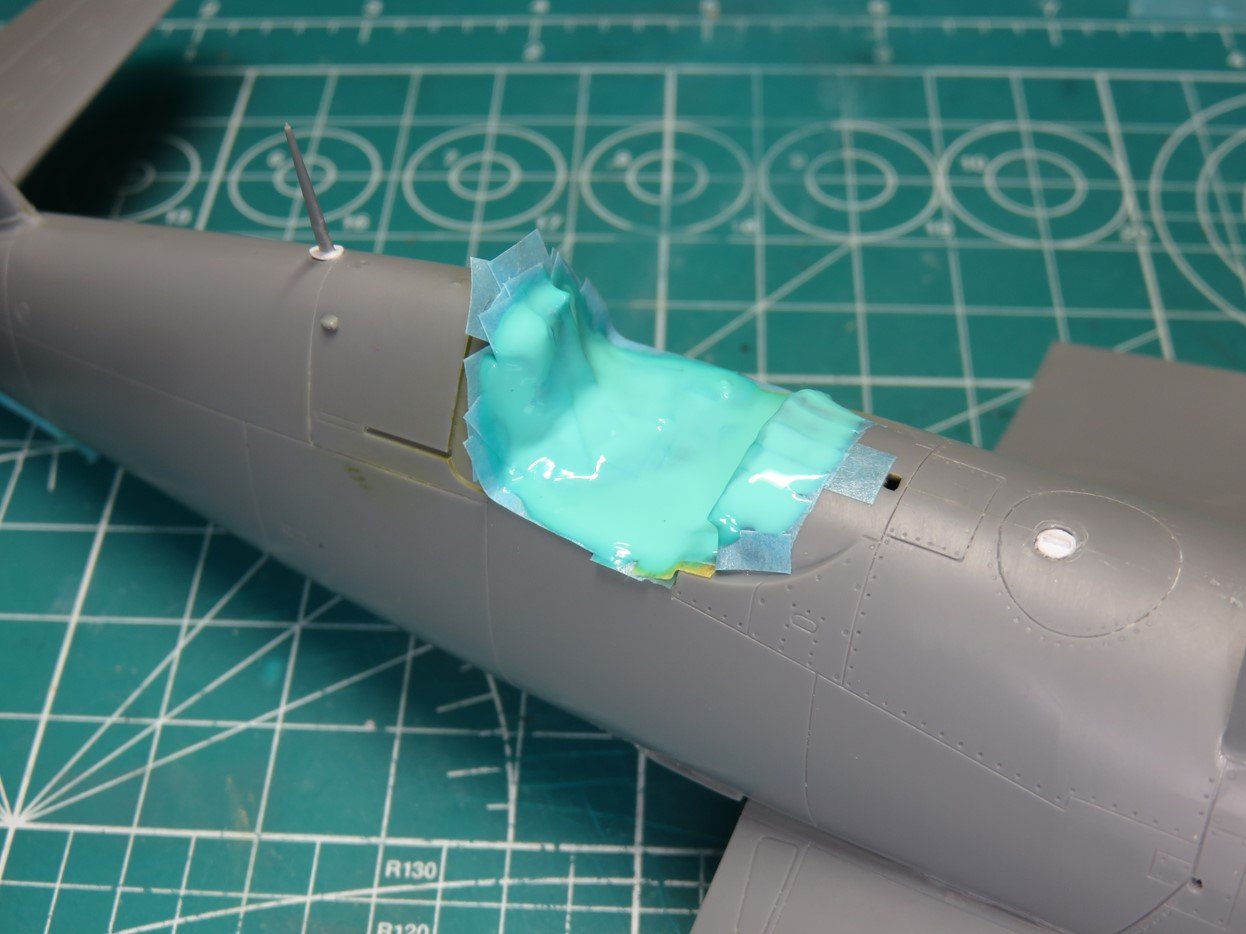
Because of the dryer climate out here on the prairies in the winter, the masking tape has the tendency to lose its adhesion and lift. This can happen even after a few hours of the tape being applied. The tape that I’m using thinner than Tamiya and blue.
To help prevent the tape from lifting any further I brushed on a layer of Mr Hobby, Mr Masking Sol NEO. This is a liquid masking agent that I’ll go into more detail in just a bit. But it’s a wonderful product that provided a nice uniform seal around the tape.
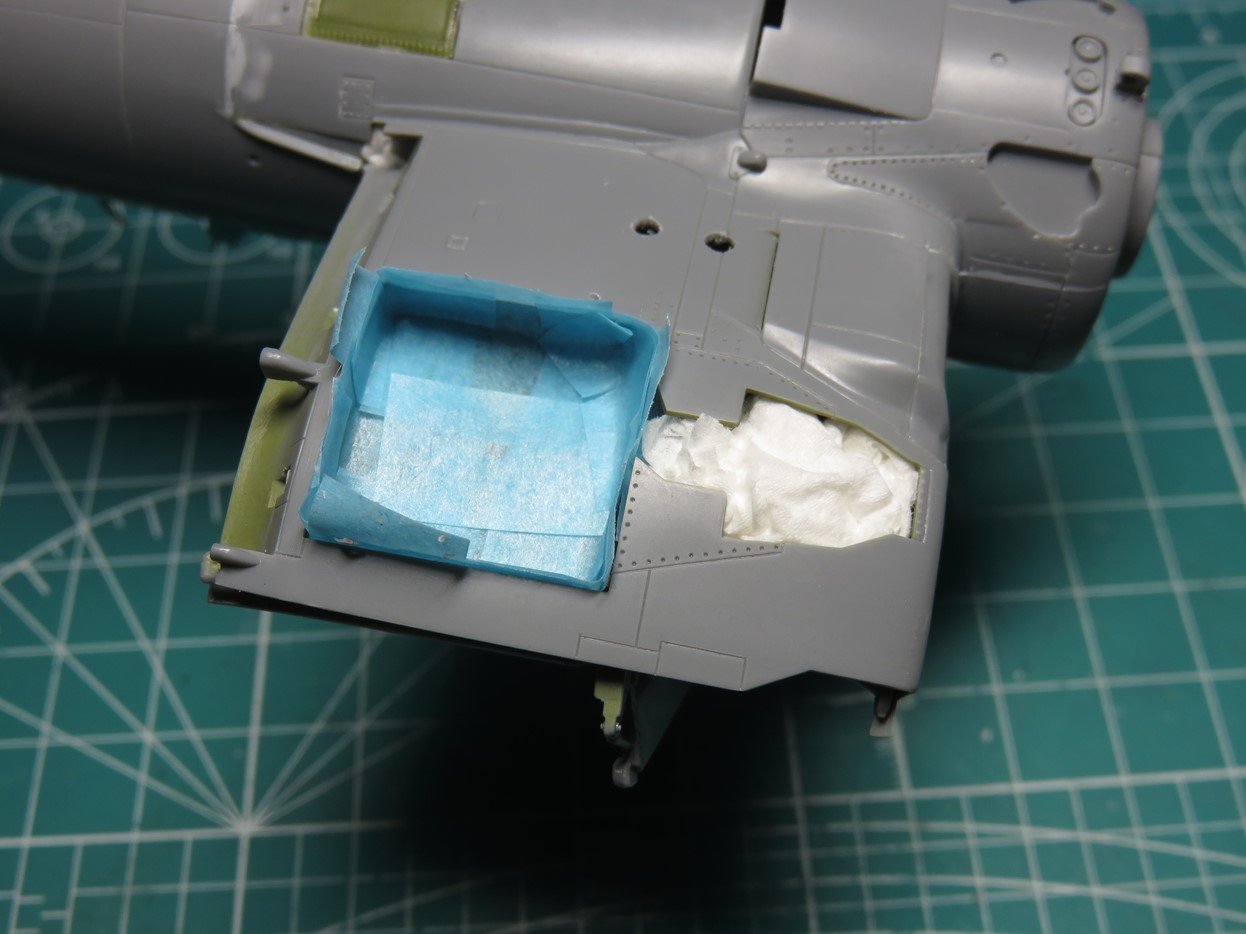
Masking the landing gear bays was a bit more difficult, but eventually, I taped around the edges of the bay, and then I stuffed tissue paper into the front section. I’m pretty satisfied that this masking will hold up with the upcoming painting process.
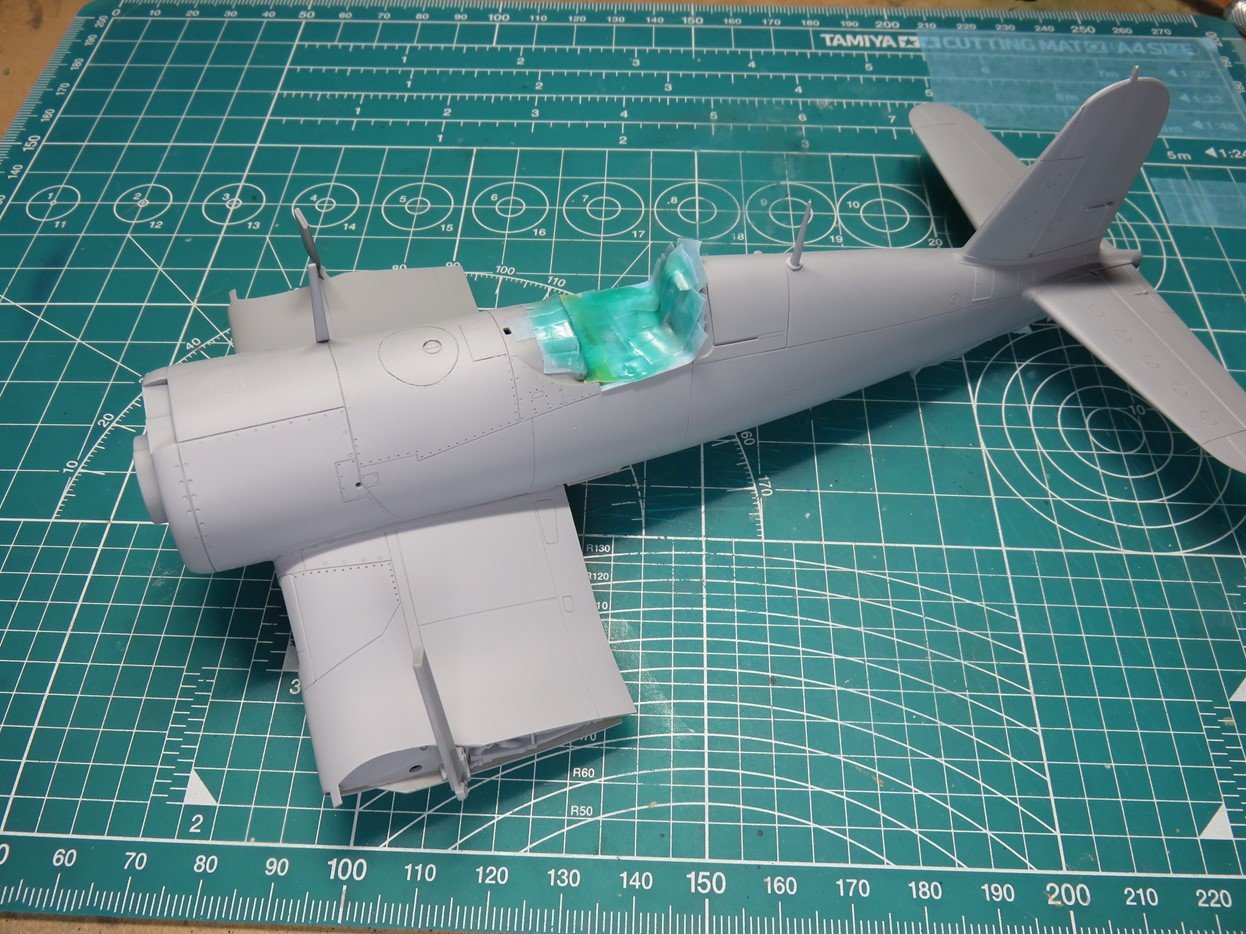
I primed the fuselage and various parts with Mr Surfacer 1200. I inspected the model seams to make sure that there were no gaps that needed filling as well I checked for scratch marks that could have been left behind.
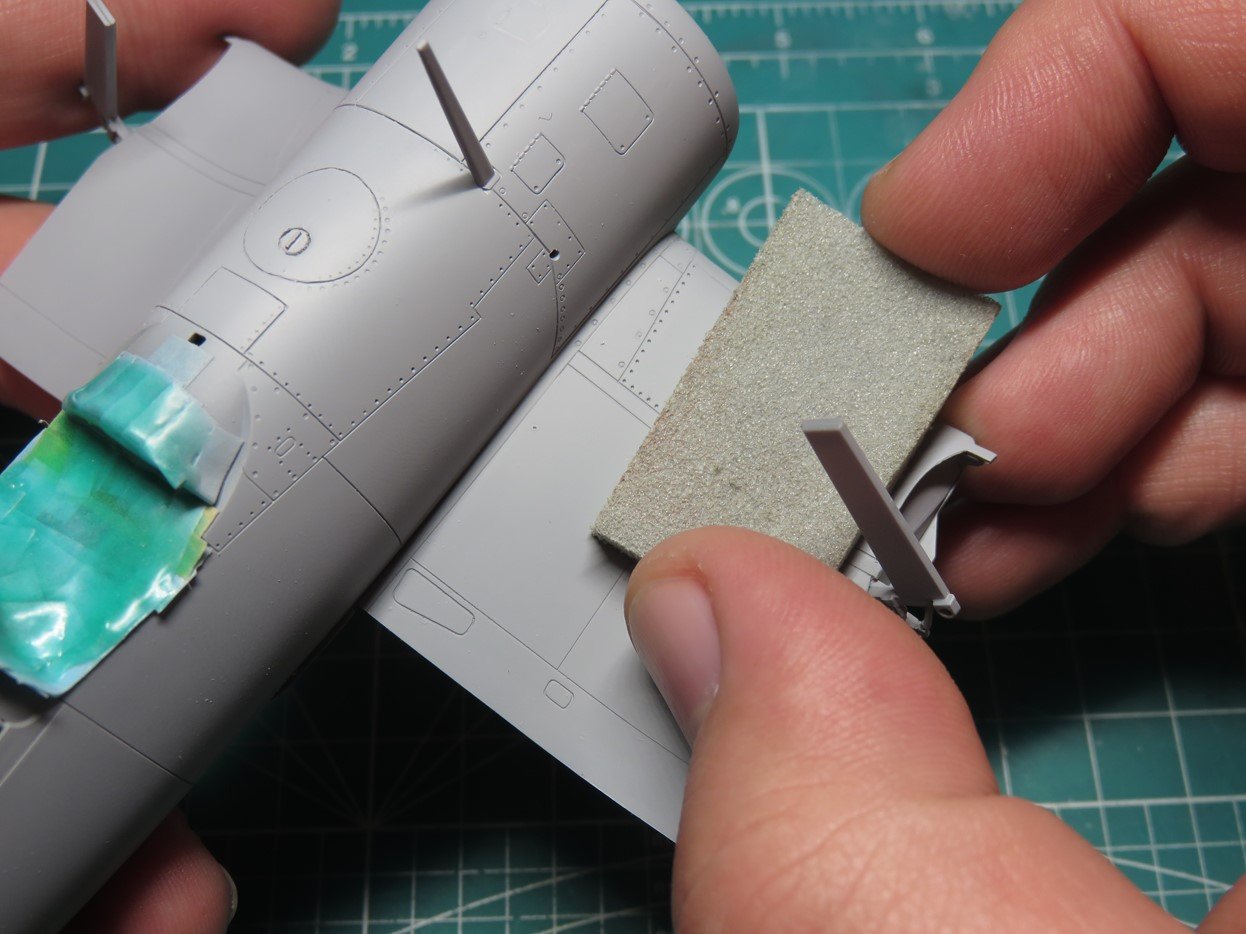
There were some specks of paint that landed in the primer. I used a piece of Tamiya Sanding Sponge 1500 grit. And I lightly sanded down the surface of the primer. This would remove any specks, as well it would smooth out the primer a bit more.
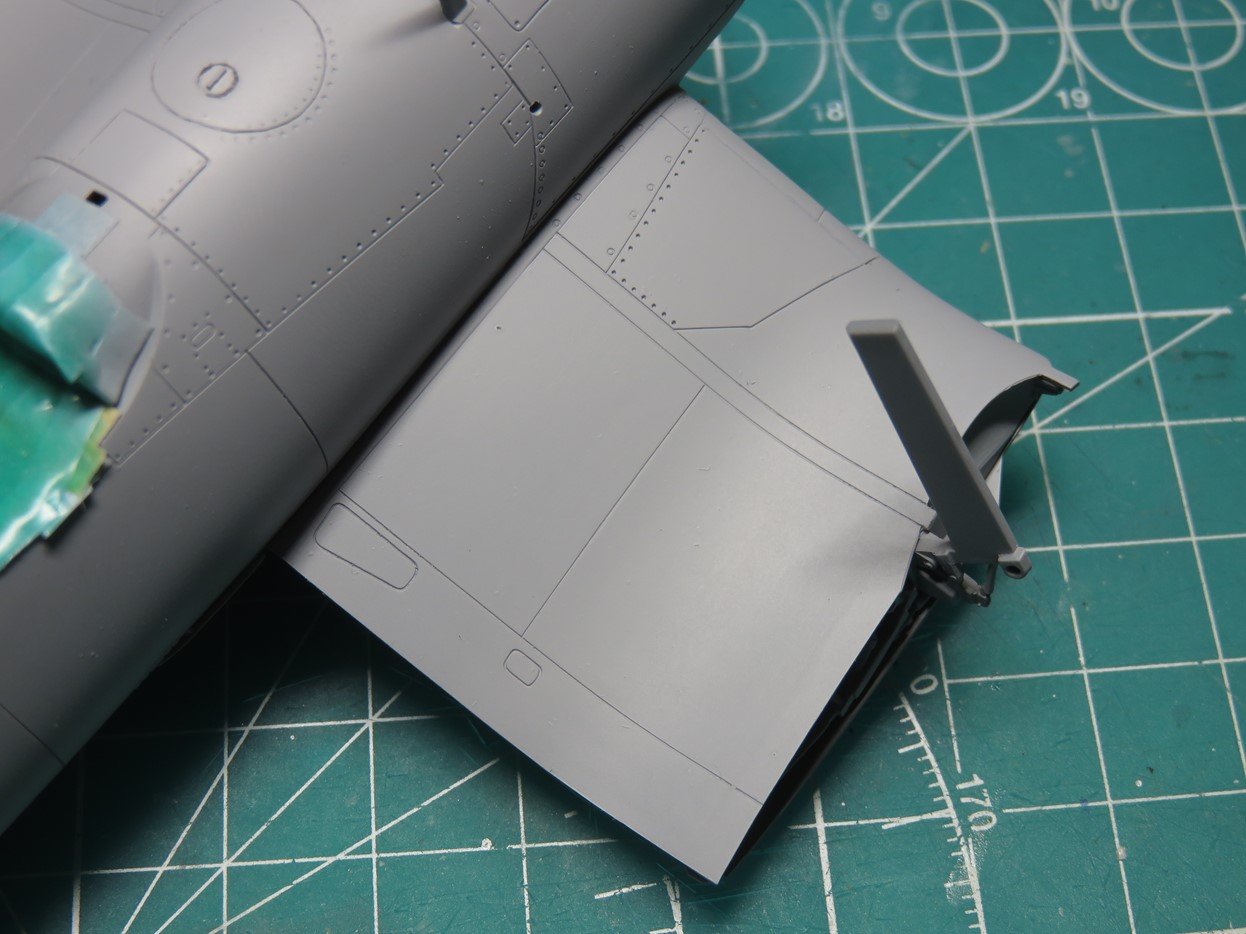
Here you can see the newly sanded wing next to the still rough fuselage. It has a slight sheen to it compared to the bare primer. Now that it’s been smoothed out it will look a lot better for the first layer of paint.
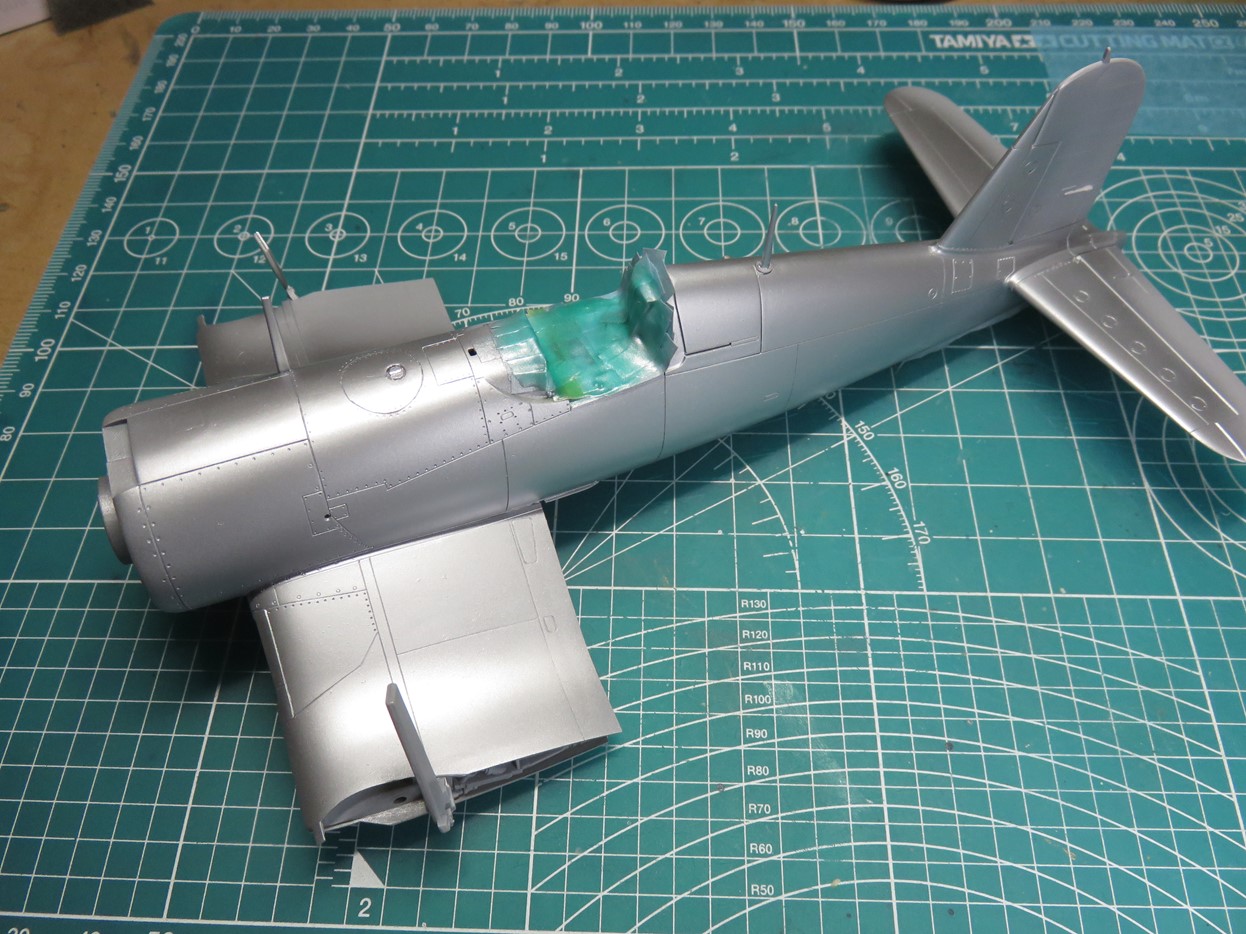
The first layer of paint I used was Tamiya AS-12 Bare Metal Silver. This is the first time I’ve ever used this paint, and I really regret not using it sooner. It’s a really beautiful even finish with a very nice sheen to it.
I painted AS-12 onto the other sections of the model, like the cowling, wings, and flaps. Every part that wasn’t fabric-covered was painted with AS-12.
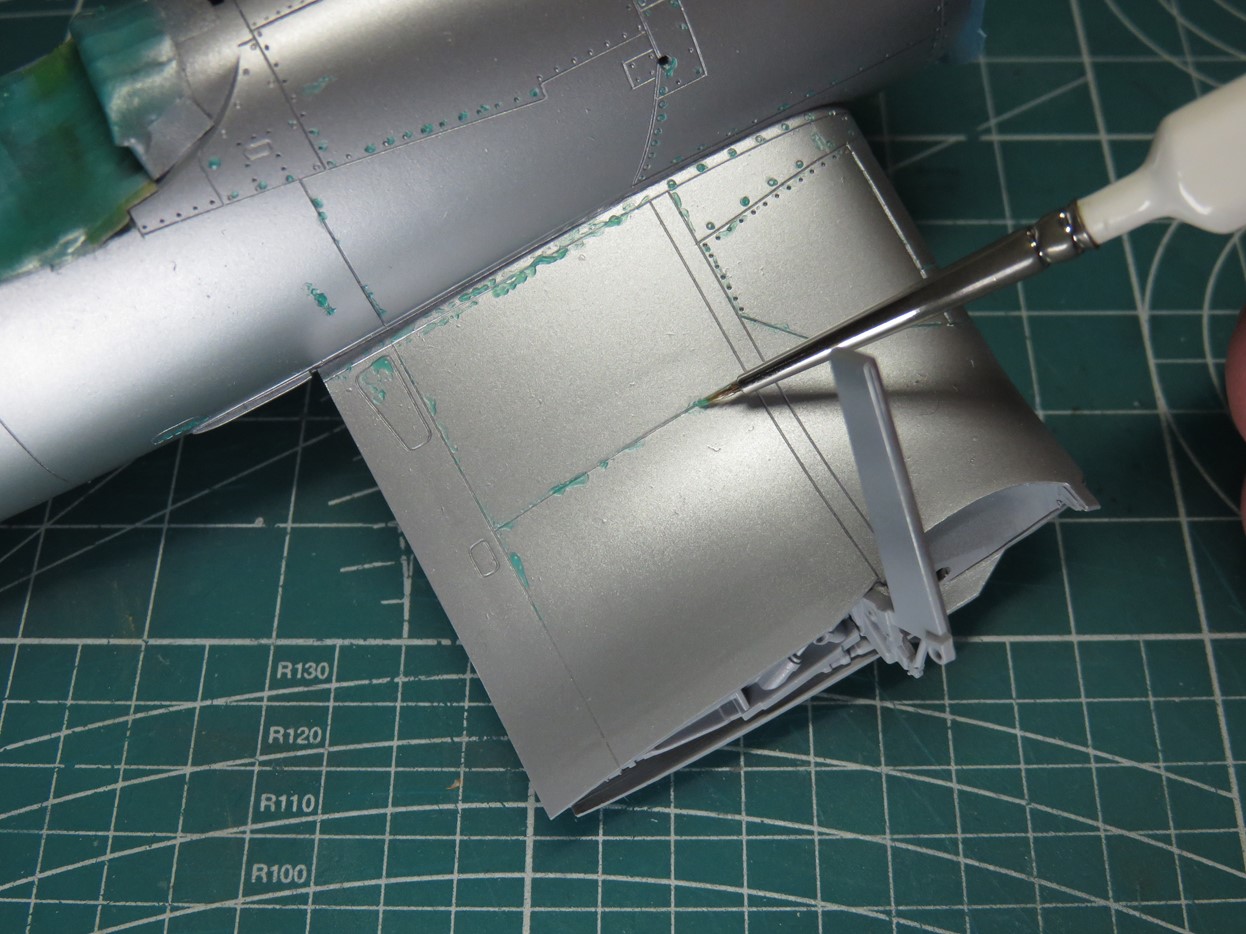
For the chipped paint, I applied Mr. Masking Sol NEO, using an Army Painter Insane Detailer brush. I’ve tried a few masking agents over the years, but a fantastic master modeler Andy Moore from the UK showed me how he used Masking Sol NEO, and it’s been one of the best products for my modeling ever since.
Andy explained that compared to other masking agents Masking Sol NEO doesn’t dry flat and level so it’s a lot easier to remove when you are done painting, as well you can add on a lot of layers of paint and not really worry about covering up the Masking Sol NEO.
I’m applying it with a brush but you can use a toothpick or sponge it on as Andy demonstrates in a lot of his builds. And the nice thing is that if there were places I wasn’t happy with the masking I could quickly remove it and start over.
It works really well with a lot of paint types, and I haven’t had any instances of it lifting paint, so let’s hope this isn’t the first project where that happens.
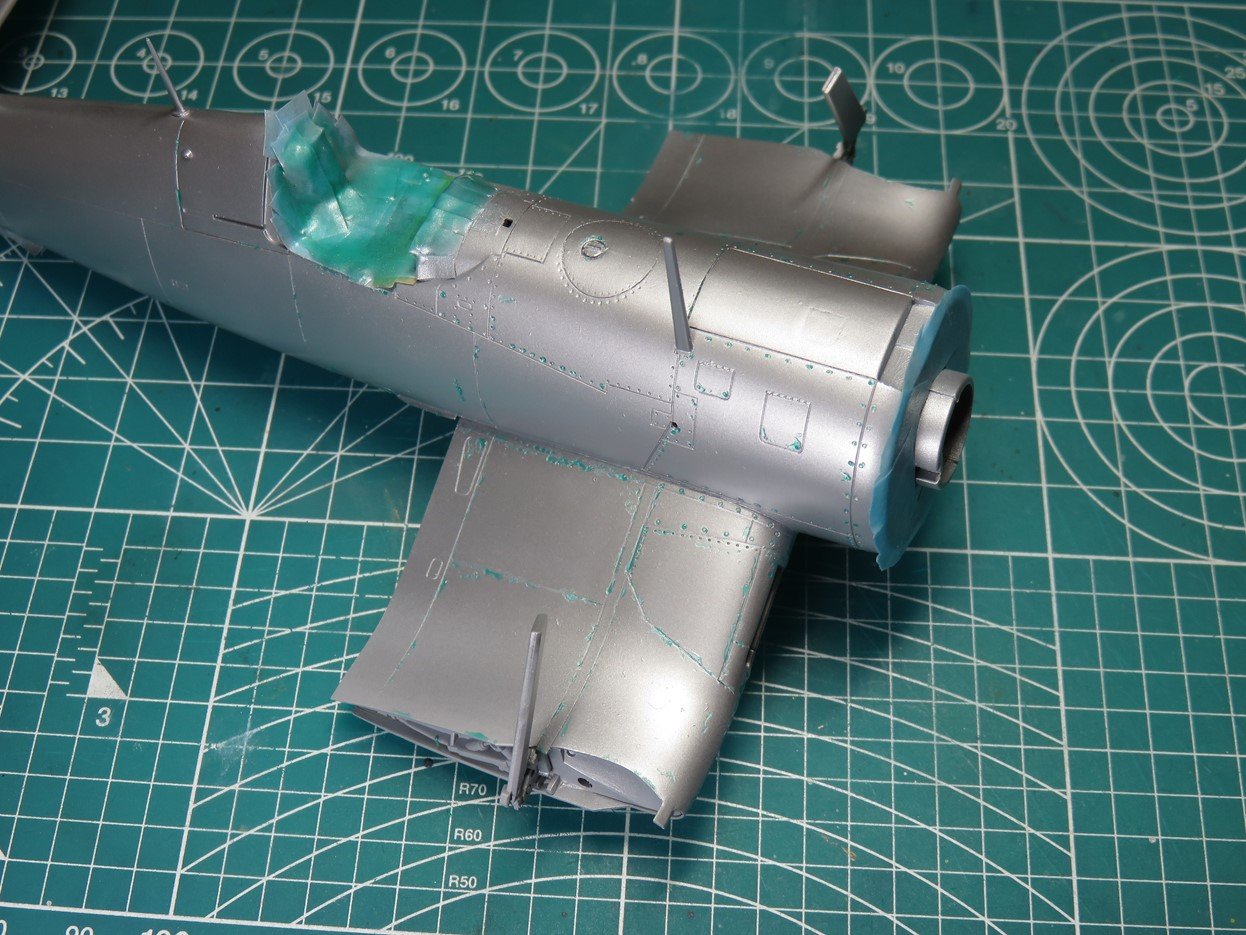
Here you can see the finished first application of the Masking Sol NEO. I added it to the panel lines and areas where crewmen might be walking along. I also applied quite a bit to the wing root and leading edge of the wing as these areas shown in the photograph have the most distress.
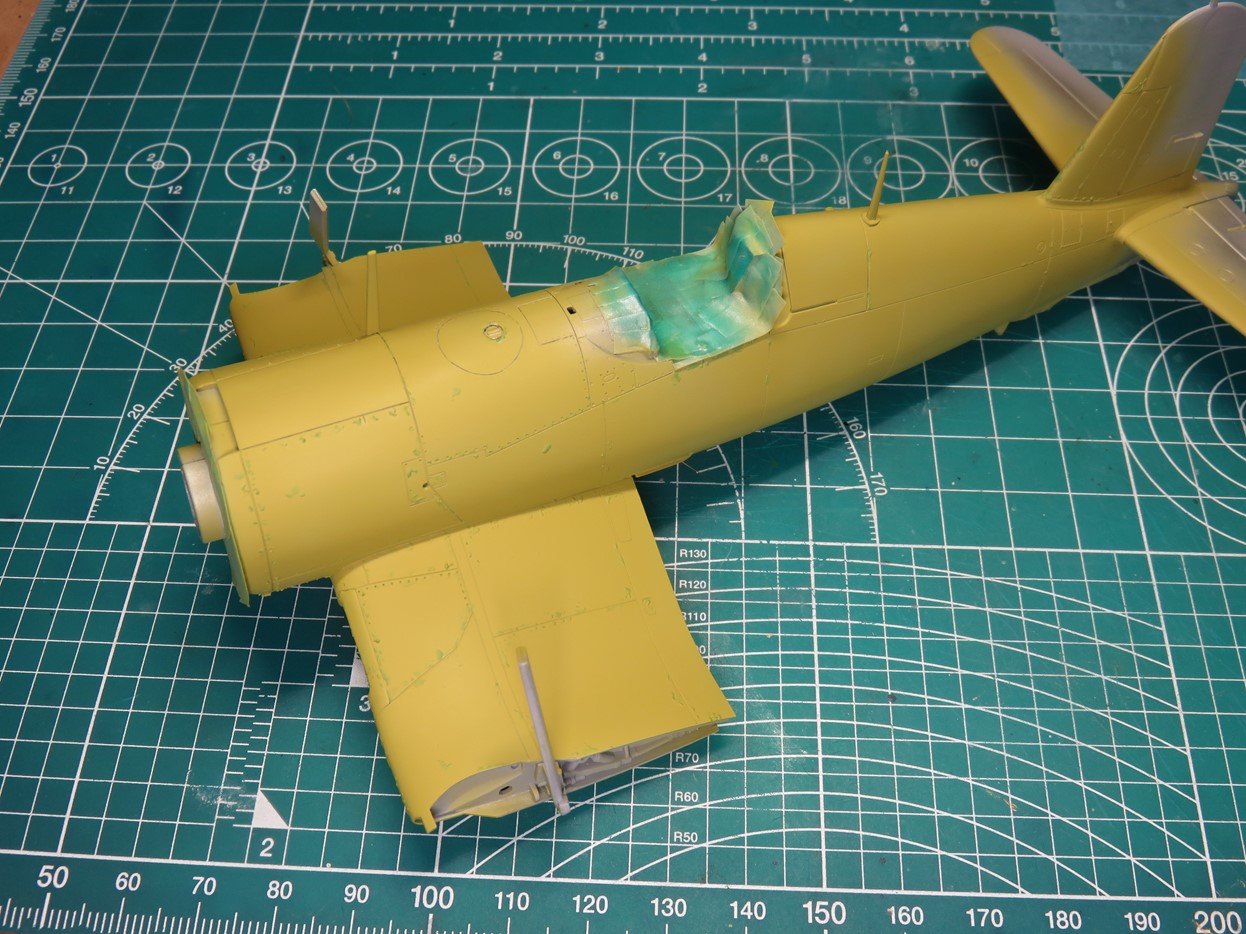
One of my favourite paints in the Tamiya range is XF-4 Yellow Green, and I just don’t get to paint it enough. This paint is a fantastic color for Zinc Chromate Yellow and will look really great chipped next to the silver and stand out on the overall blue finish.
I have a part of a DC-3 with some Zinc Chromate Yellow on it, and Tamiya XF-4 is very close to the real color.
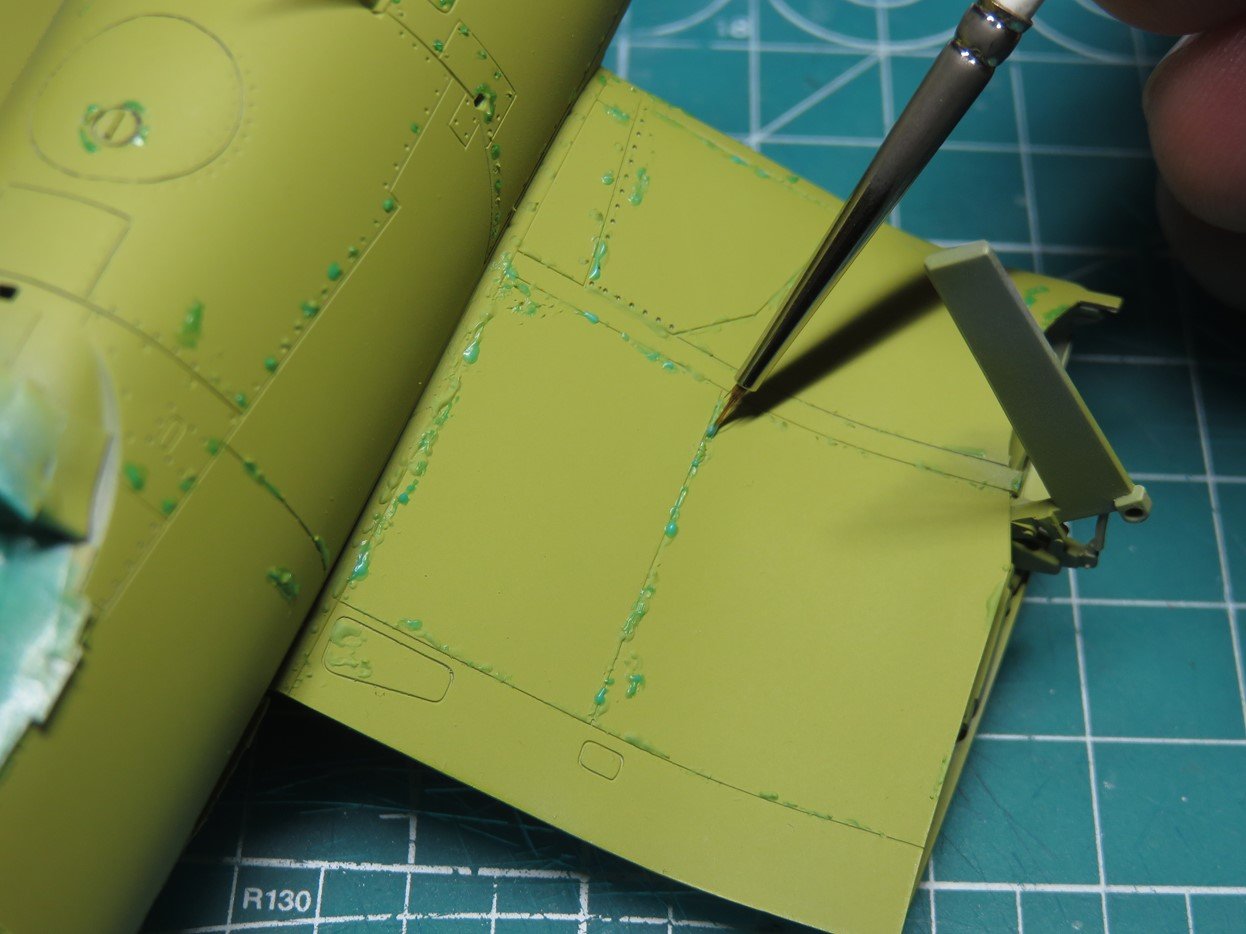
I applied more Mr. Masking Sol NEO onto the previously painted layers. Again I focused on adding this to the panel lines, as well I painted it around the silver areas. This would create layers of chipped primer and silver and help make the model look more worn.
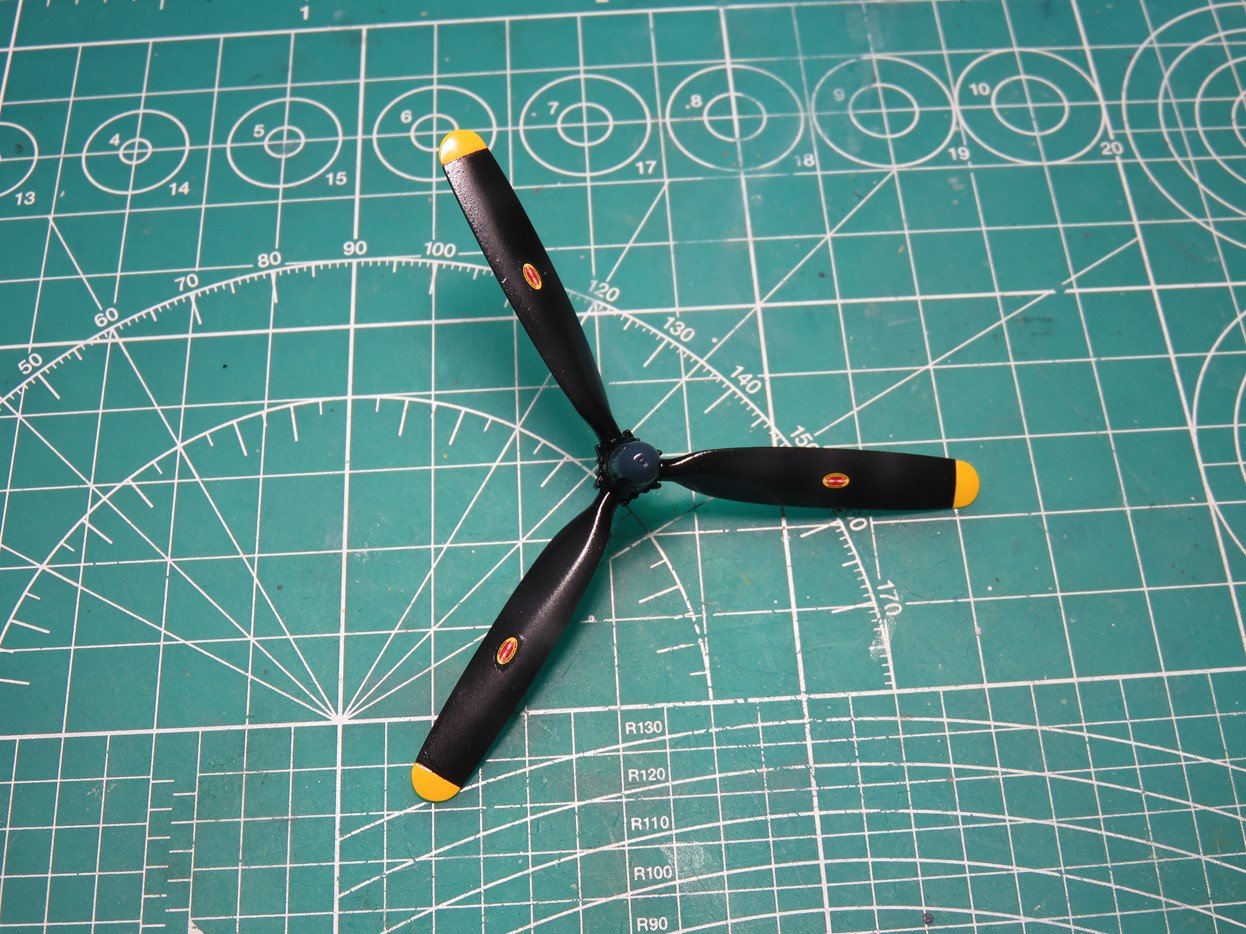
I began painting the tips of the propeller with XF-3 Flat Yellow. The tips were then masked off and I painted the entire propeller XF-1 Flat Black. I wanted to fade the black paint so I thinned down some XF-55 Deck Tan and lightly painted that to the propeller as you can faintly see in this picture.
I wasn’t as pleased with this result. So I glossed the propeller and added the small stencil decals to each of the propeller blades and sealed them in once more with a gloss coat.
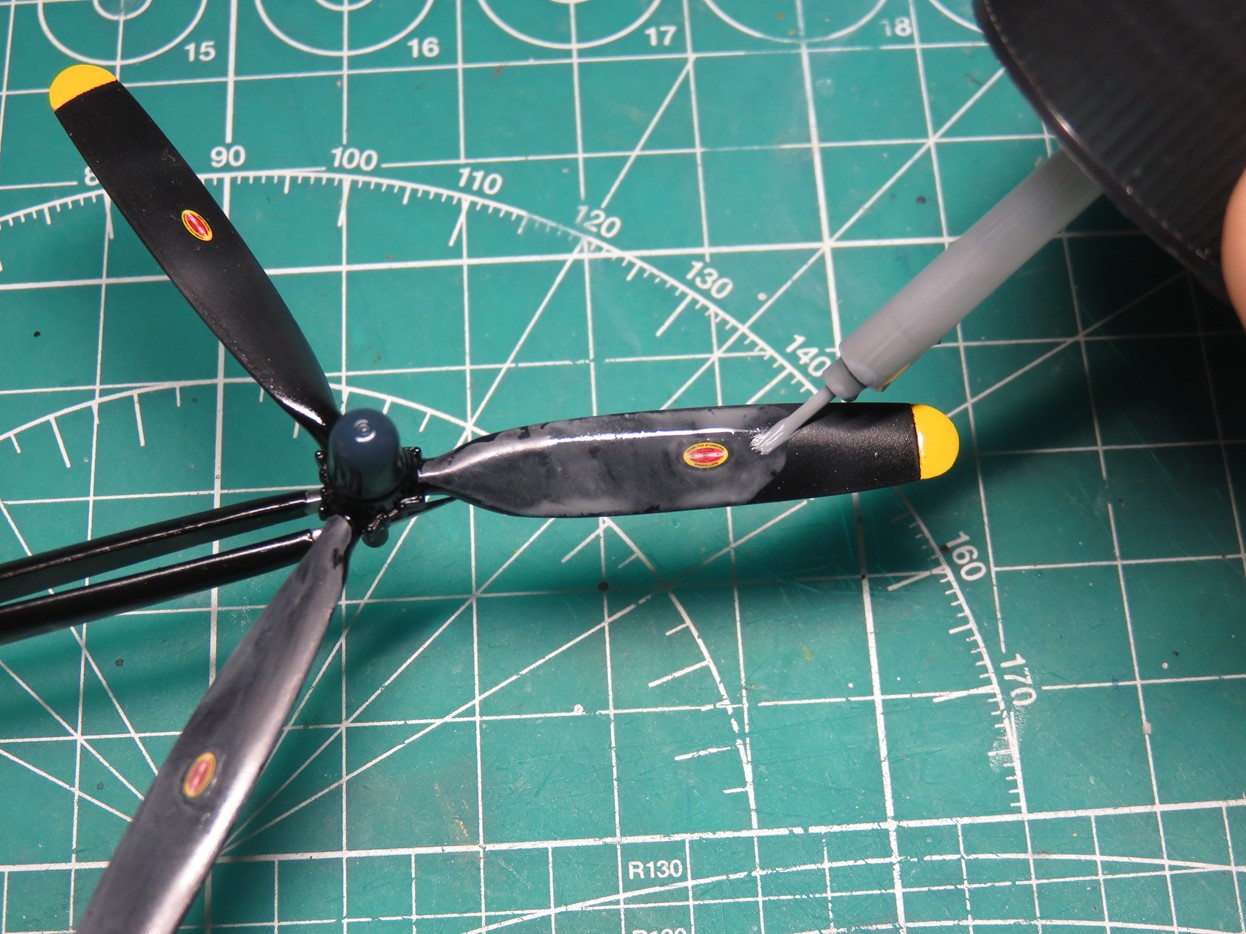
To weather down the propeller I painted Tamiya Panel Line Accent Color Grey, and let it dry overnight. I’ve found that these washes from Tamiya are easier to manipulate after they’ve had proper time to dry.
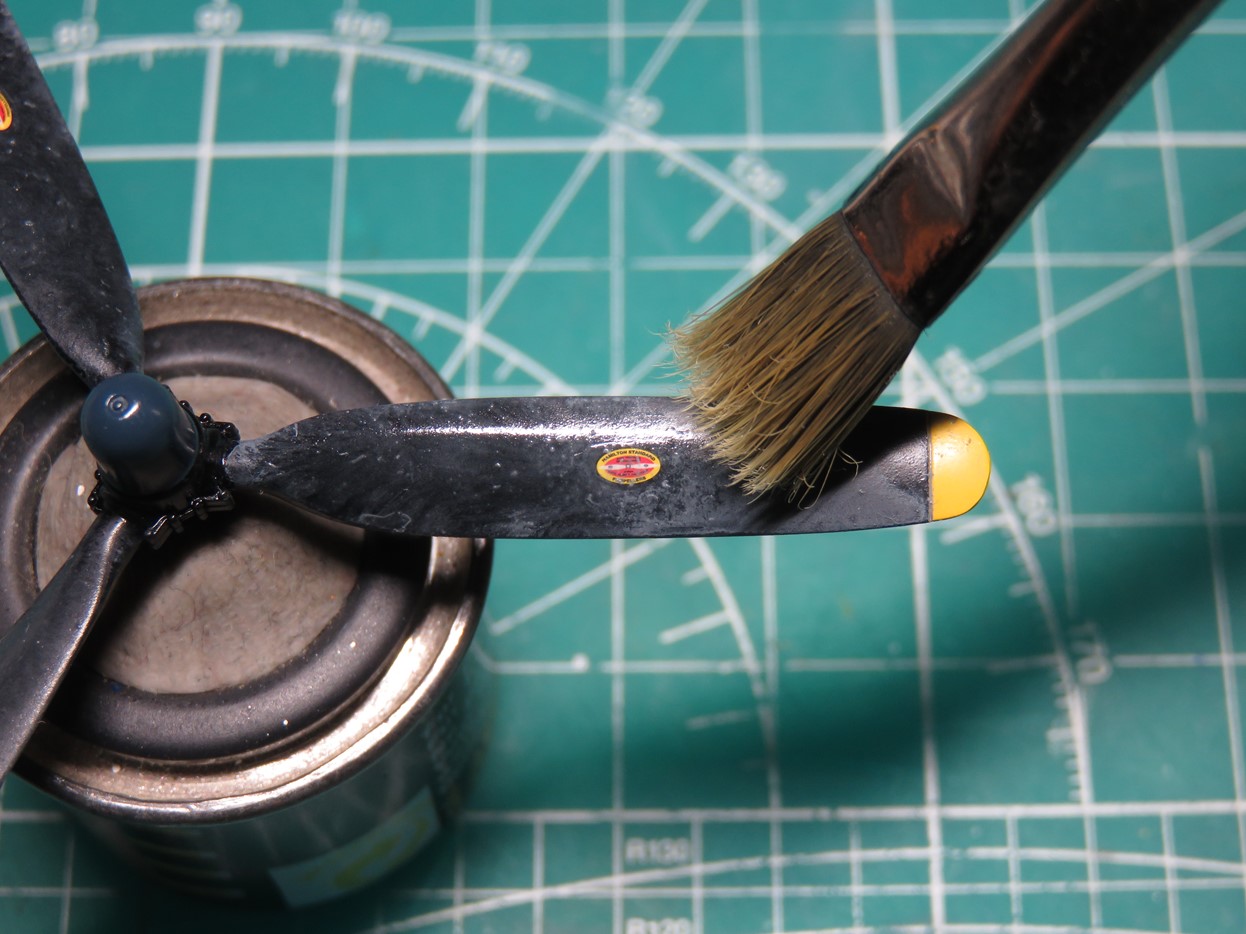
I then took a thick flat brush and dipped it in Tamiya Enamel Thinner, just enough so that the brush was damp. I then stippled the propeller removing some of the paint and creating a sort of marbled effect that might replicate the exposure to the Pacific weather.
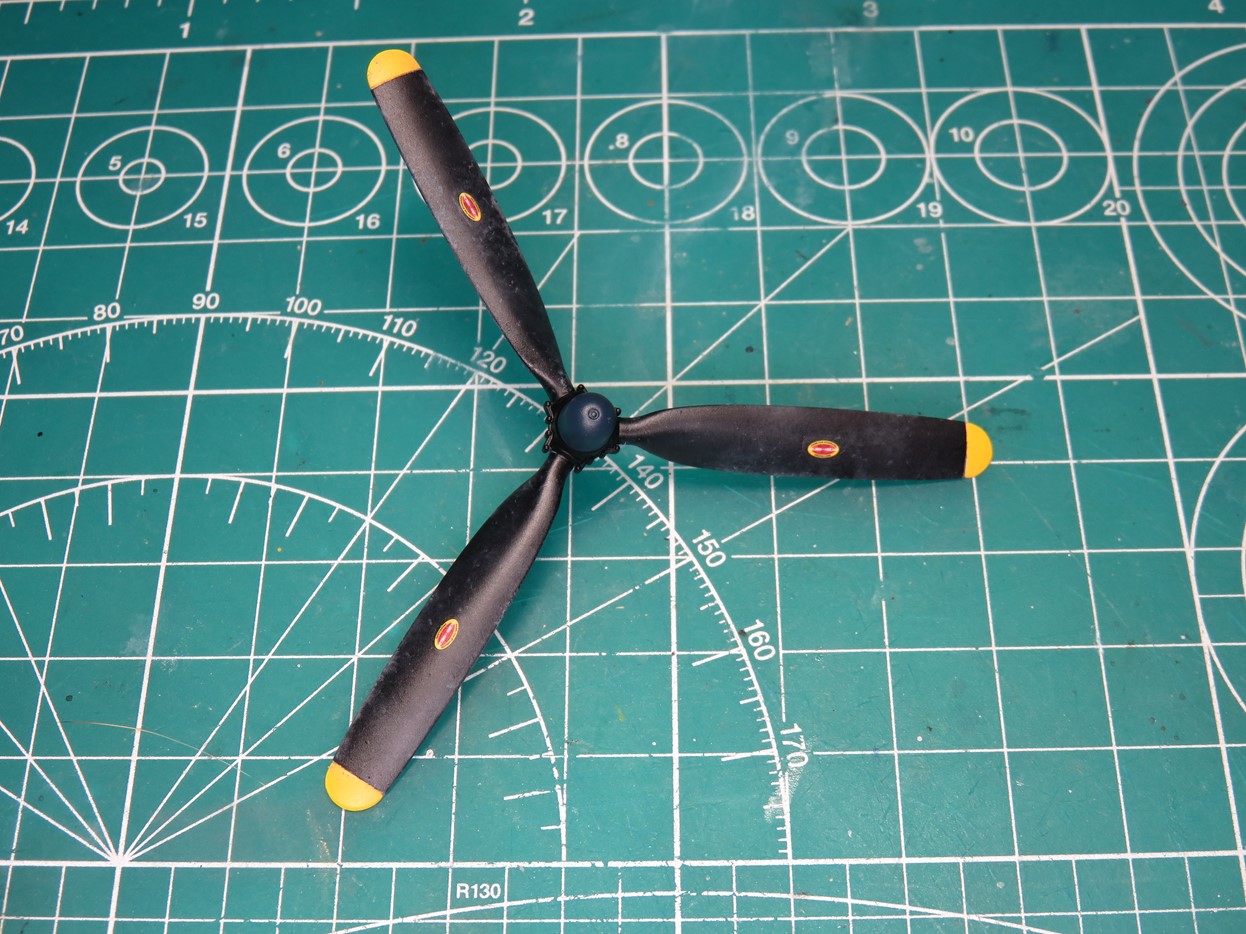
After the paint had dried again I added a flat coat over the propeller to seal the enamel paint in. I’m sort of annoyed with myself that I wasn’t able to get the effect I had imagined with the airbrush, but using the enamel grey paint like this is still a really nice-looking result, and it’s a pretty simple effect to add.
In the next post, I’ll begin to paint the Navy Blue, and then I’ll remove all of the liquid maskings. I’m very excited about that stage, the painting is going to be really fun and I’m excited to see how that chipped paint will turn out.
To be continued…
Jared Demes is a modeler from southern Alberta. He has been building models since he was 4 years old when his Dad first introduced him to the hobby. He has written for several magazines including, Fine Scale Modeler, Scale Aircraft Modeling, Phoenix Scale Models, and others. He has an interest in all modeling subjects, with a focus on WWII Japanese aircraft and Science Fiction.
Jared has won several IPMS awards for his modeling, and currently operates his YouTube channel rebelsatcloudnine, where he showcases model builds and product demonstrations.
