Tamiya Bismarck Battleship 1/350 Scale Kit 78013 – Part 7
In this Sunward Hobbies article I’ll be finishing the build of the Tamiya 1/350 scale model of the German battleship Bismarck (items# 78013).
All of the fine plastic detail parts will be added along with some helpful tips on creating handmade insignia markings and basic rigging.Tsushima
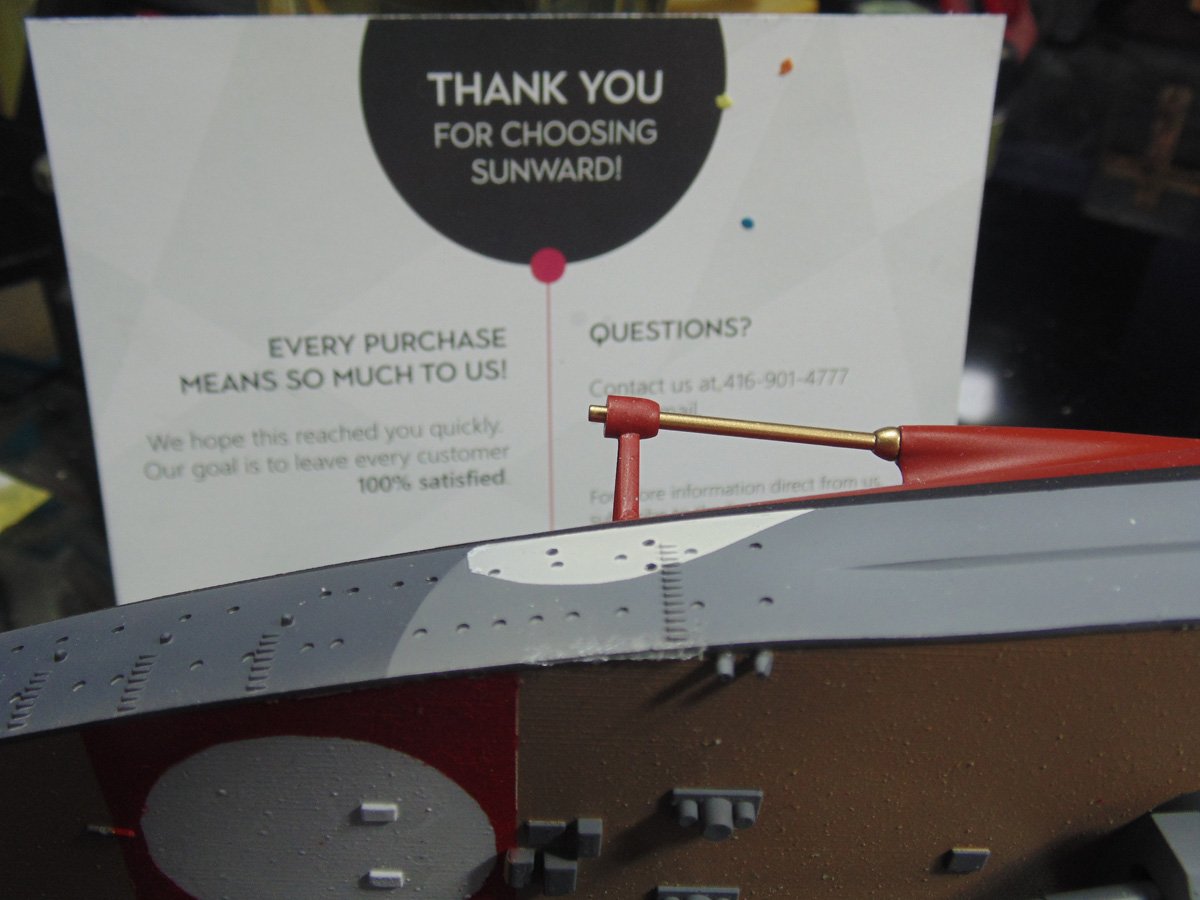
Now that the superstructure components have been added and the replica doesn’t need to be constantly spun around there’s less fear of snapping off the smaller parts. The propeller parts are a perfect example of those items which can fly off when you have to excessively handle any project.
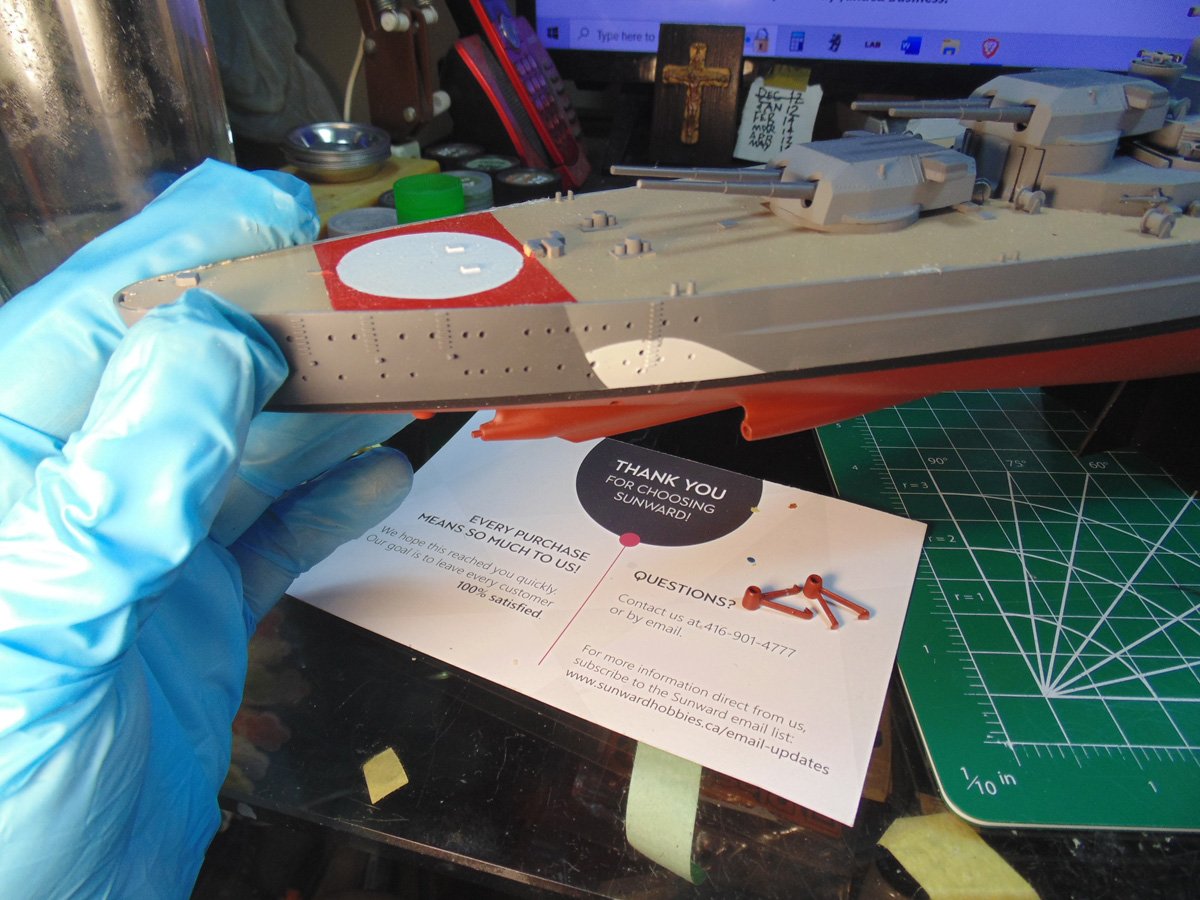
I strongly recommend using your ship’s stand to elevate the model at this point. The propulsion parts need a few hours to harden due to upcoming final paint work. You don’t see it here, but I rested a rubber glove on top of the stand to help it grip the hull. The glove will also prevent red paint from being damaged and make turning the model around much easier.
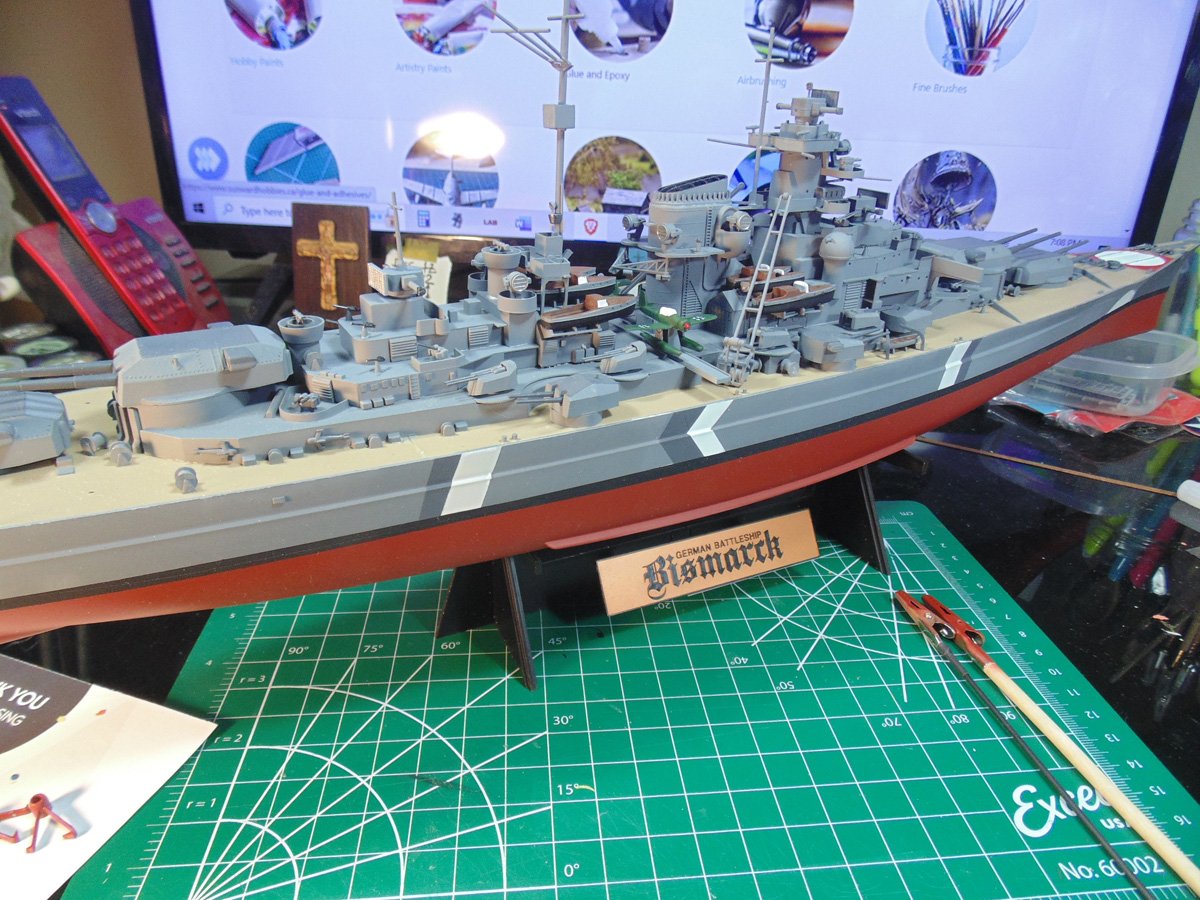
Attach the braces first, then while the cement is setting up you can slip the shafts through the opening hole. At this point comes the decision to clean up the connection points. You can get away with is by firmly pressing the parts in place. Remember, this is not a modern plastic model, thus the minor flaws can be excused.
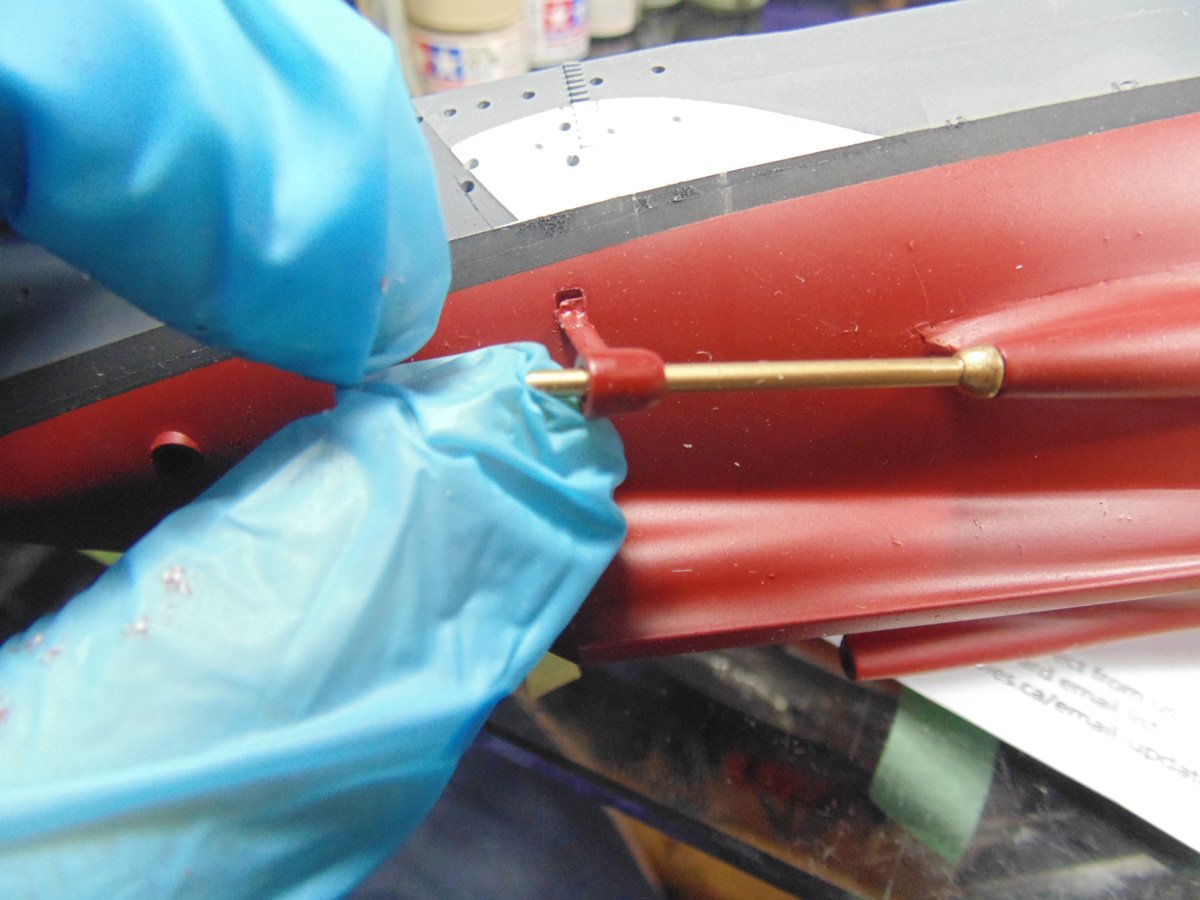
There is plenty of play when trying to achieve the final result, so don’t fret about the amount of time with getting it quickly worked out. Just make certain you have enough distance from the edge of the shaft support to shaft itself for the propeller to fully affix. Please excuse the dusty debris, that all gets cleaned up later.
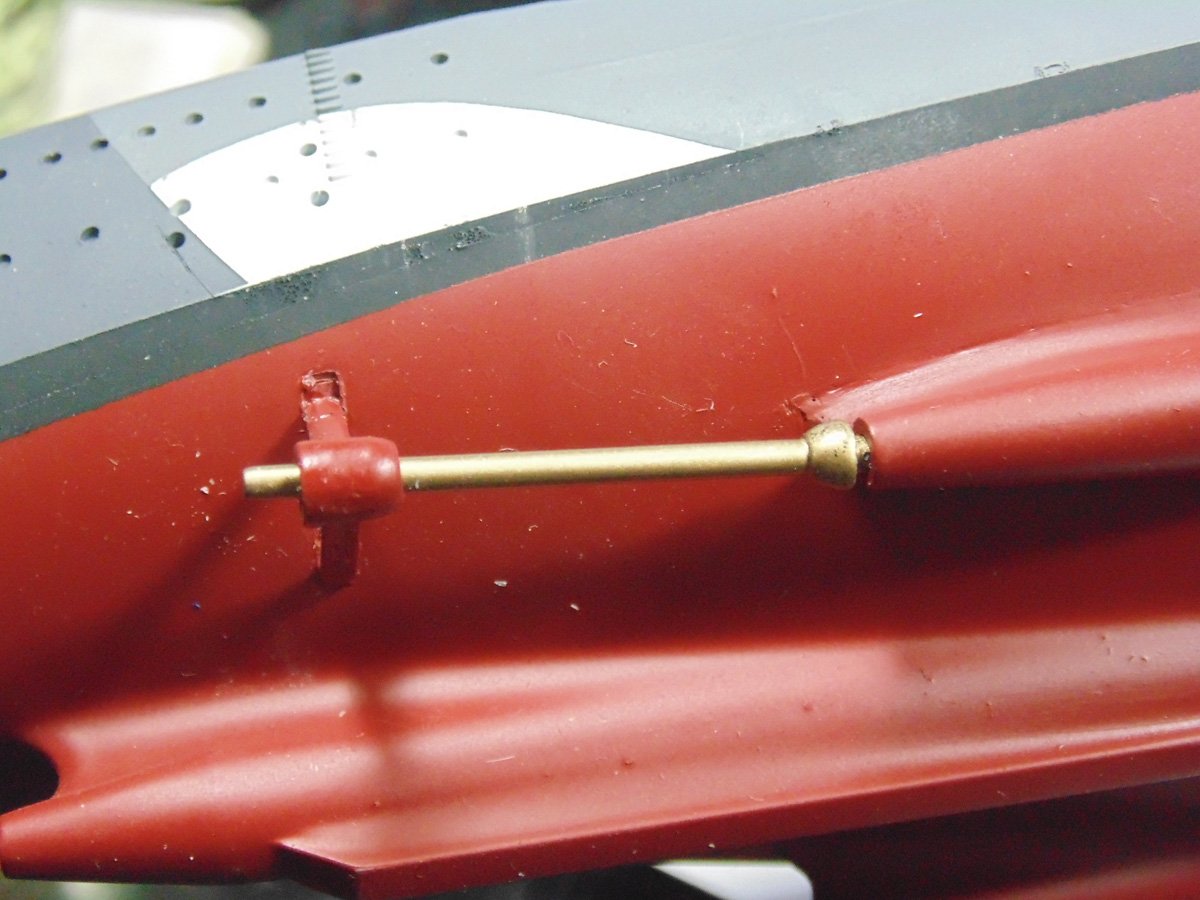
The angle might look a little outwardly off, but that’s the way the model was formed. This is the time to add another droplet of Tamiya Extra Thin Cement 87038 to the connection areas. Make absolutely certain you let this harden for three hours minimum. AK Interactive metal and Tamiya paint are both superior products but need time to react with one another.
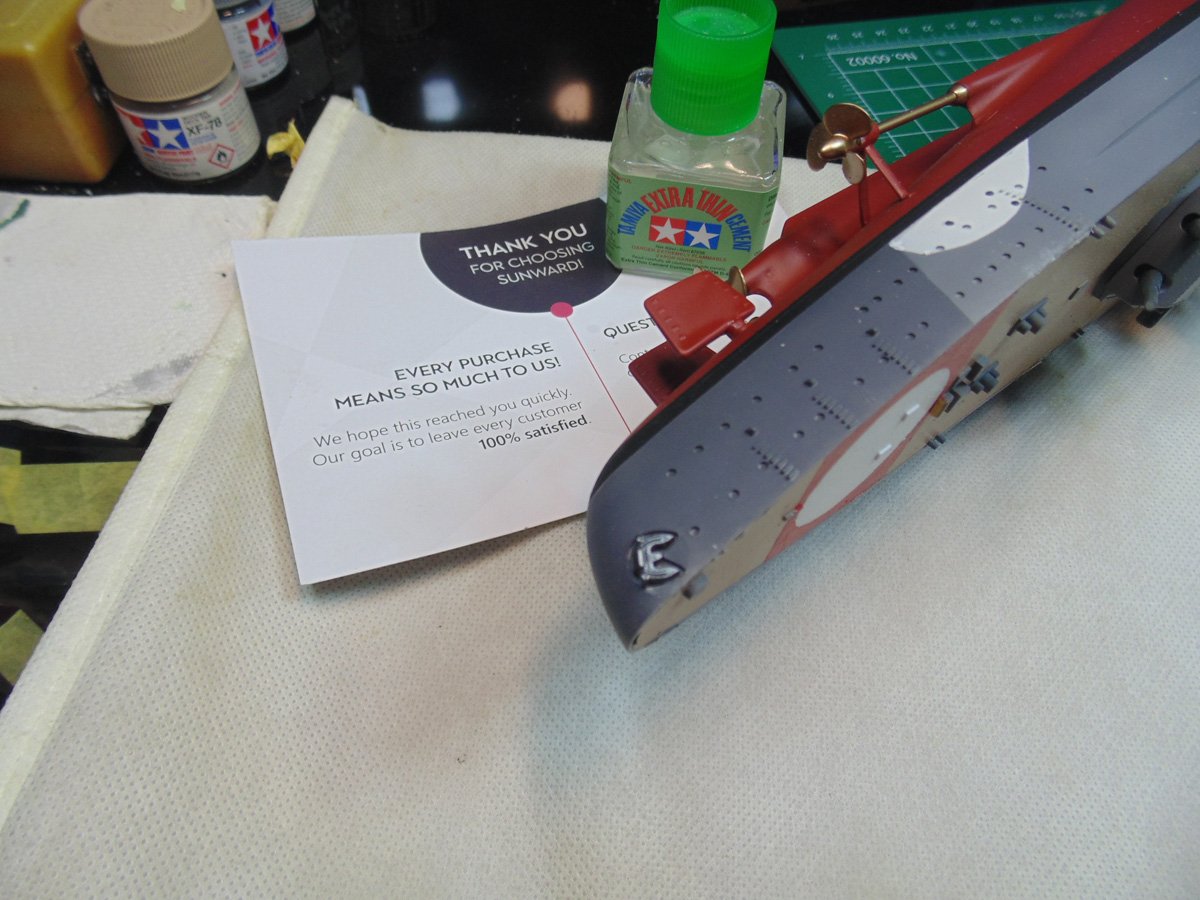
The stern anchor is nicely crafted however, you must shave some detail from one side in order to have a decent mating and cementing surface. A little off the raised points will suffice. Removing the paint and primer from where it rests will also help.
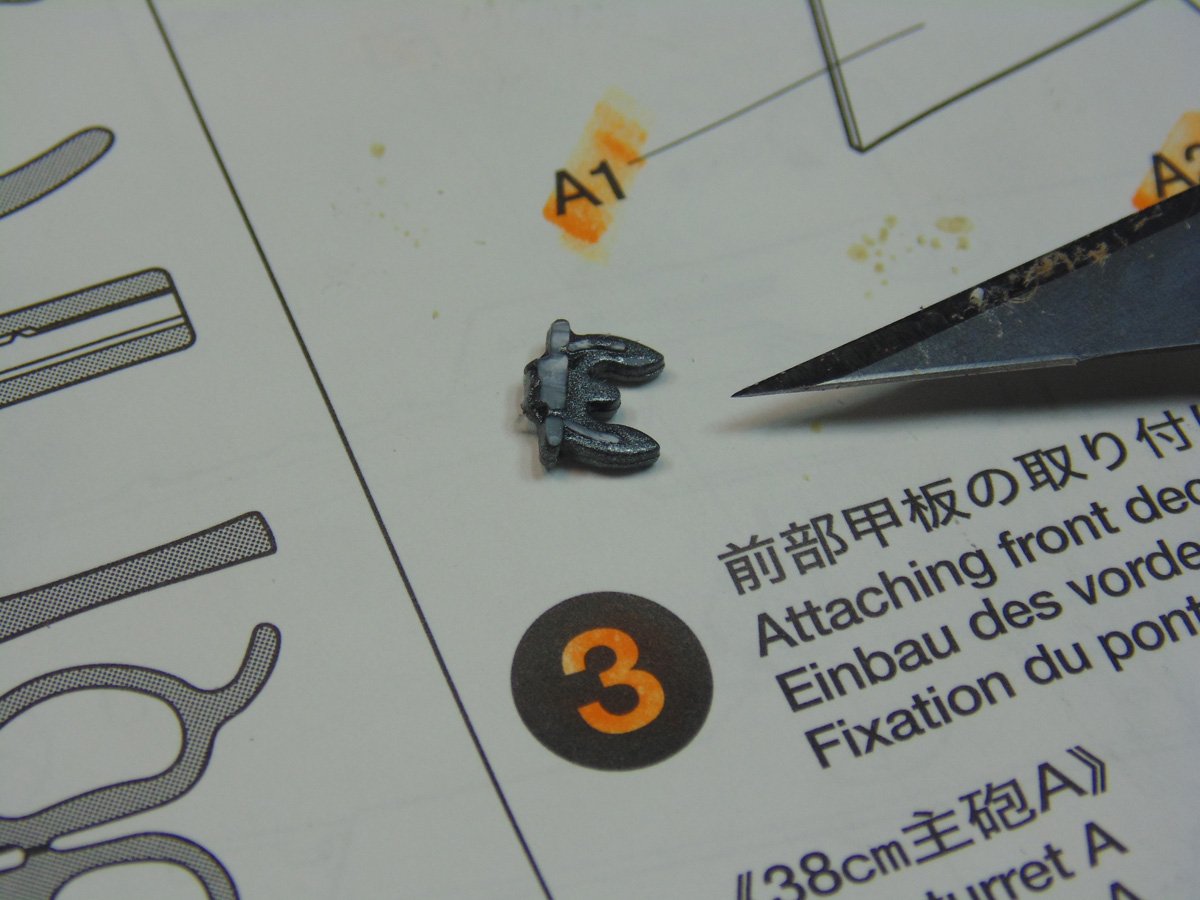
To eyeball the correct angle of the rudders simply get down on a knee after the cement has flashed off for a few minutes. The less handling of the model, at this point, the better. You can twist these parts easily into the place of where is needed. Ultimately, it’s your choice as to how it looks, yet some simple things can be done to improve the appearance.
As I’ve stated in previous Sunward Hobbies Bismarck articles you will be spinning, flipping and turning this model about. Little parts, such as this yard arm, will snap off at the most inconvenient time. Many may never be seen again, except for the mouth of the vacuum cleaner. Wait until the least amount of man handling needs to be done. There are four of these bits to go on and they add awesome detail.
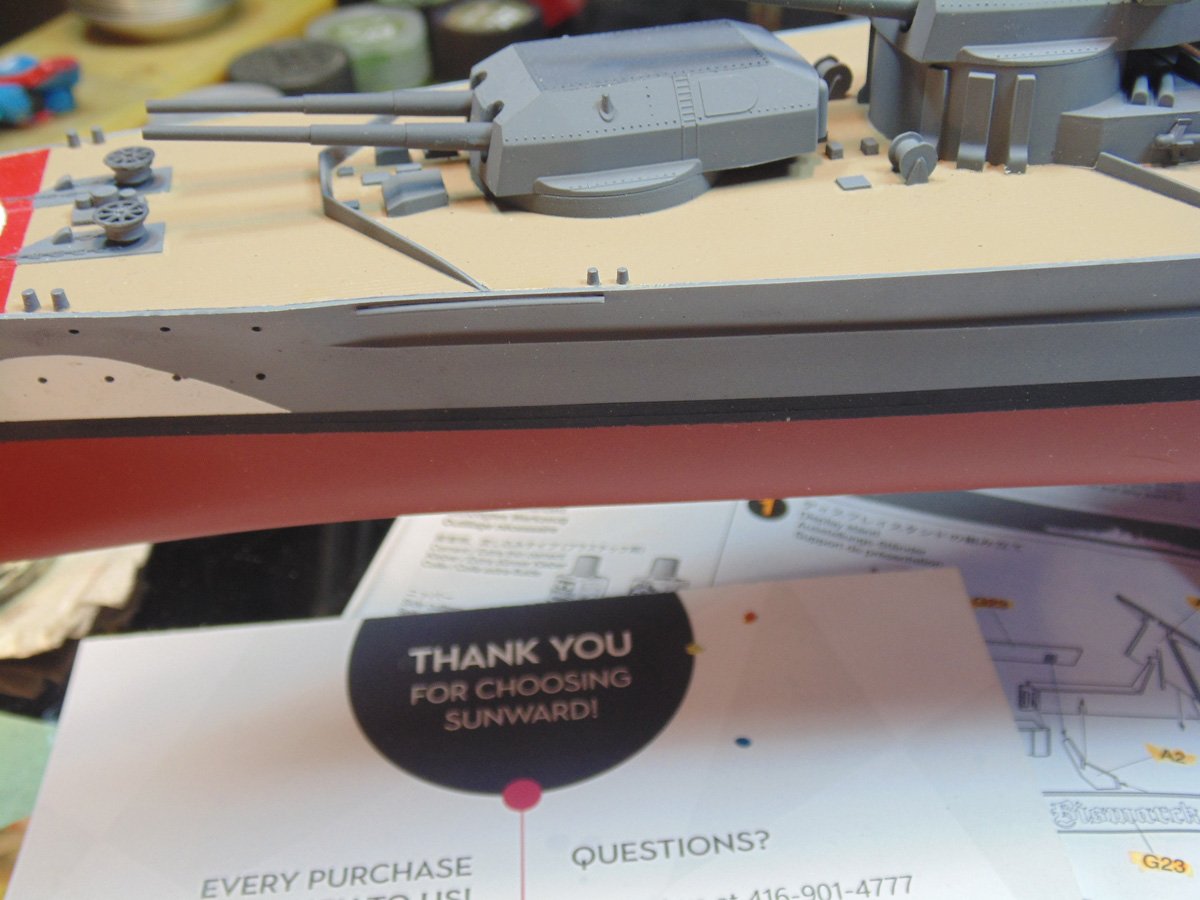
Other small additions can be done now as well. These little guns have perfect connection holes, just make sure you remove the plastic flash along with any paint and primer. Consider using a wide tipped set of tweezers when installing these items. You’ll get much more control in placing them.
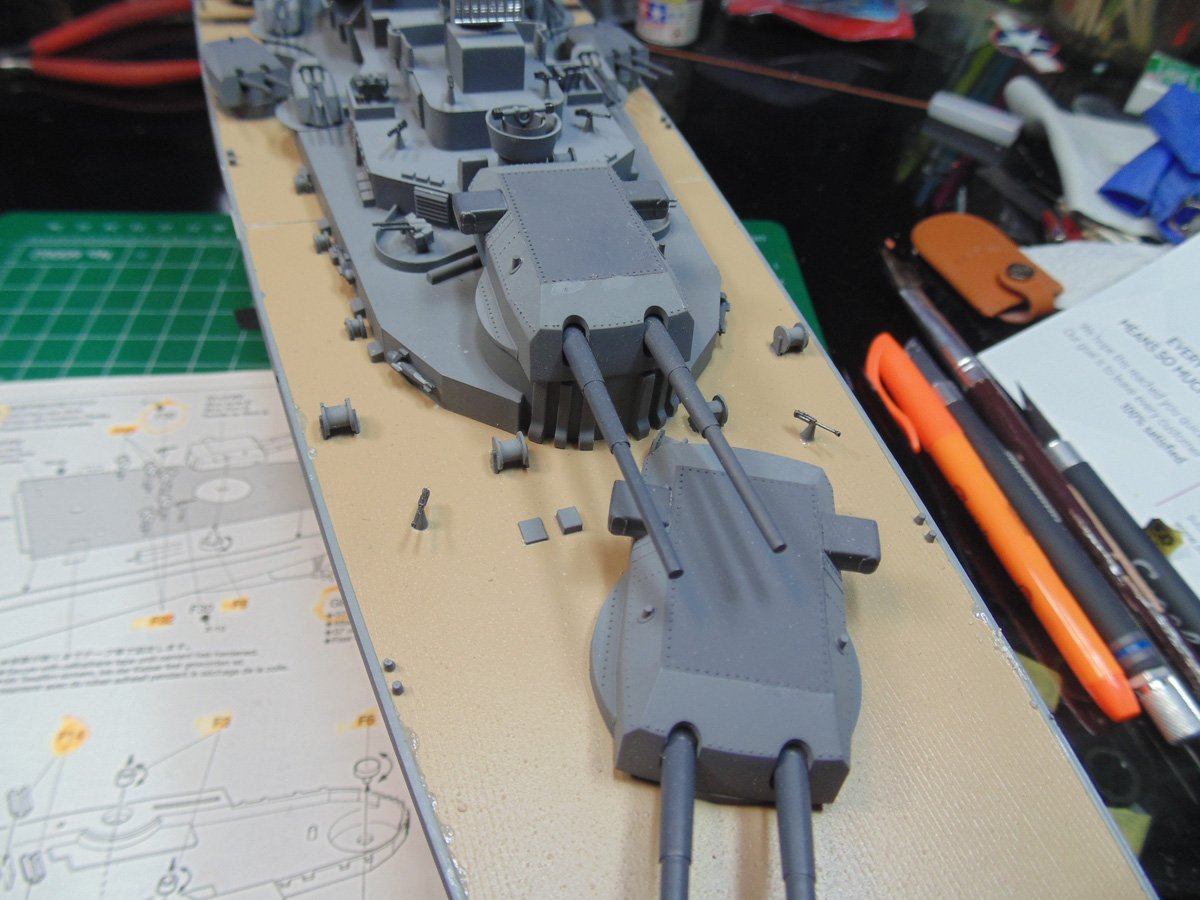
You’ll have to scuff the ship’s deck and keel from the landing craft because there aren’t any connection points. Due to how old the original molding was, try to remove all the plastic in the ejector pin marks. That will help with a firmer hold. After they are strongly set you can do your fine detail brushing. Sunward Hobbies sell plenty of detailing brushes for this task.
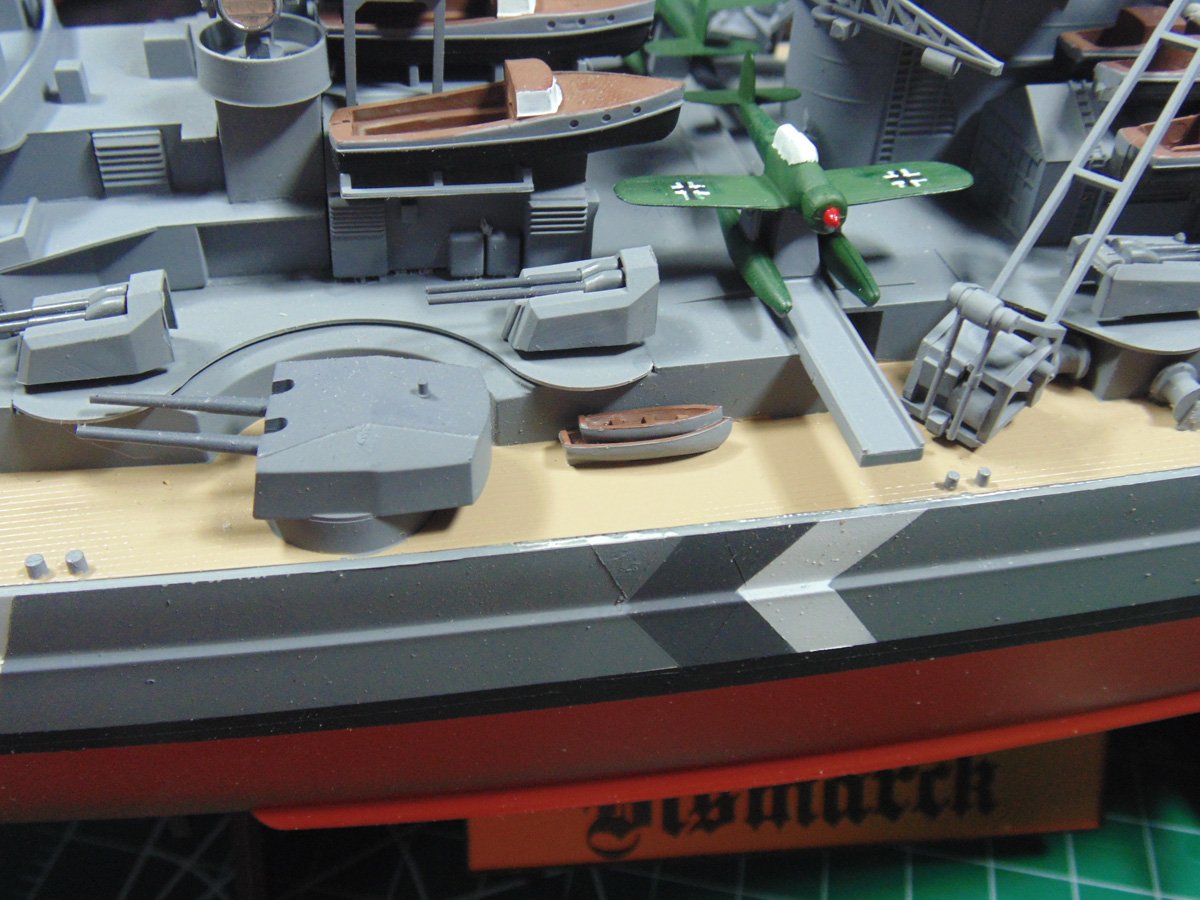
The aft guide rails need all the paint and primer removed from the connecting points. Once they have hardened the parts are robust enough to handle any minor bumps here and there. They are an important addition and certainly worth the time letting them fully cure in place.
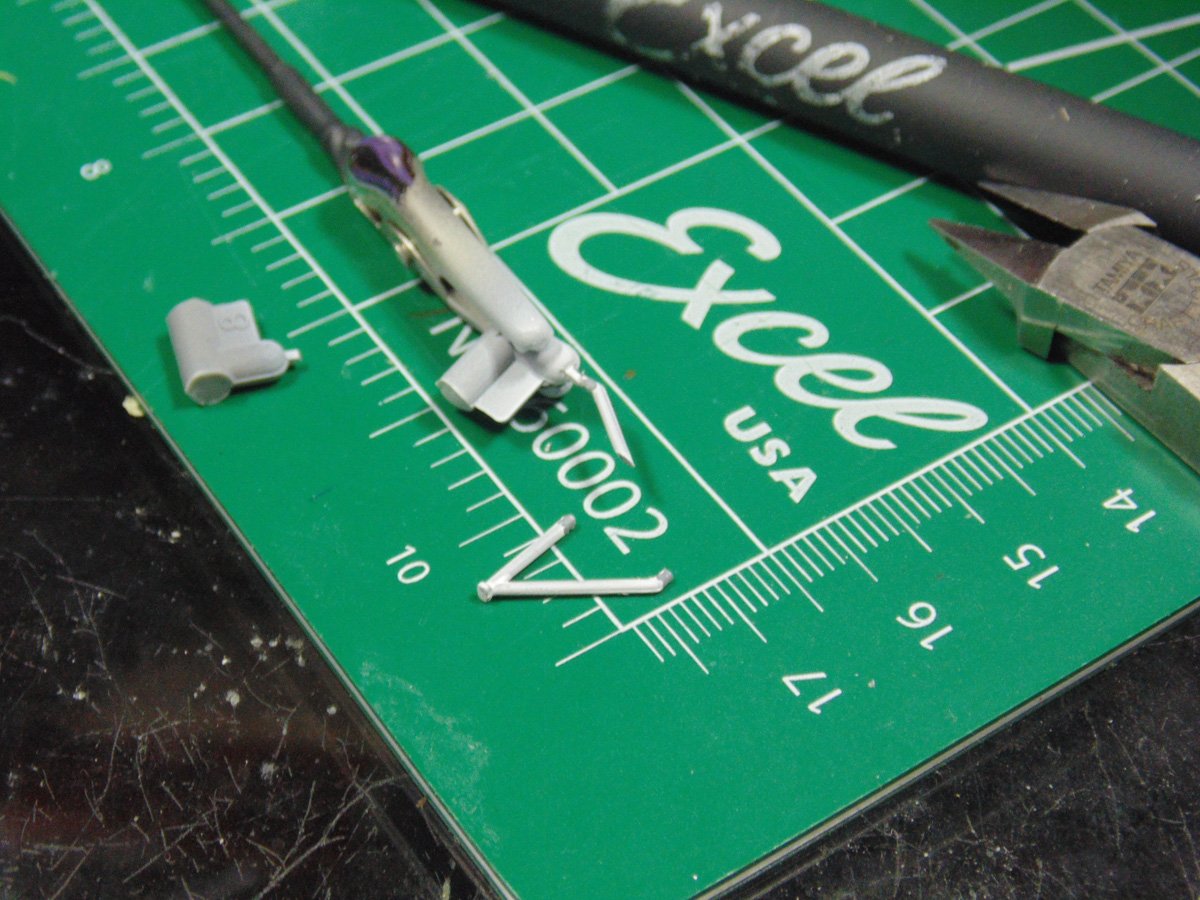
Depending upon how you paint your replica, you can opt to paint these rails. The look I’m going for here is to match the hull camouflage. Here’s a tip, the cement will blend the paint into the plastic if you flood the connection point. Later, you can go back and touch up the paint if needed.
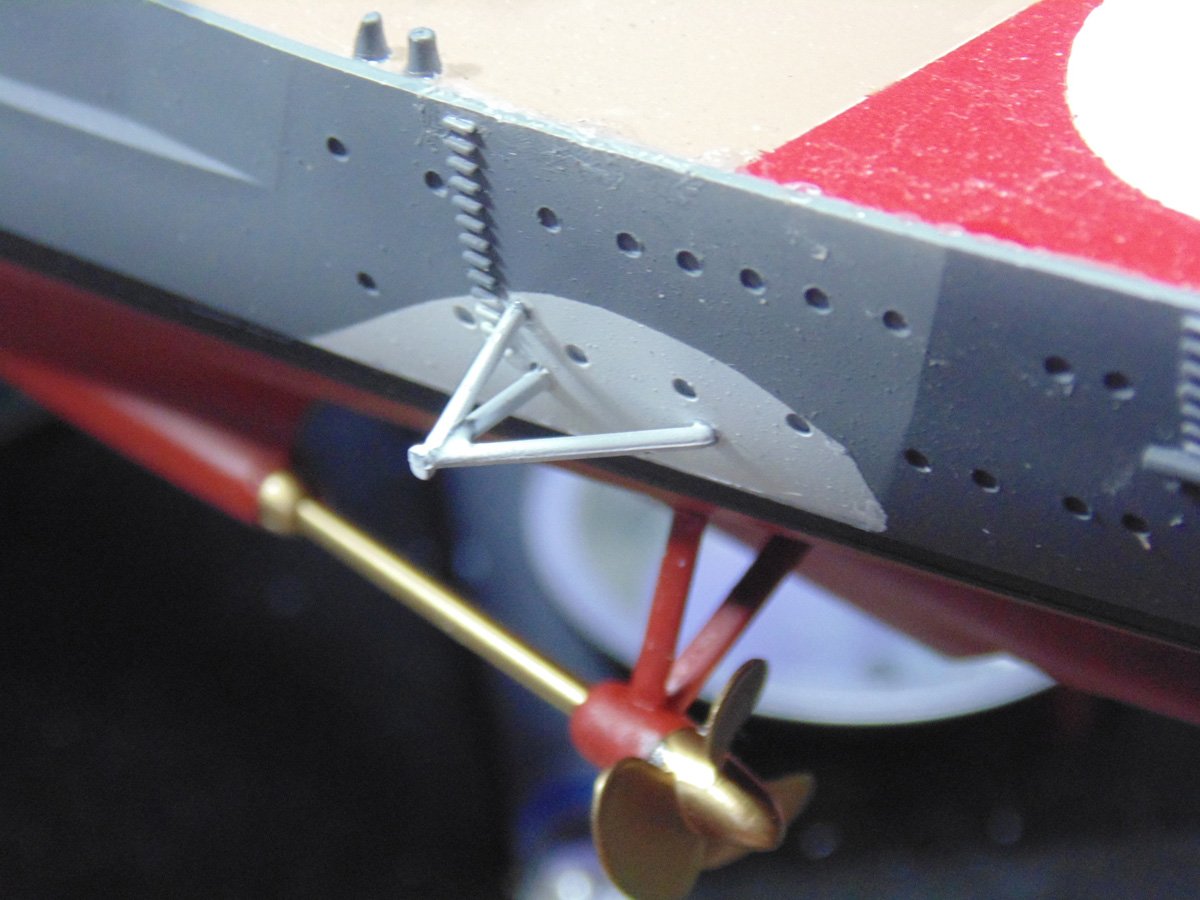
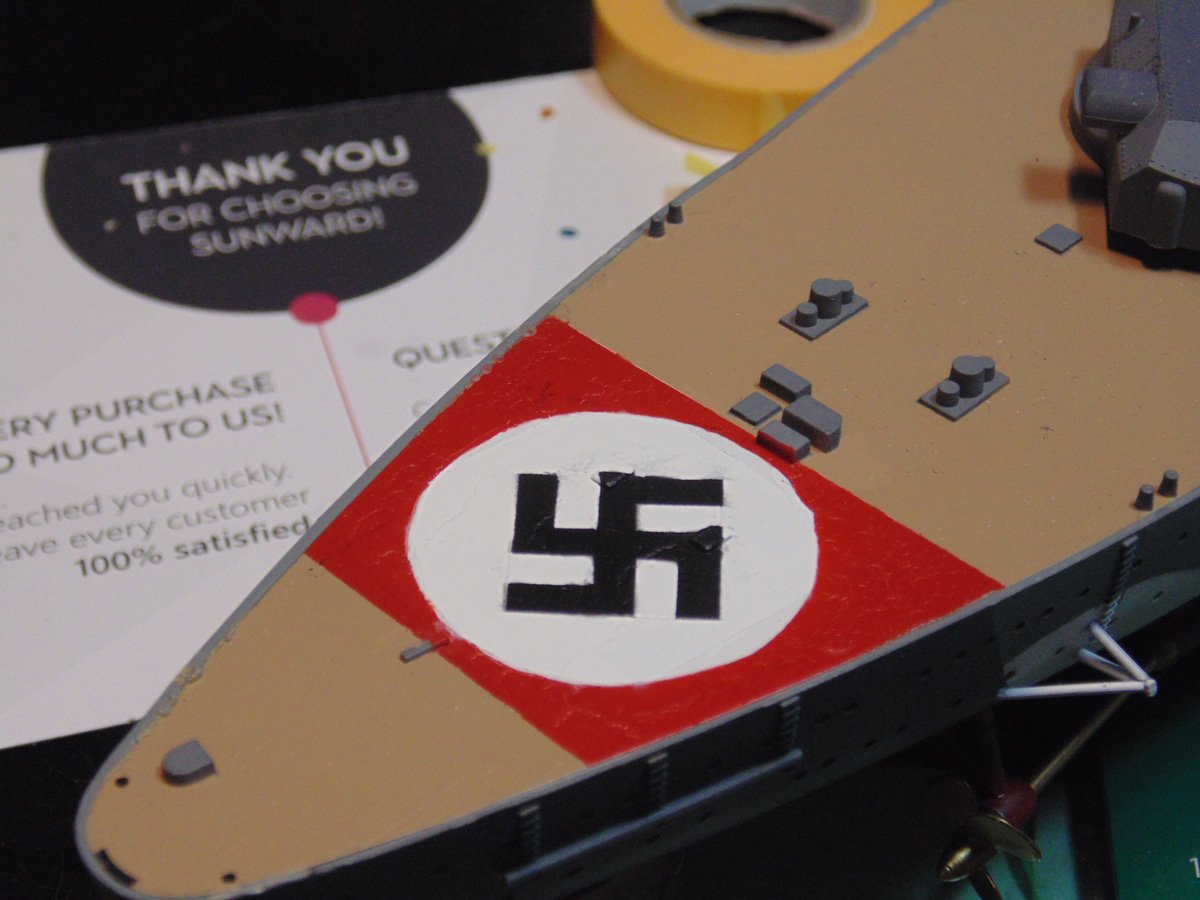
Making the insignias isn’t difficult, it just takes time. I began with wider bands. A basic circle cutter will get you the outer diameter as it did with the painting setup. Use a cutting mat with millimetres and inches marked off to help you make your slices.
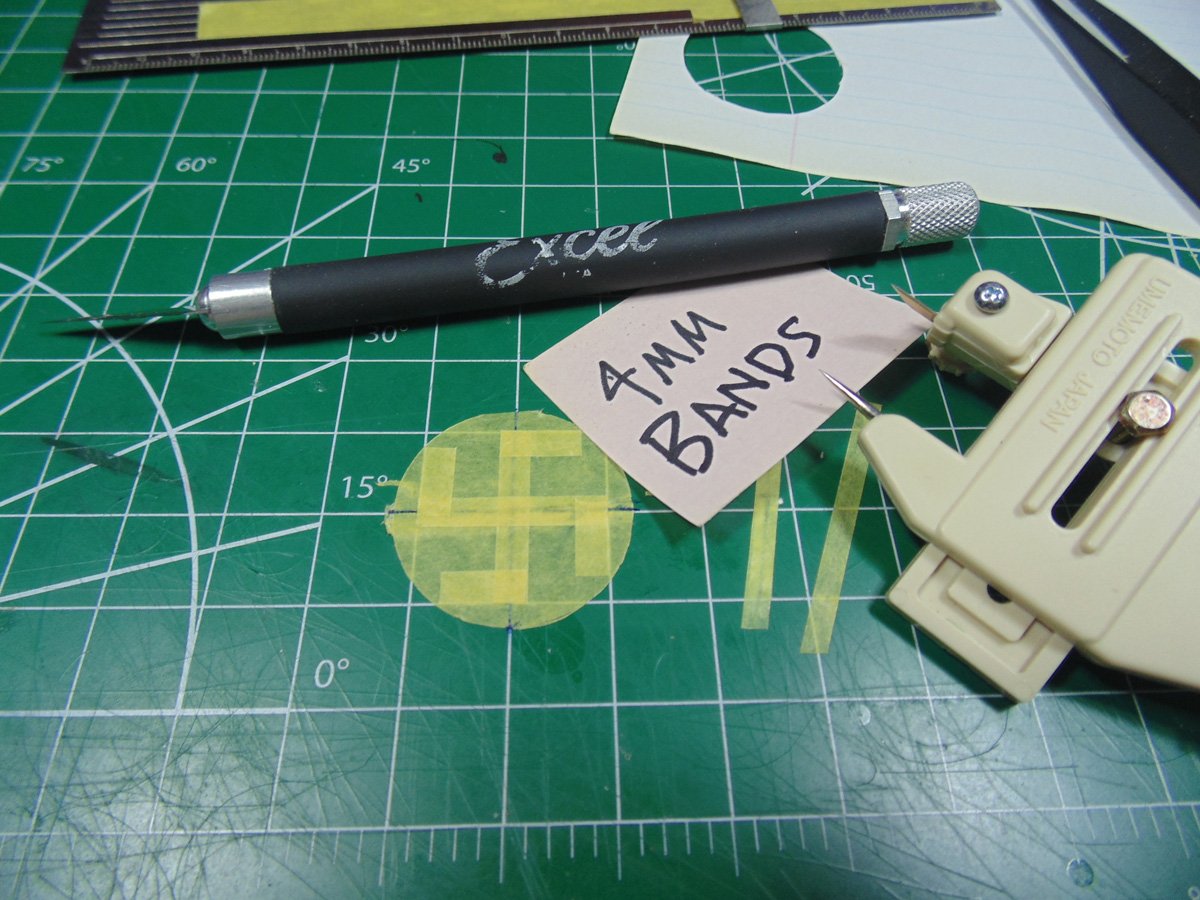
The first run was an historical failure because I’ve never done this type insignia work before. You can learn from my mishap though. The cross edges need to extend out to the end of circle.
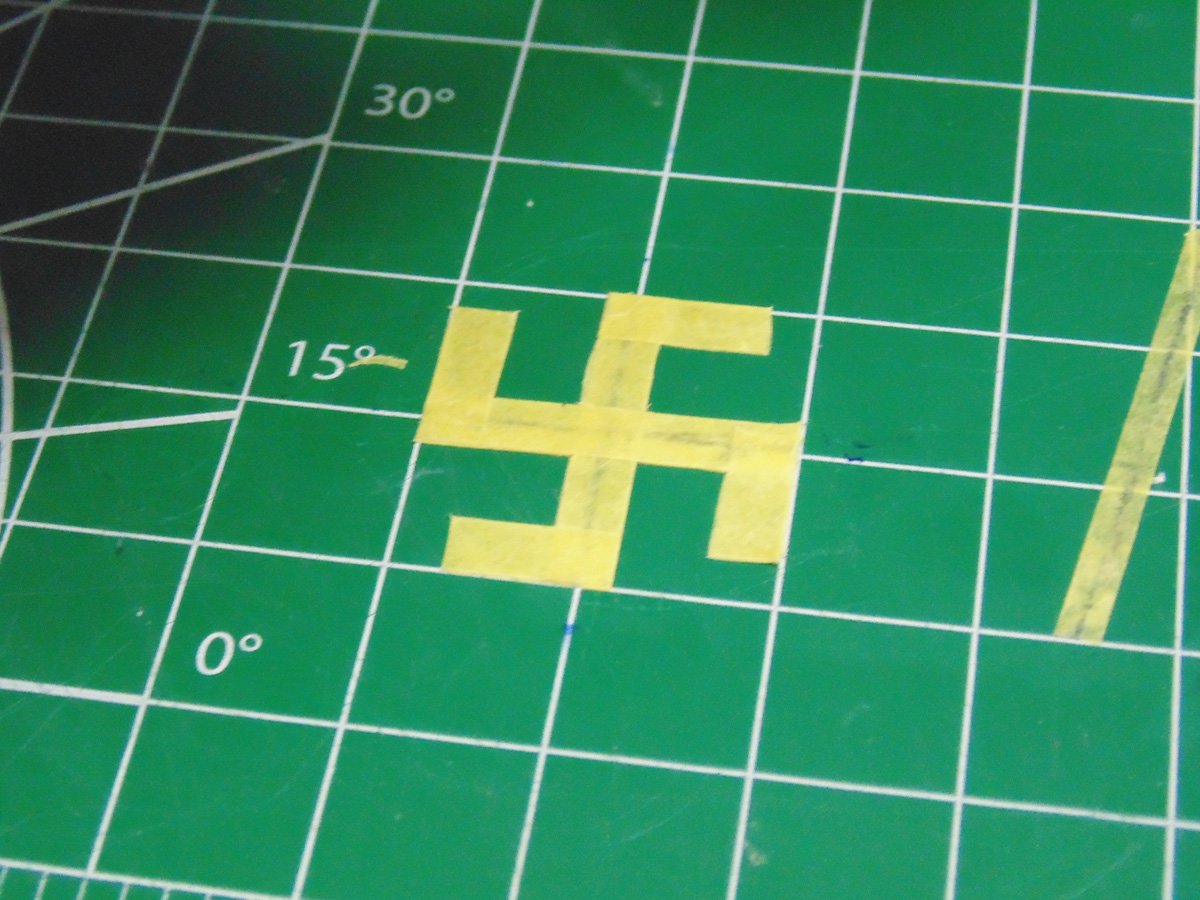
That said, the masking remains the same. You must align the edges of the tape with any straight line. Use any mishaps as a way of practicing as I did.
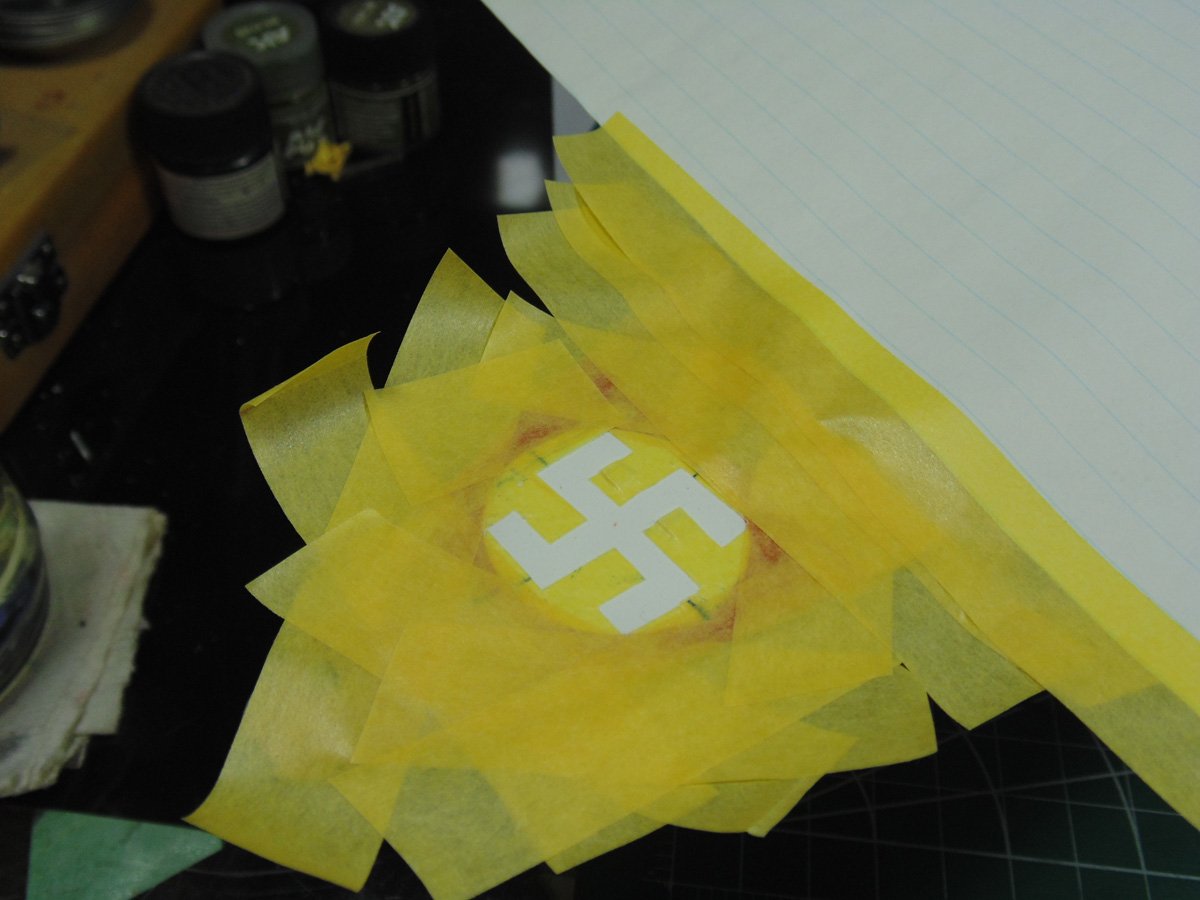
Correcting the shape was not difficult. Use the same width of hobby tape to space and form the insignias. Then mask all the sides and simply spray or hand brush light coats on until the edges have need filled in. The green tape is common household all-purpose stuff used painting repairs.
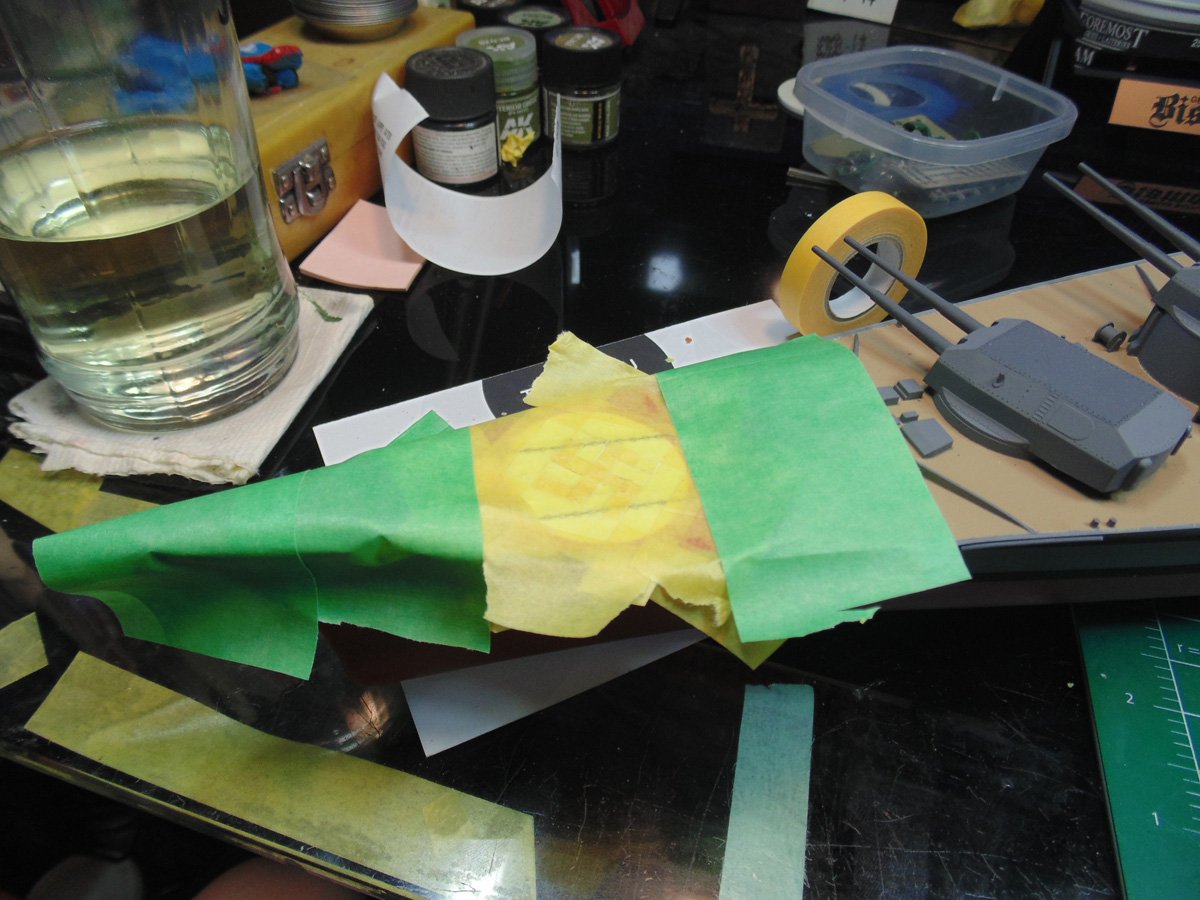
Follow this work up with a bit of hand painting. Again, don’t be shocked if some of the smaller parts come free due to lifting the masking tape off. Just another reason to remove the details molded on the mating surfaces.
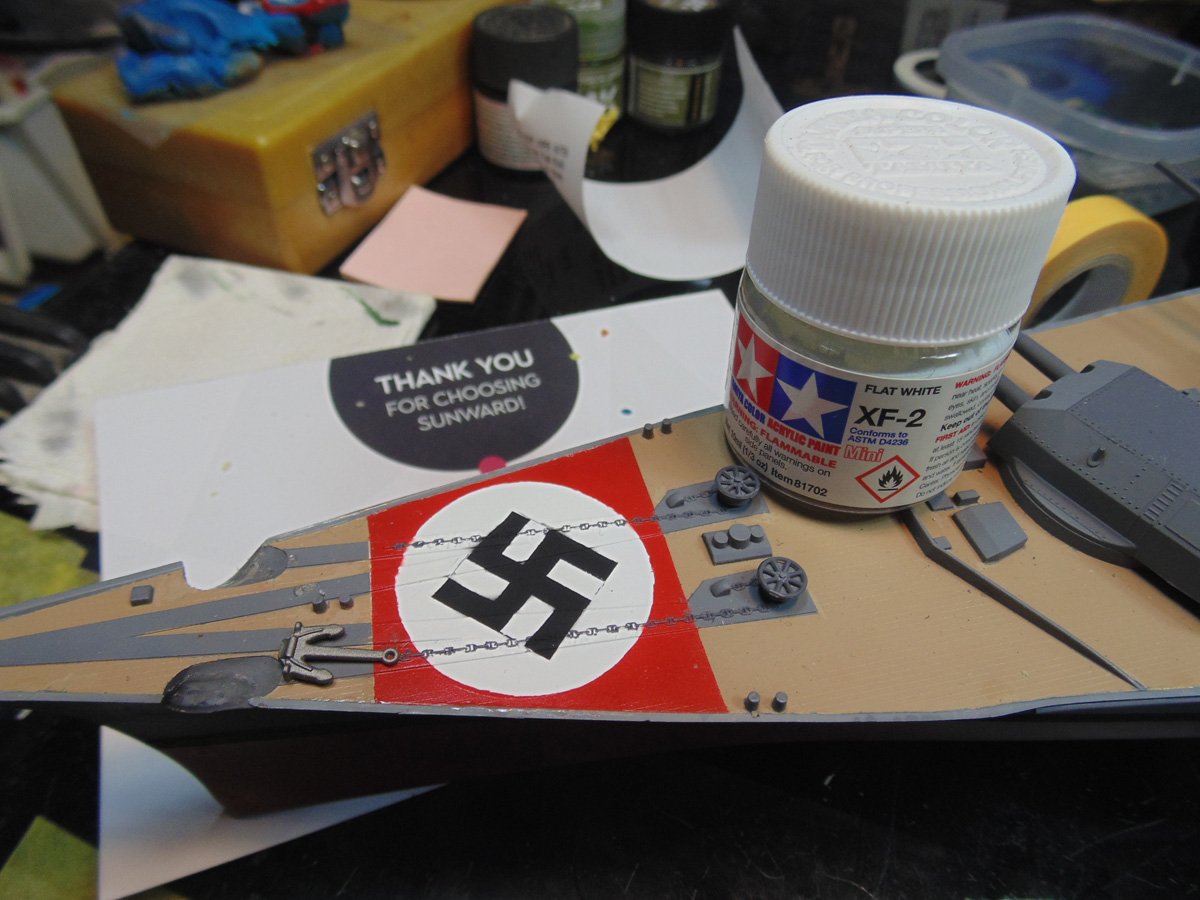
The stern area needs to have the negative stencil burnished down at the raised detail points. You may opt to slice these off in order to speed up the build.
To finish build you should seriously think about doing some rigging. Don’t be intimidated by this. You just need the right tools and a system. Sunward Hobbies have all that’s needed for this. I begin by drilling tiny holes to thread my line through.
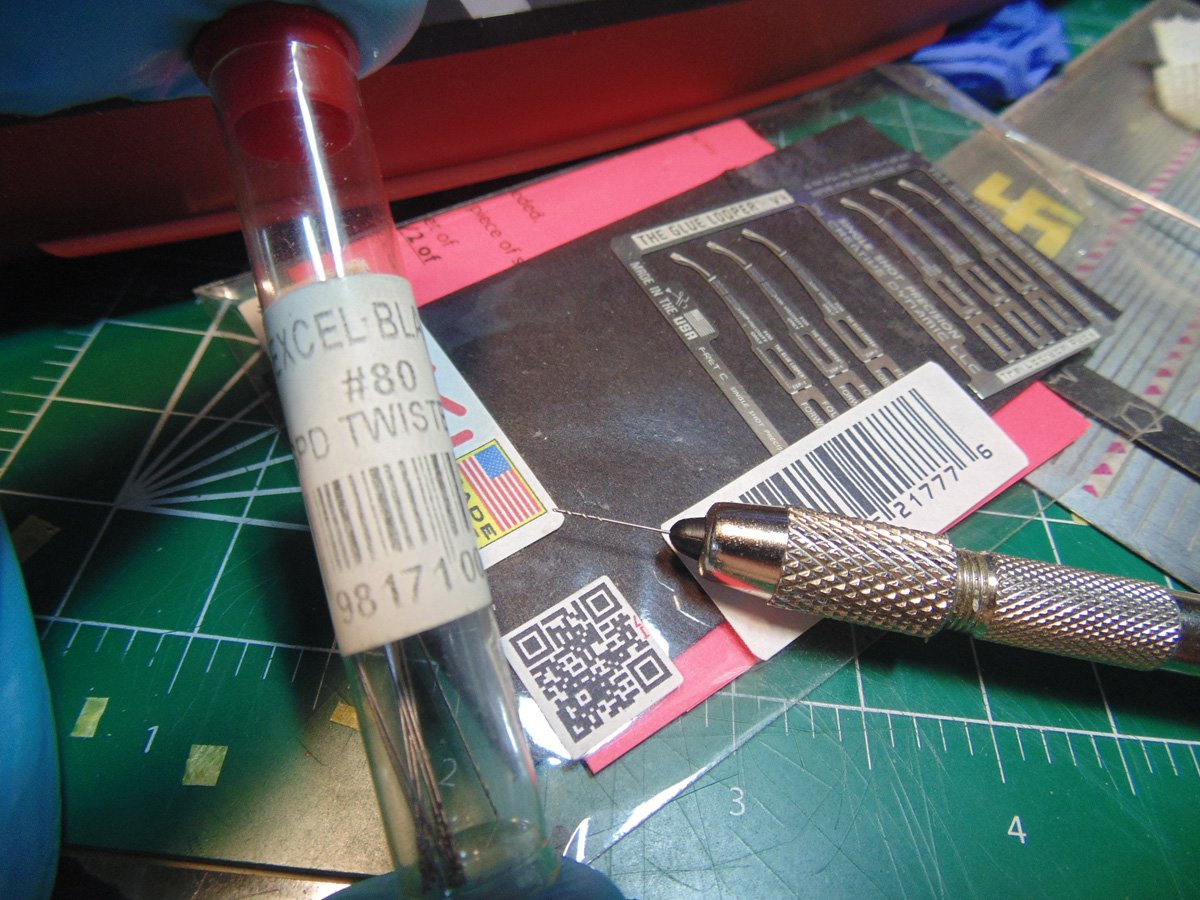
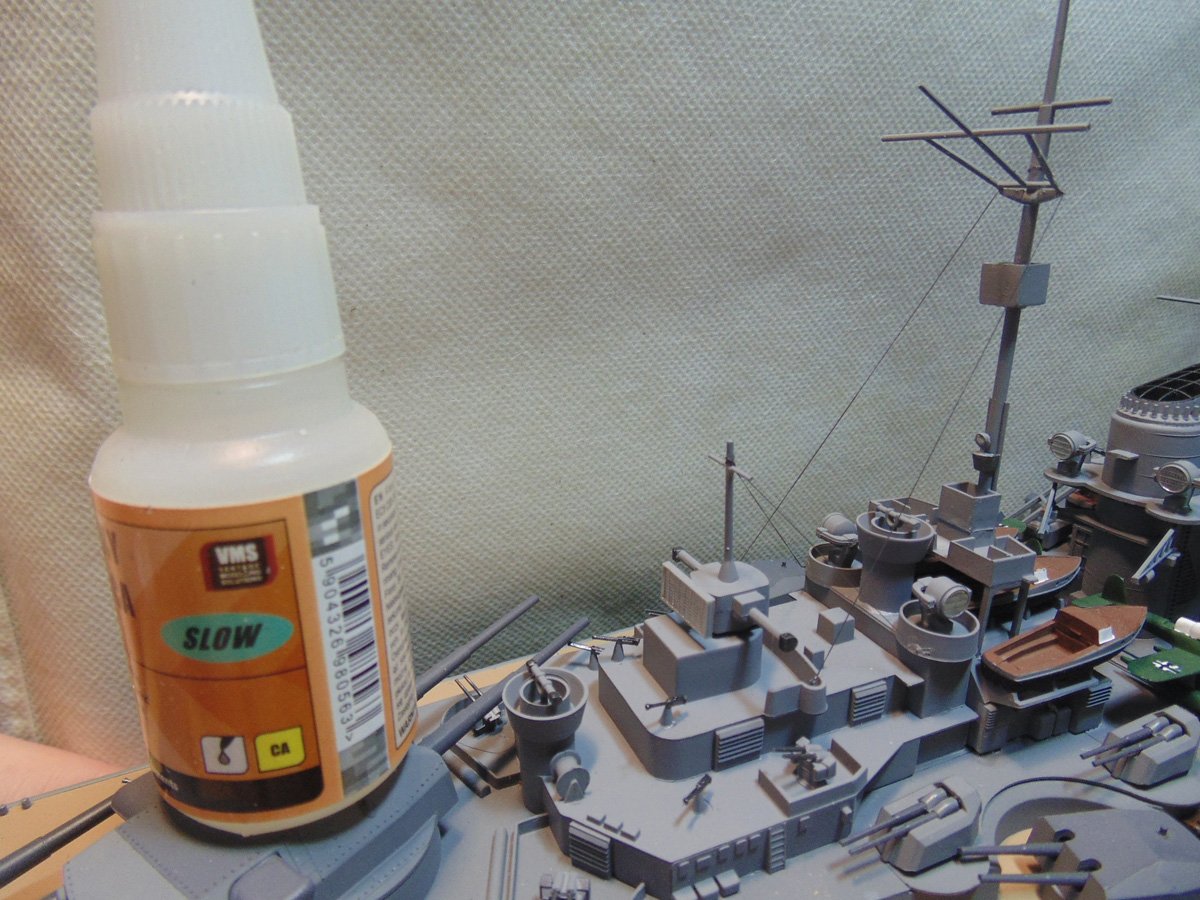
Always begin at the lowest point and work your up. Find a starting point and let it dry before connecting the next end. Use a slow acting CA glue to give yourself some time to make minor adjustment.
A common clamp will hold your Excel tweezers together while the line and CA glue harden. Again, it is a system and method so go one step at a time. Make sure you have all the tools you need by your side.
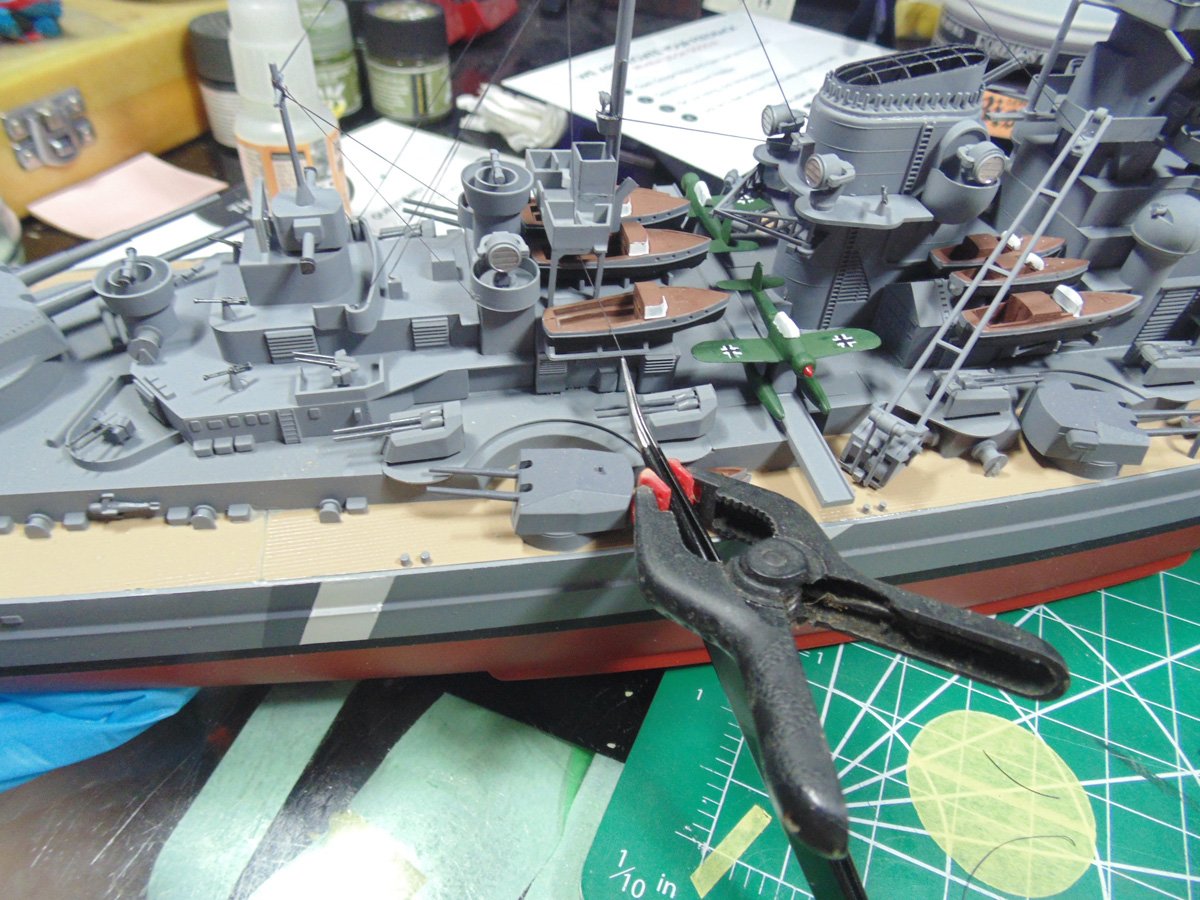
It doesn’t matter which product you use for the rigging; I have a dozen of them. Take a step back and examine your points of connection to see if it pleases you. At the end of the build, it is your eye whom are the most important.
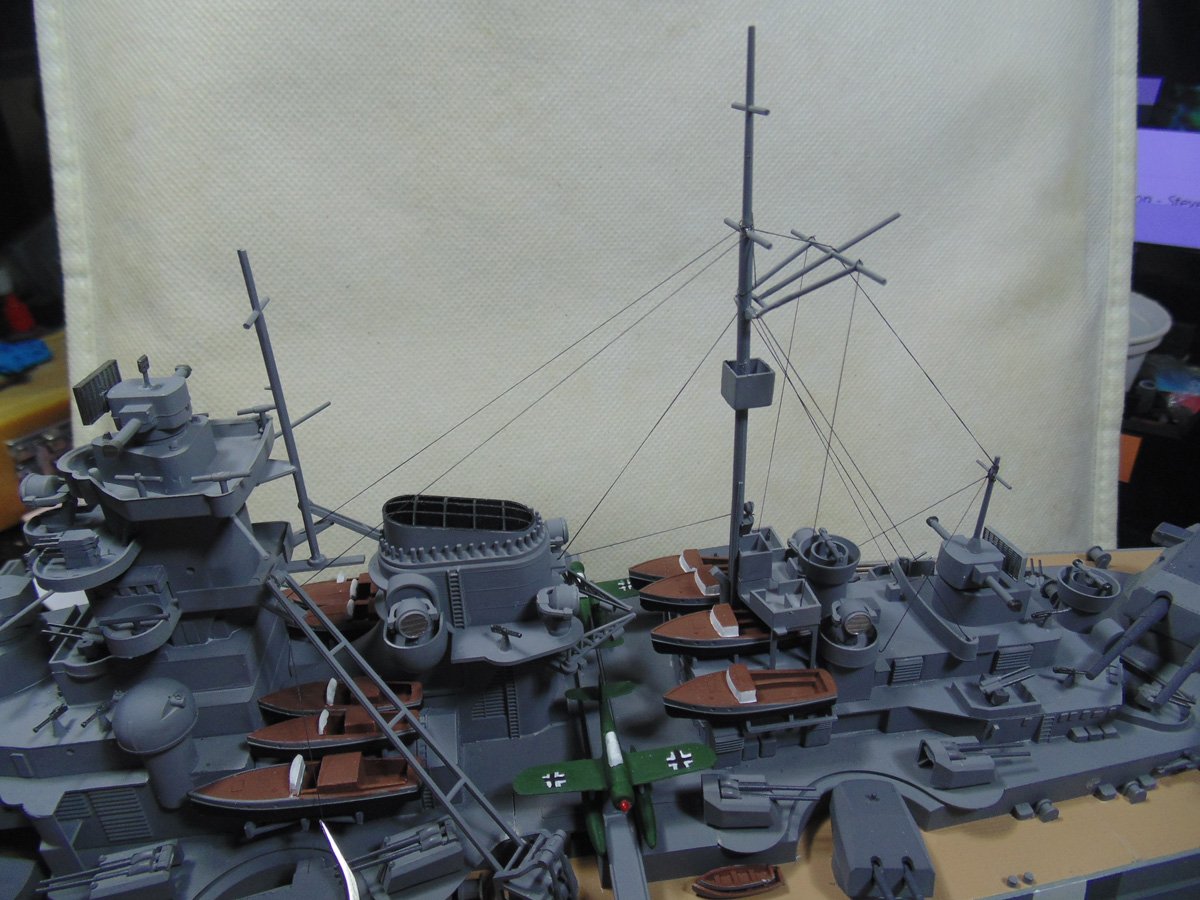
Use some fine tipped tweezers to thread the rigging line and no matter which CA glue you use allow it time to dry. Sure, a steady hand is needed but doing this will make your model jump to life. Ask the staff what might be the best for making this task more enjoyable.
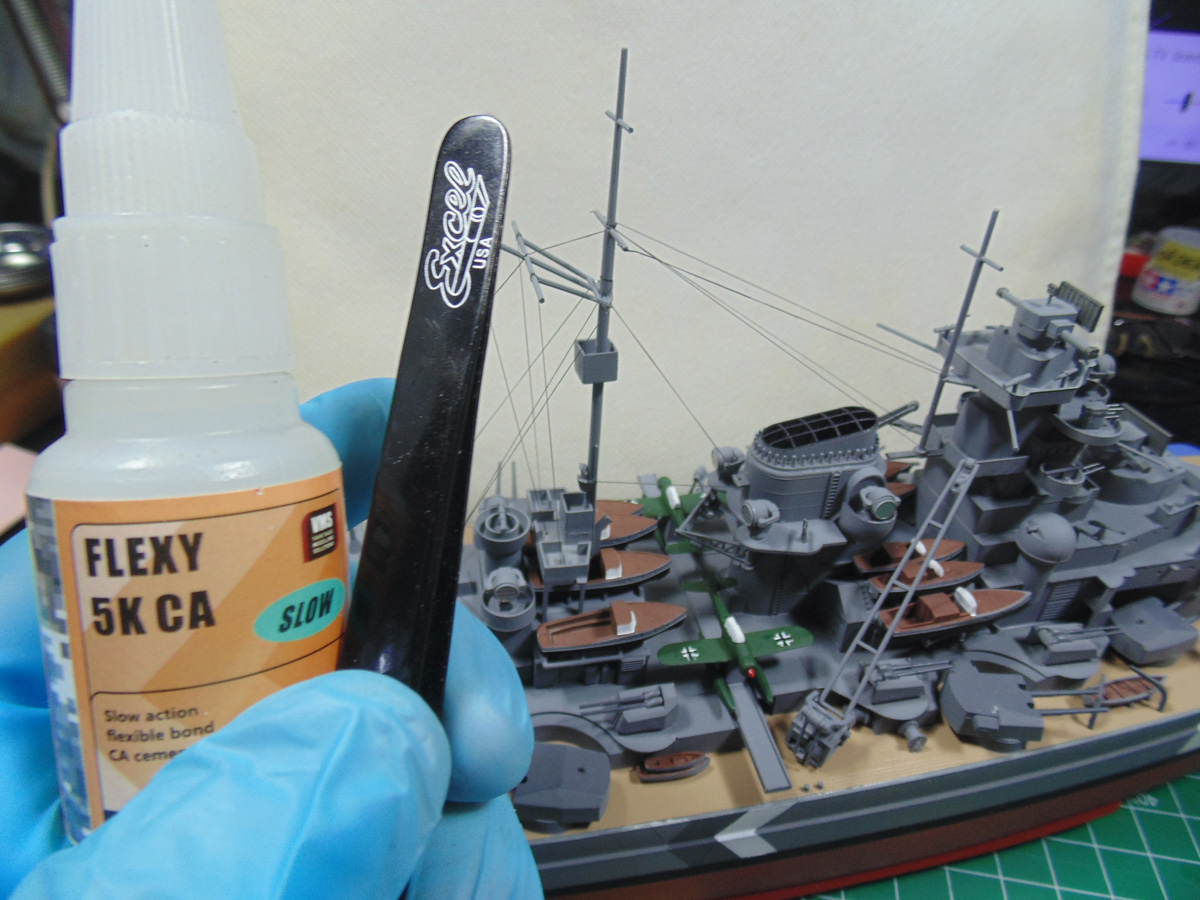
Personally, I like to add a droplet to the surface then add the material and follow that up with another once its dried. The wet CA glue will not rehydrate provided its completely hardened. Once again, it is a slightly time-consuming task that you’ll completely forget about hours when the model is on the shelf.
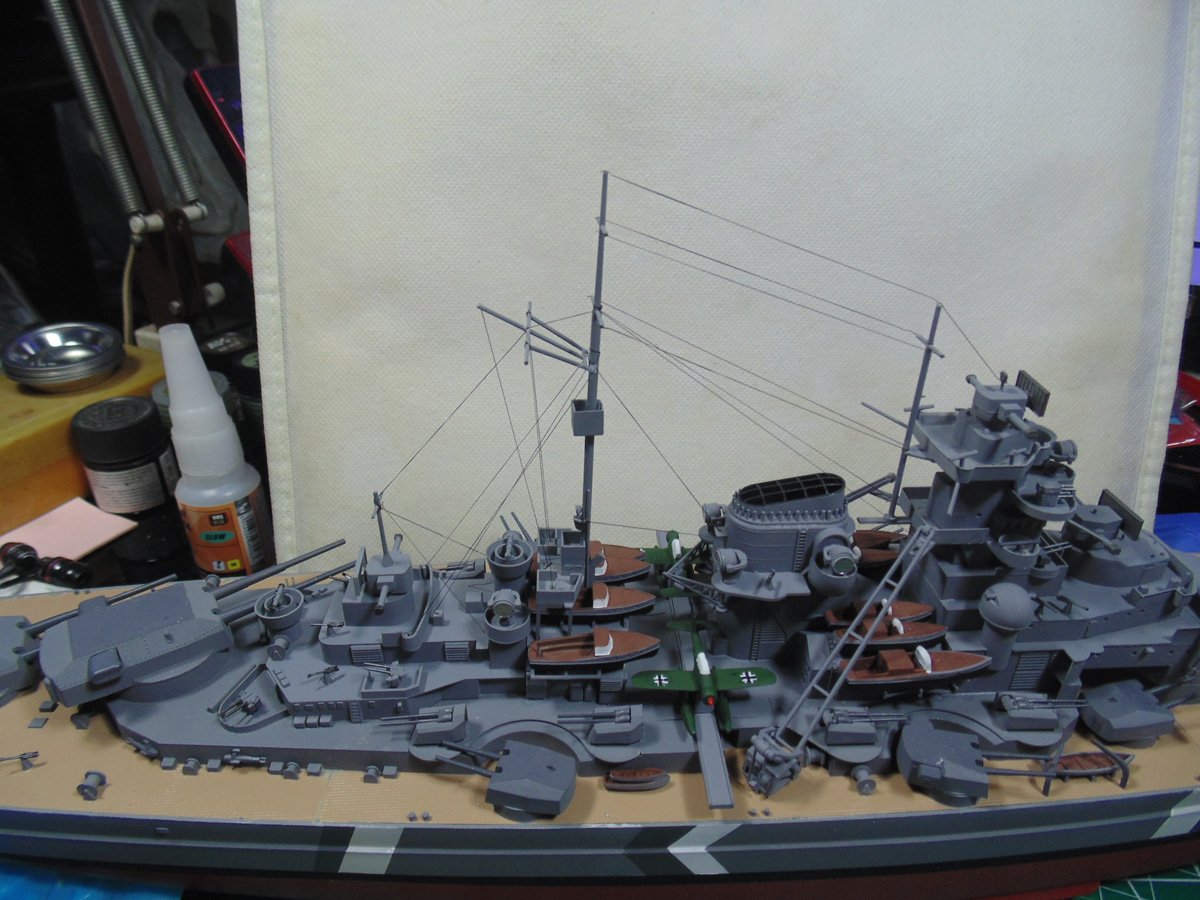
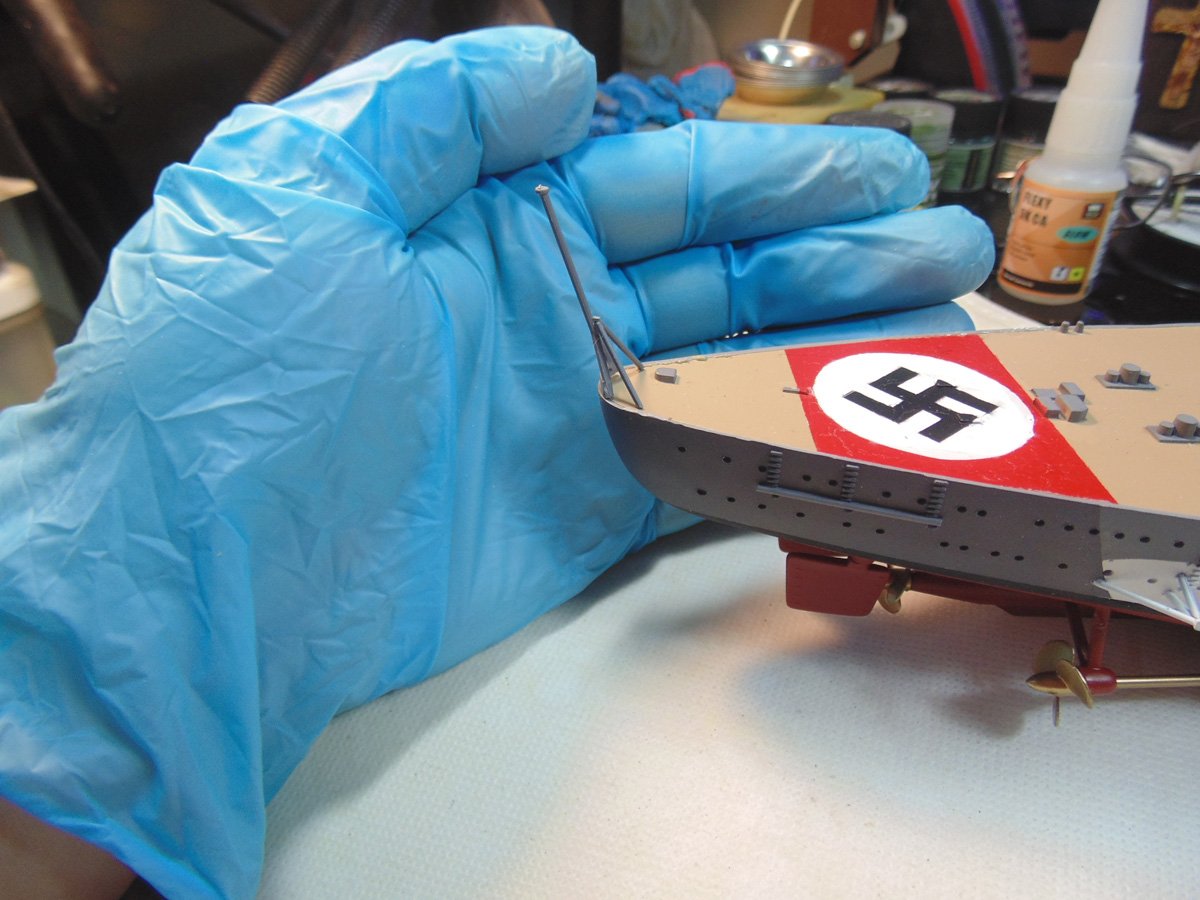
The stern flag post should be dry-fitted and then cemented. The form has to right in order for the flag to look right. Clean off the connection points and test fit them. You may have to squeeze the forward bars in order for them to plug into the holes. Once this is done then you can cement the top of the vee to the post. You, most definitely, want to let this harden for an hour.
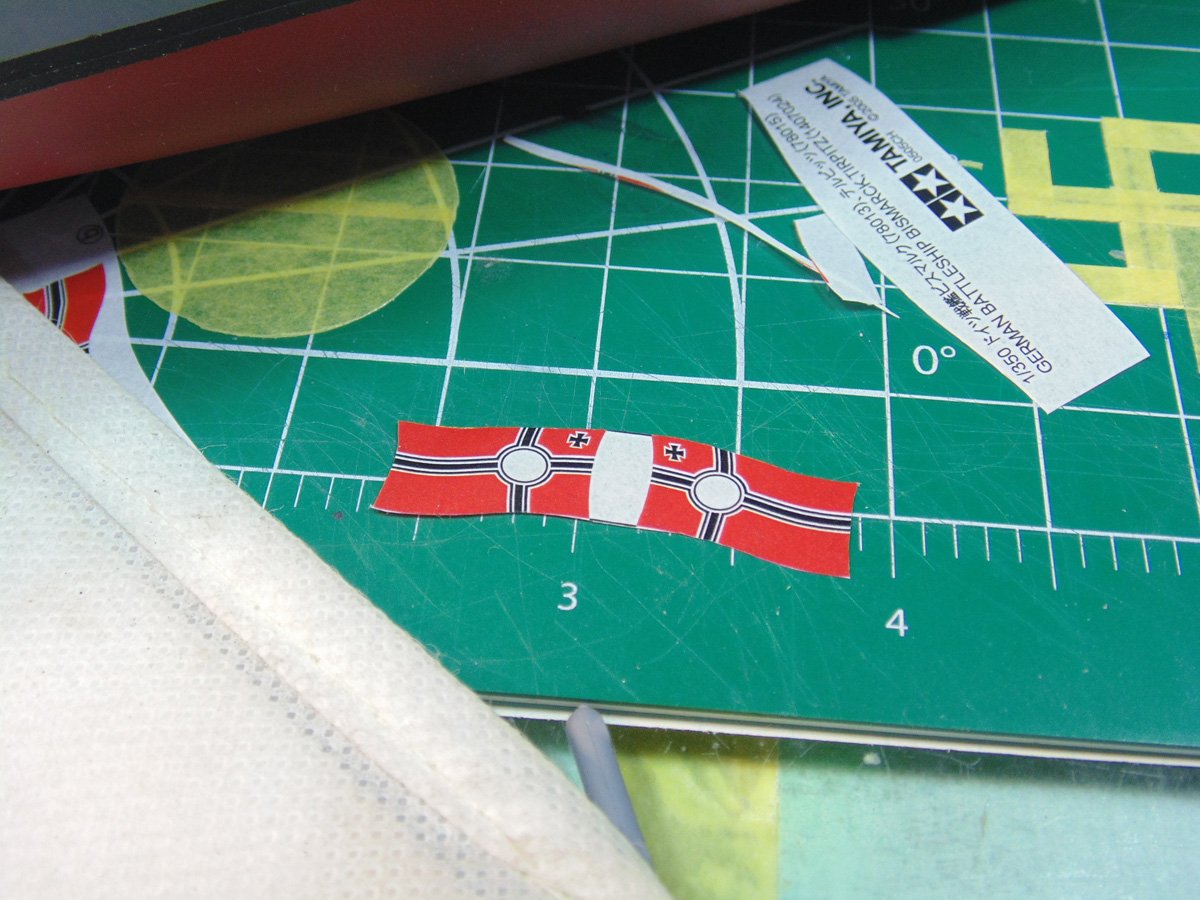
There are two choices of flags. One looks as if its wafting in breeze while another is outstretched, I prefer the later. If you choose to cut out the middle white paper for more realism it’s your call. Being this is a “basic” build I wanted to be as fun as it gets.
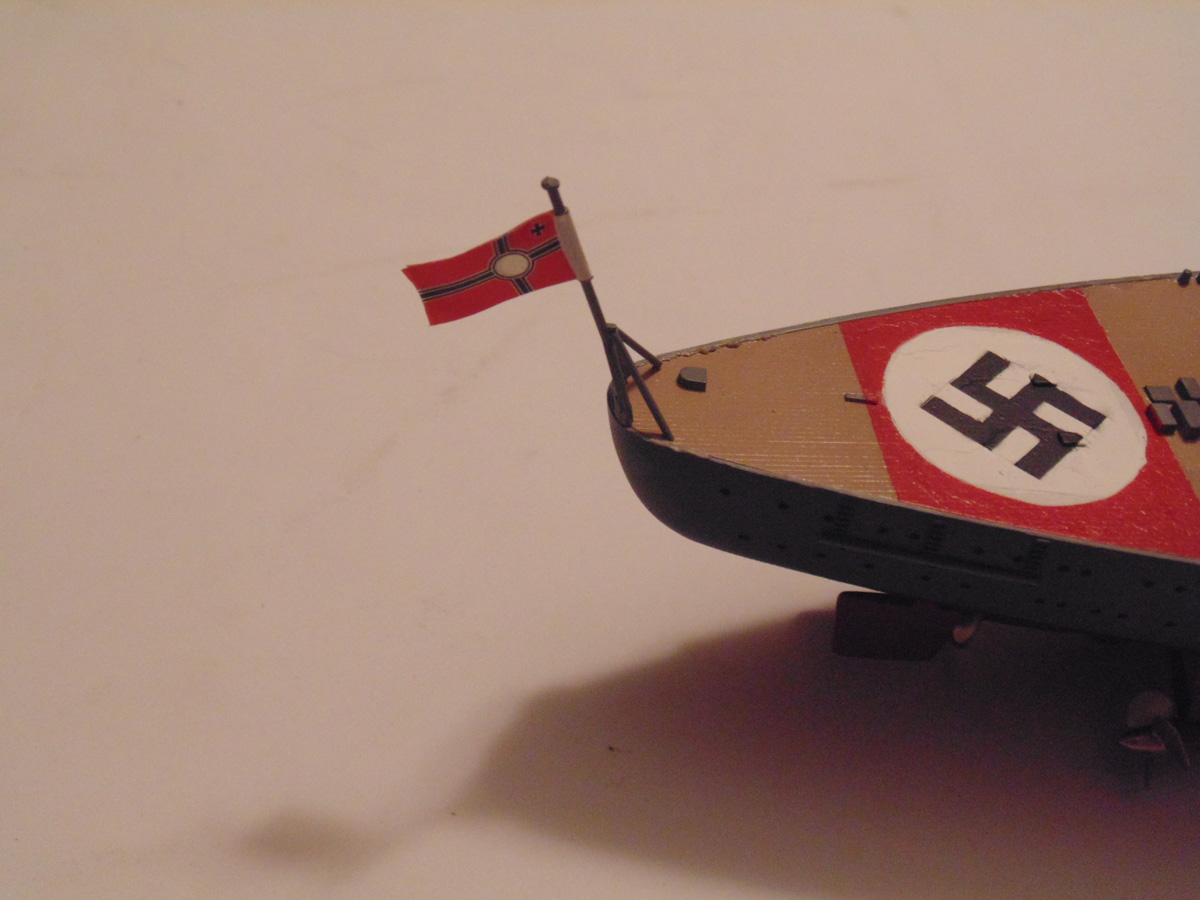
Here you can see the flag in place. This is removable for shipping while at home you might think about doing the same and cementing it when its in the final location. Tamiya make sturdy parts, yet even they have limitations.
And now for some completed photographs of the Sunward Hobbies 1/350 scale Tamiya Bismarck Battleship.
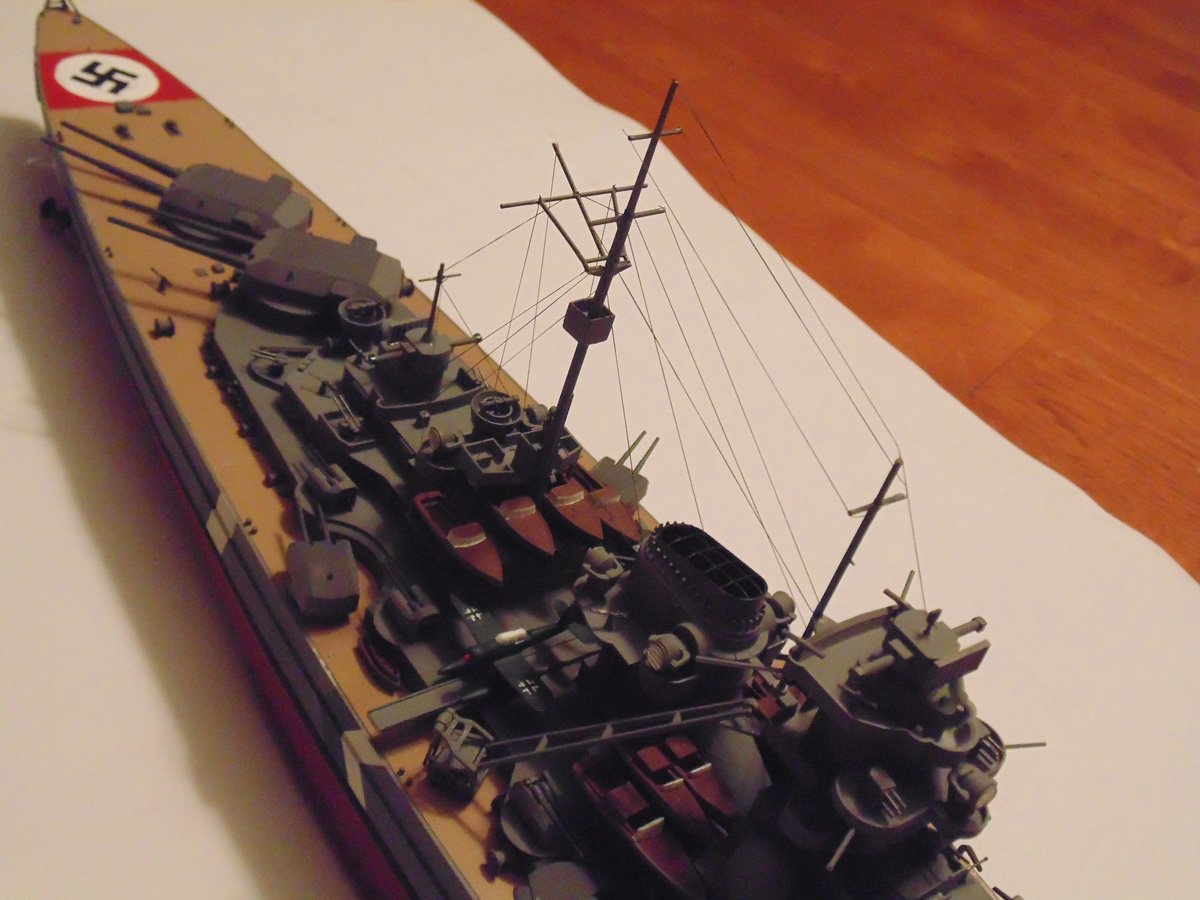
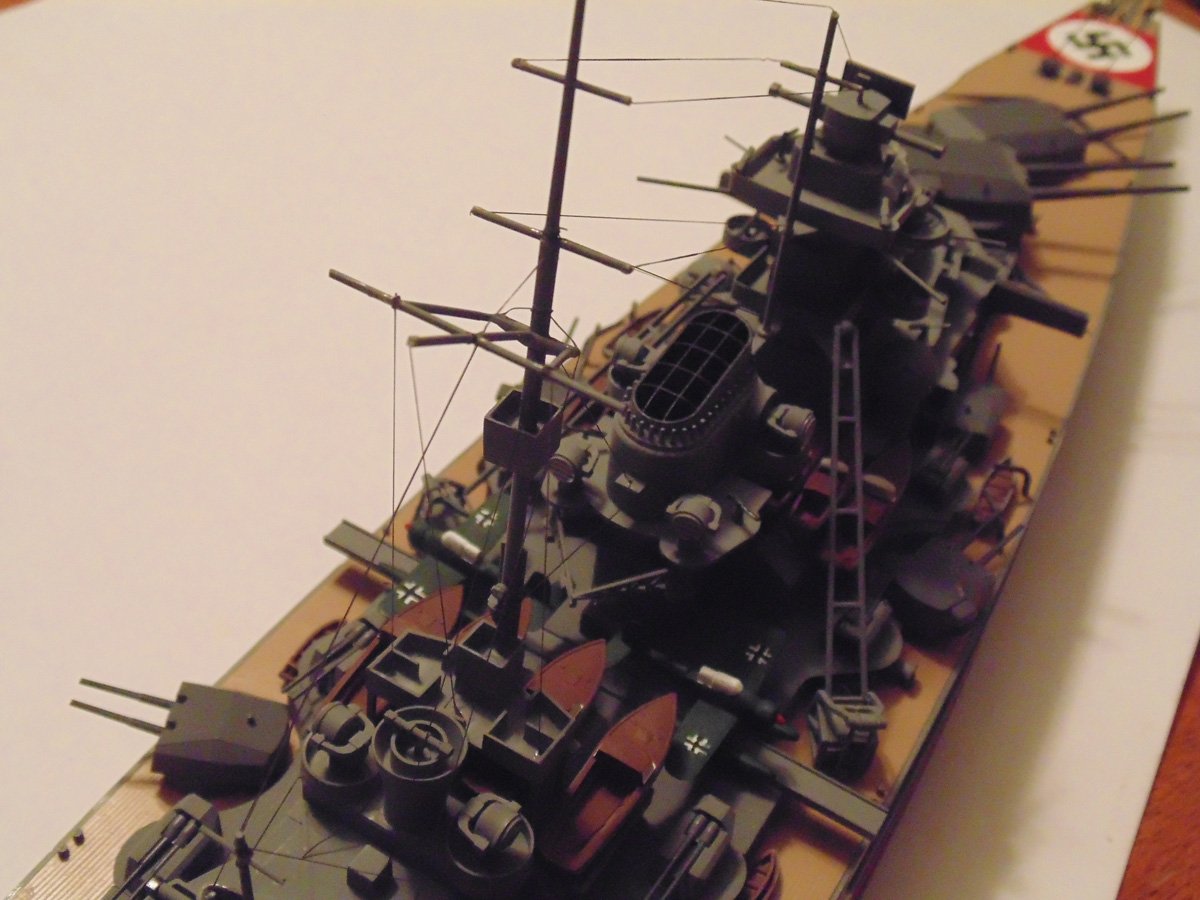
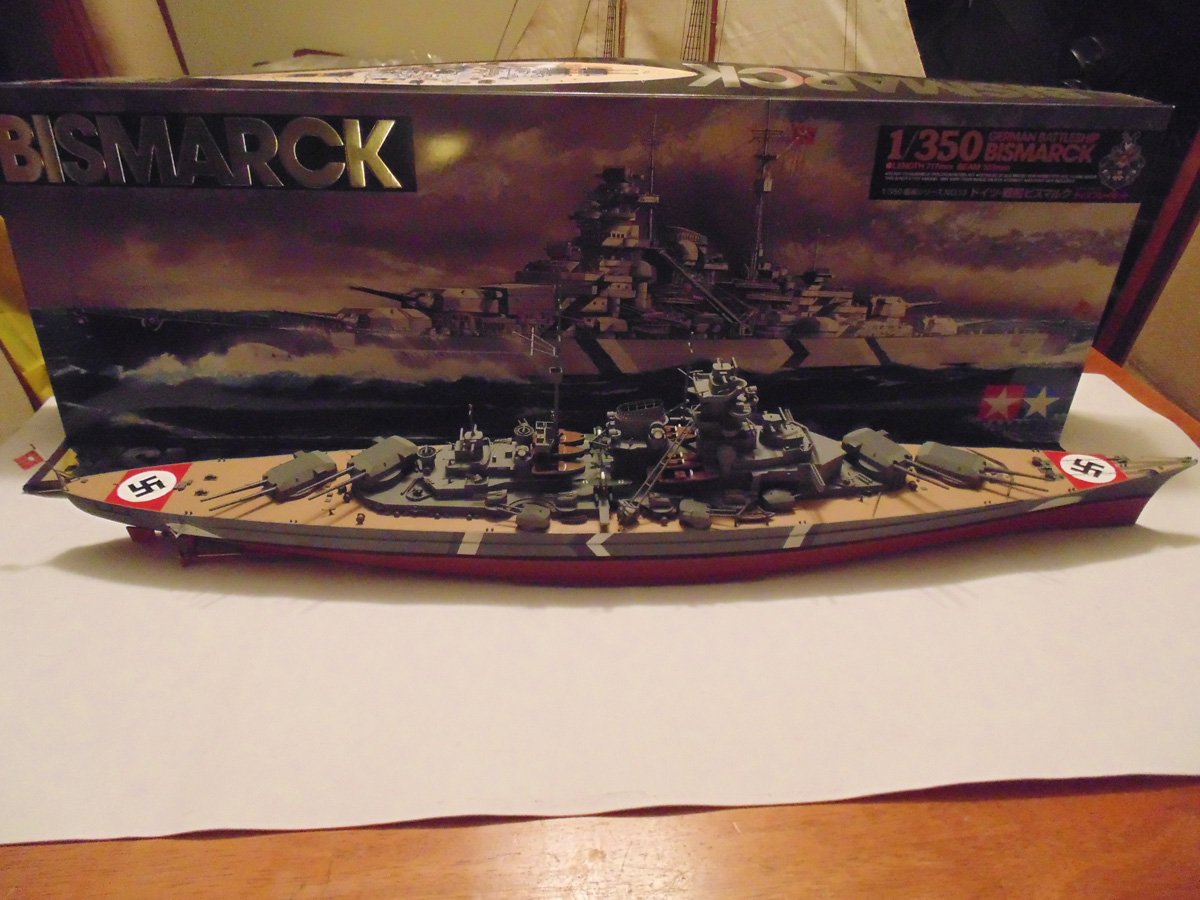
It was a delight to do this model for the store and for you. There are a few minor quirks here and there, but nothing someone new to the hobby can’t figure out and overcome. My hat is off to Tamiya and most importantly to Sunward Hobbies.
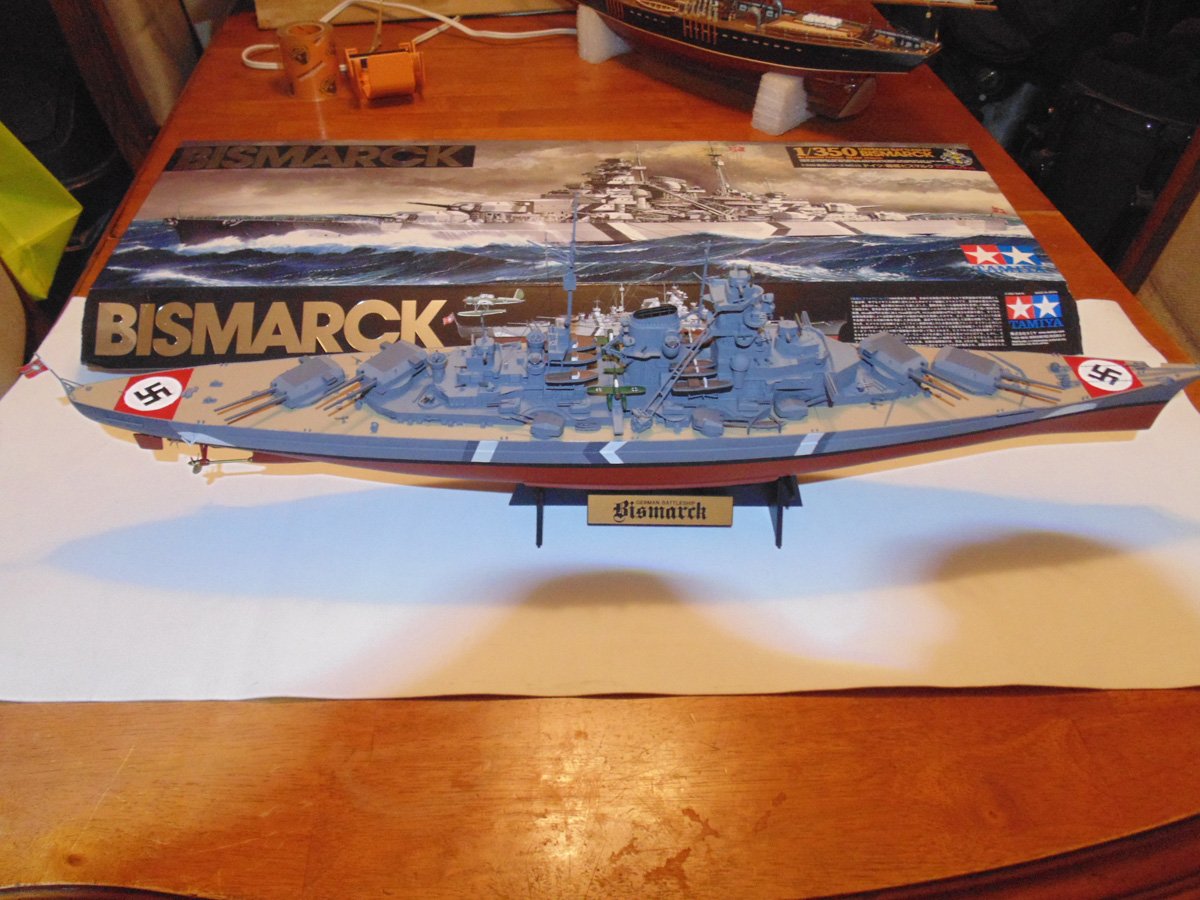
If you have any questions about the products or methods used in this article, please feel free to ask the staff when you pick up or place your next order from Sunward Hobbies.
H.G. Barnes is a former voice-over artist and retired sales and marketing professional. He’s the author of two large volume science fiction adventure romance novels with many more in the works. For well over 40 years he’s been building scale model replicas and now does commission work for clients in Canada and the USA, plus completes projects for companies in Asia and Europe.
Currently H.G. is involved as an Associate Editor with KitMaker Network’s Online Magazine Channels.
Previous Post: Part 6
