Revell Corvette Stingray with New Tooling
This is the third part of the Revell 2022 Corvette Stingray Z51 Coupe New Tooling 1/25 Scale 85-4556 14556.
This past week was a bit more chaotic than I had wanted. My main computer where I do all my work was giving me signs that it was ready to die. So I’ve upgraded my computer and I’m slowly getting it setup the way my old one used to be.
Also, the car decided to die. Thankfully at the time we were right next to a repair shop, and got the car in the bay just in time for the engine to cut out. So while we waited for any news on the car I took that chance to look around the lot at the cars that were for sale. Oddly enough this provided me a great chance to observe the colors of various parts as well as the interiors. I paid attention to details I never really had before starting this model.
For instance, the red brake calipers are a lot brighter than were suggested, and this makes a lot of sense as I could see many of them from across the lot. I also noted the various colors of the interiors, what made them stand out from simply looking inside. This unintentional field trip was just the sort of thing to help me further this project.

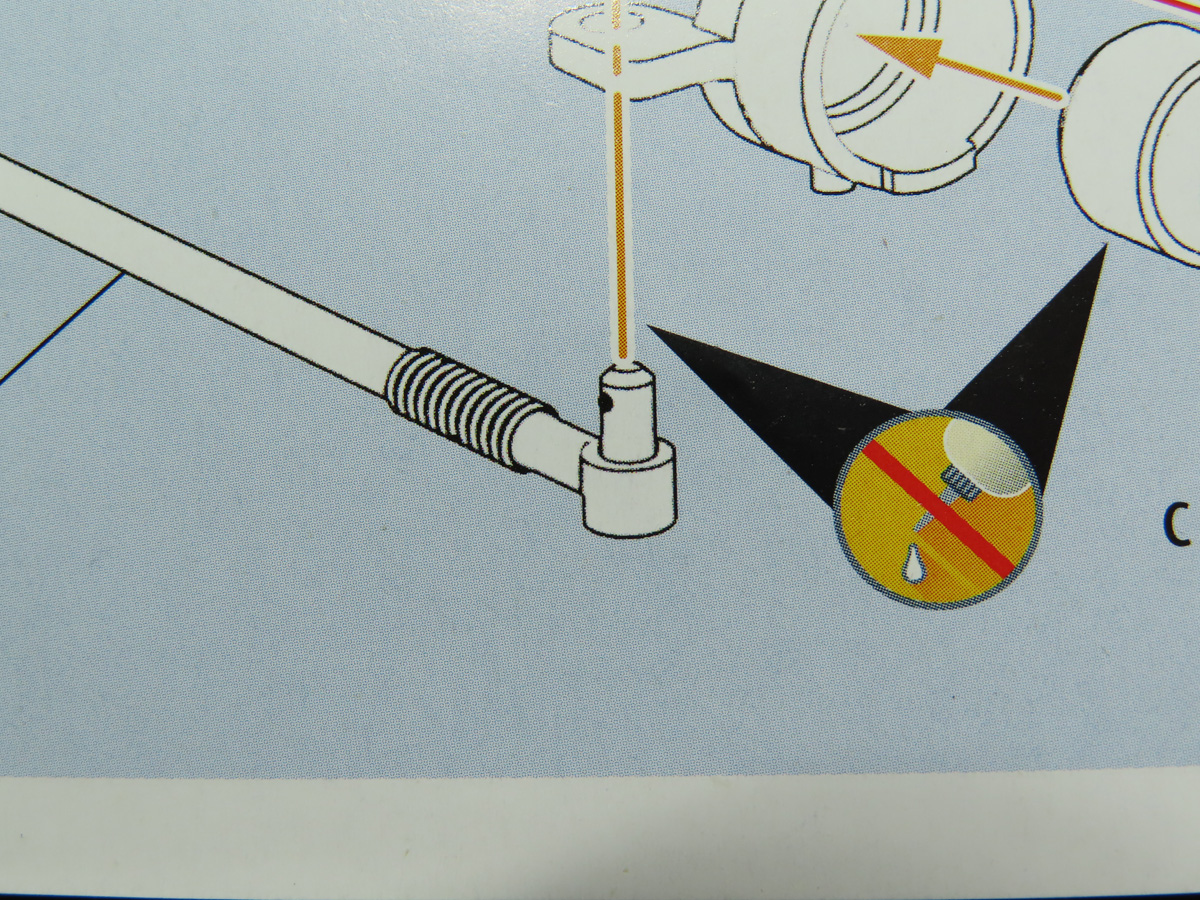
While I was cleaning the parts I wanted to note on the axle rod ( Part J 58) there are 2 small pegs on either side that you need to be careful you don’t remove. These will allow you to turn the wheels further on in the build should you desire.
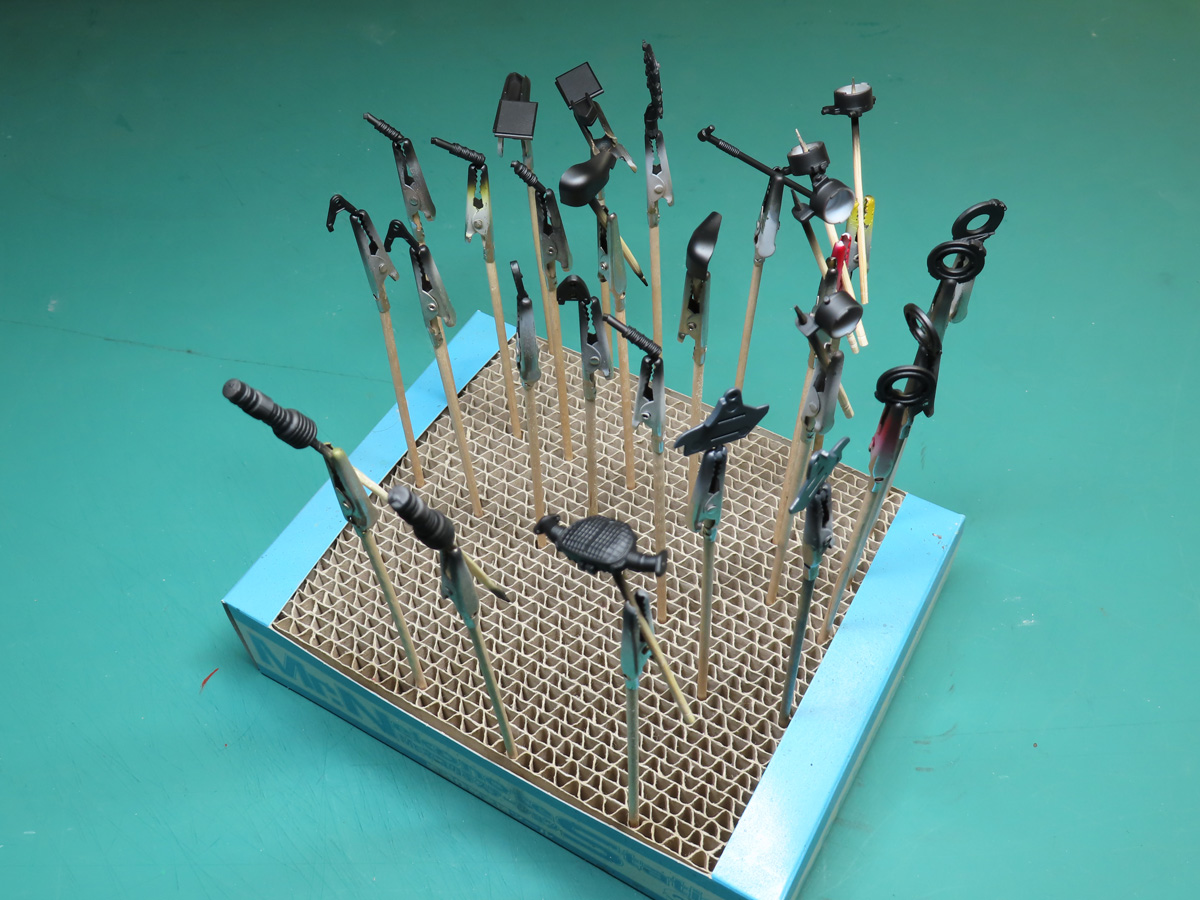
Because there are so many tiny parts to paint, Mr Paint Station makes airbrushing much easier. This is one of the smaller stations that you can buy, and it comes with a few alligator clamps on sticks. The base along with an extra bag of Mr Almighty Clips are almost a necessity for airbrushing and organizing tiny parts.
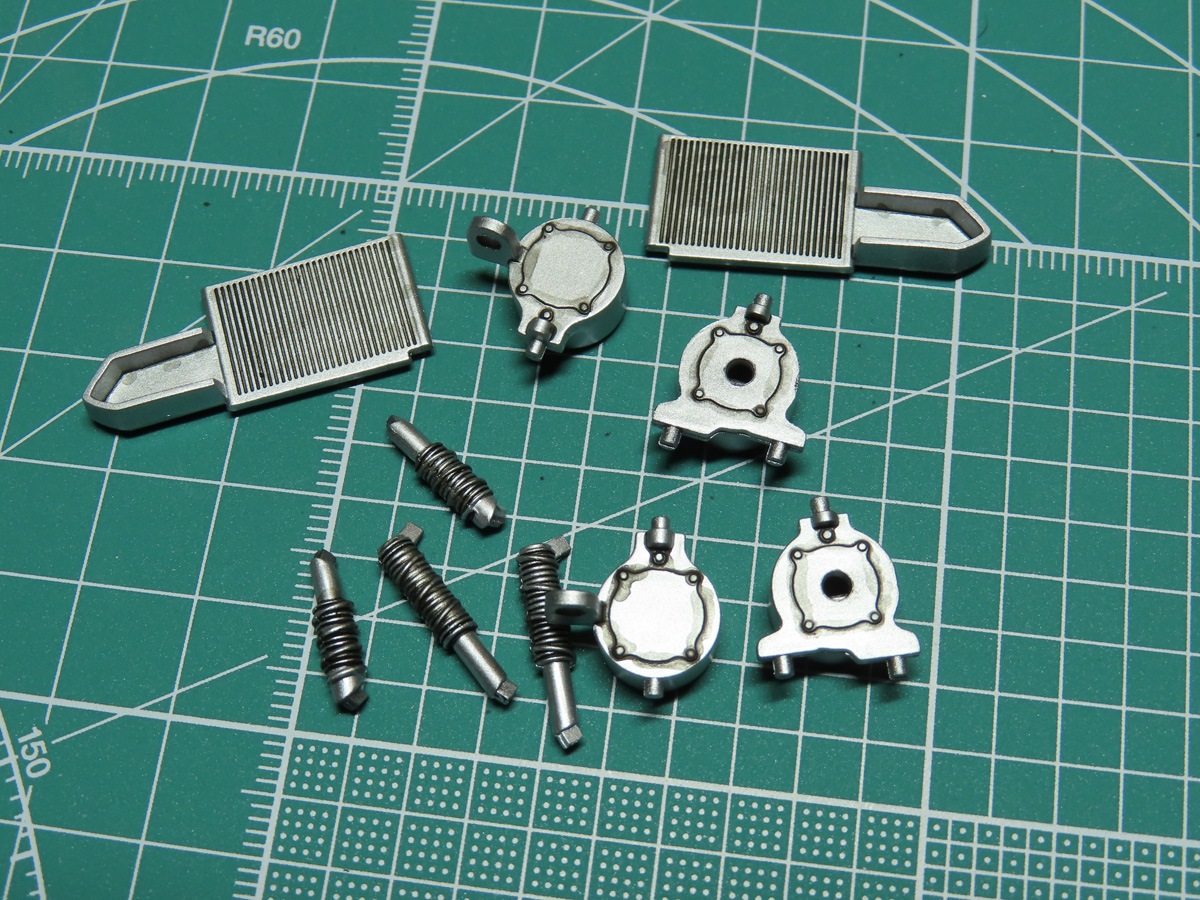
On several of the parts that I painted Tamiya LP-72 Mica Silver, I added a wash of Tamiya Panel Line Accent Color -Black- to help show off some of the raised details that might be hidden surrounded by the brightness of the silver.
And since this Corvette is a new car I kept in mind to keep these areas clean and not look like dirt or oil as I might on other projects.
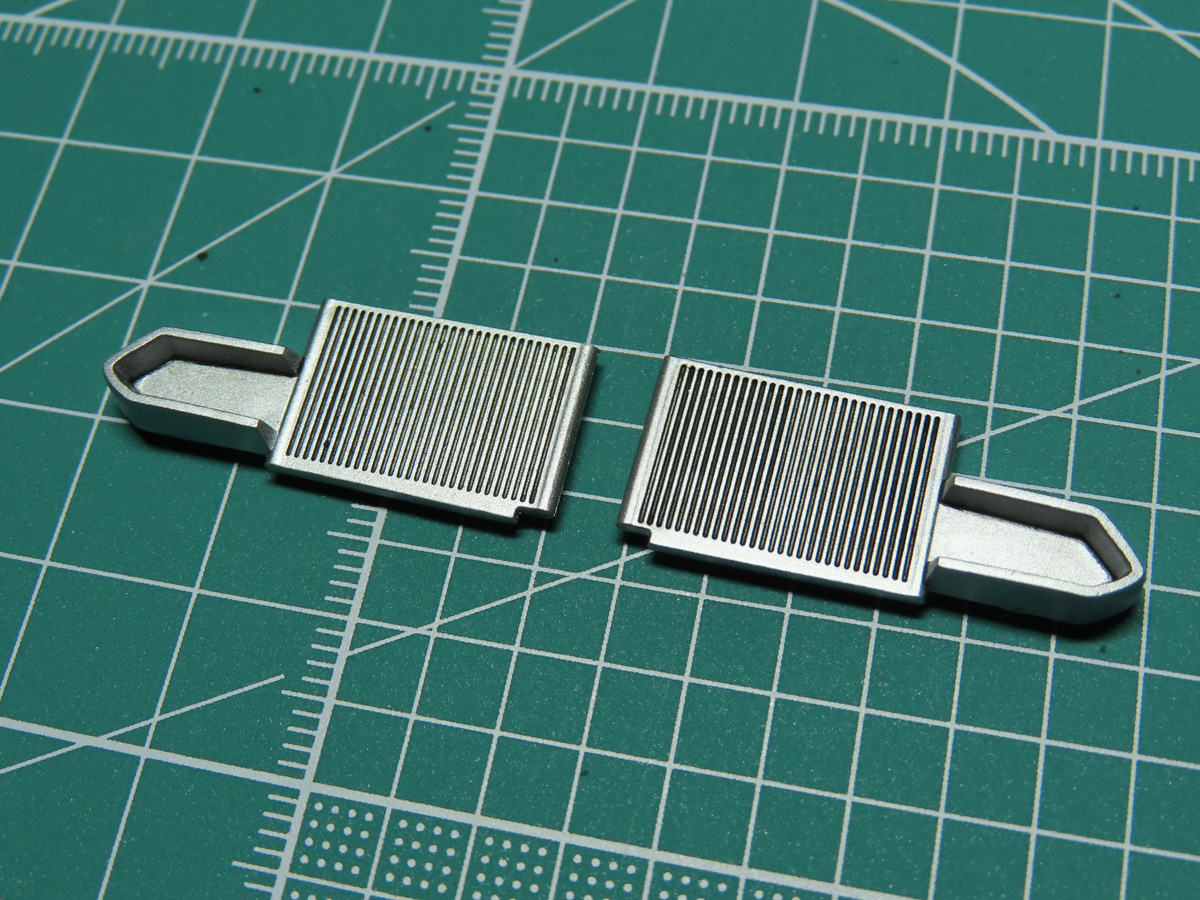
I cleaned the excess paint with Tamiya Enamel Thinner and a brush. Now there’s a bit more detail to the radiators when you see them through the front grills of the car.
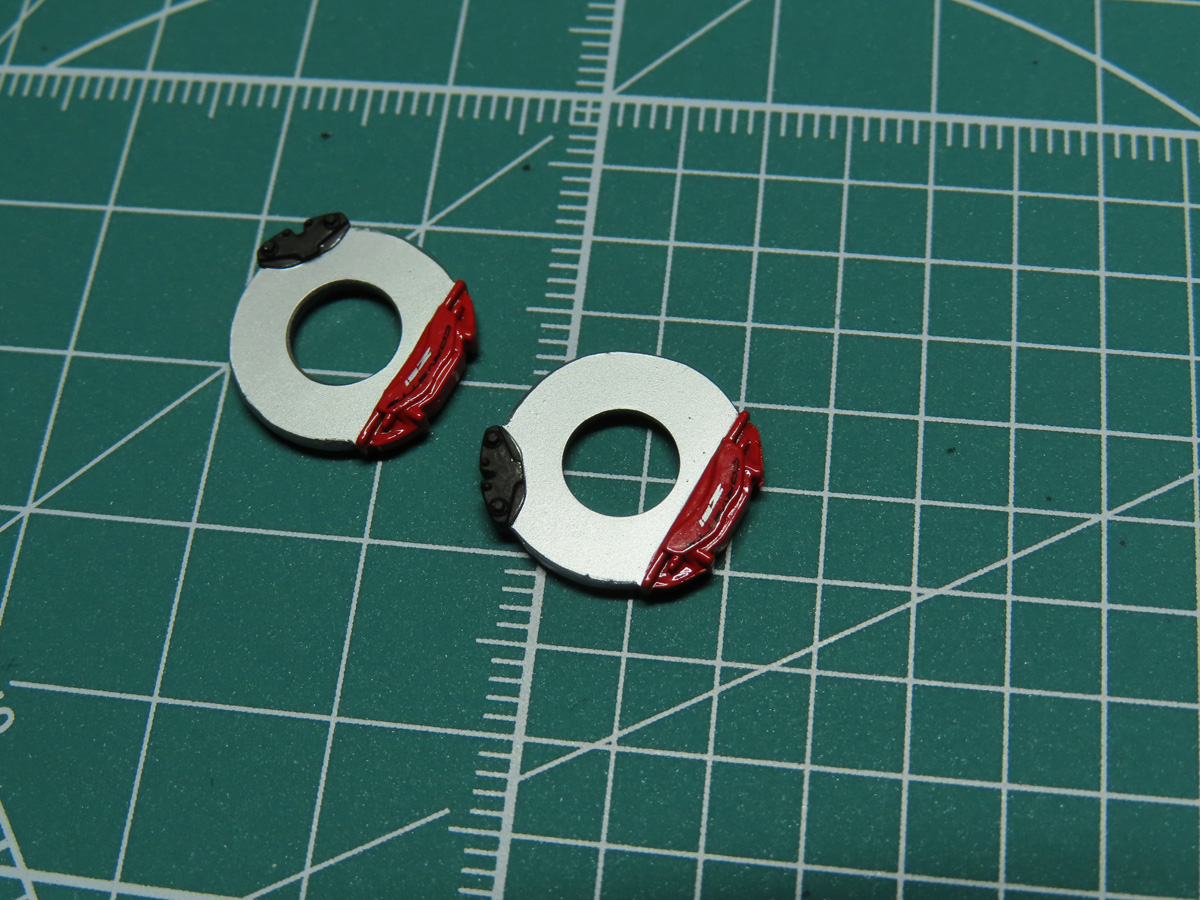
For the silver on the brakes, I wanted a duller silver, so I used Tamiya LP-11 Silver. Thinned with Mr. Rapid Thinner the paint laid down beautifully. The calipers were then painted with Tamiya LP-50 Bright Red. Lastly, I applied the small decals to the red section.
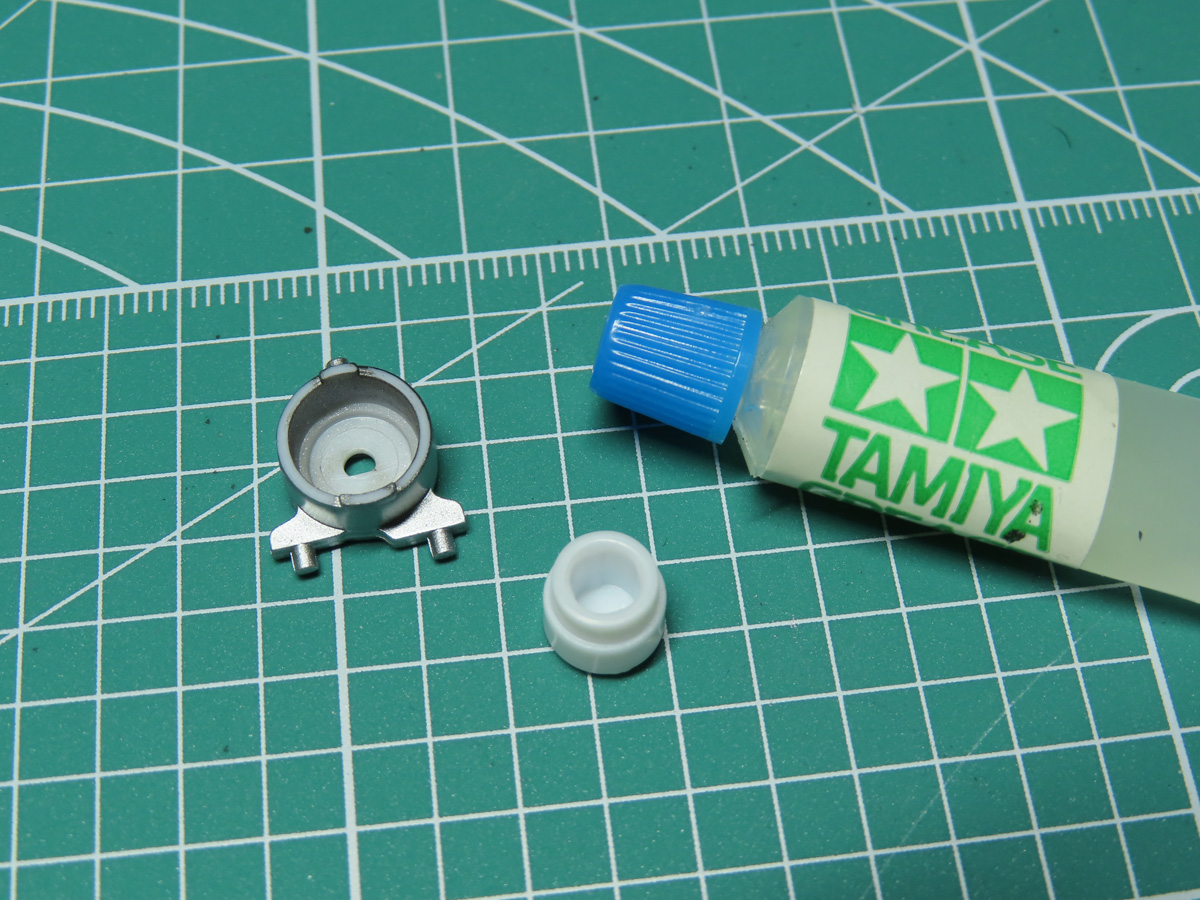
These white retainers fit inside the knuckles, which will allow the wheels to turn, however, because it’s plastic on plastic this can cause friction to occur. I have this small tube of Tamiya Grease left over from a 1:35 Male Mk. IV Tank and I coated a good layer of it into the knuckle.
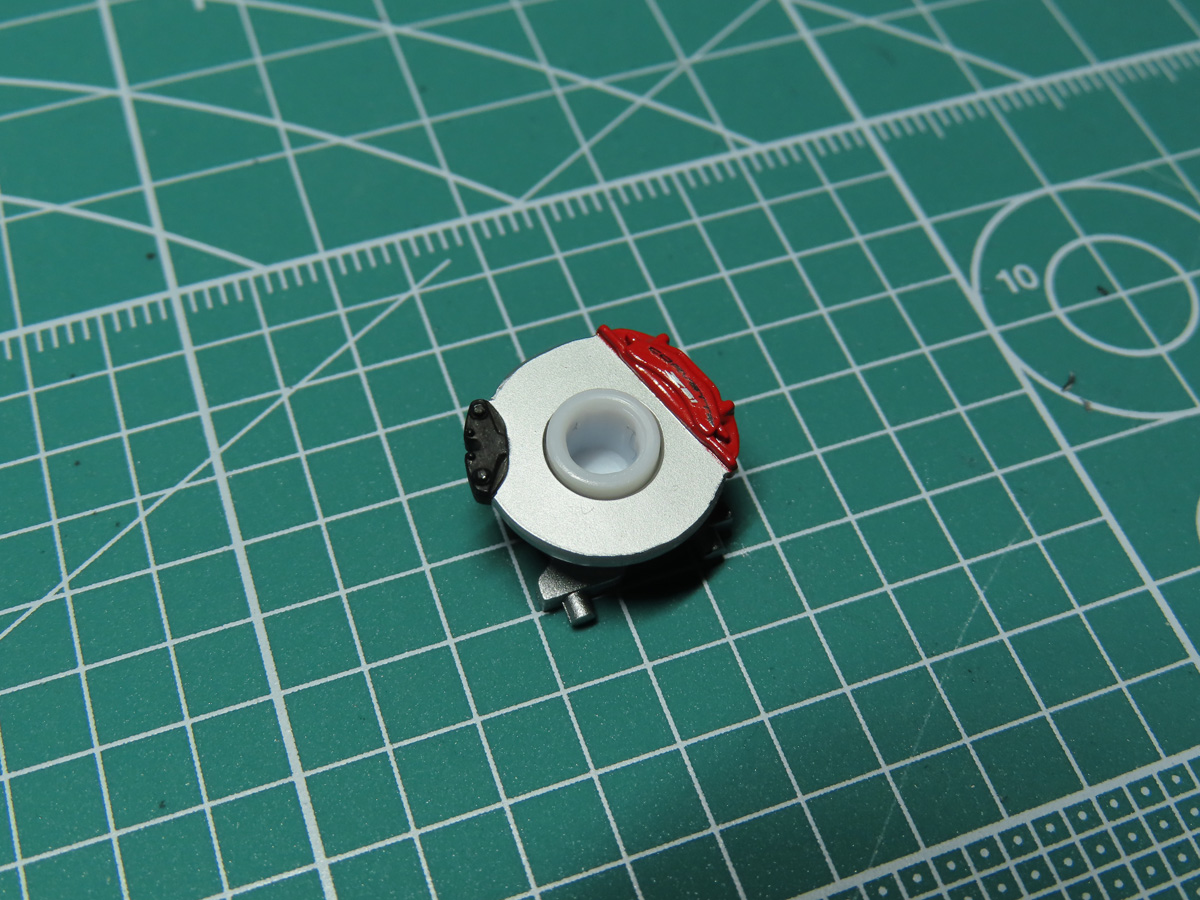
I carefully glued the brake disk over the knuckle being extremely careful not to get any glue into the center section.
Parts like this can be a challenge to assemble, and it really makes me wish that more companies would adopt poly-caps like Japanese models. That being said if you aren’t concerned about the wheels turning all of these parts can easily be glued in place.
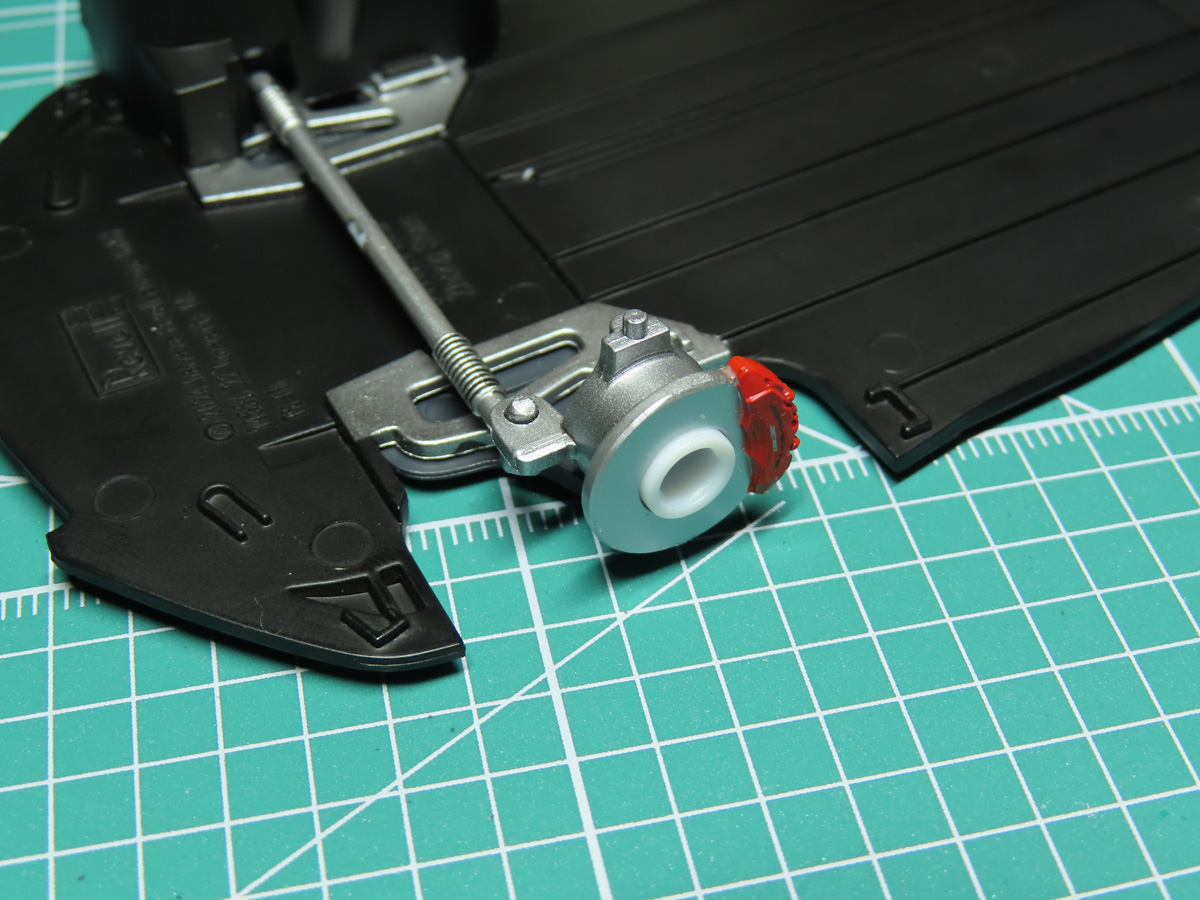
I connected the parts with the axle rod and then set them onto the chassis. So far everything was fitting together very well.
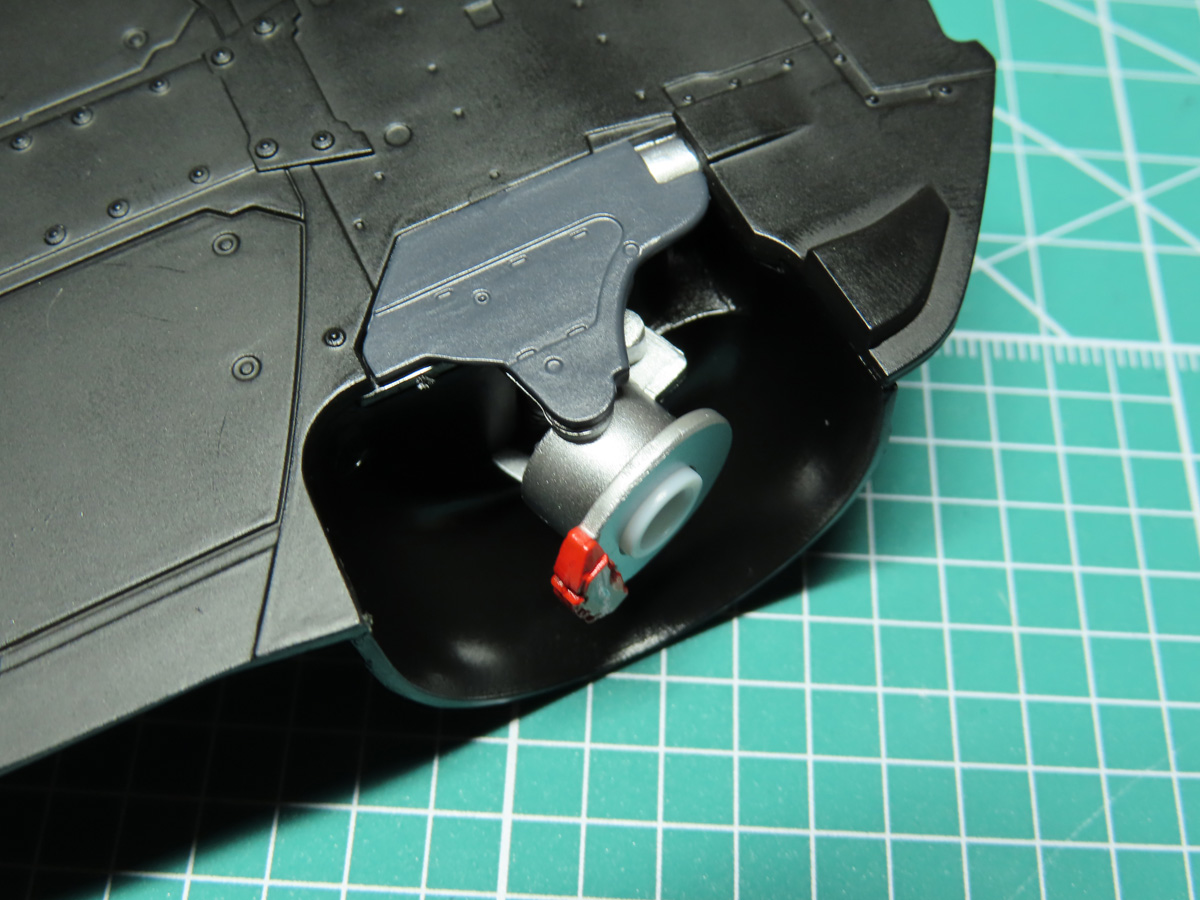
With the fenders placed over top, the parts were now secure enough to rotate. It’s a simple feature but one that I find quite a fun little addition.
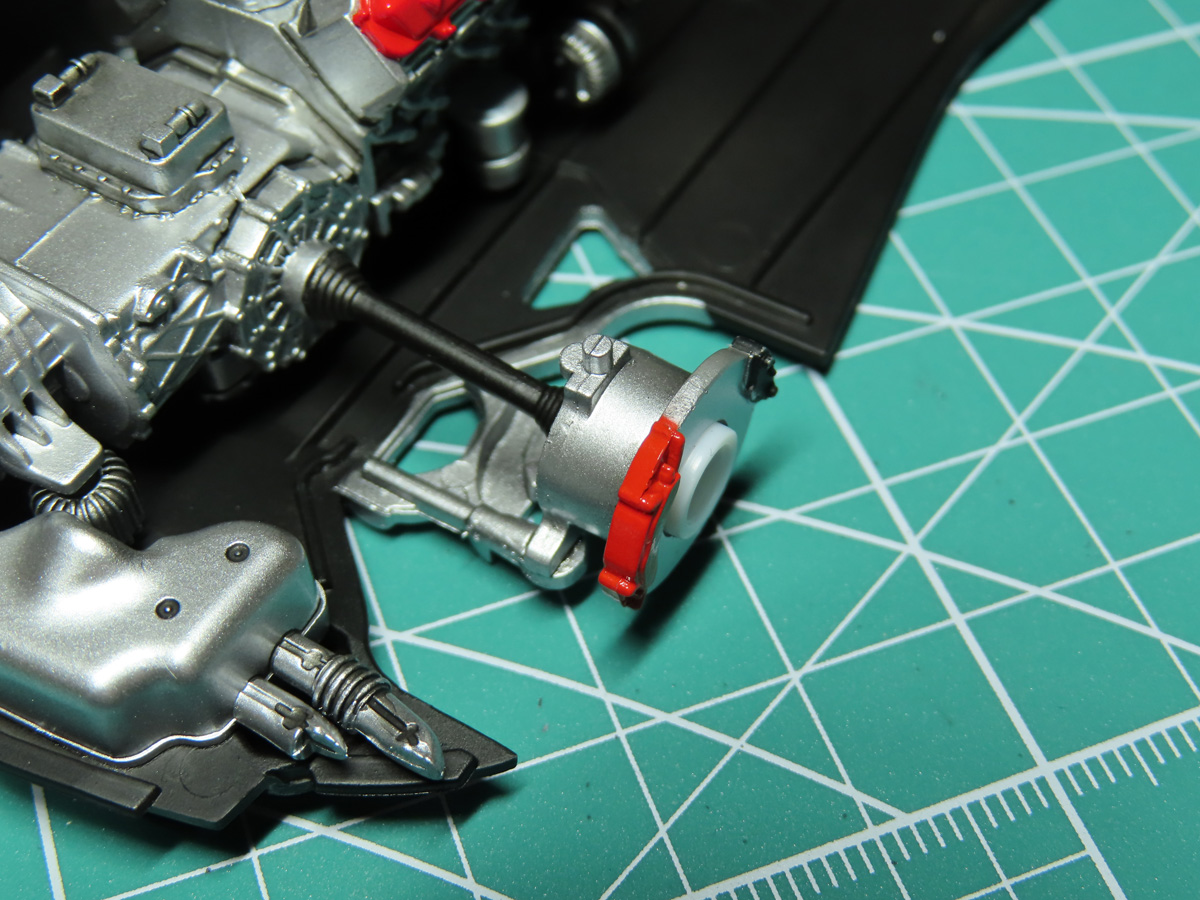
Moving to the back of the car I added the rear brake assembly to the connecting rod on the engine. It was a bit tricky to add to the other side but once all of the parts are set in place it’s a very sturdy fit.
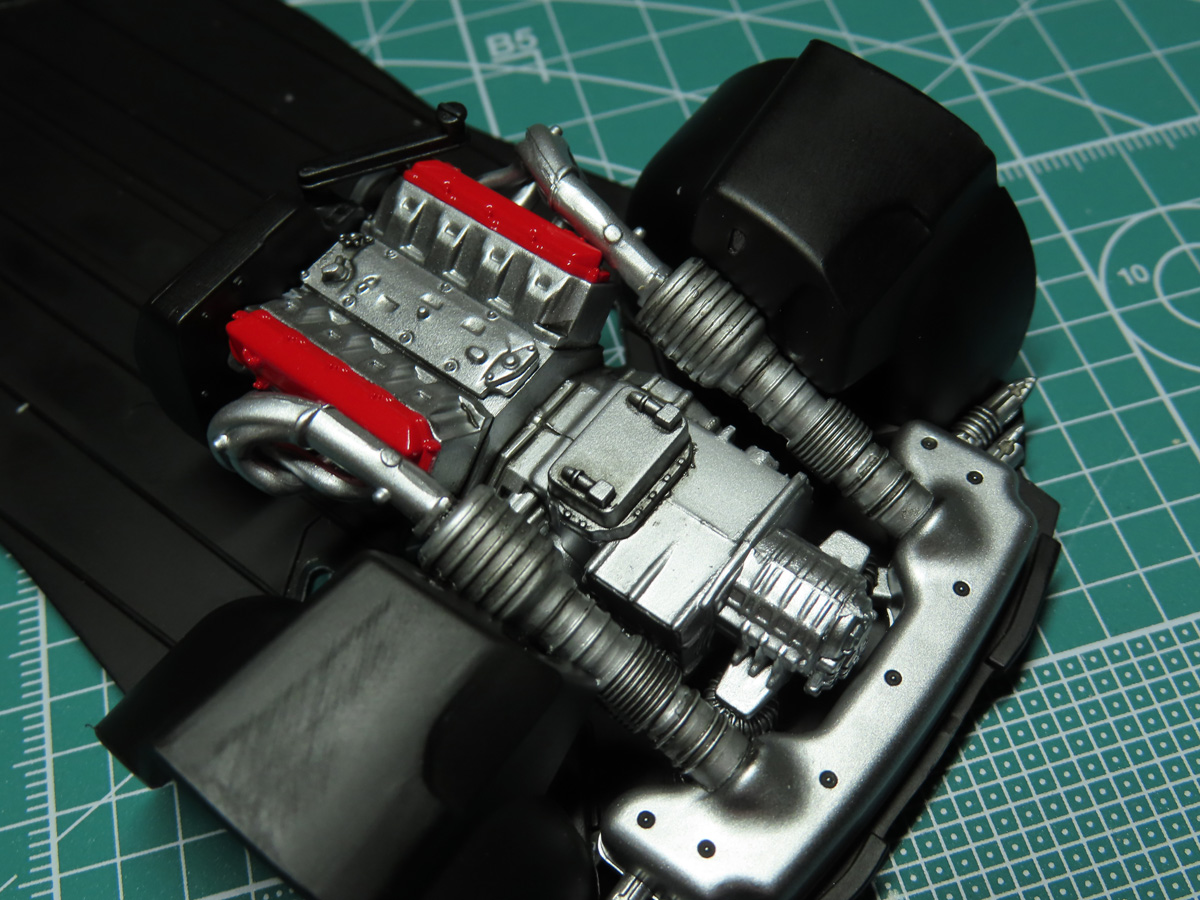
The most difficult parts to add were the exhaust tubes that connect the engine to the back of the car. With a bit of patience and help from Mr. Cement SP, I was able to connect all of the pipes. Once the rear fenders were added things got a lot more cramped inside this engine bay.
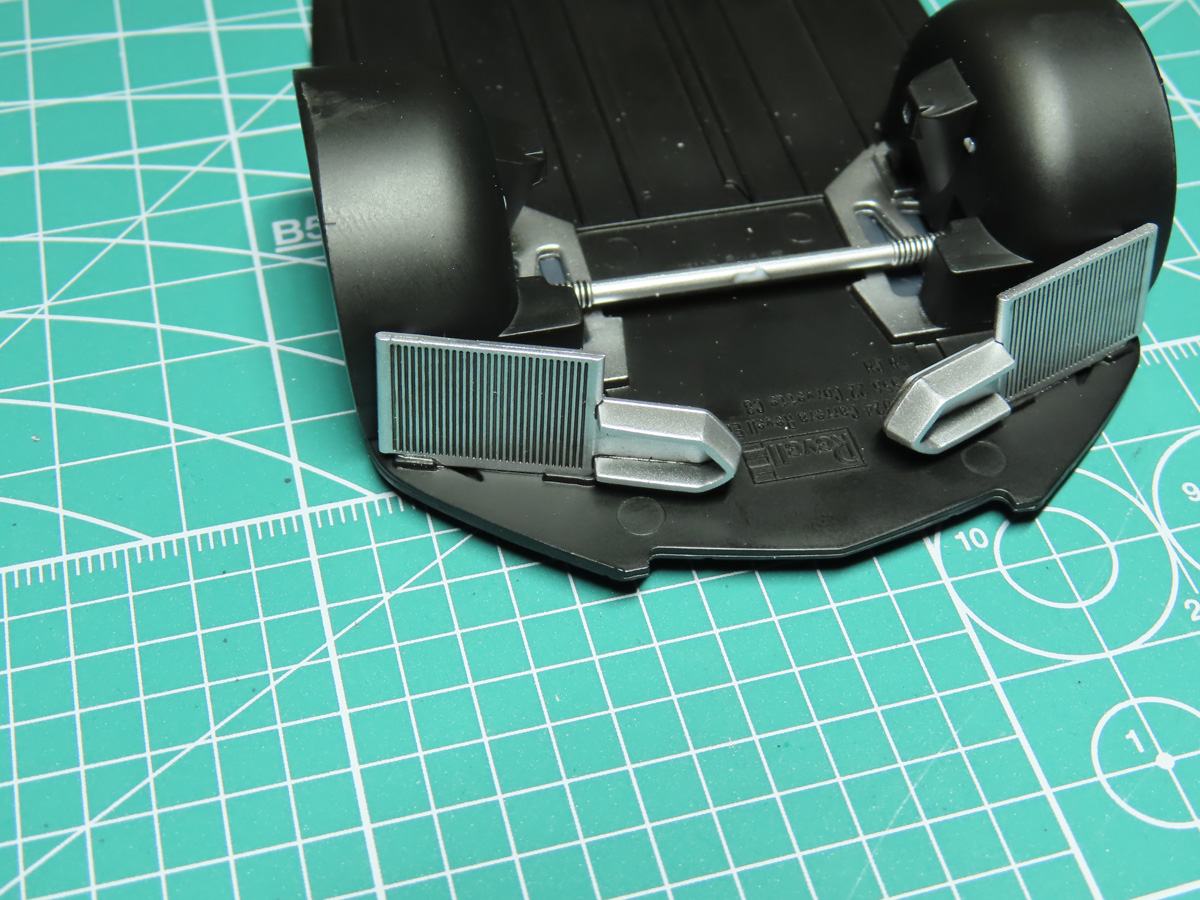
Lastly, I returned to the front of the car to add on the radiators which I had forgotten about.
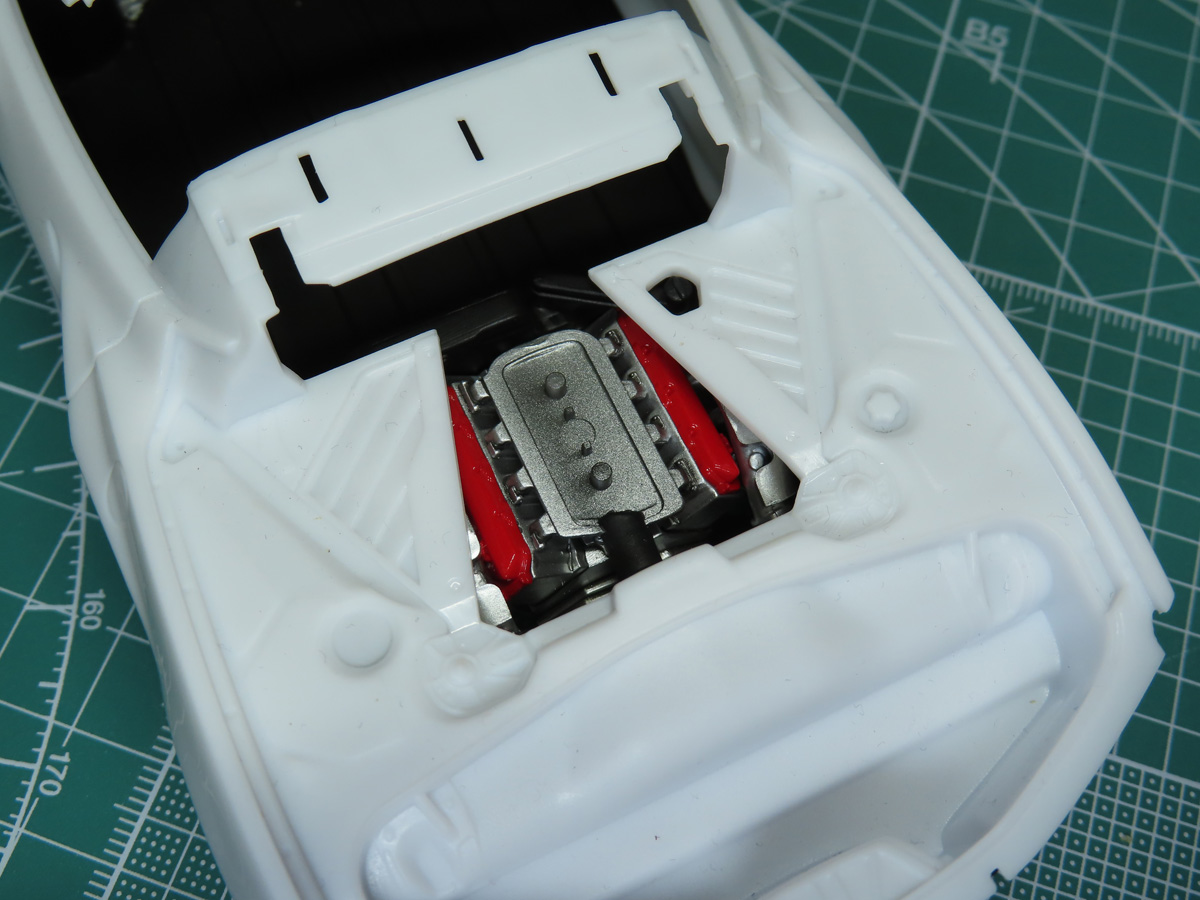
With the engine now all completed I wanted to see what it would look like with the car body placed over top. And I’ll admit this is a bit of a disappointment. I had gotten so caught up with building all of these parts that I had forgotten just how much was going to actually be visible.
Still, I don’t think this is a waste of my time. I learned a lot while doing all of this building and painting, and that for me is valuable information for learning more about car modeling with future projects, and it was still a lot of fun to do.
And I’m really looking forward to the next step, and that’s going to be building and painting the main interior of this car.
To be continued…
Jared Demes is a modeler from southern Alberta. He has been building models since he was 4 years old when his Dad first introduced him to the hobby. He has written for several magazines including, Fine Scale Modeler, Scale Aircraft Modeling, Phoenix Scale Models, and others. He has an interest in all modeling subjects, with a focus on WWII Japanese aircraft and Science Fiction.
Jared has won several IPMS awards for his modeling, and currently operates his YouTube channel rebelsatcloudnine, where he showcases model builds and product demonstrations.
