Decal Basics with Expert Advice
In this Sunward Hobbies tutorial you’ll be seeing the basics of adding decals to your project. Plus, I’ll give you some tips on how to get them to conform around raised and recessed details along with how to make them look painted on.
All the products used in this article come from Sunward Hobbies and the techniques used can be replicated by almost anyone.
Decals are a necessary part of any story your project wishes to convey. Often referred to as “water-slide transfers” they are basically a printed image on a special adhesive paper that’s coated with a clear film. I’ll get more into the details later, yet for now let’s grab some items from the store and bring life to a drab surface.
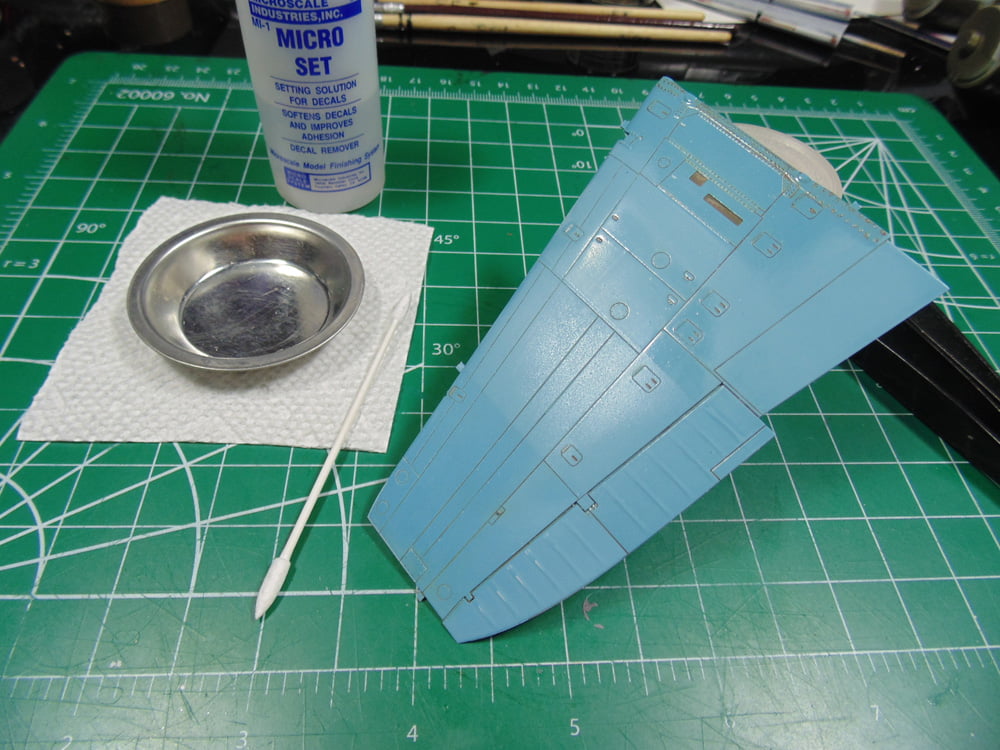
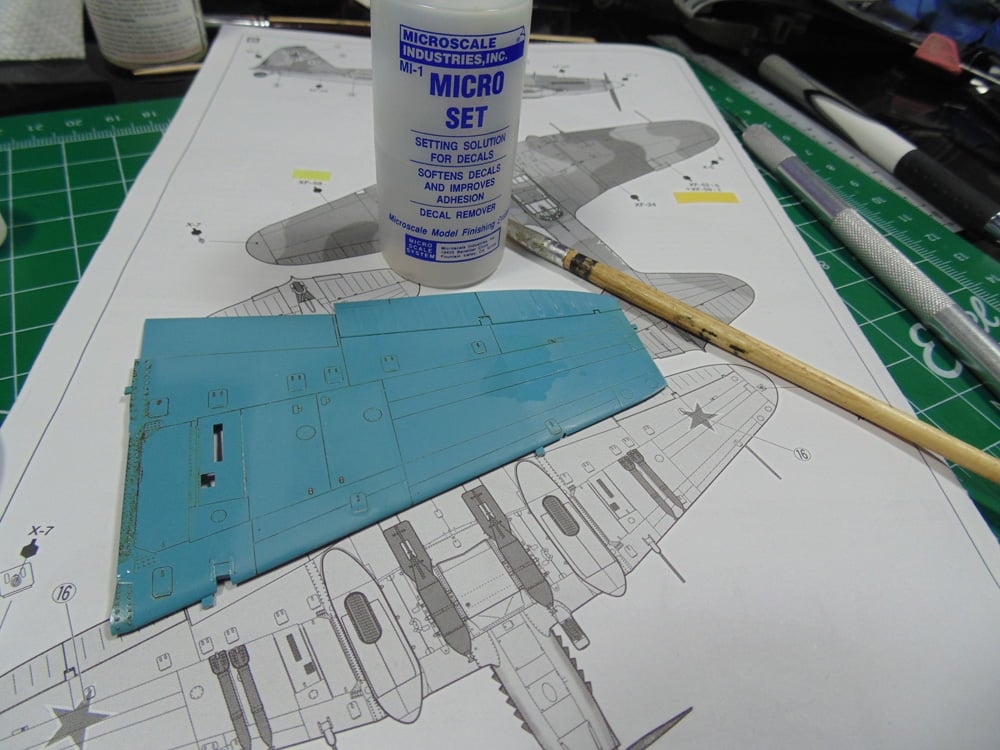
Here is a wing half from a Tamiya 1/48 IL-2 which has been clear coated. Please read to the end of this article for helpful tips to make your decals look even better.
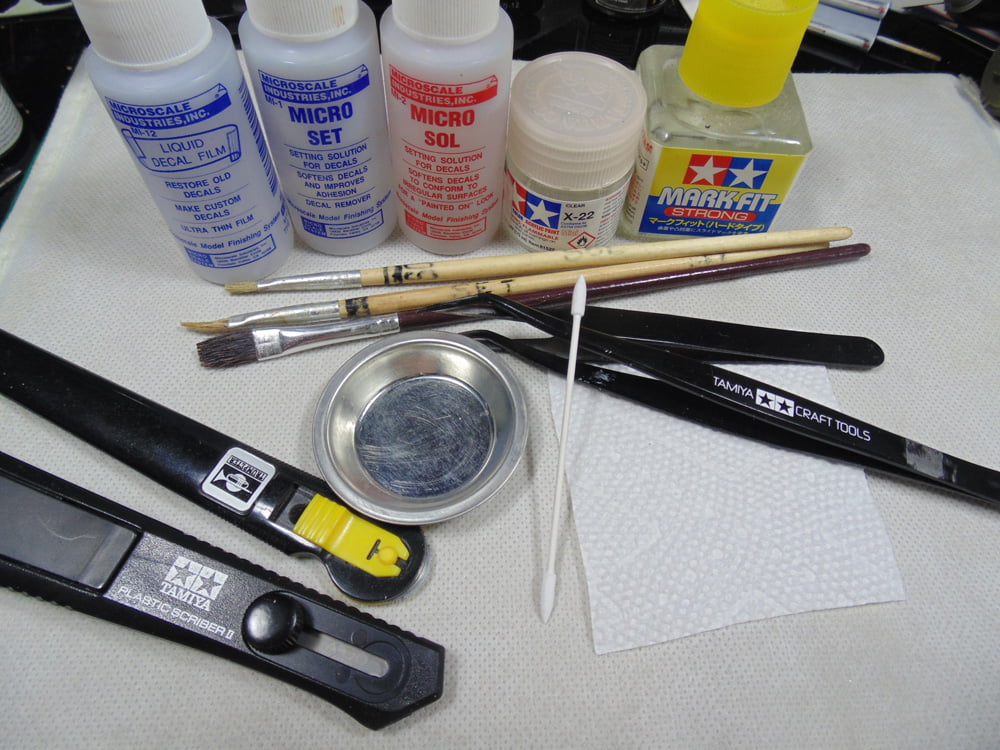
I’ll be following the manufacture’s instructions on how to apply them. Thus, we have water in an appropriately sized Mr Measuring cup, paper towel, cotton swab, Microscale Micro Set setting solution and tweezers.
You can use the swab to apply the setting solution, but a brush is much better. Select an inexpensive brush(s) and never use them for anything else other than water. Sunward Hobbies have a vast selection of brushes that are ½ centimeter wide, which works for most decals. I have wider ones for huge decals and all are labelled for their specific use.
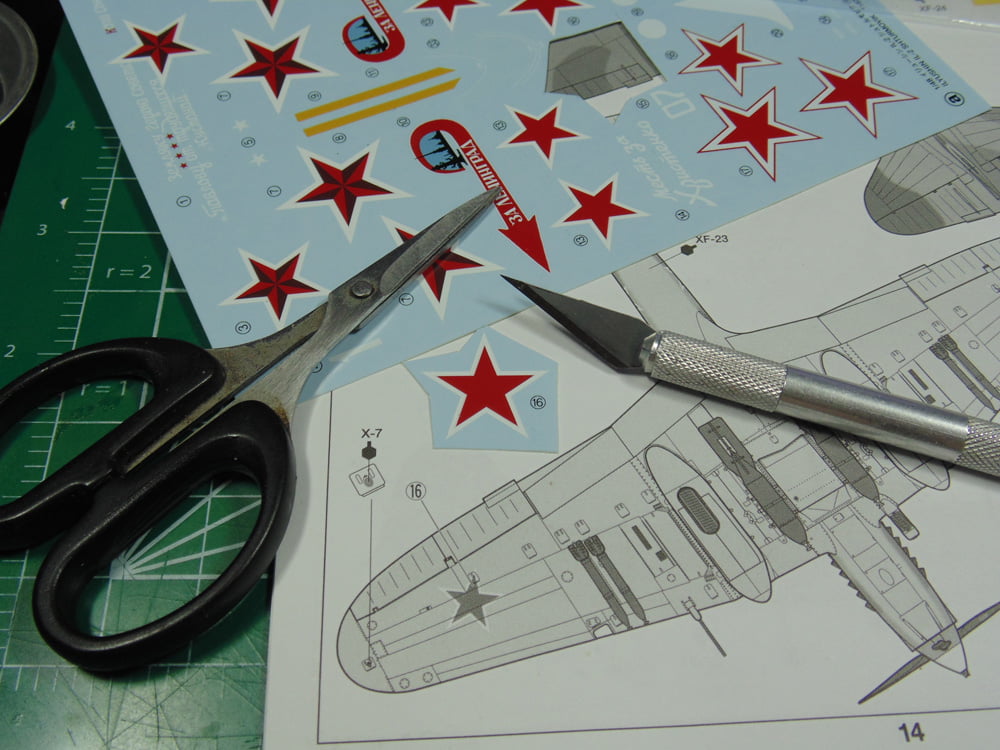
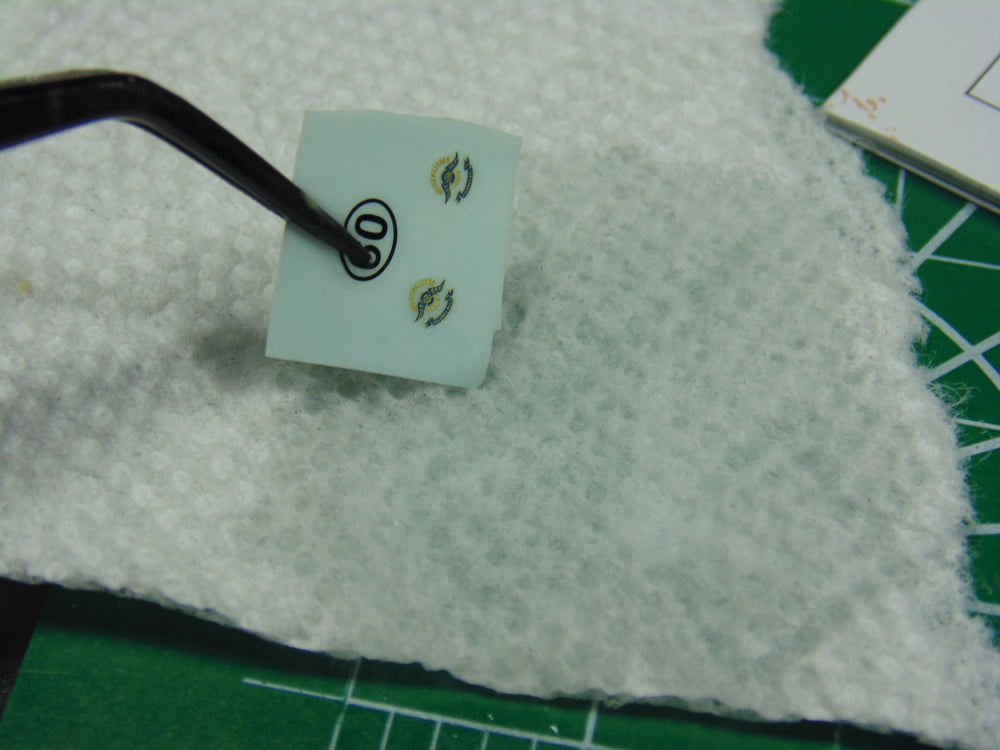
Now I’ll grab the decal sheet and figure which way is best to cut free. You can use a set of Tamiya scissors, but many times it’s difficult to navigate around the tight-fitting images. Here’s a tip, use your Excel Hobby Blade to remove the decal and make certain you have enough blank paper for your tweezers to grab and hold.
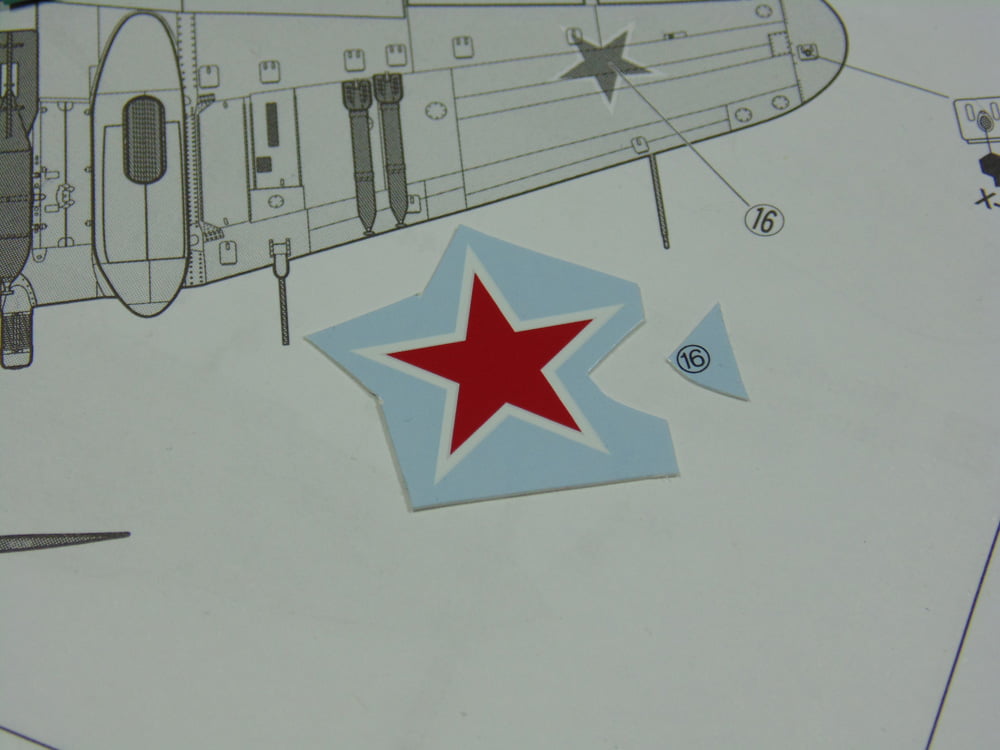
Here’s some advice, remove the item’s number to eliminate the risk of it clinging to the decal when you take the decal from the water. Also, I have the decal placement sheet inches away from my model when applying them. Obviously, this helps with where they go, but more important it makes it easier on the eyes and quicker when you are moving them into their final position.
The temperature of the water is very important. Too cold and the decal will become brittle and prone to cracking. If your decal is too hot it will shrivel when moving it into place. My rule of thumb is a temperature slightly warmer than my finger tip. More on this later.
Place the decal face down. This prevents the paper from curling up and possibly cracking the image. When the paper has absorbed the water then turn it around face up and count down the seconds suggested in your instructions.
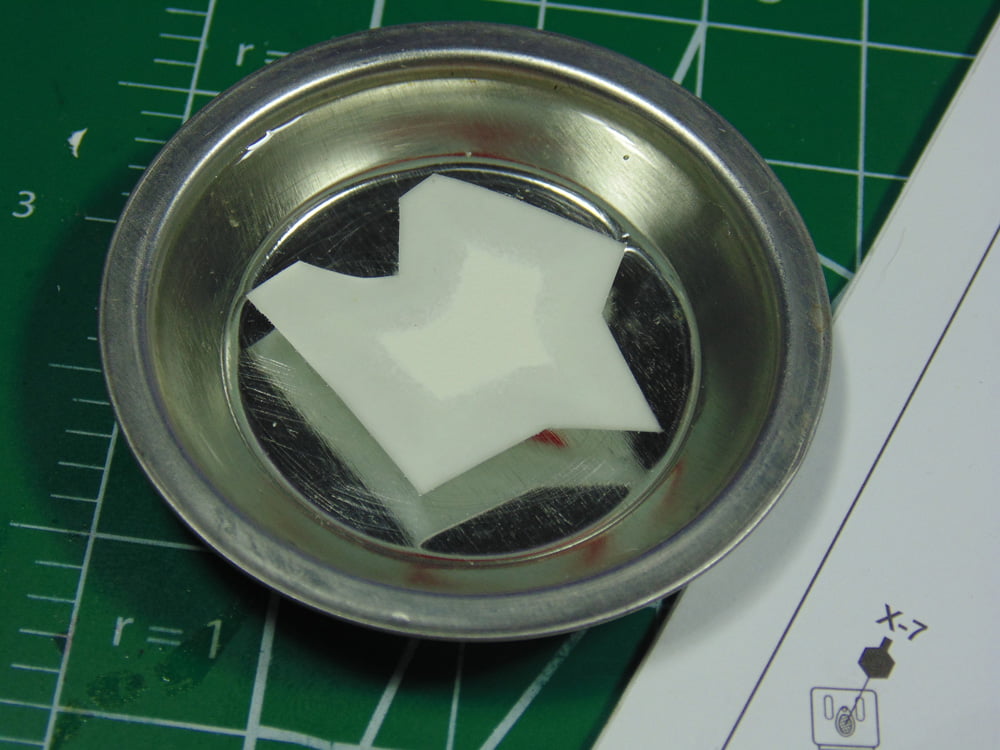
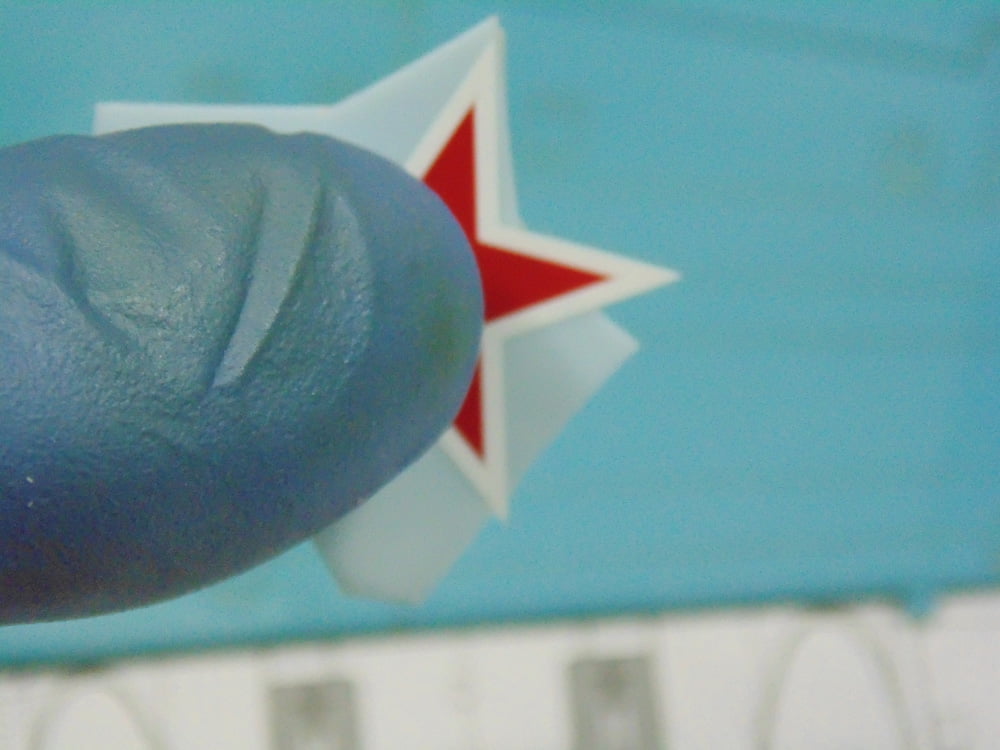
Before brushing the setting solution on the part make certain the decal moves freely on the wet backing paper. In this example I’m using Microscale Industries Micro Set. Sunward Hobbies have many brands of decal setting solution and they all do a nice job. Microscale is the most commonly used product on the market, but a future comparison article is possible if you wish. Here’s another tip, nitrene gloves work well for moving your image into place.
Now you can paint on your setting solution. Try to keep the liquid as close to where the decal will end up and don’t use too much. A thin layer will suffice and is easier to the excess.
Next dab your decal on the paper towel to remove the excess water. Don’t wipe the entire paper dry because you’ll still need some fluid to help with placement.
Then place your decal and move into position. Depending on the size a pair of tweezers or toothpick will work well for fine tuning. If the fluid dries and the image is unworkable you can always add a drop of water, not setting solution. Once it’s there you can use your swab to soak up any excess fluid.
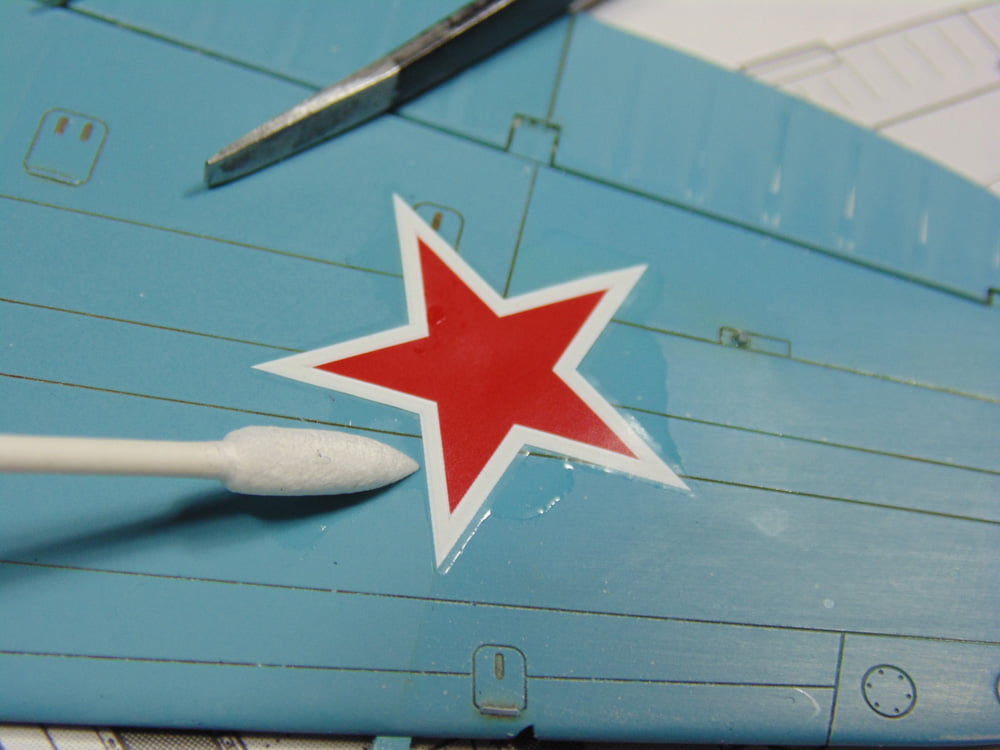
Using the wet end of the swab begin rolling from the center to the outside and past the edge to remove the water/solution. Remove as much fluid as possible to prevent something called “silvering”.
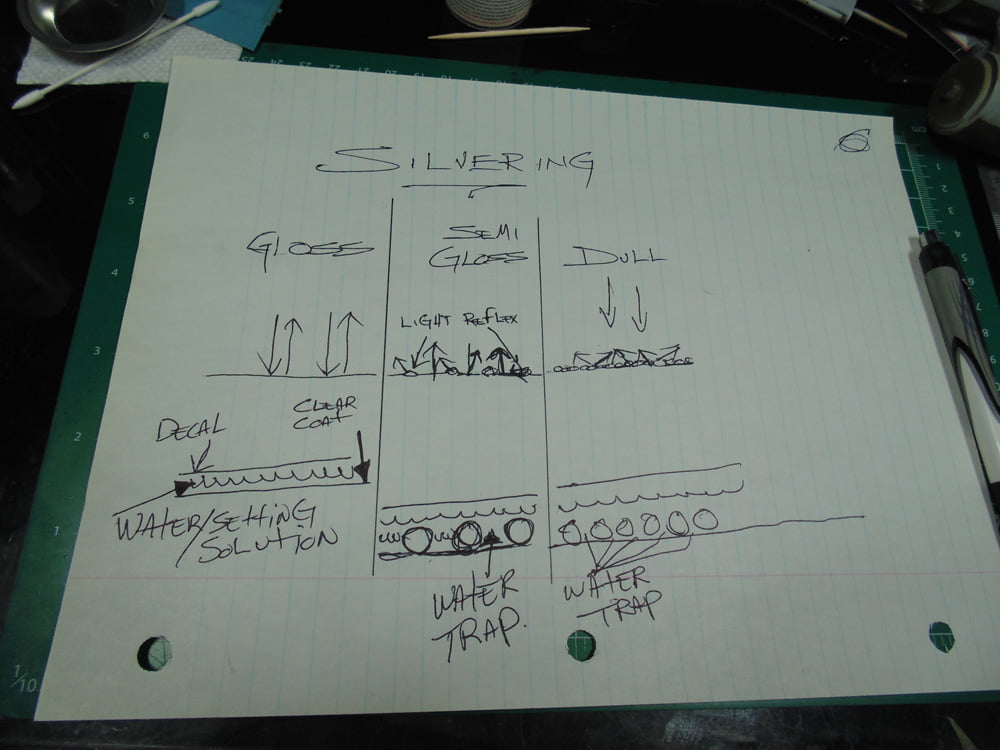
“Silvering” occurs when excess water is left under the decal. It eventually dries through the gas permeable layer of decal film leaving air pockets that reflect light. Here’s a diagram that explains why it’s important to have a smooth finish to place your decal on. To sum it up though, spray or paint the area with a gloss coat, such as Tamiya X-22 or Tamiya TS13. The decal will slide better and excess fluid is much easier to remove.
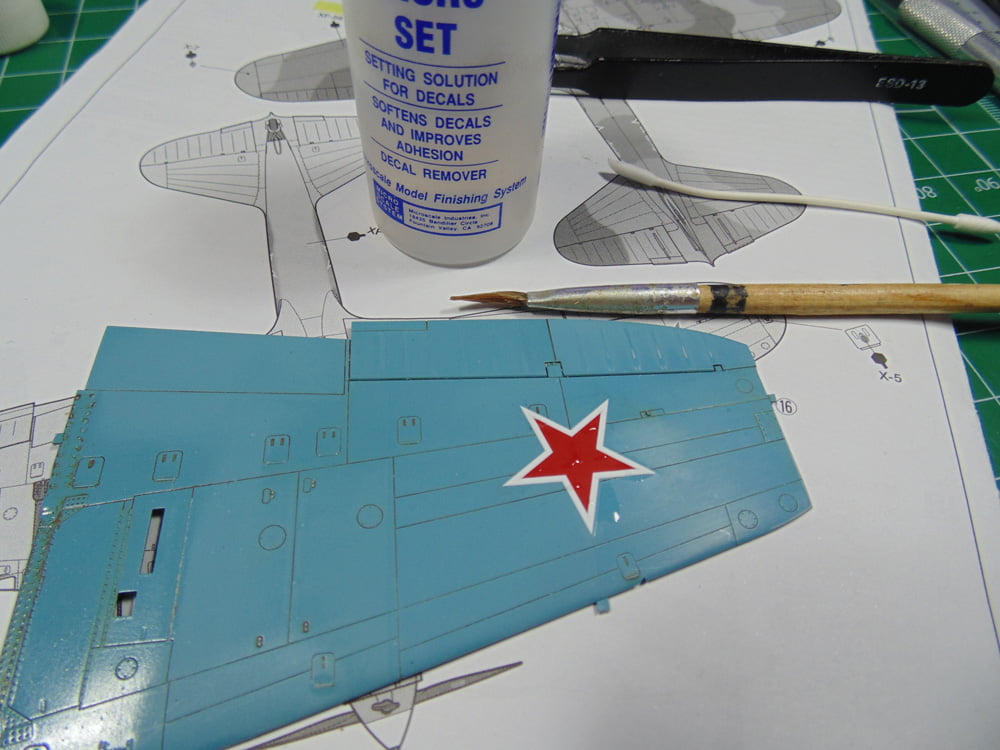
Let the decal rest for 30 minutes then apply another thin brush coat of the setting solution. This step conditions the decal film to soften and “bed down” into recessed details and around raised ones.
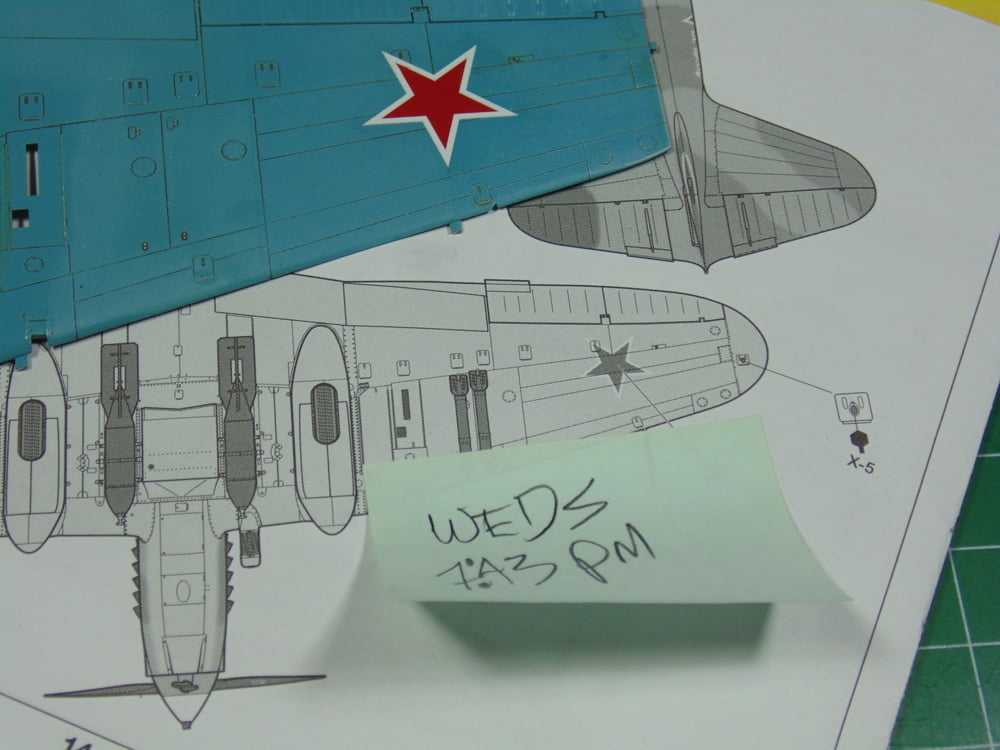
You should let the decal fully dry out before moving forward. I’m a regimented writer when doing articles for Sunward Hobbies, thus leaving notes helps as a reminder when it’s safe to do more work. This decal sat for 19 hours before I went back to it.
Here you can see the decal has started to conform to the hinge on the access panel. However, it is not fully enveloping it tightly enough nor have any of the panel lines been filled.
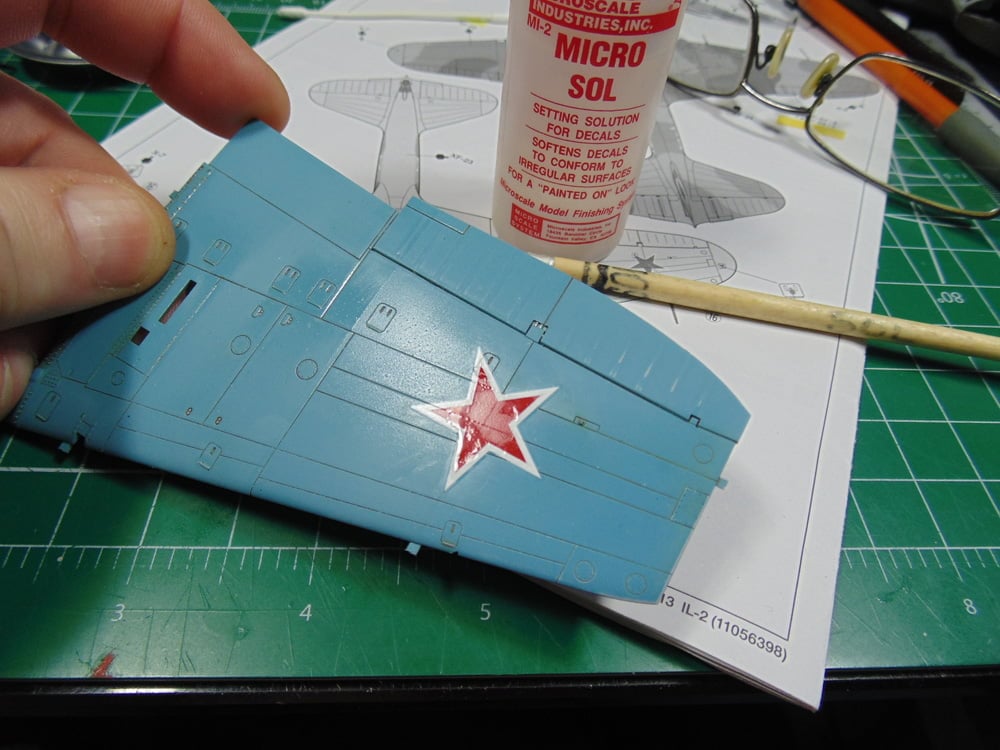
A vital step is to apply Microscale Micro Sol. This solution is an aggressive agent to melt the film. Brush on a thin coat of the Micro Sol and leave it for half an hour. The decal is not fully dry yet enough to notice if another coat is needed. Tamiya decals tend to be thicker than other model manufacturer’s and need more coats before finally bedding down. I’ll discuss more about this in a little bit, but if you find after three coats the decal is not conforming then bring out the hardware.
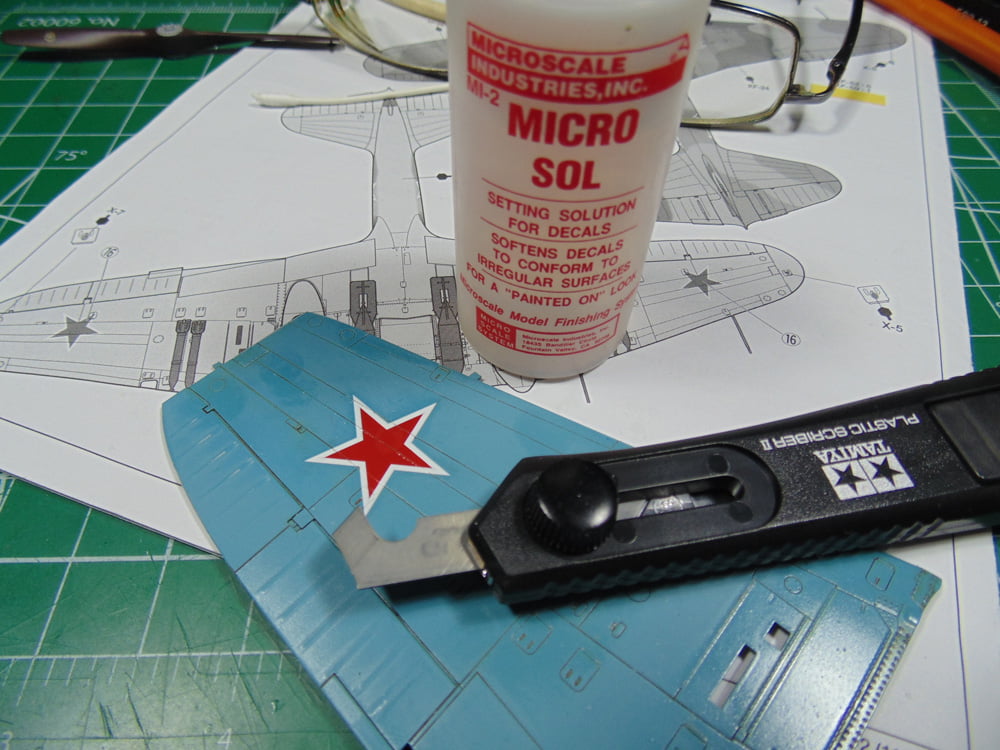
With this Tamiya scriber it’s important to push the tool and not pull it. Pulling may grab the decal and destroy it. What you’re doing is slicing the decal to allow the Micro Sol to get under the edge and melt it into the panel line or rivet. If it’s a raised detail then poke a tiny hole with a needle to allow the Sol to get under the decal. Let this sit overnight and reapply if needed. You’re ready to move on to the next one… but wait, there’s more!
Thinner decals react differently than thicker ones. “Cartograf” is a well known and respected decal manufacturer which many model companies call upon. Brands such as Revell, Airfix and Italeri include Cartograf waterslide transfers (decals). Their colors are vivid and acurate plus they are printed to the highest standards. Also, they are very thin and delicate to ensure a smooth painted-on look.
An issue you will most likely face though is wrinkling after you brush on any setting solution. Don’t fret about this. Let the decal fully dry and this will disappear within 24 hours. I’ve used this large decal to illustrate the effect before and after.
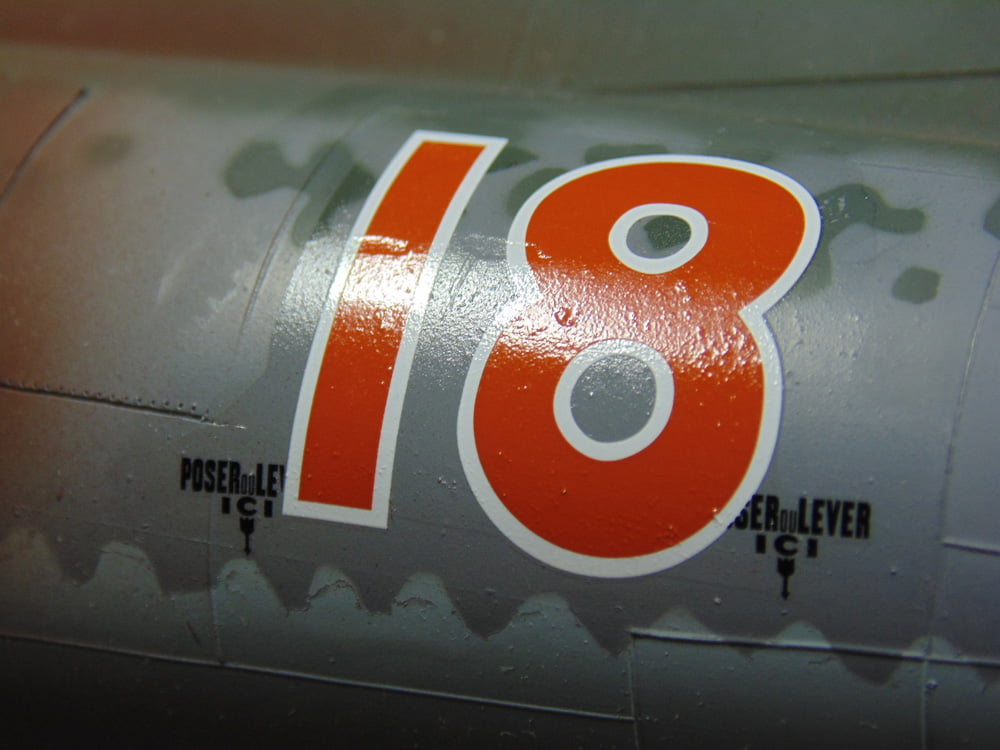
After 28 hours the decal has smoothed out and even exposes the rough surface beneath. This shows how well the Micro Sol has performed along with the whisper thinness of the decal.
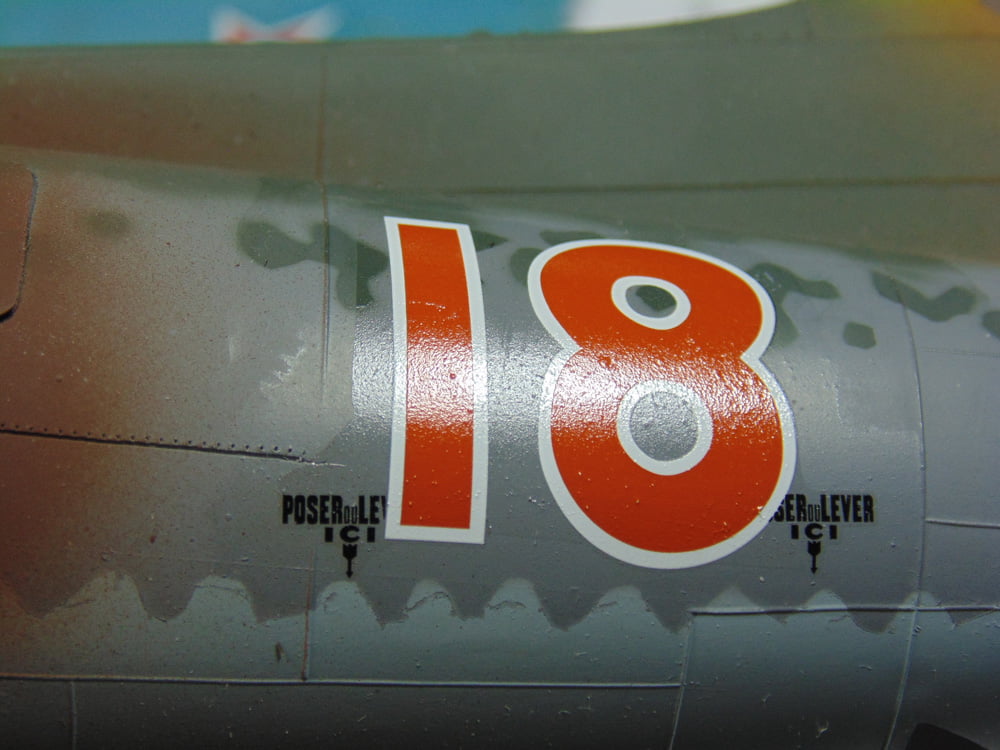
To get a similar look, or even better, with a thicker decal you sand away the decal film. If you’re feeling adventurous and brave you can pull this off. I’d strongly advise that you practice this a few times with unwanted decals.
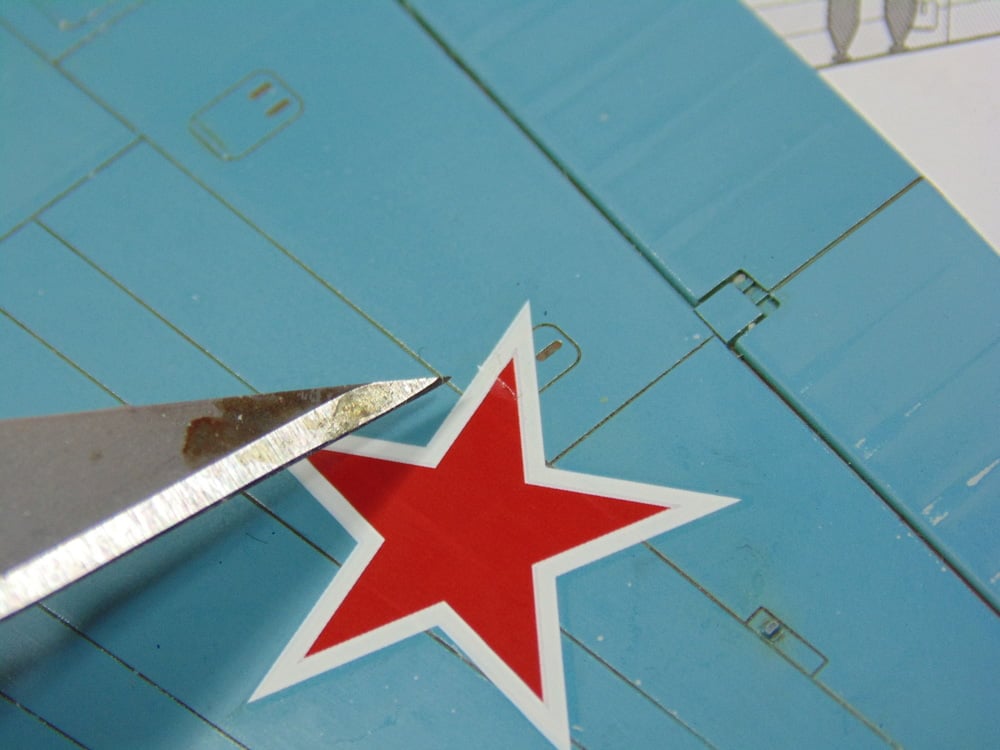
This is our red star decal. There are two issues going on here. First, it has a noticeable demarcation line down the center from a tape line separating types of clear coat. Second, the decal stands way too proud of the surface. Note how the decal has settled in and around the recessed and raised detail.
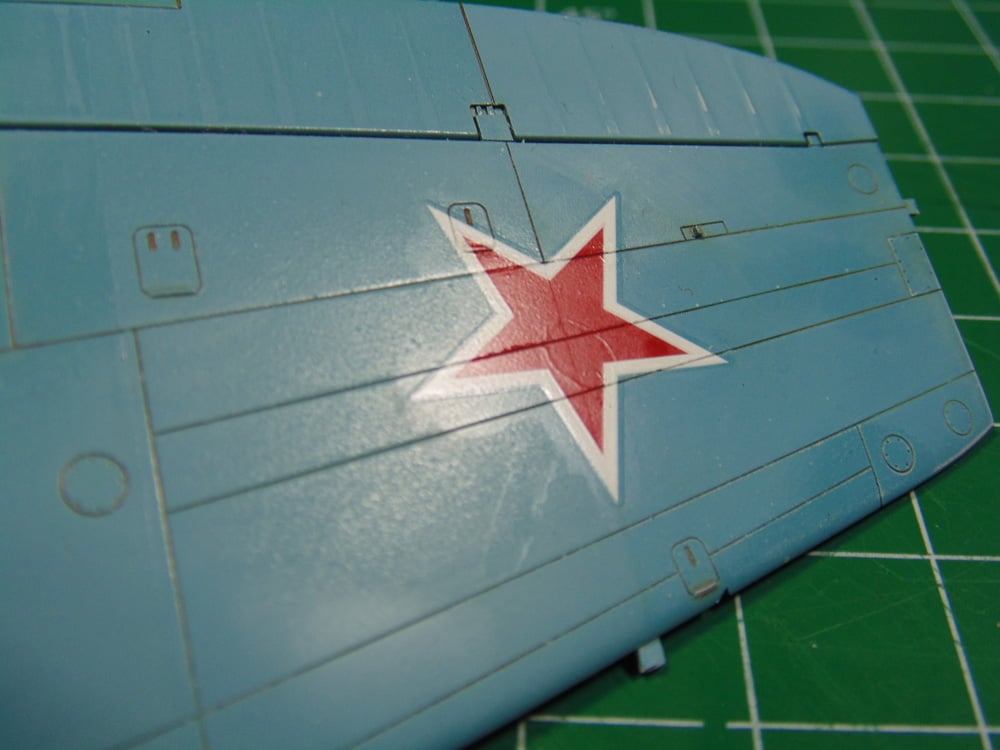
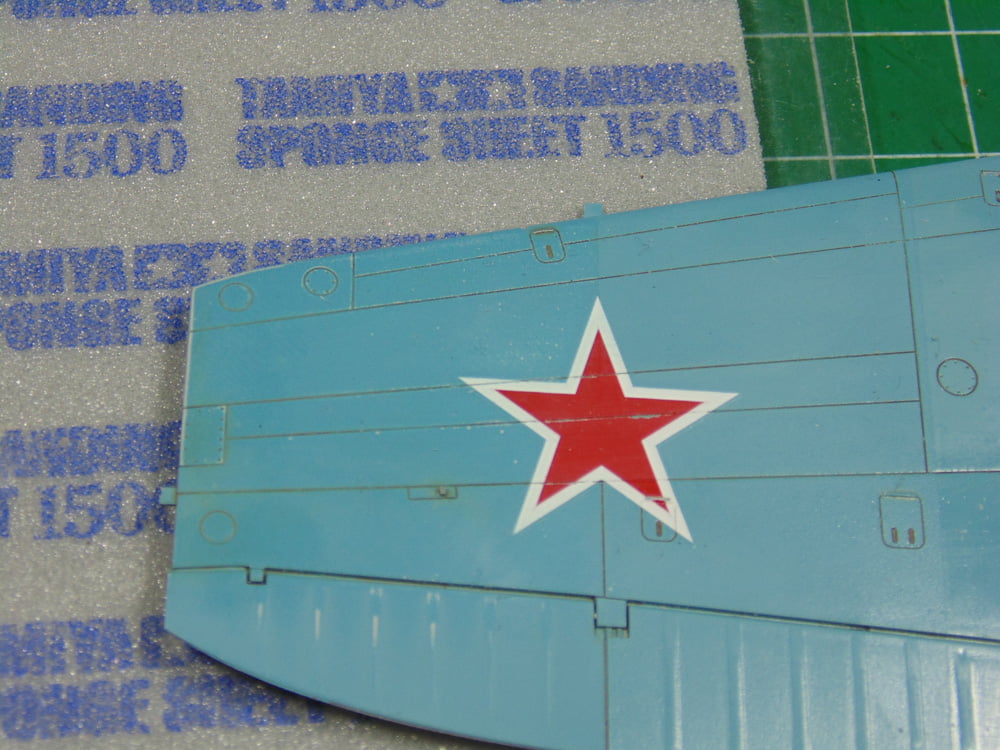
A tiny piece of fine sandpaper, no less than 1500 grit sanding sponge, and some slow gentle swirling will take away the film. Again, this requires some practice, but the result is amazing. Later on, you can even scuff the image to give a worn look if that’s appropriate to the theme of the replica.
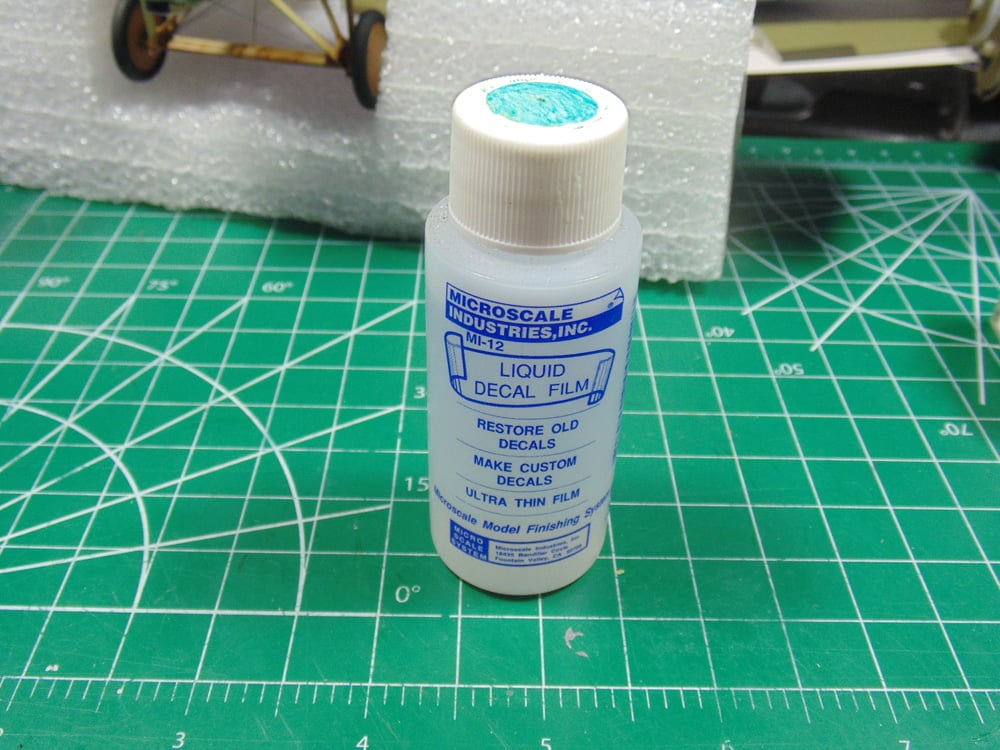
Here’s some more expert advice, buy Microscale liquid decal film MI-12. Sadly, during shipping the contents can shift and smash into the decal sheet causing them to crack. Sure, you spend the mind-numbing amount of time reassembling them on the model, but a much easier way is to paint a thin coat of the liquid film before you put paper to water.
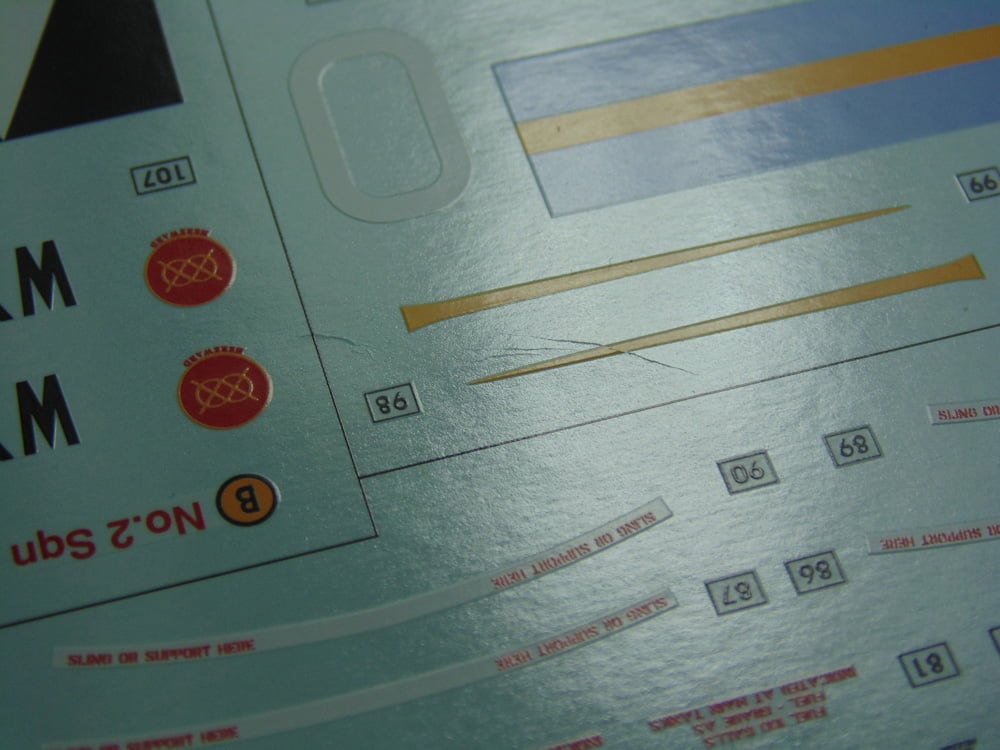
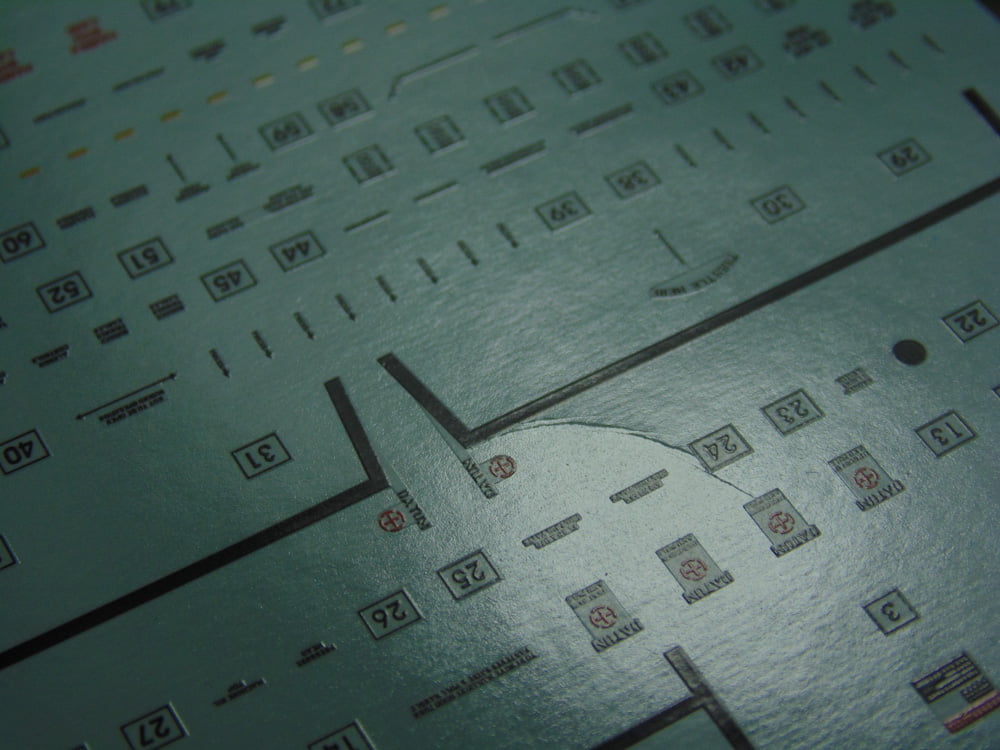
This amazing product has saved countless of my projects. It dries in 30 seconds or less, is super strong and so thin you’ll have to take notes to remember if you even painted it on. You will have to cut very close to the image, but be it a new decal or one so old you thought it unusable, Microscale Liquid Decal Film doesn’t care, it simply works.
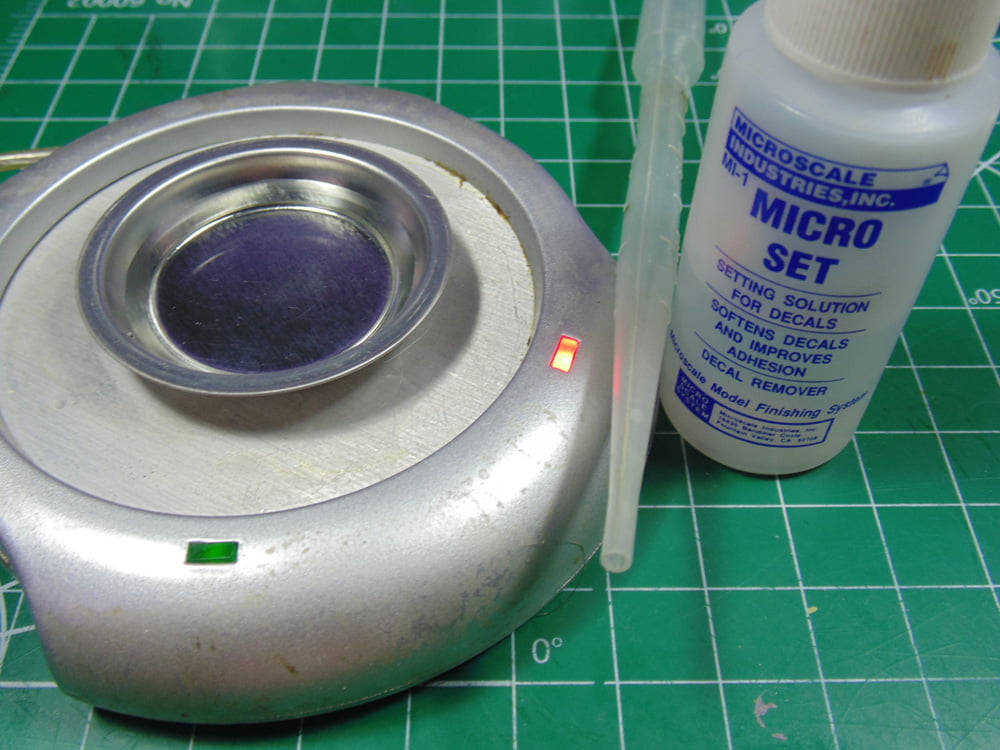
Lastly, here are a few things I rely on when doing this task. Buy a decal tray or some quality metal cups from the store. Cups work great for a variety of tasks and are shallow enough so you won’t be fishing for a decal should it come loose from the paper. A tray is great because you simply lift and snag your decal.
I use a coffee mug warmer (not sold in store) and my AK metal cups or trays to keep the water tepid to speed up the job, in many cases by half. This is the one part of decaling that most hobbyists loath, the time.
Take your pipette and add half a dozen drops of setting solution to your water. Use the picture below to gauge the amount. This helps the decal bed down quicker, but you will have to wipe the area down a little longer after drying to remove water marks.
Sunward Hobbies have a vast selection of tools and supplies to make your decaling phase go quicker and more smoothly, many of which I’ve not covered. These are the basics with some added help, but in future articles you’ll see them being used.
If you have any questions about the products used or the methods in this article, please feel free to ask the staff when you pick up or place your next batch of pigments from Sunward Hobbies.
H.G. Barnes is a former voice-over artist and retired sales and marketing professional. He’s the author of two large volume science fiction adventure romance novels with many more in the works. For well over 40 years he’s been building scale model replicas and now does commission work for clients in Canada and the USA, plus completes projects for companies in Asia and Europe.
Currently H.G. is involved as an Associate Editor with KitMaker Network’s Online Magazine Channels
