Using Pigments for Plastic Model Kits and Dioramas
In this Sunward Hobbies Tutorial I’ll cover the “how to get you started with pigments” and how they can easily add another layer of depth to your project. You’ll discover how fast inanimate objects can be brought to life and have a great deal of fun at the same time.
All the supplies used in this article are available at Sunward Hobbies and no special techniques were used, so this is something almost anyone can do.
One of the simplest ways to add more character to your model and its story is to apply pigments. Pigments are fine particles of the base used in model paint.
The three basic things to be aware of when using pigments are:
- they can be messy.
- they are incredibly versatile and easy to use.
- they are a hoot to work with.
So, let’s grab some items from the store and I’ll show you some basics.
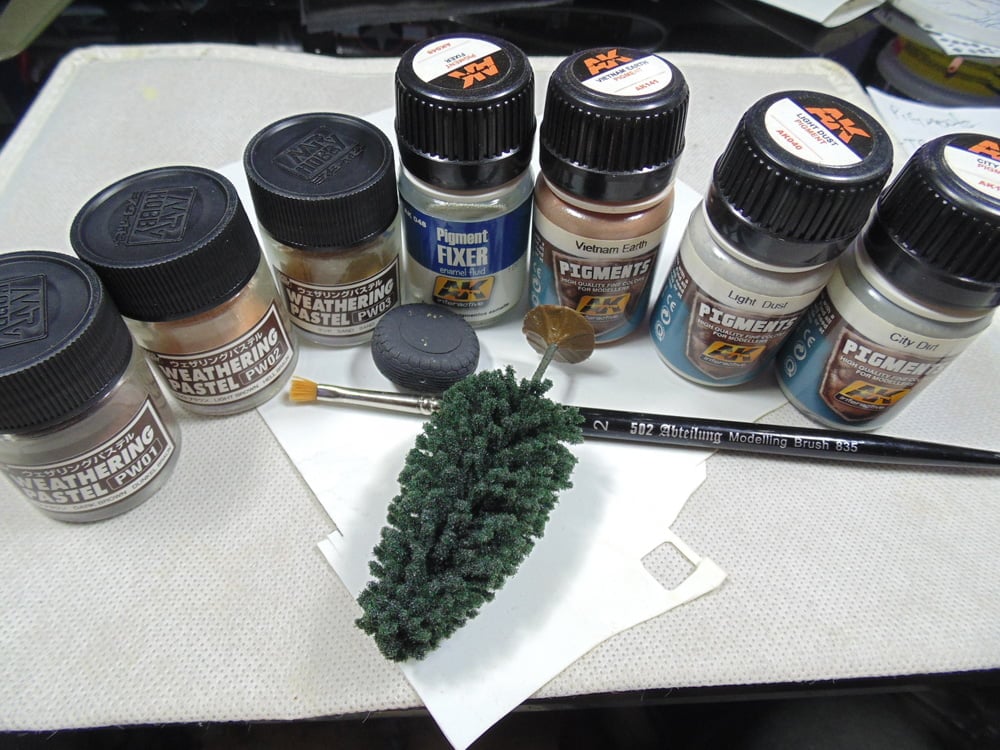
Pigment powder can be added to your project either wet or dry. I’ll cover dry pigments in a little bit, but if you want to get certain effects with wet pigments it’s important to have a well-made pigment fixer. I only use hobby brand made fixers. These are enamel thinners with additives to literally fix the powder to a hardened state.
To add texture to your project or vary the color in specific or overall locations, remember the type of brush you use is important. In this example I’m using a stippling brush to show you several effects. Just a few drops of AK Pigment Fixer are all it takes to hydrate this Mr. Hobby Sand pigment or pastel powder.
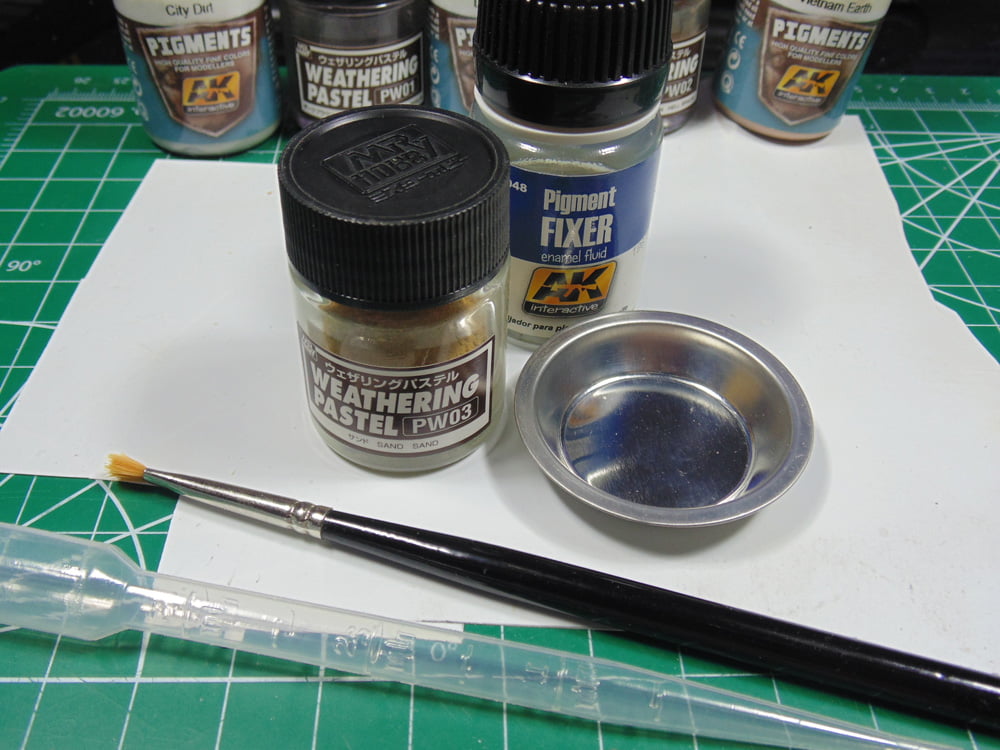
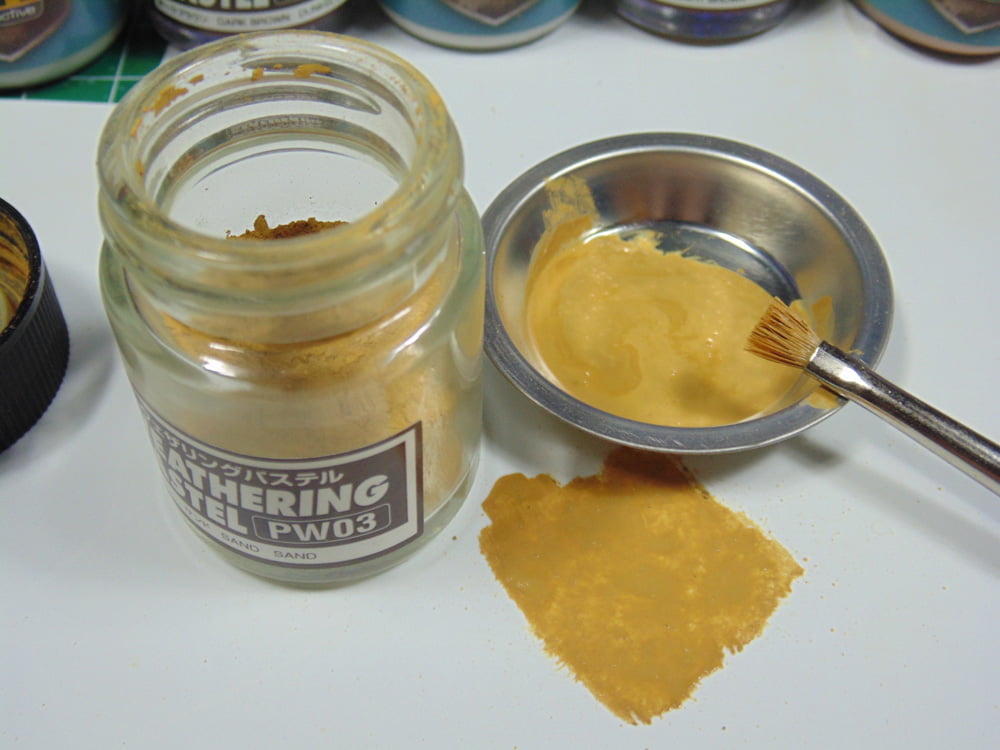
I’ve used the brush to scoop a tiny amount of the powder and blended it with the fixer. Then I stippled it on some Plastruct styrene sheet. Wet pigments are always darker, so keep in mind that the end result will be quite a bit lighter. Mr Hobby Measuring Cups are little metal cups are ideal for this type of work.
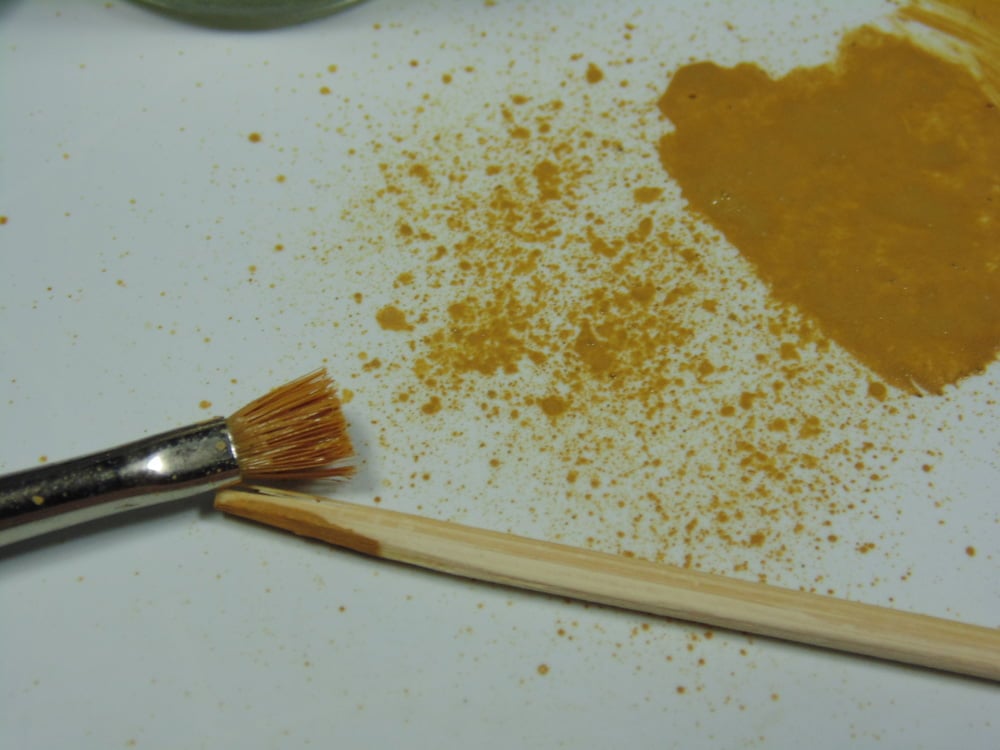
For a splatter effect place a toothpick under the brush you just dipped in the pigment and fixer fluid. Gentle flick at the spot you want that look to appear. It’s a super easy way to add a natural look to a project.
I keep about a dozen colors of pigment in my inventory. This way if I need to mix my own it’s easy. In this example I’m going after a rough brick look by adding some Woodlands ballast to AK Interactive Vietnam soil color pigment.
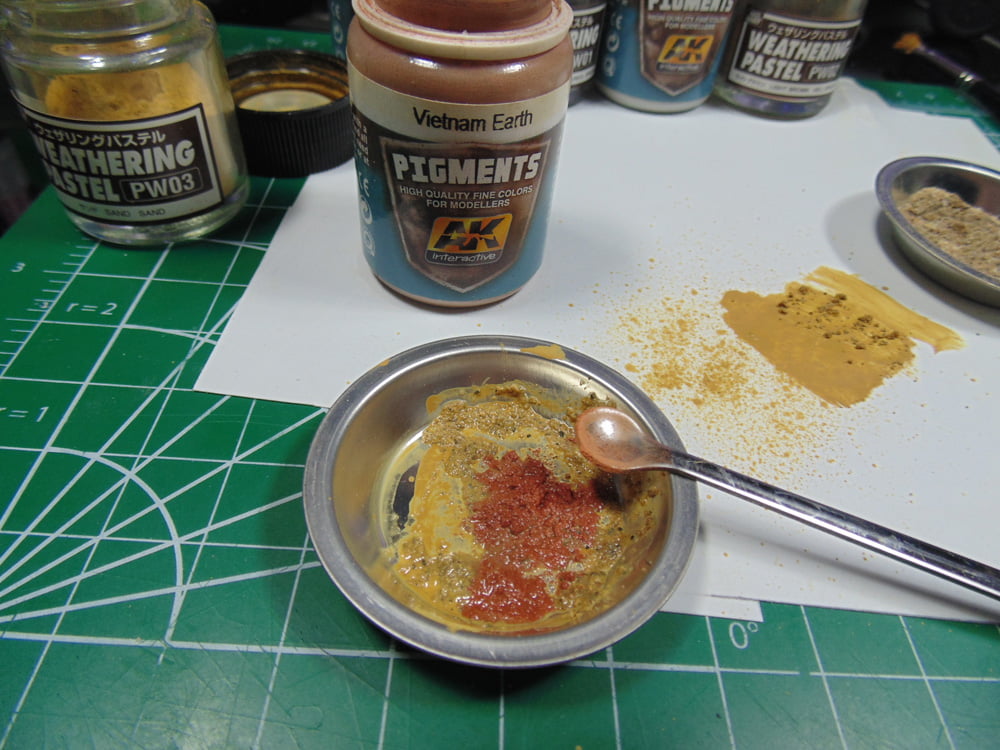
This 3D effect works great for tanks, automobiles, boots on figures or even buildings. You select the color, the tone and have some fun. Make certain you mix it well though. Notice the texture in the red brick color? Provided you add enough fixer to get a slightly runny slurry it will dry with the desired look.
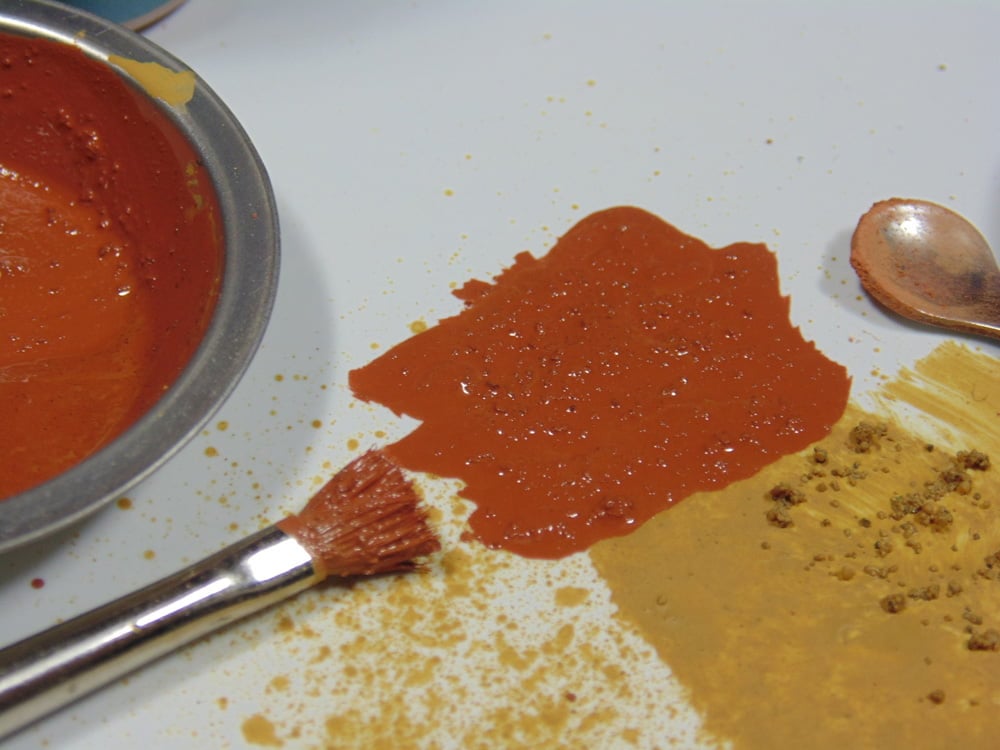
Here you can see the result of not adding enough fixer to the sand and ballast mixture. Quite a bit of the ballast flies off with little effort. Also, note how the color of the dried pigment is now lighter.
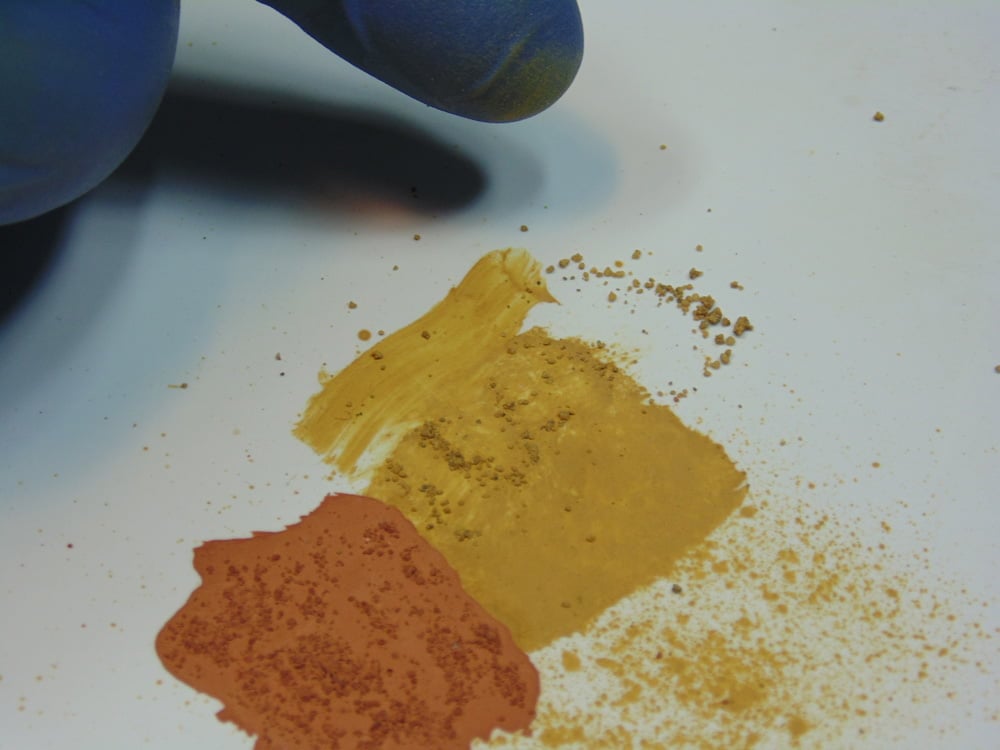
Now the brick-colored pigment which has had much more fixer added. Far less ballast came away and believe me I rubbed hard! Please consider using gloves when doing this work. Pigments are easy to wash away, yet they tend to get everywhere in a hurry.
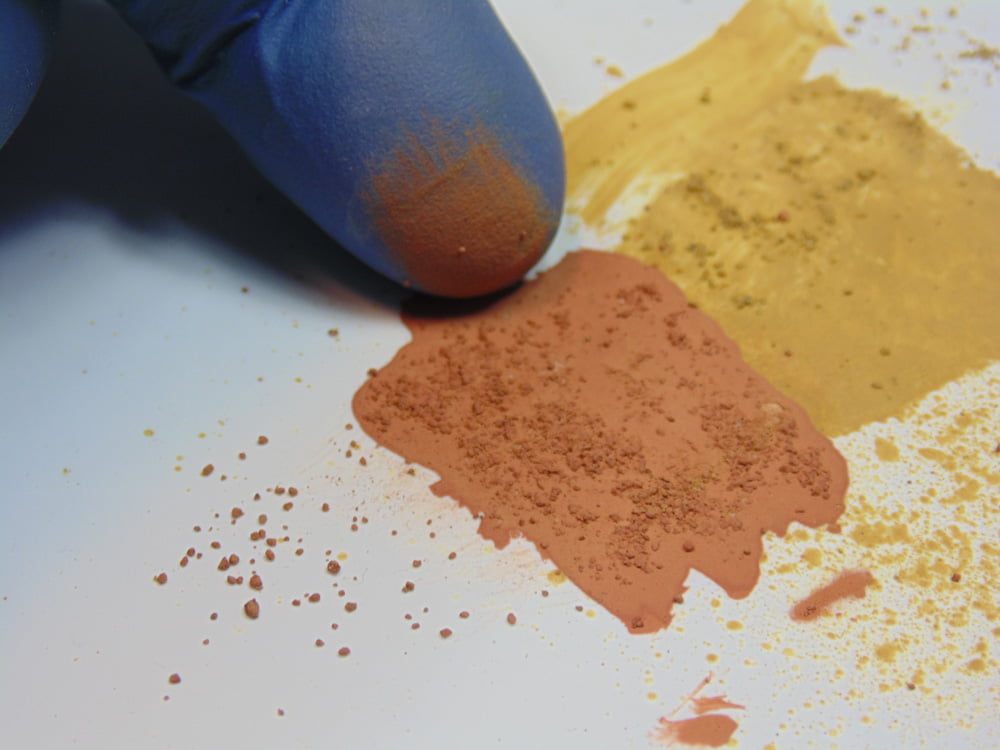
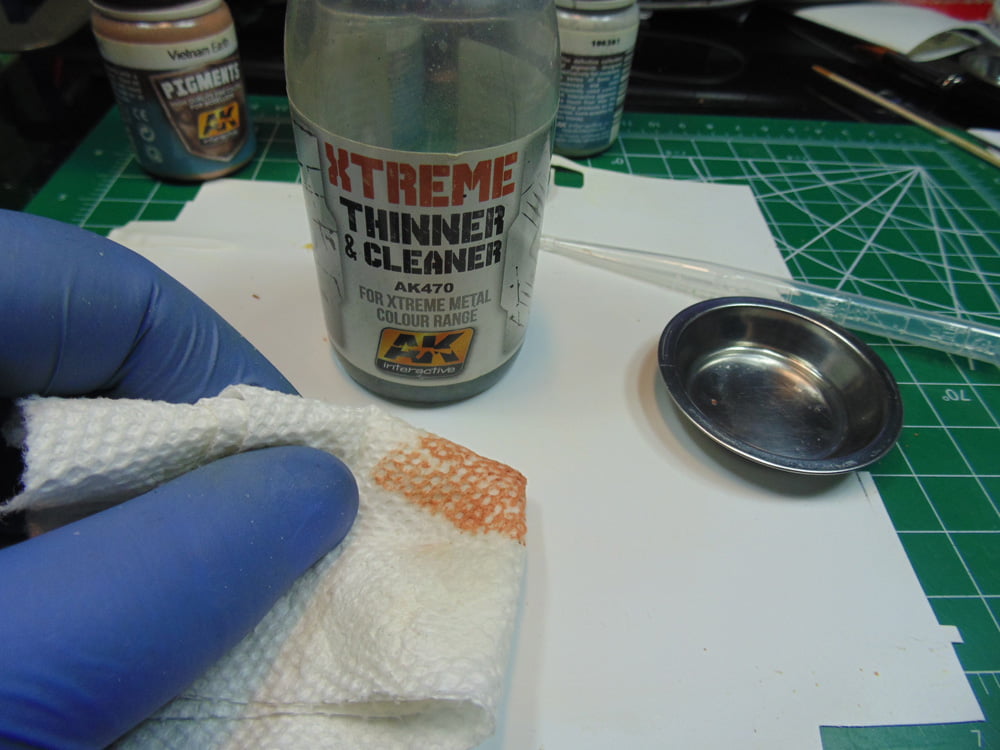
Since the Pigment Fixer is enamel based it’s very forgiving of mishaps. To remove some or all of the work, simply use some AK Xtreme thinner and cleaner to remove the previous work. This also helps when practicing your anticipated look. Remember to thoroughly dry the area since enamel will melt plastic.
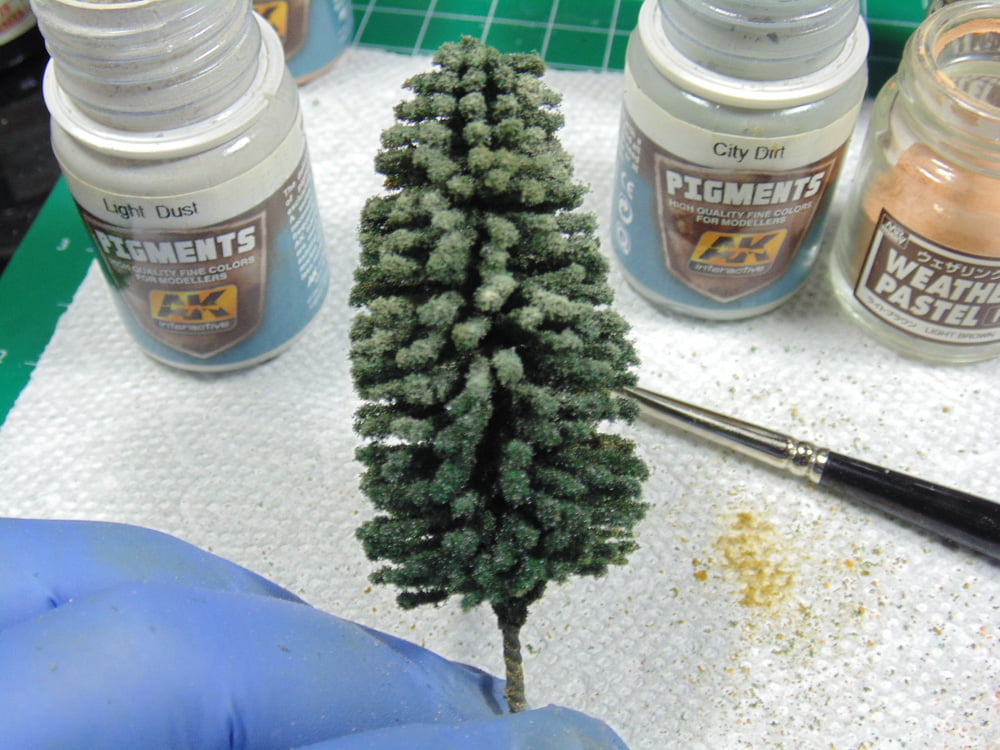
In this example I’ll use a Woodlands fir tree I bought from Sunward Hobbies for an upcoming project. The tree looks rather toy-like and needs some realism.
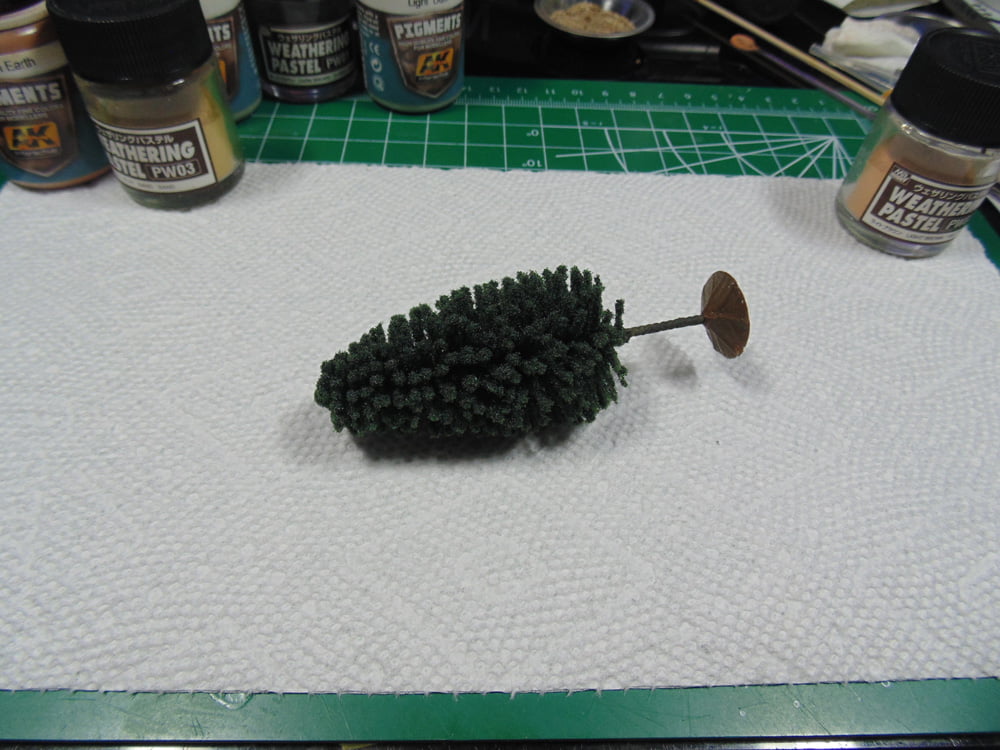
You can see how the forest green does wonders to bring out a natural look. The bonus is, this took seconds to do. I simply put a bit of pigment on the tip of my brush and dabbed in spots. Then, with a clean brush, spread the excess onto the paper towel.
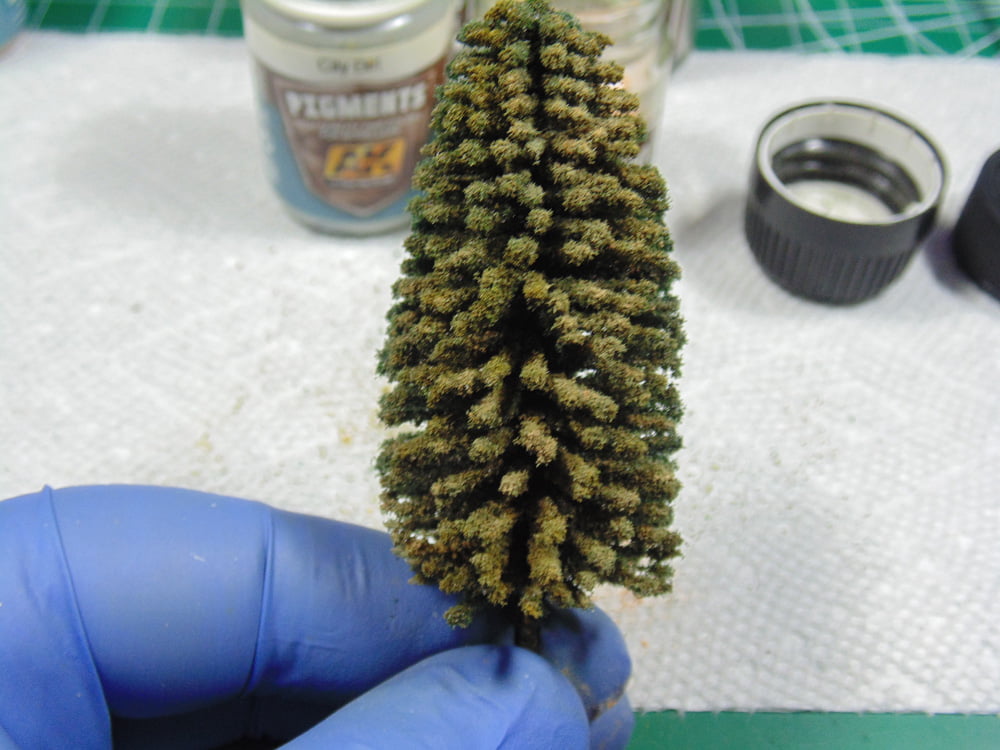
Then I added some sand color and light grey for dead needles. This completely changed the look of the “out of box” replica. Now it’s more visually interesting because there are a variety of colors.
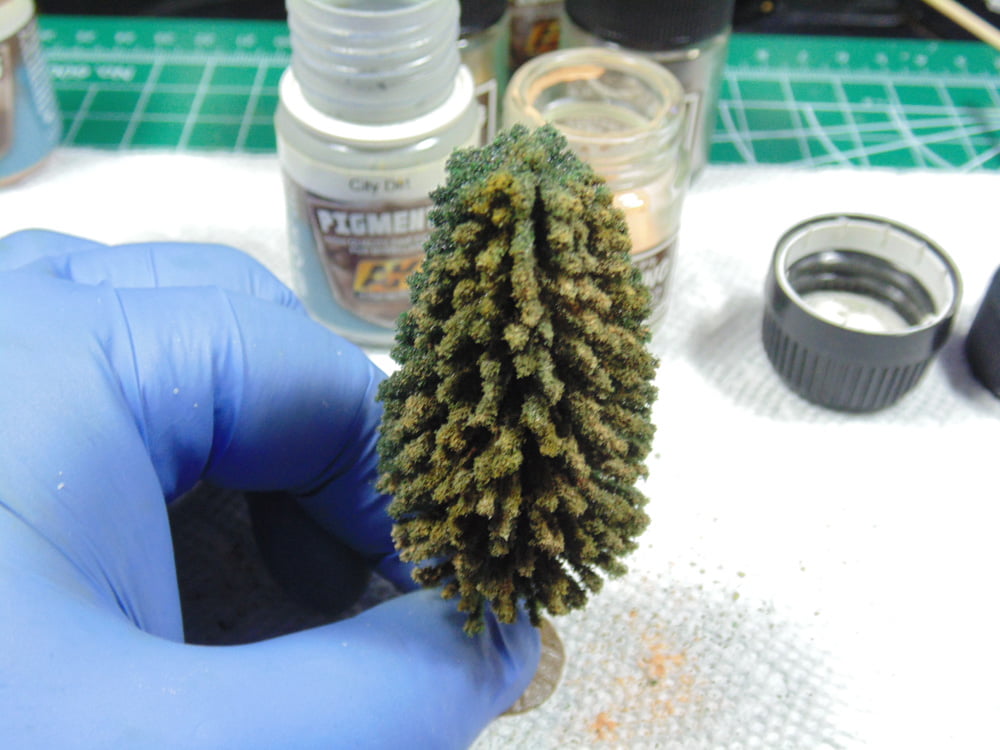
A little goes a long way with high quality pigments. Here you can see how one brushful did almost all of this side of the tree. The results are easy to see even with a dusting of light grey with AK Interactive Light Dust Pigment. Note the absence of pigment on the bottom of the tree.
Next, I’m going to take this monotone looking wheel from a 1/48 Revell B-17 and bring it to life.
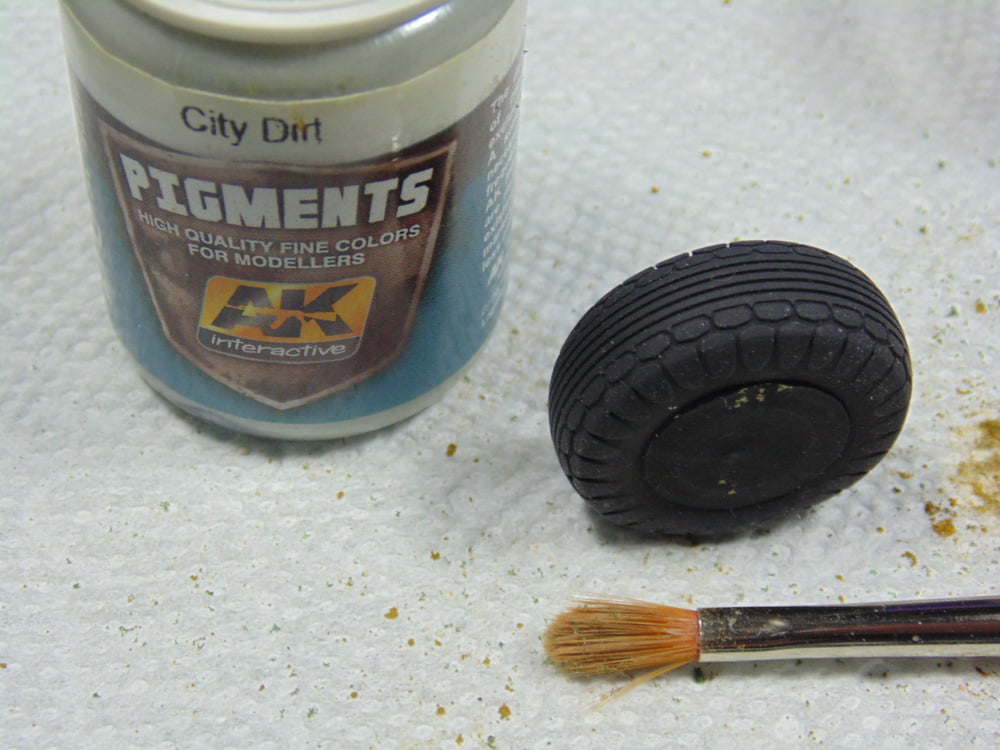
This could be any tire, any boot, and crevice or any place where you know dust will gather. Just a bit of pigment on the tip of your brush will do. Work it into the area and use your finger to rub away the excess. You can also use a moist paint brush to do the same. Again, it all depends on the look you’re after.
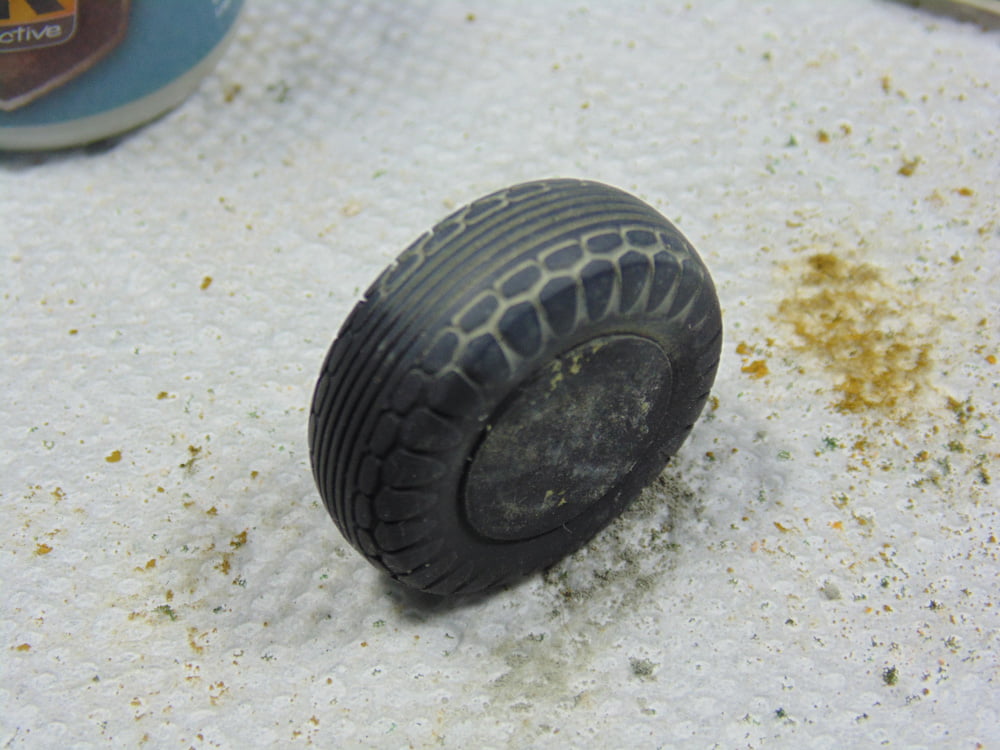
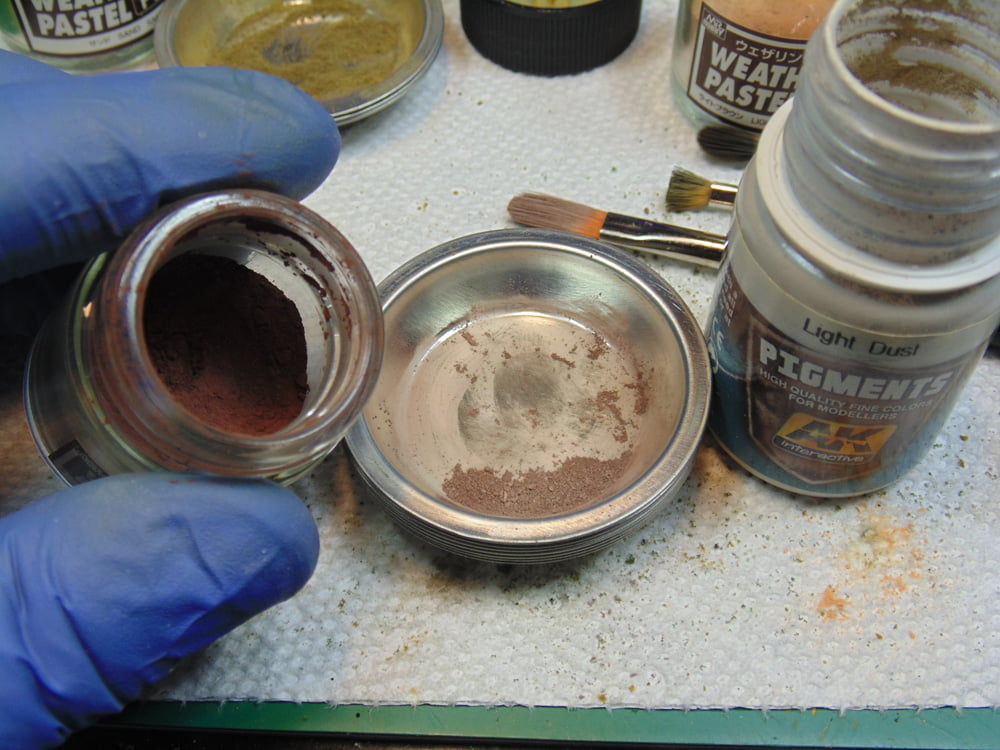
But if grey isn’t right for the theme, then mix your pigments. Sunward Hobbies have a great selection of pigments, here I’ve decided to darken the sand to give my tank an oily look after being on a train’s flatbed car.
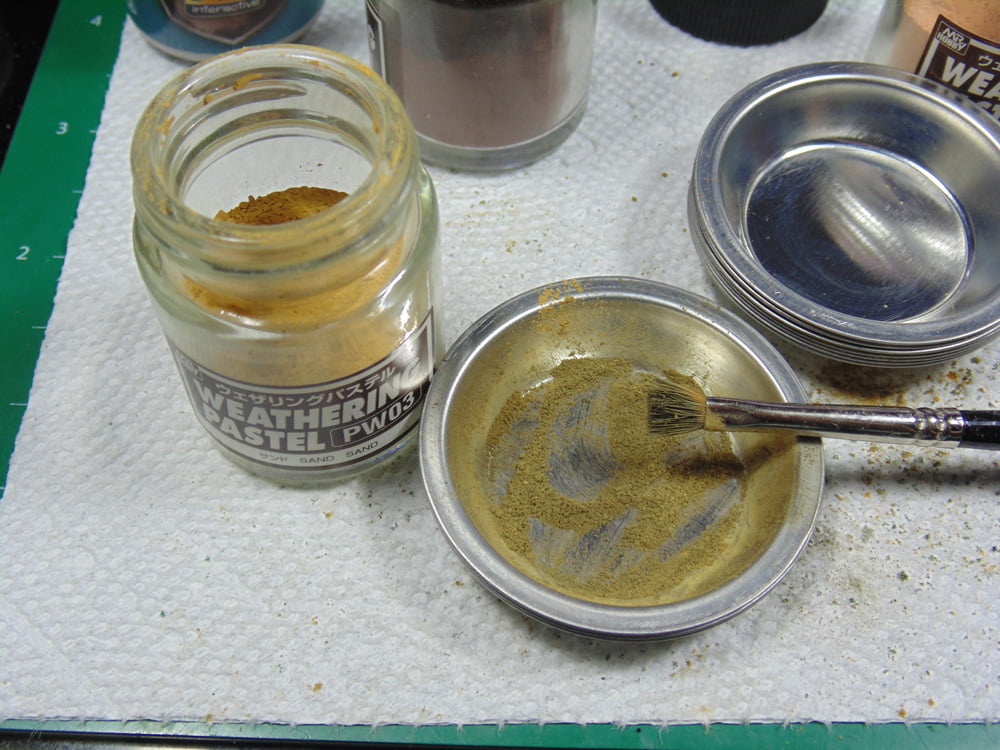
And here I’ve added some AK light dust to Mr. Hobby dark earth. As mentioned, pigments are very flexible and very easy to clean up.
Let’s put some pigment on a model. In this example it’s a Tamiya 1/35 American tank. In this photo the project has been dry brushed with Mr. Hobby Mr Color Metallic Color Ice Silver GX214 metalizer. It needs something else to give it a real world look.
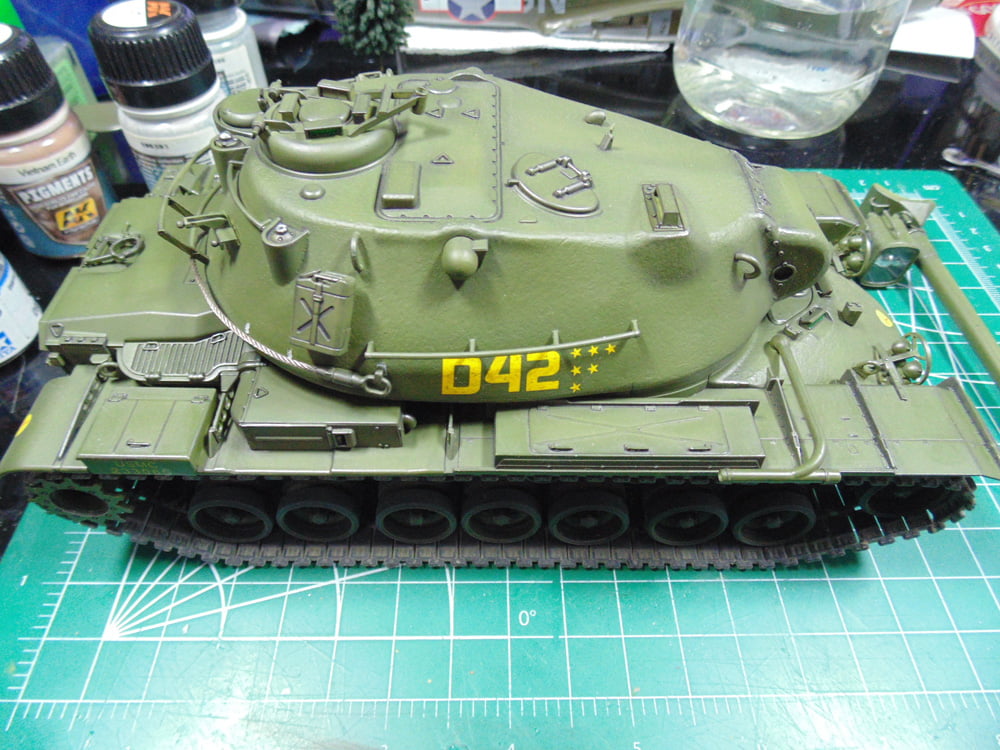
I went over one side by dabbing it with AK Interactive city dirt. You can see the places where the dust accumulated. Just use the tip of your brush and move the pigment into the places you want. Don’t fret if it looks like there’s too much.
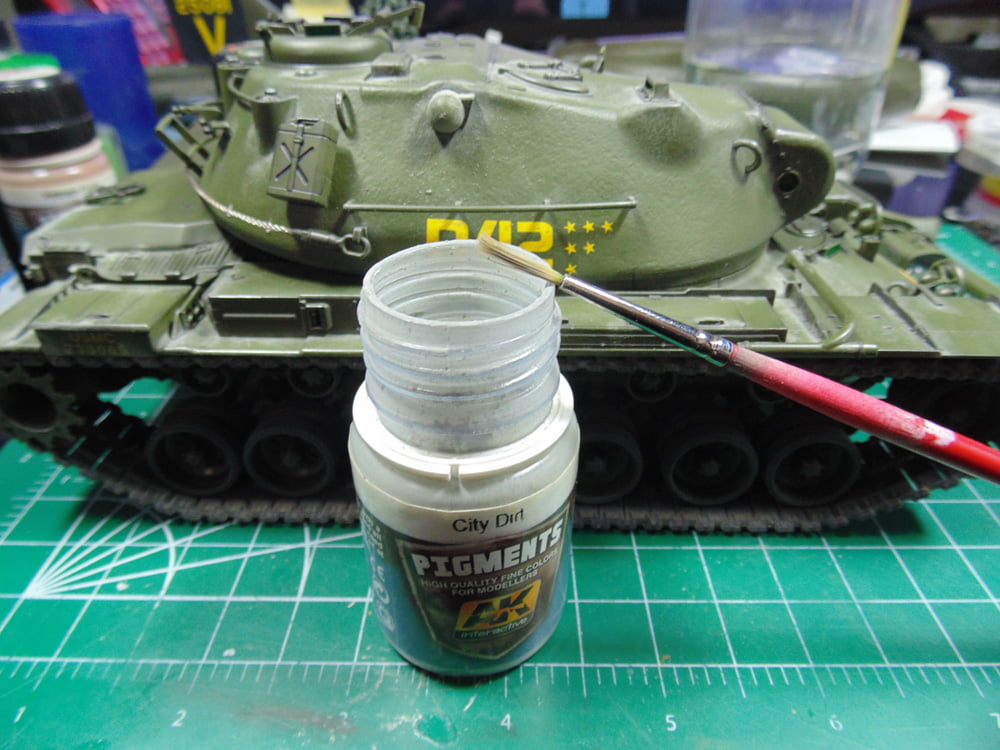
Use a larger brush to remove the excess, or an airbrush to blast it away, then feather it by lightly brushing the edges. Here you can see one half done and the other not. I put extra on the front corner purposely to show you something.
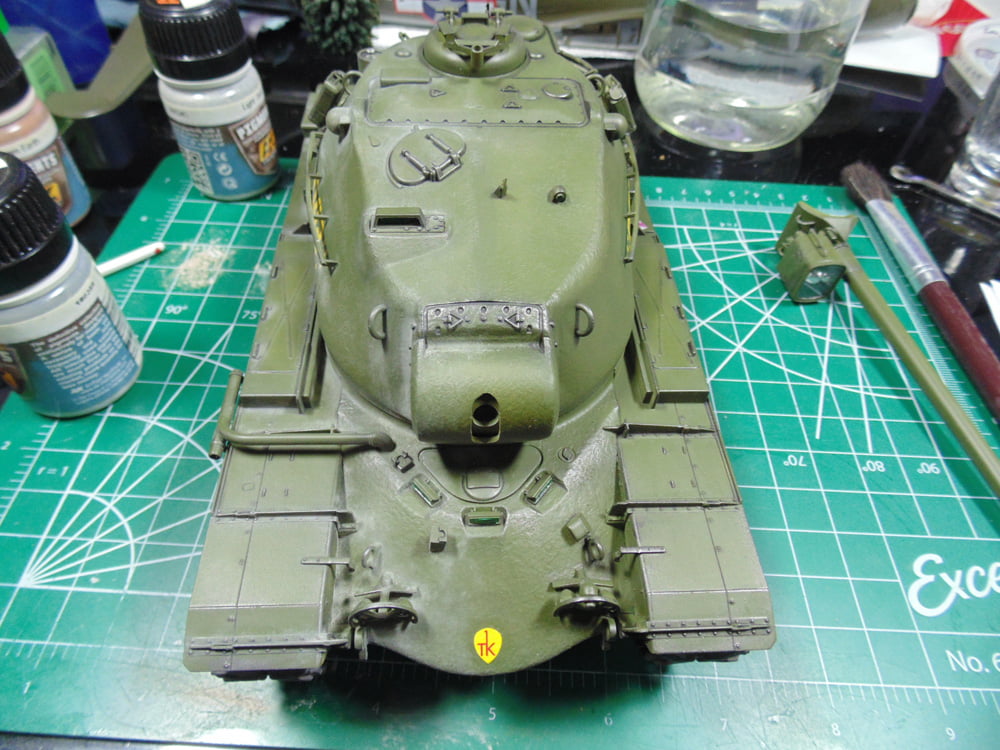
With some water in a paint cup you can remove a good deal of the pigment instantly. Rinse your brush off often and just keep it moist. You are simply removing dust, no matter what the color of it is.
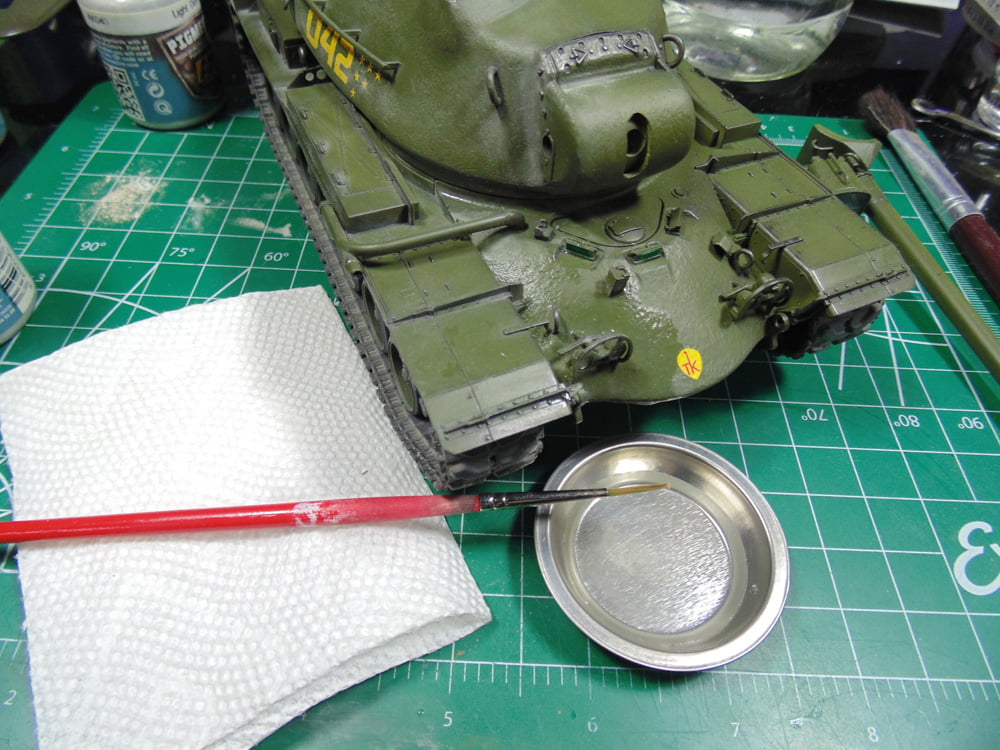
Here’s the before pigment work.
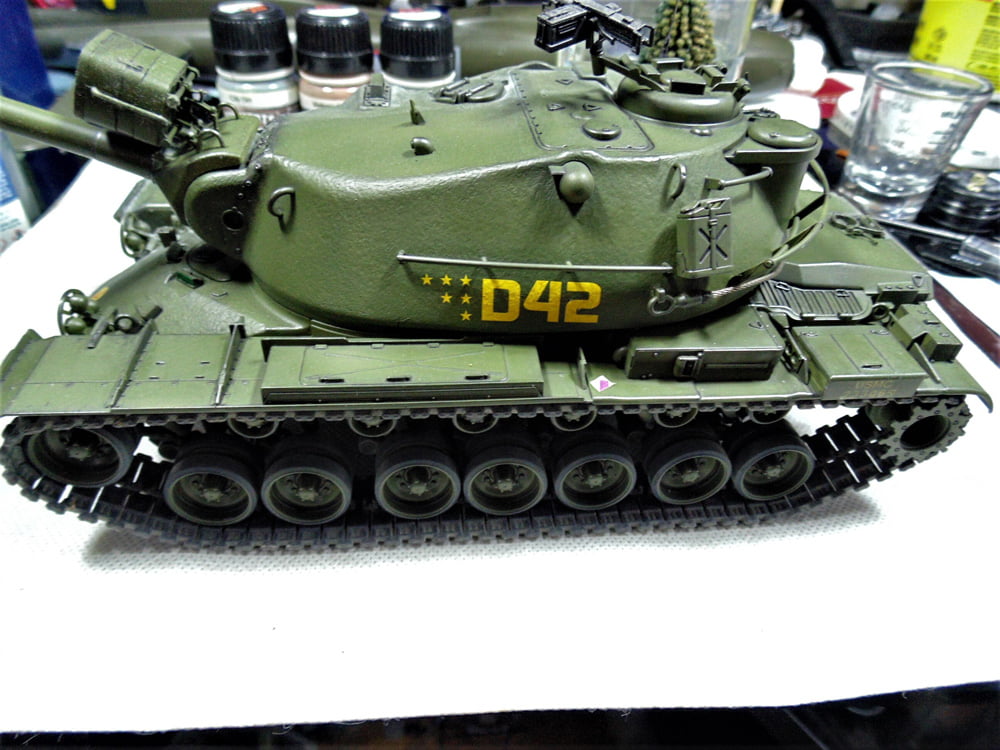
And here’s the after shot with a dusting of city dirt. This could be any color you want from any region of the globe. Where I live it would a black with a slight hint of brown.
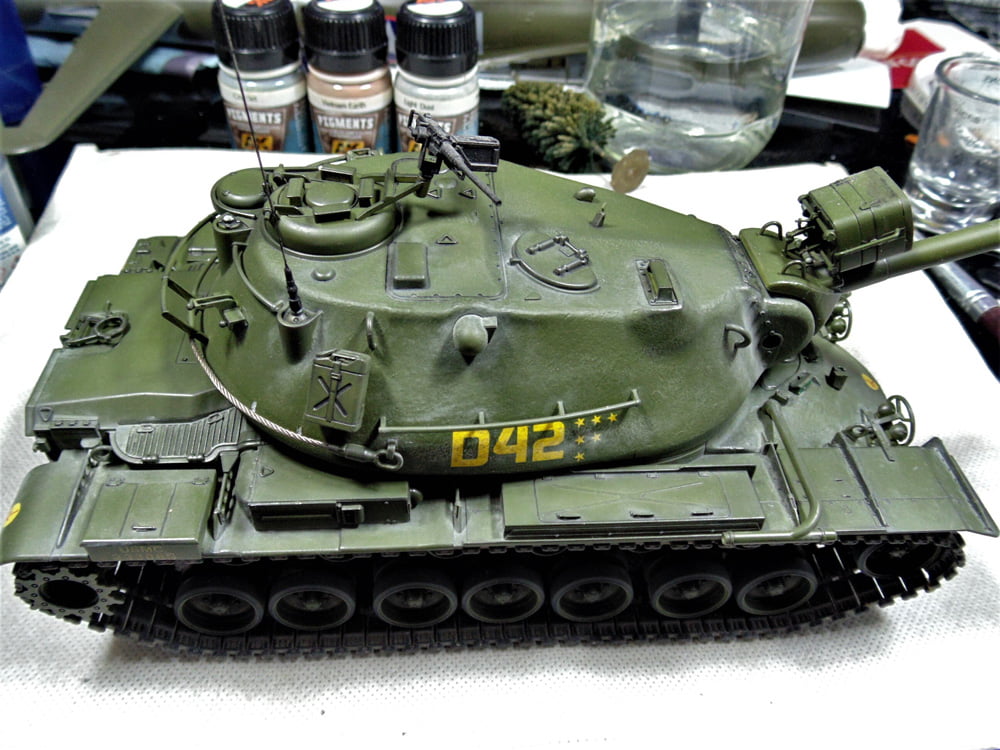
Pigments are a lot of fun to work with because you can remove them and start over again. Let’s face it, dust gets everywhere. Now you can use dust to your advantage and make any project look more life-like and in minutes and easily.
If you have any questions about the products used or the methods in this article, please feel free to ask the staff when you pick up or place your next batch of pigments from Sunward Hobbies.
About the Author:
H.G. Barnes is a former voice-over artist and retired sales and marketing professional. He’s the author of two large volume science fiction adventure romance novels with many more in the works. For well over 40 years he’s been building scale model replicas and now does commission work for clients in Canada and the USA, plus completes projects for companies in Asia and Europe.
Currently H.G. is involved as an Associate Editor with KitMaker Network’s Online Magazine Channels.
