MPC A New Hope Hans Solo Edition – Last Post
This is the twelfth and final part of the MPC Star Wars A New Hope Hans Solo Millennium Falcon 1/72 Scale MPC953 build and review.
When Industrial Light and Magic (ILM) built the original Millennium Falcon model, it took them about 3 months to build from start to finish. It’s taken me almost the same amount of time, and I’ll admit that’s made me feel a tad embarrassed because the model builders at ILM had to start from nothing, and all I had to do was build from an existing kit.
But I shouldn’t be too down on myself, looking back at the past posts there was a lot of work to do, and still there’s just a bit more and I will finally be able to display this project on my shelf, which is something I’ve been very excited about.
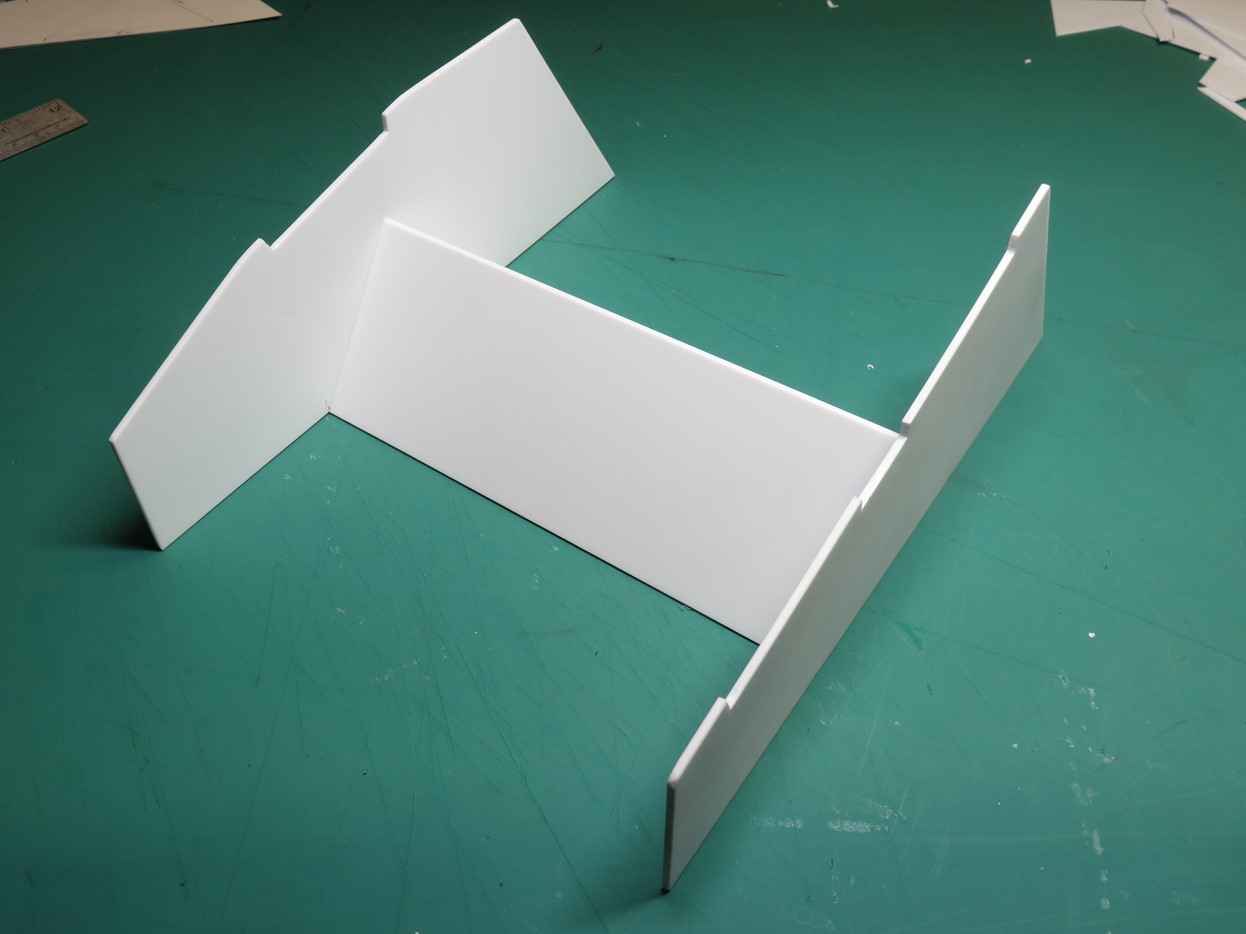
Since I built this model in flight, I will have to build a sturdy display stand. To build this display I used 2 sheets of 1.0mm Evergreen Styrene Sheets.
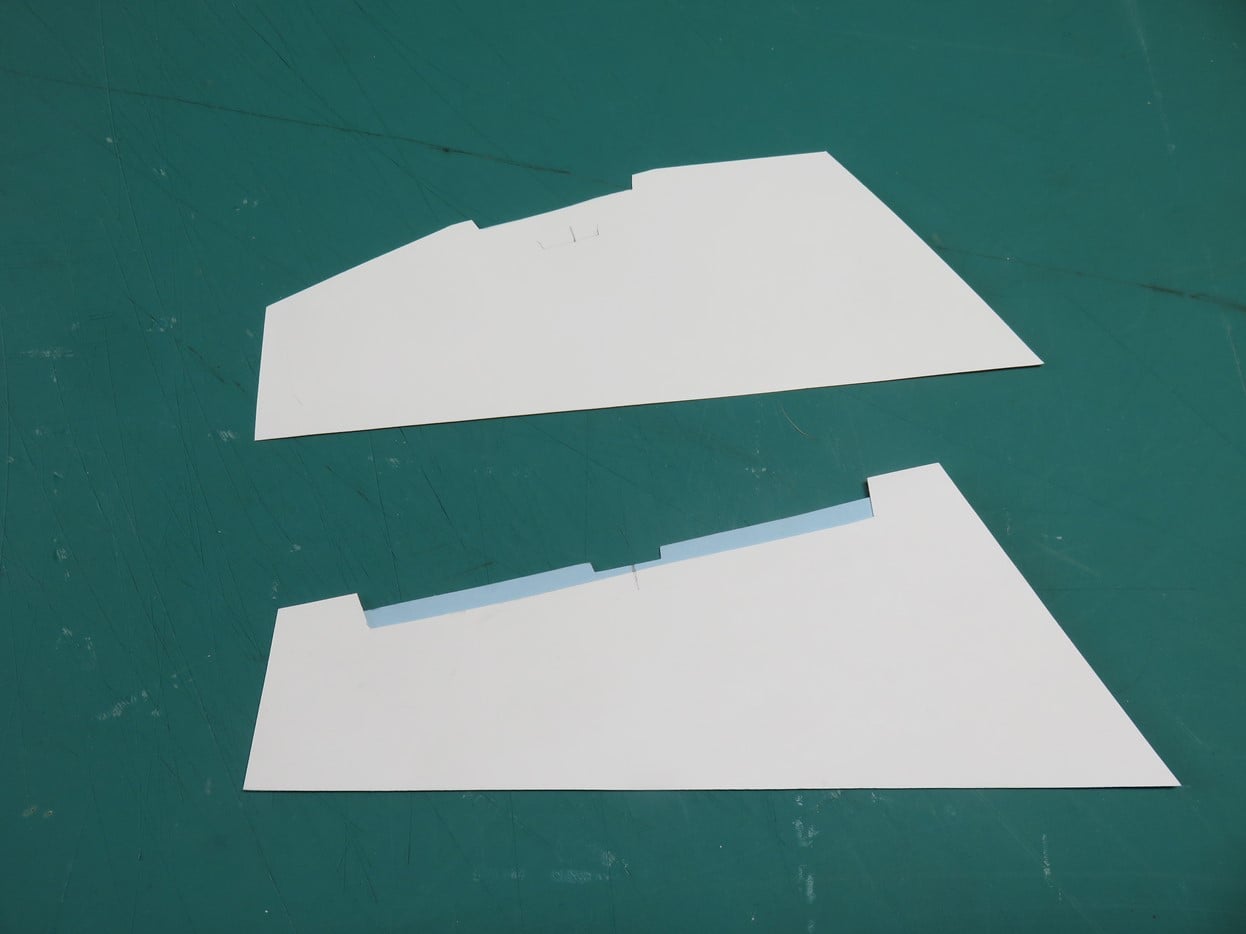
Before I started cutting up the styrene sheets, I made templates out of card stock. I wanted to have the Stellar Envoy at an angle so that the cockpit section was raised upwards. The notches on the inside are for sections of the model to fit into and not fall out due to the angle.

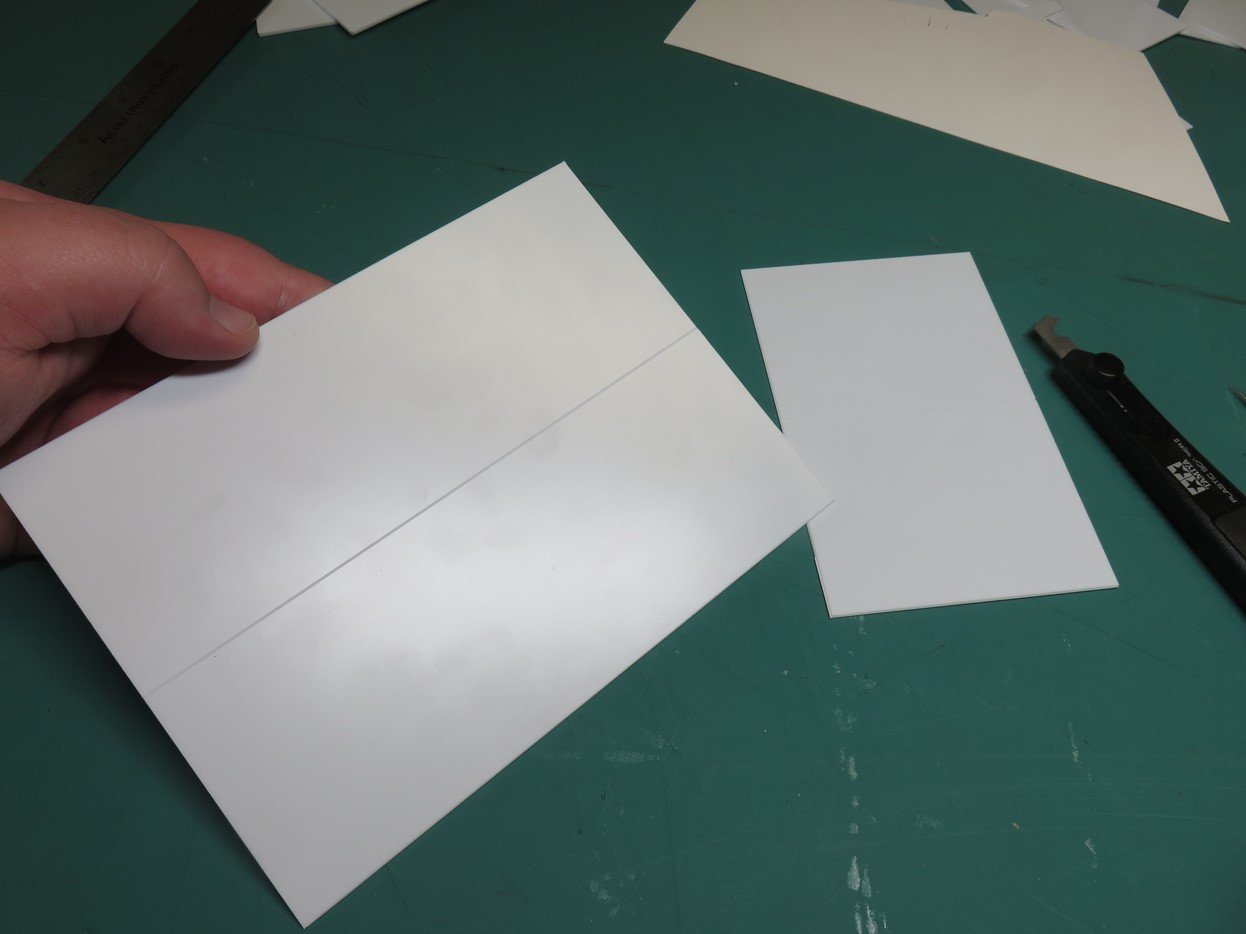
I traced the template onto the styrene sheet, and I made 2 copies that I would eventually glue together. Since these sections would be taking the weight of the model I wanted to try and avoid them wiggling around.
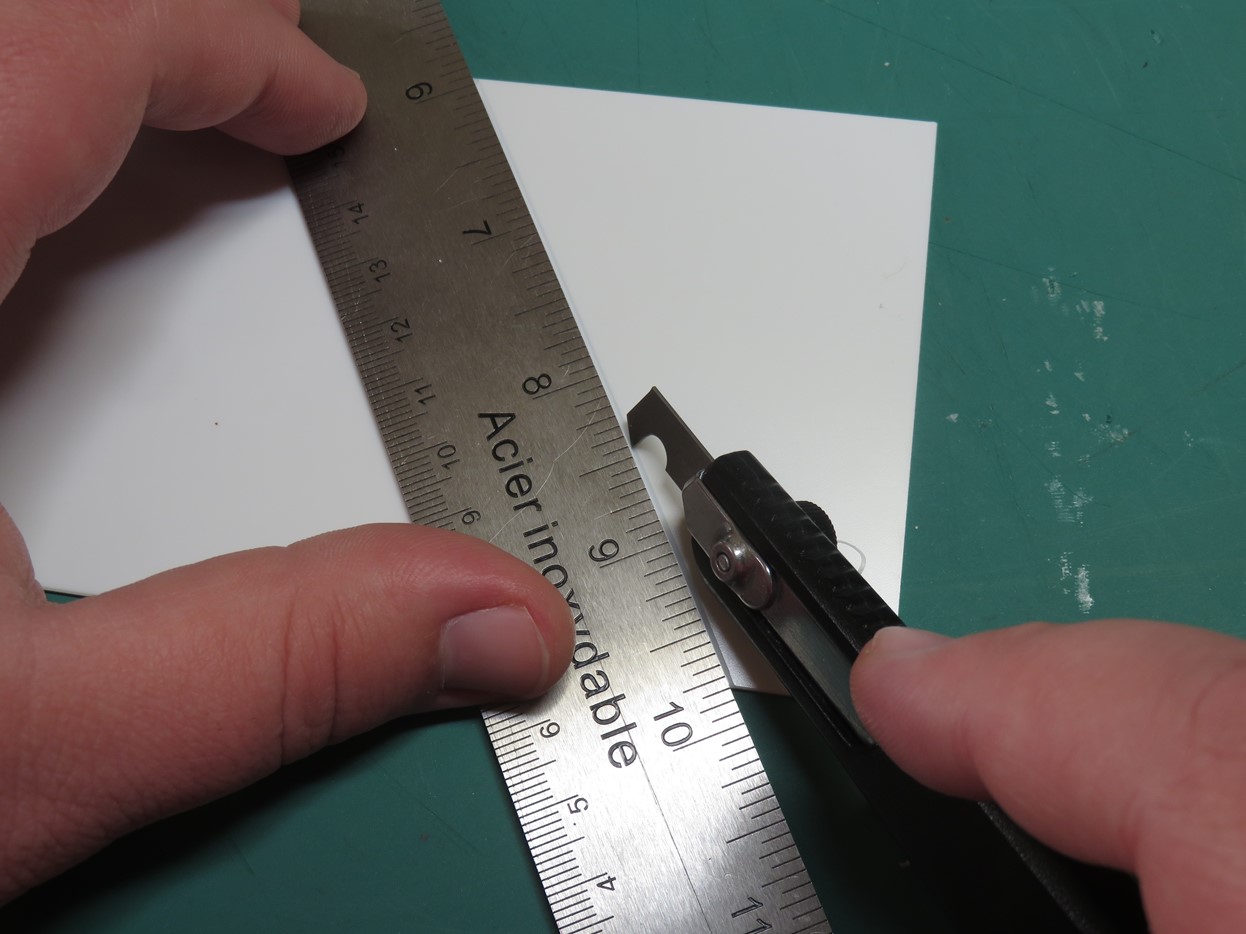
The easiest way for me to cut the styrene was to use my Tamiya Plastic Scriber II. I pulled the scriber next to a metal ruler, cutting into the styrene 3-4 times. I’ve found that pulling in slower strokes provides a better cut especially as you cut deeper into the styrene. Try to avoid cutting too fast or you could run the risk of creating new cut lines in the styrene where you don’t want them.
Instead of scoring all the way through the styrene, I took the two halves and bent it in the middle. Bend the styrene a few times and you will hear a very satisfying snap as the plastic is now separated.
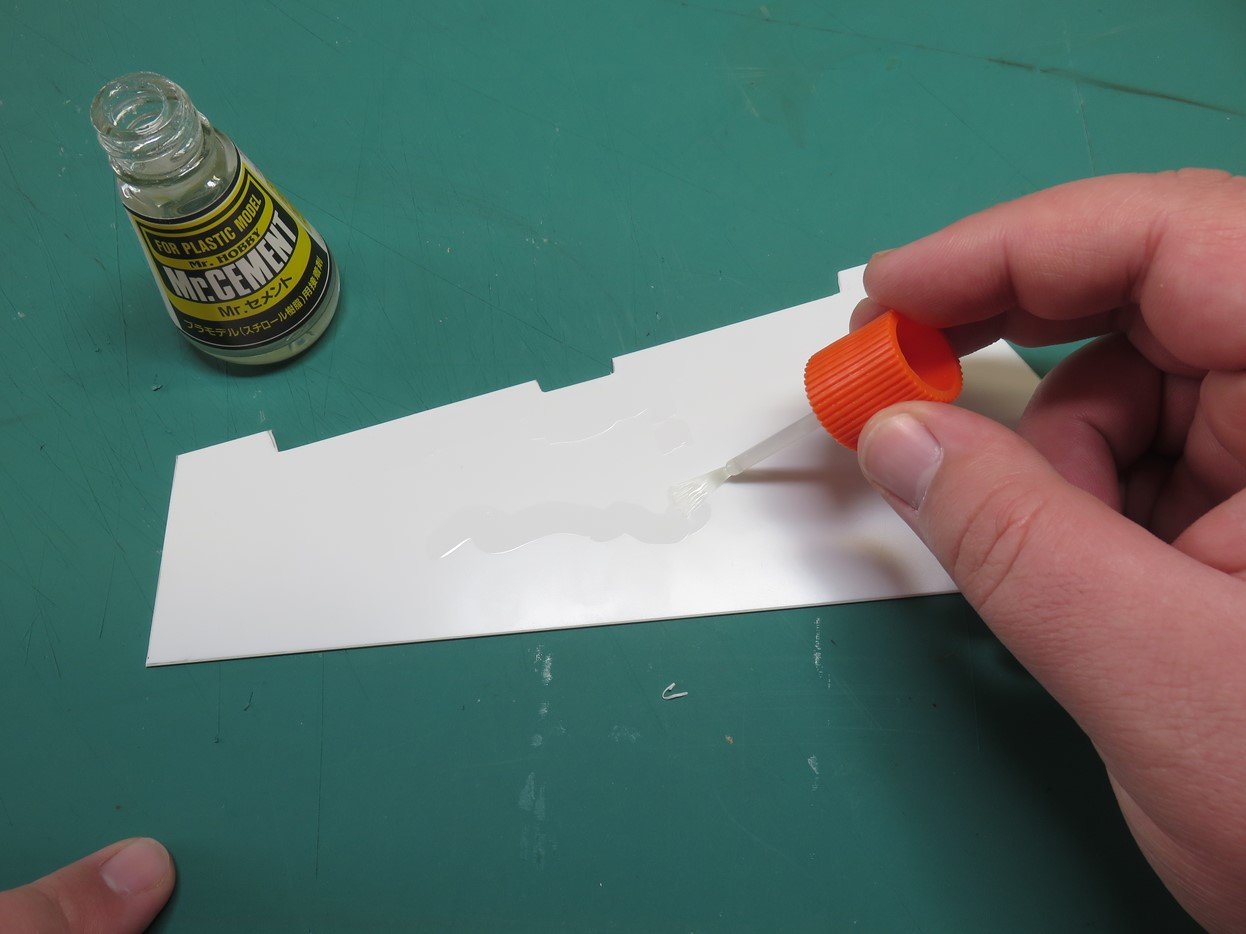
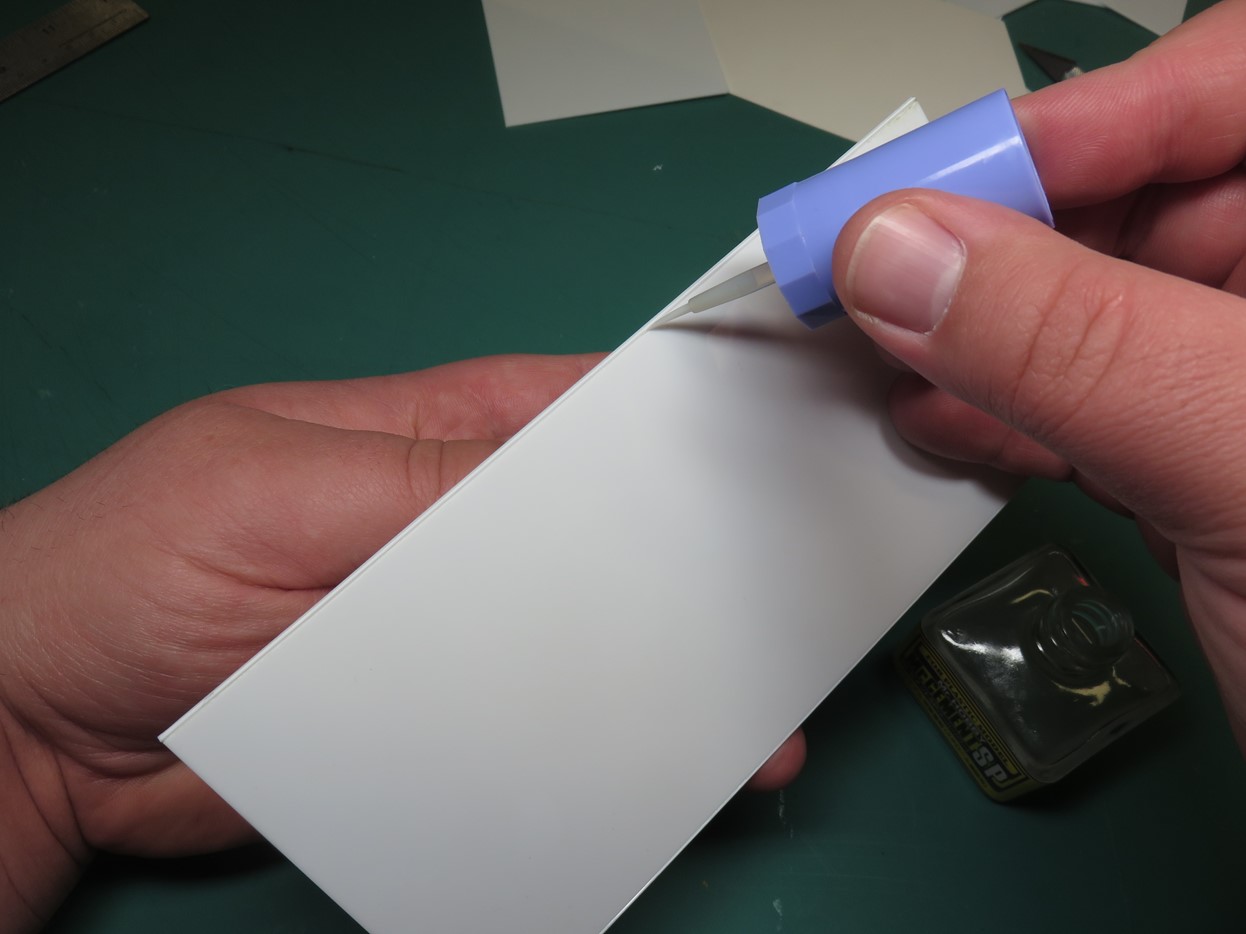
To fuse the two halves together I used a very liberal amount of Mr Hobby Mr Cement. This is a very nice and aggressive glue that I like to use, however, it does dry out quickly, so I had to brush it on fast.
The next time you are gluing large sections try Mr. Cement Deluxe. This Cement is more aggressive to different styrenes and even some resins. And has a bit more delayed drying time compared to Mr. Cement so you don’t have to work as quickly as I am here.
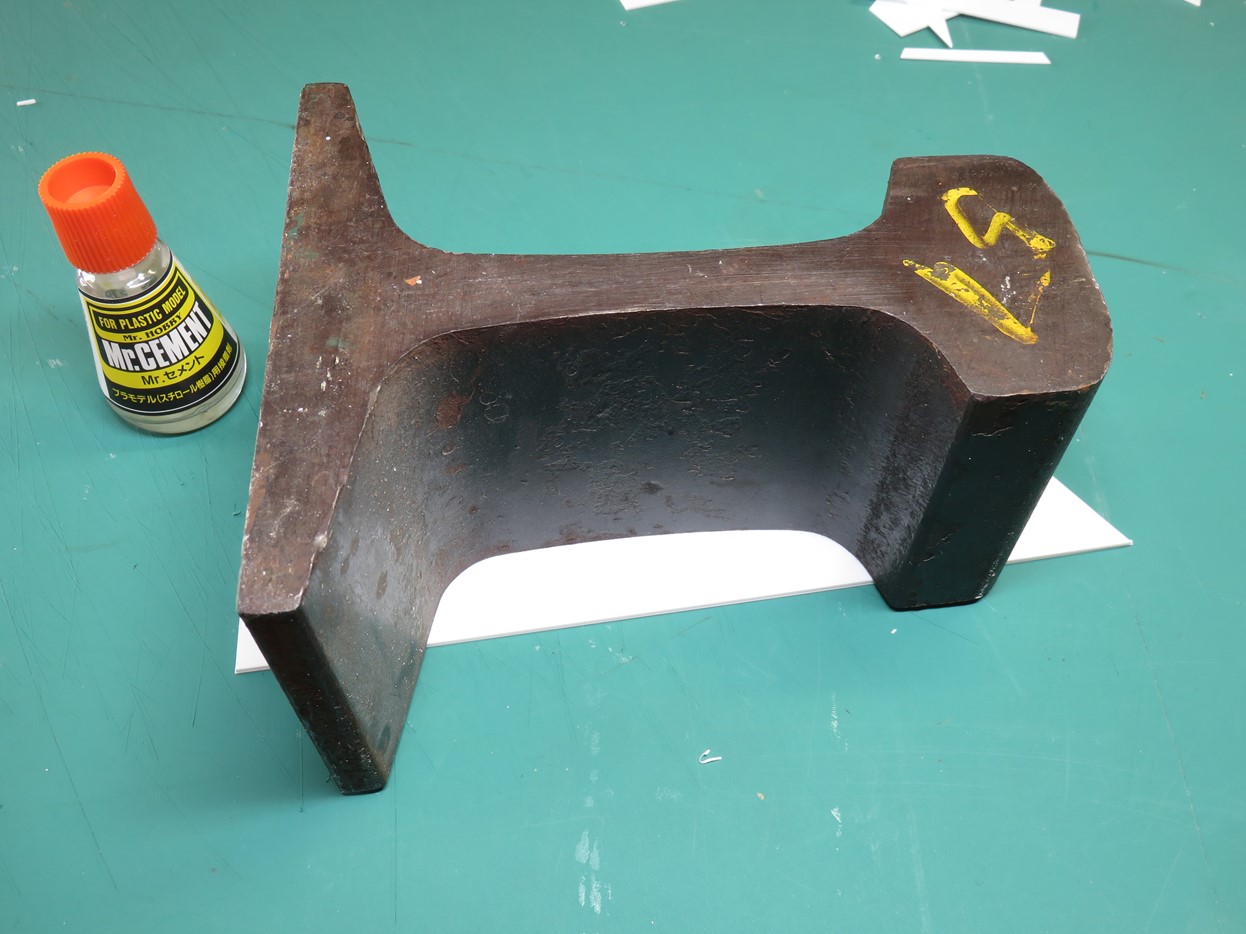
To hold down the 2 sections while the glue dried I placed this railroad anvil on top. This heavy anvil is a bit of an overkill, you can use things like gym weights or heavy books.
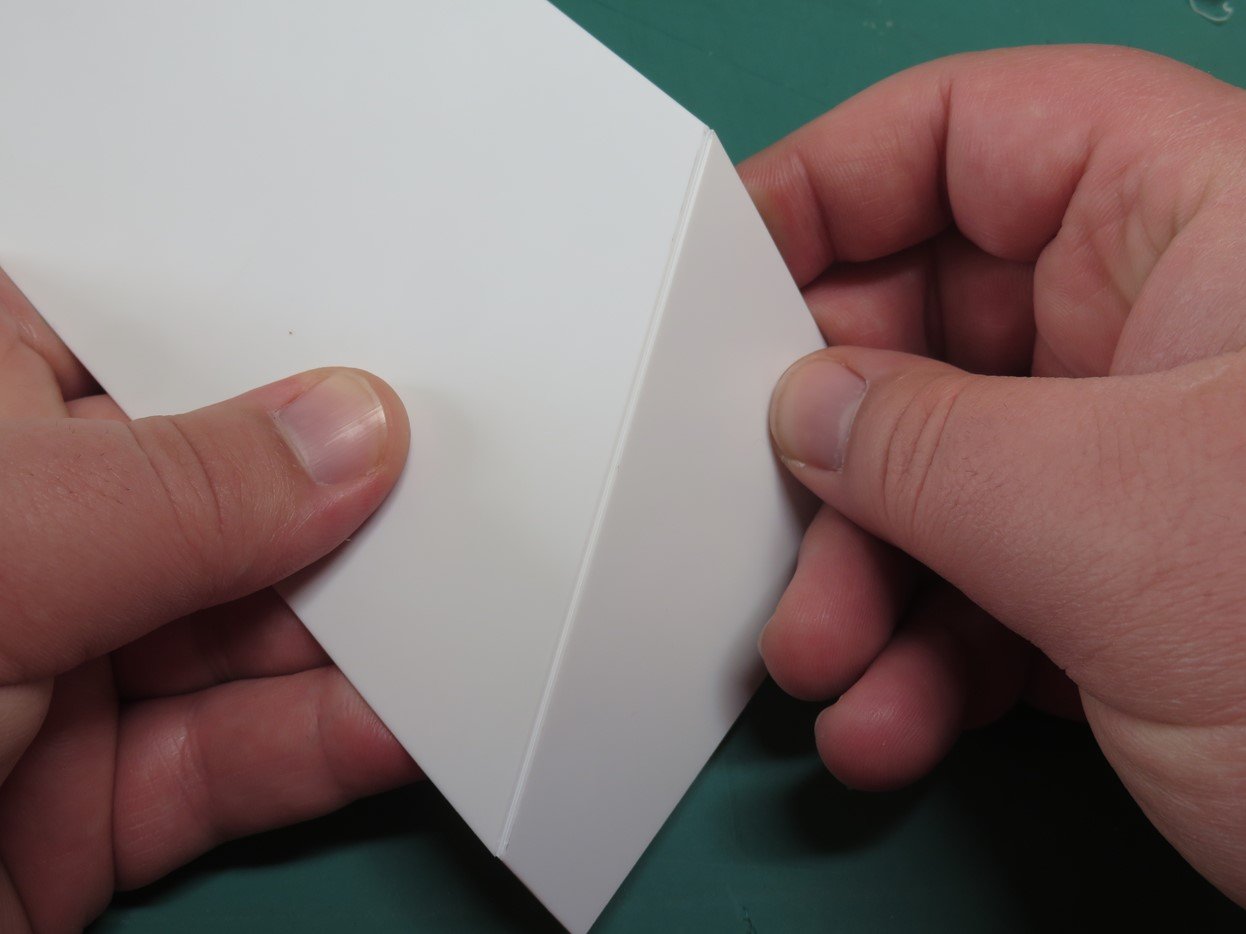
For the center section that would hold the ends of the stand together, I was going to build a triangular bar. I first cut the bottom length, and then I cut the top sections. I scored into the styrene as before but this time I didn’t snap the pieces apart, instead I simply bent the styrene sheet.
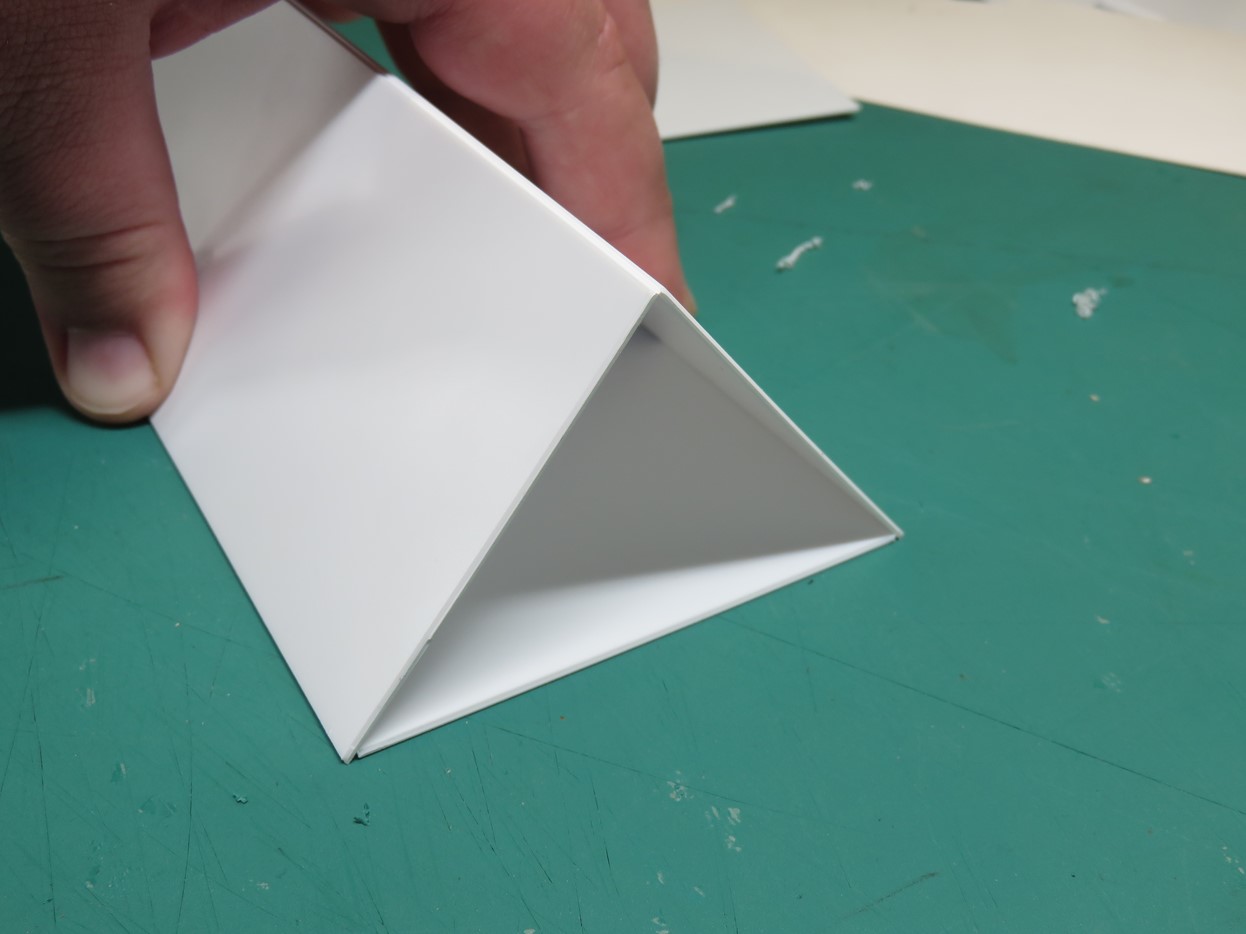
I then folded this section around the bottom of the styrene and I used a bunch of glue to fuse everything together. This frame was really sturdy once it had dried and I felt more confident with this design taking the weight and angle of the model.
To further fuse the styrene together I brushed on a large amount of Mr Cement SP into the joints. This might have been overdoing it, but I’d rather be safe than come home and find out that my stand gave out and my model had crashed on the floor.
Once I had the middle of the stands marked I glued the frames to the middle section with Mr Cement. Again to further fuse the styrene I applied more Mr Cement SP. Once everything had dried I test-fitted the model onto the stand. It looked really great, especially with that one side elevated, and the stand proved to be even stronger than I had expected.
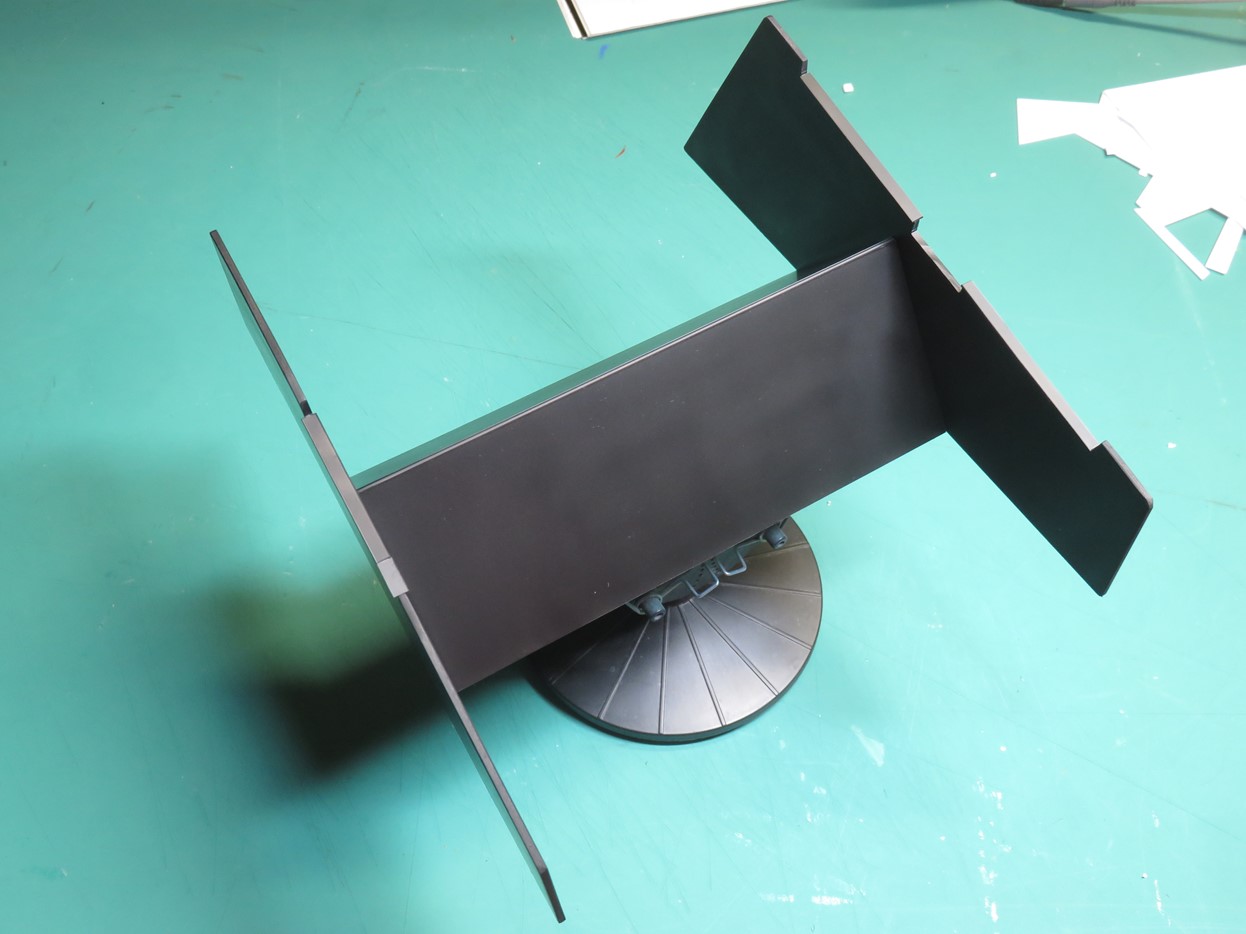
To hold my display stand for priming and painting, I taped it to my Tamiya Spray Work Painting Stand. This painting stand was an excellent handhold while I primed the display stand with a good coating of Mr. Finishing Surfacer 1500 Black.
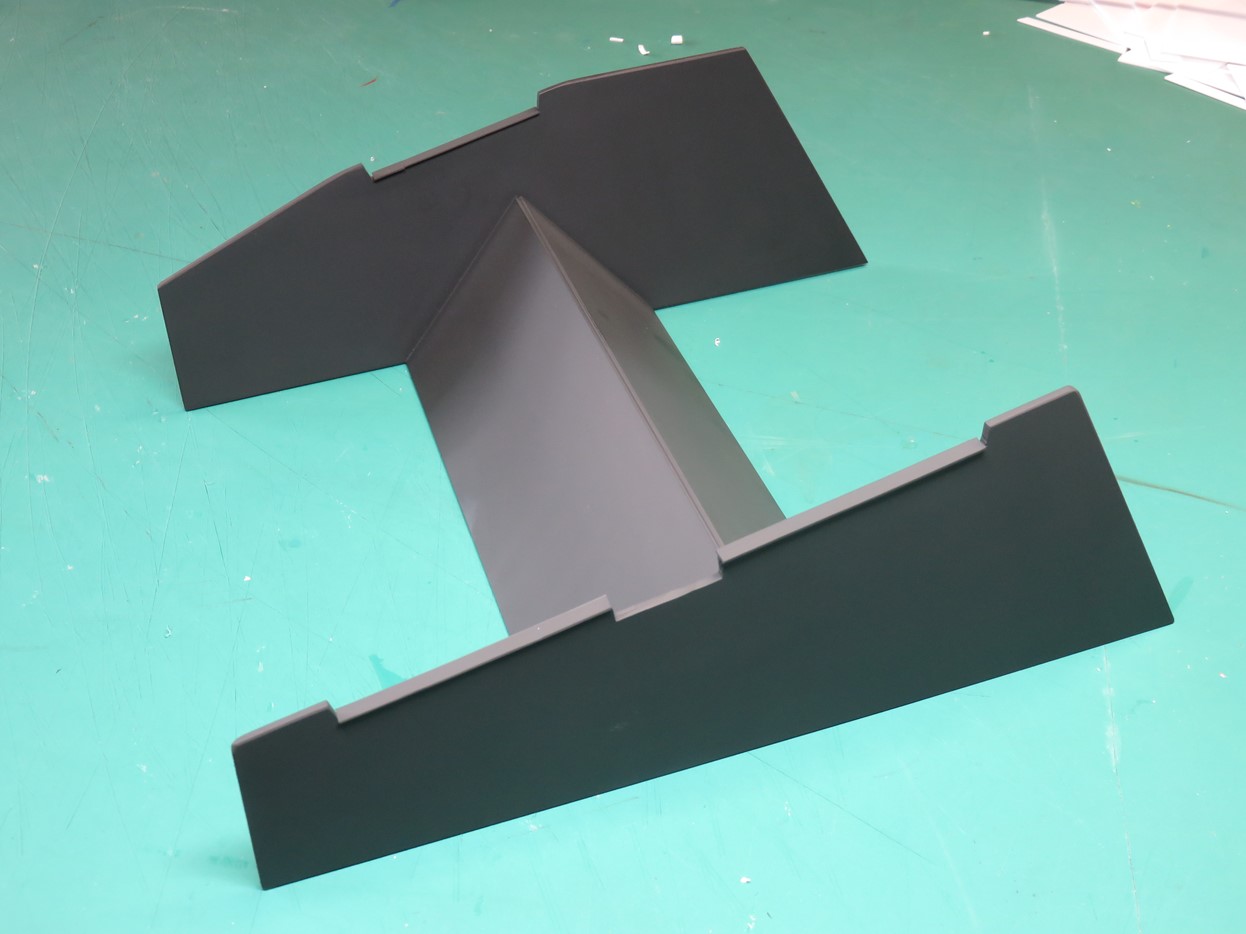
After the primer had dried I painted the stand with Tamiya XF-69 NATO Black. I could have left the stand the same black from the primer, but I’ve found from past projects that NATO Black is a less harsh color and the model becomes more of the focus instead of your eye being drawn to looking at the stand.
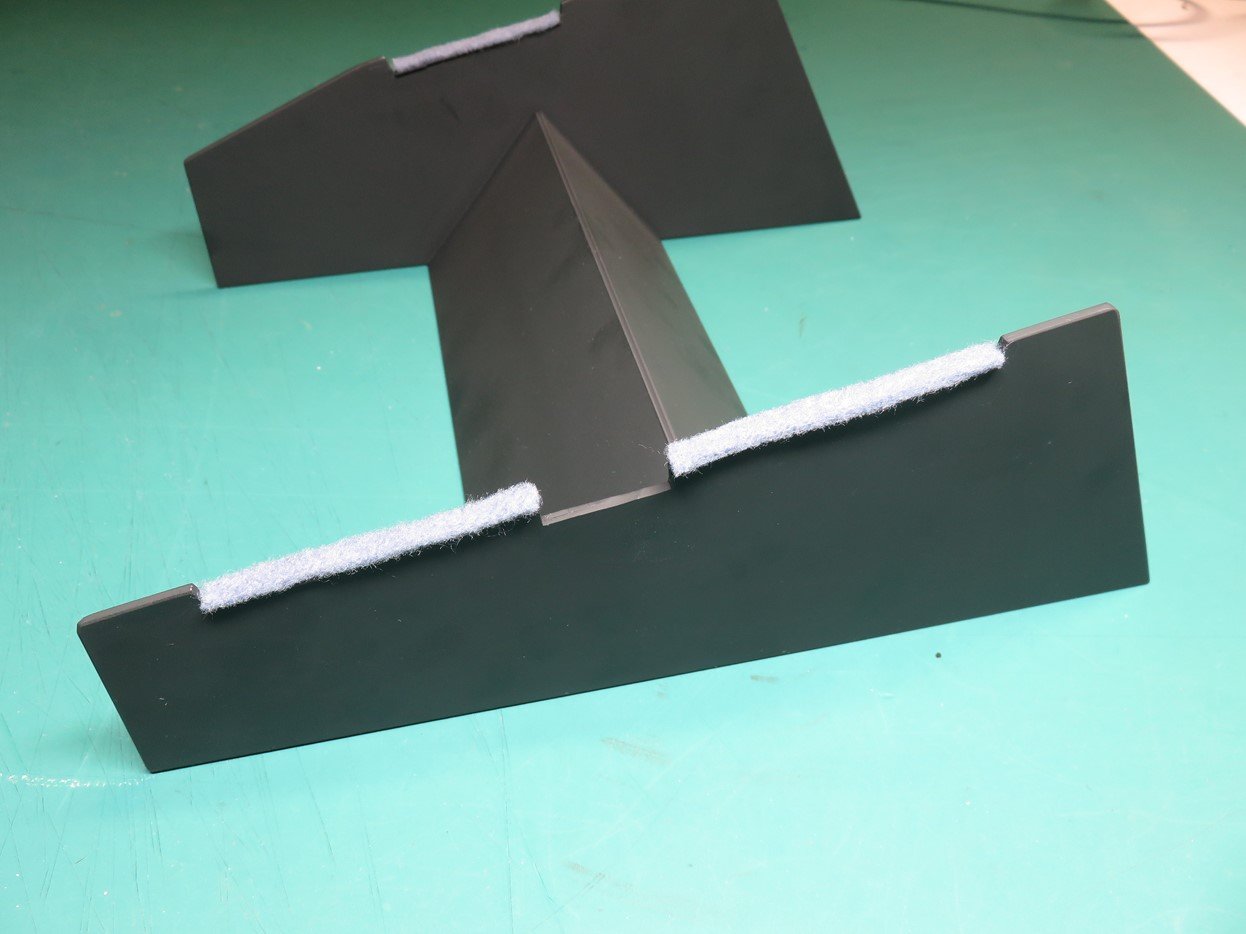
Lastly, I added some felt to the edge of the stand, this would hopefully prevent the Stellar Envoy from getting scratched.
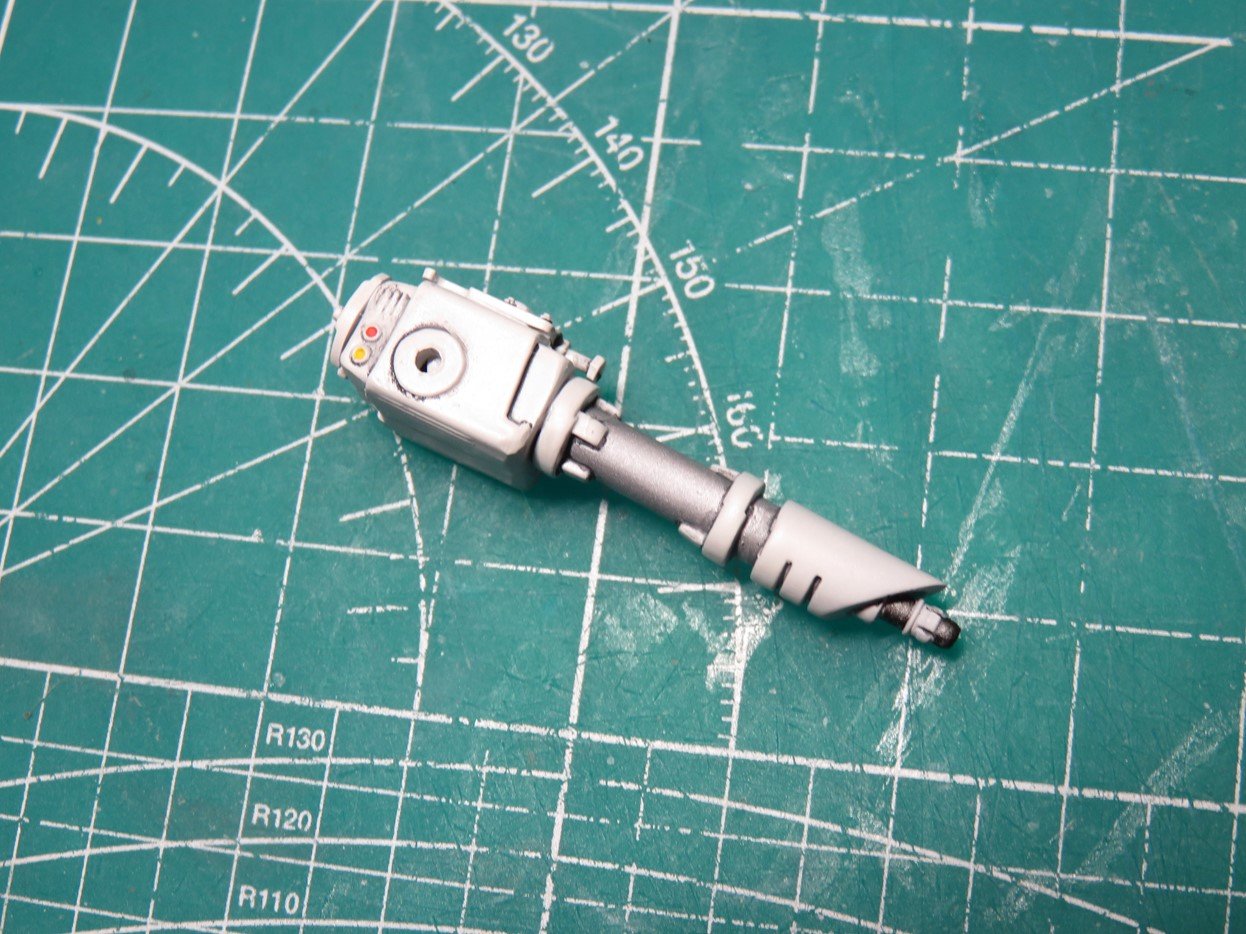
Now that the stand is completed I can add on the cannons that I built earlier without damaging the one that will go on the underside. I painted the barrel with Tamiya LP-11 Silver, and then I painted the rest with Mr. Color 316 Insignia White.
Before I installed the cannons I removed the masking from the gun turret windows. No paint bled through which was a relief, and the Tamiya X-19 Smoke I sprayed to the inside of the clear parts has done a wonderful job at hiding the very exposed interior.
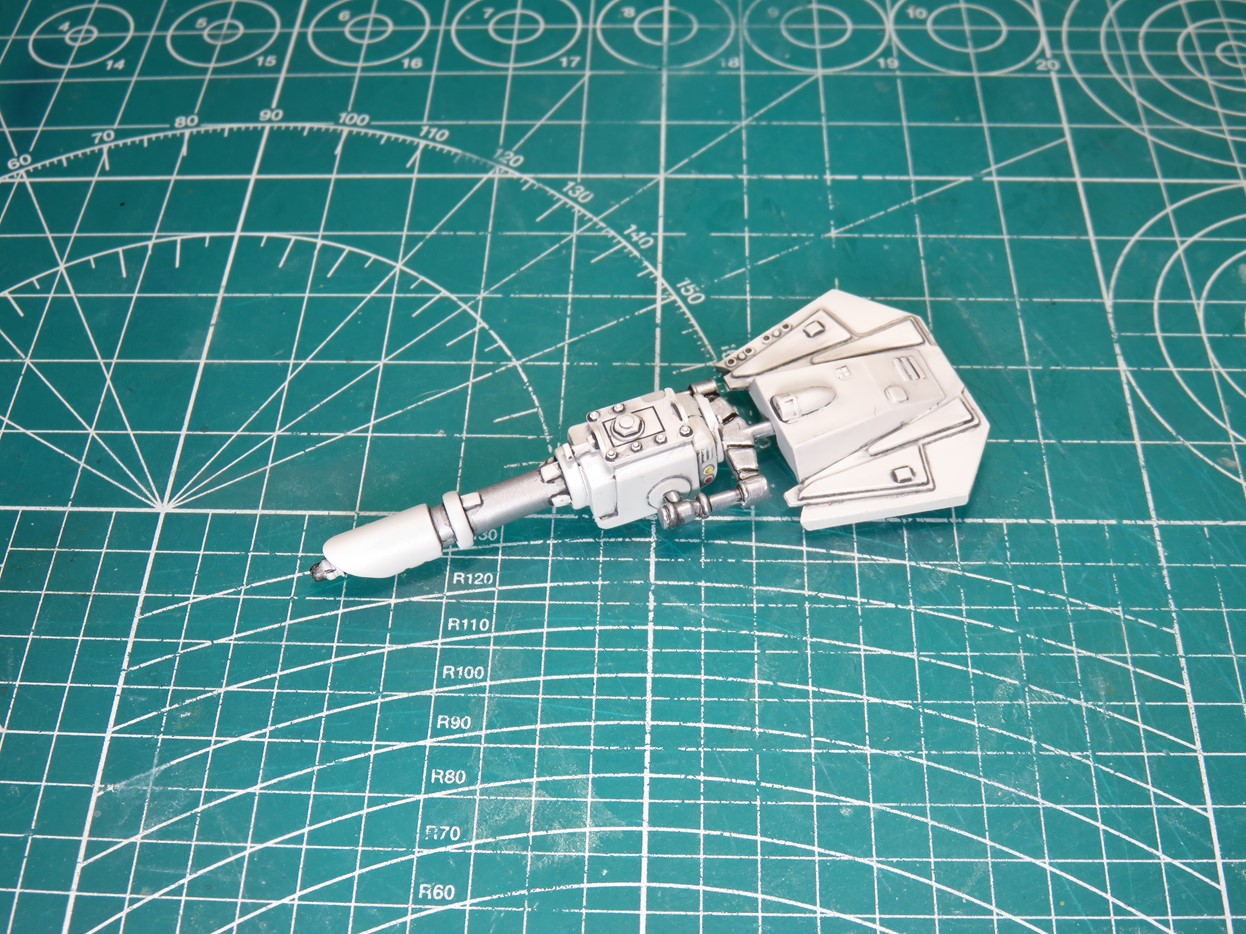
I then glued the cannon to the mounting bracket and mantel. These are posable parts, but I preferred that these parts would be glued in place.
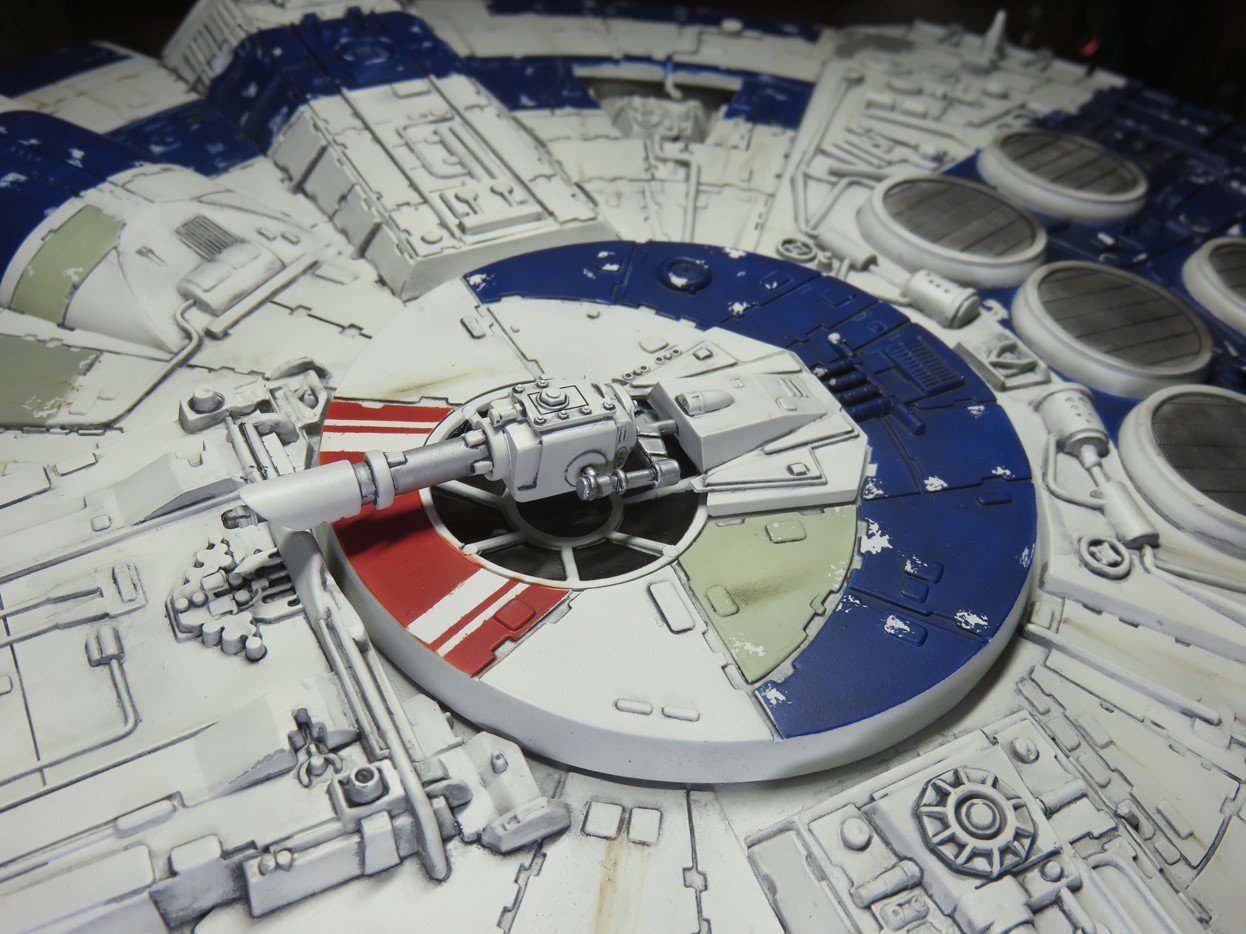
The mount was then glued to the hull with some BSI Cyanoacrylate CA Super Glue.
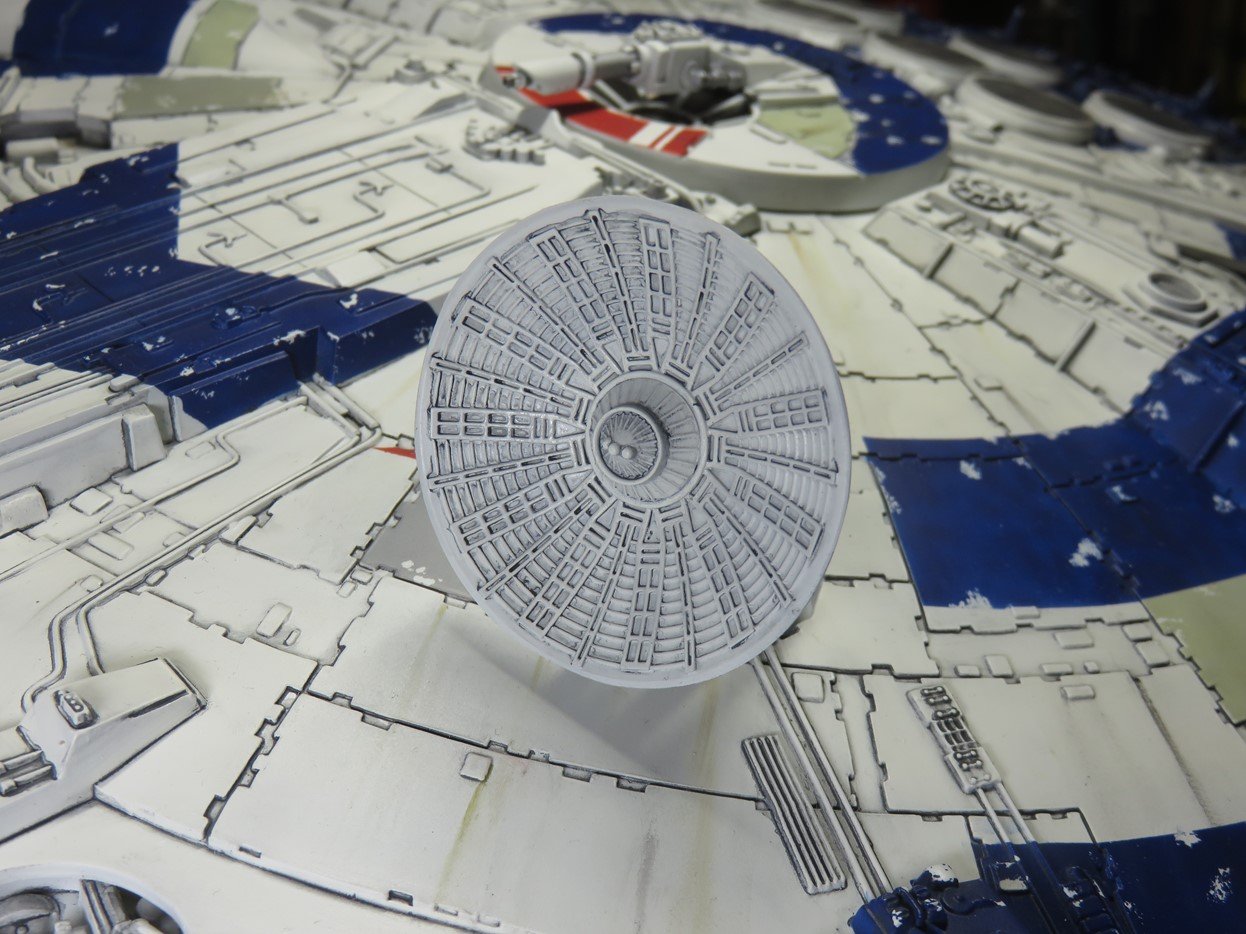
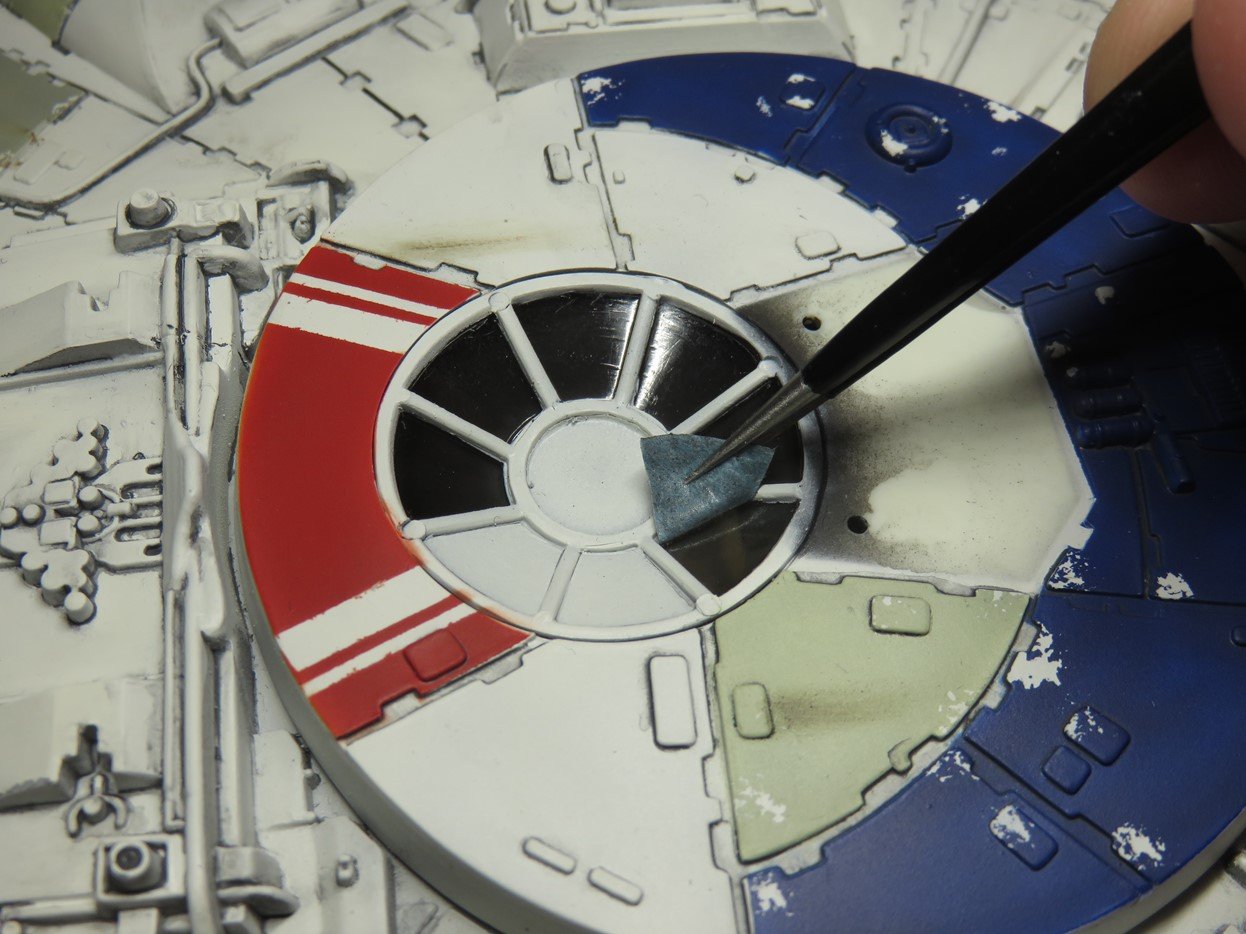
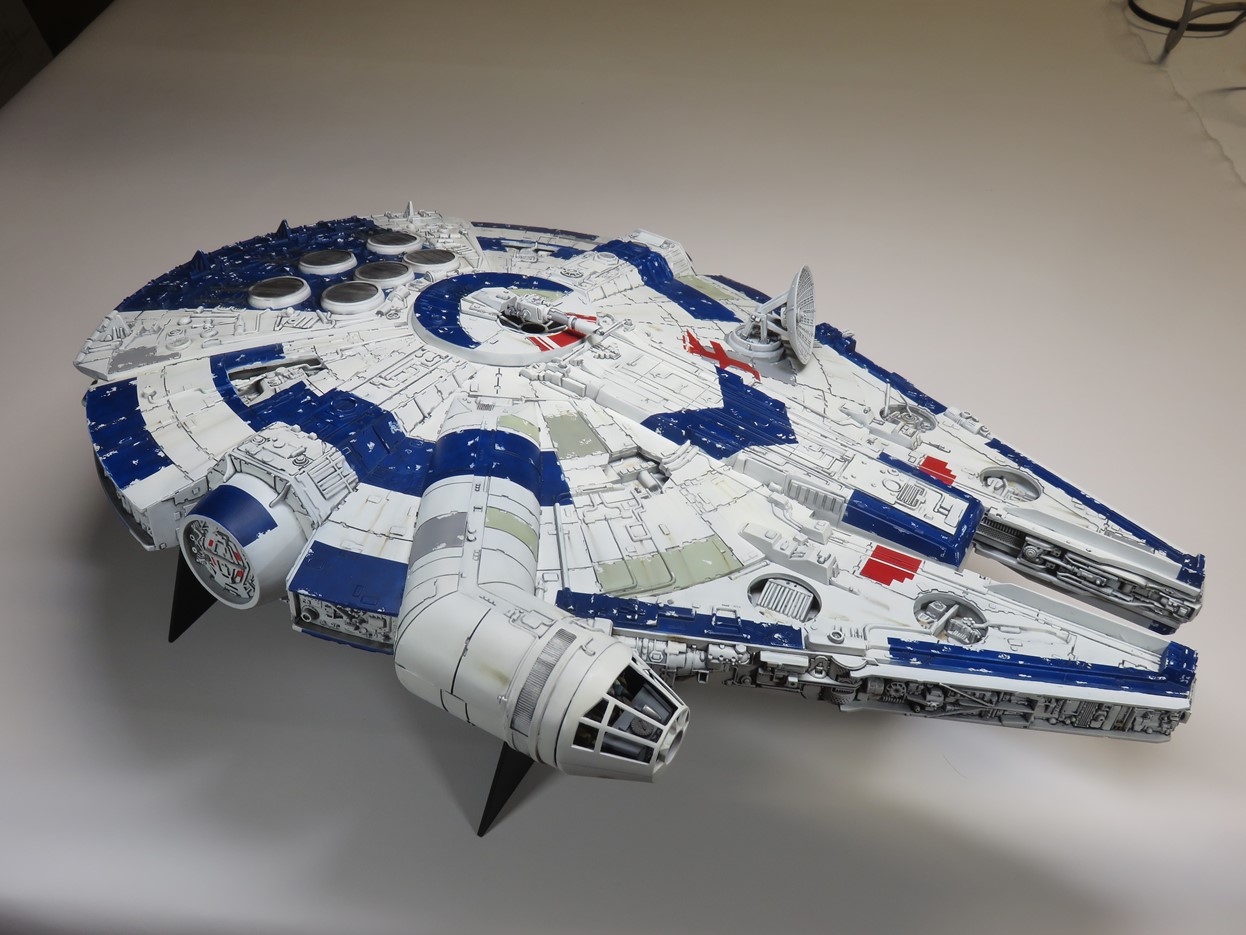
And now for the final piece, the dish was glued into place and just like that, this project is completed!

And WOW! Seeing this model completed is a bit of a surreal experience. It feels like it was just a month ago that I was starting this project, and now I just get to stand back and look at it completed.
I will admit there is a small part of me that at times wished I had just built the Millennium Falcon, but seeing the Stellar Envoy completed like this, with all of those hours poured into painting and modifying the parts, it was all worth it.
Are there drawbacks to building this kit?
Yes, but they are incredibly minor. The biggest hurdle you are going to face with this kit is sanding down all of the parts. But that’s simply because it’s a vintage kit, it’s to be expected to some extent, and although the sanding was a long process it never really left me un-amused to continue working on this project.
I know that with the modern Millennium Falcon kits from Fine Molds and Bandai, we’ve become very used to the luxury of modern tooling and precise fits. But this kit still holds its own! And it’s a tremendous amount of fun, that same fun I imagine a lot of you had as a child you can recreate building this kit.
I have a large collection of Bandai and Fine Molds Star Wars kits and as great as they are I can never turn away from the vintage nostalgia of the MPC or AMT model kits, they are just so much fun. They are simply so rewarding to build that it’s almost difficult to explain until you’ve built one for yourself.
And I can tell you this with all honesty I’m really going to treasure this model. This is a special model, and I just kept getting caught up in all of the fun, over, and over again.
Even after all of these months working on it and being ready to clean up my desk and start a new project, I’m actually a bit sad that I’ve completed it as I don’t want to leave the fun I was having.

The Millennium Falcon might be the fastest hunk of junk in the galaxy, but this kit certainly isn’t. The new side walls that MPC designed, and that beautiful extensive decal sheet really make this a kit worth getting. This is a great alternative to the pricey Fine Molds kit and the very expensive Bandai model. And it still holds up to this day, 45 years later.
So if you’ve wanted a 1:72nd scale Millennium Falcon to add to your collection, you just found it.
Jared Demes is a modeler from southern Alberta. He has been building models since he was 4 years old when his Dad first introduced him to the hobby. He has written for several magazines including, Fine Scale Modeler, Scale Aircraft Modeling, Phoenix Scale Models, and others. He has an interest in all modeling subjects, with a focus on WWII Japanese aircraft and Science Fiction.
Jared has won several IPMS awards for his modeling, and currently operates his YouTube channel rebelsatcloudnine, where he showcases model builds and product demonstrations.
First Post: Part 1
Previous Post: Part 11
Completed Images: Part 13