MPC A New Hope Hans Solo Edition
This is the second part of the MPC Star Wars A New Hope Hans Solo Millenium Falcon 1/72 Scale MPC953 build and review.
Kind of hard to believe but this kit is 45 years old, and with the exclusion of the new parts, this kit shows its age. There is a lot of cleanup work to do first before I can move on to building. This is going to be the long haul of cleaning and sanding. During this process, I even managed to slice my finger pretty well on some of the flash. Thankfully it wasn’t fatal, and I can get some serious work done.

I began by removing these huge stubs that connected to the hull section. These stubs were pretty big, so I didn’t want to use my nippers, fearing that they might do more damage than I wanted. So I took my Excel Blade hobby knife and carefully scored around the edge of the Stellar Envoy. I also made a few passes to the underside so that the plastic didn’t tear off the model.
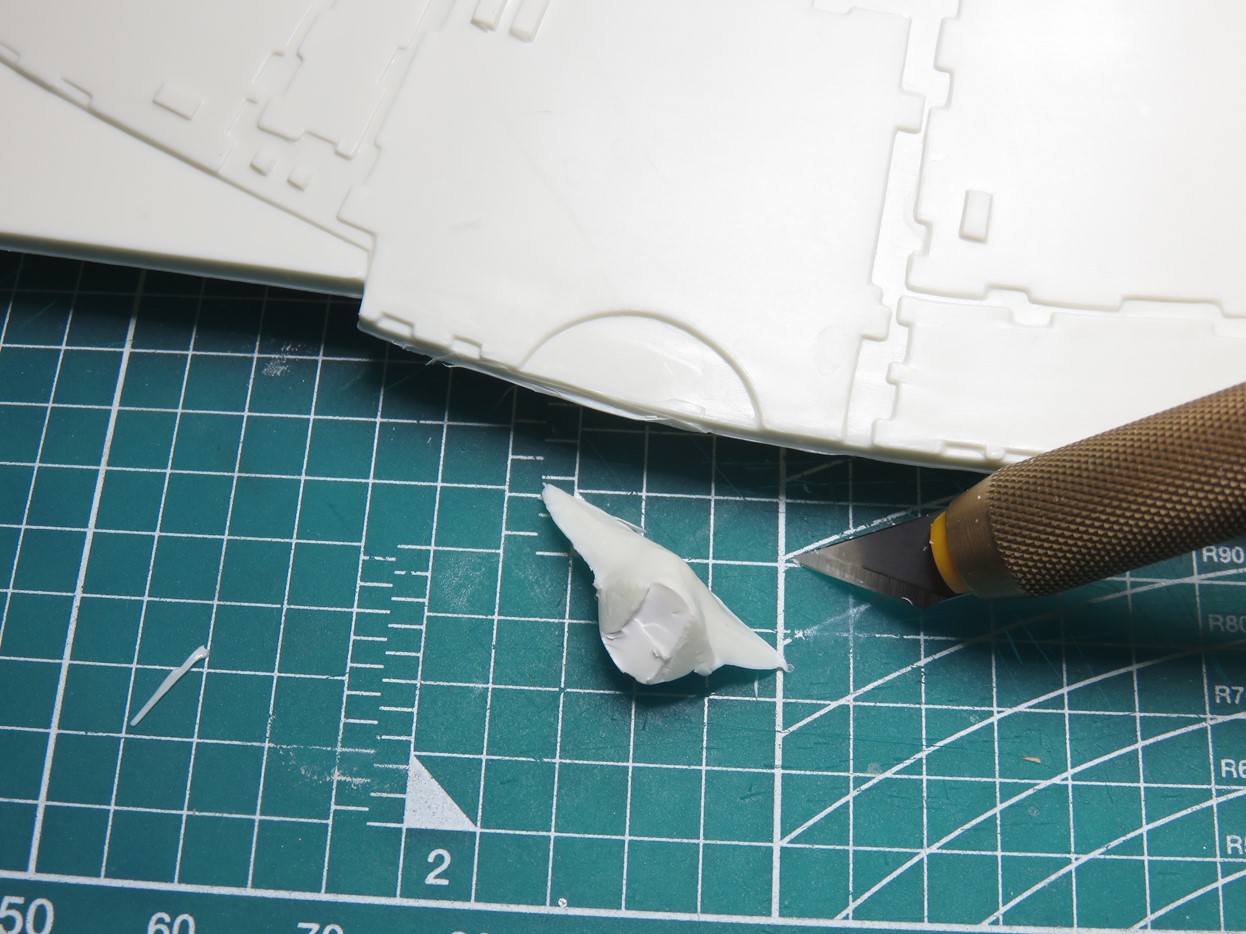
I made a few passes cutting the plastic and quickly the stub was removed. This was a very simple process that I repeated on the rest of the model, and all I now needed to do was sand down the edges.
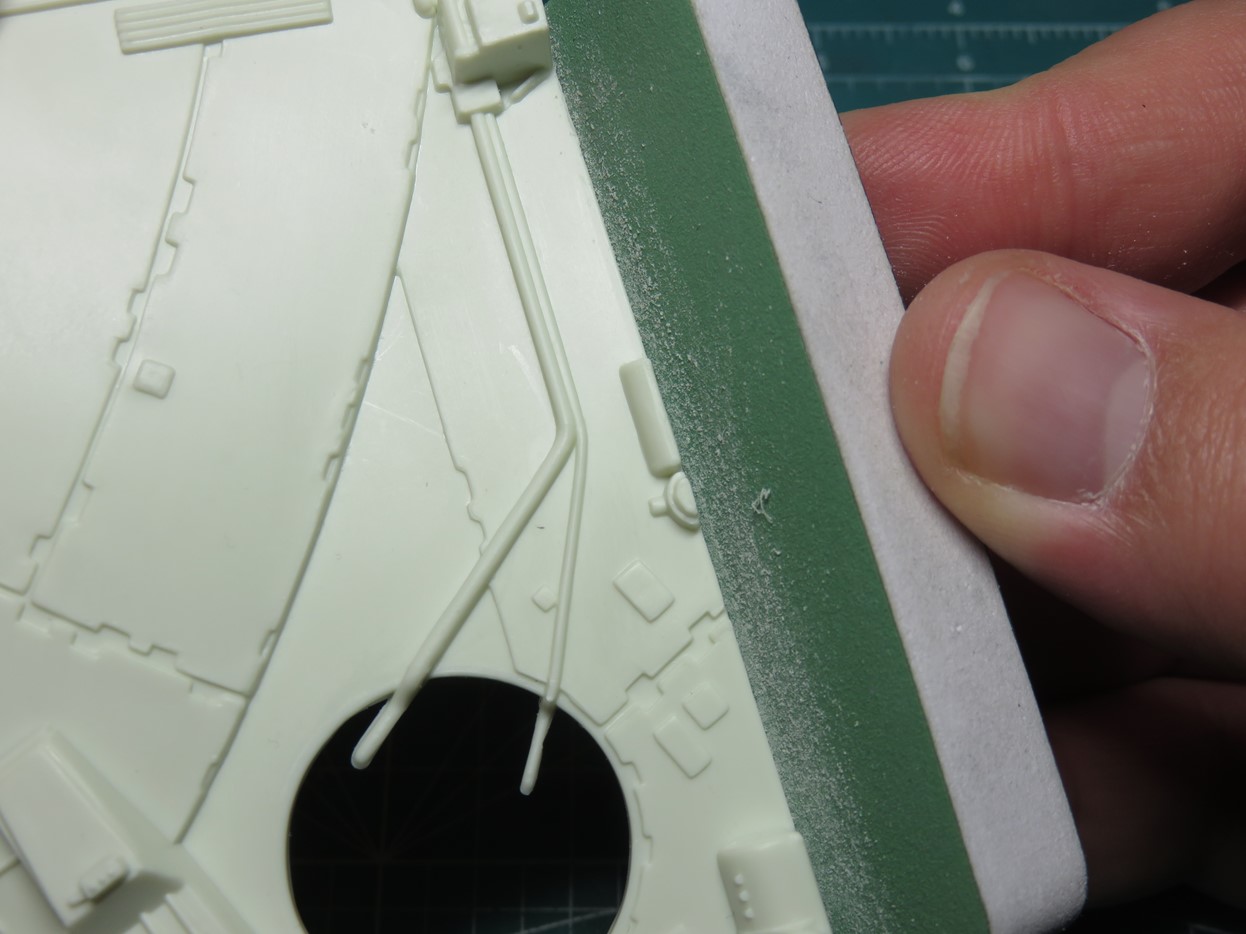
Using my Vallejo Sanding Pads, I slowly sanded around the sharp edges of the kit. This took me a while to do, as I had to sand the top and bottom sections, and some of the areas were difficult to get at. I knew that cleaning these parts was going to be a long chore, but I also knew that once I had this stage completed I was going to have a lot more fun building.
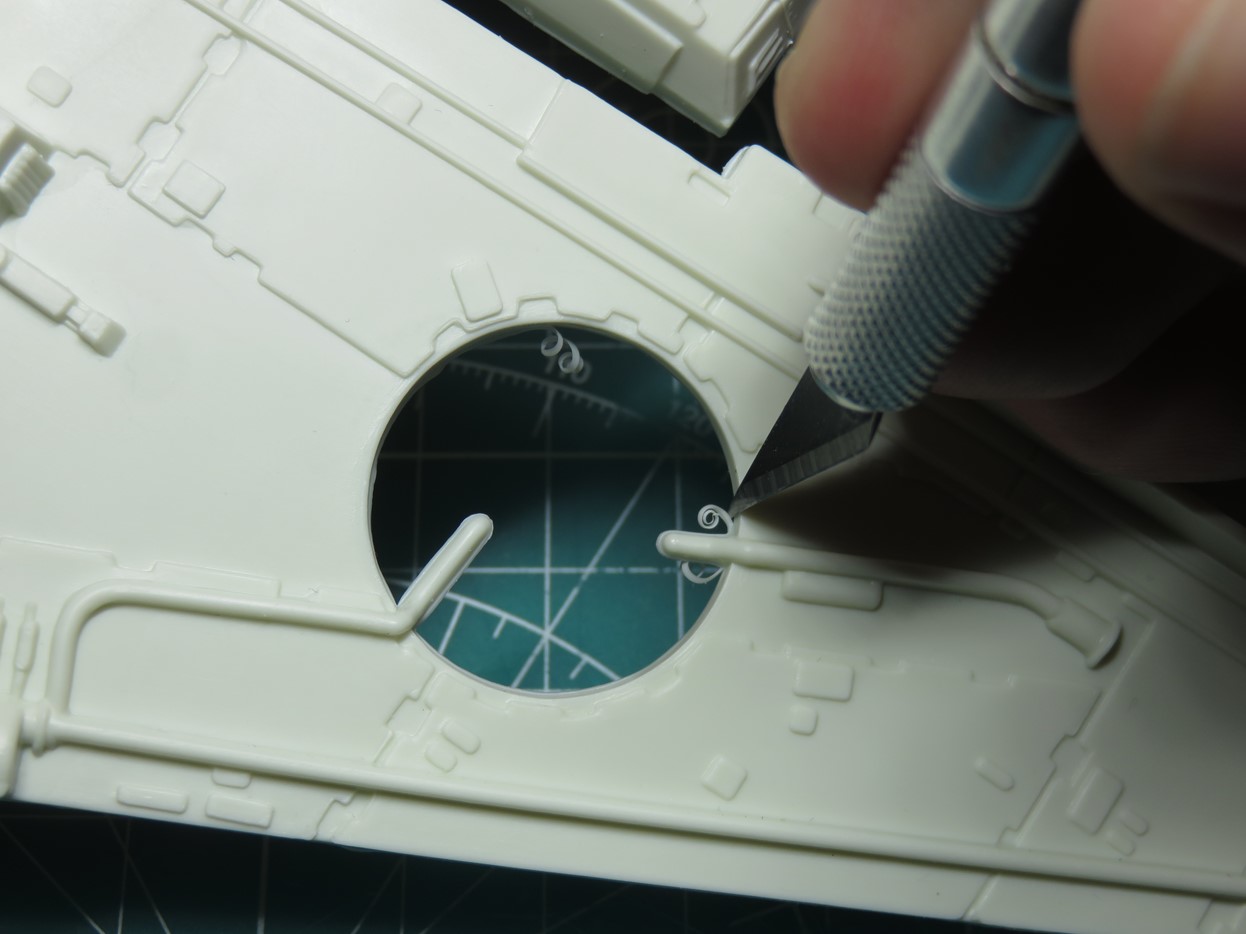
Some of the flash was difficult to remove with the sanding pads, so I took my Excel hobby knife and carefully cut it away from the edges. This stuff made a mess of my desk really fast, so I kept my small vacuum cleaner nearby to try and keep things tidy.
Flash is excess plastic from the molds. When the 2 halves of the model mold are put together and the hot plastic is ejected into these molds, sometimes due to excessive use the molds wear down and plastic gets into the seams. Again, with the age of this kit, I was expecting this.
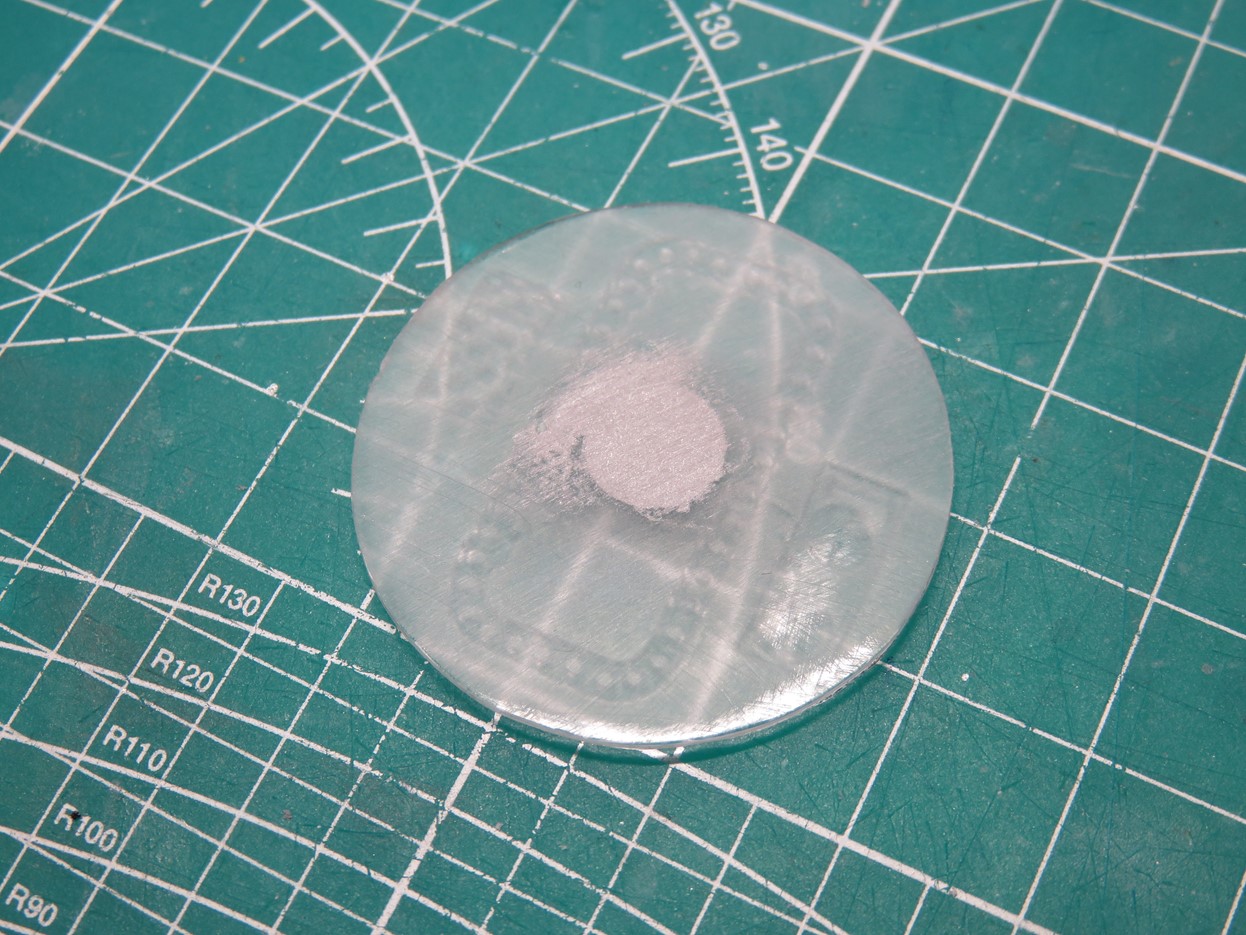
I wanted to use that cool decal for the cockpit bulkhead. Instead of sanding down the detail (at this point I needed a break from sanding) I flipped the part over and filled the hole in with Tamiya Basic Putty.
I then painted this with Mr Hobby Aqueous H12 Flat Black. I’ve had some issues with Tamiya XF-1 Flat Black recently. It seems that they changed the paint and it’s thinner and more delicate than it used to be. So I tried out the Aqueous Flat Black, and I found it to be superior to Tamiya and when I sprayed it on it felt the way Tamiya used to be.
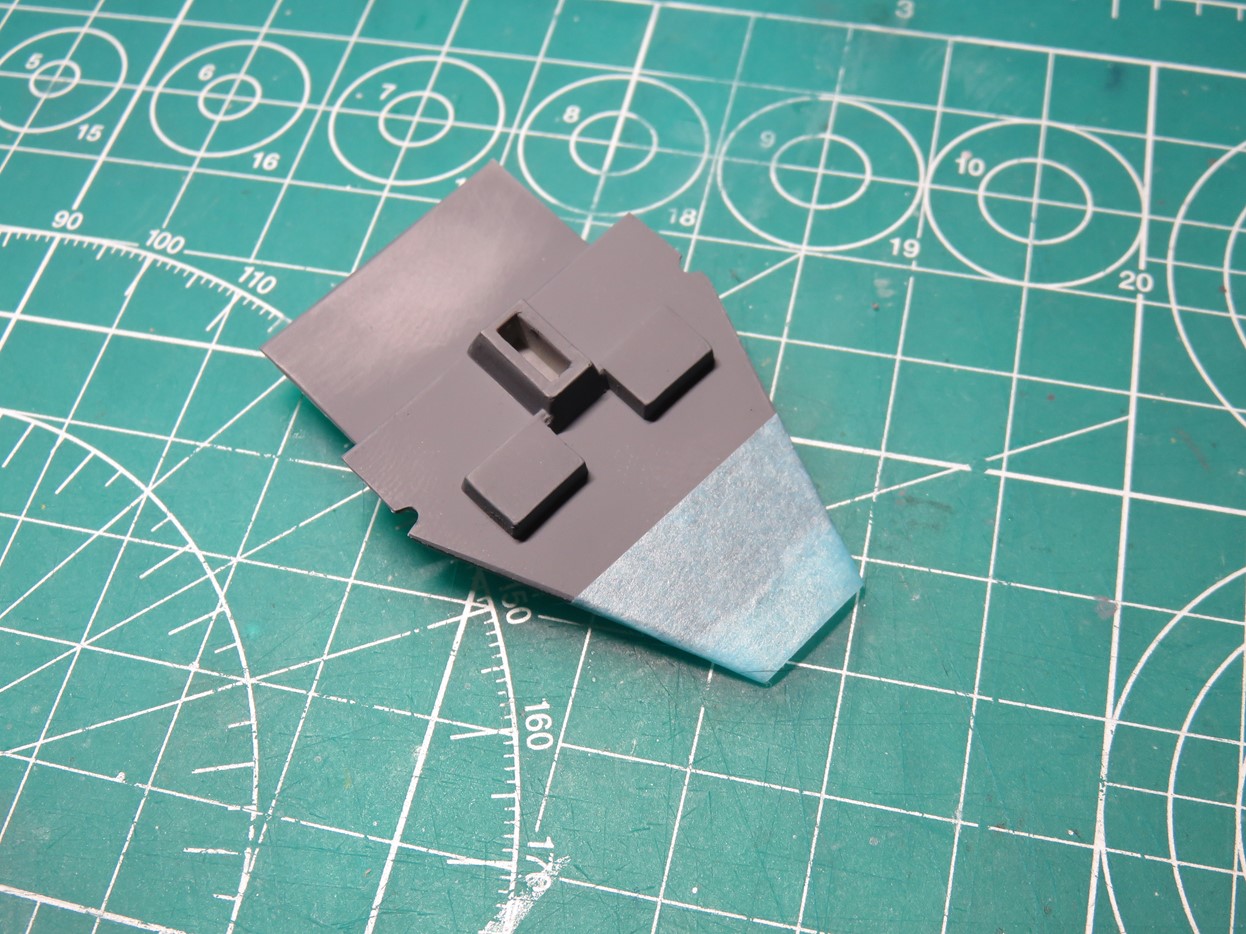
I painted the floor of the cockpit with Tamiya XF-53 Neutral Grey, and when I test fit the part with the cockpit window I noticed that the chairs would be further in the back making it difficult to see the figures. I marked out some tape where I planned to remove the plastic.
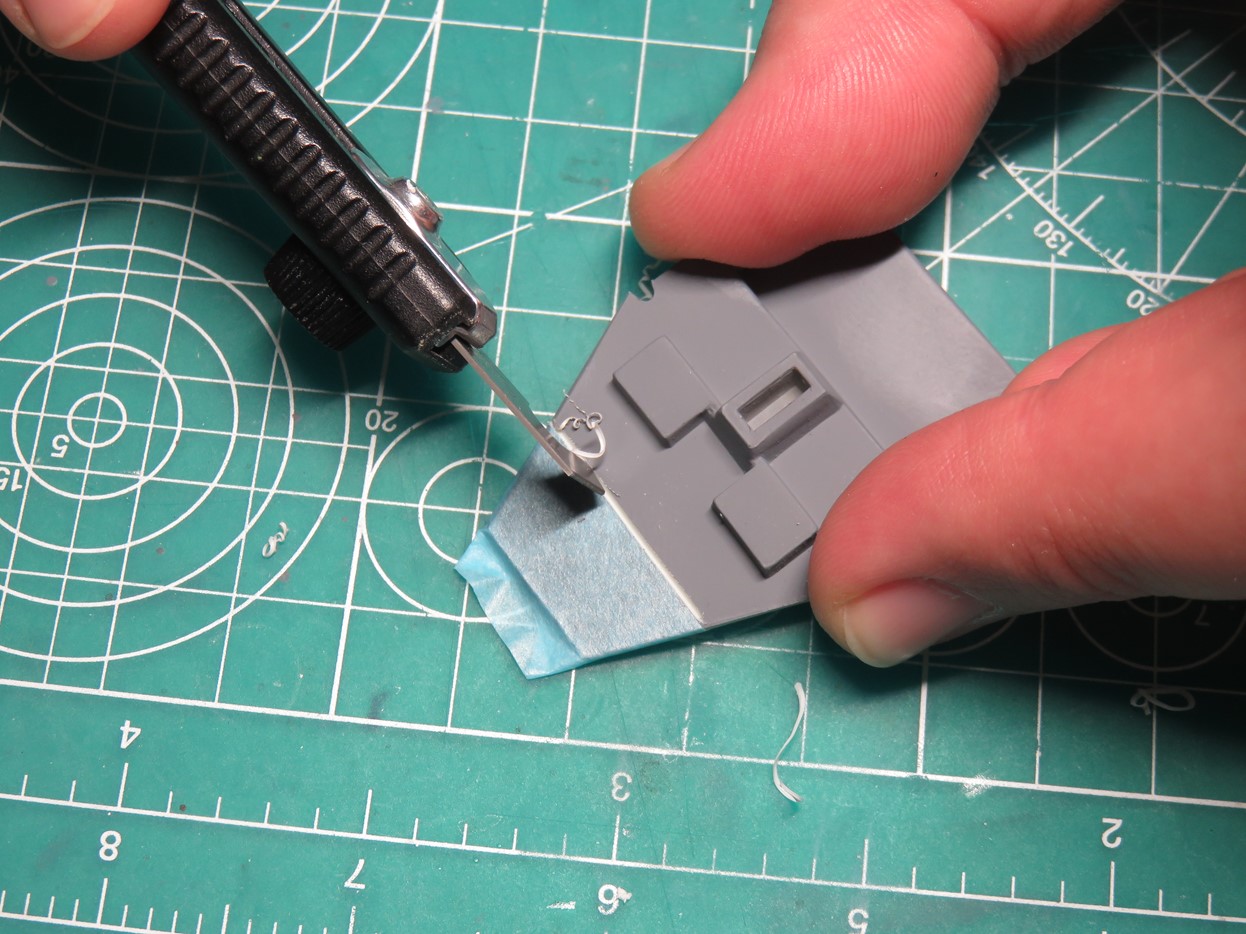
Following along the edge of the tape, I used my Tamiya Scriber tool to score the plastic until it was thin enough to break off from the cockpit platform.
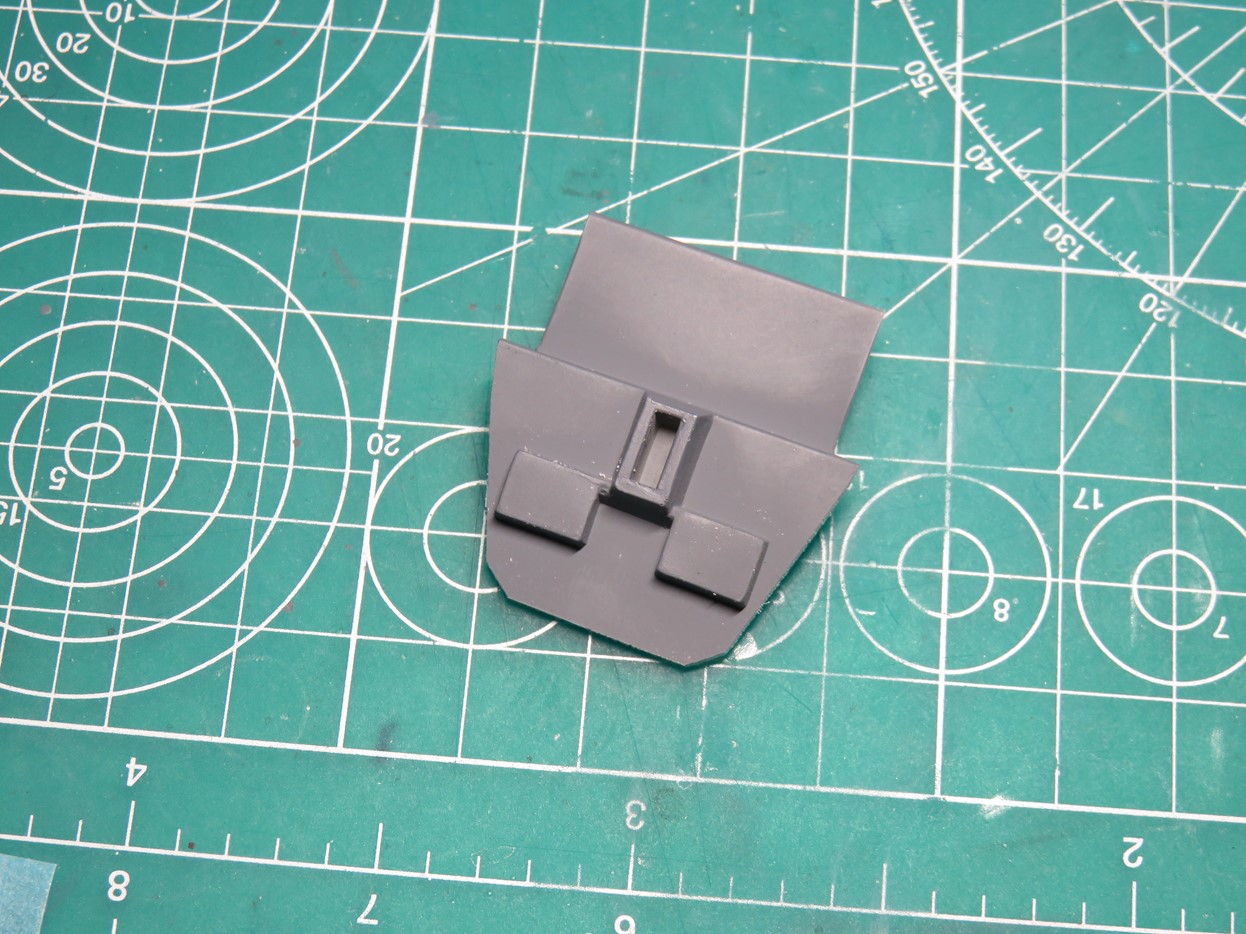
I also had to sand the edges to have a more narrow profile, but this was the end result and it will fit a lot closer to the front, making the model more accurate and allowing the figures to be seen better by the viewer.
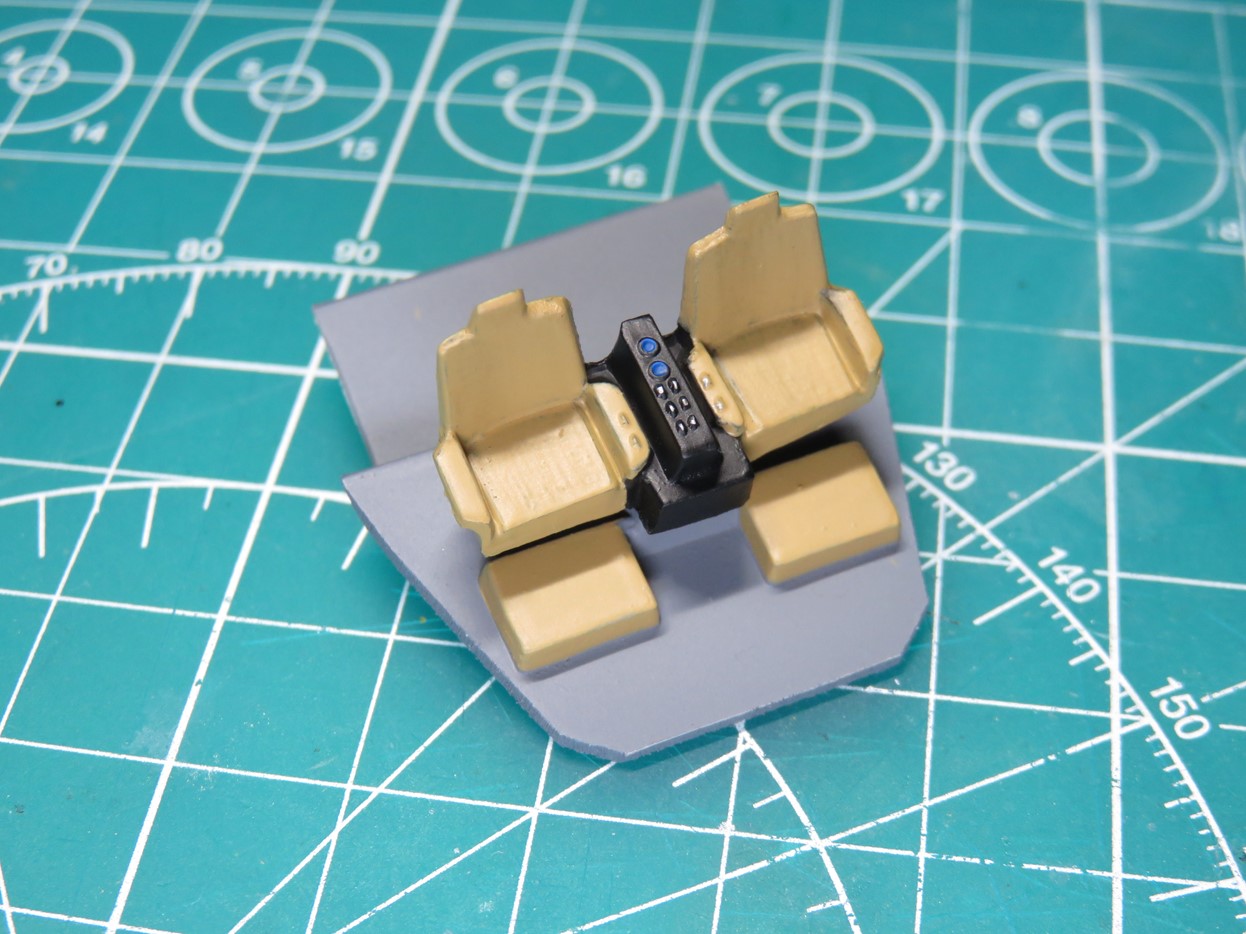
I painted the seats with Tamiya XF-59 Desert Yellow and glued it to the floor. I really like the look of this section and it will greatly improve when I build and add figures to it. One odd thing, is that the forward console was never built for this model, and I find it a bit sad that Round 2 included new figures and parts, but nothing to really detail the cockpit aside from the decal.
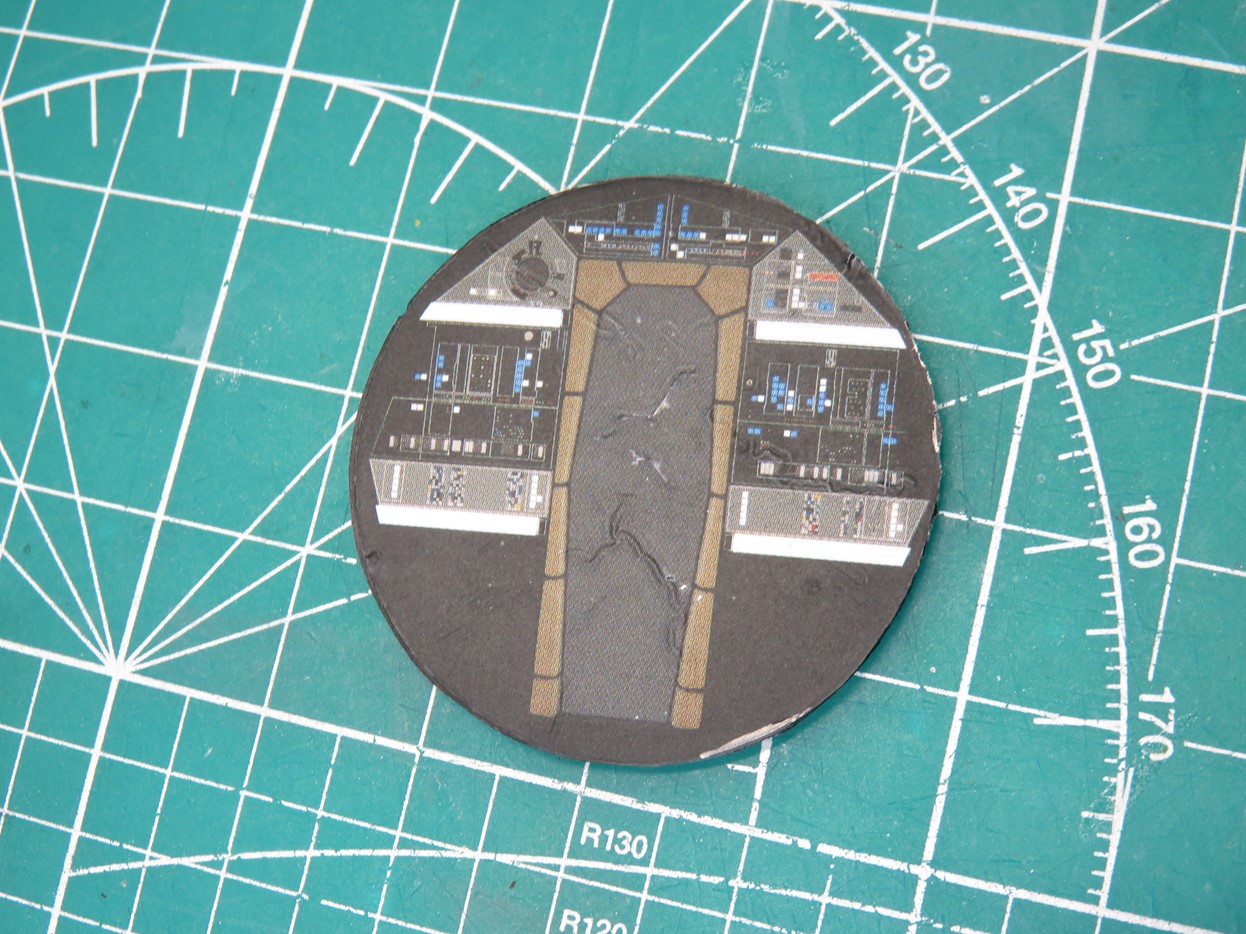
And speaking of the bulkhead decal, this is where I’m really bummed out. Sadly the decal just didn’t react well to the Tamiya Mark Fit Super Strong decal solvent. When I applied the decal I noticed that it was thick, so I thought a more aggressive solvent would help… it did not.
I blame this on myself, I think I was too reliant on the solvents. I managed to get out or shrink most of the wrinkles, and then I gave the part a flat coat of Mr. Hobby Aqueous H-20 Flat Clear. Thankfully this will be in the background and I hope that the figures will cover up most of this.
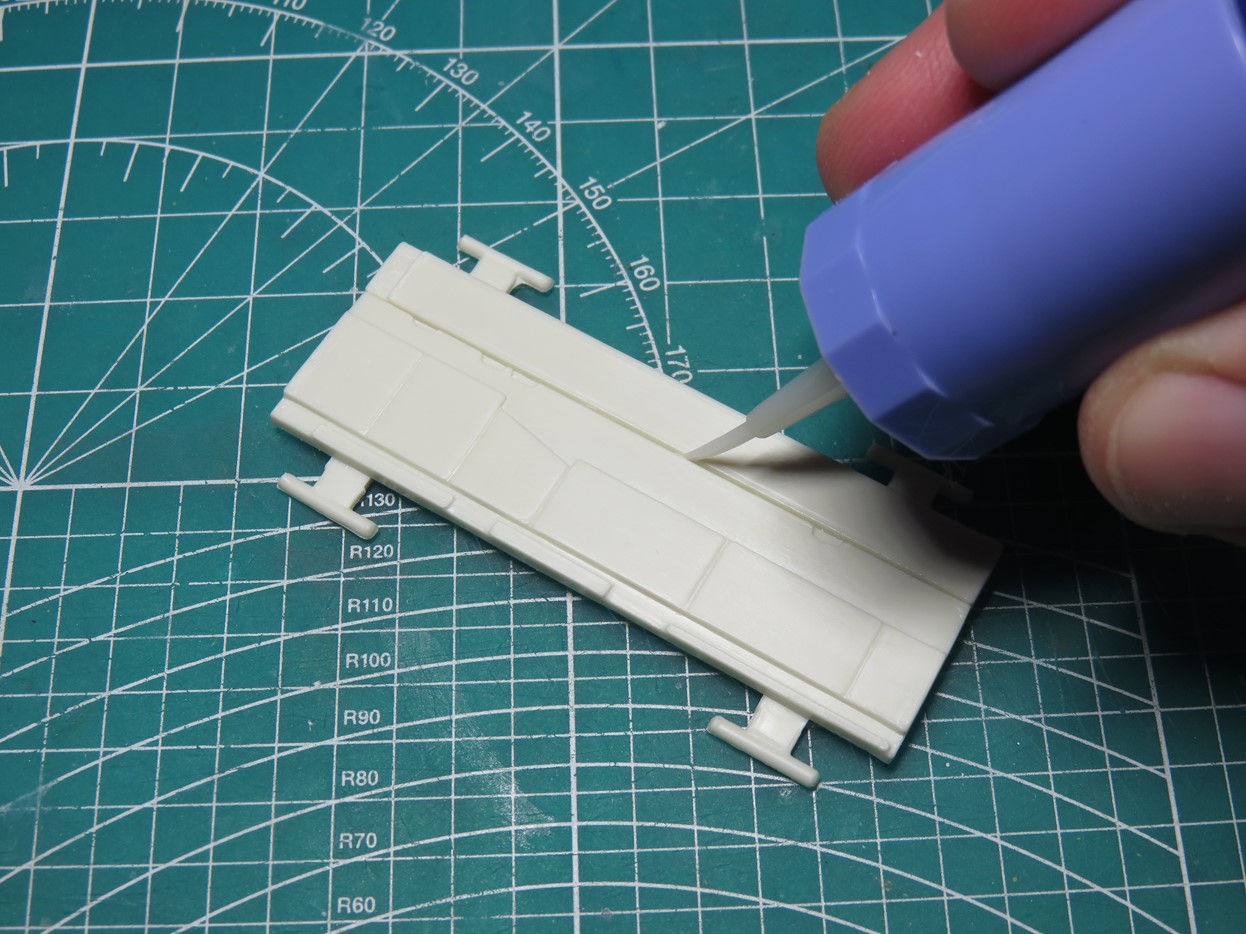
Since I wanted to have the Envoy in flight I glued the doors together using Mr Cement SP, which bonded quickly with this styrene.
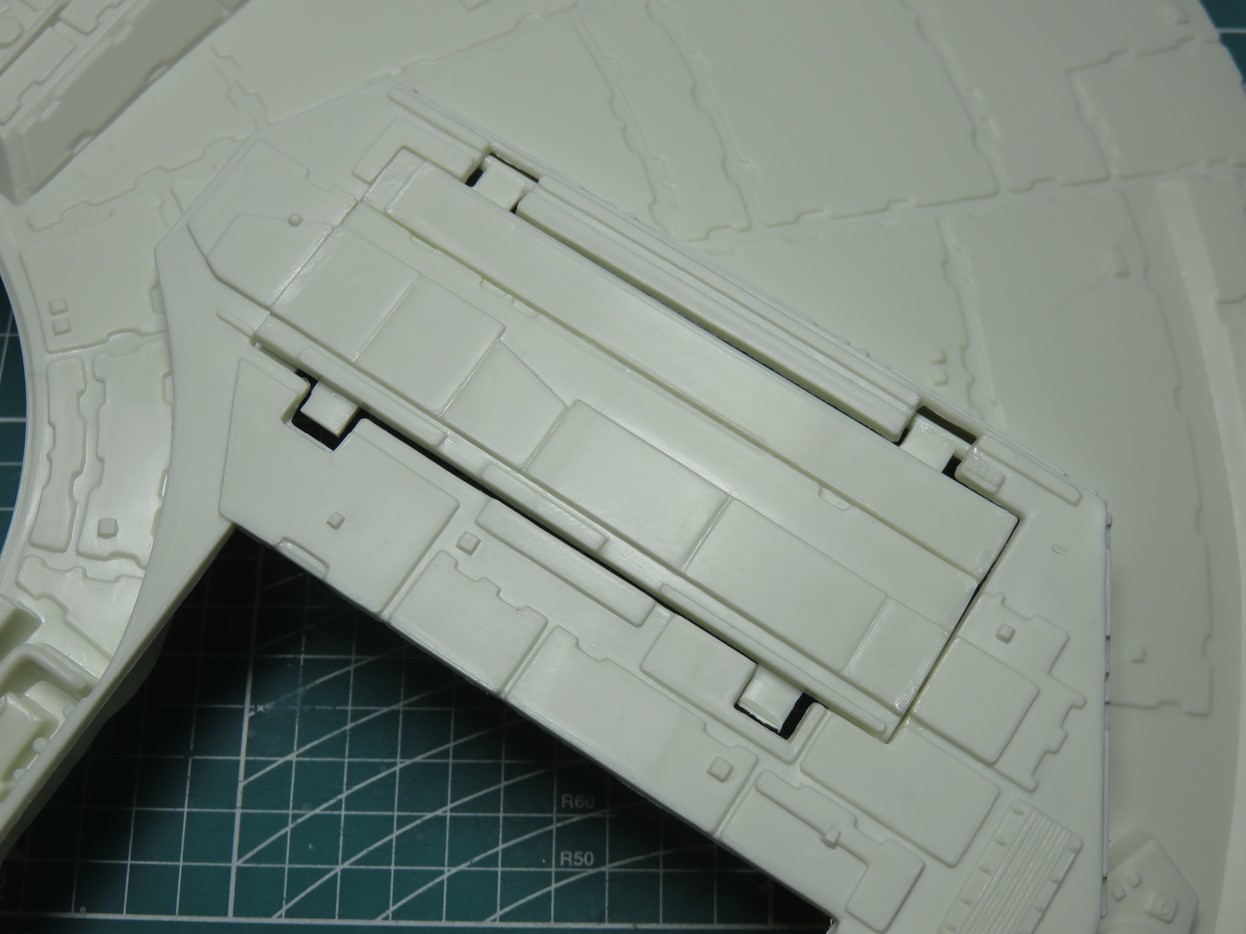
I then glued the closed doors to the model with BSI CA Glue, but as you can see there are large ghastly holes that need to be filled in. I used various thicknesses of Evergreen styrene to plug off the bigger holes.
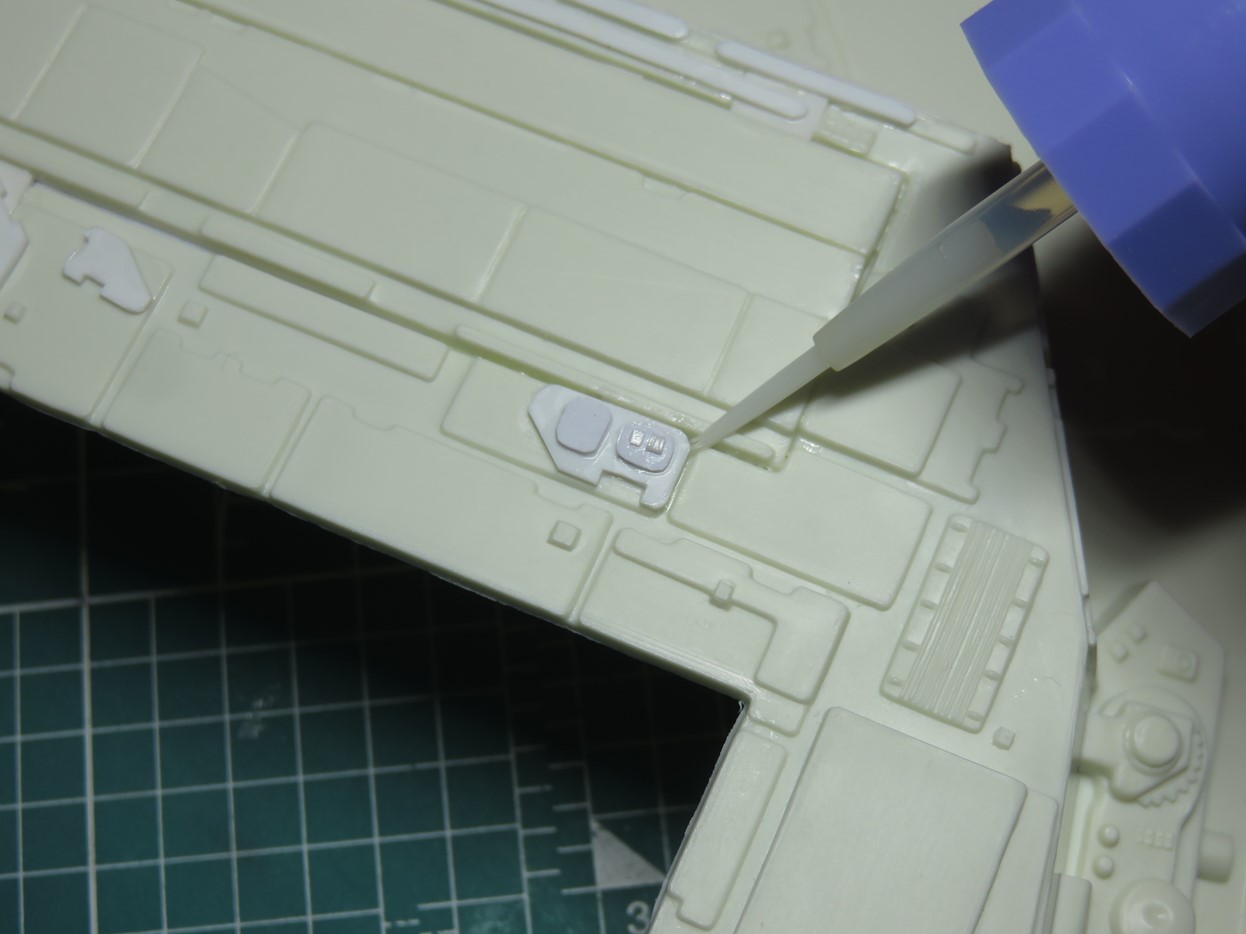
Using 0.20mm Evergreen Styrene, I cut out small panel shapes similar to the ones found around the model. I then glued these panels to the model to hide the preexisting holes.
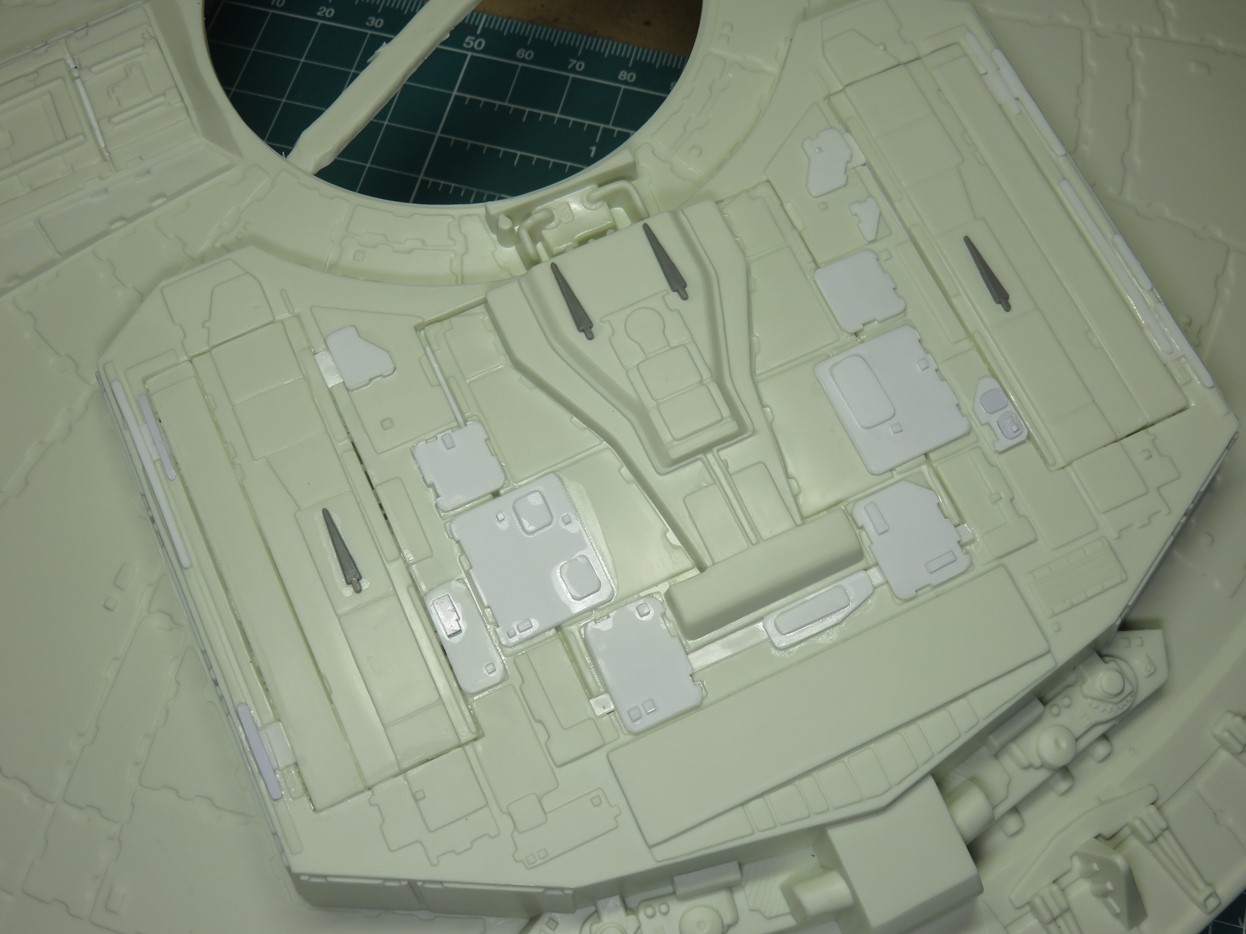
And this is the end result. The middle section was the hardest to fill in. This is the battery cover, and there were some major gaps to fill in. But I think that this looks great, and I had a lot of fun cutting out, shaping, and gluing these panels to the underside.
It looks like a bit of a mess at the moment, but I think it will look a lot more impressive once the parts have been primed. The darker grey parts were from my spares box. I can’t recall exactly what kit they were from, but I thought that these antenna were a nice looking detail.
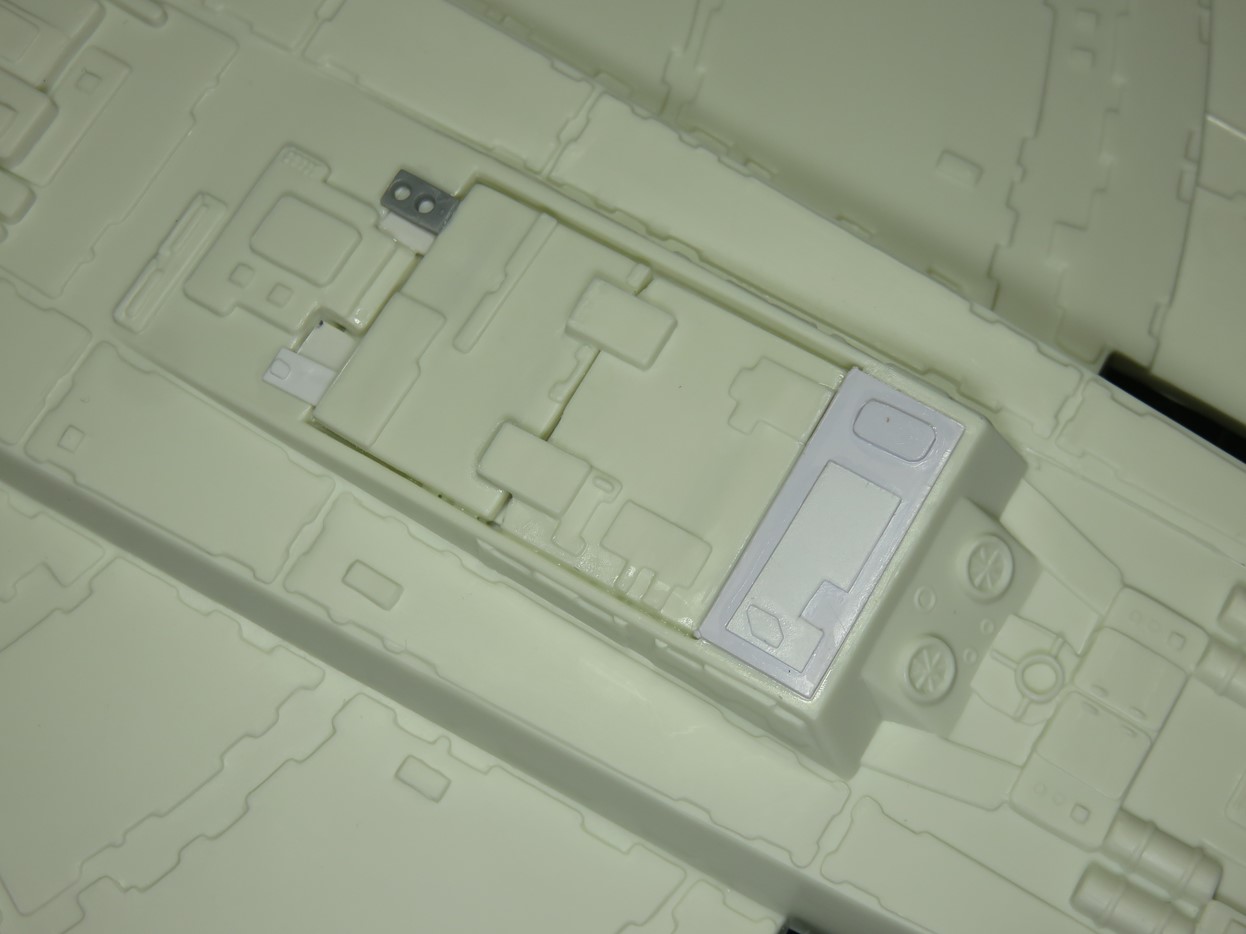
Here are the details that I added to the front of the landing gear. Not nearly as extensive as the rear of the ship, but again I had fun creating these pieces.
And that will do it for this week. Next week I’m excited to start working on the turrets, and perhaps I can get some priming done.
The sanding took a lot more of my time than I had expected. However, I was expecting to do some clean up work given the age of this kit. Once you get past that sanding stage this kit becomes a lot of fun!
I haven’t built one of these older Star Wars kits in a few years now, and I can honestly state that these kits still are a blast to build, and I can’t wait to fill you in on what I’ve been working on next!
To be continued…
Jared Demes is a modeler from southern Alberta. He has been building models since he was 4 years old when his Dad first introduced him to the hobby. He has written for several magazines including, Fine Scale Modeler, Scale Aircraft Modeling, Phoenix Scale Models, and others. He has an interest in all modeling subjects, with a focus on WWII Japanese aircraft and Science Fiction.
Jared has won several IPMS awards for his modeling, and currently operates his YouTube channel rebelsatcloudnine, where he showcases model builds and product demonstrations.
Next Post: Part 3
First Post: Part 1
