
A Detailed Comparative Exploration of Light Box Photography Versus Professional Photography Lighting
In the expansive world of photography, lighting stands out as an essential element that dramatically influences an image’s composition, mood, and perceived quality. How light interacts with a subject can make or break a photograph. Photographers often choose between two prominent lighting methods: light box photography and professional lighting setups.
Each method possesses unique qualities, making it suitable for different photography styles and requirements. This comprehensive analysis delves into the fundamental characteristics of both approaches, highlighting their respective benefits and drawbacks.
Light Box Photography
Advantages:
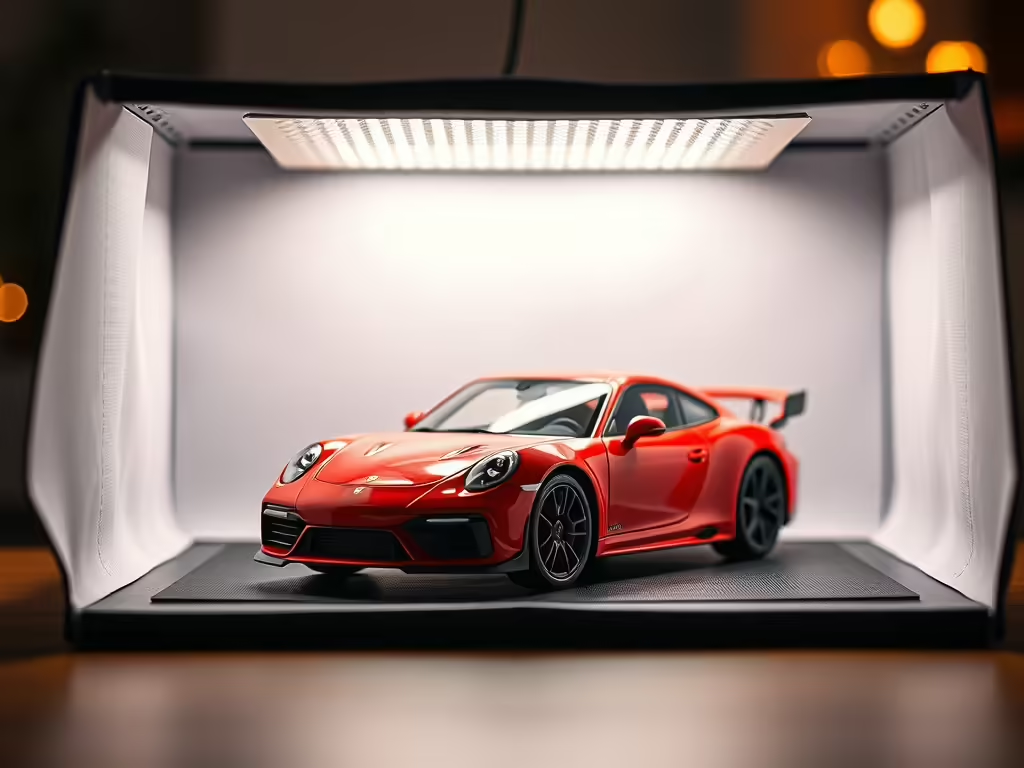
- User-Friendly Design: Light Boxes are often constructed with simplicity in mind. They usually feature a compact, enclosed space with translucent sides that diffuse the light produced by built-in LEDs or external light sources. This setup creates a consistent and controlled environment that allows even amateur photographers to achieve pleasing results without extensive knowledge of lighting techniques.
- Consistent and Uniform Lighting: The notable benefit of using a light box is the even illumination it provides. The soft light distributed across the subject minimizes shadows and highlights, allowing for true-to-life colour representation and detail visibility. This consistency is especially advantageous for photographing small, intricate items like jewelry, electronics, or food, where clarity and detail are vital.
- Portability and Ease of Setup: Light Boxes are generally designed for convenience. Many models are lightweight and foldable, making them easily transported to various locations, whether outdoor shoots, trade shows, or temporary setups in a client’s space. Additionally, their straightforward setup often requires minimal time and effort, allowing photographers to begin shooting almost immediately.
- Cost-Effective Solution: For budding photographers, small business owners, or hobbyists, present an affordable lighting solution. The lower price point compared to professional equipment makes light boxes accessible, providing a means to enhance product photography without a significant investment.
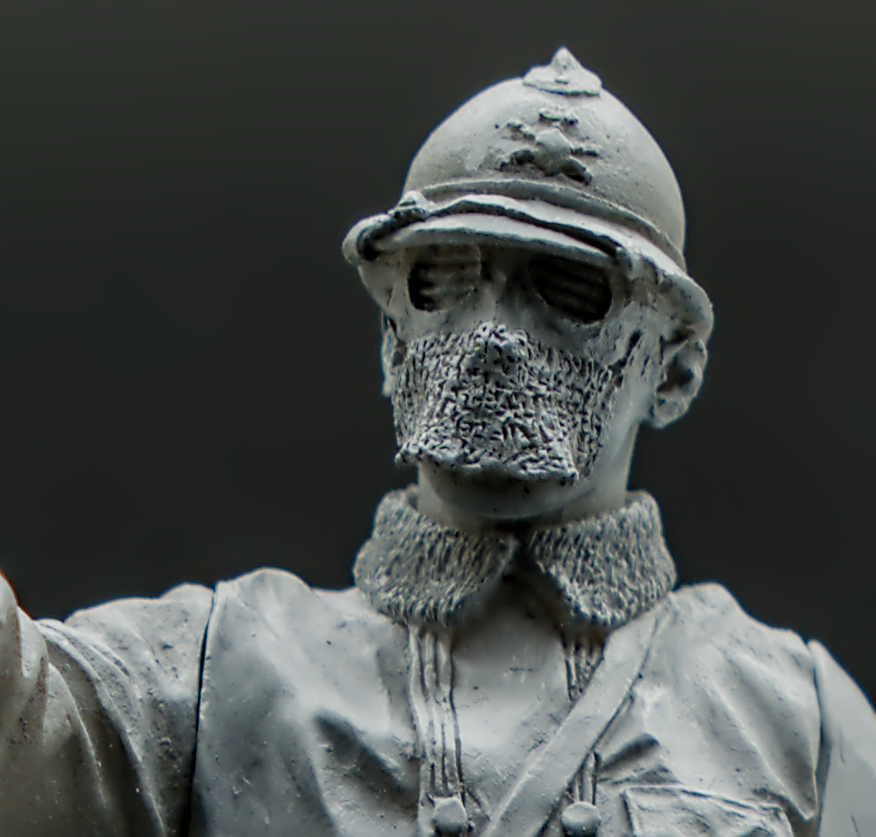
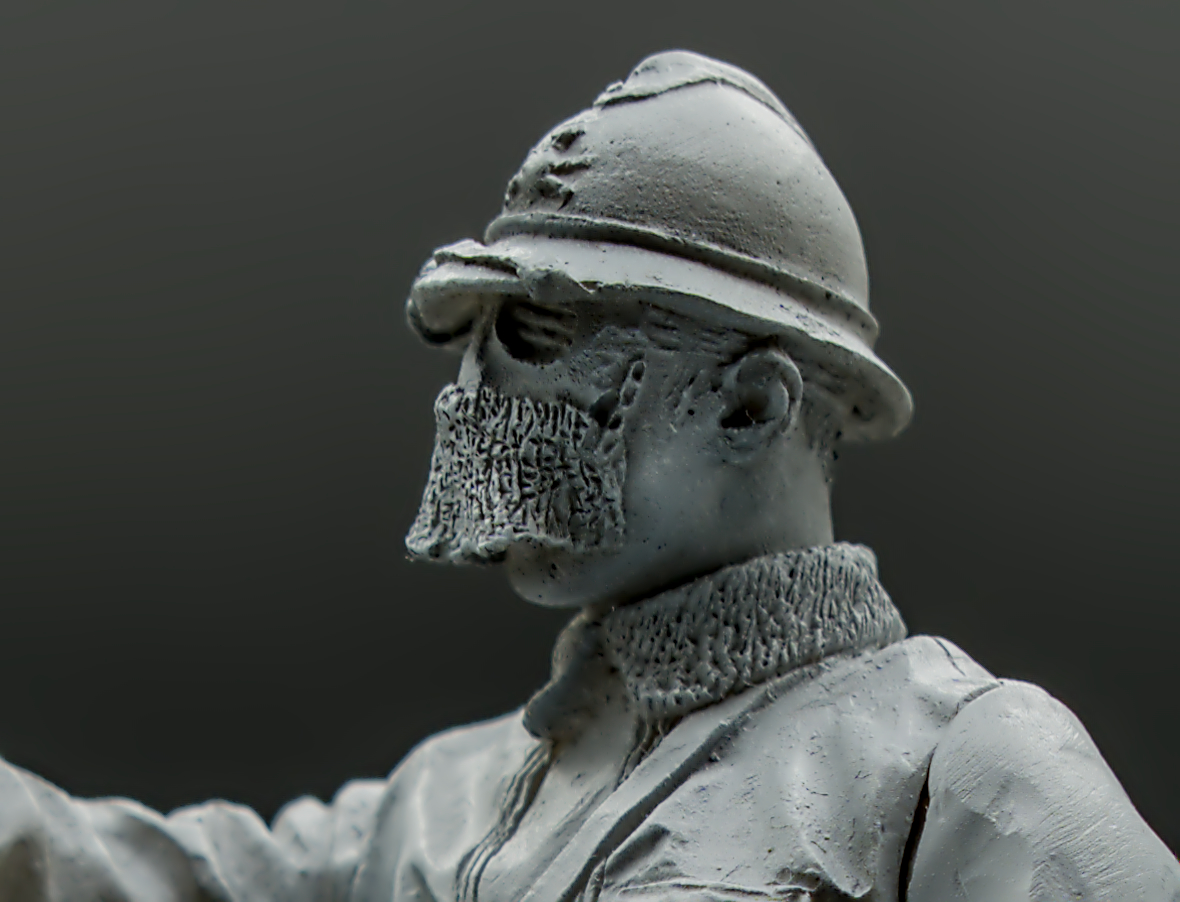
Light Box: Technical Macro Photography Detail Analysis using Zenithal Preshading
Disadvantages:
- Limited Creative Flexibility: While light boxes excel in delivering consistent results, they lack the versatility and creative options available in professional lighting setups. Photographers may find it challenging to achieve unique lighting effects, as the diffusion and enclosure inherently limit experimentation with shadows and directional light.
- Size Constraints: Light Boxes come in various sizes, but many are designed primarily for small objects. This limitation means that photographers working with larger subjects—like full-length portraits or large items—must look elsewhere for suitable setups, which can restrict their creative exploration.
- Basic Lighting Effects: Although effective at providing even light, light boxes may not be able to create the rich depth and contrast that a well-planned professional lighting setup can achieve. The flat nature of the lighting can lead to images lacking dynamism and a three-dimensional feel, which are often desirable in certain photography styles.
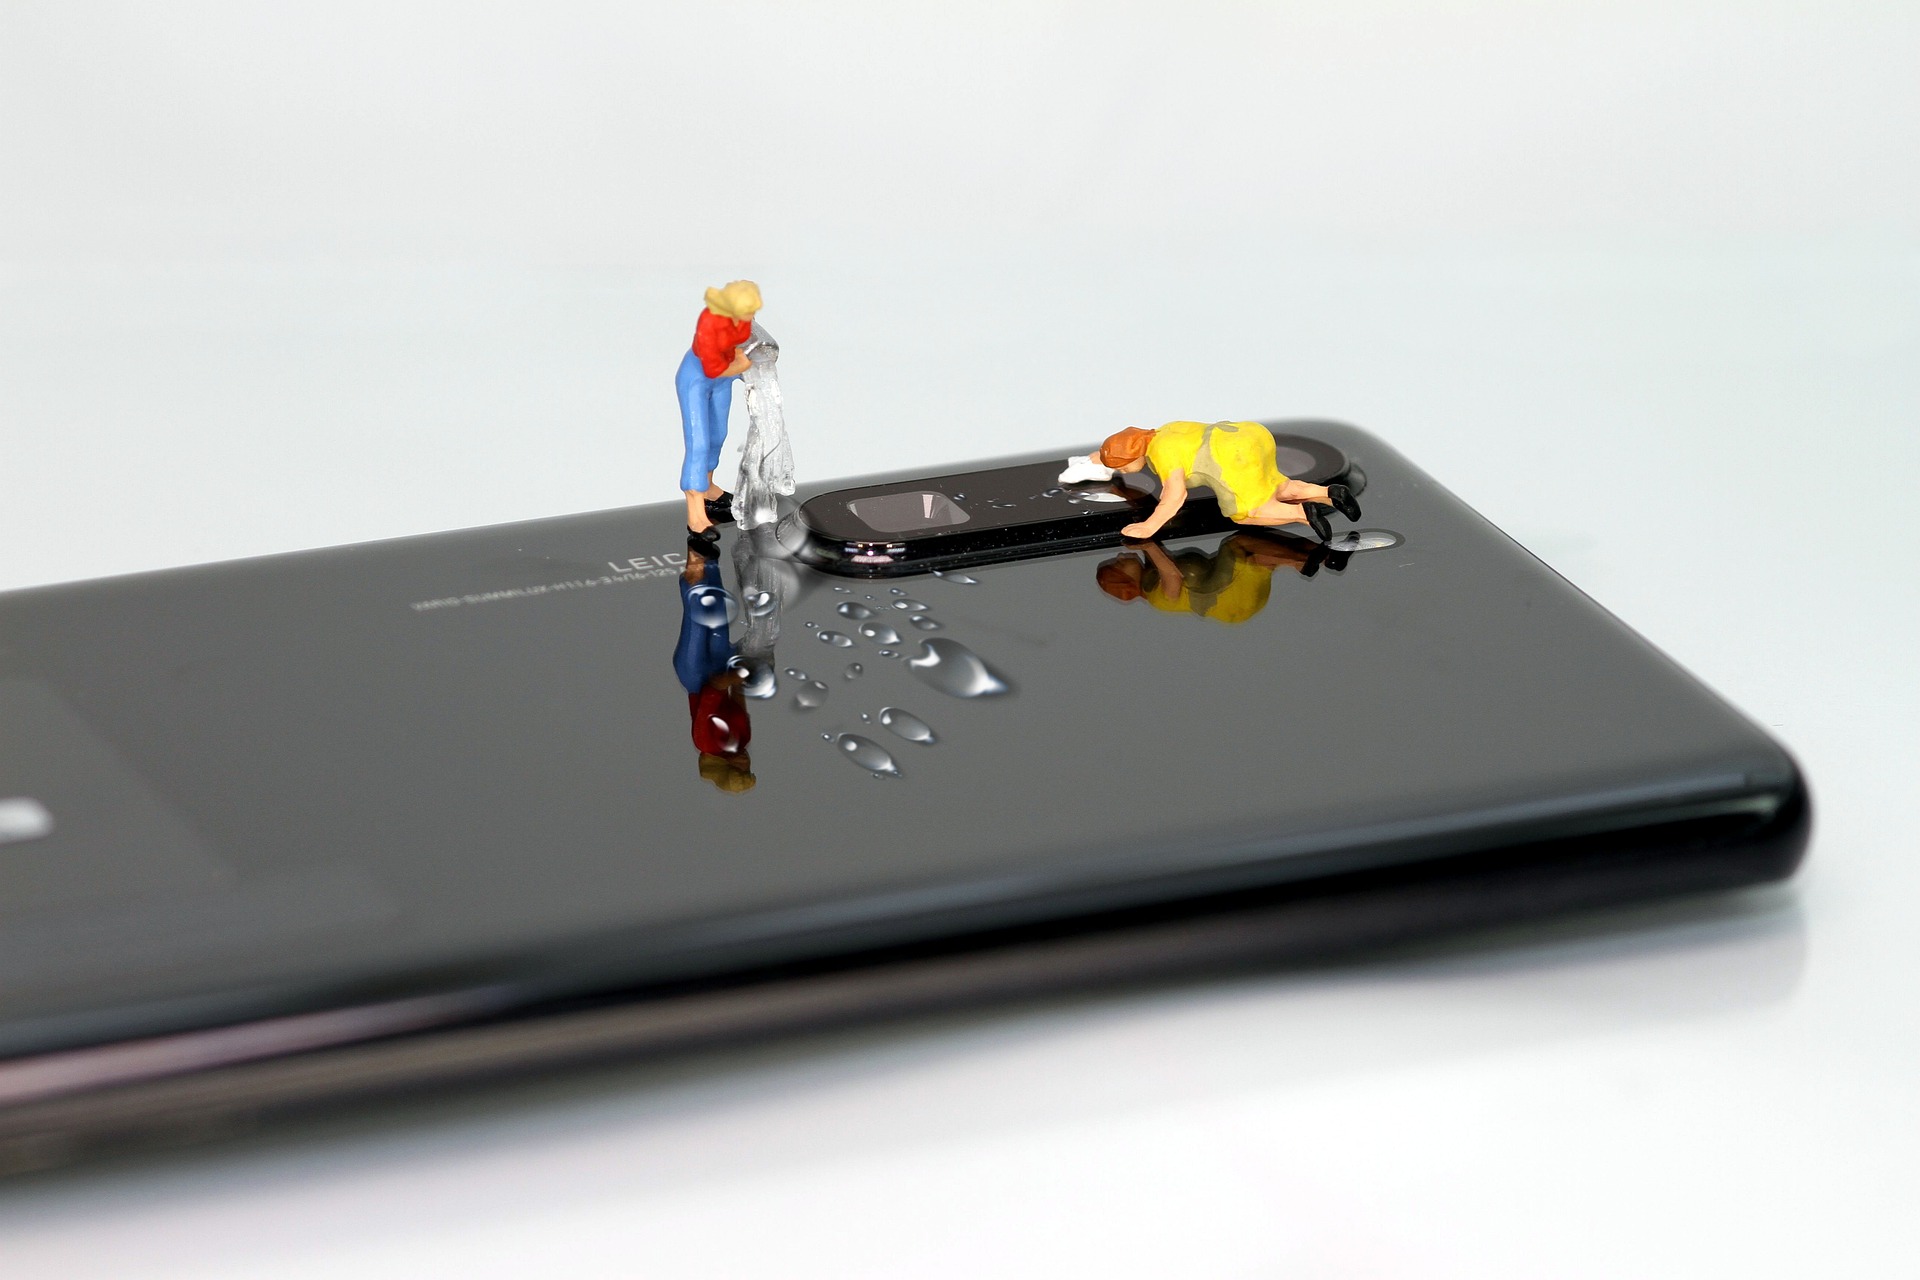
!!
Remember
Before and during the Photo Shoot
Keep the phone and tablet camera lens clean!
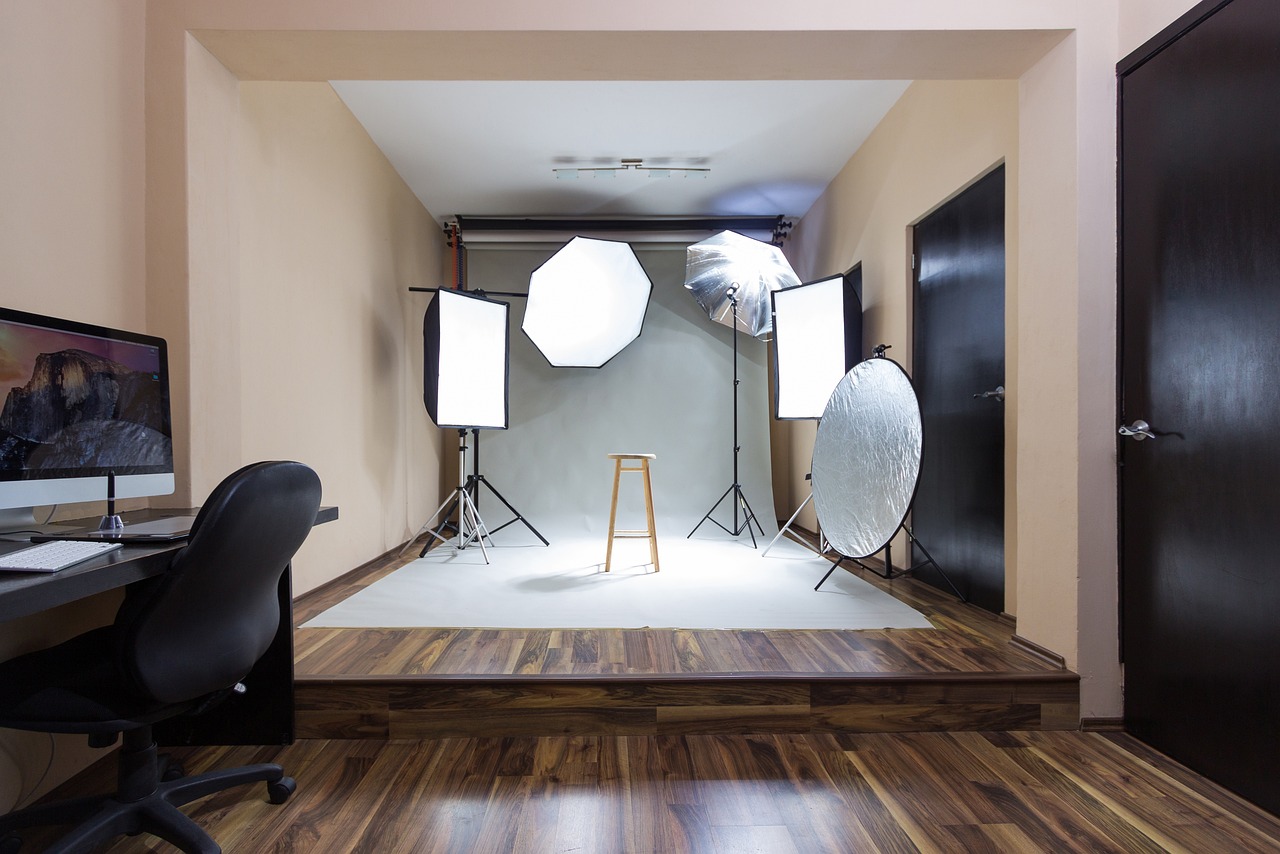
Professional Lighting
Advantages:
- Wide Range of Options: Professional lighting setups offer a plethora of equipment options, including softboxes, umbrellas, reflectors, and various types of studio lights. This versatility allows photographers to manipulate light in ways that fit their creative vision—whether they desire a soft, diffused light for portraits or a harsher, focused beam for high-contrast product shots.
- Extensive Artistic Control: With professional lighting, photographers have the ability to experiment with different light angles, intensities, and colors. This level of control enables them to create intricate lighting setups that can elicit specific moods or effects in their images. By adjusting the distance and direction of the lights, photographers can sculpt the light to highlight features, add drama, or create thematic elements.
- Superior Quality of Image Production: Professional lighting can produce high-calibre images with enhanced detail and clarity. Studio environments eliminate unwanted ambient light, enabling photographers to master the lighting conditions completely. This results in images that exhibit greater depth and richness, captivating viewers.
- Adaptable to Various Photography Genres: Equipped with an array of lighting tools, professional setups can be customized to cater to diverse photography styles—from portrait and fashion photography to product shoots and event coverage. The flexibility to adjust lighting according to genre ensures that photographers can effectively meet the distinct demands of each type of shoot.
Airbrush Technical Shoot: Photo Study of Advanced Preshading Strategies
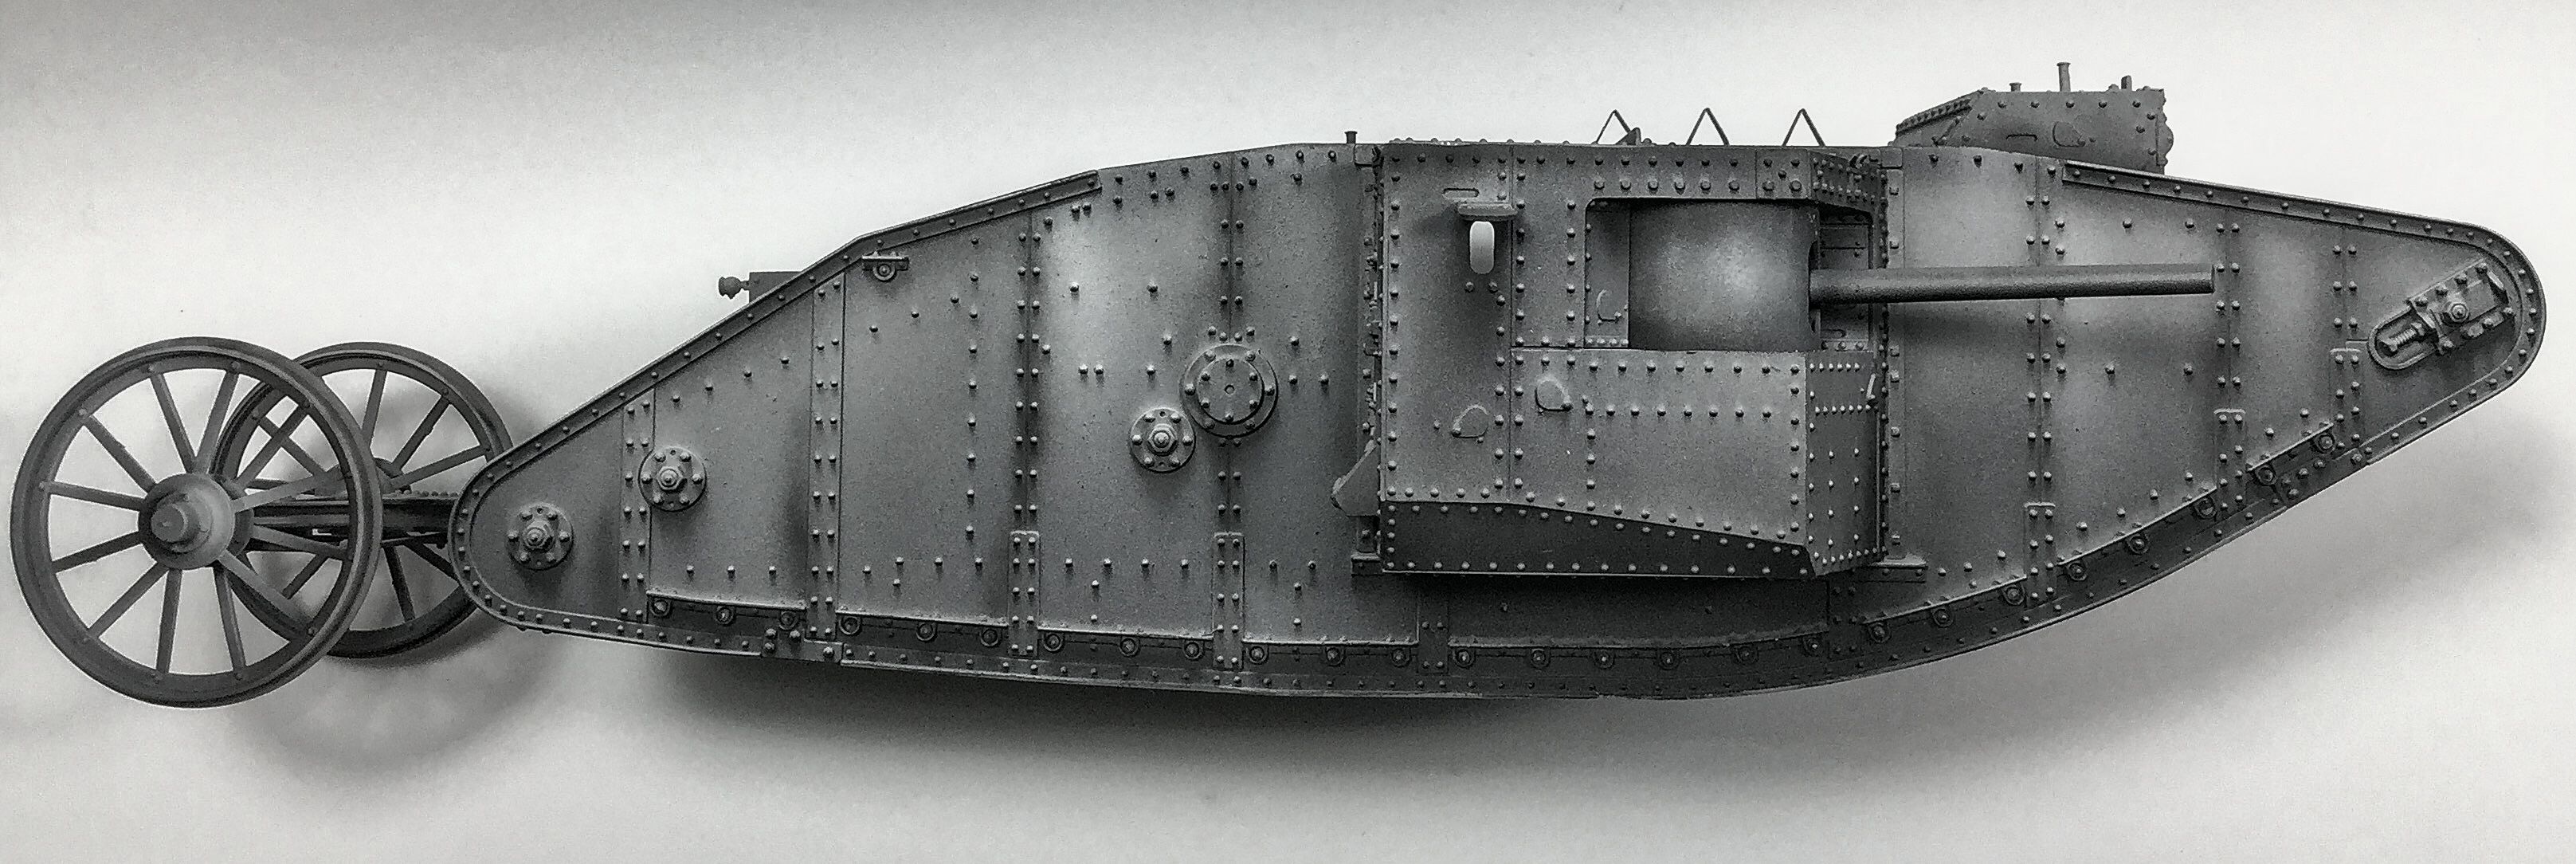
This is a colour picture; although it looks black/white, it is a top-down view of the tank on its side. The opposite sponson was removed so that the tank could lay flat. The colour combo is neutral grey (mid-tone), then black (90% black, 10% white sprayed upwards from the bottom) with white for the final highlight airbrushed on an acute angle from the top.
Disadvantages:
- Complex Setup Requirements: Operating a professional lighting system requires a significant understanding of lighting techniques. Photographers must know concepts such as light ratios, modifiers, and position dynamics. This complexity can deter novice photographers, who may feel overwhelmed with the intricacies of achieving the desired lighting setup.
- Financial Considerations: Acquiring professional lighting equipment can be a substantial financial investment. High-quality lights, modifiers, light stands, and associated accessories can add up quickly. This initial cost may be prohibitive for those starting their photography journey, leading them to opt for more affordable alternatives.
- Space Requirements: A comprehensive professional lighting setup necessitates sufficient physical space. Many photographers require a studio area to position lights, backdrops, and props without constraint. For those working within limited environments, such as small apartments or makeshift home studios, this challenge can lead to logistical difficulties when attempting to achieve optimal lighting setups.
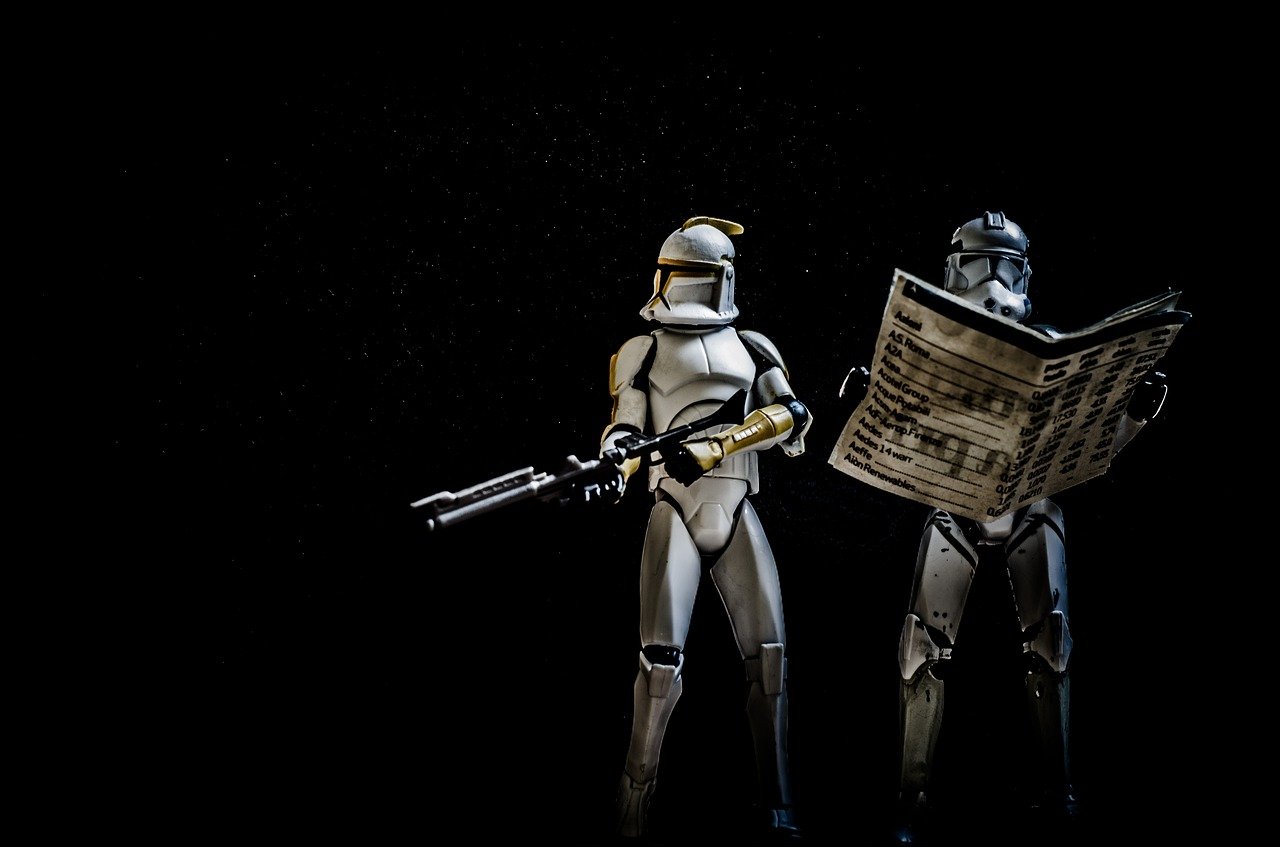
Light Box Cost Relative To Professional Lighting Expenditure
| Feature | Light Box | Professional Lighting |
|---|---|---|
| Cost | Low ($60-$200+) | High ($200-$1,000+) |
| Ease of Use | Beginner-Friendly, Convenient and Fast | Requires Experience, Understanding Lighting |
| Lighting Control | Limited to Supplemental Lighting | Fully Customizable |
| Portability | Compact | Bulky, Heavy |
| Results | Good for Basics to Pro Quality | Exceptional for Advanced Photography |
Technical Photography: Train Wheel Rim and Flange Polished Steel Look Process Analysis
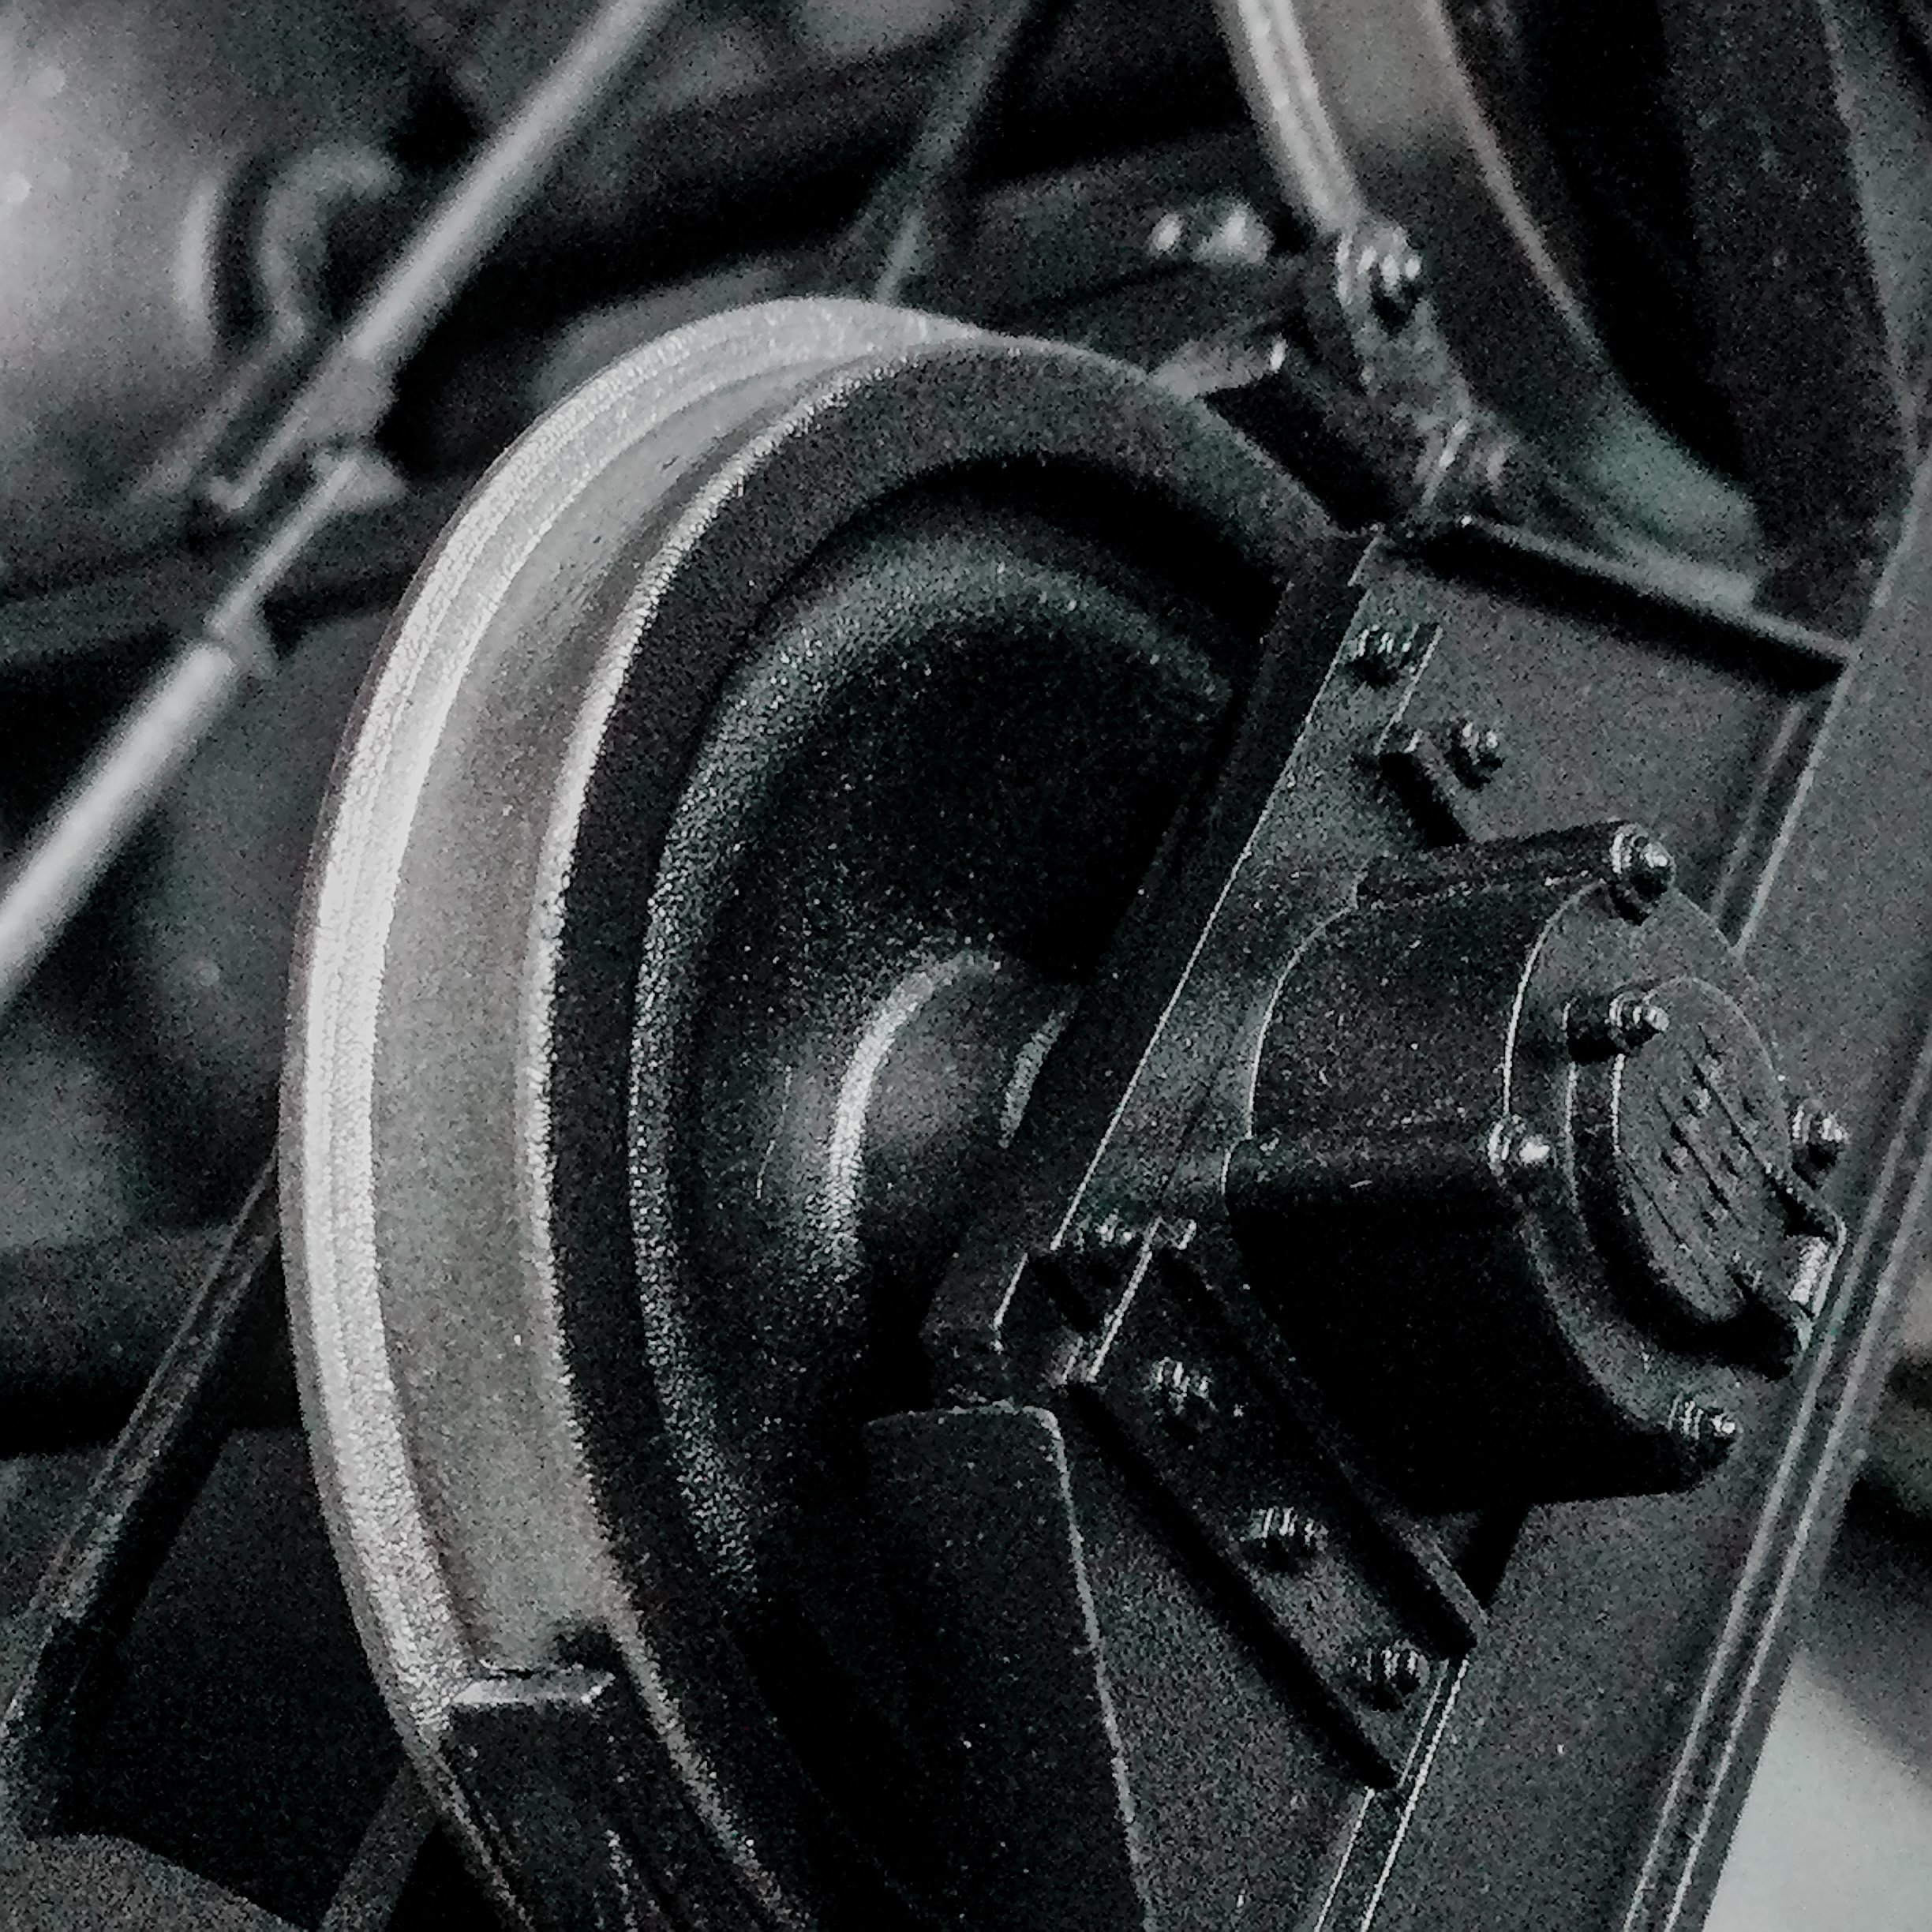
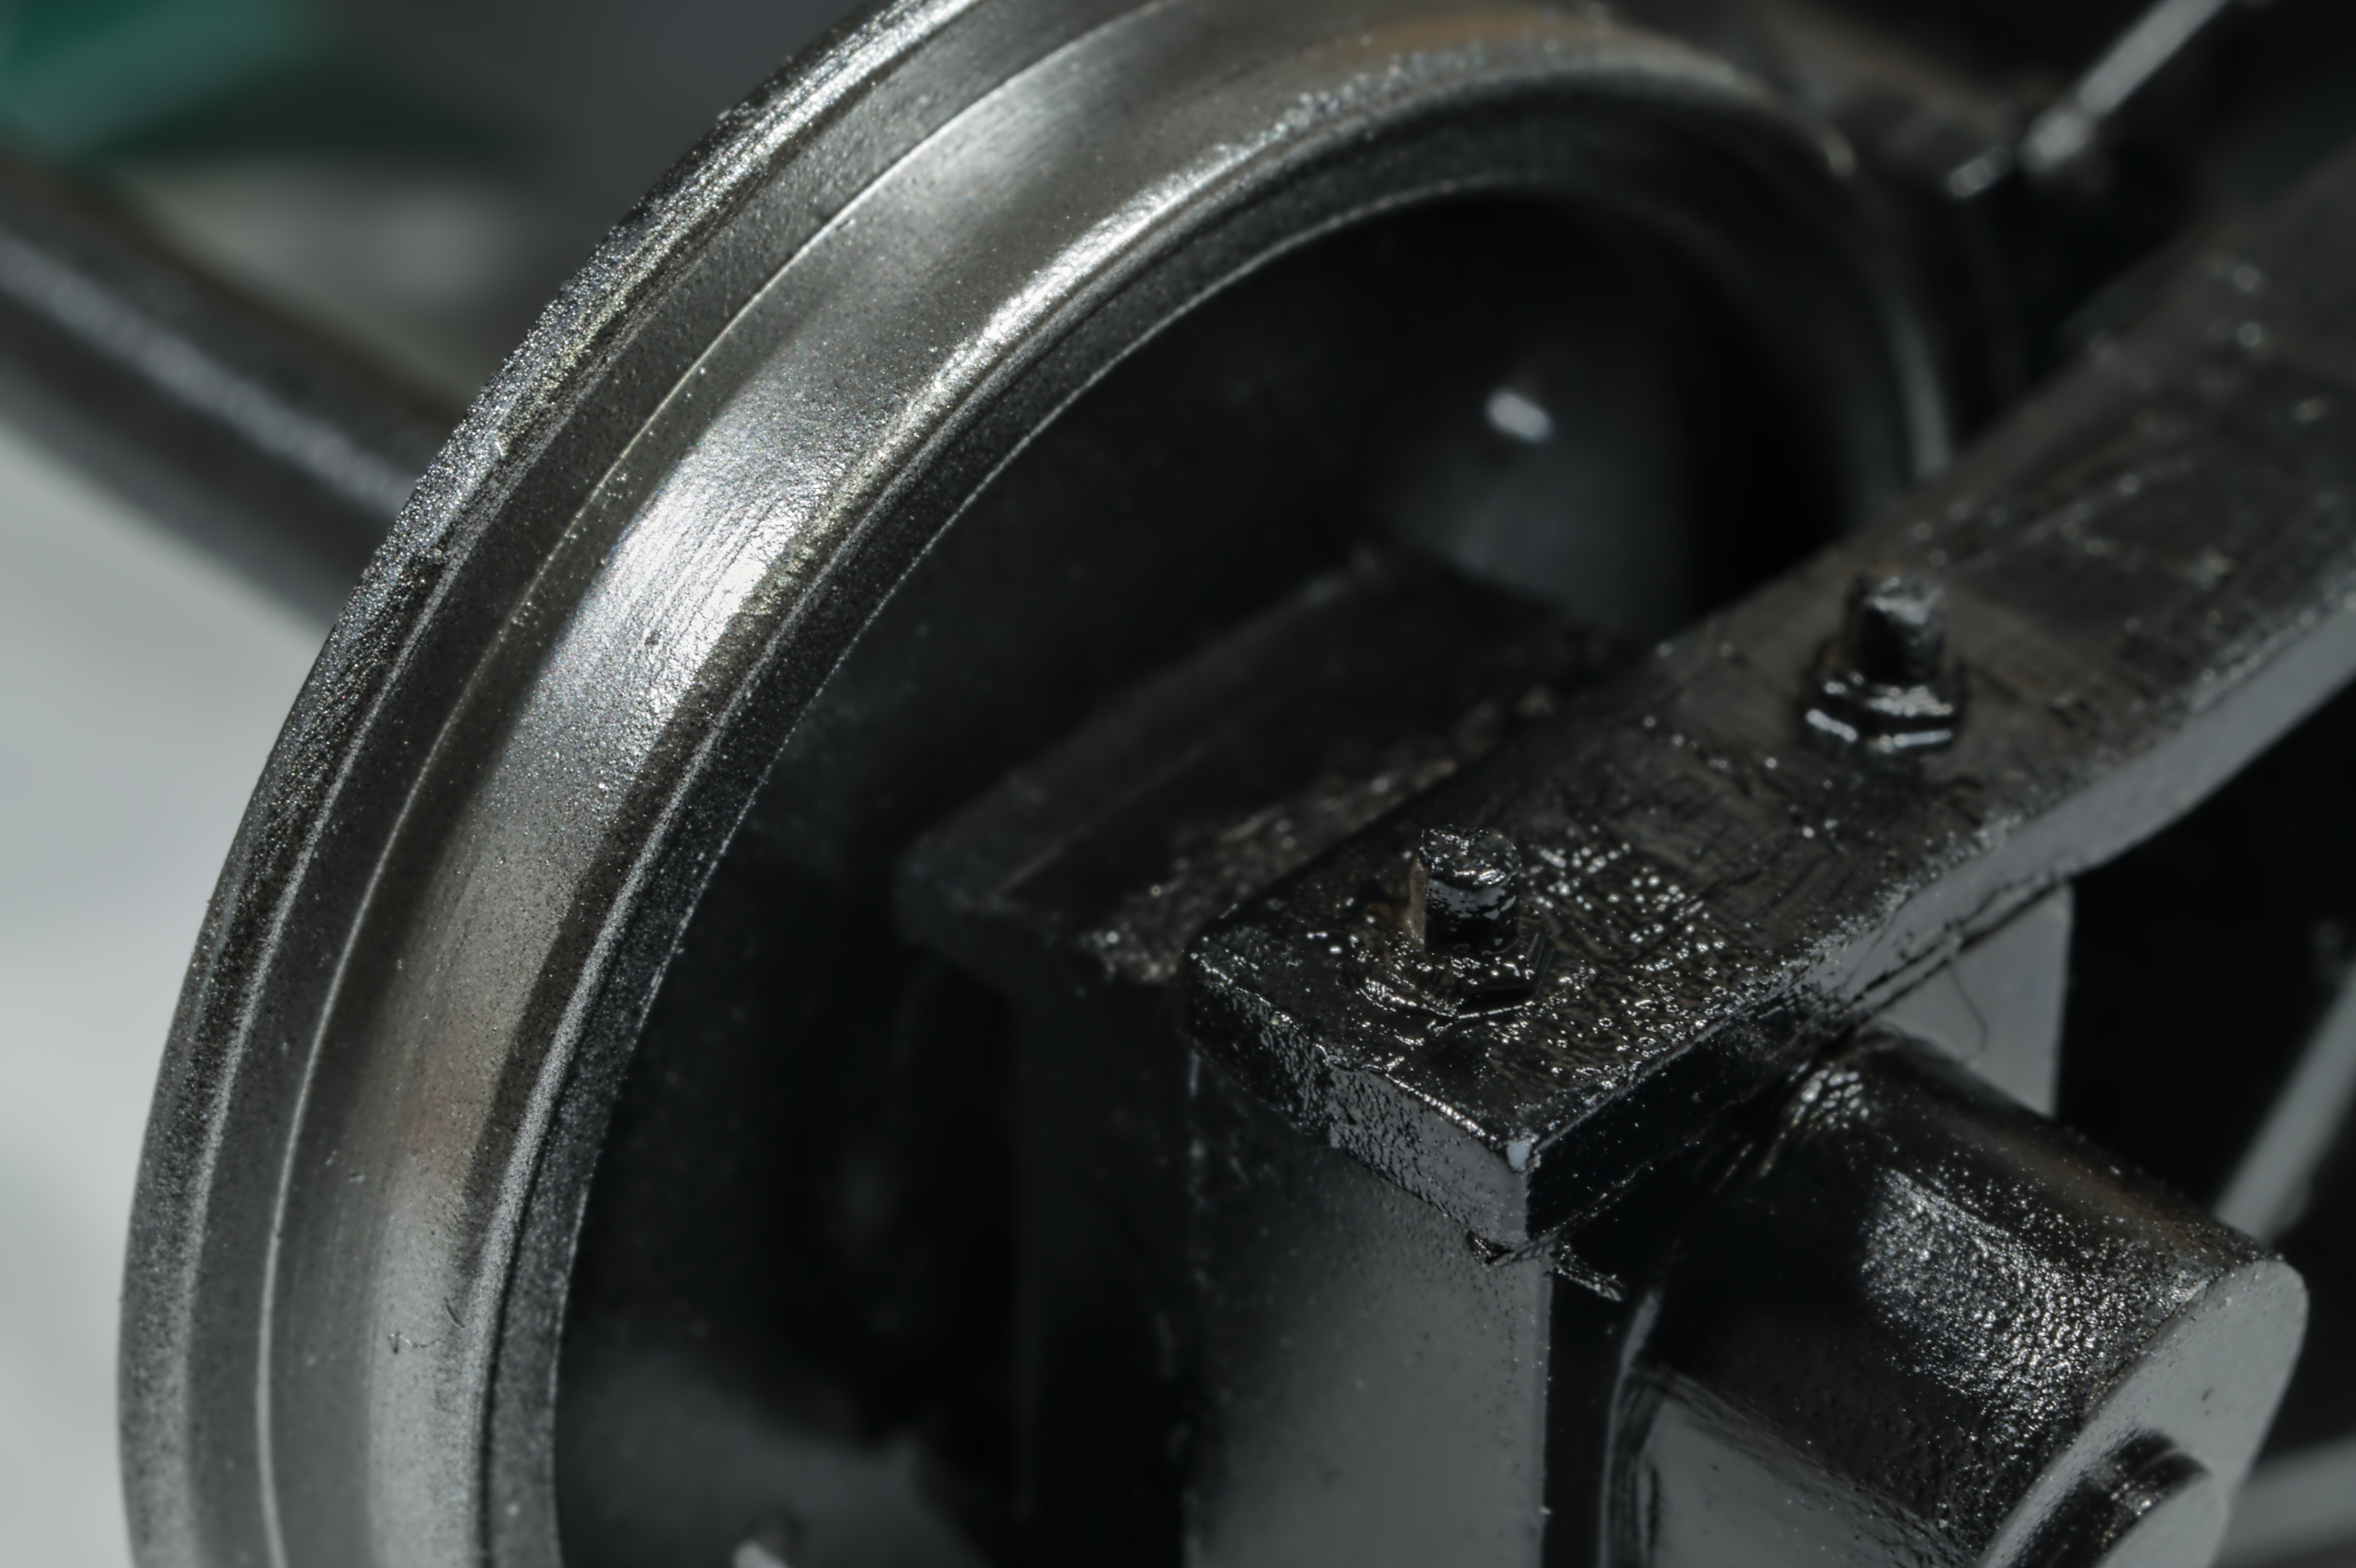
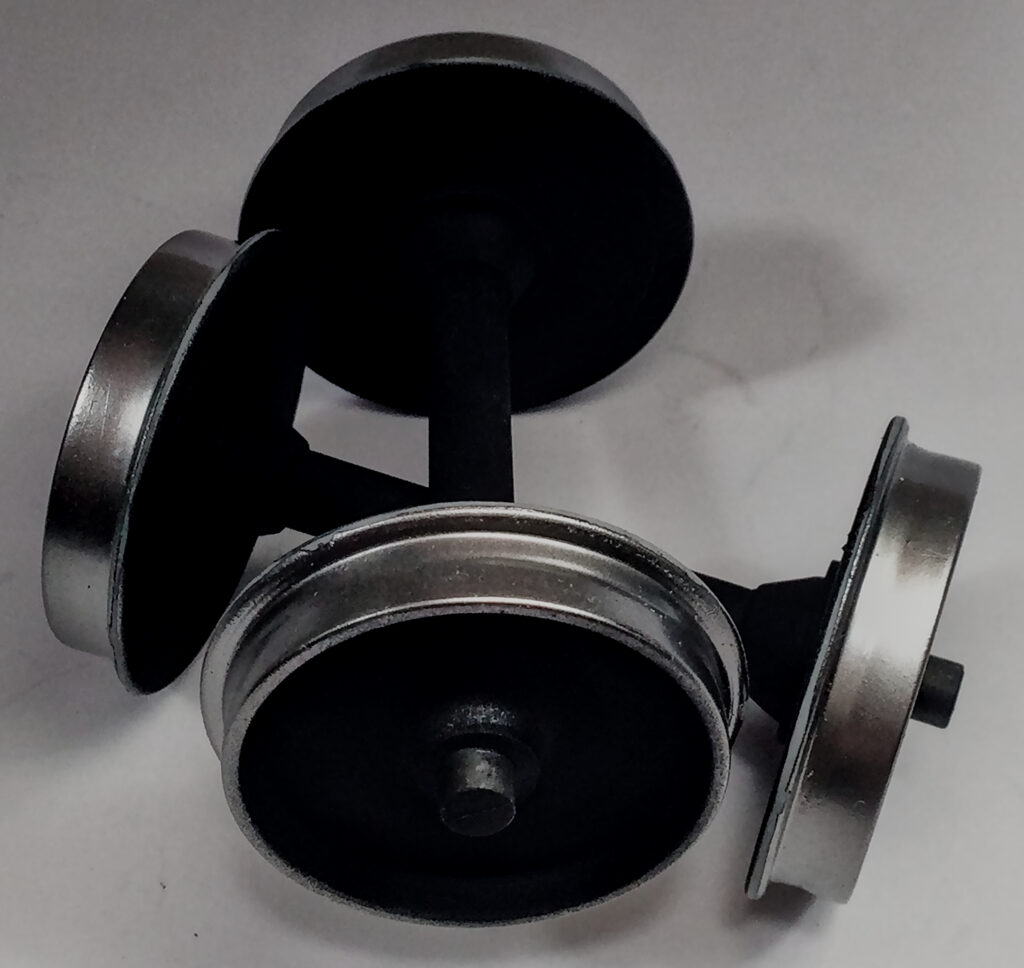
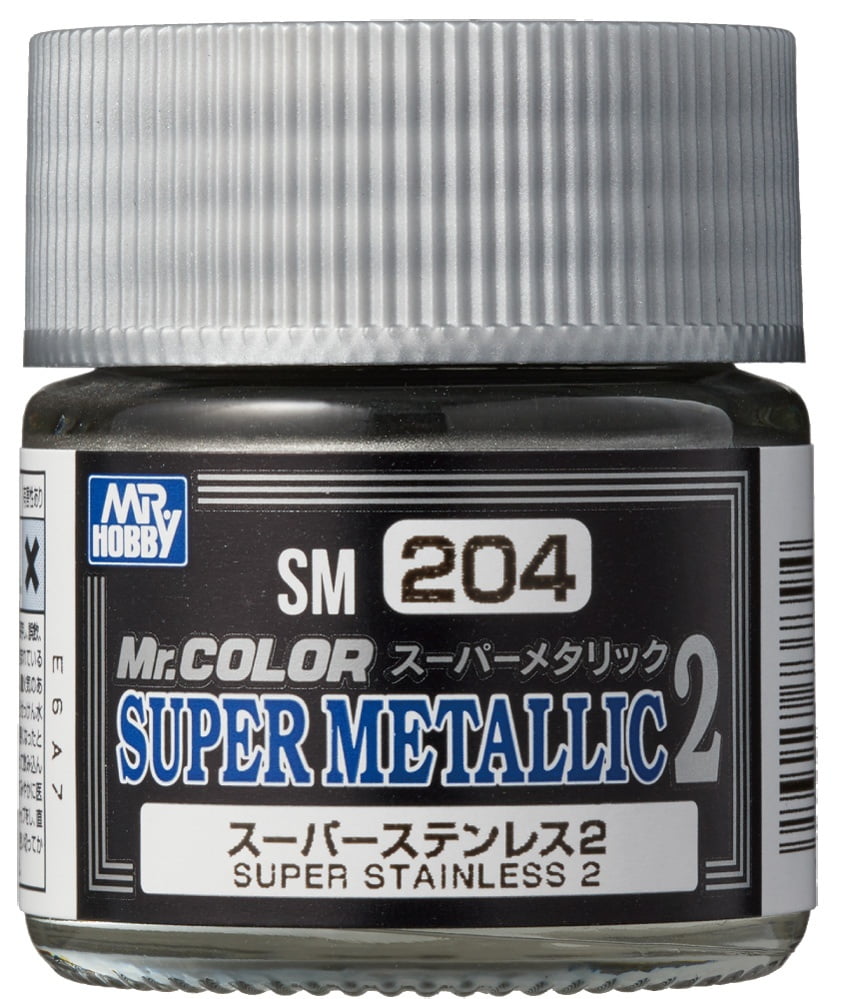
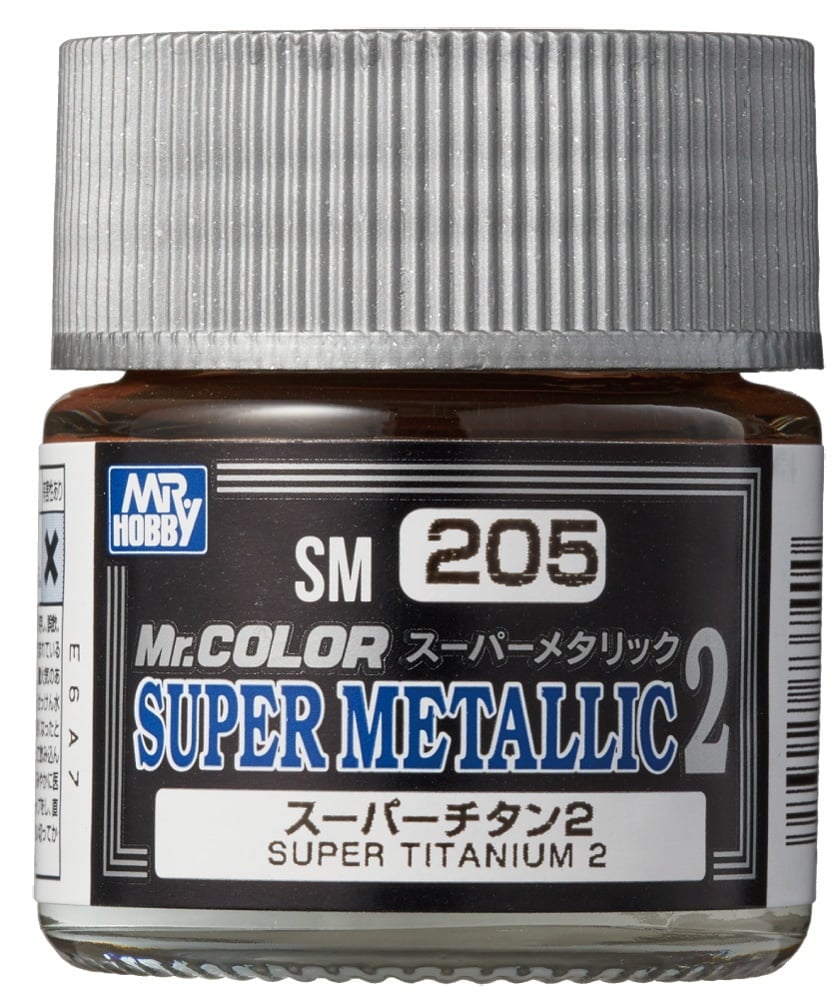
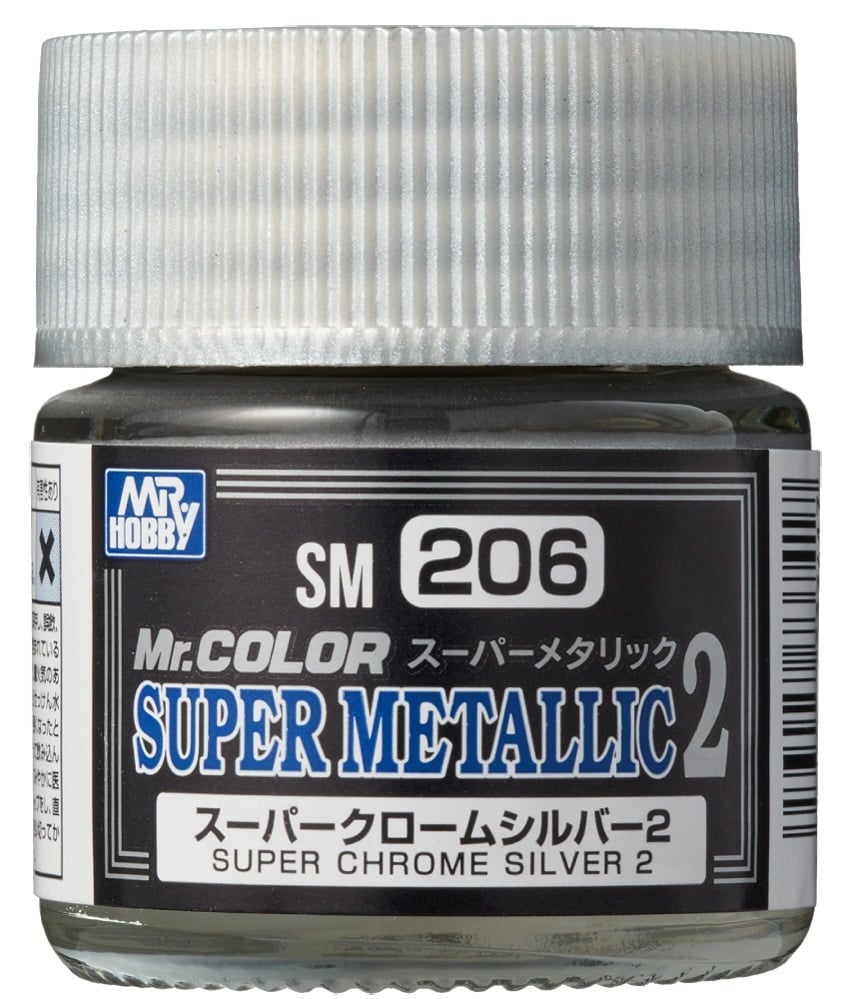
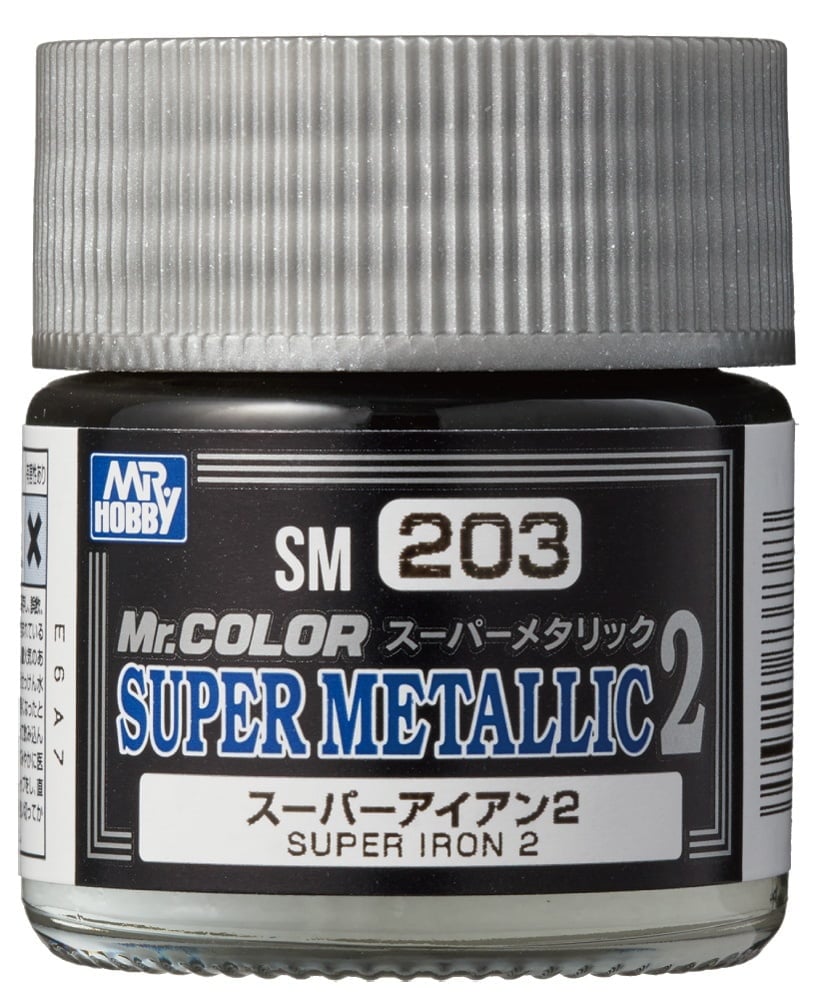
Build Log Images: Photos are taken using an LED Video Cube Light with Barndoors, tripod mounted with RGB LED Fill Light; 5500K. A macro lens was used. The polished steel 2.0/3.0 is Mr.Color SUPERMETALLIC 2, SUPER IRON 2, and the gloss black is TAMIYA LP-1.
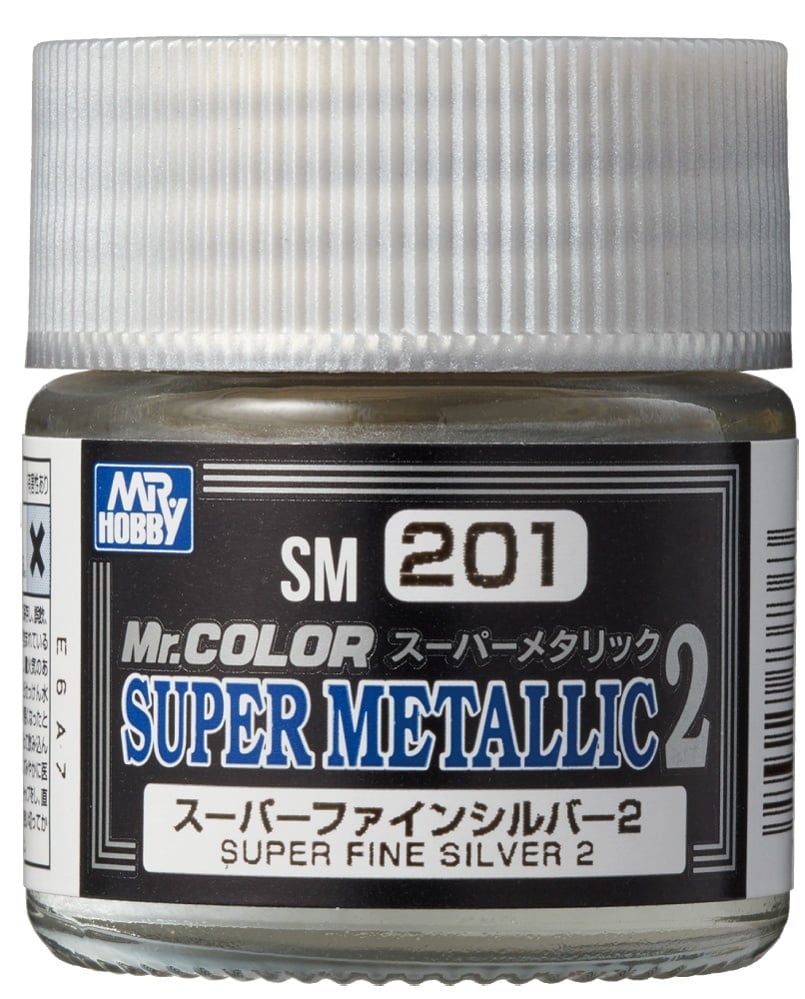
SUPER METALLIC 2
Mr.COLOR
The Steel Look Team
SOLVENT-BASED ACRYLIC PAINT
Mr. COLOR Super Metallic 2 is our highest-quality METALLIC paint series. Fine metallic particles create an excellent finish on plastic surfaces, and the painted surface shines like real metal.
FAQ: SUPER METALLIC 2
What solvent thinner works best with SUPER METALLIC 2?
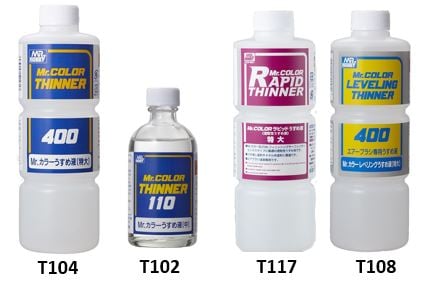
Must only be thinned with Mr. COLOR THINNER, Mr. COLOR LEVELING THINNER or Mr.COLOR RAPID THINNER. The latter is formulated explicitly for metallic pigments.
- Mr. RAPID THINNER: Speeds up the drying speed. Recommended for matt paints and metallic paints.
- Mr. COLOR THINNER: The most basic thinner for Mr. COLOR
- Mr. LEVELING THINNER: Slows down the drying speed. Recommended for gloss paints
⚠️ Do not thin with THINNER FOR AQUEOUS HOBBY COLOR and ACRYSION SOLVENT.
What Thinning Ratio works best with SUPER METALLIC 2?
The thinning ratio does not affect metallic lacquer paint coalescence, cohesion, or adhesion. Thinning ratios are ultimately determined by needle size, MAC Valve use, and airbrush proficiency.
BRUSH PAINTING: 1:⧁1 Paint to Thinner Ratio (Mr. COLOR SUPER METALLIC: Mr. COLOR THINNER)
AIRBRUSHING: 1:⧁2 Paint to Thinner Ratio (Mr. COLOR SUPER METALLIC: Mr. COLOR THINNER)
- Mr. RAPID THINNER: Speeds up the drying speed. Recommended for matt paints and metallic paints.
- Mr. COLOR THINNER: The most basic thinner for Mr. COLOR
- Mr. LEVELING THINNER: Slows down the drying speed. Recommended for gloss paints
⚠️ Do not thin with THINNER FOR AQUEOUS HOBBY COLOR and ACRYSION SOLVENT.

Mixing Mr.COLOR Paints?
CAN BE MIXED WITH:
✓ Mr. COLOR
✓ Mr. COLOR GX
✓ Mr. COLOR 40TH ANNIVERSARY, Mr. CLEAR COLOR, Mr. CRYSTAL COLOR, Mr. METALLIC COLOR
✓ LASCIVUS
⚠️ CAN NOT BE MIXED WITH:
× AQUEOUS HOBBY COLOR
× ACRYSION, ACRYSION BASE COLORS
× CLASSY ‘N DRESSY COLORS
★ AQUEOUS HOBBY COLOR and ACRYSION can be applied over a coat of Mr. COLOR.
★ Mr. COLOR cannot be applied over a coat of AQUEOUS HOBBY COLOR and ACRYSION..
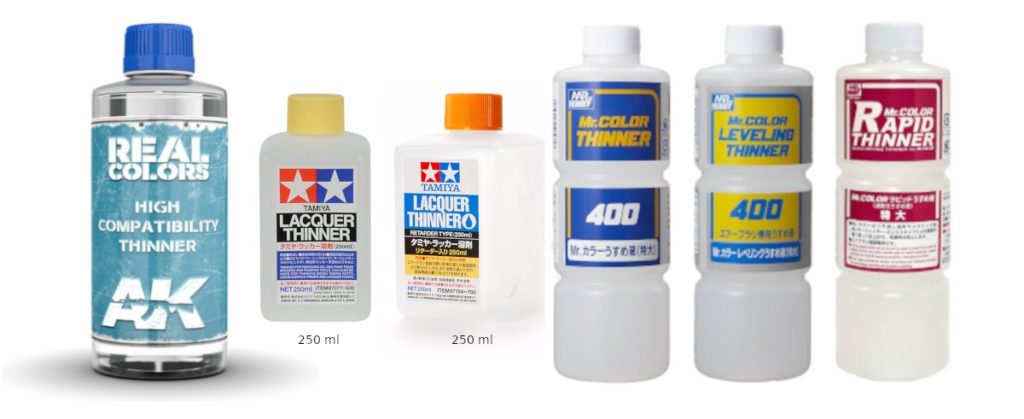
Alternative Compatible Thinners!
Finishing Tips!
- For SM201-SM205, SM207 and SM209, seal the painted surface with Mr. Super Clear, Mr. Super Clear UV Cut or TOPCOAT.
- For SM206 and SM208, seal the painted surface ONLY WITH TOPCOAT. Aqueous Clear or Arysion Clear paints can also be applied.
- For SM206, apply Mr. COLOR or Mr. COLOR SPRAY BLACK (gloss) as a base coat before painting to give the best metallic touch.
- Fine metallic particles in the paint tend to settle easily, so stir the paint well during thinning and painting.
- Use T114 Mr. Paint Remover to remove paint from a surface.
- Clean the tools with Mr. COLOR THINNER or Mr. TOOL CLEANER.
- Do a test paint before you apply paint on your model kit.
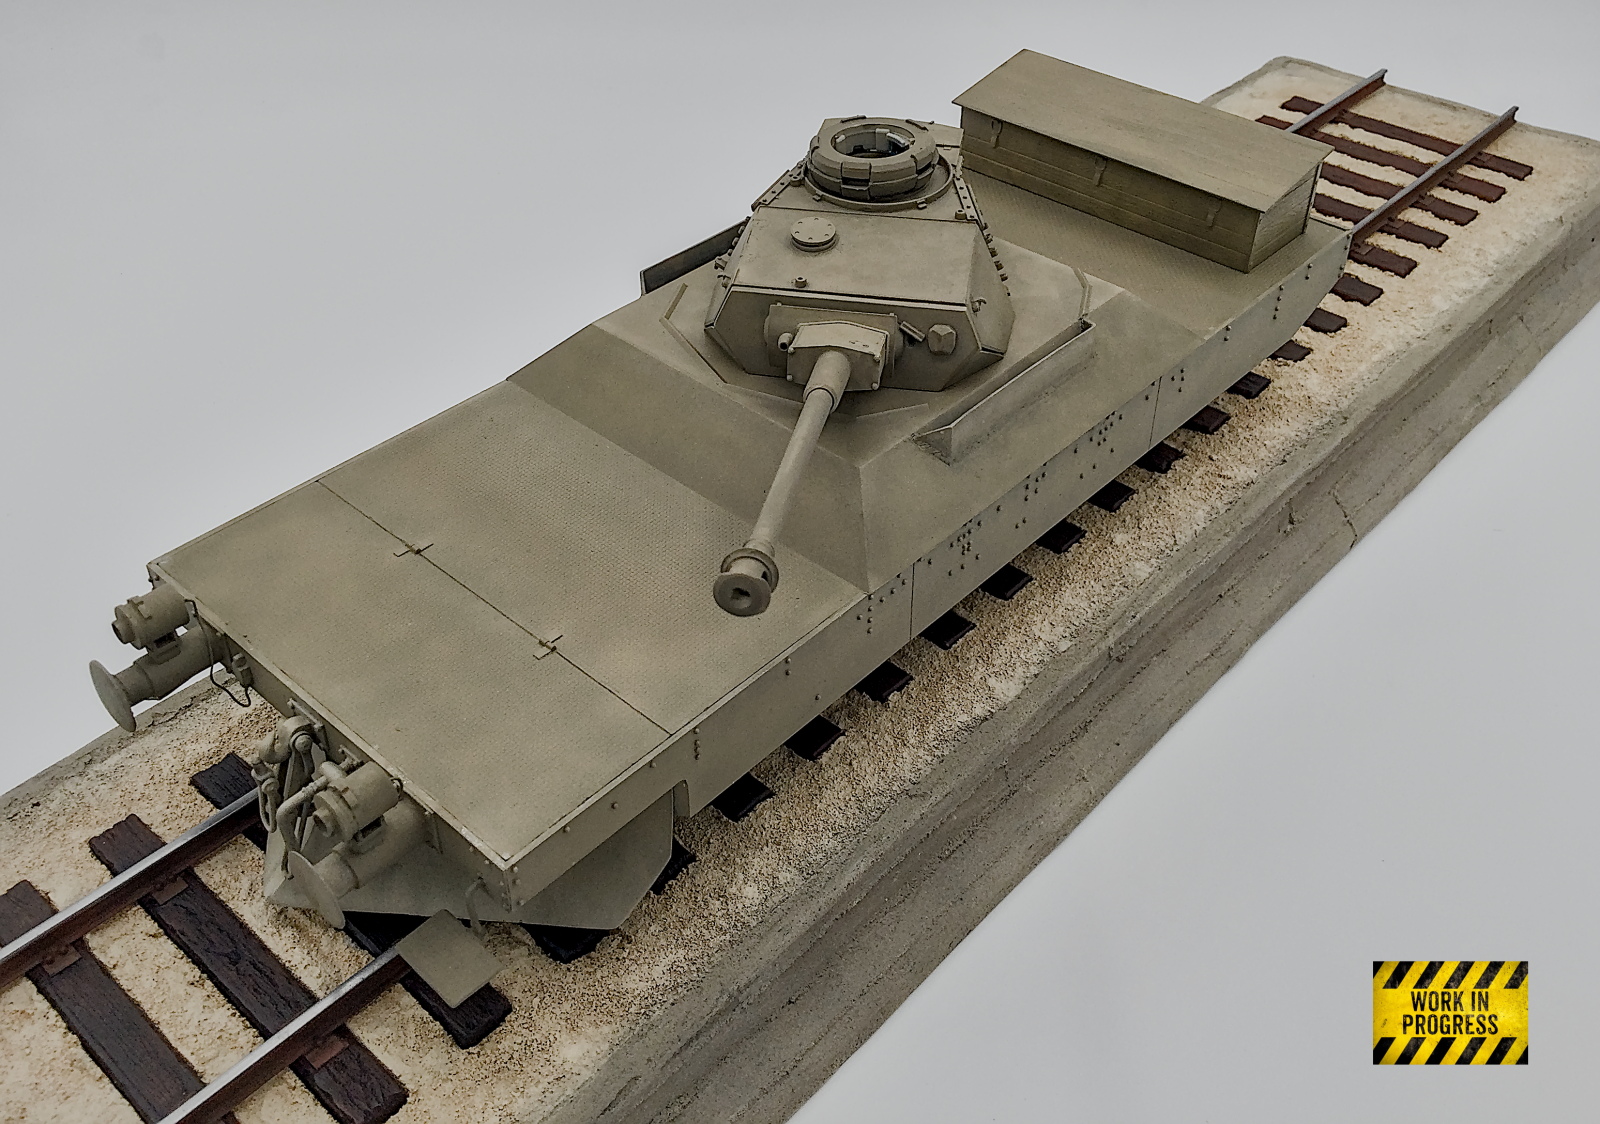
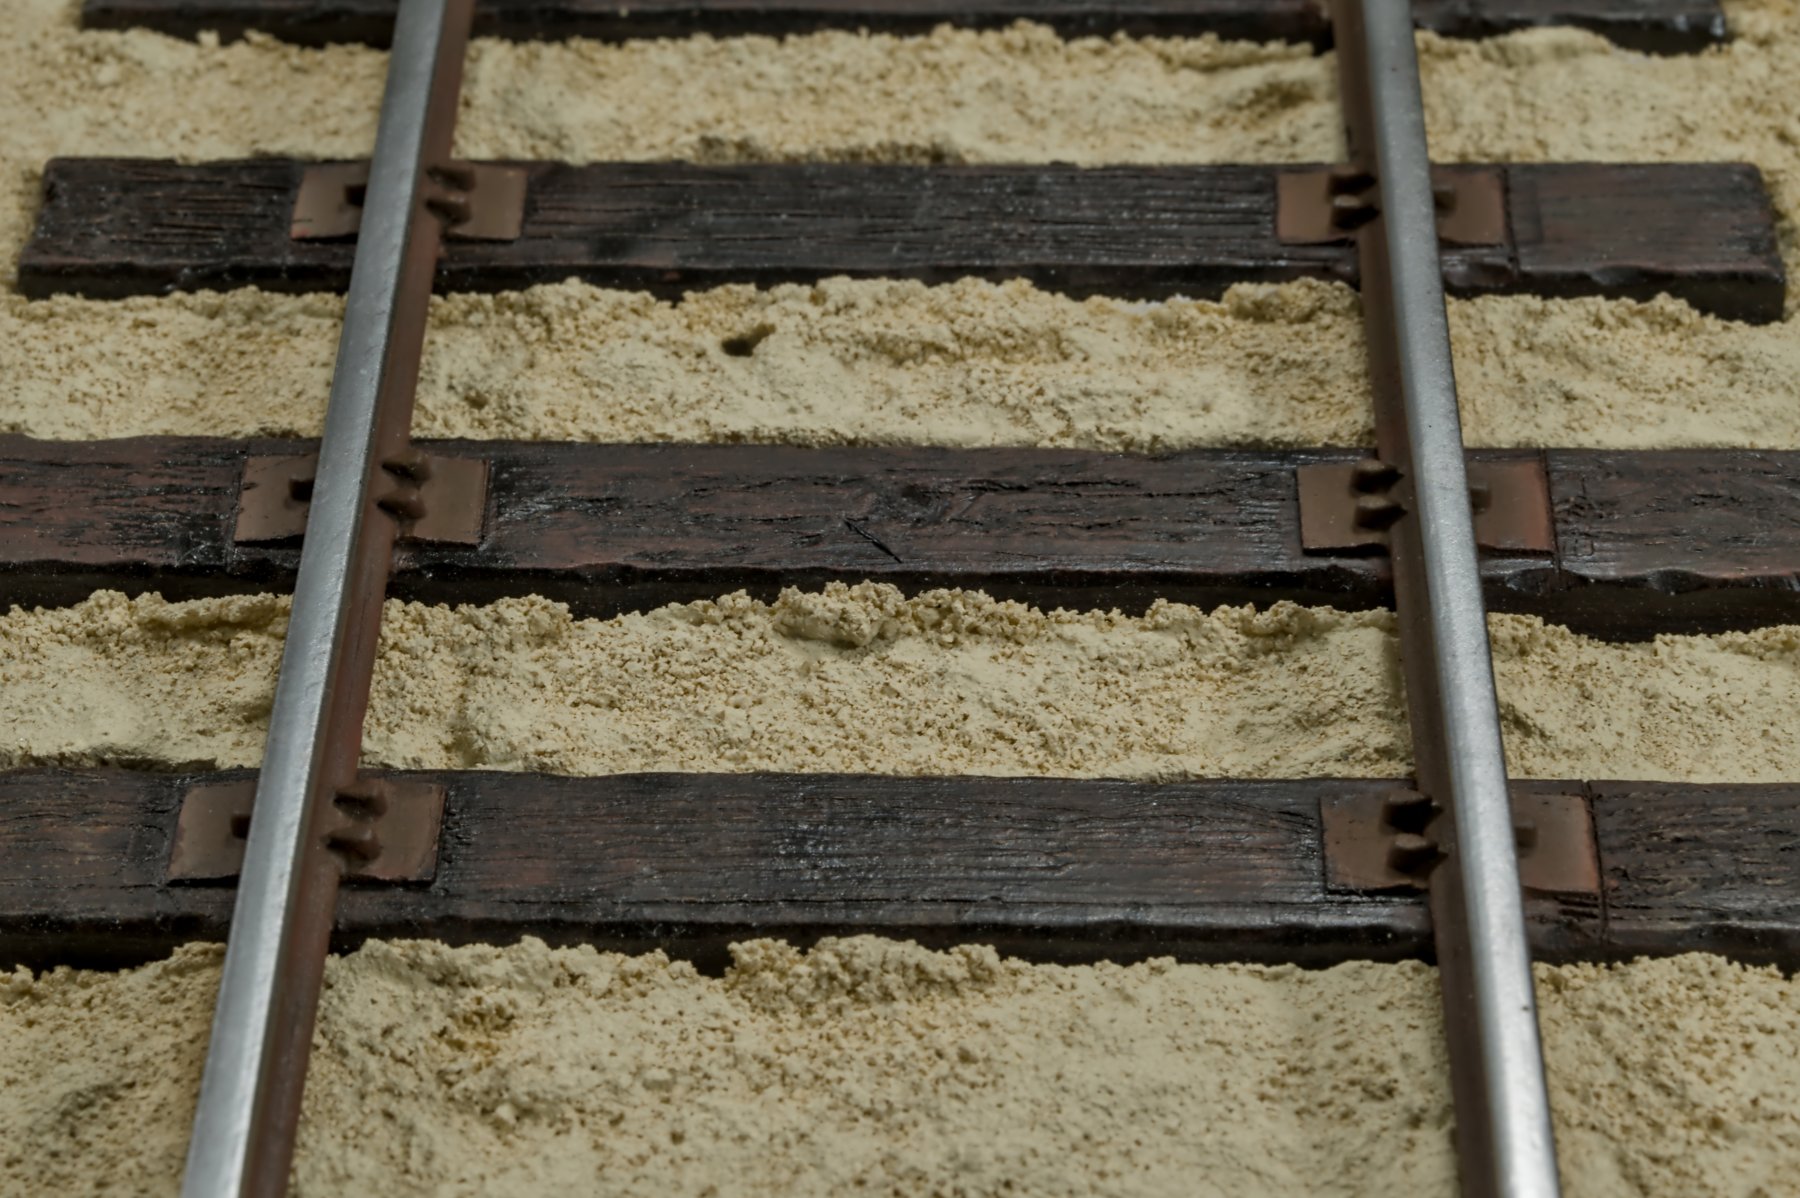
Technical Macro Photography: Railroad Element Development
Conclusion
In summary, choosing between light box photography and professional lighting setups involves careful consideration of the photographer’s individual needs, experience, and creative aspirations. Light Boxes provides a straightforward and effective solution for those seeking consistent photography results with minimal complexity and lower financial commitment.
Conversely, professional lighting setups open a world of creative possibilities for more seasoned photographers willing to invest time, resources, and effort into mastering their craft. By weighing each method’s detailed advantages and limitations, photographers can make informed decisions that align with their artistic endeavours, ultimately enhancing their photographic journey.

James Wooldridge
An enthusiastic scale modeller, researcher, and amateur historian contributing to scale modelling sites and publications, including Scalemates. His articles are frequently featured in Google Featured Snippets. He is an active and progressive expert in a Facebook Group, and he also presents and hosts videos for a Scale Modelling Club.
Additionally, James is a founding executive member of KSM–IPMS and an executive of Kawartha Scale Modellers.
