This blog is how to replace the battery in an old Super Nintendo Entertainment System game cartridge.
(Please do not ask for additional help or where to buy parts. We are putting this here as a service to those interested)
The battery in these old cartridges are close to 20 years and the battery dies out. With no working battery, game saves will not work after a few days of non-play.
As there is no simple replacement, you need to dissasemble the game cartridge and replace the battery itself. Details in the full post.
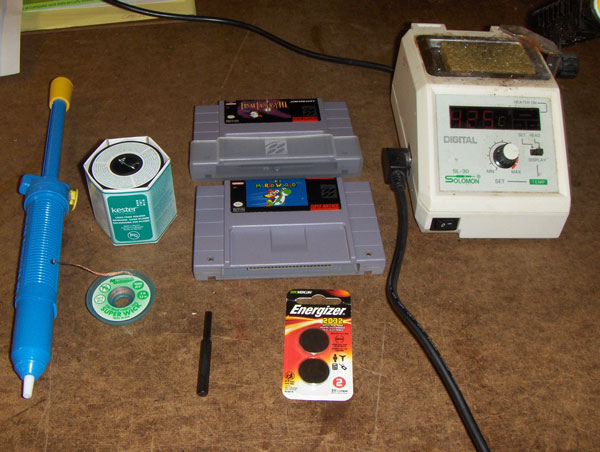
Parts and materials you will need to replace the battery:
- solder – we used lead free
- solder wick and or desoldering tool
- 3.88 mm security bit. (available on the tubes)
- solder station (we set ours at 430°C)
- 2032 battery (available widely)
- pliers – good small needle nose (not shown)
- safety glasses
The battery is fixed in place and so can’t be readily removed.
First, tools required:
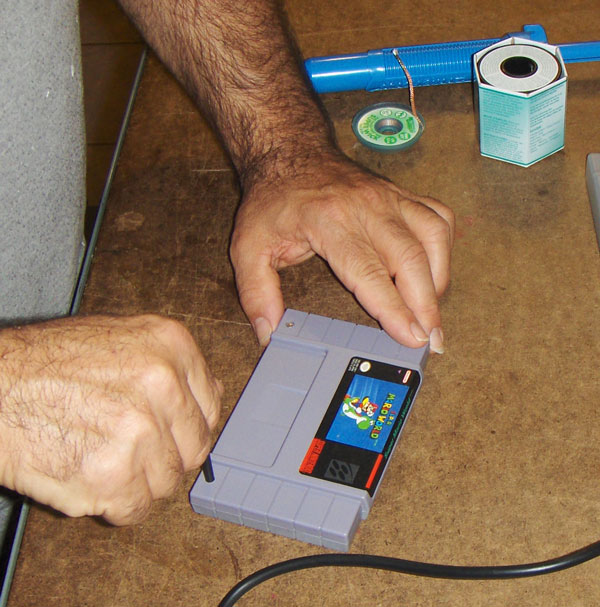
Disassemble the game using the tool to remove the screws. DON’T LOSE THE SCREWS:
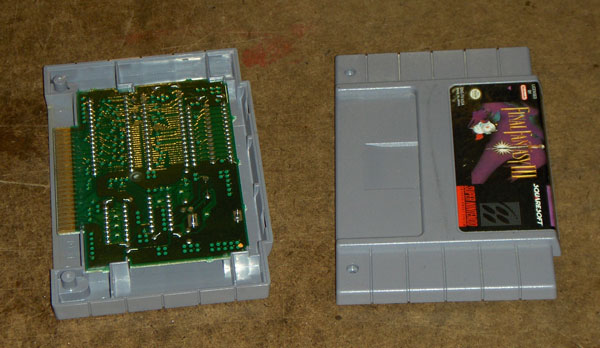
Game shown disassembled:
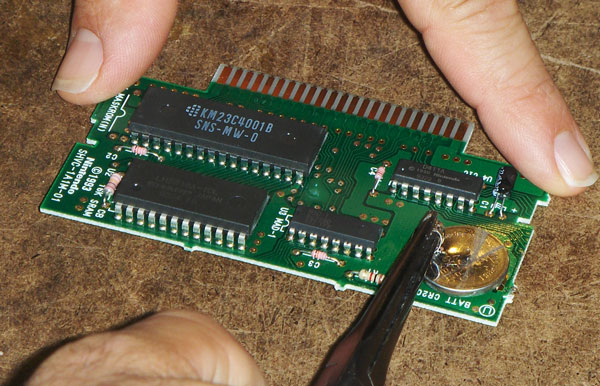
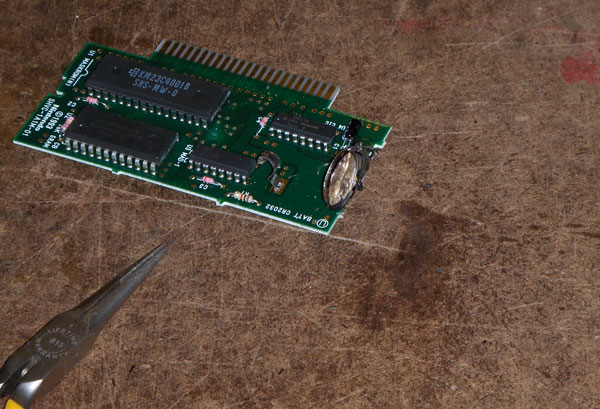
The battery now needs to be removed.
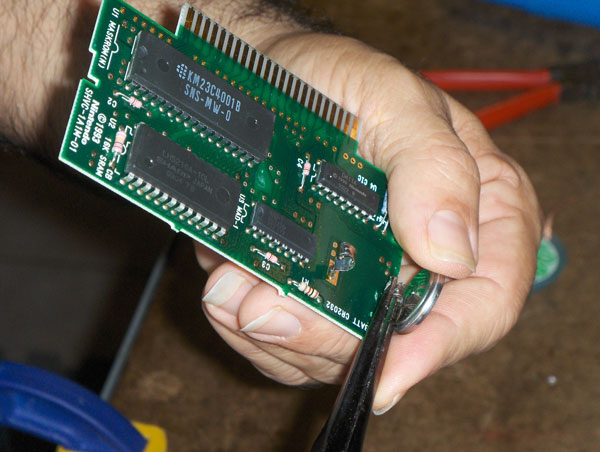
THE BATTERY IS NOT SOLDERED – IT IS WELDED IN PLACE. As a result, you can’t desolder it. It is best to use the needle nose pliers to remove the clips on the top. Grad the lead and slowly work it backwards:
and then the back leads:
Now with battery removed. If necesary, clean anything up now. You can also clean the plastic housing at this stage. Mr. Clean Magic eraser worked great.
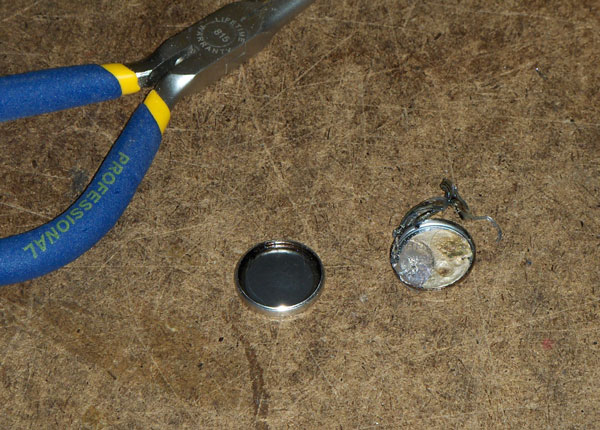
If you try to remove the battery or use too much heat to resolder the battery, it will explode. This is why you need safety glasses.
An exploded battery will look like:
And another view:
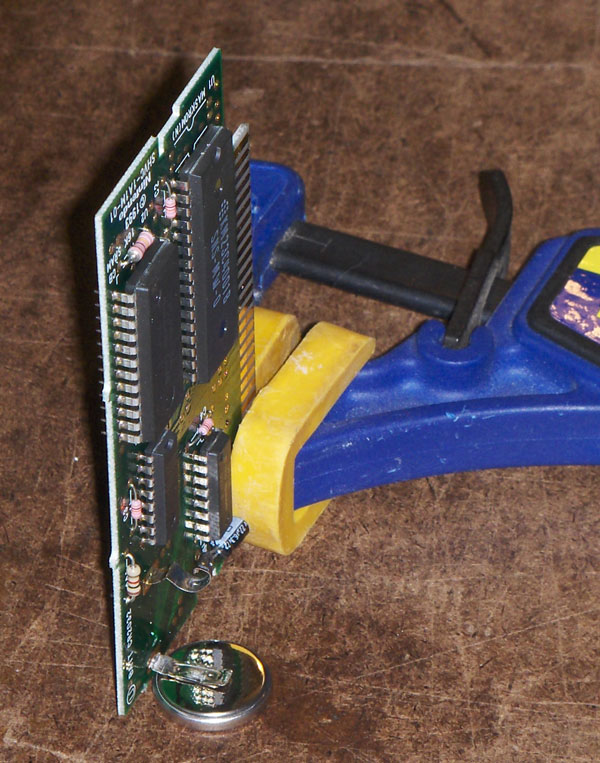
Solder the lead to the bottom of the battery. You did remember which way it goes? We set it up straight using a clamp. Make sure you leave enough space as the lead needs to be folded back. Allow to cool before continuing.
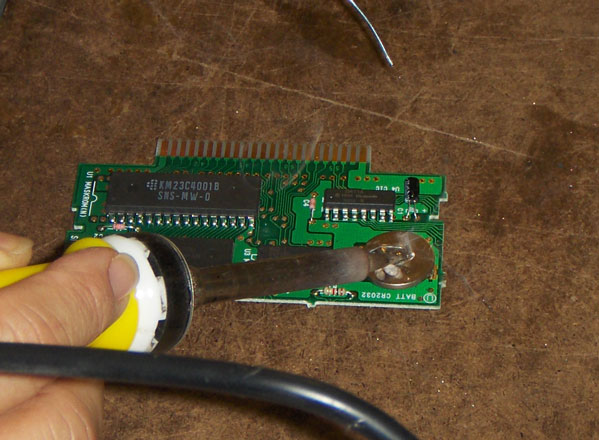
Now the top. Don’t make the battery stand too high off the board or it will not fit in the case.
It is very tough to get a good solder joint. Take your time and have some help.
Guard sleeping on the job:
You can now place the board back in and reassemble the game cartridge. Again, you did remember how it goes?
For another view, Final Fantasy III (or Final Fantasy VI if you want to be technical):
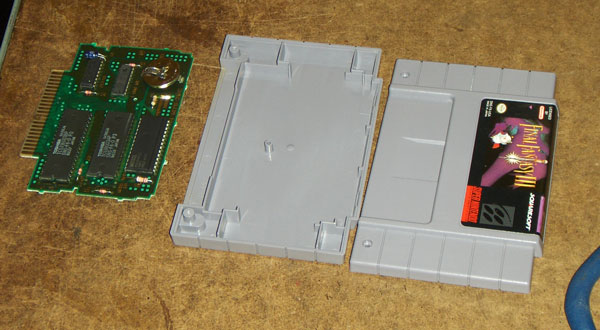
and with the board removed:
Replace the board and re-install the screws. You are done.

