Artesania Latina Bluenose II Build – Part 7 of a Series
In this Sunward Hobbies tutorial, I’ll be continuing with Artesania Latina’s Bluenose II build with Part 7.
PART 7
In this Sunwards Hobbies tutorial I’ll be covering steps 12 to 16 of the Artesania Latina Bluenose II fishing schooner. You’ll see plenty of tips on how to keep things clean and speed up the build.
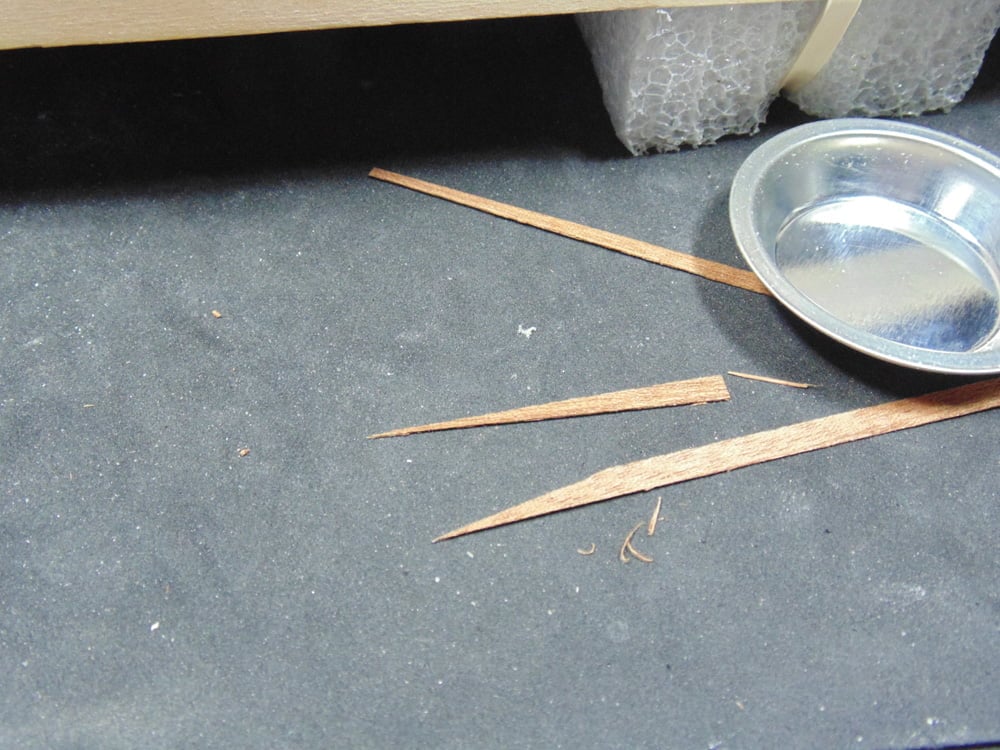
Let’s start by finishing the port side planking from step 11. Here’s a tip, don’t throw out your excess trimmings. They come in handy when filling gaps at the rudder blade area.
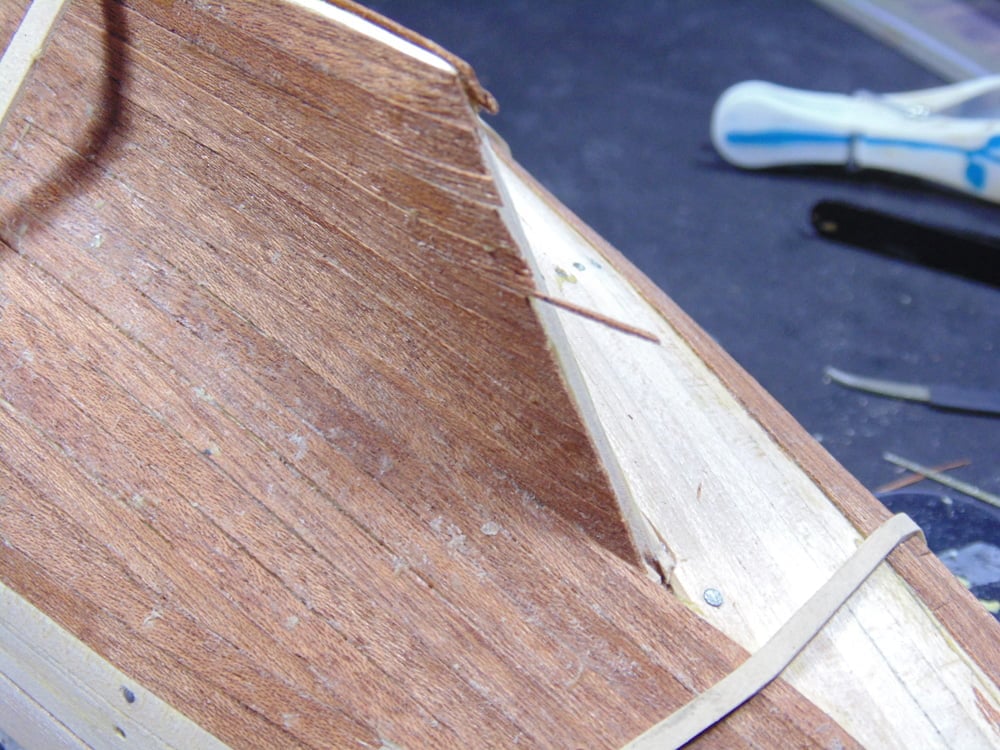
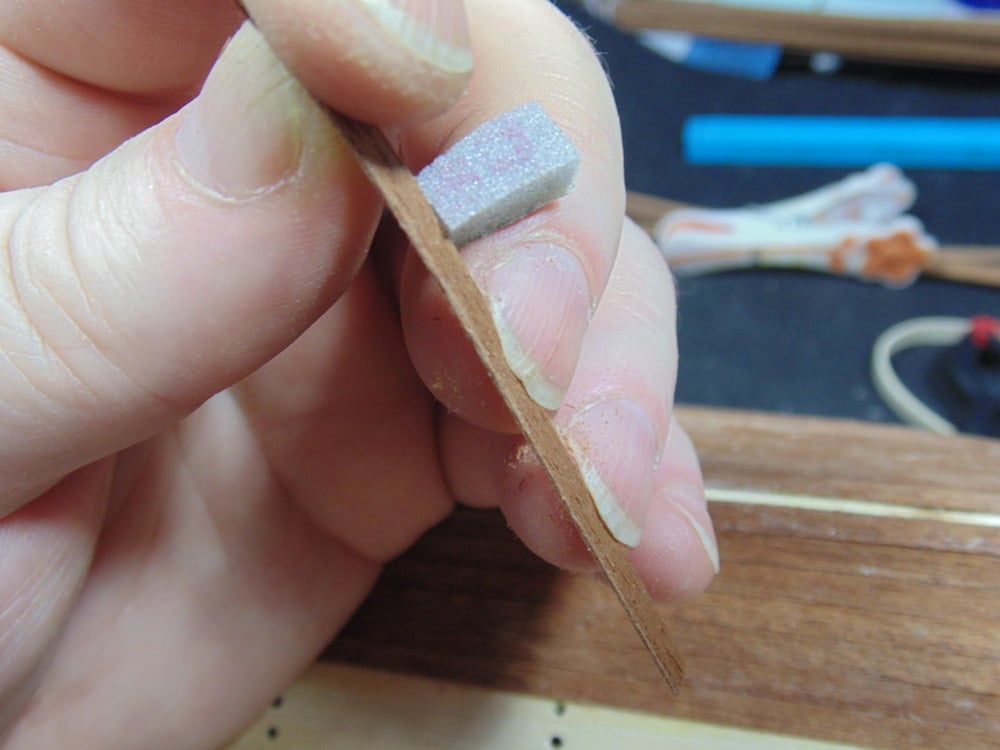
To make a tight fit between planks it’s necessary to sand off the burrs on the sides of some planks. This can be a frustrating exercise. Here’s a tip, place the plank in your fingernails to hold them secure.
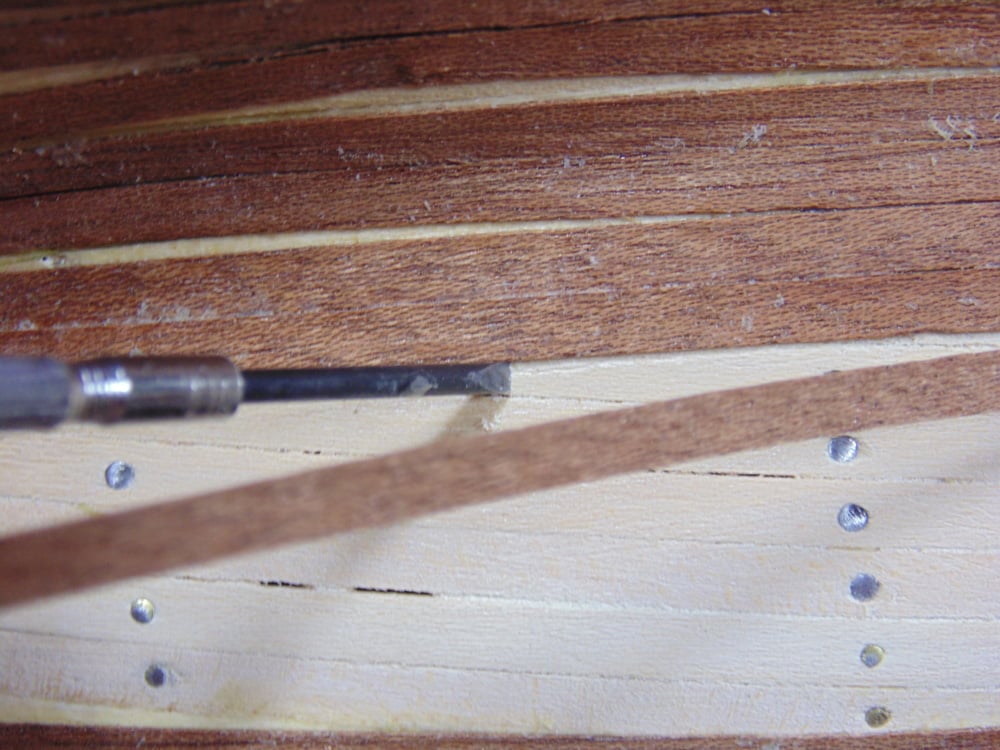
It’s almost impossible not to have excess glue ooze from under the plank. In fact, you want this to make a thorough bond. To remove the excess, find a hard 90-degree tool, such as this mini slot screwdriver, and scrape it away.
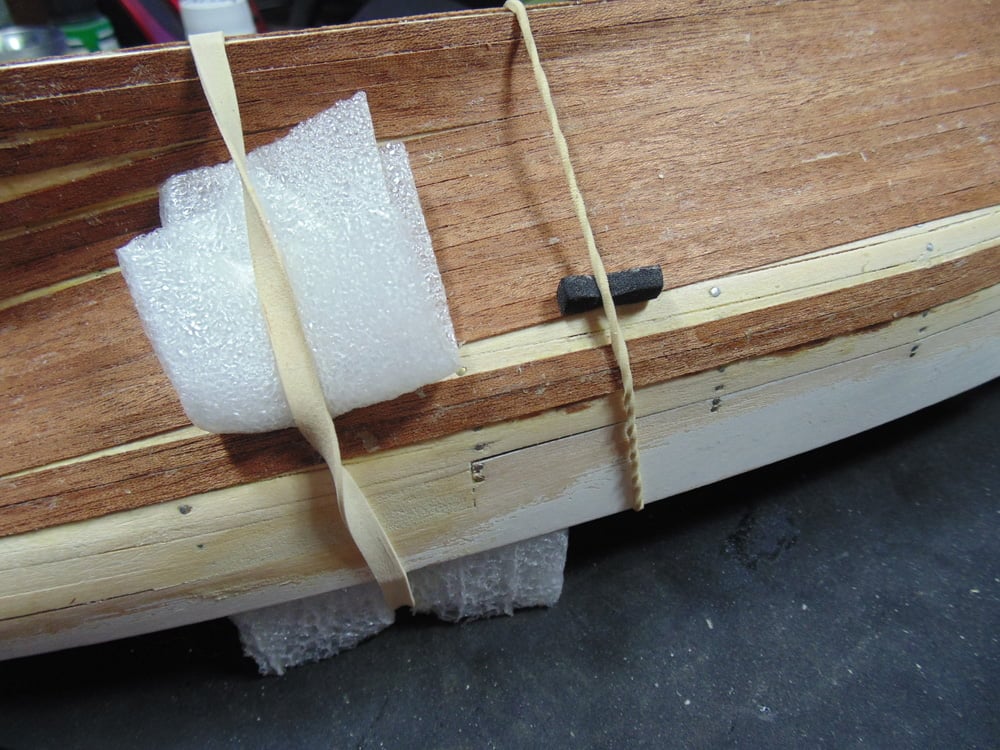
Holding the wet plank and waiting for the glue to set can be very time consuming. Here’s a tip, use some rubber bands with pressure backing to hold the plank down. This way you can begin another plank while the other dries. You can cover a larger area in a shorter period of time. Twisting the rubber bands will create more pressure.
For overlapping planks, use a flexible straight edge and pencil to draw a line then carefully cut/saw along the line. The same thing applies to the stern.
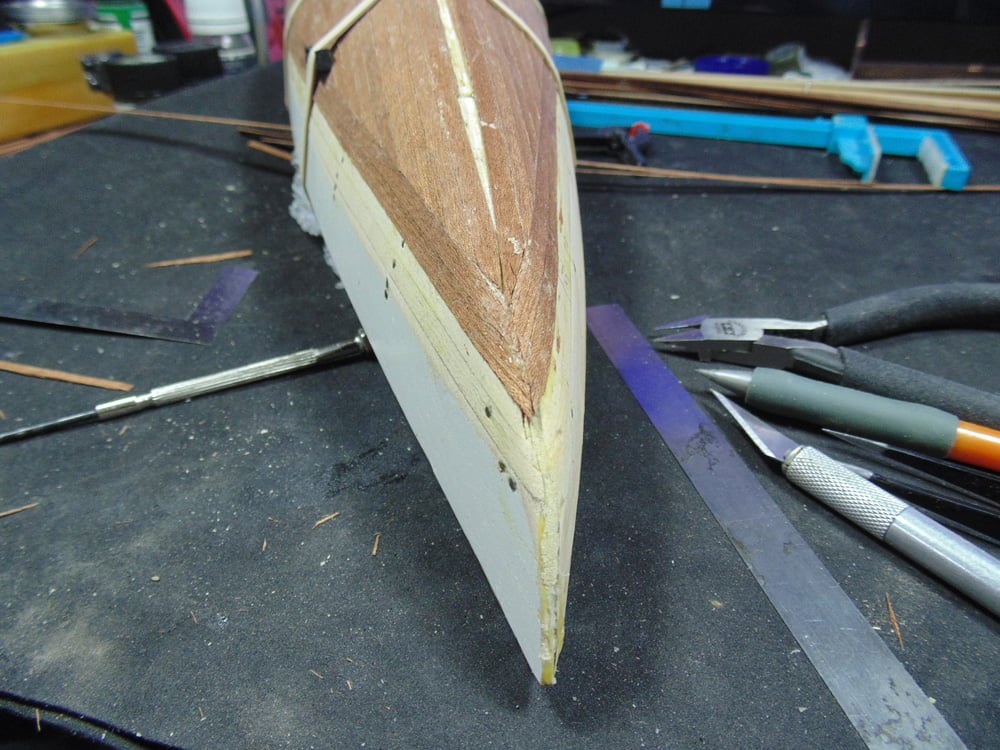
In step 12 you’ll be doing some sanding. I began with a high quality 100-grit or 180-grit paper. Some of the Sapelly planks, as mentioned in a previous article, will curl up at the edges. The natural tendency is to sand against the grain. This type of wood is very delicate and easily gouged, note the scratches on the top half of the hull. Make certain you sand with the grain.
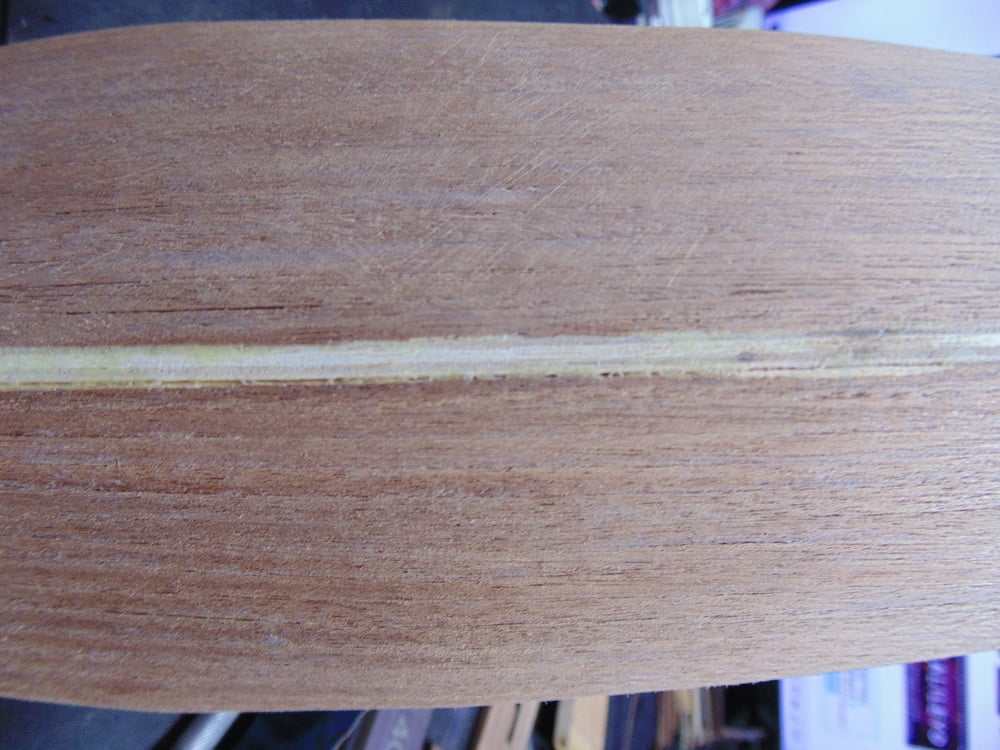
In this photo you can clearly see gaps in the planks and bulwark and on the stern plate. Don’t fret about this, you’ll be filling these in a future step.
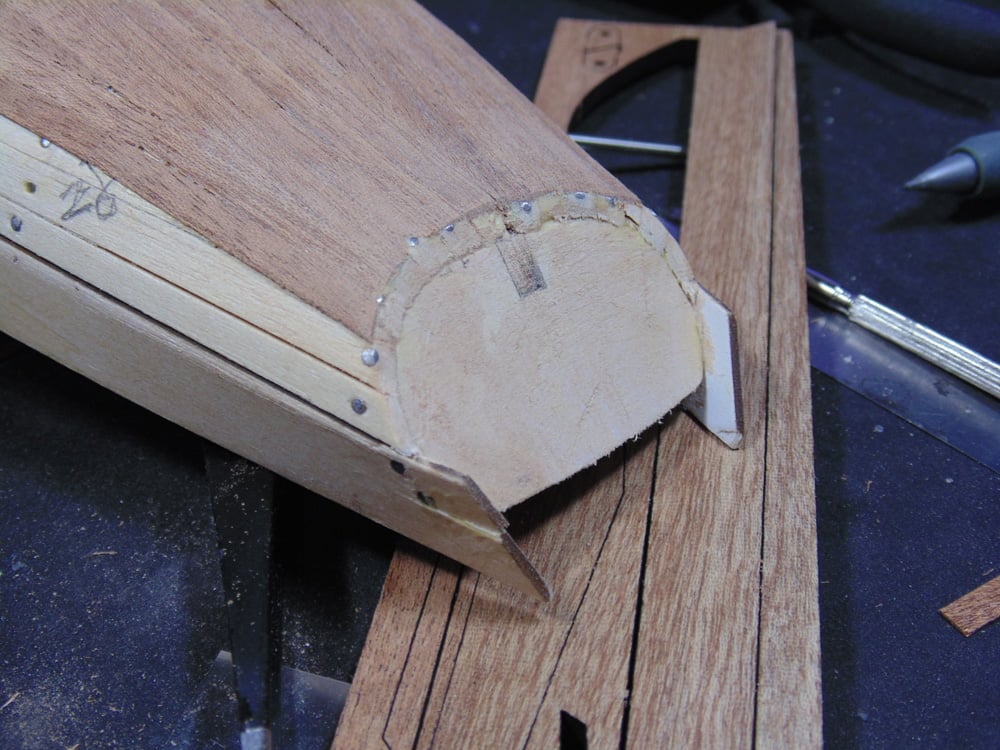
When sanding any area make sure you are measuring the width to fit the next part. In this case a cap will be placed over the edge of the rudder blade.
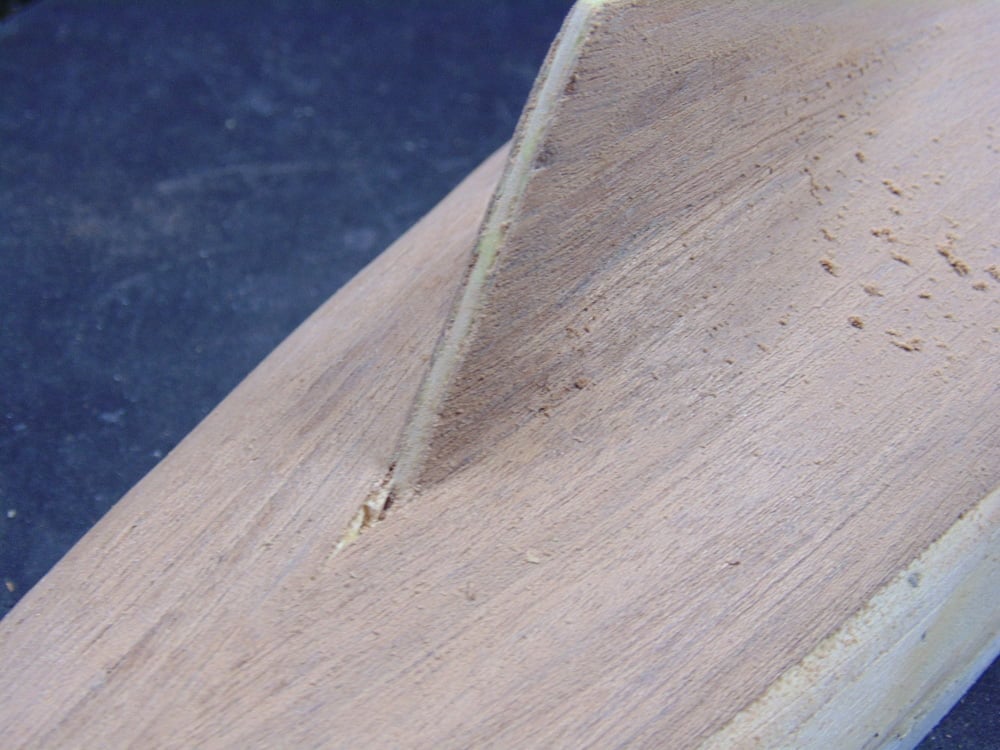
When adding the keel plate, eyeball it to make sure it’s straight. This will help immensely when adding the blade parts later. It does not need to be sanded smooth.
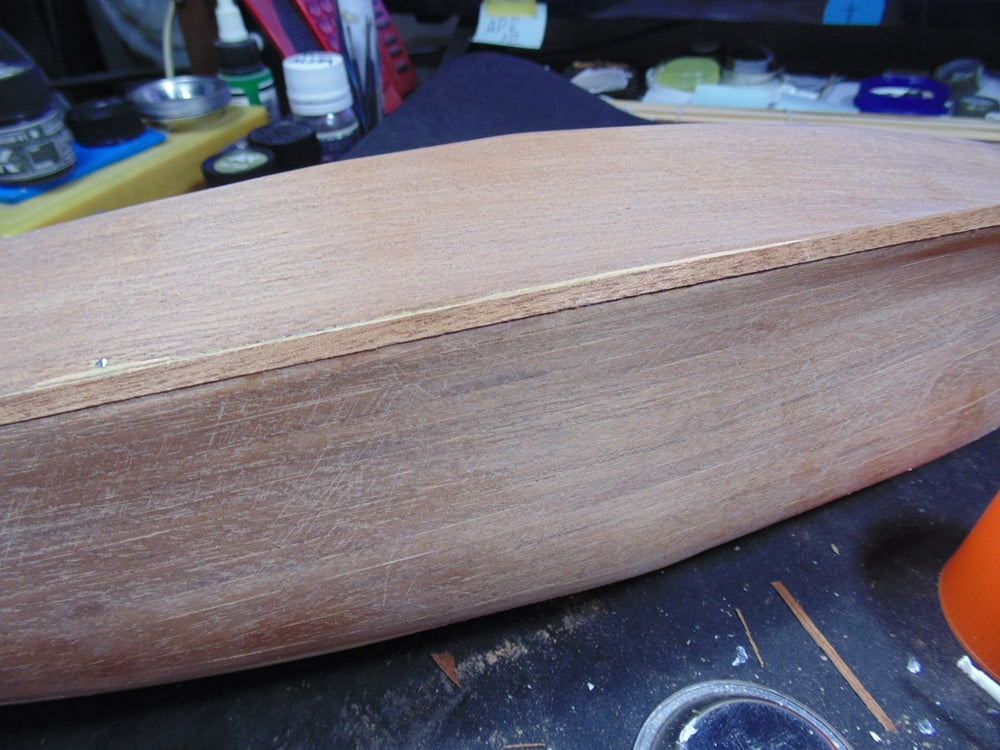
While the plate is drying you can add your gap filling putty. I tried Vallejo plastic putty but found it very difficult to sand as a finished process. It did work well for larger gaps.
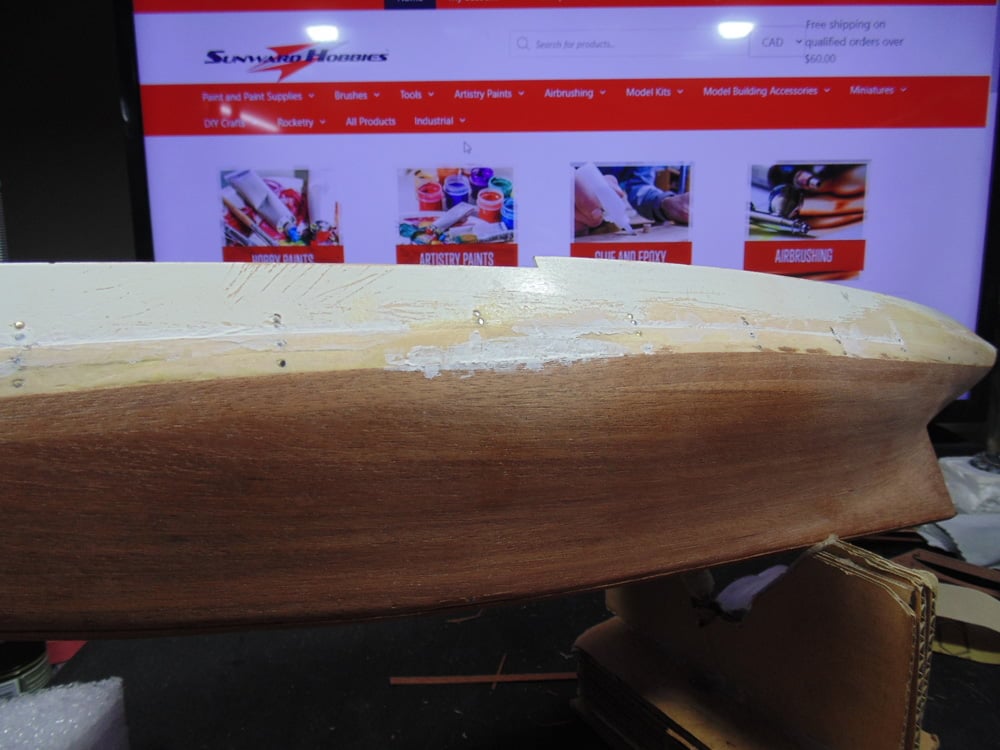
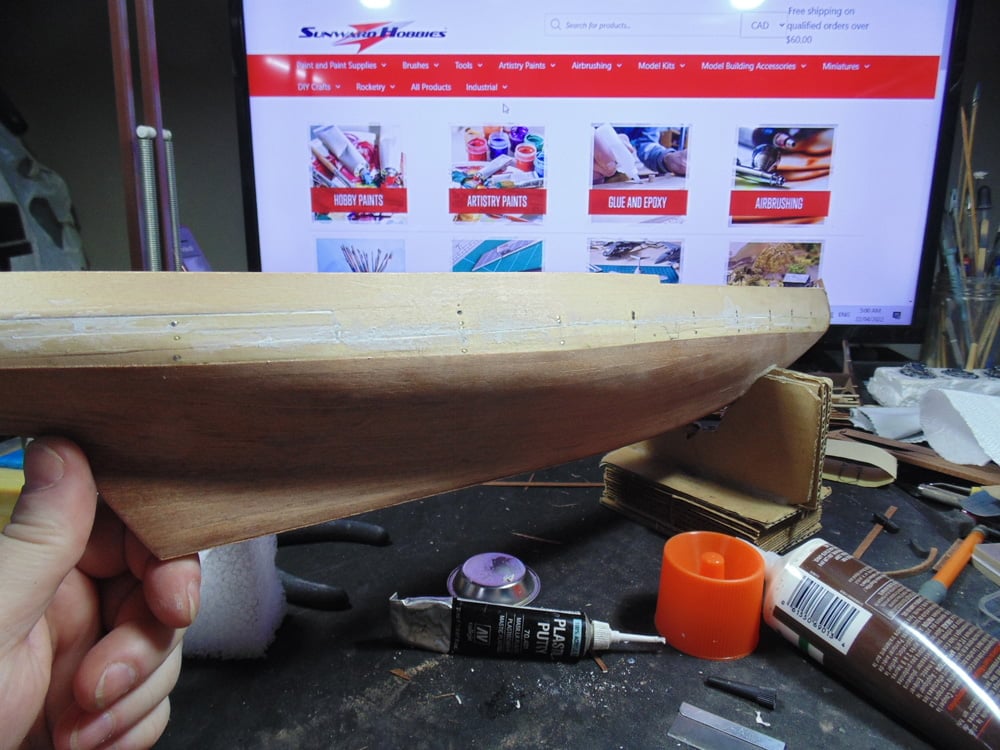
Now that your first coat of putty is on you can add the rudder blade cap. This piece needs to be trimmed on the top and angle adjusted at the bottom. It’s critical this part fits like a glove or the rudder will be difficult to install.
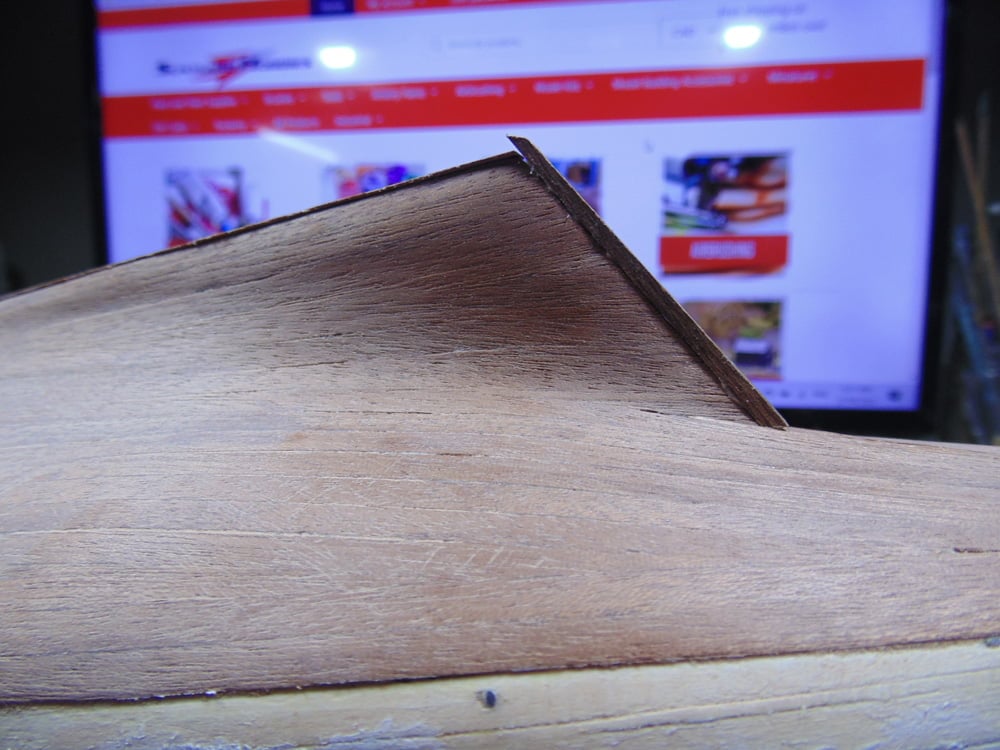
In Step 13 the rudder must be rounded at the blade cap end and the hole drilled to fit the stem. To find the best place to drill, slid the rudder down to the hull, find the center point and move out 1mm from your pencil mark.
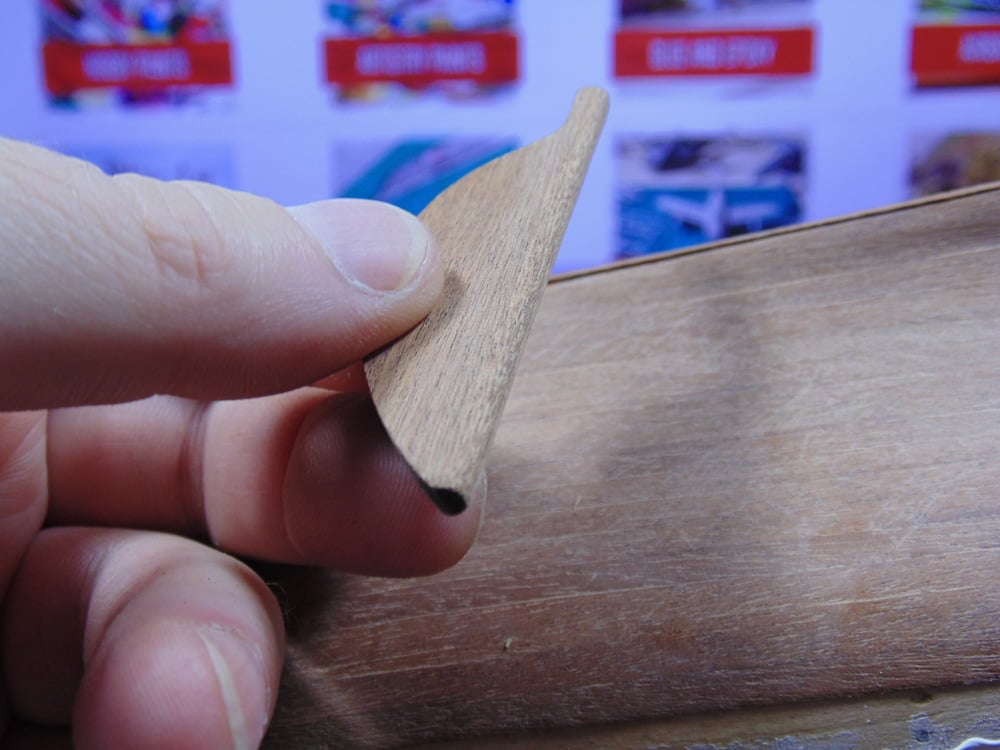
Next, the blade parts will be installed. These parts are laser cut and leave quite a bit of soot on the edges. This has to be removed for the glue to work properly. Take the time to wipe then sand these parts.
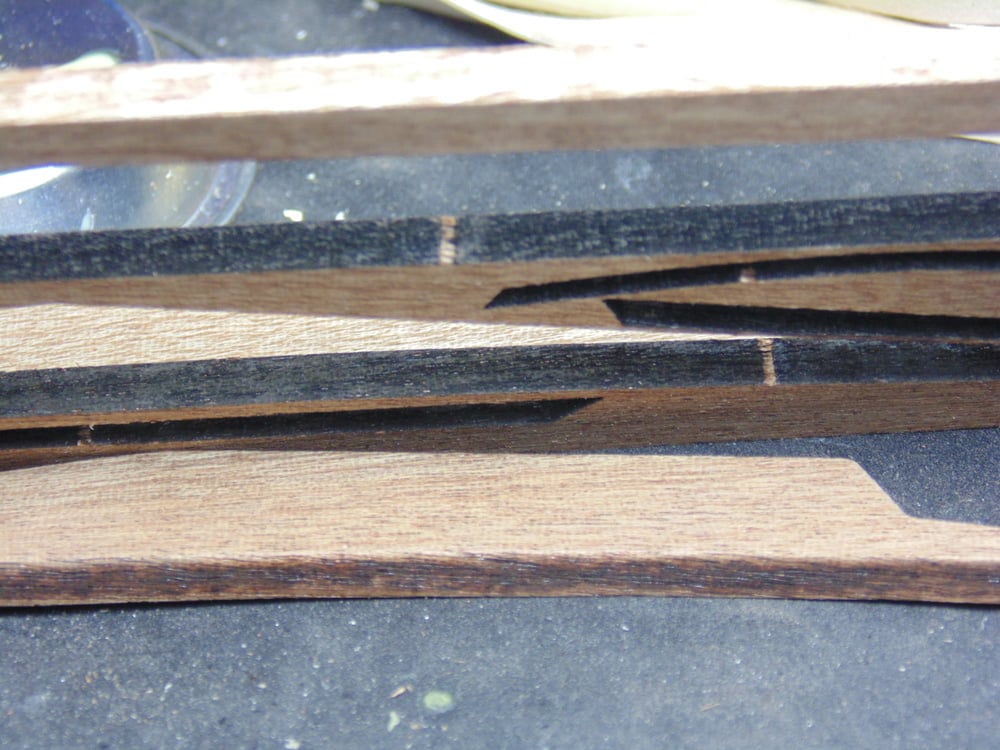
If your prow leading edge is the same as this one an easy fix is to wet down the wood after the top prow area has completely dried. Use a fine brush to get under the wood to apply the glue for the remainder of the part.
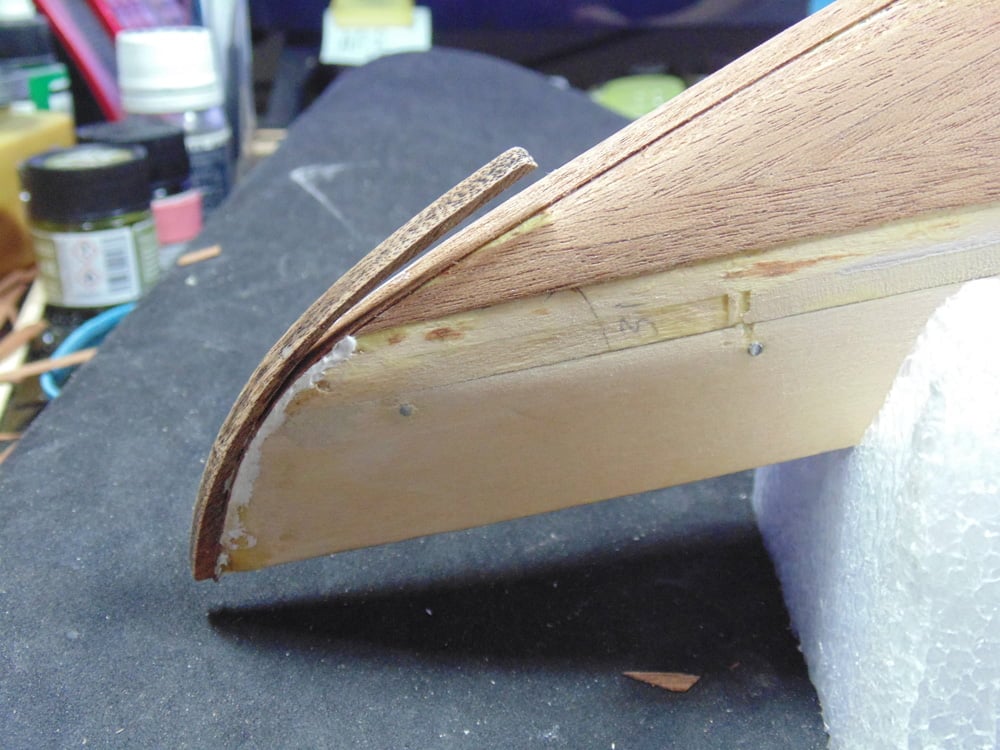
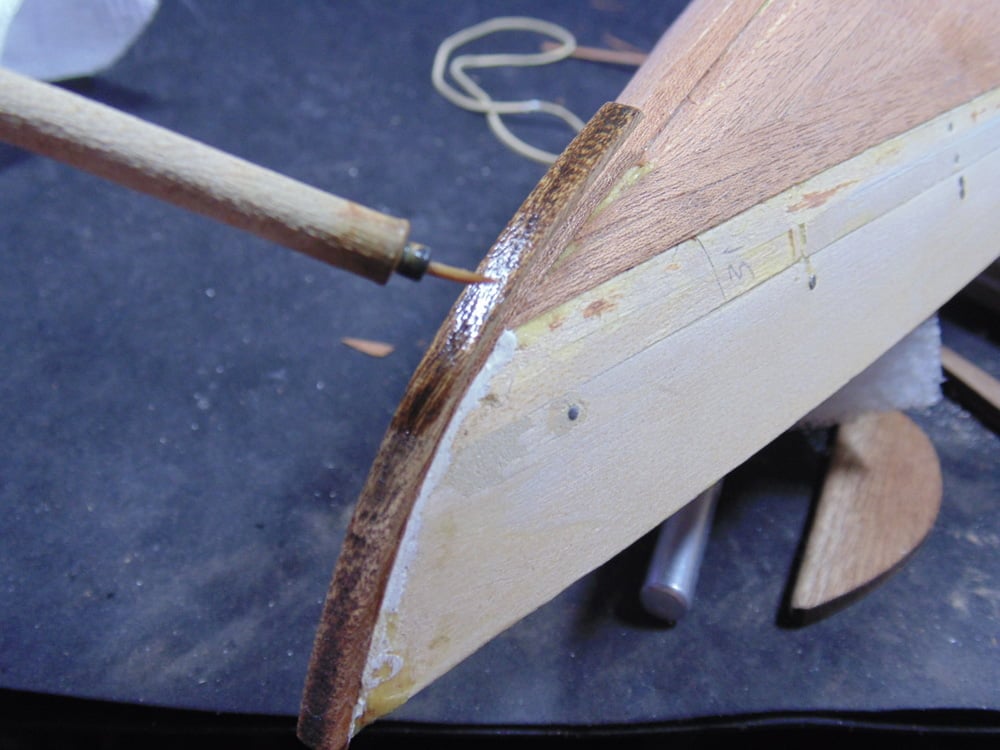
Place a dowel or pencil in the mast hole to anchor some rubber bands around the bow part. Remember, the part is wet so it will take 4 times longer to dry properly.
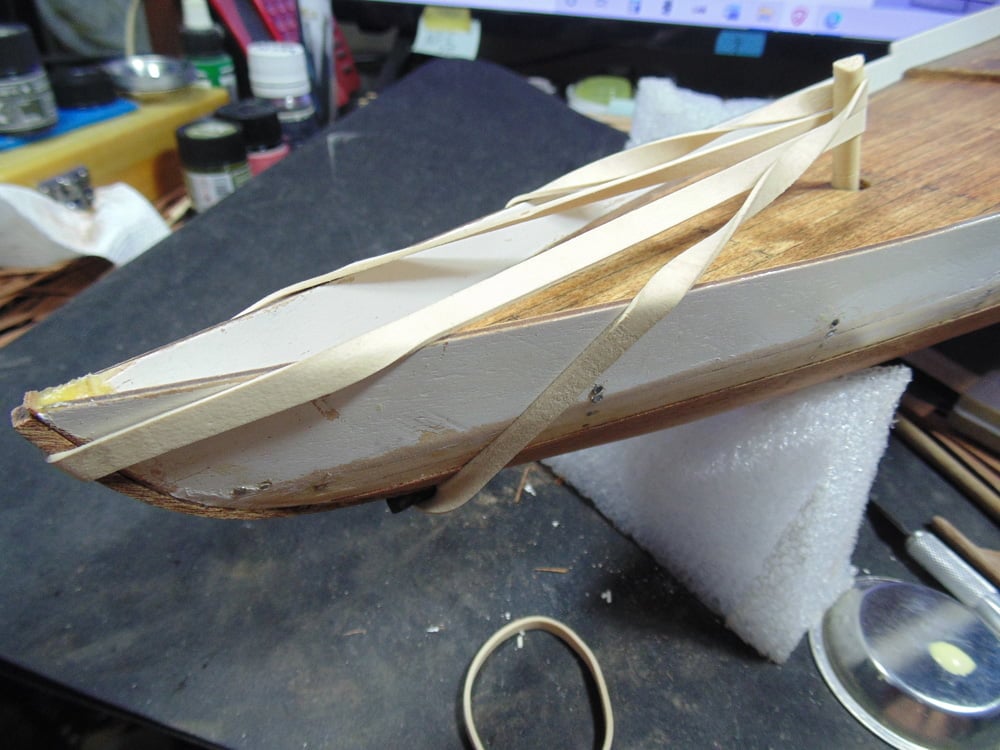
Next, trim the rudder cap excess. Pull your saw toward the hull and not away from it to avoid the part pinging off. It is always better to leave a little material behind when sawing so you can fine tune it with sandpaper.
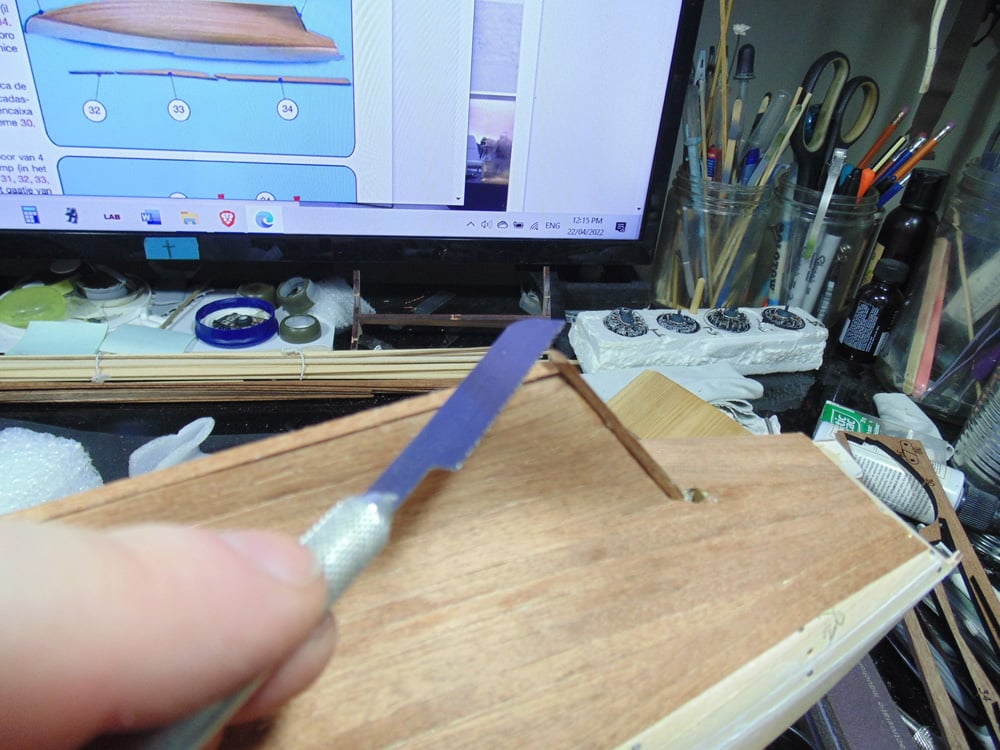
Some of the blade parts need to be fine tuned.
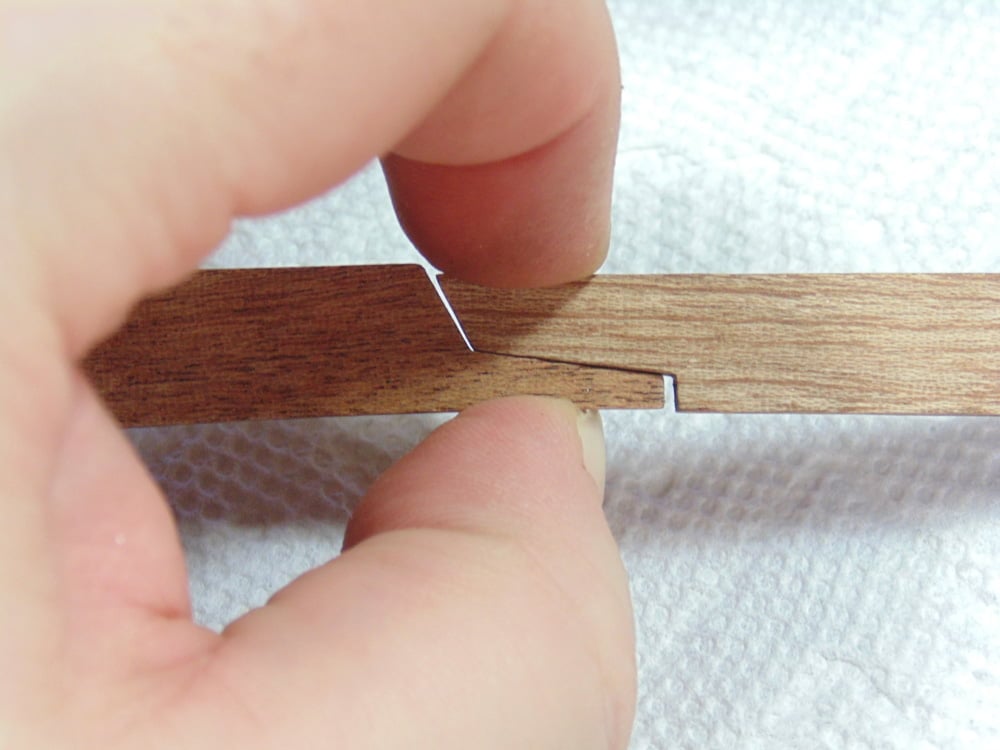
As most modellers do, we test fit constantly. I disagree with the instructions when they advise you to add the bow blade part first. It would have been much easier to add the rudder blade first.
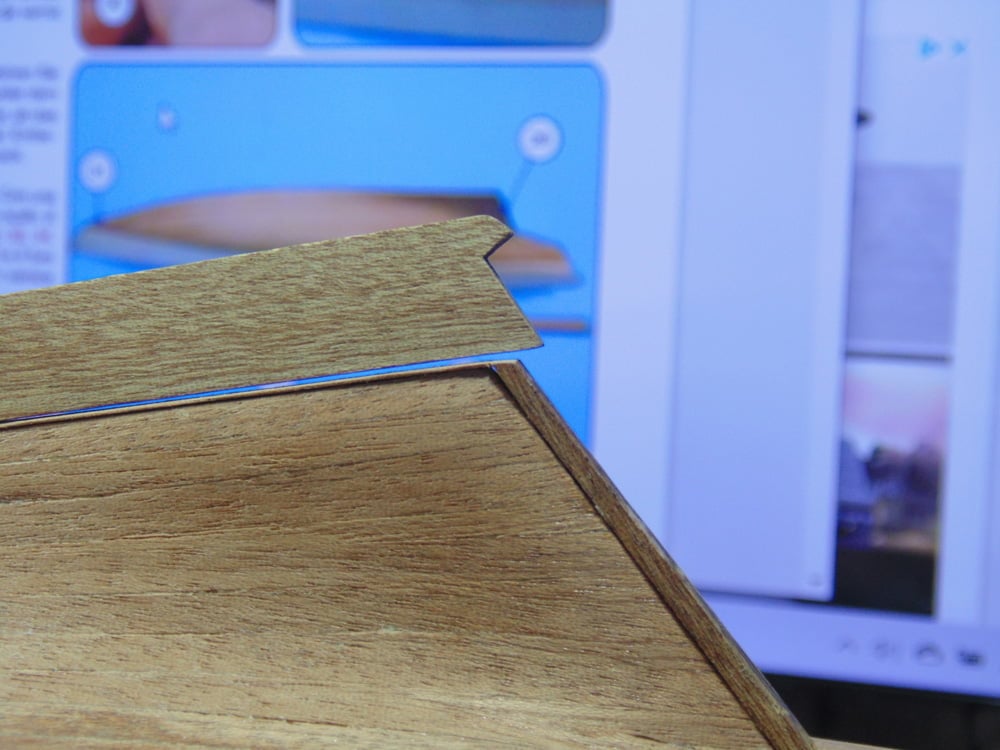
Due to this information in the builder’s guide and my unfamiliarity with the kit, I was forced to cut a 2mm block from one of the thinner parts. I’ll be doing further corrections later to the bow tip to fully fix the mishap.
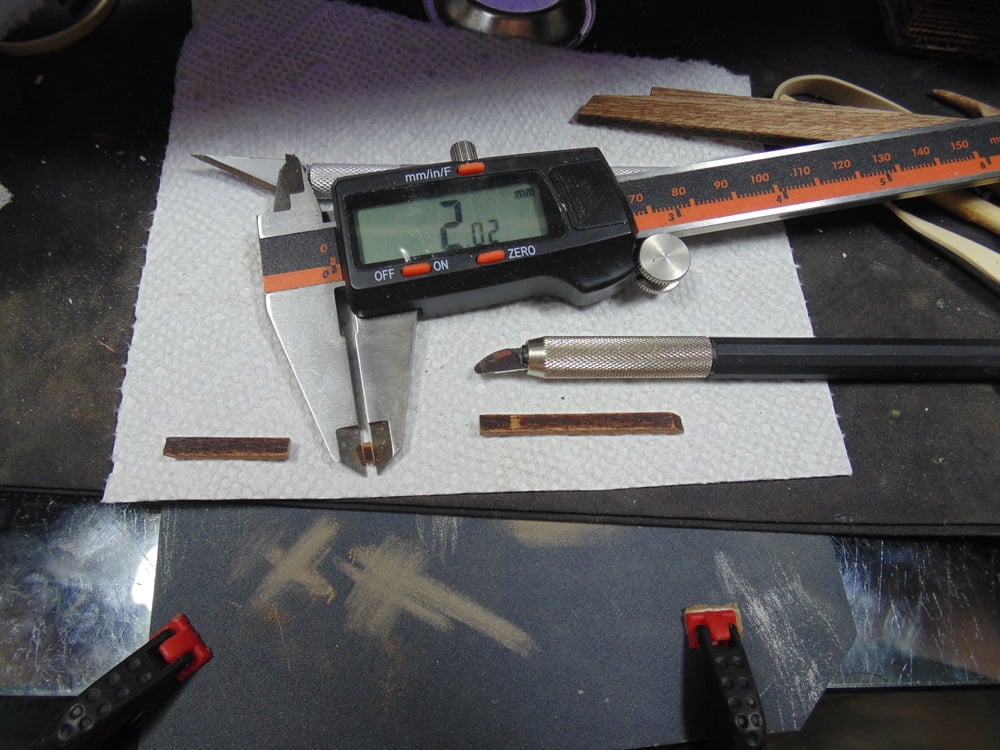
Because the parts are not curved to the shape which I’ve sanded, a few more rubber bands and Excel “F” clamps come in super handy.
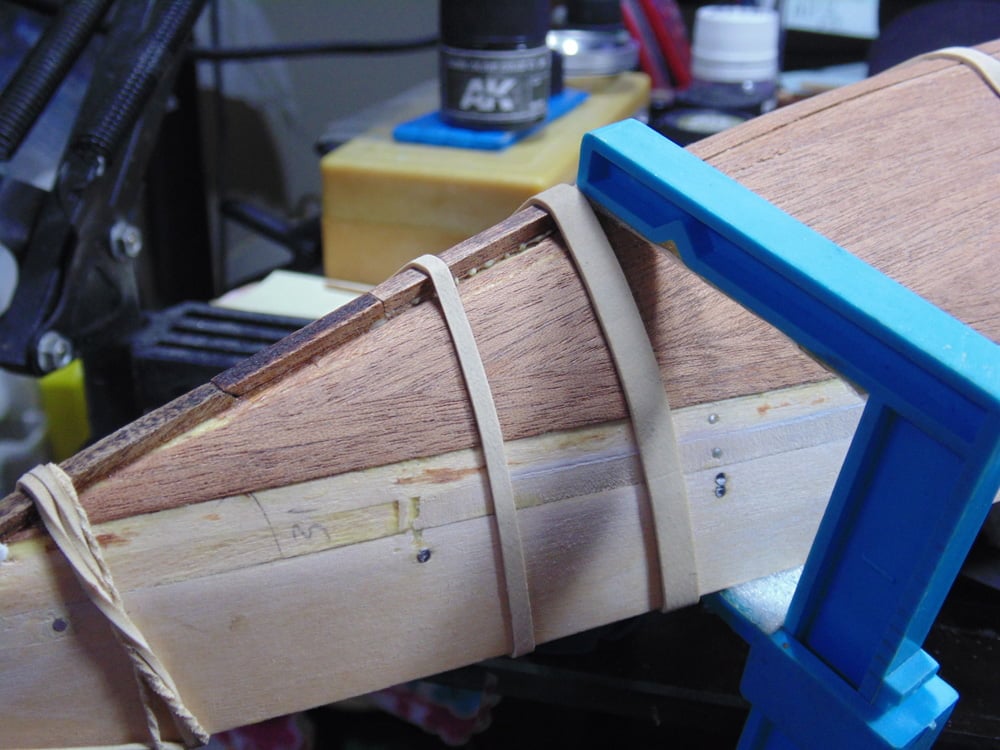
The curve of the deep part of the blade is off. This part can easily be sanded to fit correctly by rocking the part to find the sanding point.
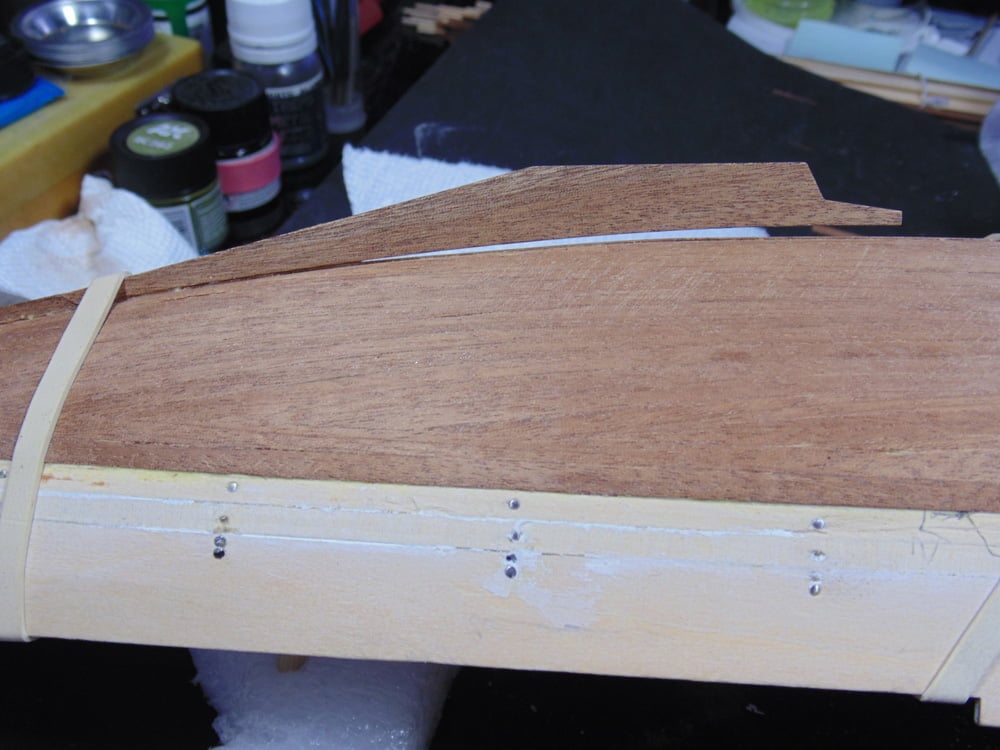
Make certain your part is placed properly when adding each rubber band. It can be pulled off track easily.
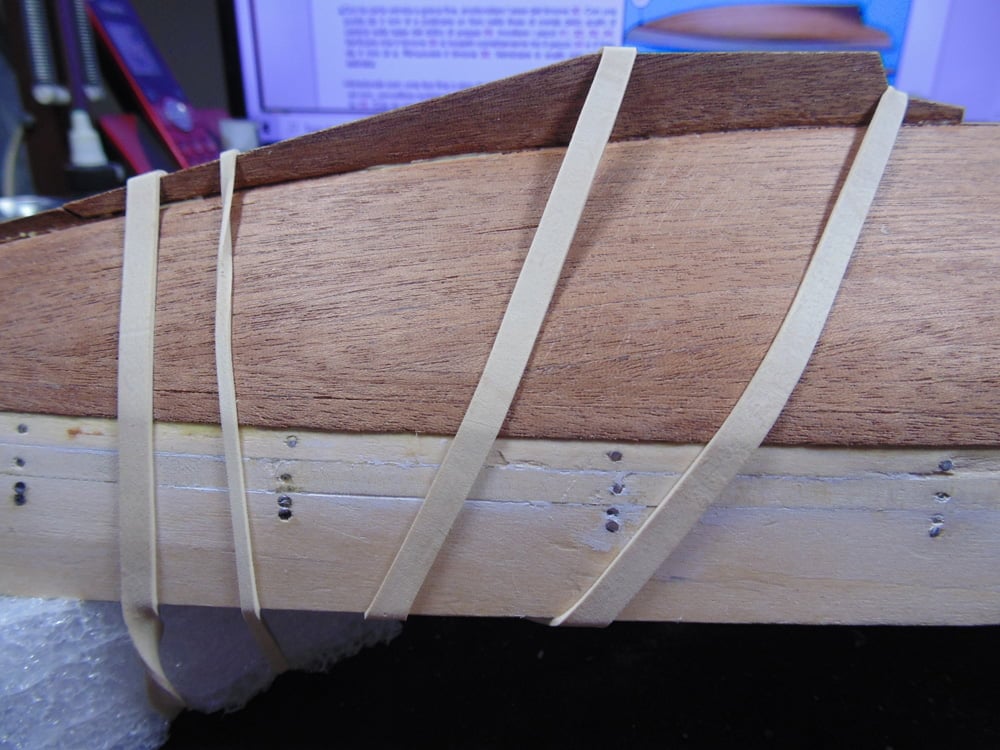
The rudder blade part is curled up. When I tried to find out if it would bend it snapped! Oops! Not a big deal really since it laid down correctly and after sanding hid the crack.
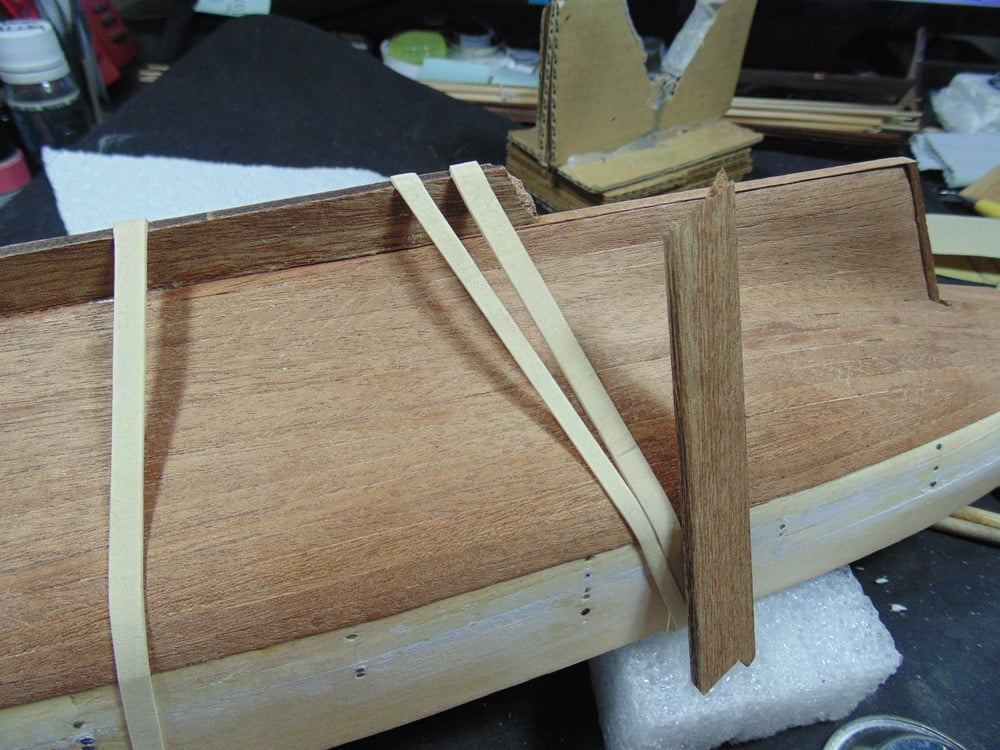
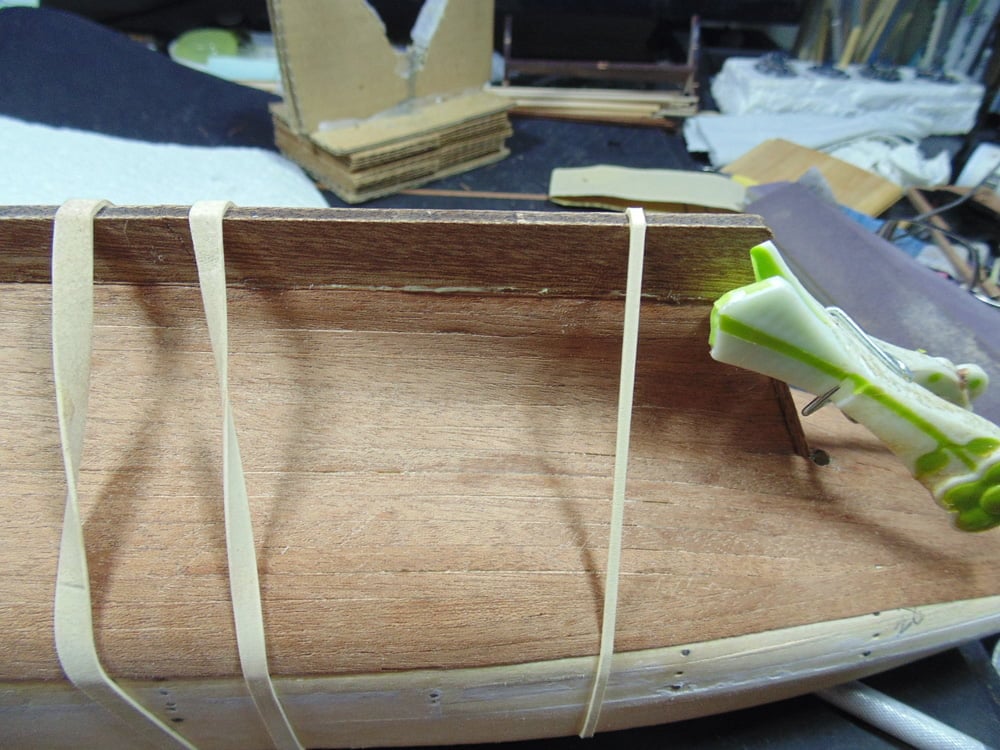
To wrap up Step 13 add a couple of coats of clear finish. Follow the directions, but letting the surface fully dry and then a light sanding will really bring the finish to life on the second coat.
In Step 14 you’ll be working on the rudder. What the instructions do not make clear is the rudder must go from 4mm thick to 2mm thick. I made my 2mm edge first then began to feather it up to the stem of 4mm. A flat sheet of sandpaper on a hard smooth surface works great here. Constantly inspect your progress.
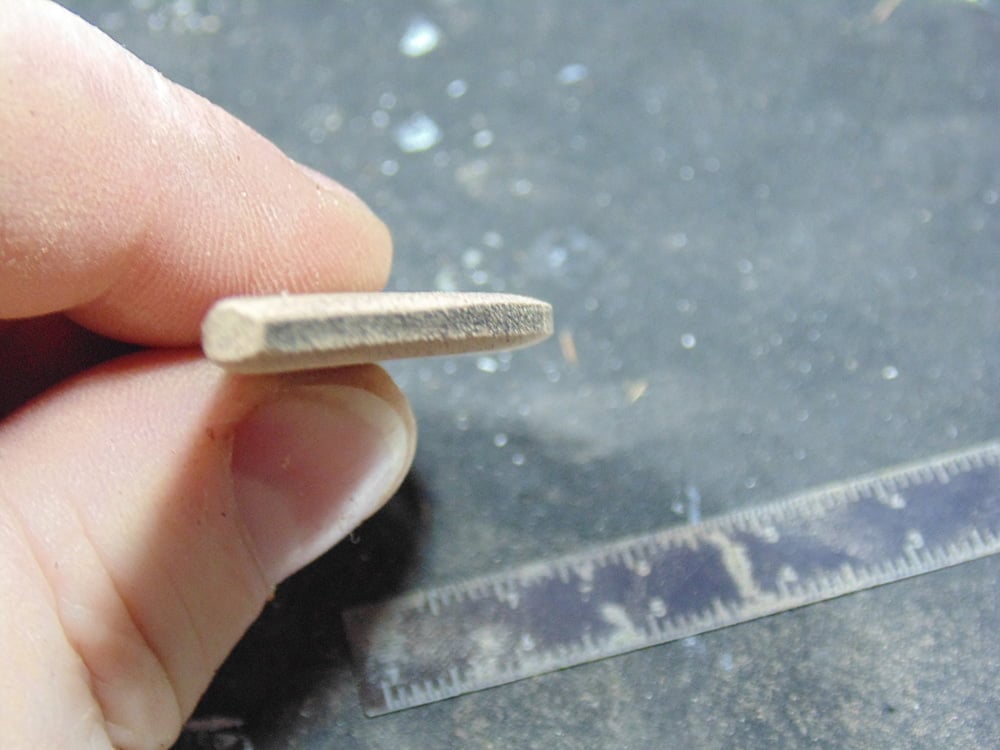
To replicate the 4mm sections of the rudder, butt up the stem edge to a straight edge.
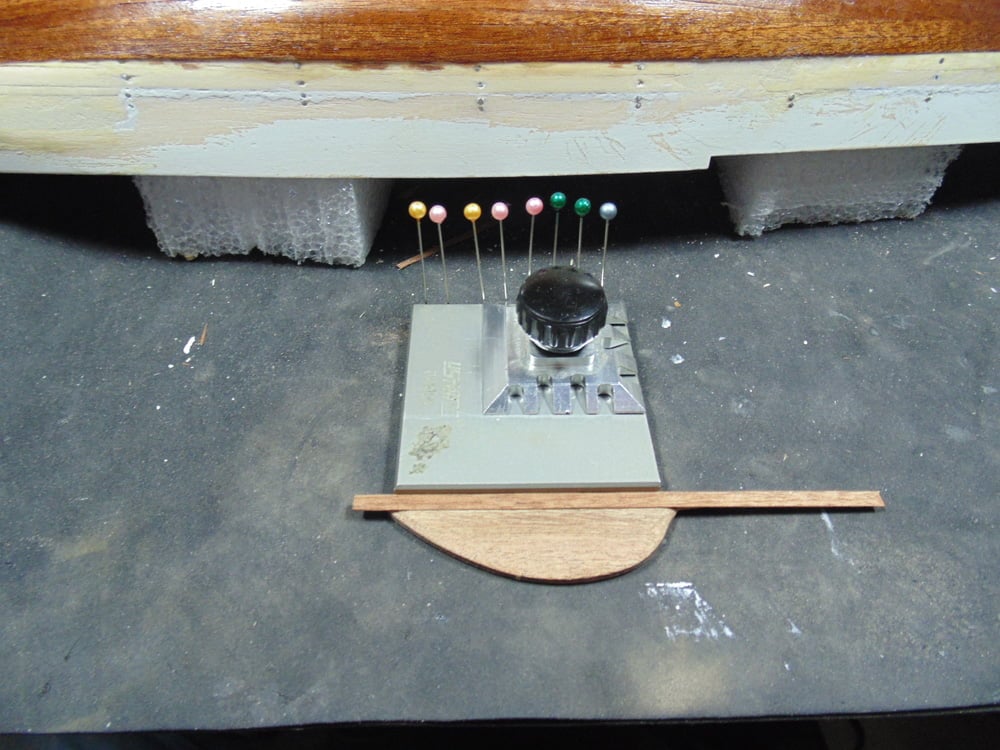
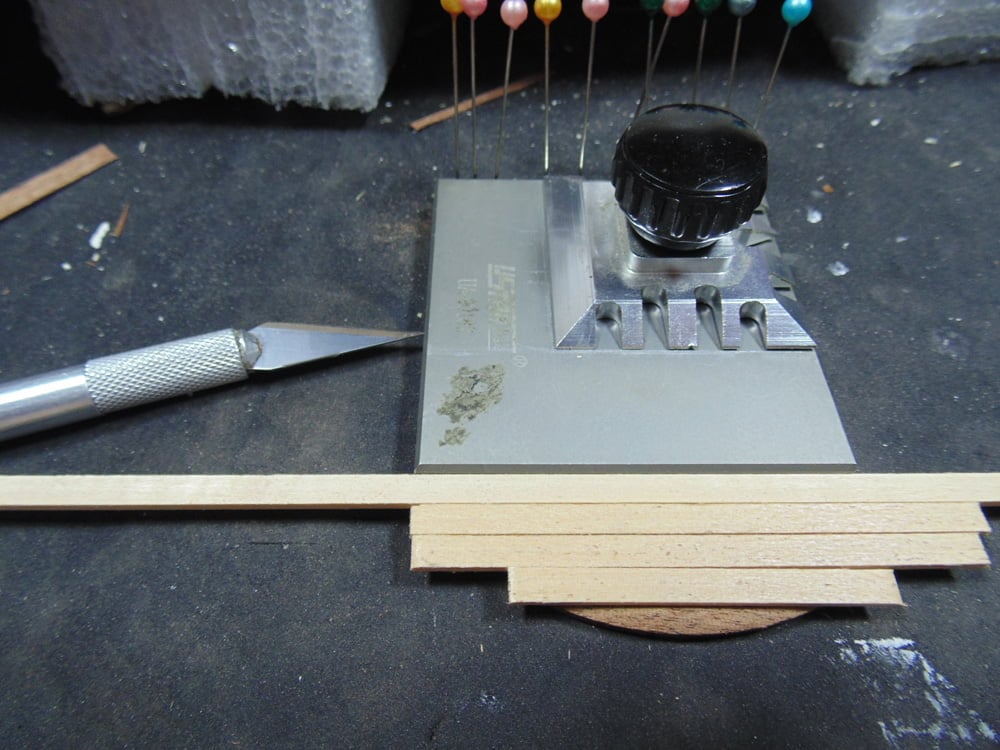
Make certain the straight edge is secure. Because I haven’t thrown out anything, some 4 X 1.5mm planking make great spacers. Add one then glide your No. 11 blade and slice. Add another spacer and so on.
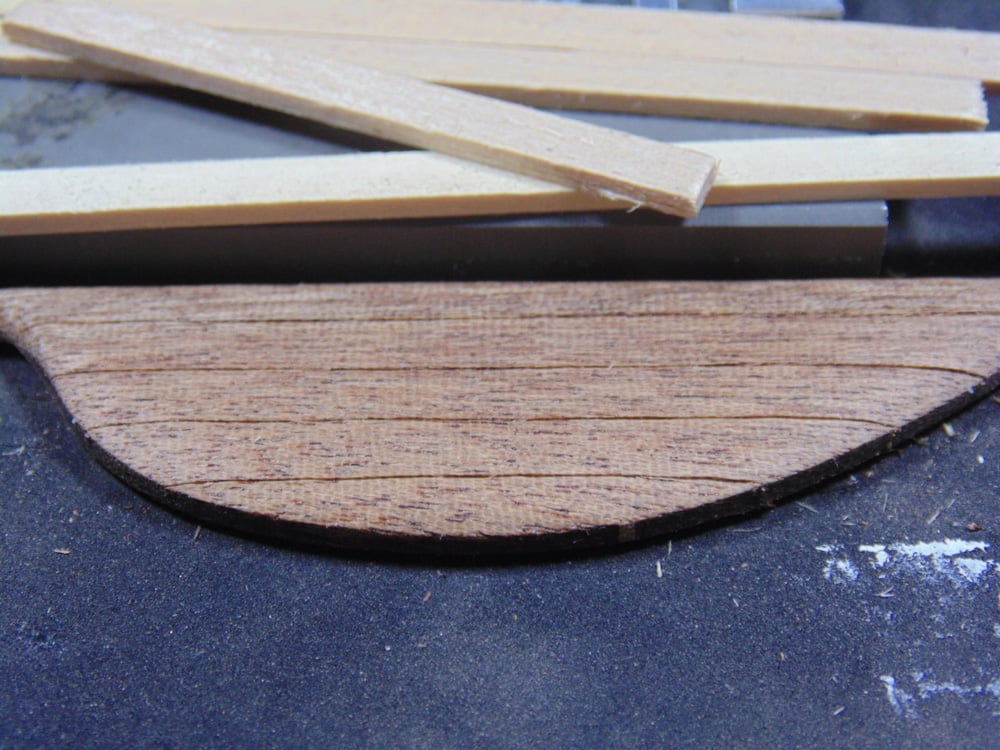
You can sand the unseen area of the stem to make the rudder sit flat on the blade cap. Then angle your drill bit to align with the blade and rudder. I used an expensive carbine bit, but sadly it cracked off making it a permanent pin. Guess I saved myself a step.
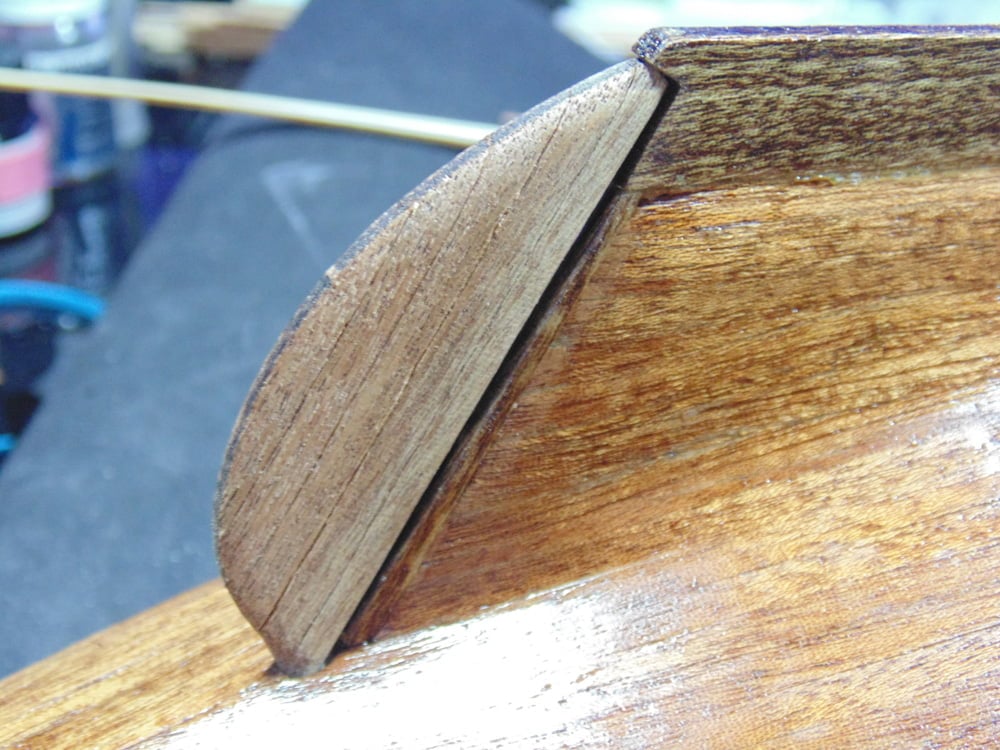
Step 15 deals with the stern. The first thing is to add the vertical short wall. To make this part bend easily let it sit in some water for 10 minutes.
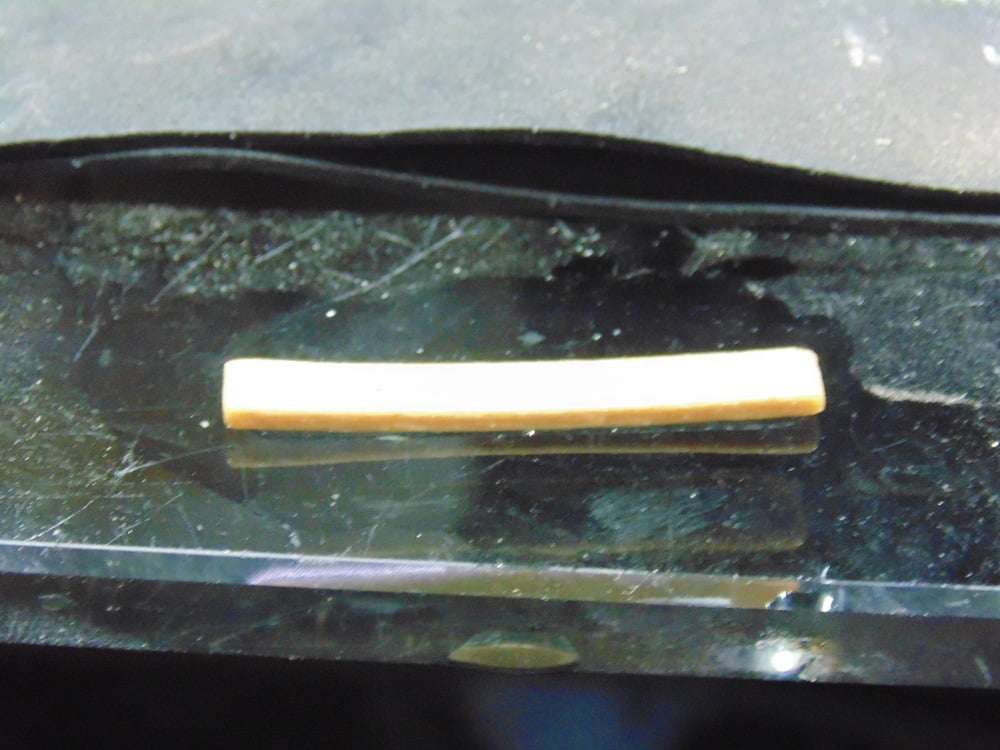
The dry wood will soak up the fluid like a sponge. This means it will take, again, 4 times longer for the glue to dry. Put a dowel in the mast hole and use some rubber bands as a clamp.
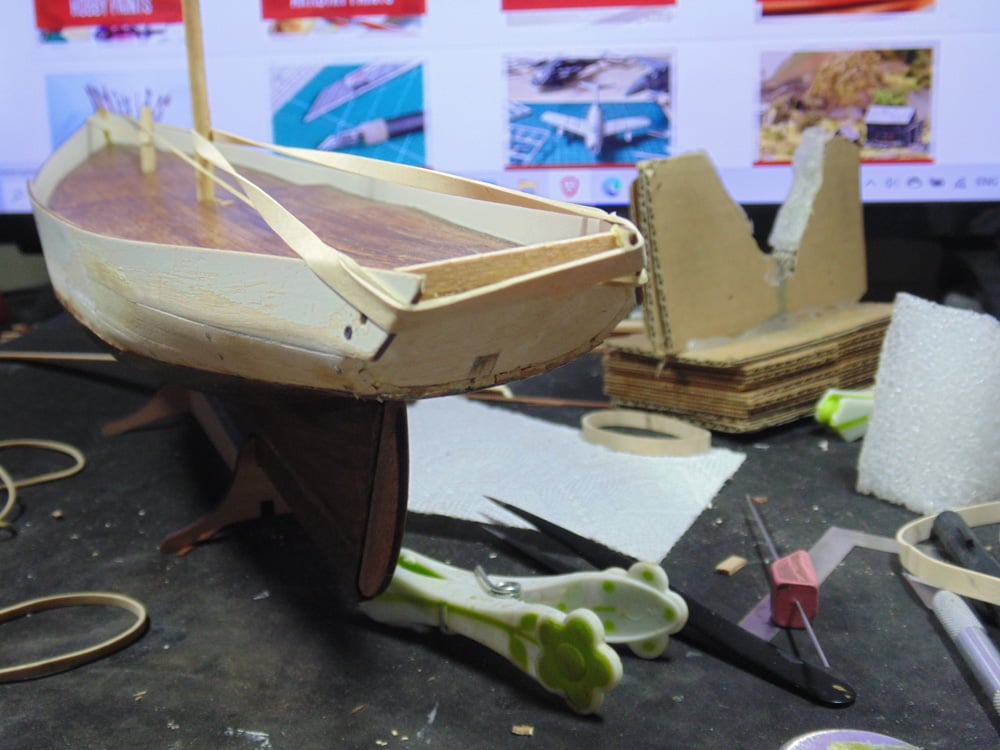
Since this area will be sanded and painted later you can add some more wood glue to fill any small gaps, as there were with this part.
Please remember, while the glue might have a skin and look dry the wood may not be fully dry.
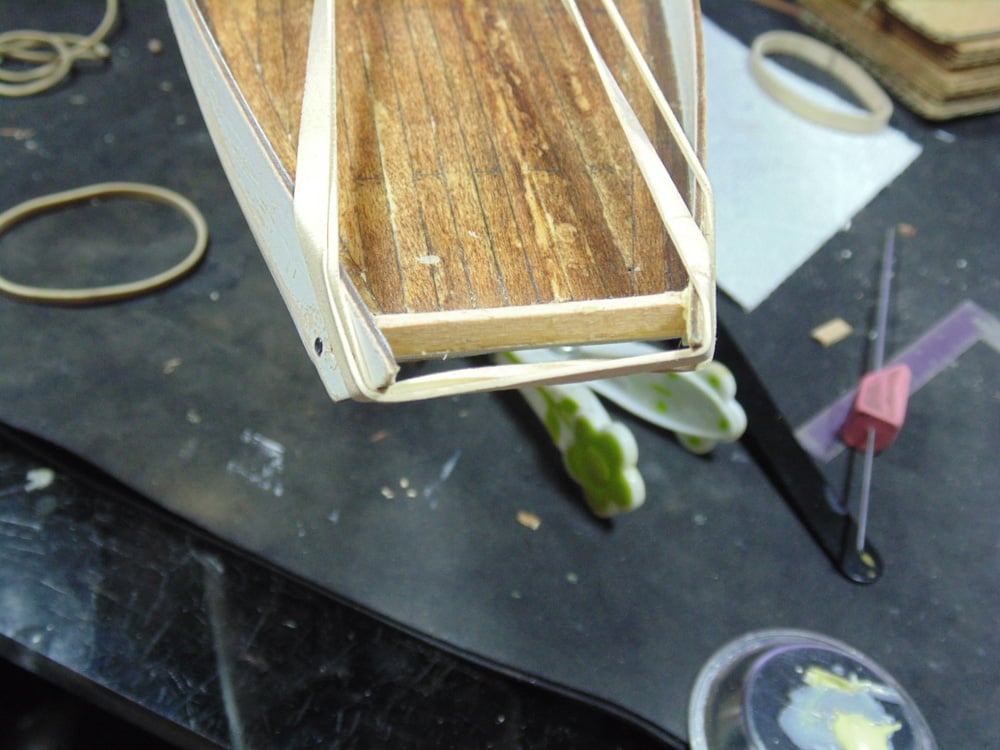
Here’s a tip, when sanding always move toward the inside. This applies even more when using a saw. There is a huge risk of the planks popping off if you pull them away from the hull. Again, saw off the bulk of the excess and then come back with a fine sandpaper where you have more control and can be more precise.
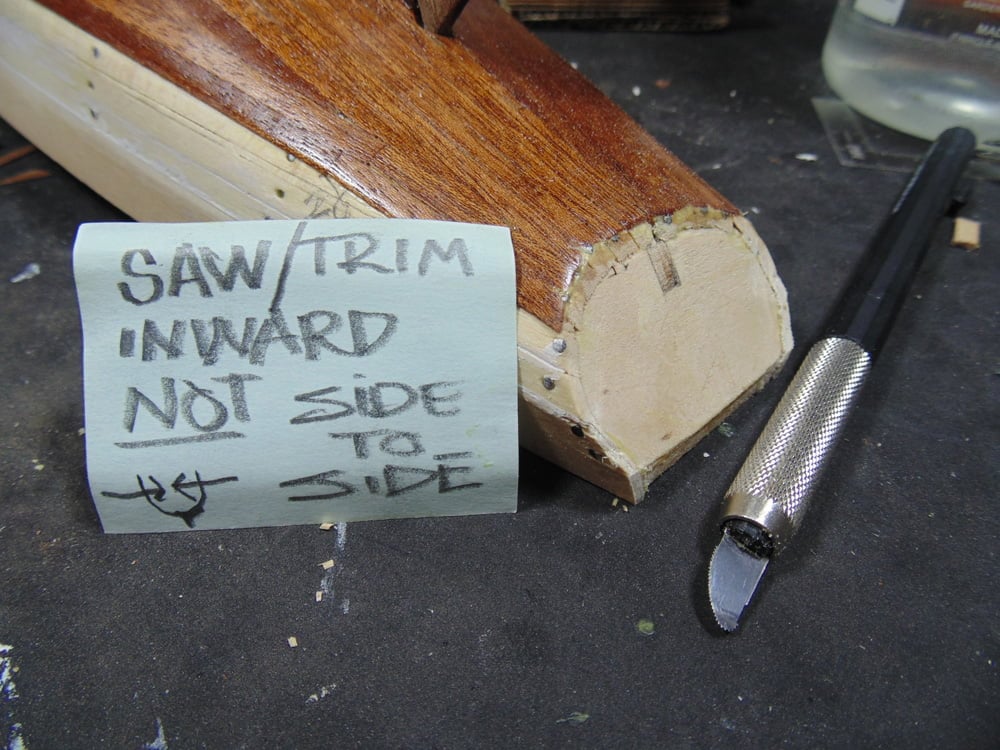
Use some Tamiya fine sponge sanders to smooth the stern plate and round off the edges.
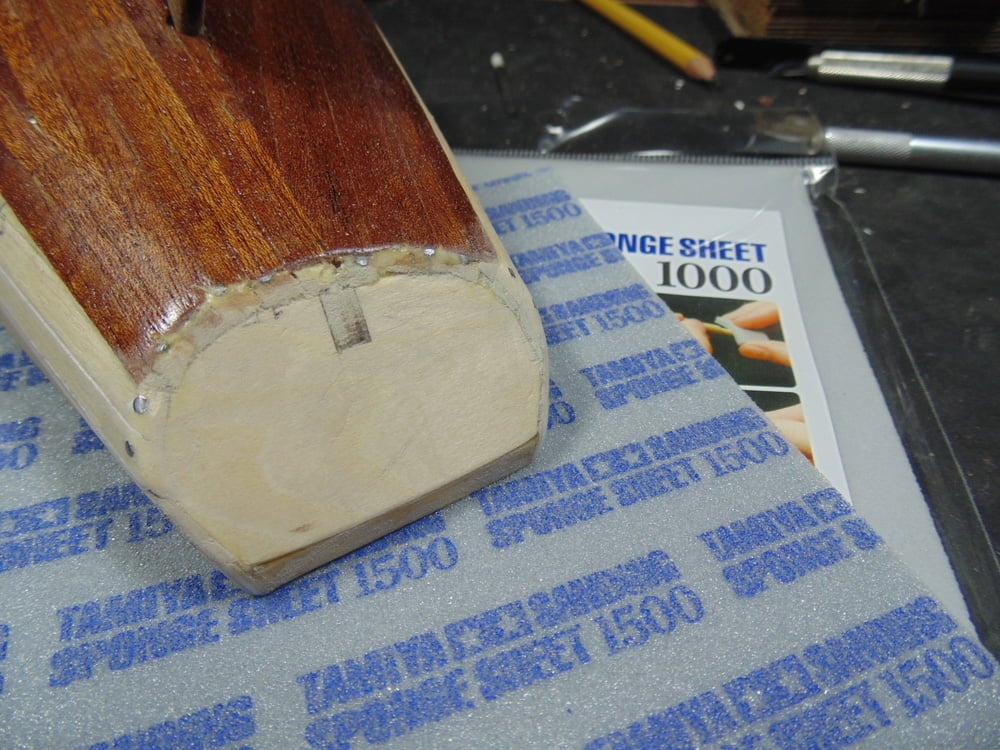
In Step 16 you may get dirty. Before though the bowsprit hole has to be drilled out. Here’s a tip, slowly saw at the points mentioned in the instructions. Then center in the middle and use a 2mm drill bit to begin and move up to the 5mm required hole. This will help remove the unwanted section of prow blade.
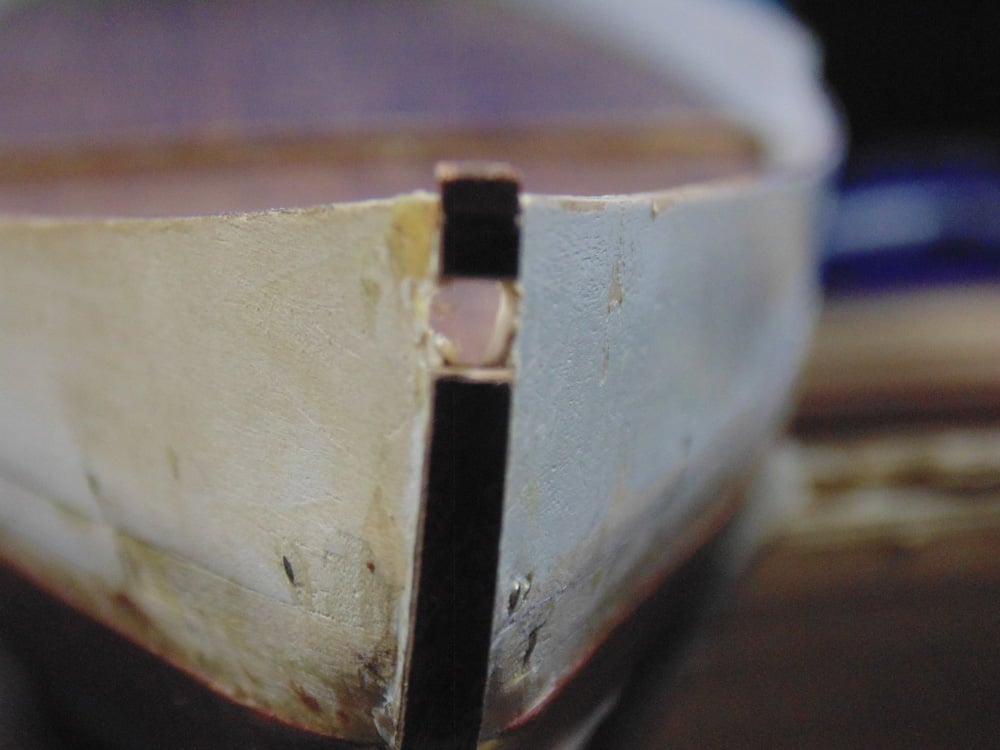
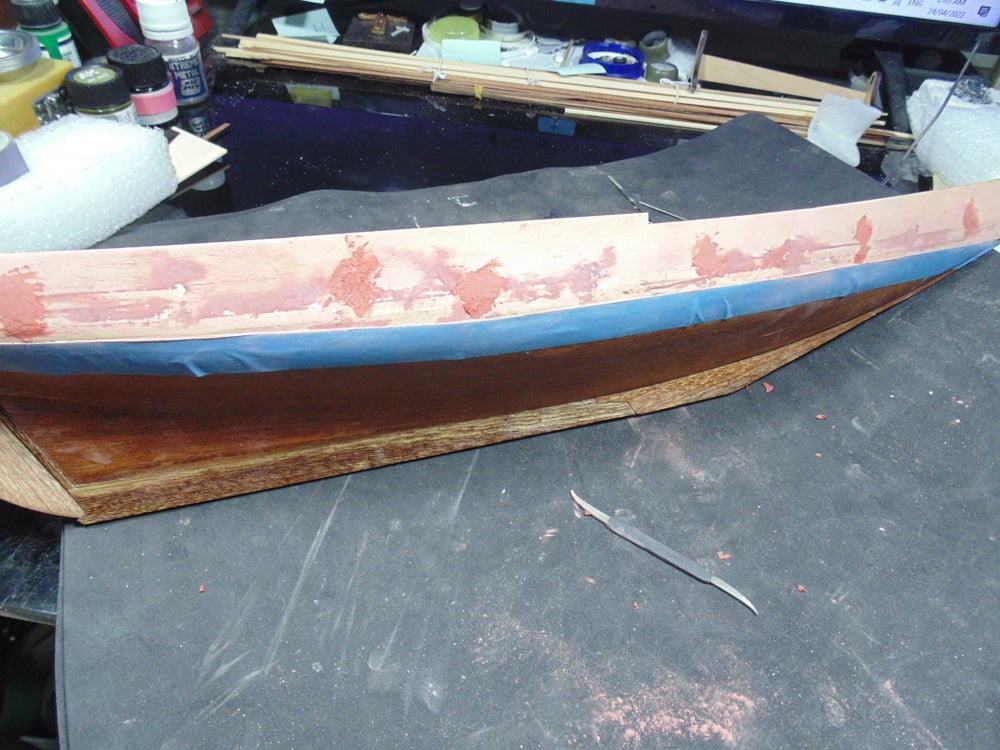
Now you’ll be filling the side. To prevent filler from getting on the finished hull, mask off the stained plank area. Use a high-quality craft/model tape for good adherence yet easy residue free removal.
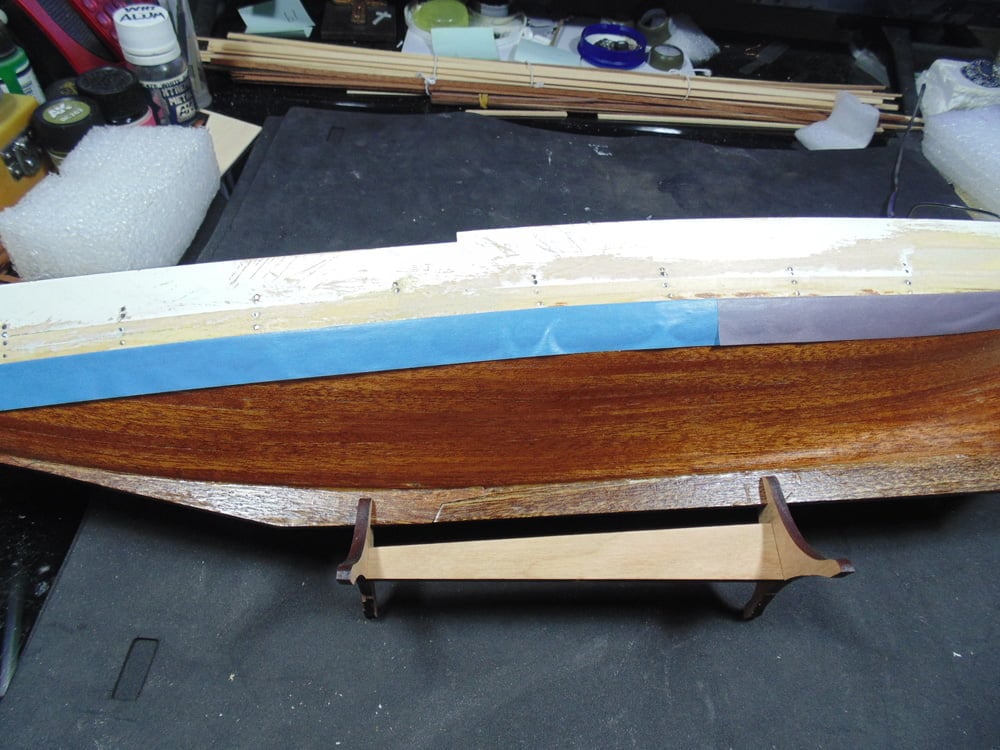
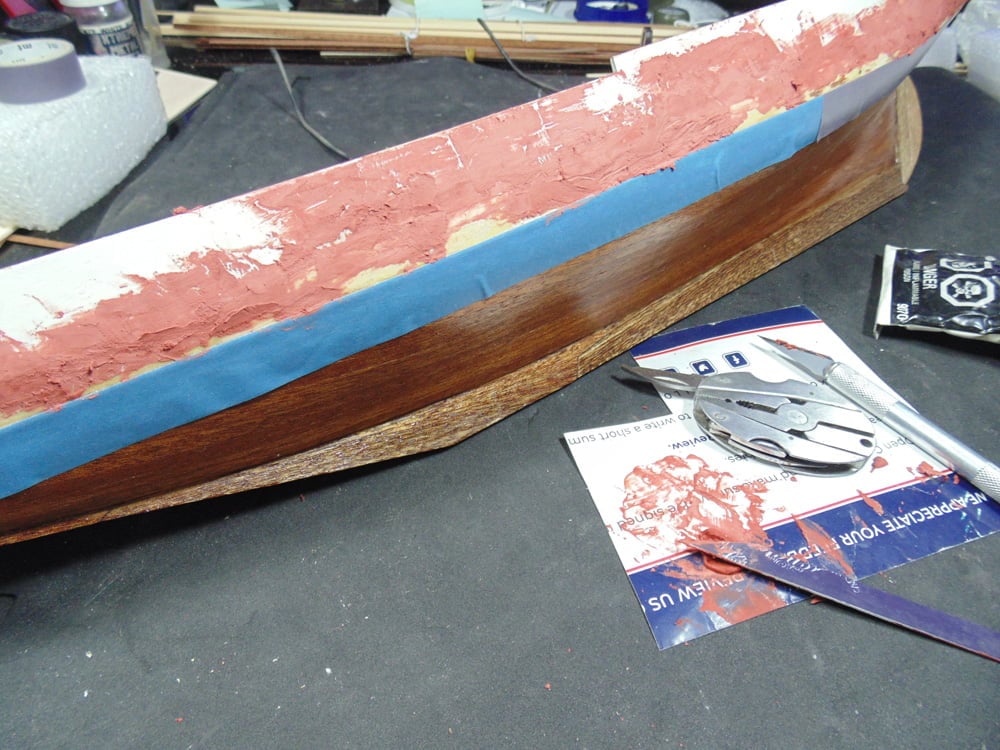
I’ve trusted “Bondo” glazing putty for many decades in this hobby and the one, obviously, for this job. Here I’m adding a healthy layer to both fill and even out the surface. This is the first application.
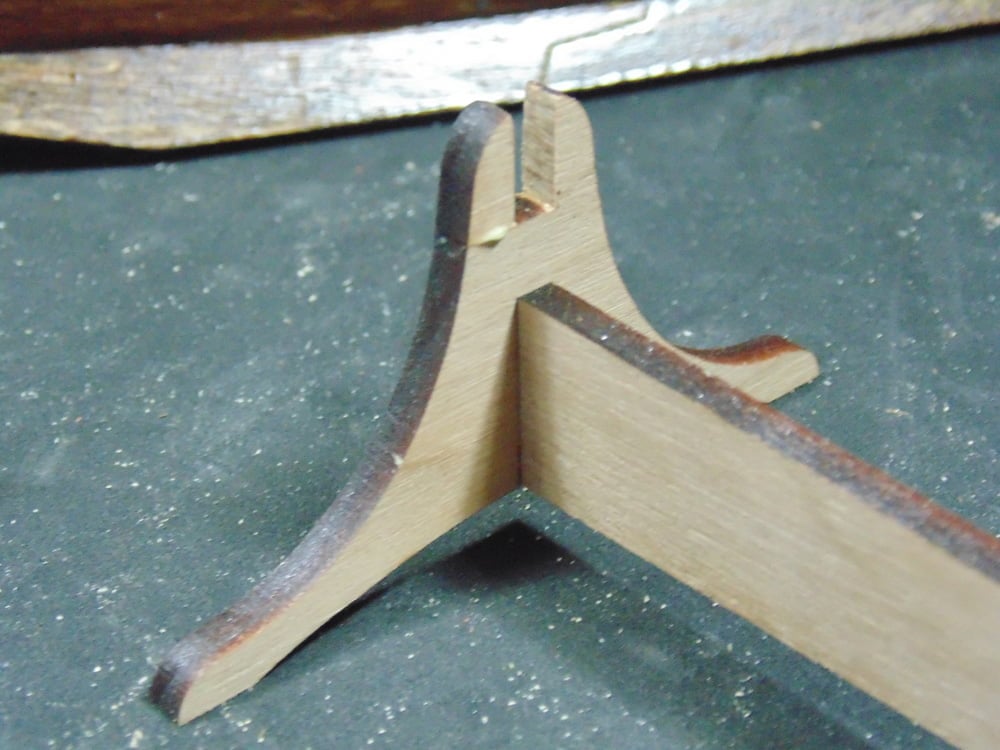
If you’re using the stand to set your model when not being handled make sure the inside of the blade groves are sanded. This one snapped off and had to be glued.
Back to sanding the filler. Any low spots can now be addressed. Run a sharp sanding tool along the edge of the stained Sapelly to complete the detailing before paint goes on.
Mask off the hull and deck.
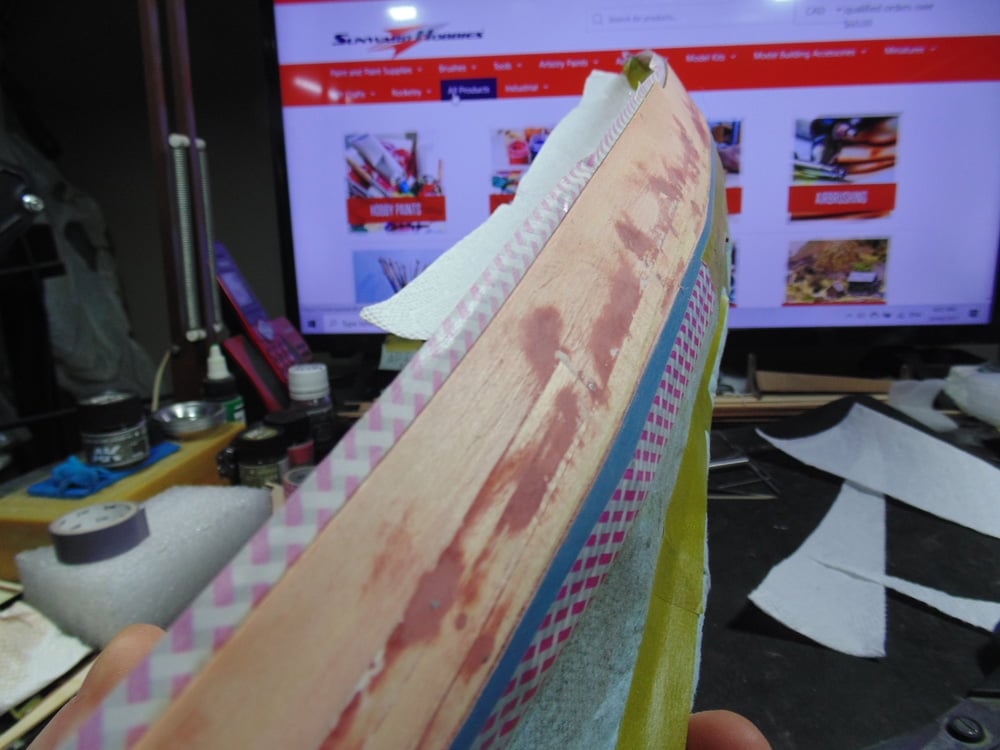
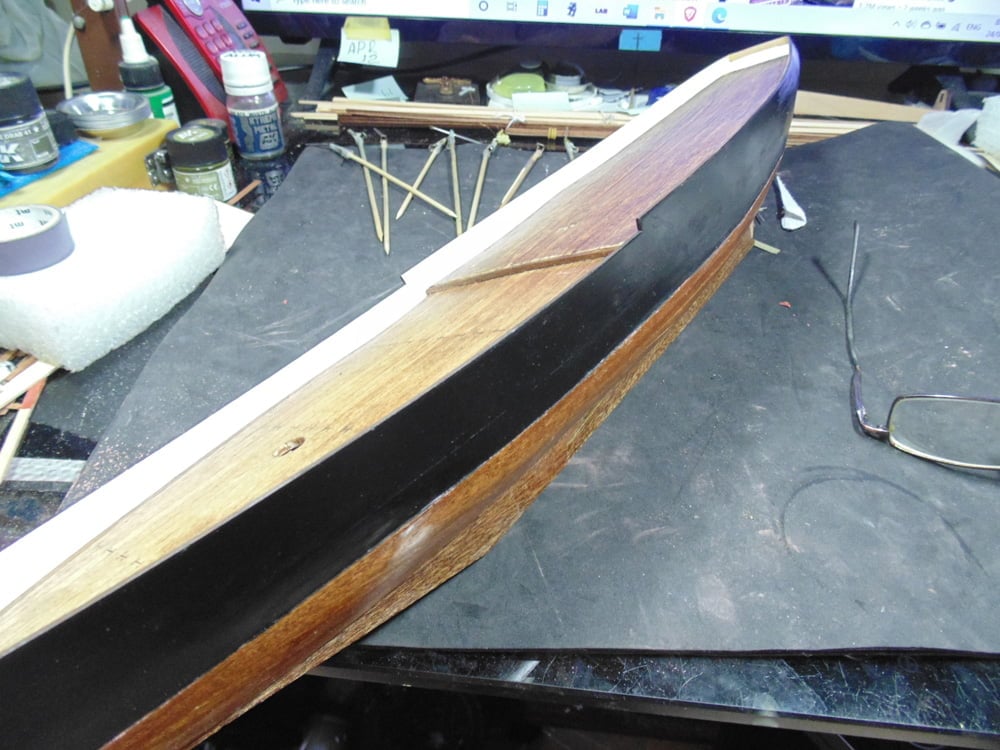
Allow a few hours for the paint to dry if using an airbrush and overnight if hand painted. The real ship has a semi-gloss finish.
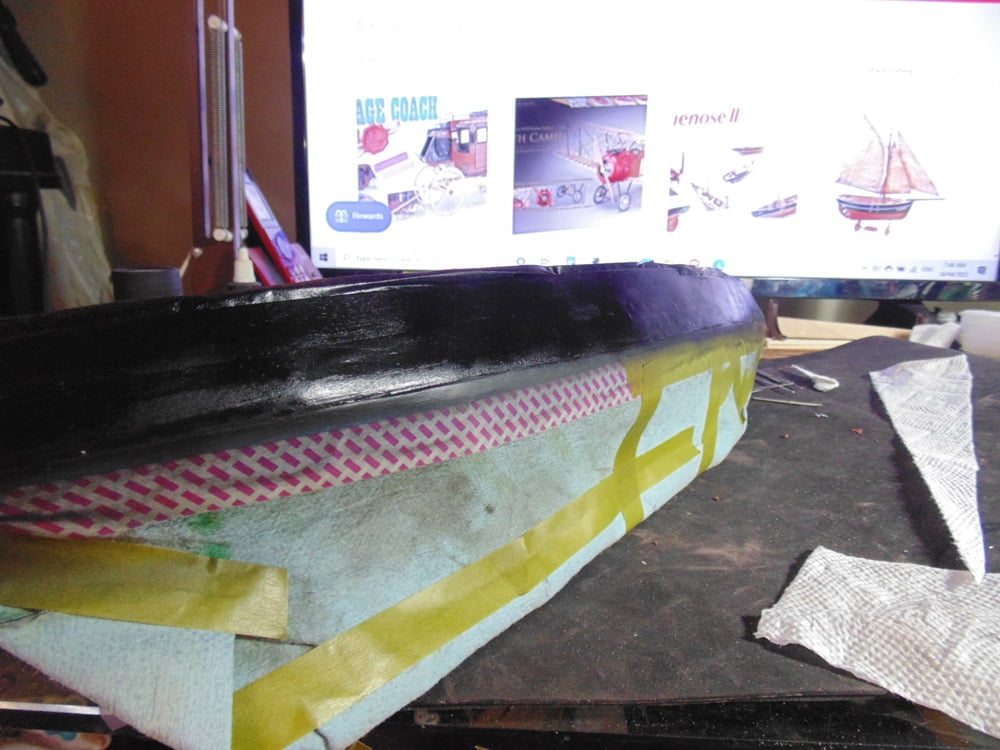
The hull rests nicely on the stained Sapelly planks so the black semi-gloss paint is fine. It’s starting to look like a ship.
Thanks again for taking the time to follow the build. If you have any questions about Artesania Latina products or the techniques used please feel free to ask when you pick-up or place your next Sunward Hobbies order
If you have any questions about the products used or the methods in this article, please feel free to ask the staff when you pick up or place your next order from Sunward Hobbies.
H.G. Barnes is a former voice-over artist and retired sales and marketing professional. He’s the author of two large volume science fiction adventure romance novels with many more in the works. For well over 40 years he’s been building scale model replicas and now does commission work for clients in Canada and the USA, plus completes projects for companies in Asia and Europe.
Currently H.G. is involved as an Associate Editor with KitMaker Network’s Online Magazine Channels
