Artesania Latina Bluenose II Build – Part 6 of a Series
In this Sunward Hobbies tutorial, I’ll be continuing with Artesania Latina’s Bluenose II build with Part 6.
In this part, I’ll be covering sections 9, 10 and 11 of the Artesania Latina Bluenose II instruction manual. You see tips on how to make cutting planks easier along with many other time savers.
The ultimate goal of these tutorials is to make the experience of building a wooden ship less daunting and intimidating, hence more enjoyable. To help with this you should sand supports on an angle to match the curve of the hull. After that, place a plank and eyeball each support with the plank. A rubber band will act as a third hand.
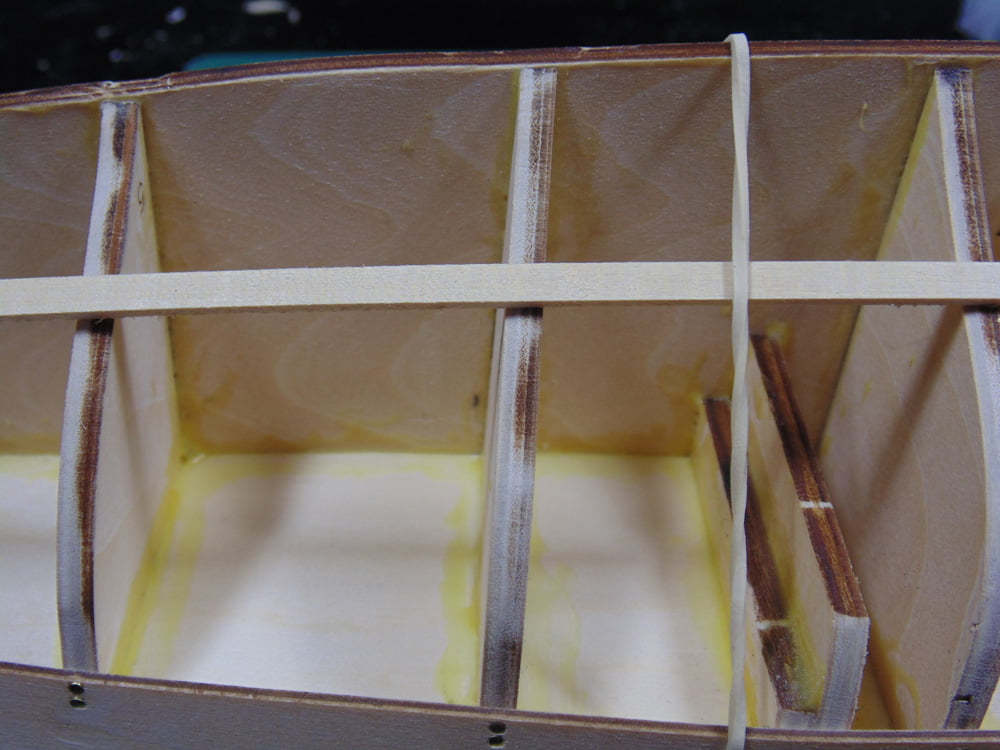
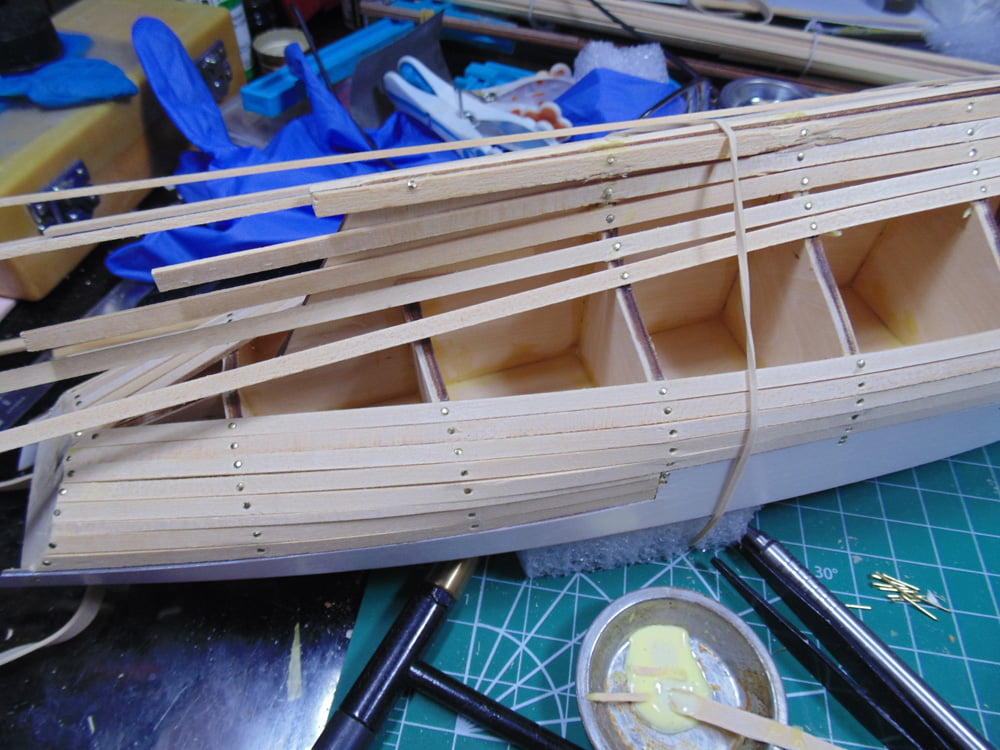
As you can see, my supports are angled with the curve of the hull and I’m ready to add some wood. Follow the instructions as to where to place each length. To help hold your planks find and cut some foam blocks. These will protect the side wall and the rubber bands will help hold your planks while nailing.
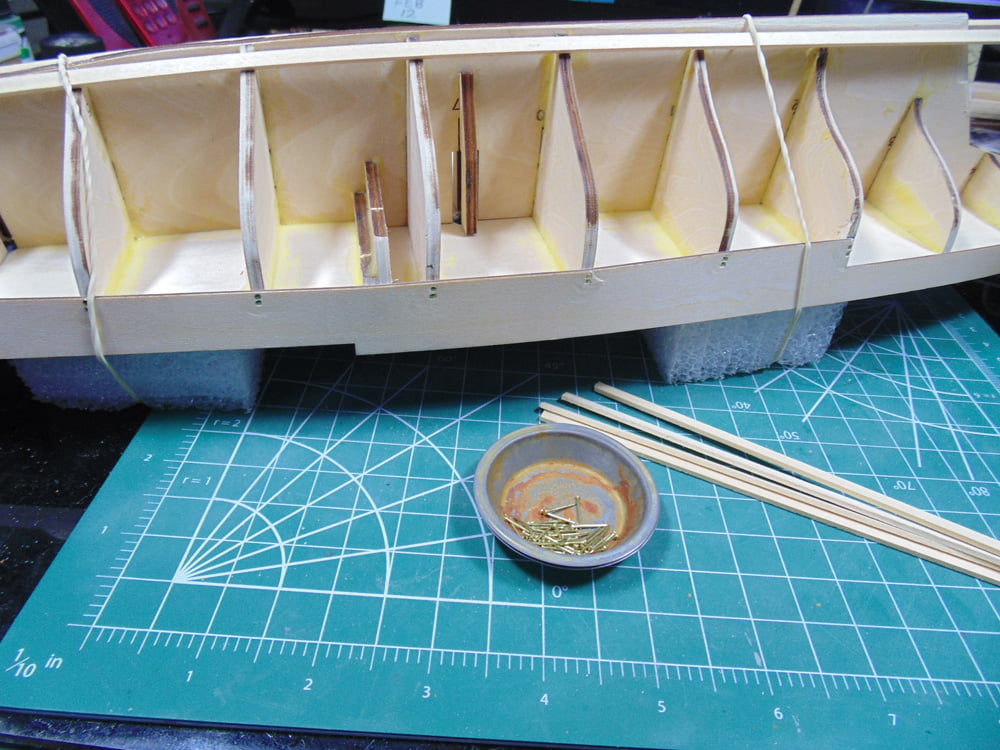
The planks are not the full length of the hull, so you’ll need to splice them in. Note the two lengths meeting in the middle support. Use longer lengths because they flex easier. Make absolutely certain you add a dab ofElmers wood glue to each connection point. There is going to be a lot of hammering and vibration and these smooth nails will work their way out… ask me how I know!
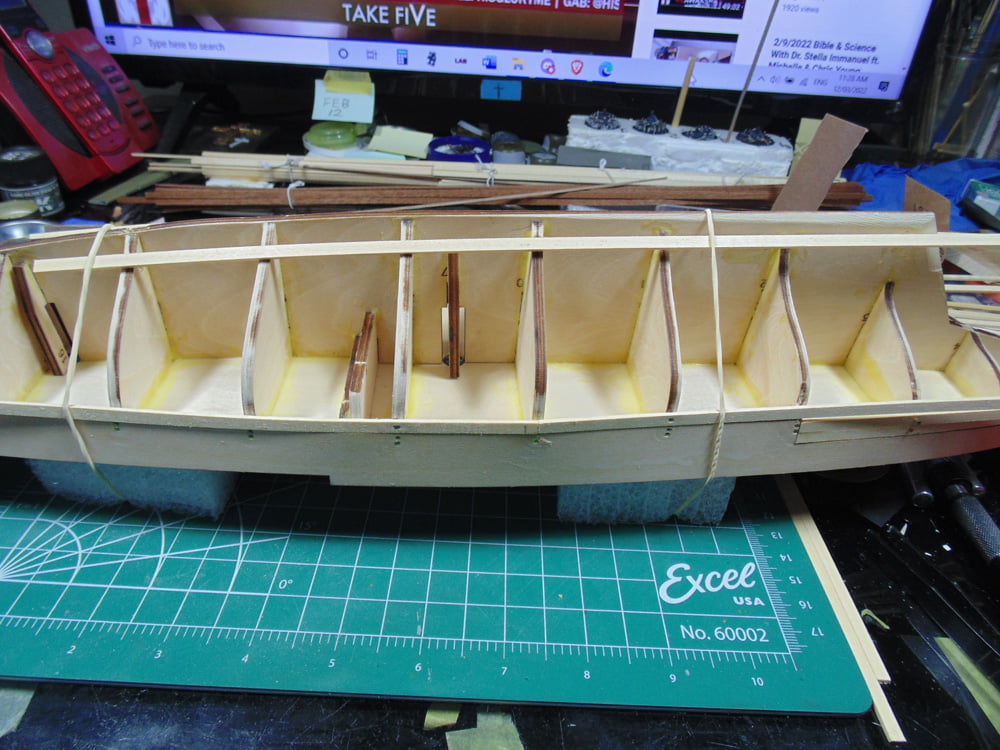
There is no need to sand these lengths of wood since they’re going to be sanded later and covered up. Give yourself a half inch of overlap at each end. This will ensure there is proper coverage when you later sand the planks to form the shape of the hull.
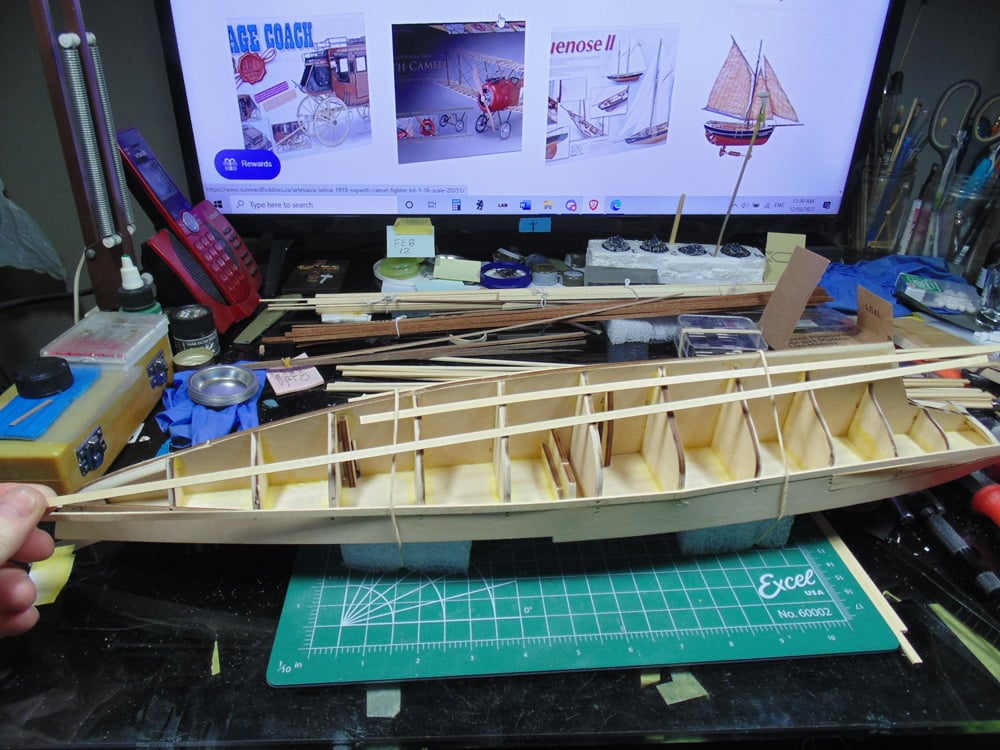
You may consider making these planks wet and more flexible. Be warned though, if the wood is not consistently damp, they will dry at different rates and may cause the hull to warp. In my experience, as long as you’re careful the wood will flex enough. Again, make sure each connection point has some wood glue.
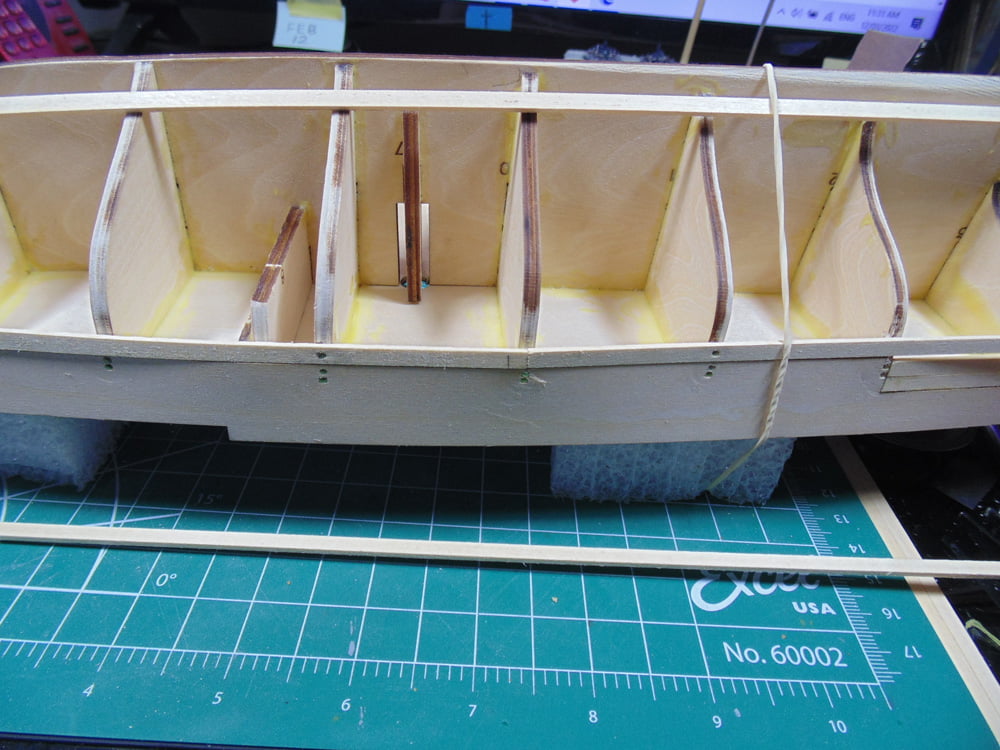
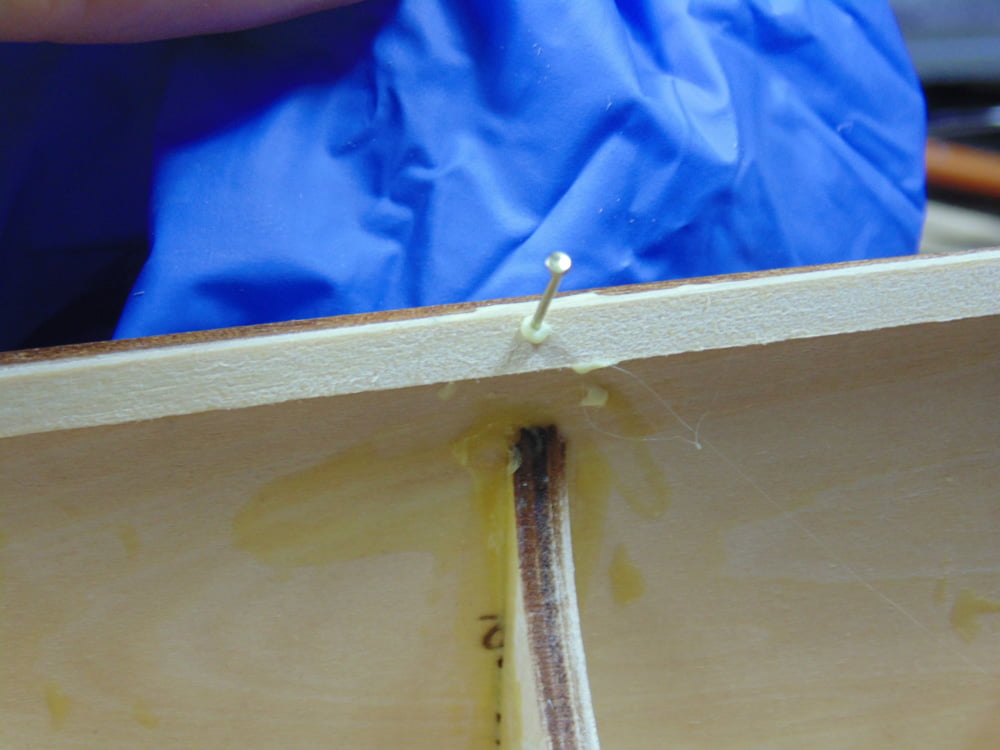
This is an awkward model to handle and difficult to find, or even make, a stand to hold it while you place a nail and hammer. Here’s a tip, a Vallejo metal scribing pen T10001 will poke a nice guide hole and then with a bit of glue on the tip of the nail will hold it in place. Now you can hold the model while beginning your tapping to fix the nail in place. Hammer to make it solid.
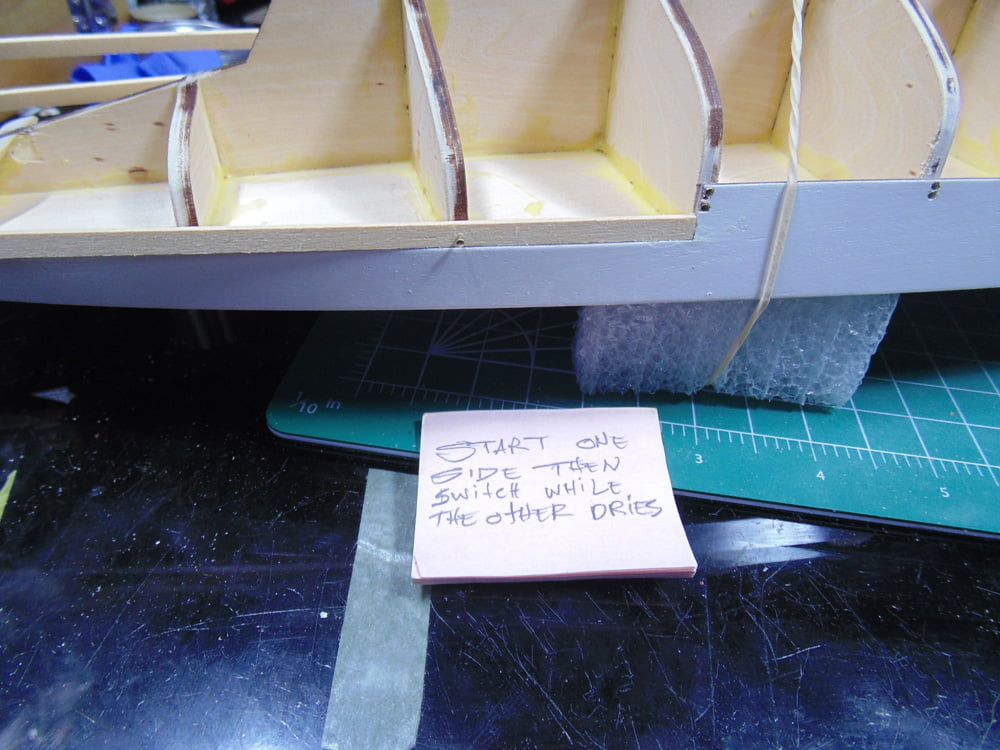
Here’s another helpful tip to speed things up; Glue, place, nail and let dry. Then spin the model around and repeat while the other side is drying. The process of planking this model is a very long one, so any little trick to speed things up will make it more fun.
The Artesania Latina instructions do not show any gaps. This may be due to them using a wider plank, as was the case with the deck boards. Don’t be shocked or put off by this. All these minor issues can be resolved, just be aware they will crop up in all wooden models. A thin sliver of wood will fill this nicely.
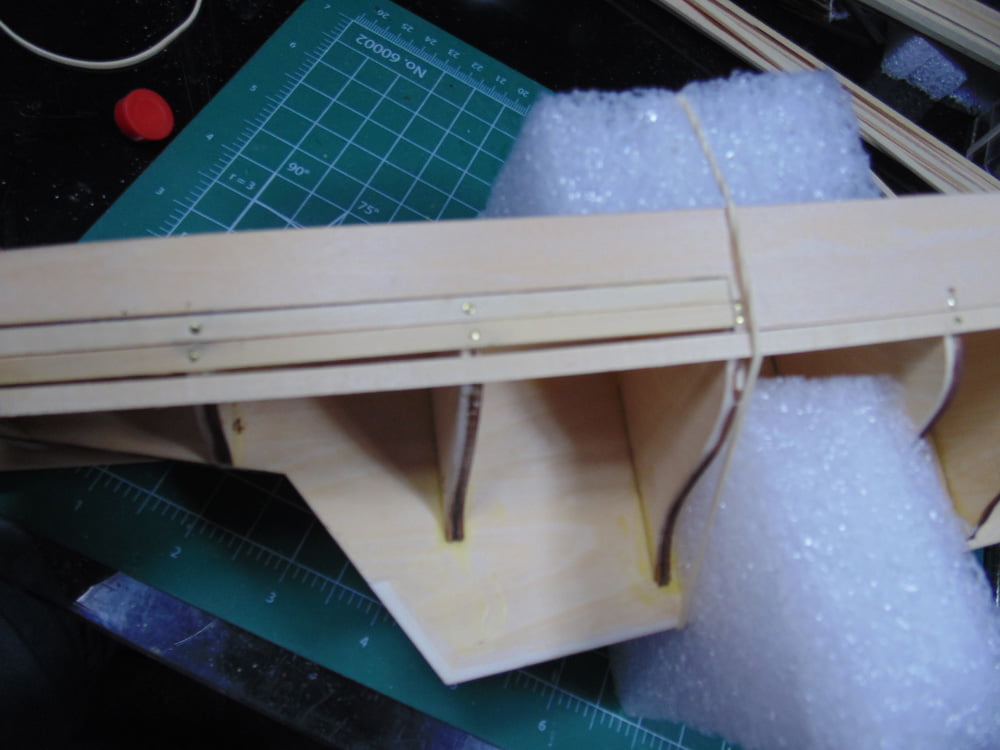
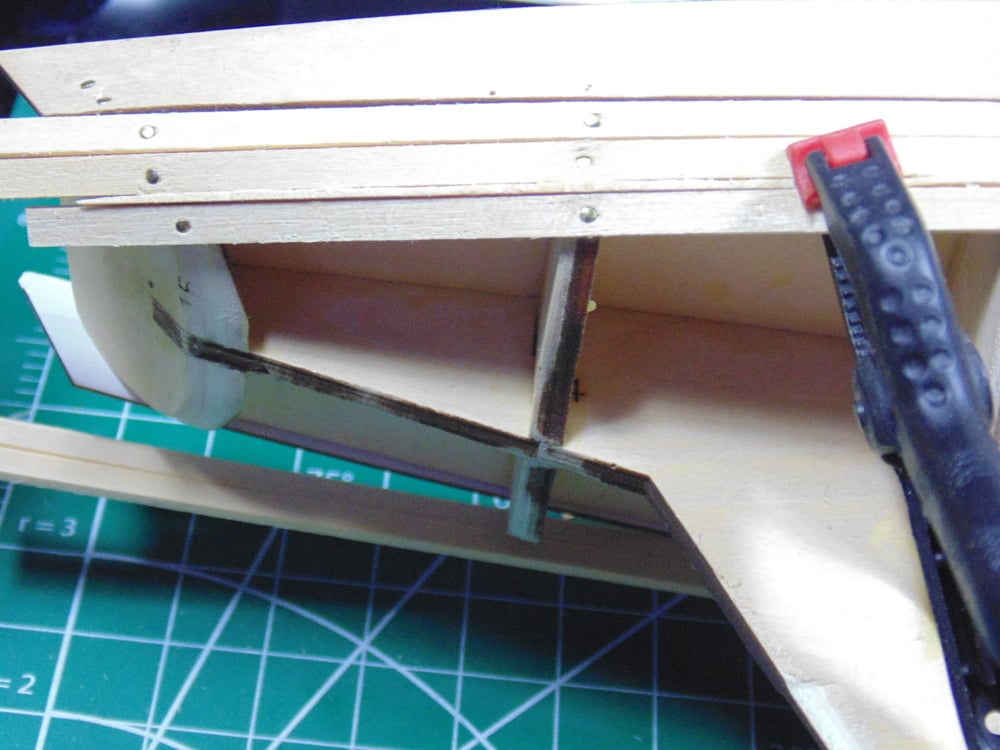
You may also have to raise a plank up to meet the surface of another. Notice the height difference next to my thumb? The closest plank to the side wall is much lower.
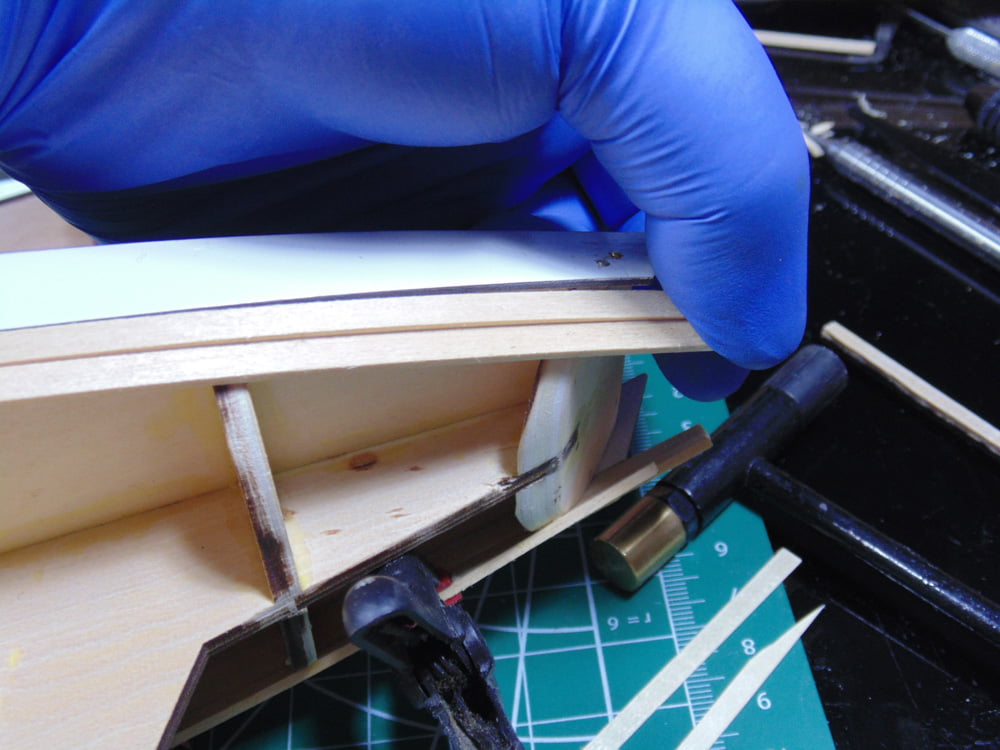
A few strips of thin deck plate will raise that plank up and one strip for the second plank will give the shape a nice slope and conform with the following planks.
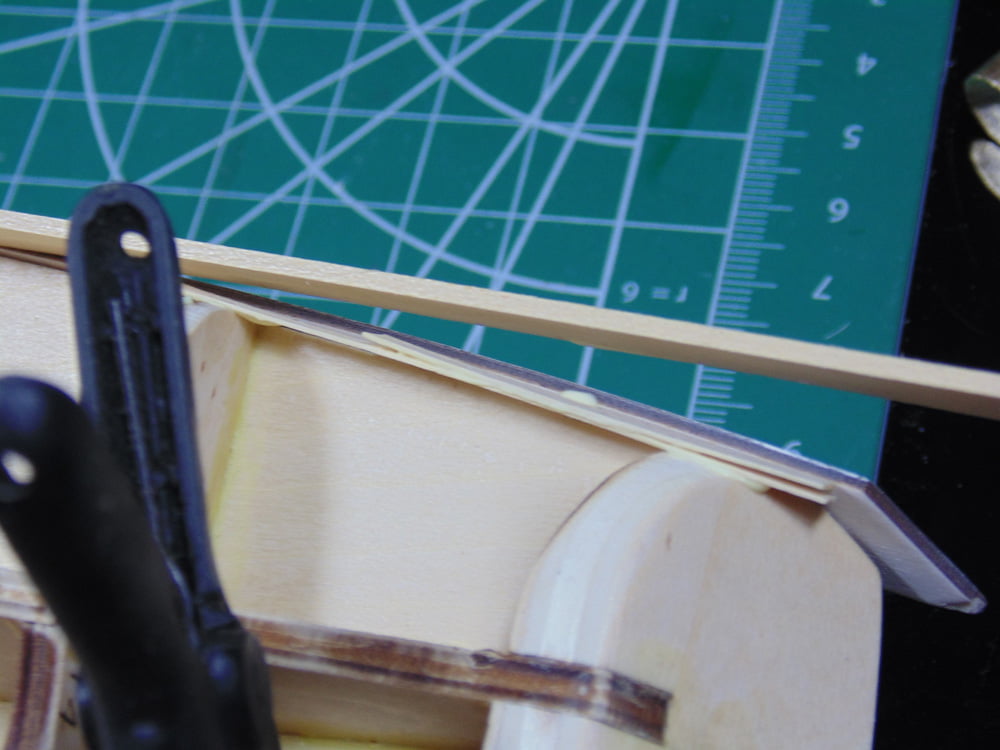
The stern is under a lot of flex force. Find a method to clamp these planks and let them sit for a solid three hours and do not scrimp on the glue.
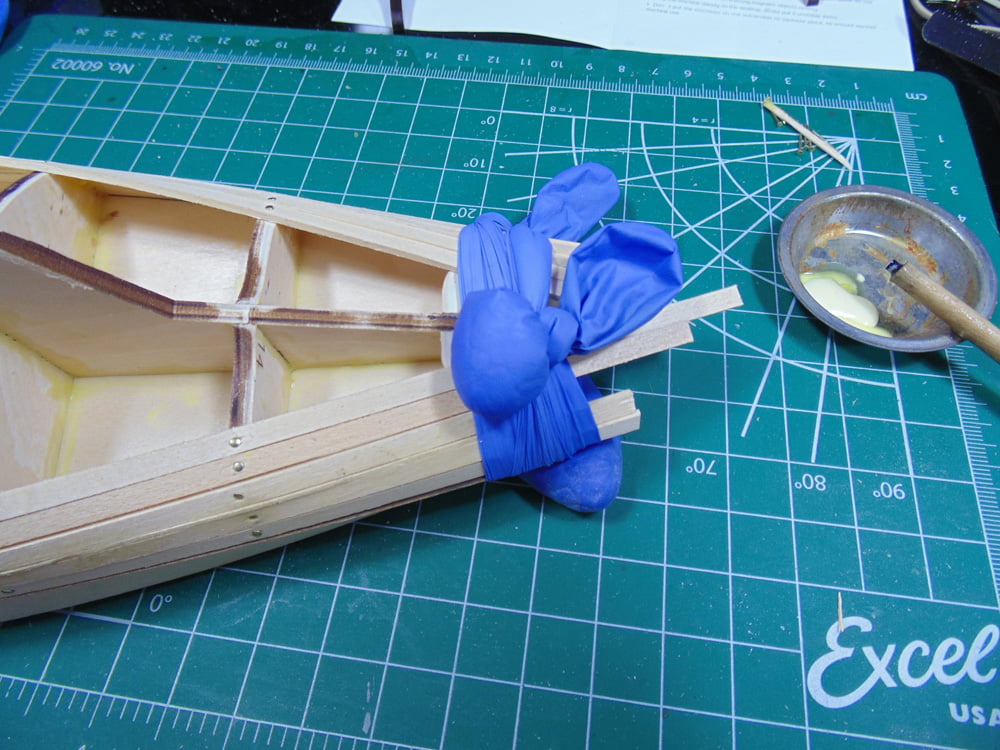
Here are a few, of many, things to watch out for with this model. As you can see the bow had to be opened up so the prow support could be thinned down. Also, I forgot to glue this area and while all the other nailing was being done these nails began to back off. Easy fix.
Rubber bands are your friend. Use high quality bands with a firm grip to assist the glue to dry. Wood glue when covered or sandwiched between the planks takes hours to properly dry, so give it all the help you can and especially where you are unable to nail. Note the double bands at the middle.
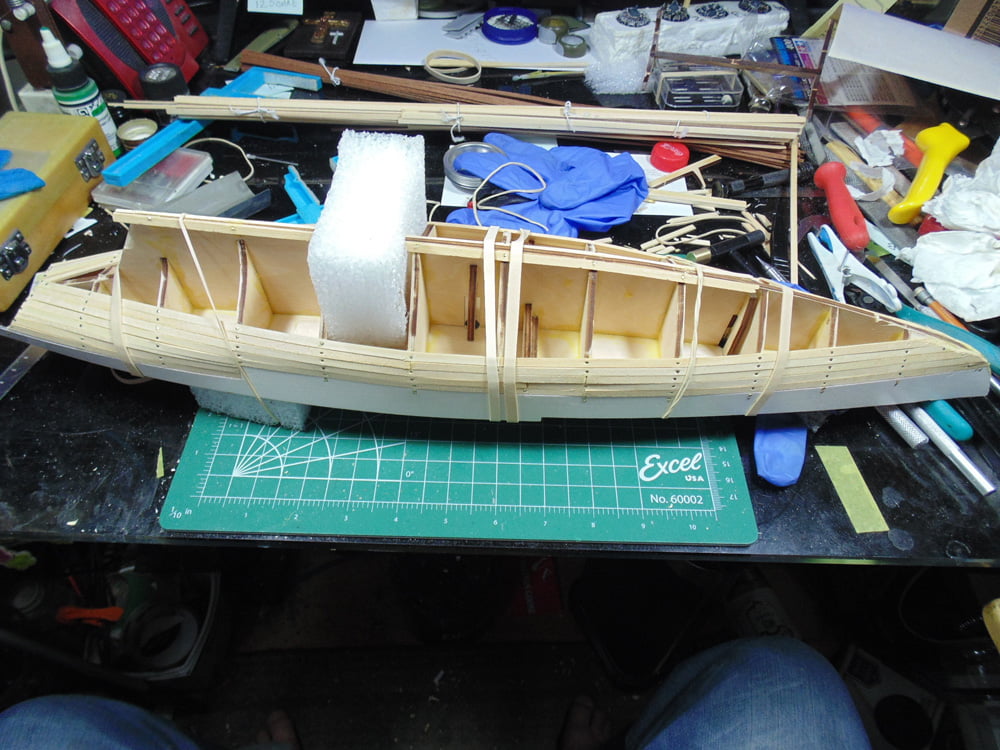
Once the upper planks have been installed the lower keel and blade planks are ready to go on. Make sure you have enough overlap so when you trim the tips at the bow there will be plenty of material to sand and shape it.
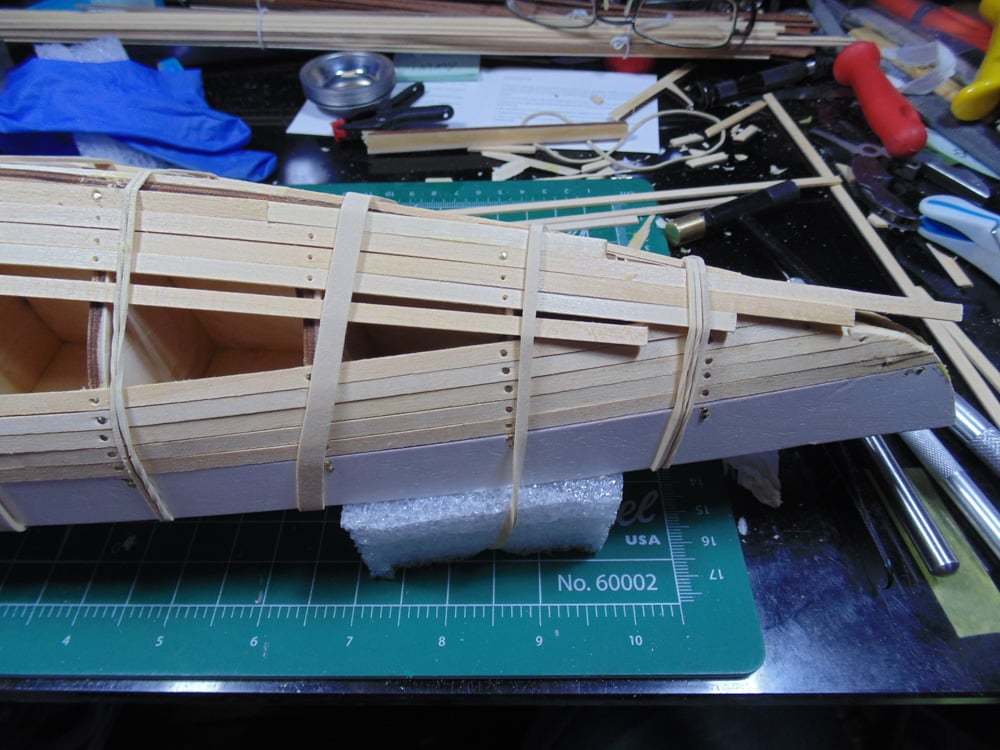
Follow the instructions as closely as possible when spacing the planks at the rudder. They don’t have to be exactly the same since you’re going to fill them with wood and they’ll be covered. To make your life easier peel away the outer thin layer of middle support back to the second support from the rudder. Any area where a plank will touch should be removed. Later, this area has to be thinned to 3mm, yet roughly placed all these pieces of wood add up to 7mm.
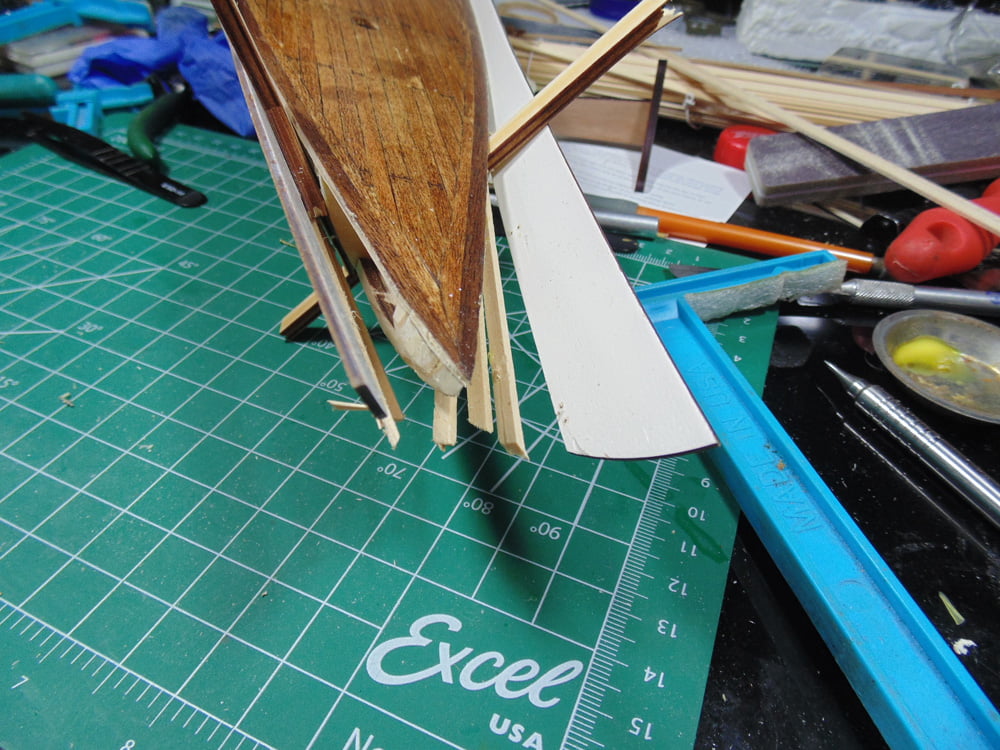
Here my Excel Hobby blade #20002 is pointing to the correct angle to cut the plank tip. On the keel you’ll notice a great deal of extra material. This can be trimmed and then sanded to shape. Adding material is much more difficult than removing.
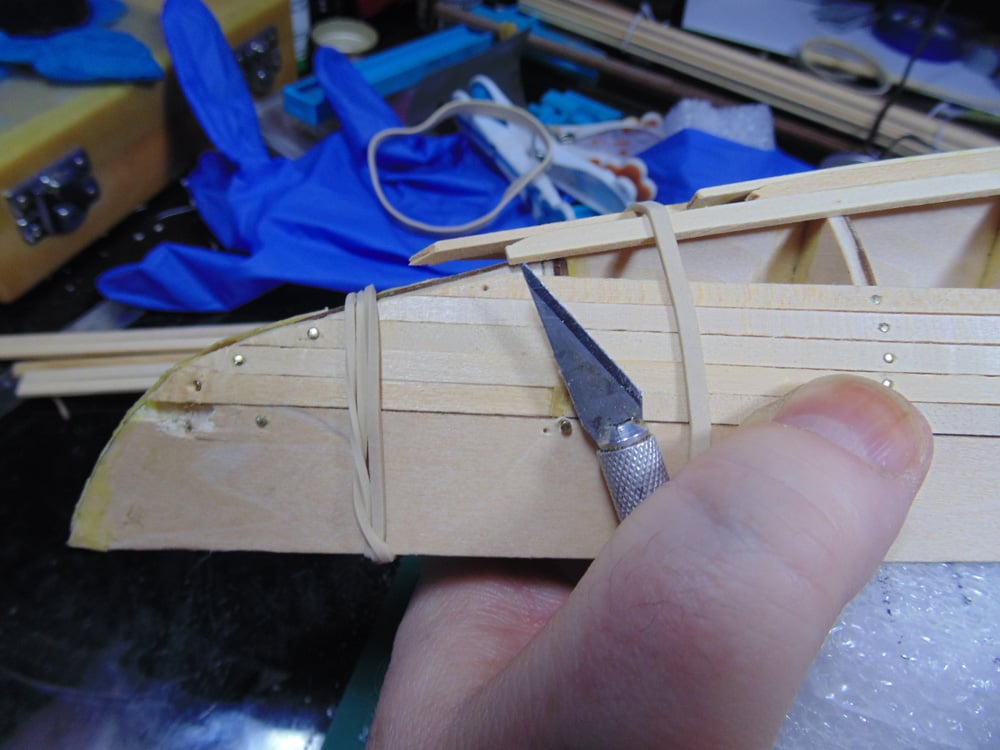
Rubber planks should be clamped and allowed three hours to dry. This is another high flex stress point so not the removed outer layer of middle support below the planks. Again, you don’t have to be perfect here since there’s plenty of sanding too come to make the final shape.
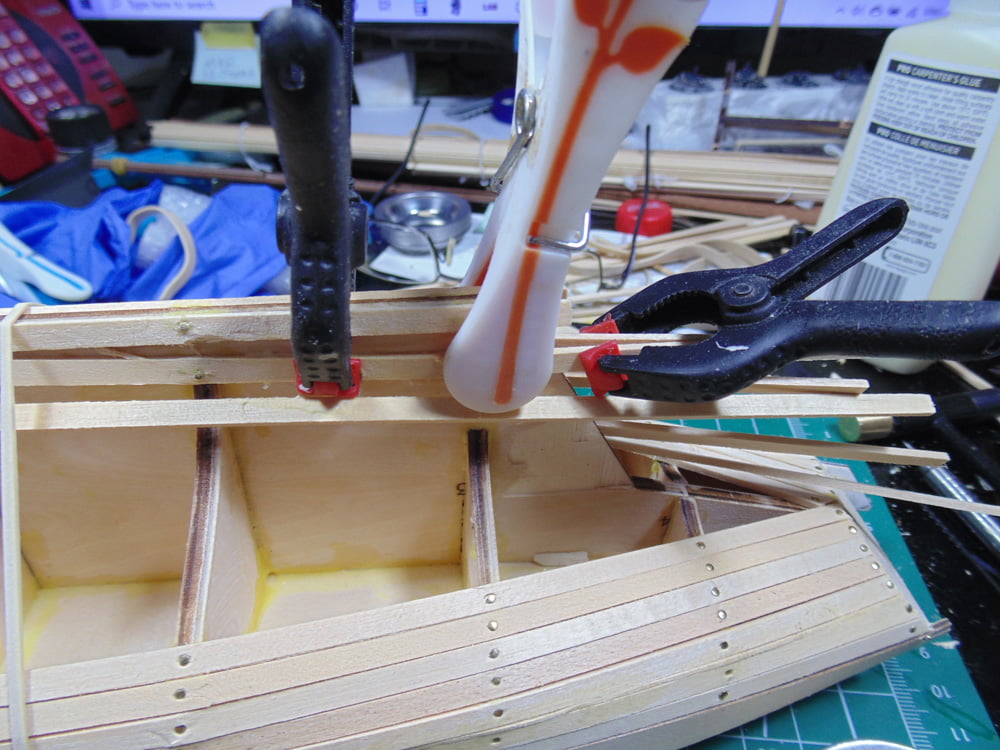
At this point in the build things were moving along at a slow yet steady pace by following the steps of glue, place, guide hole and nail. Then I ran out of nails and needed a lot more. Artesania Latina offer a 200 and 300 pack of nails, but Sunward Hobbies, along with their suppliers, were out of stock. One solution is model railway track nails. They are a little longer but work just as well.
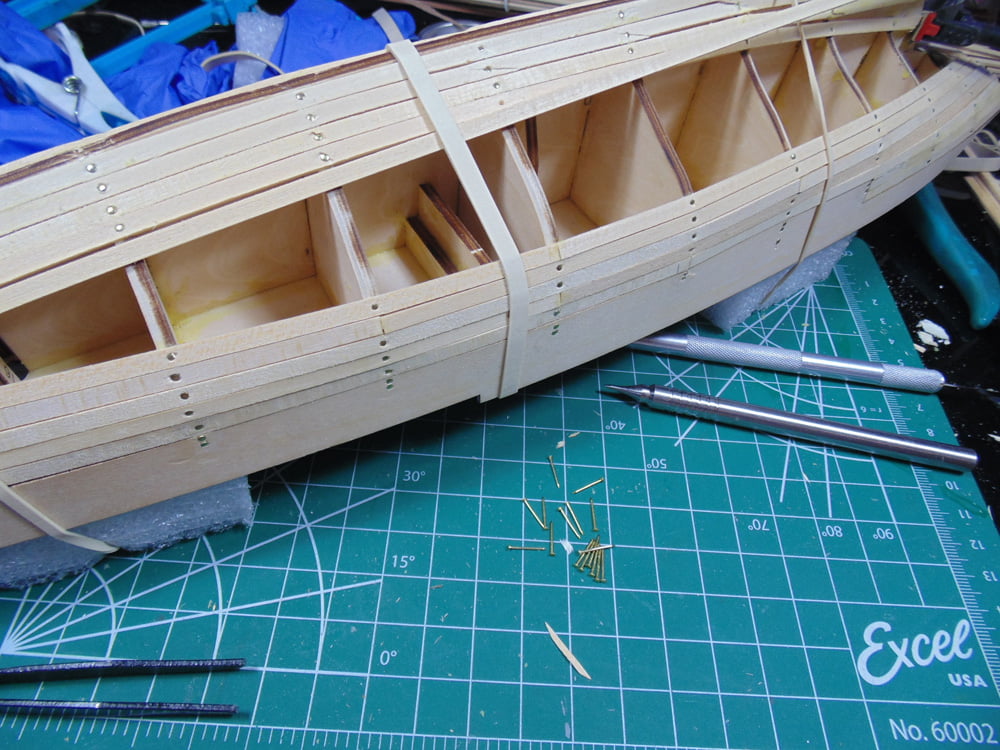
To finish off the bow hull overlap the plank beyond the previous support. Line up your blade or saw with the lower tip and place where it meets the previous plank and remove the excess. Again, don’t fret if it isn’t laser perfect because it’ll be covered.
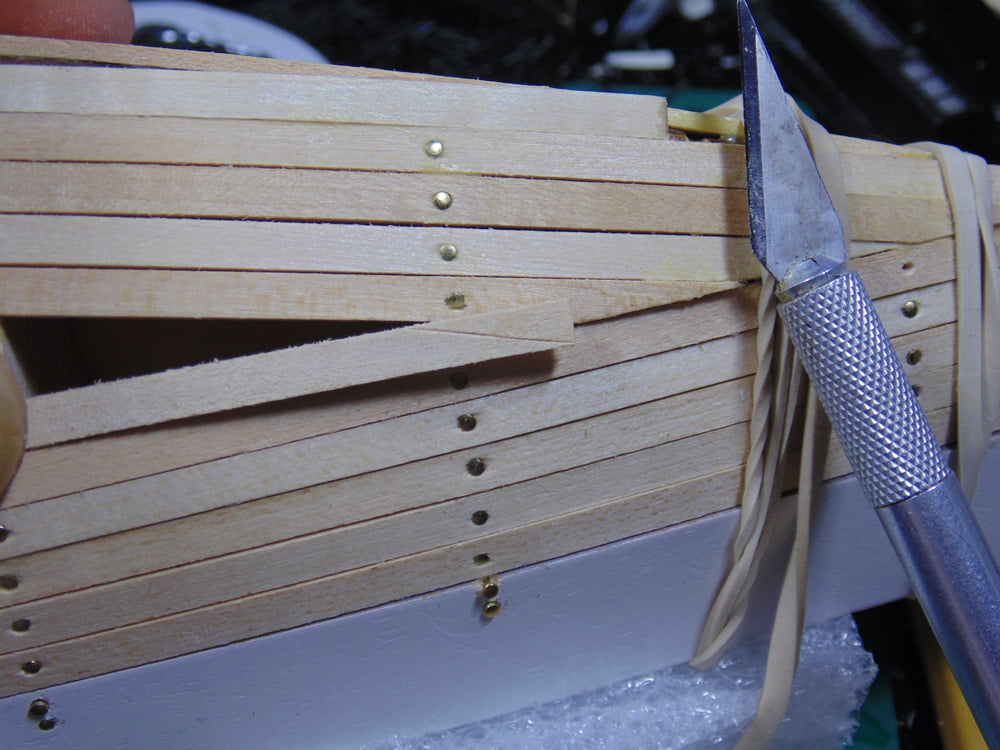
When you’ve completed the entire hull, it looks quite messy and irregular, but nothing a good sanding can’t fix. Don’t be afraid to start with an aggressive sandpaper. I did my first cut with 60-grit to hog off as much material as quickly as possible, running the length of the hull.
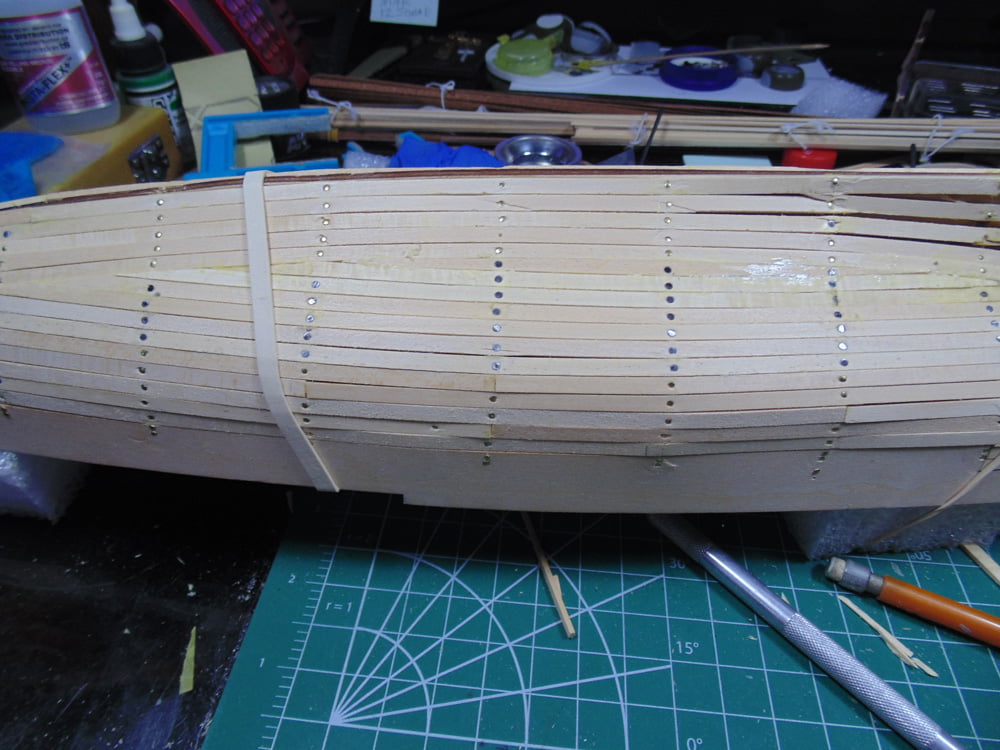
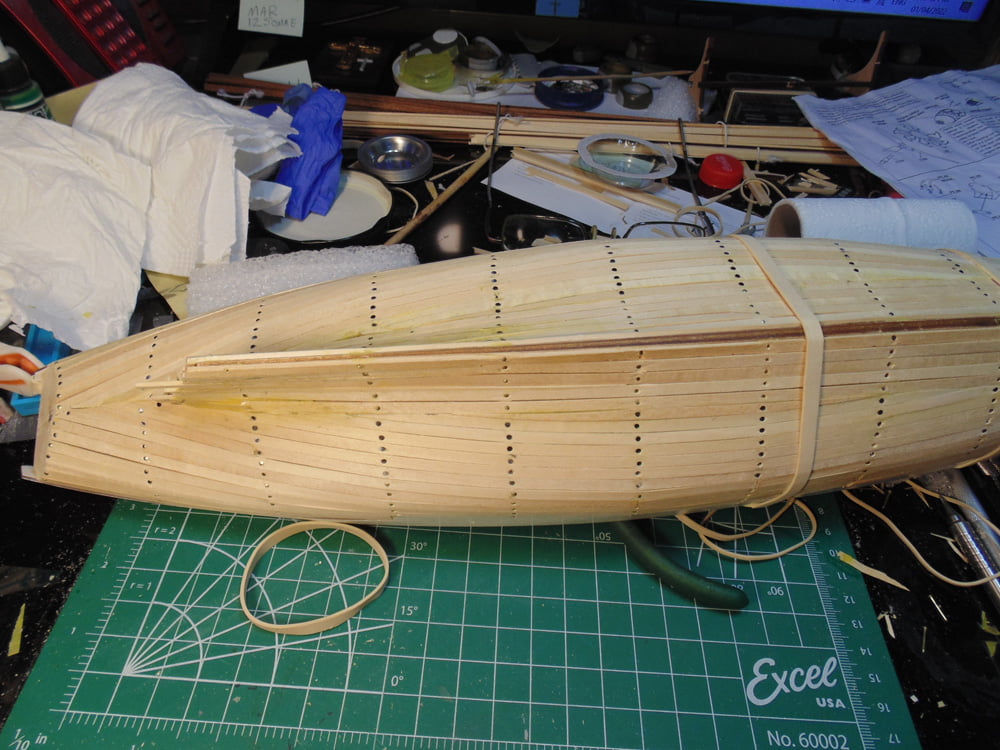
Next, I used a 400-grit Tamiya sanding sponge moving against the grain to smooth the surface and prepare it for spots needing wood filler. It’s typical of most hardware store wood fillers to shrink back from drying. Lay down a generous coat then sand when dry, then add a final top coat and sand to shape.
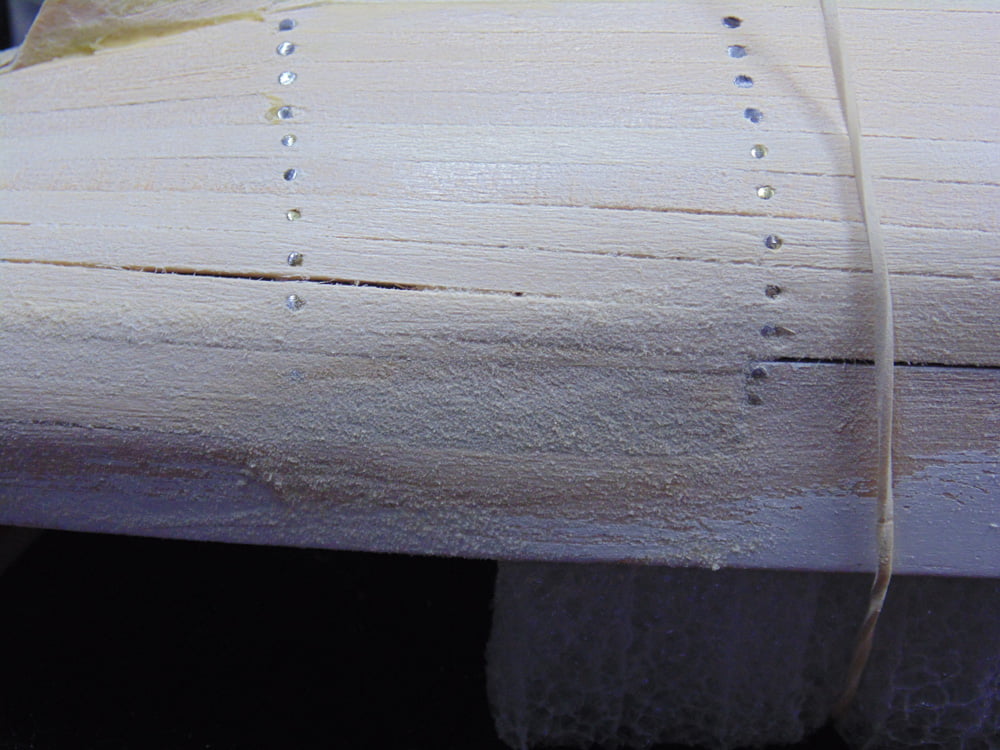
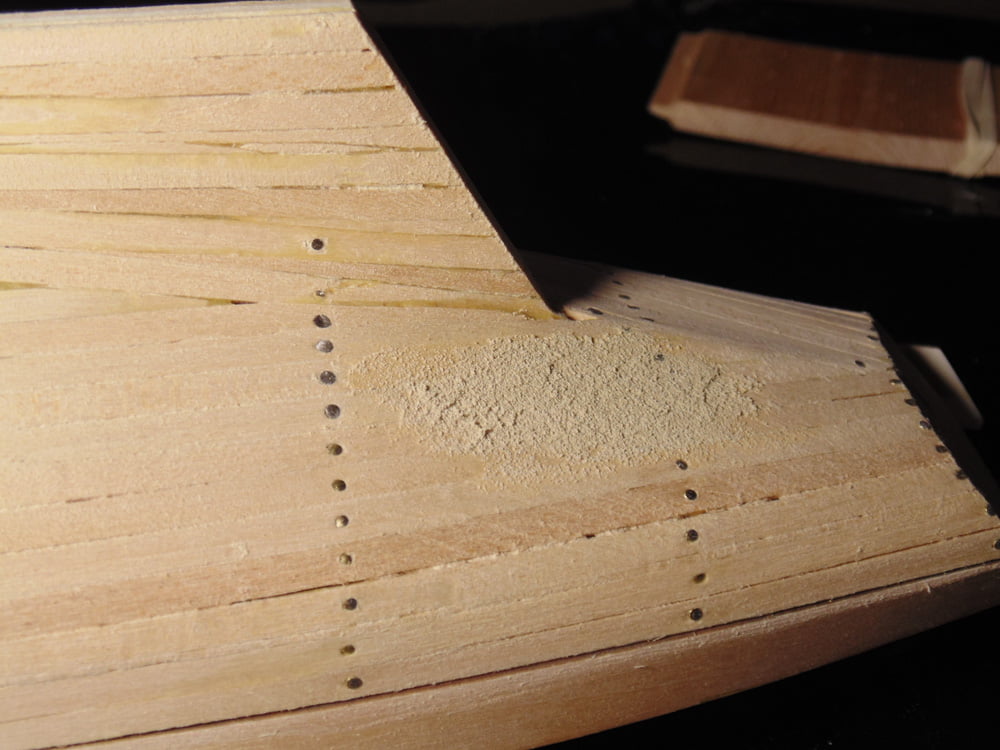
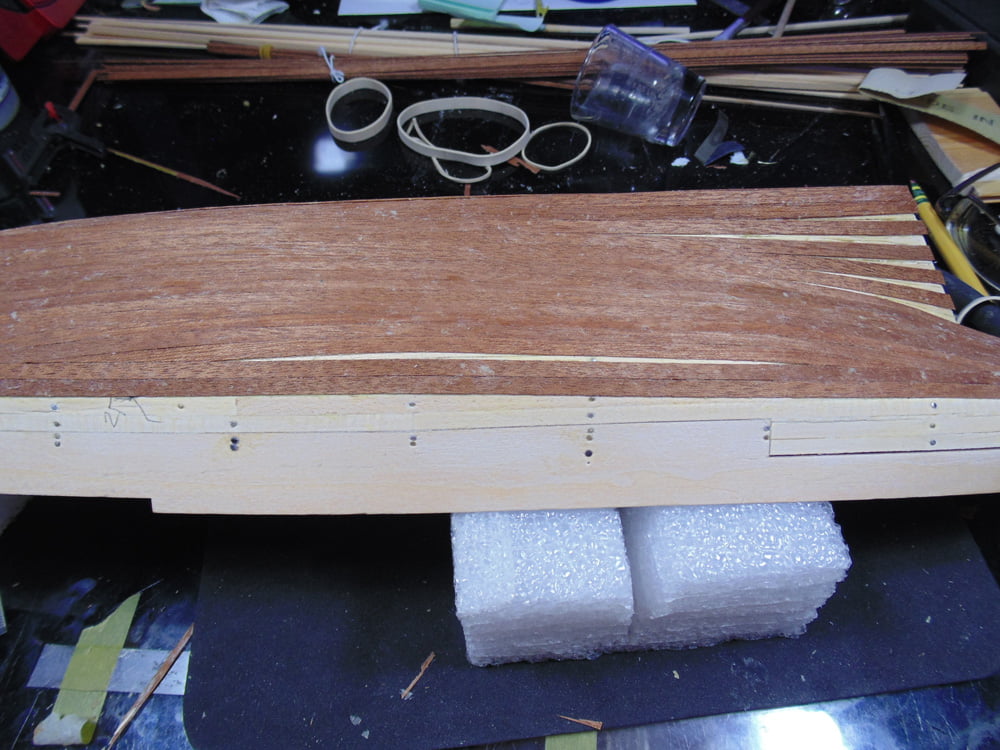
This takes care of steps 9 and 10. It’s much smoother, but still does not look perfect. The direction of the dark Sapelly sheets will mask all that. This is just a rough support for them.
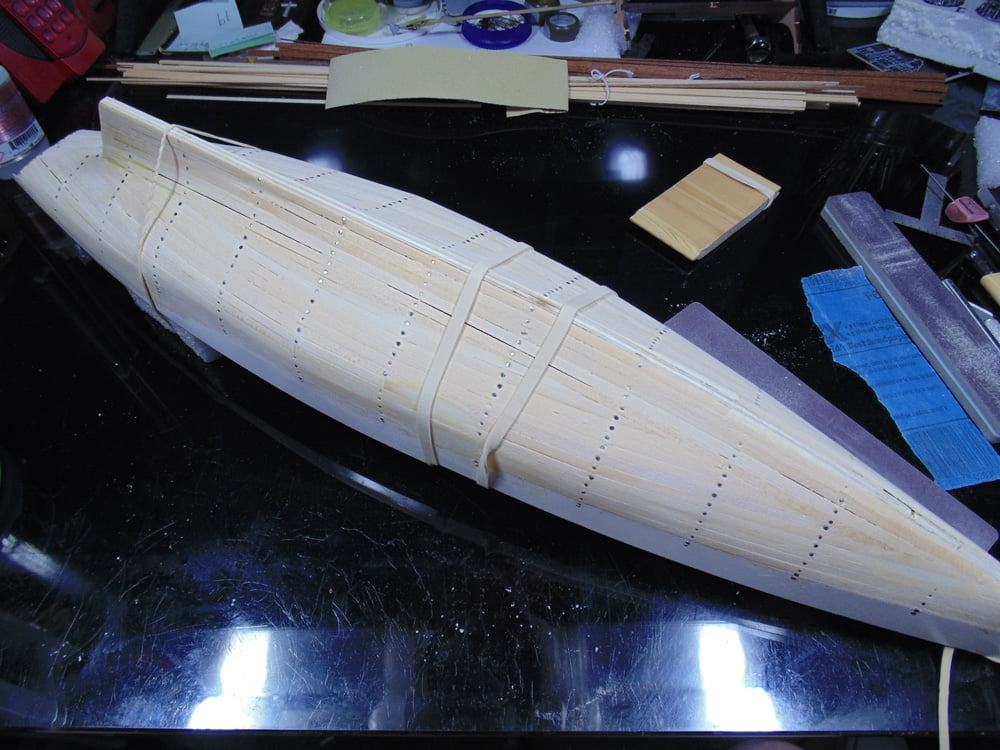
In step 11 you’re going to add the very attractive Sapelly sheets and finally see some life breathed into the project. However, there has to be some very precise work done at the rudder and along the keel. The entire length of the edge must be 3mm before you add each 0.5mm Sapelly sheet, or a total of 4mm. This corresponds to future parts.
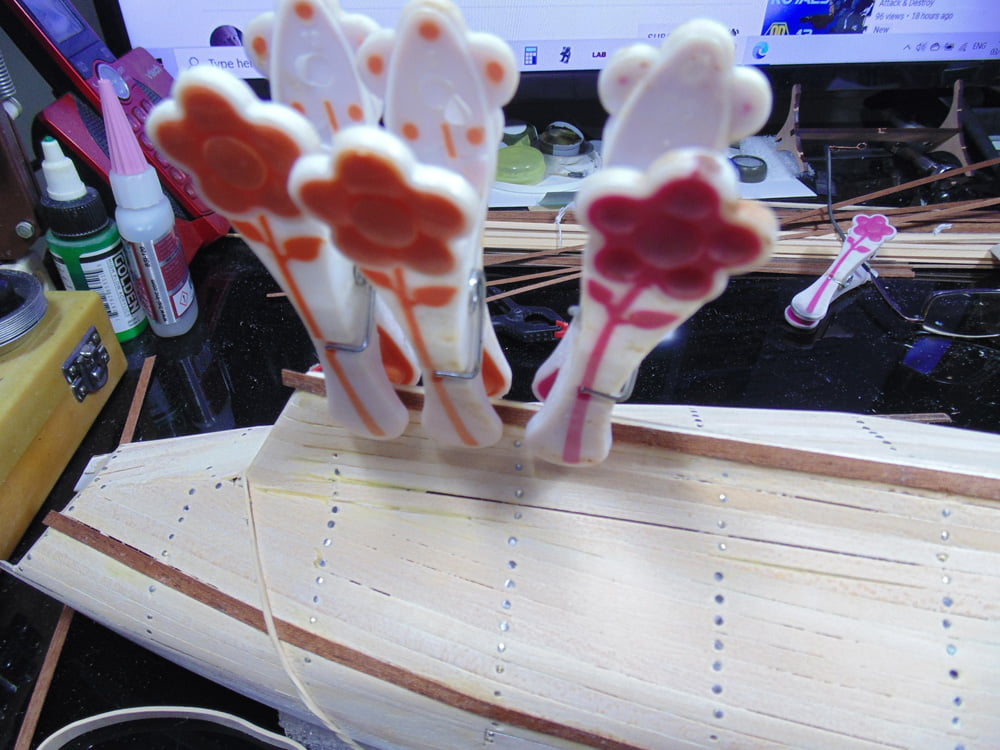
A few things to point out here are, A. this wood will curl up, so don’t wet it. Even with a small amount of glue my sheets were curling. They get sanded so there’s no worries. B. they flex super easy, yet want to return to straight super quickly. Have your rubber bands ready and make them tight. I was constantly having to go back and check their placement.
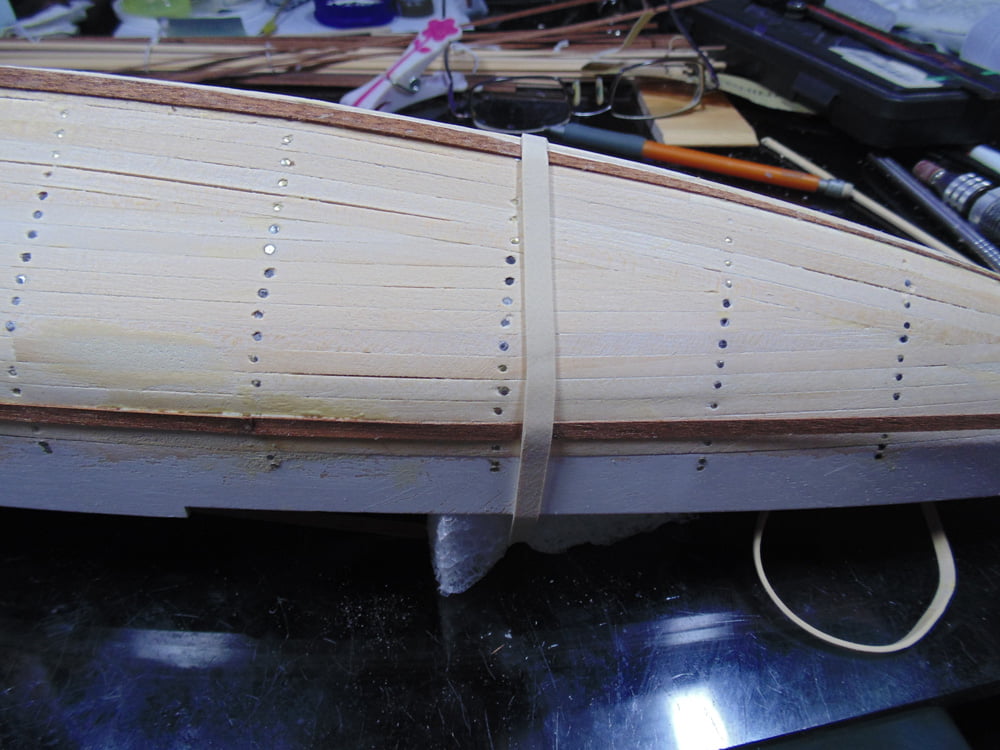
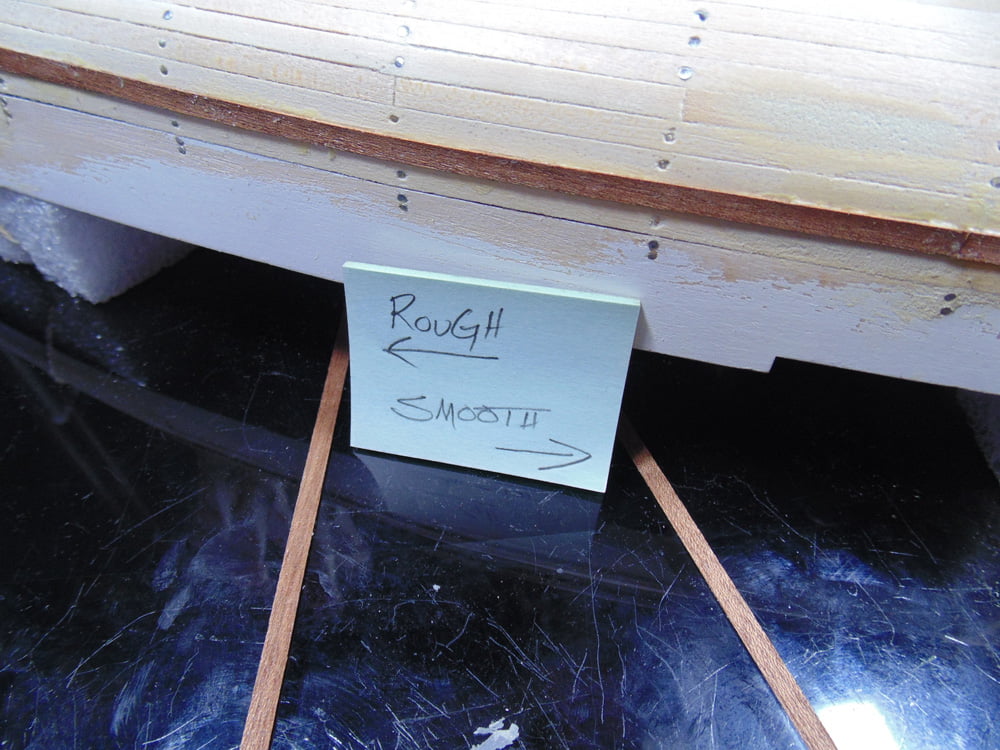
Also, I felt a distinct roughness on one side of most sheets. If you experience the same thing then my advice would be to put the rough side down to allow the glue something to cling to. This makes sanding a bit easier too.
Just as with the planks, the Sapelly sheets are not the full length of the hull. Off set them so the connection points are less noticeable.
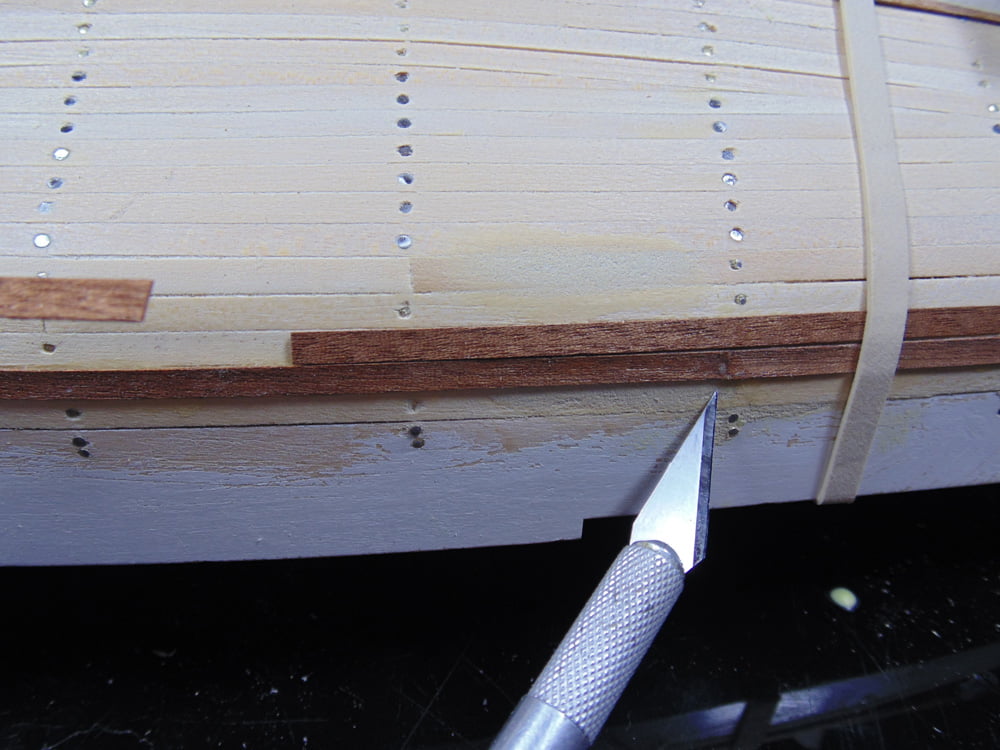
Here, I’m using my micrometer specked to 4mm. The Sapelly sheets on either side are sitting proud of the keel, so when I sand them back they should equal the desired 4mm width.

Here’s another tip, walk your glue back only a few inches at a time and allow it to dry. Once again, you can do one side then switch to the other making sure your bands are tight.
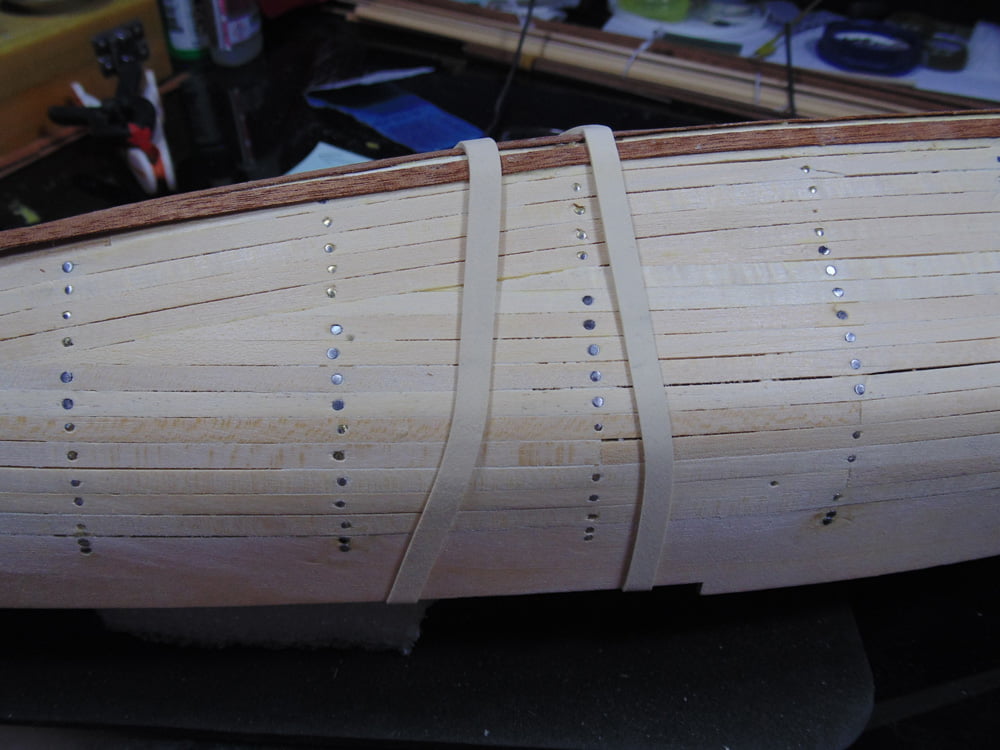
Skinning is a problem with wood glue. To cut down on the number of times you’ll need to reload glue place lid on the cup. Little Mr. Hobby metal paint trays D175 are super inexpensive, easy to control quantity and clean up in a jiffy.
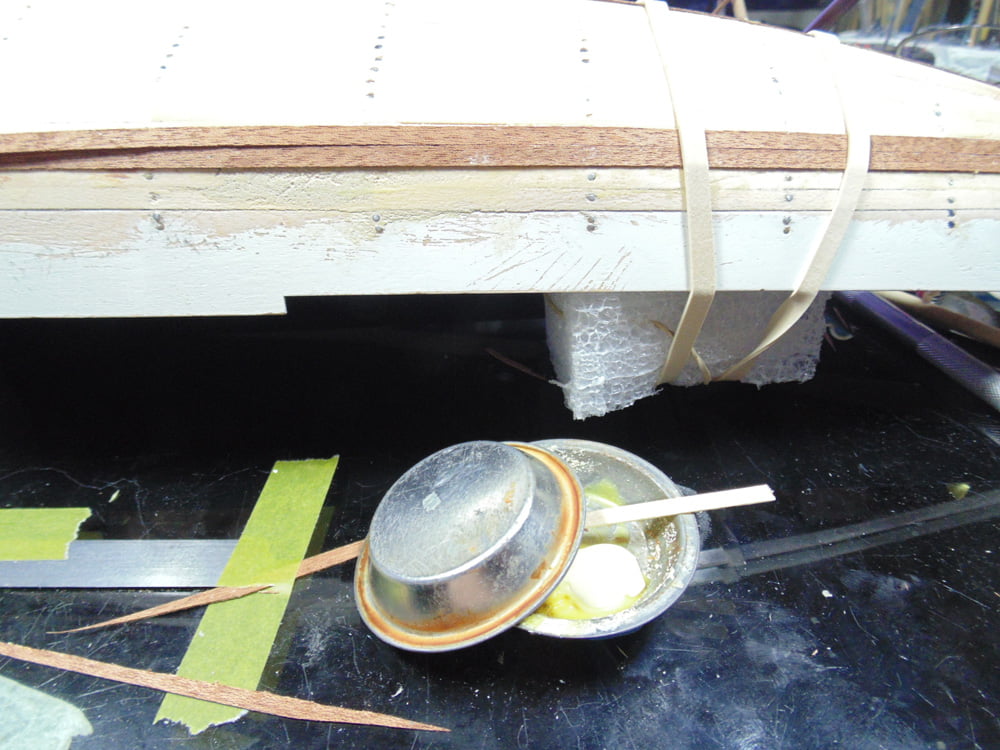
The instructions tell you to start your sheets at the second plank, however there are exact distances which must be adhered to. The sheets will want to return to straight, as I’ve mentioned, thus fix the centre 25mm point first then move to the bow’s 31mm and the stern’s 26mm measurement.
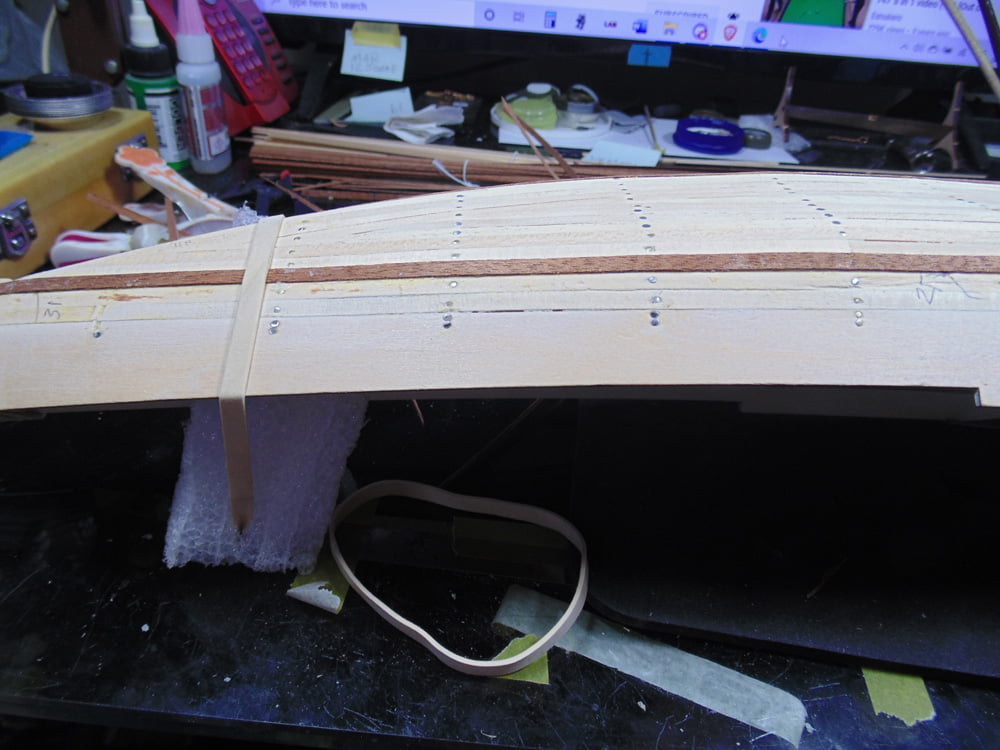
After you’ve walked your glue back on each sheet to about 4 inches of being complete, stop. Now you can line up your blade and cut. I do not recommend using a saw on this material. A sharp Excel Hobby No.11 Blade that pressed down and rocked will slice clean through the wood.
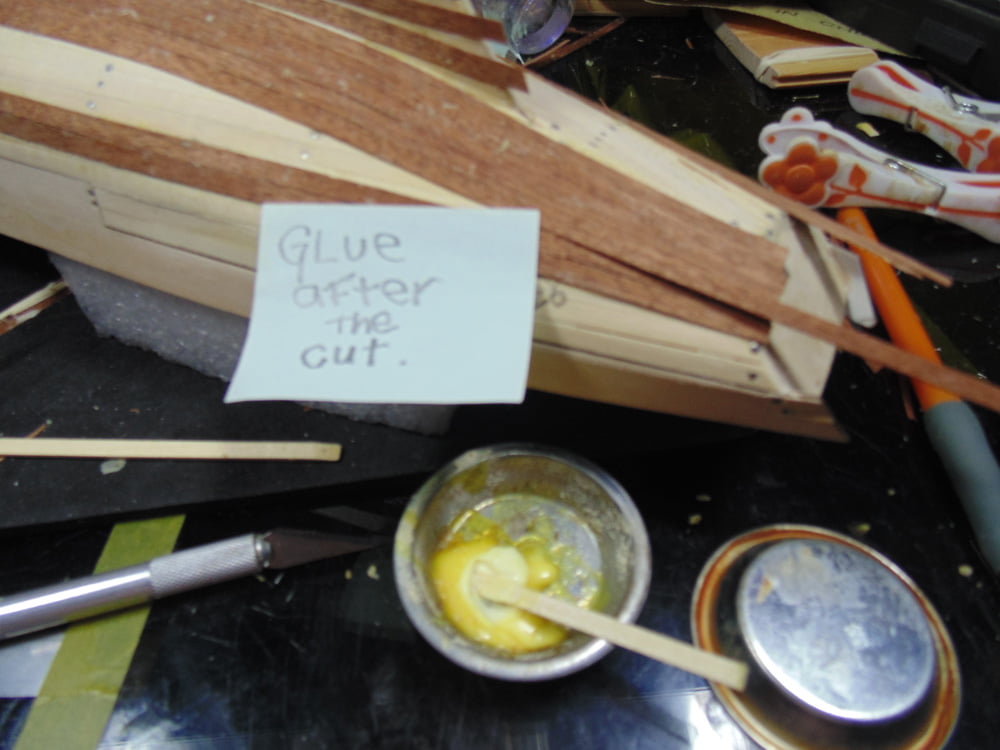
It’s vital that the fit of these sheets be as perfect as you can get them, being this is the final look of the model. Take the time and gently sand the side edges with 600-grit sandpaper to remove the burrs and get a super tight fit. It’s time consuming, yet worth it when you compare the sanded vs the non-sanded with your own eyes.
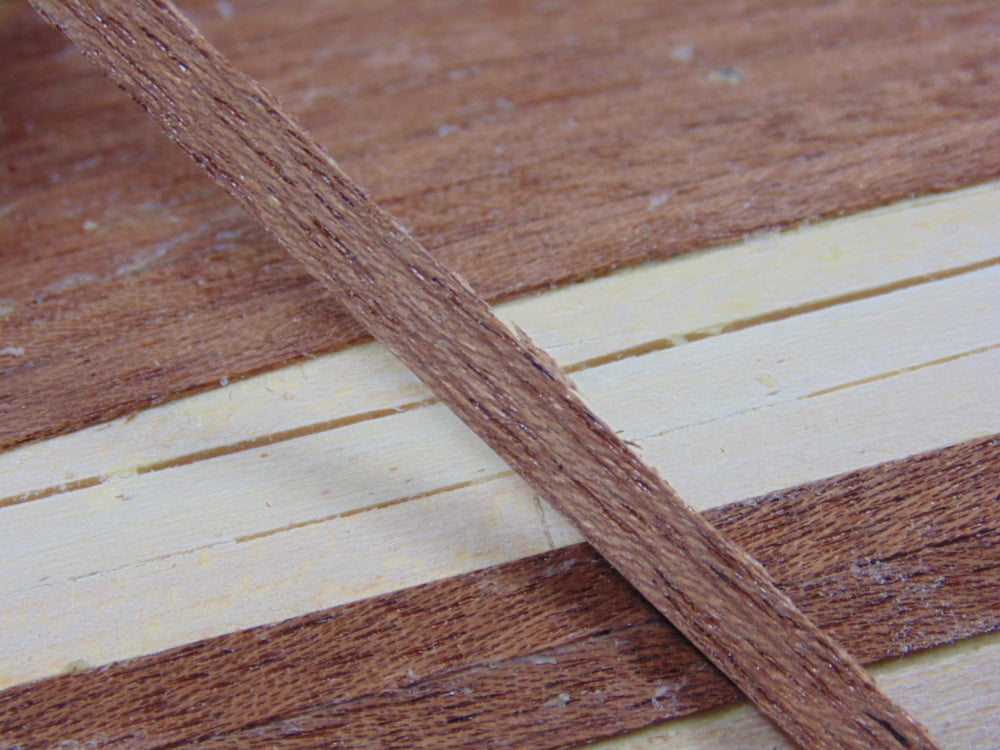
This brings step 11 to an end and while it too looks messy all will be cleaned up and gaps filled in step 12.
Thank you for taking the time to follow along. If you have any questions about the Artesania Latina line of products or other materials and techniques used, please feel free to ask when you place or pick-up your next Sunward Hobbies order.
About the Author:
H.G. Barnes is a former voice-over artist and retired sales and marketing professional. He’s the author of two large volume science fiction adventure romance novels with many more in the works. For well over 40 years he’s been building scale model replicas and now does commission work for clients in Canada and the USA, plus completes projects for companies in Asia and Europe.
Currently H.G. is involved as an Associate Editor with KitMaker Network’s Online Magazine Channels.
