Artesania Latina Bluenose II Build – Part 4 of a Series
In this Sunward Hobbies tutorial, I’ll be continuing with Artesania Latina’s Bluenose II build with Part 4.
In this Sunward Hobbies tutorial I’ll be giving more tips in part 4 of the build. We’ll cover planking inserts, sanding and general techniques to speed things up while still maintaining a high quality.
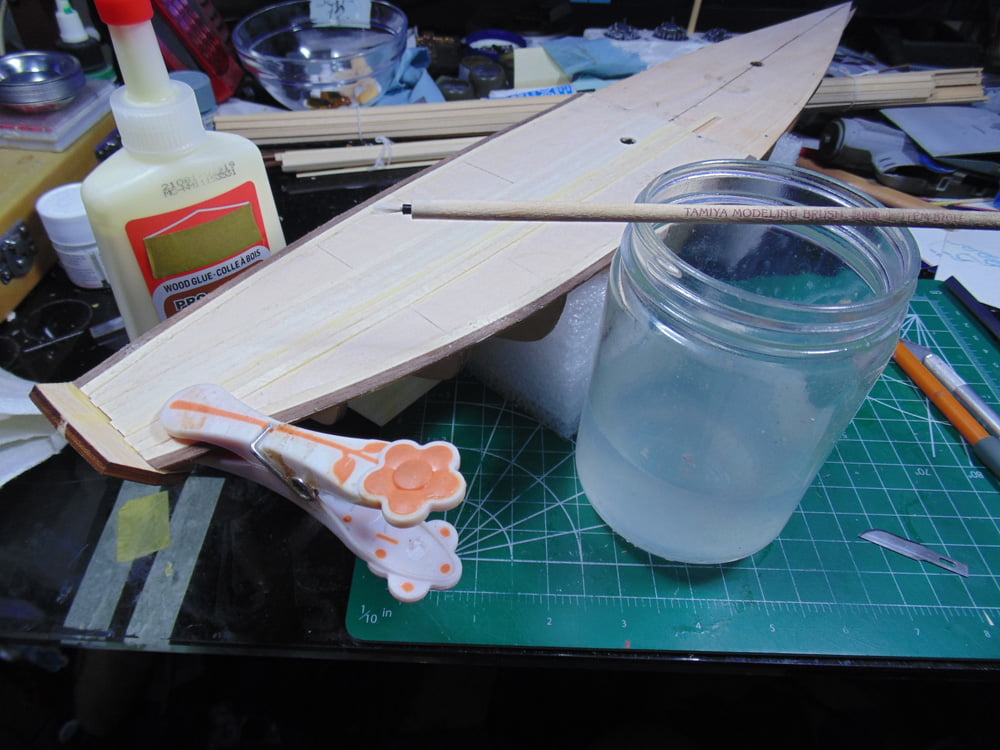
Now that you’ve added the edge planking it’s time to put on the outer lengths. The first two are relatively easy angles to cut, but here’s a tip. Put a small blob of glue in a metal cup and use a small brush to apply it and to clean up with some water.
The next outer planks get a little more complicated, yet nothing you can’t handle with a self-healing cutting mat with a millimetre scale. Excel makes an extremely precise mat and includes inches. The measurements are 1mm at the tip then cut at an angle to 12mm.
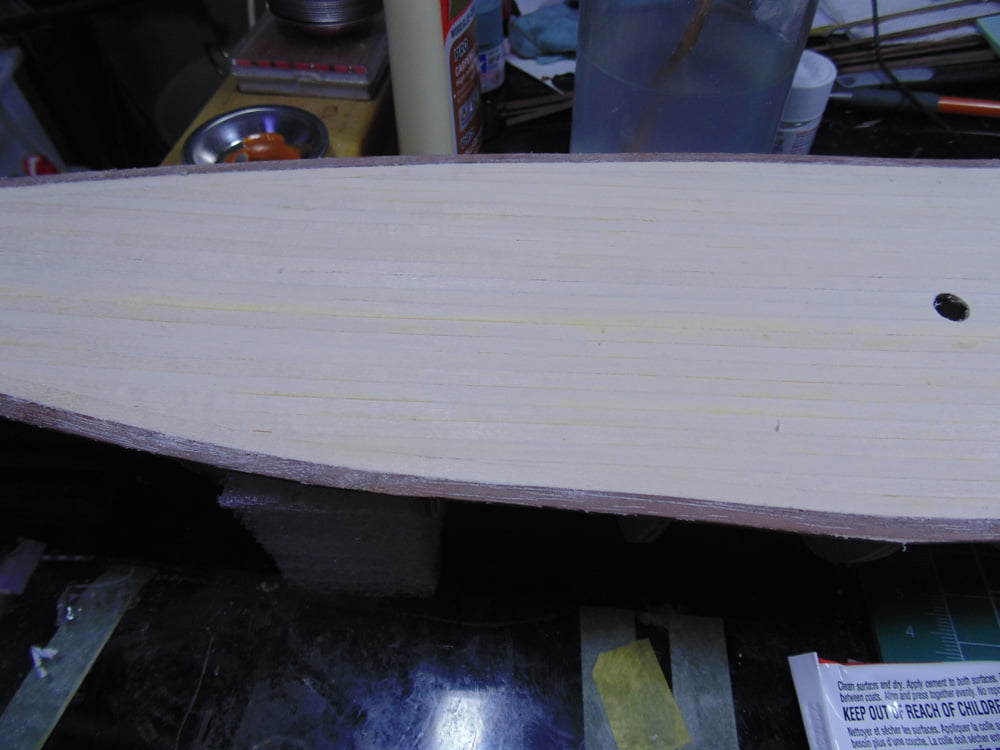
As you move to the outer part of the deck it’s very possible that the length of angle will go from 12mm to a longer one. Here you can see I’ve adjusted my angle in order for the plank to fit yet still have the same look. To help with this you can visit the Nova Scotia Dept. of Tourism where there is a virtual walk around.
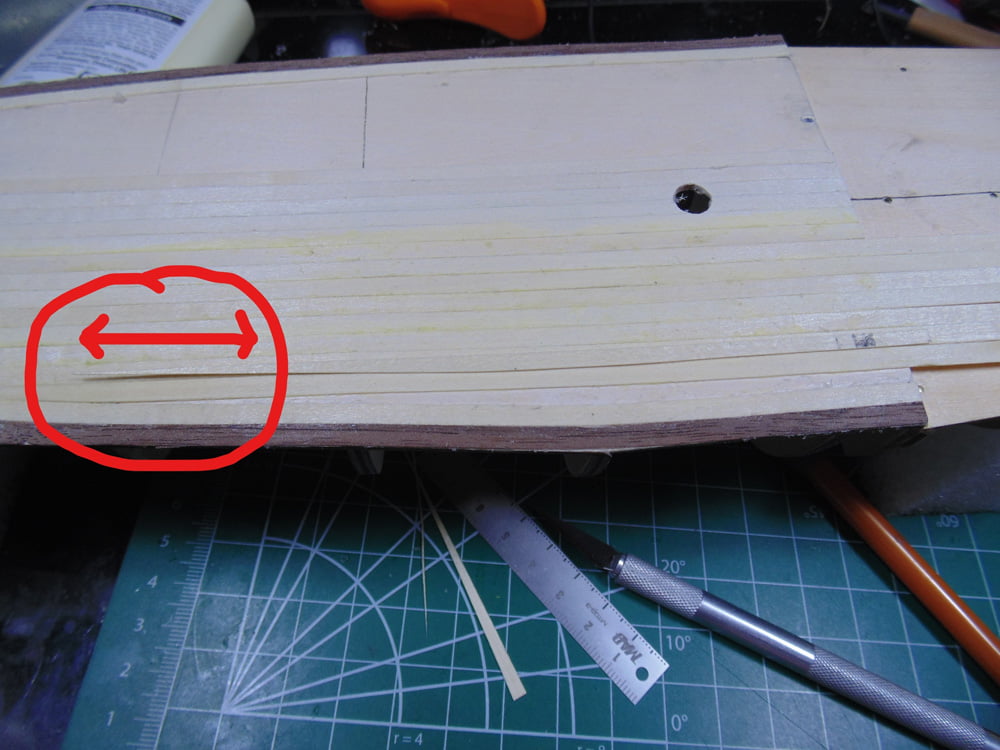
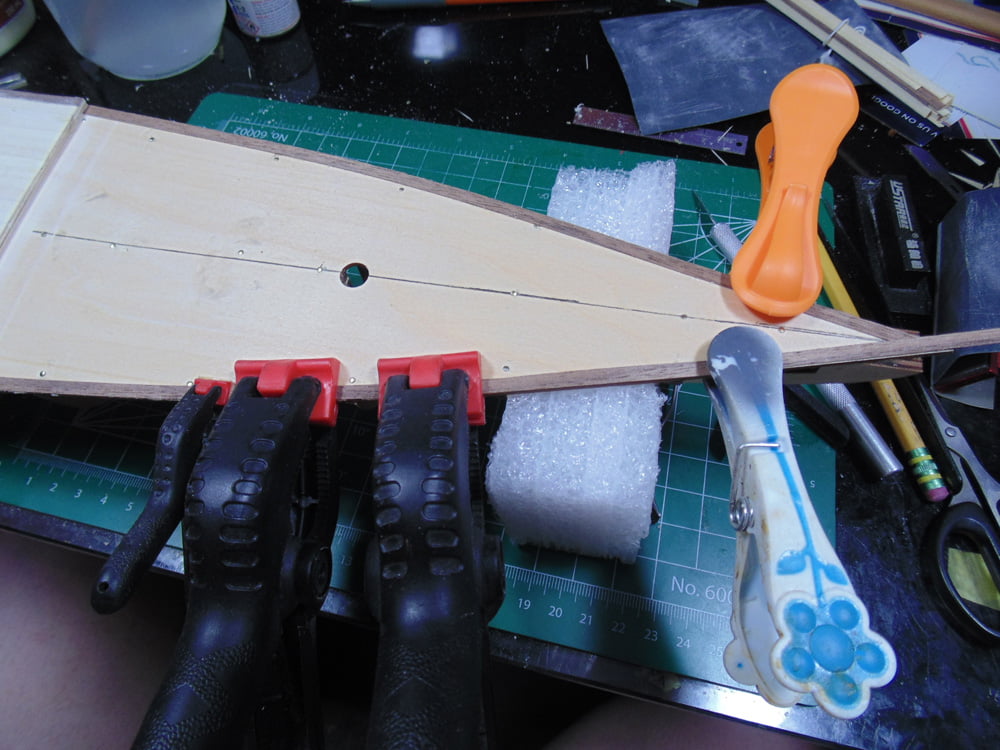
I prefer to walk my gluing in sections to ensure a strong bond. A drop of water will keep the glue from drying out too quickly. Keep in mind that you’re adding water to wood so there will be some slight warping. Clamping in small tight areas will keep this effect to a minimum. Remember the excess can be removed with your wet brush without lessening the bond. Follow the glue manufacturer’s instructions carefully.
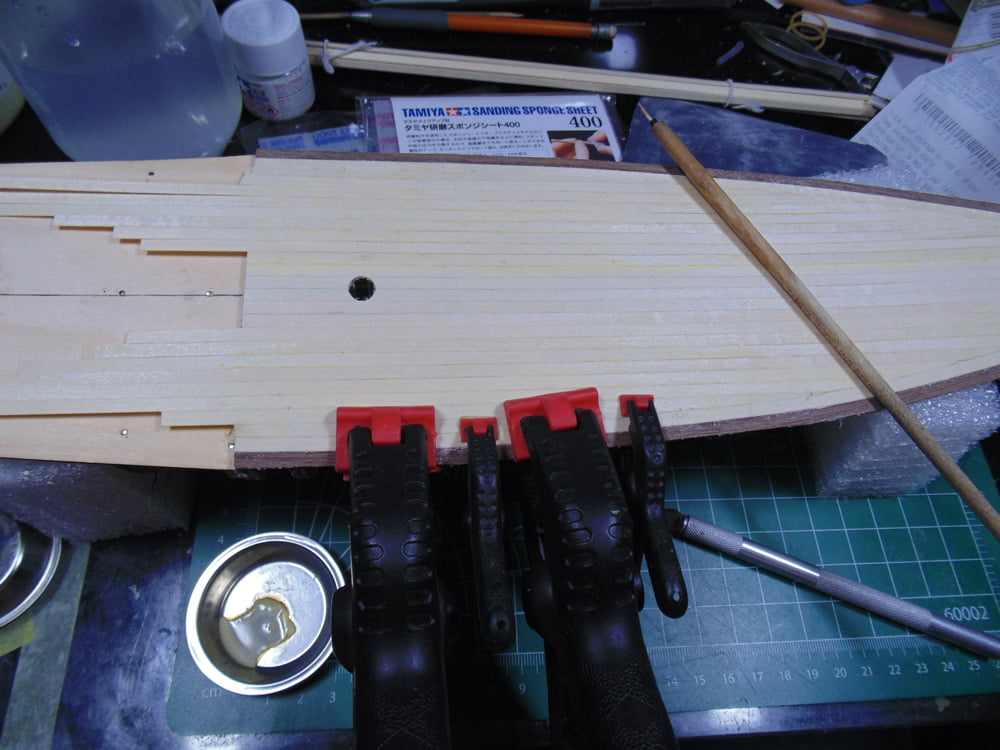
When adding the outer “drain planks” on the fore deck it will help to draw a line down the center. Add one plank then trim the tip as per your line. Again, the line makes it super easy to marry the second plank at the correct angle with the first. Here’s a tip, don’t throw out any small bits you’ve trimmed off. You never know when a bit of scrap will be the perfect size and shape.
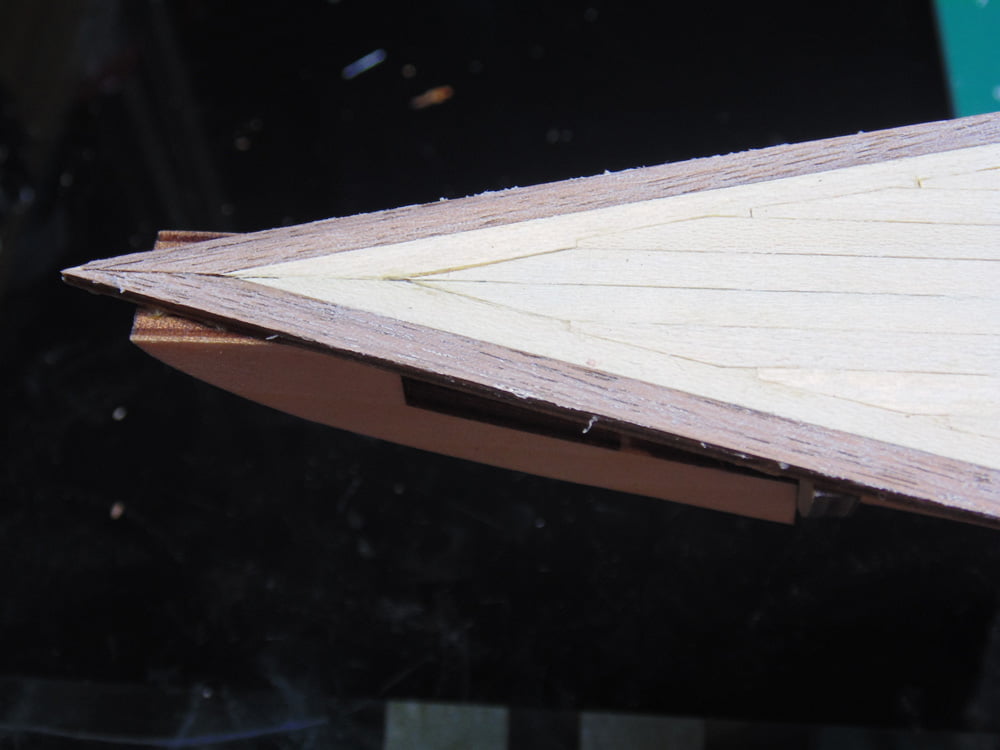
Now the fun part, inserting the deck planks with the outer basswood plank. The measurements are the same as the aft deck of 12mm by 1mm. As per the instructions, line up the tip with the 12mm mark and overlay it on the outer basswood. The instructions suggest using a pencil. I tried this a few times but found it just as easy to hold down the plank and cut it with a sharp Excel Hobby No.11 blade. This saved me a ton of time. Remember to walk your gluing along in sections.
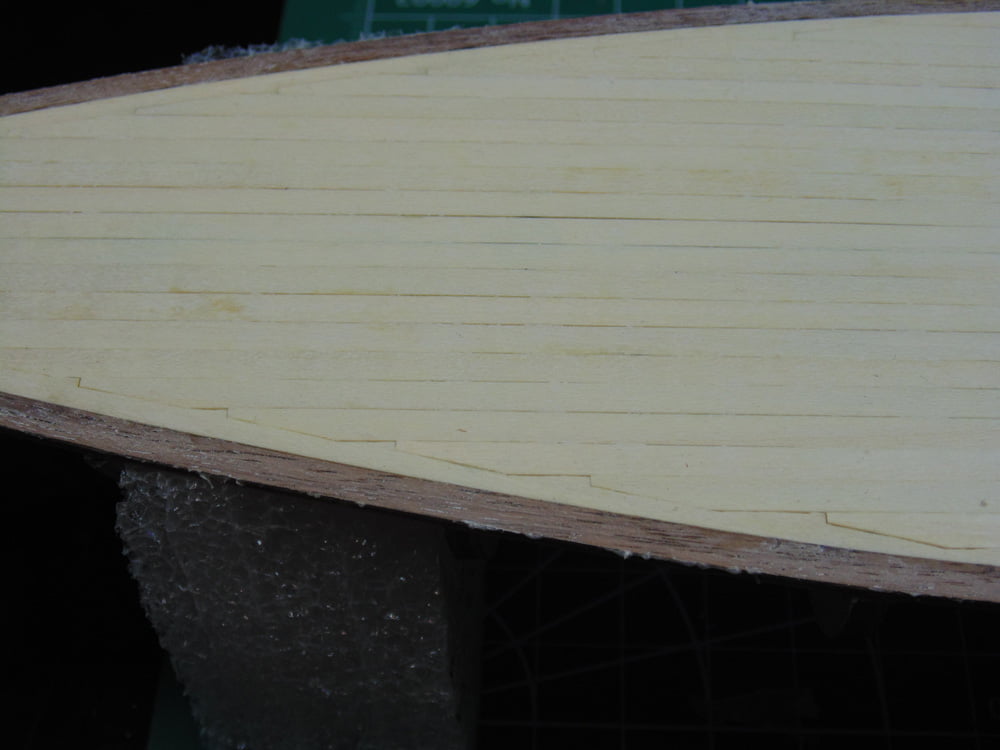
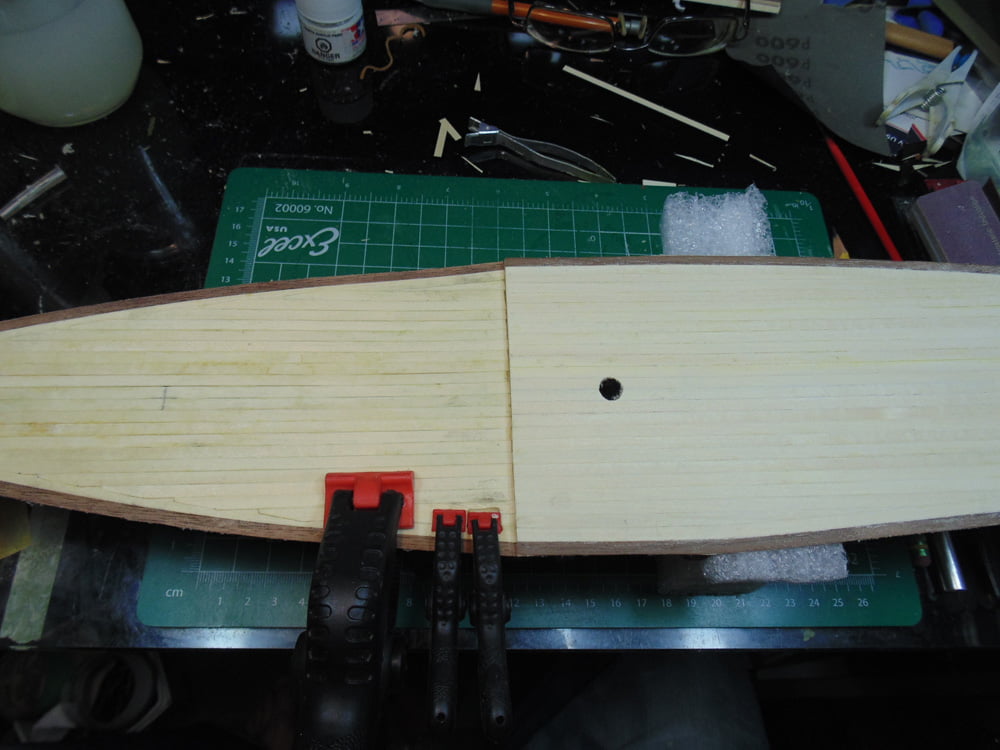
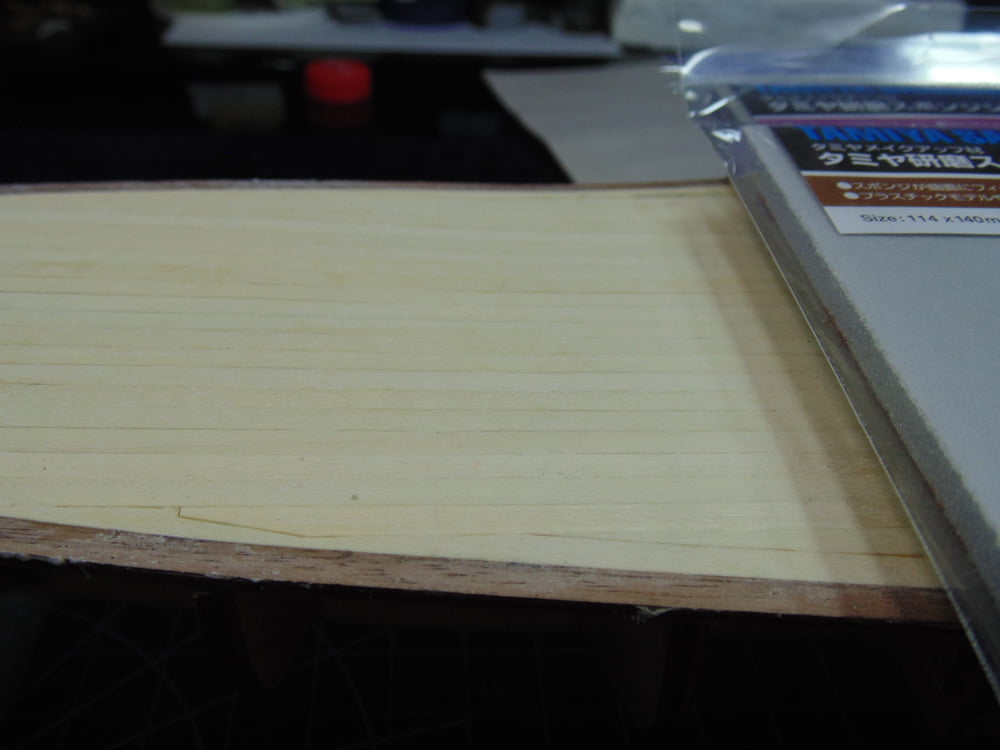
The time has come to do some sanding. While the materials which Artesania Latina use are very high quality, for best results you should sand the surfaces. Naturally, begin with a heavy grit of 400 then progress to 600-grit then 800 or 1000-grit and finish it off with 1500-grit. Tamiya Sanding Sponges take more time yet are easier on the thin surface.
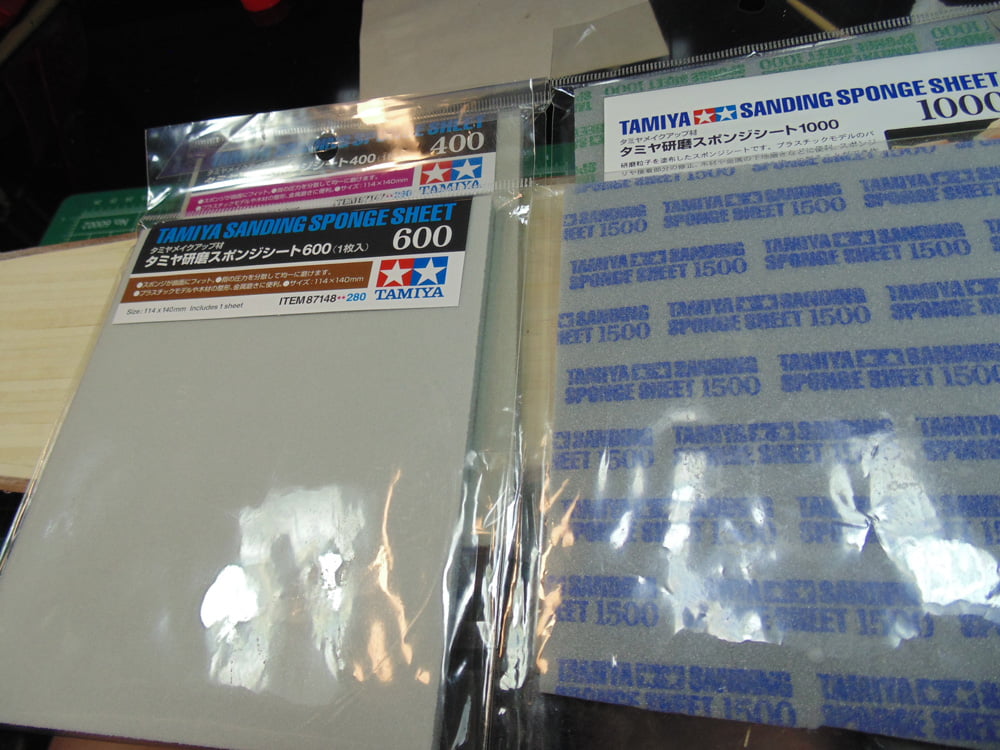
I won’t sugar coat it; this took some time. Trust me though, the result is super smooth and worth every minute you’ll invest.
Thank you for following along with this extended tutorial. If you have any questions about the techniques or products used, please feel free to ask when you place your next Sunward Hobbies order.
If you have any questions about the products used or the methods in this article, please feel free to ask the staff when you pick up or place your next order from Sunward Hobbies.
H.G. Barnes is a former voice-over artist and retired sales and marketing professional. He’s the author of two large volume science fiction adventure romance novels with many more in the works. For well over 40 years he’s been building scale model replicas and now does commission work for clients in Canada and the USA, plus completes projects for companies in Asia and Europe.
Currently H.G. is involved as an Associate Editor with KitMaker Network’s Online Magazine Channels
