Artesania Latina Bluenose II Build – Part 1 of a Series
In this Sunward Hobbies Tutorial Series, I’ll be showing you how easy it is to build The Bluenose II. However, many of the techniques can be easily adopted to other wooden models of the Artesania Latina line.
Back in the 80’s model ship building was a long-term project and for many people a daunting task. In these days, with laser cutting, many of the parts fall together like a puzzle with the final result being something truly incredible. The best part is with these newer kits, they are fun!
My goal here is to build the fishing schooner, uncover all those little idiosyncrasies not mentioned in the instructions, fix any issues and pass this information on to you. Thus, saving you time and frustration along with providing a much more pleasant experience. As usual, my description is above the photo(s)
So, let’s pull out that holiday present or run down to Sunward Hobbies and pick one up, because first we’re going to take a dive into the box. And I don’t mean off the deep end (smile).
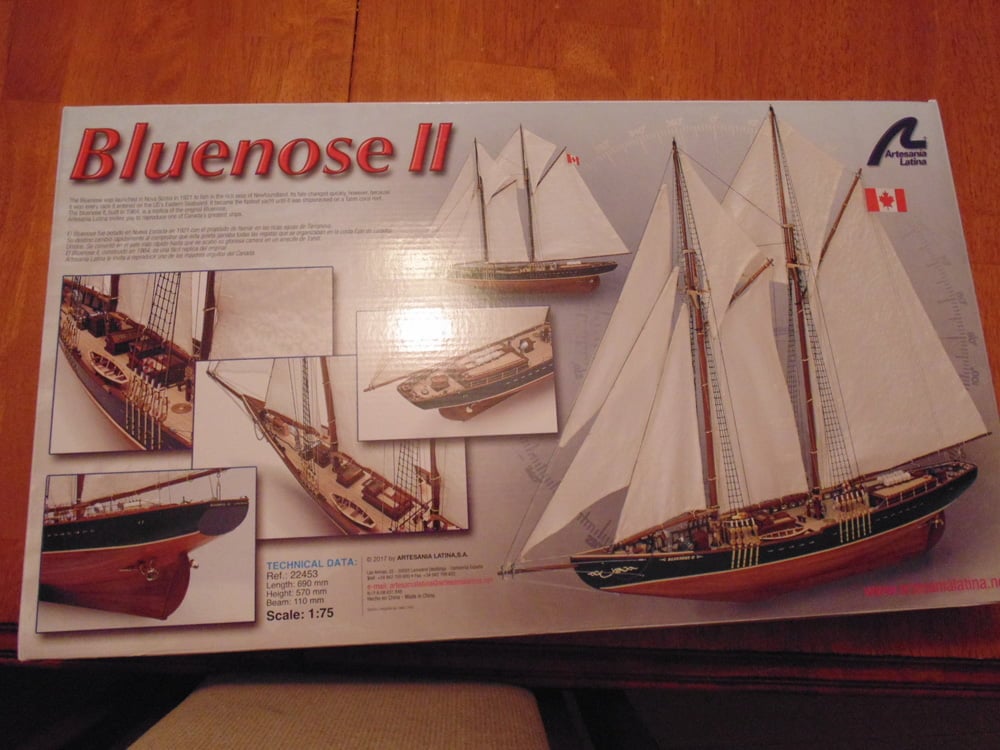
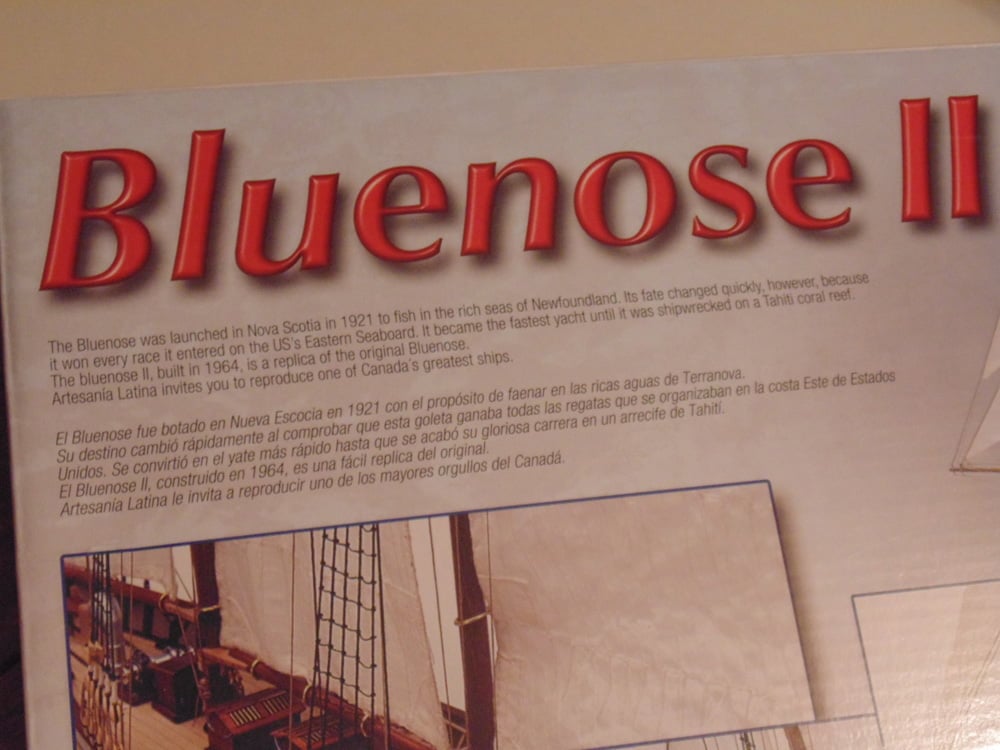
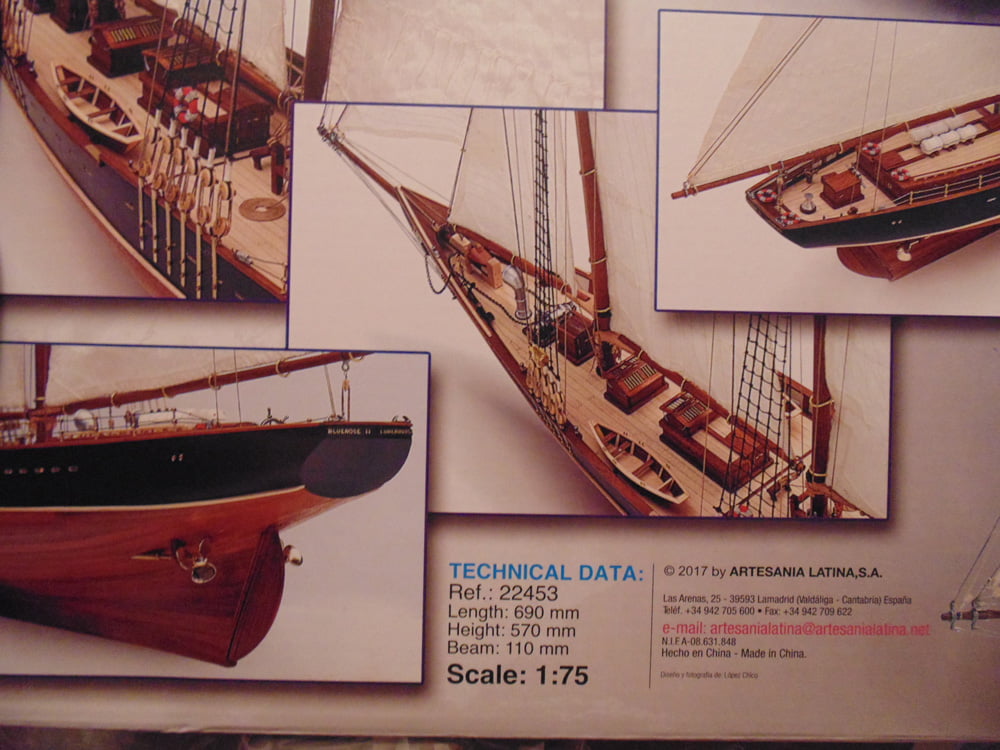
As you can see by the “Technical Data” on the box this is a large replica, so here’s my first tip. Make sure you have enough space to be able to freely spin the model around as you complete a part or step.
The parts count may look overwhelming, but with this tutorial and the full color instructions everything is planned out to be straight forward.
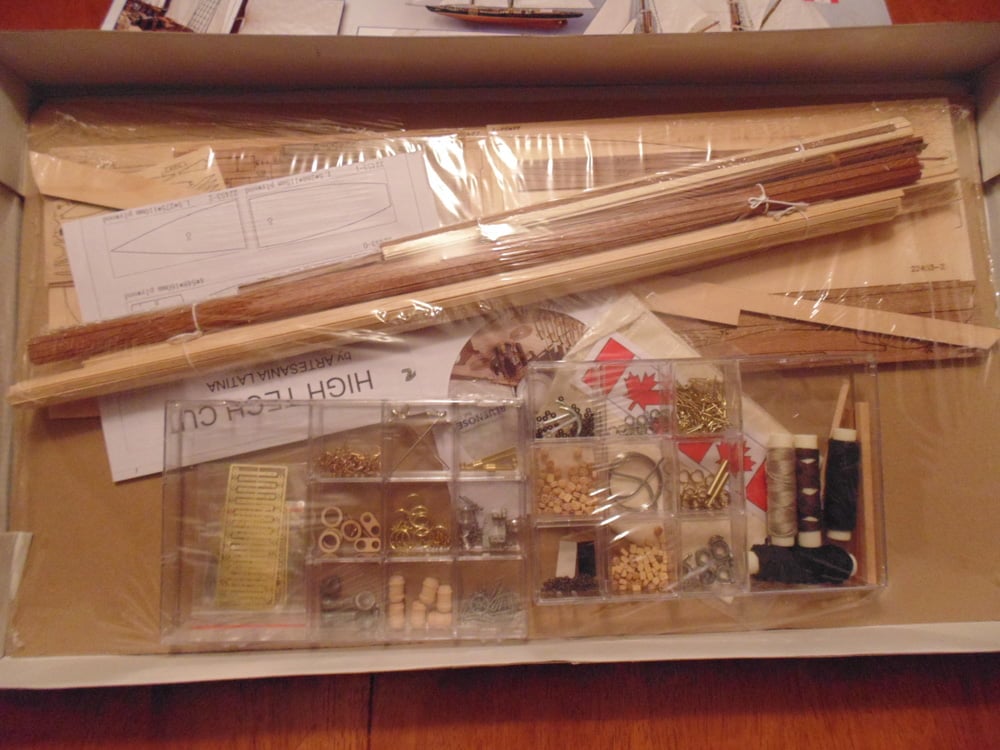
All parts have their description listed at the end of the first instruction guide.
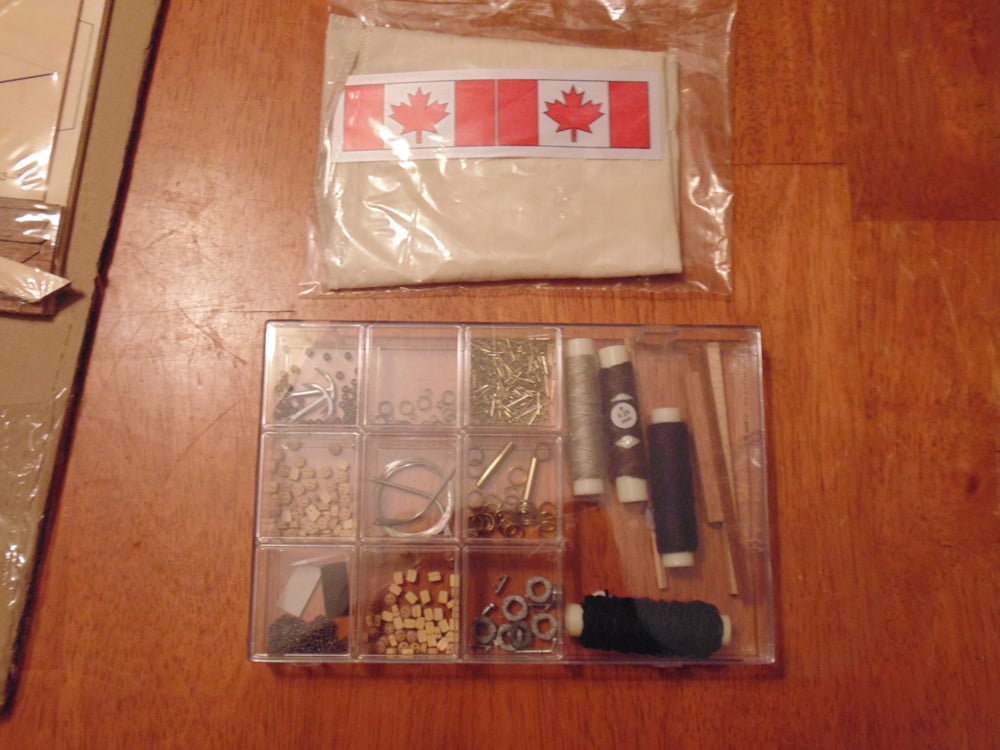
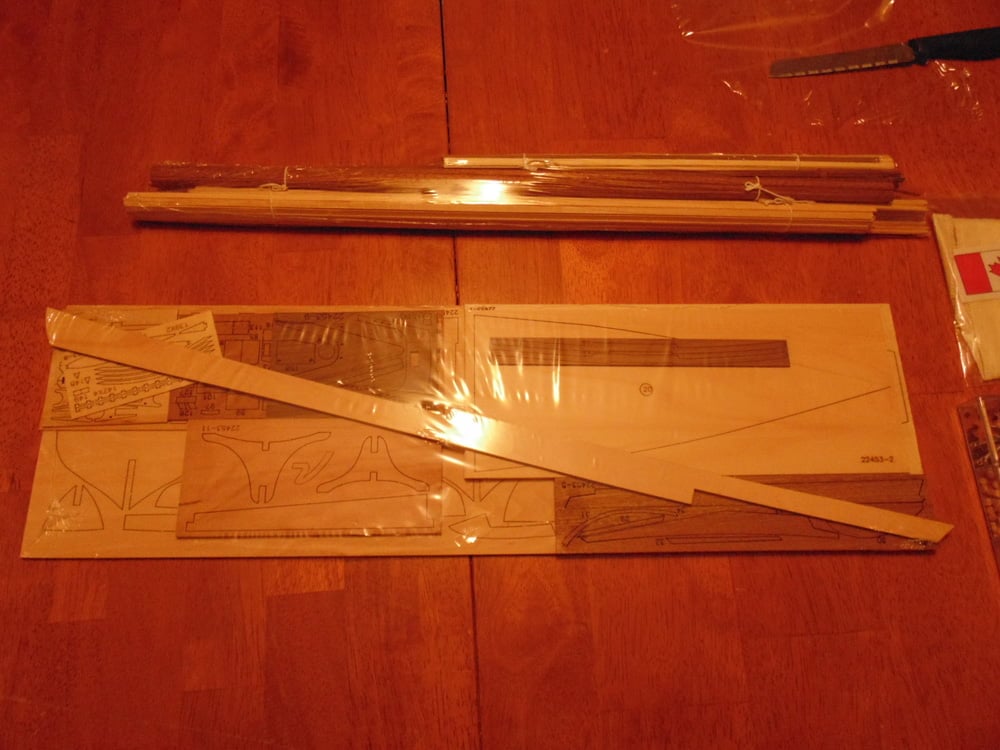
The multiple wood grains have been well sanded and while a few parts were pointed I found no reason to wear gloves or do any further sanding. Note the stain on my dining room table, more on that later.
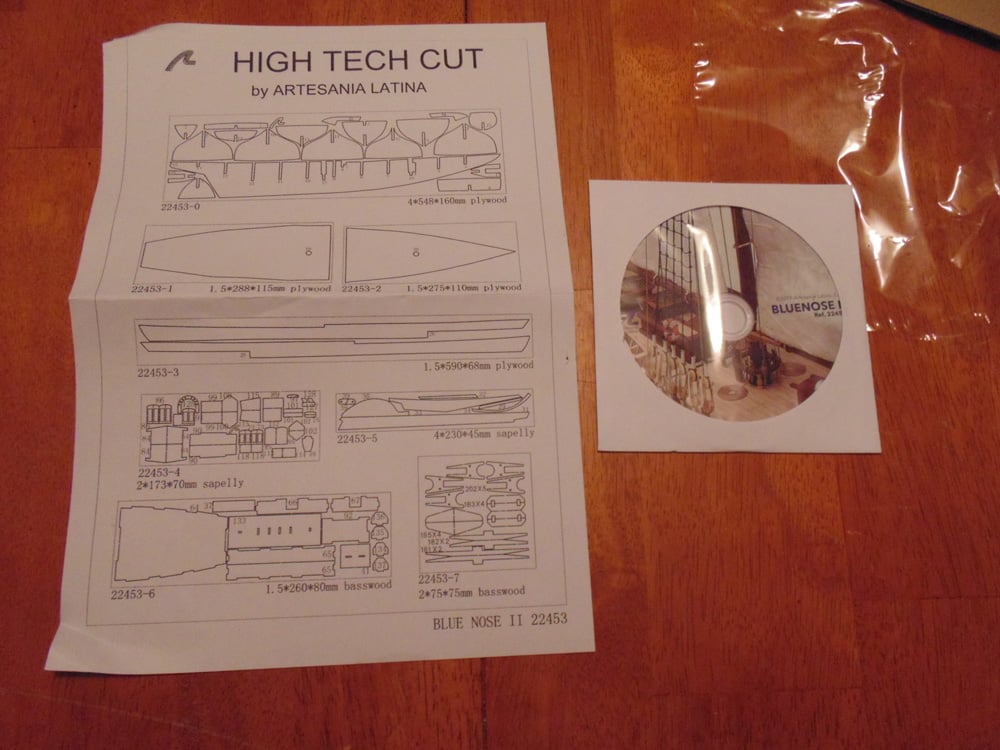
There are 3 short yet helpful videos on the CD-Rom instruction disc. An alternative would be to buy the printed version from Sunward Hobbies. Print costs have gone through the roof and these instruction manuals are quite lengthy for ease of the build. This makes the printed instructions a super inexpensive value for those who don’t have a disc drive or color printer.
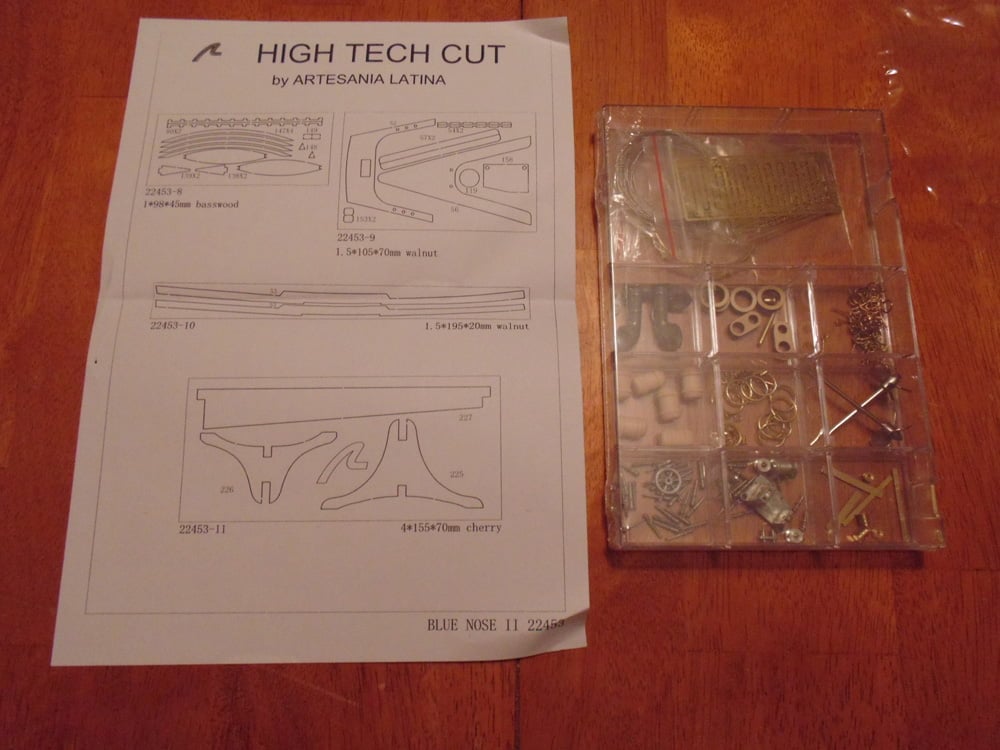
Again, don’t worry about the number of little bits. I’ll take you through them when it’s time. After all, the more bits mean the more detail.
Now let’s get our fingers busy in Part 1. Below you can see that the parts of the hull supports are on one sheet of plywood and labelled on the part and main hull shape.
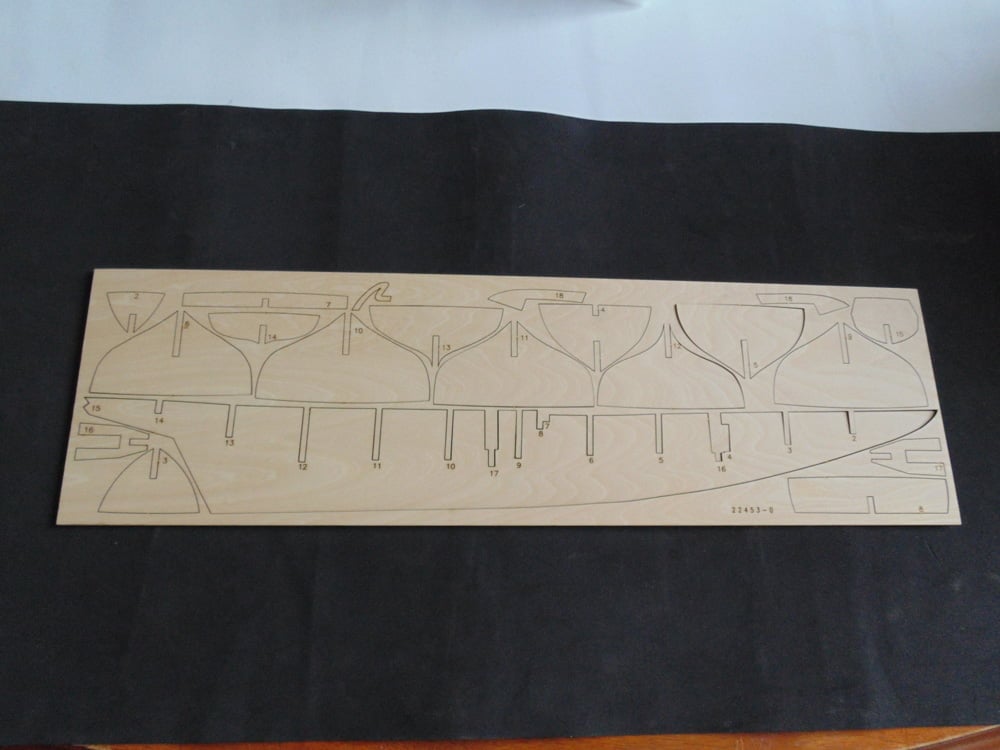
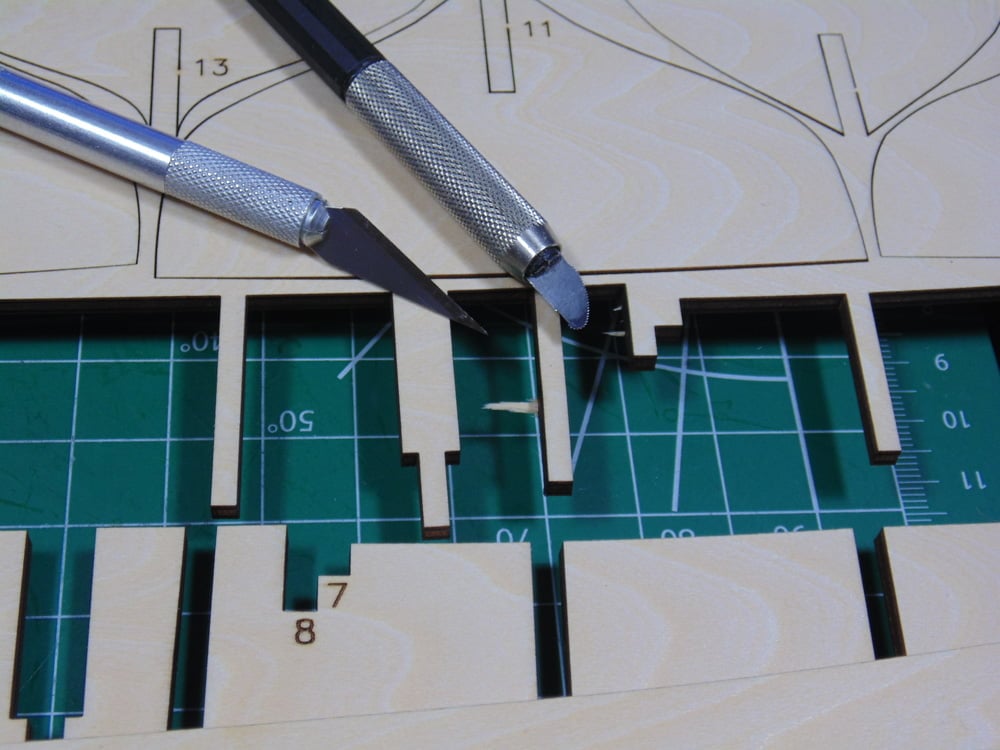
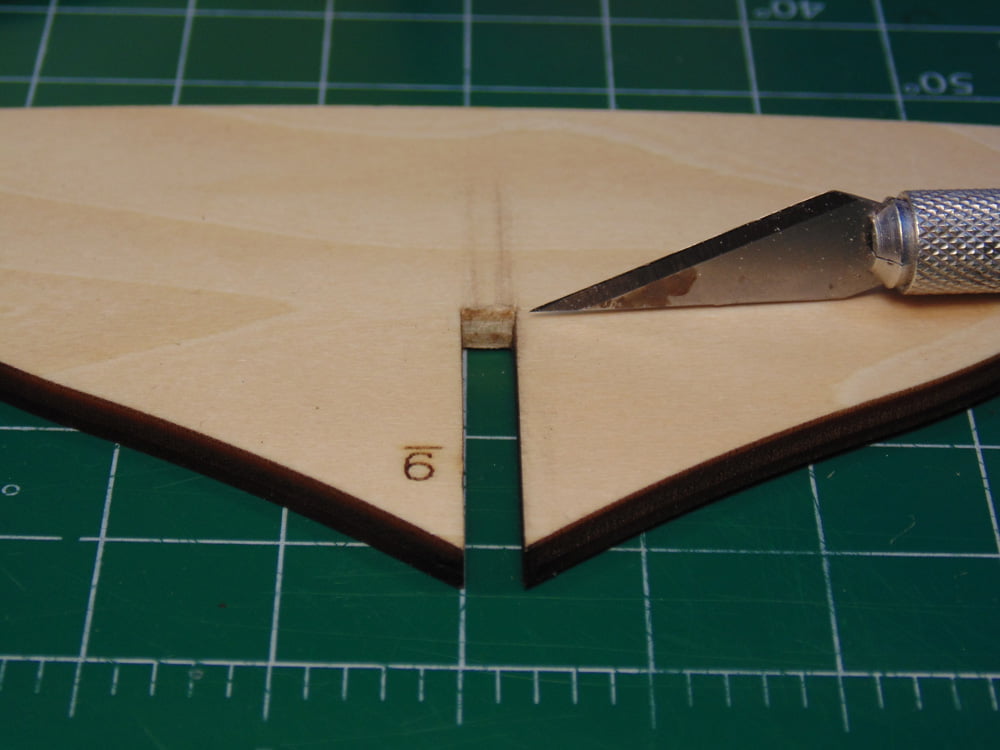
You can easily figure out where they are connected to the frame and removing them is a piece of cake. Use a brand-new hobby blade or a 0.15/0.1mm razor saw for better results. Here you can see a little splintering from where the hobby knife missed a sliver from the middle of the part connector. No damage to the part though. Sunward Hobbies have a great selection of both tools from multiple brand names to get the job done.
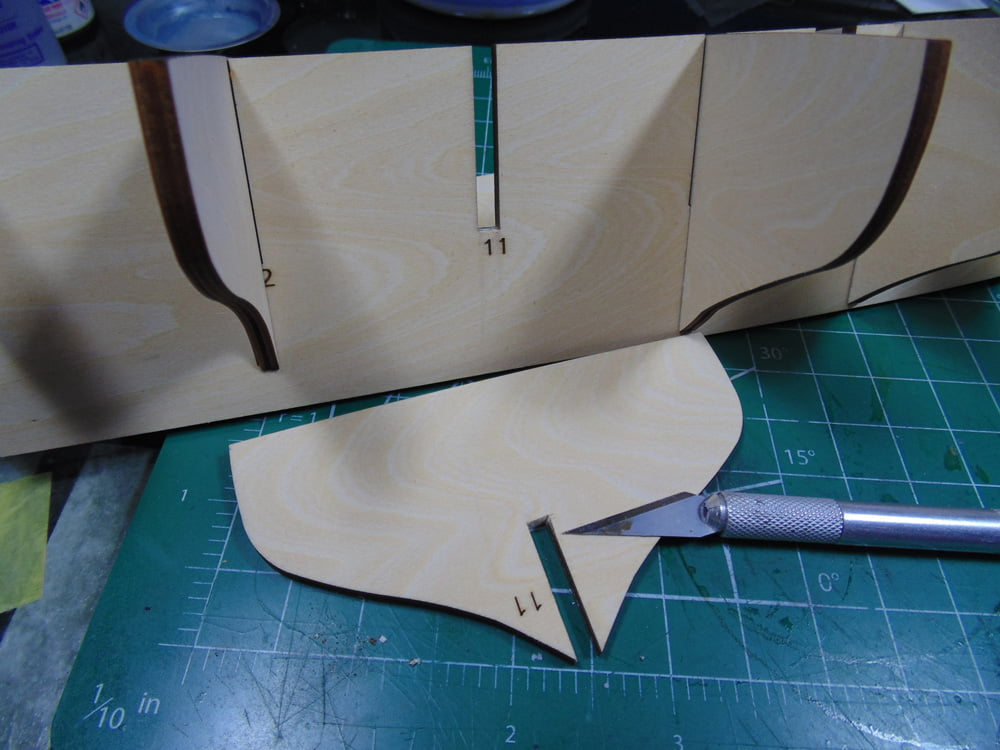
Angelo mentioned before Christmas that he had some customers request how to build model ships. Knowing this I spent extra time double and triple test fitting each part. Below is an example where part 11 needs some material removed, in order to sit flush with the top of the main hull support running the length in the center. I opted to remove a bit at a time from both parts until this was perfect.
If you are this far off, as in part 4, you’ll have to turn them around to alter the angle. The top of each of these parts has to be flush with the center support.
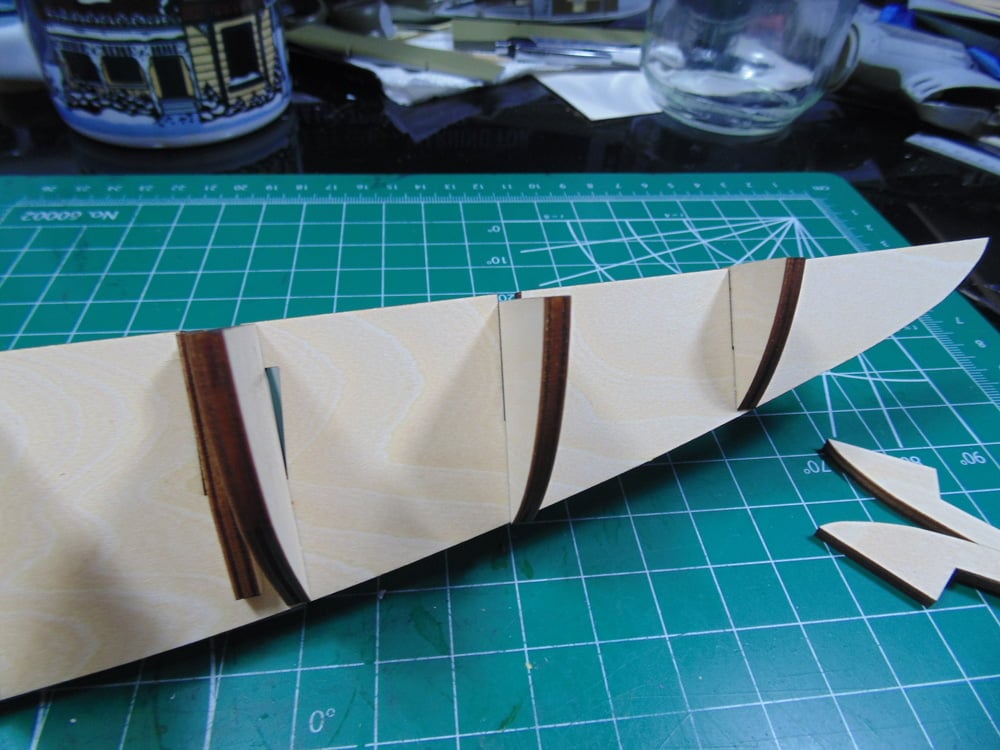
After test fitting these supports it was clear that they look the best when the part numbers face the aft or back of the ship.
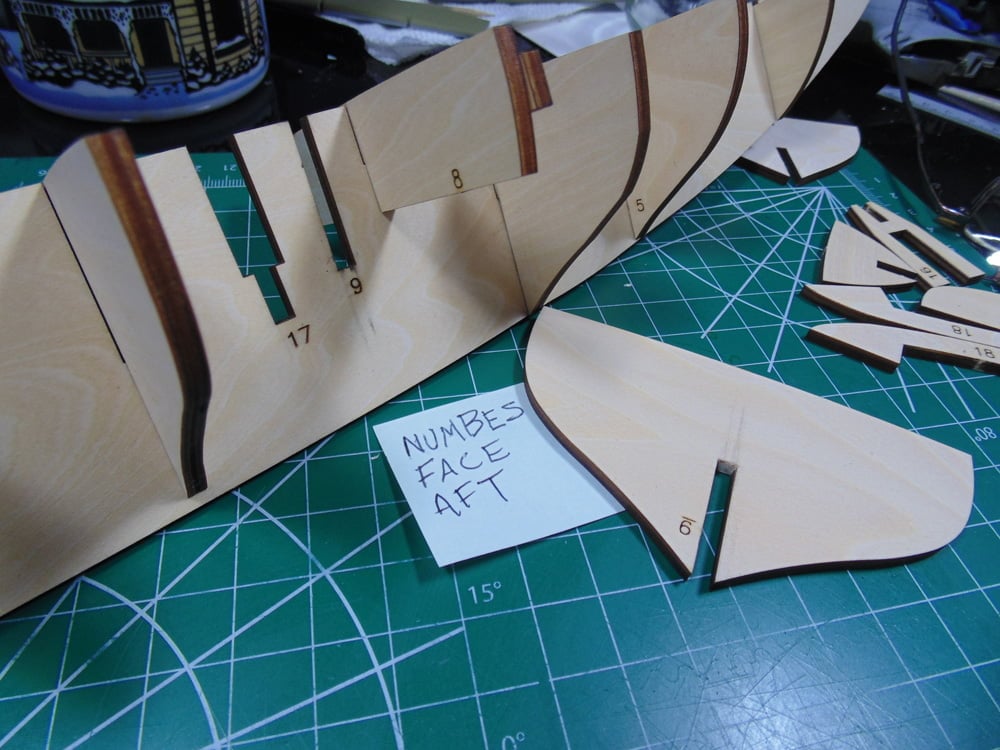
The vinculum for 9 and 6 are incorrect. Just go by how the part sits the best and make minor adjustments, if needed, to get each flush.
Now you can begin to glue the supports. First, remember this is very dry plywood and will soak up the wood glue causing further warping to what may already be there. Here’s a tip, use a toothpick to trowel the glue on the joining surfaces and later any cracks or slight separations in the parts. Sunward Hobbies sell several brands such as AK Interactive and Elmer’s Probond Glue to give you a strong bond.
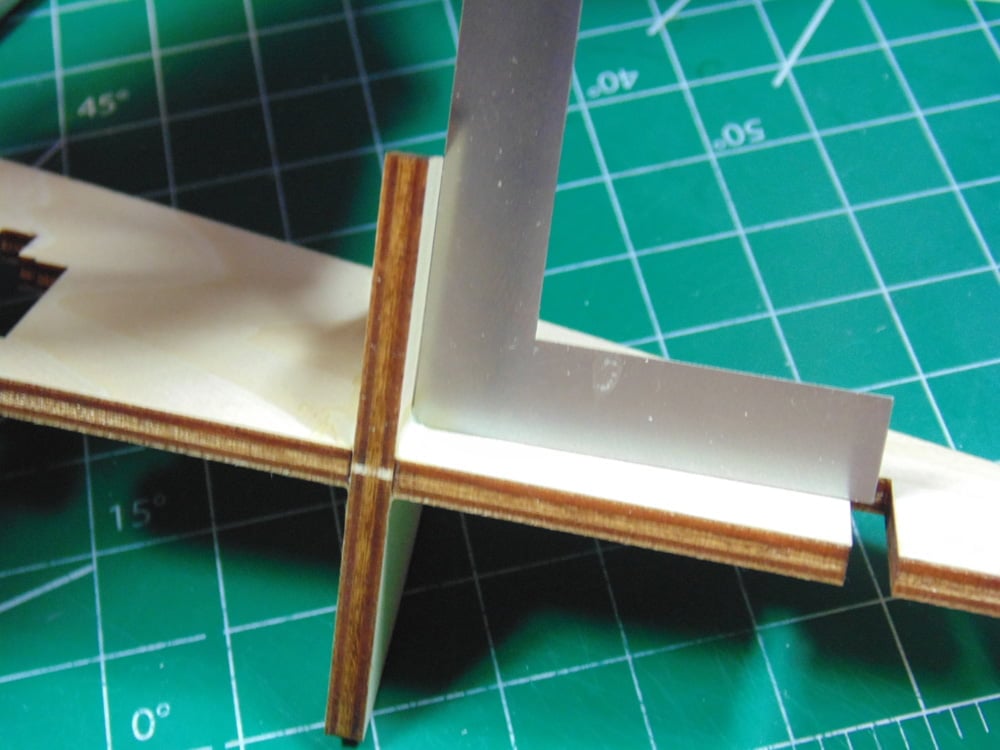
Also, it is vital that the supports are 90 degrees to the center support. If you don’t have a small “Right Angle” tool you can snap off an outer corner of one of your wood parts frames. I’ve tested quite a few for you and know they are a true 90 degrees. Glue first then adjust the angle.
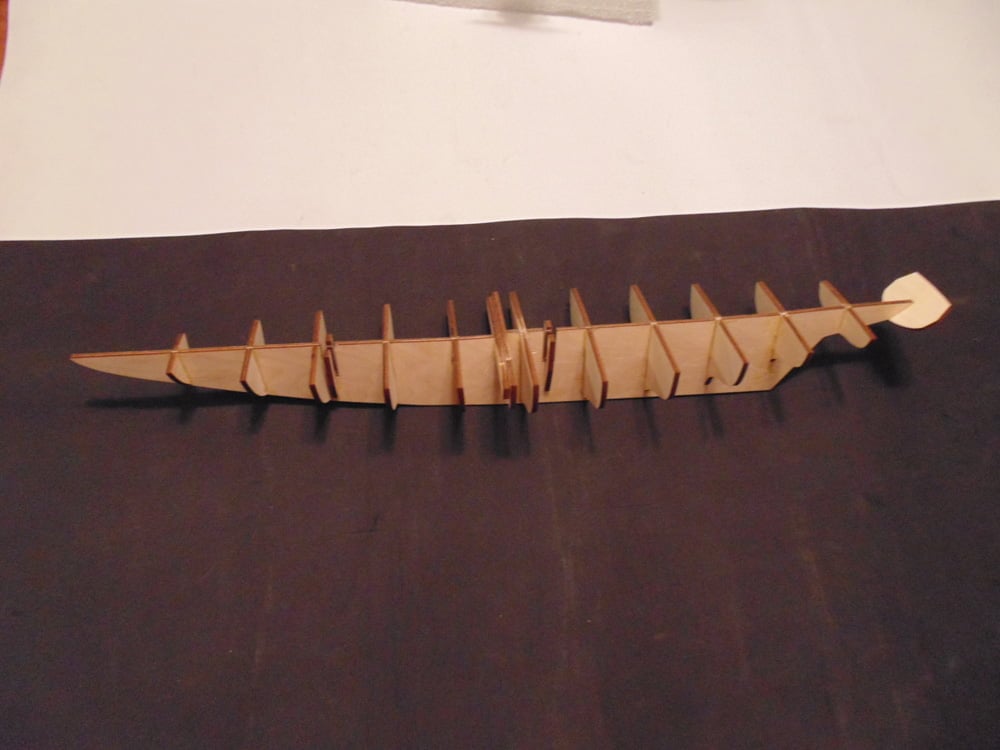
In the picture below there are two things to note. First, I read through the instructions and it states that it’s ok to have a bit of a support hang lower, as in the support closest to the prow, because it can be sanded. Second, are the areas where the masts will be seated. Those went on last so I could ensure they were aligned just right and didn’t shift while drying.
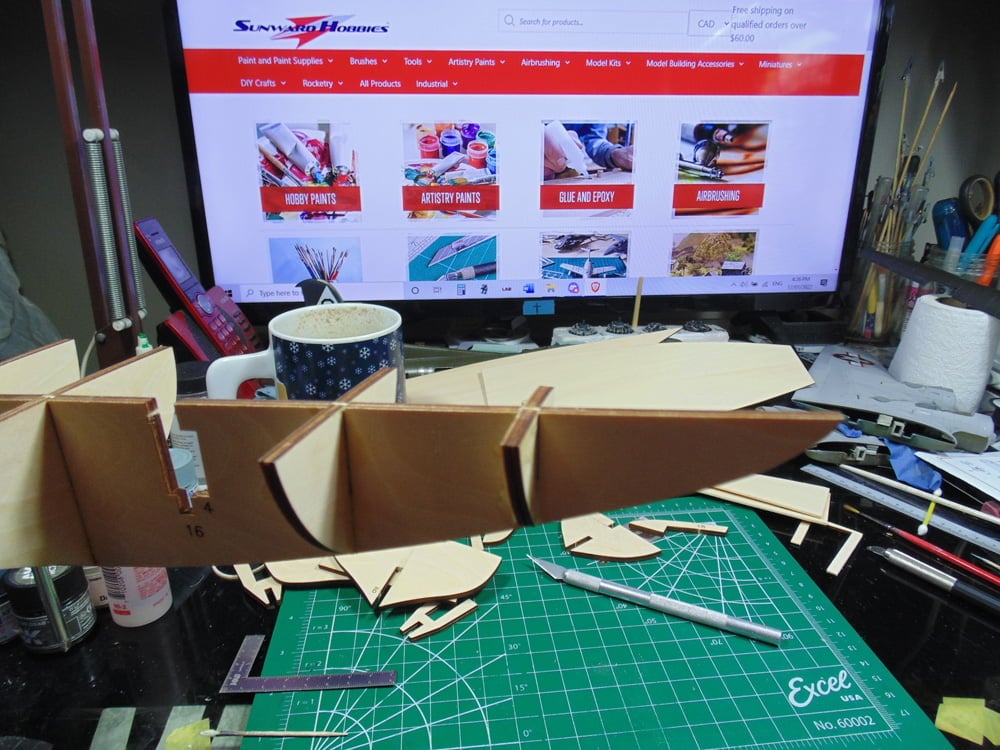
Continue to add your supports and frequently check the ones you’ve installed for 90-degree alignment before the glue sets too hard.
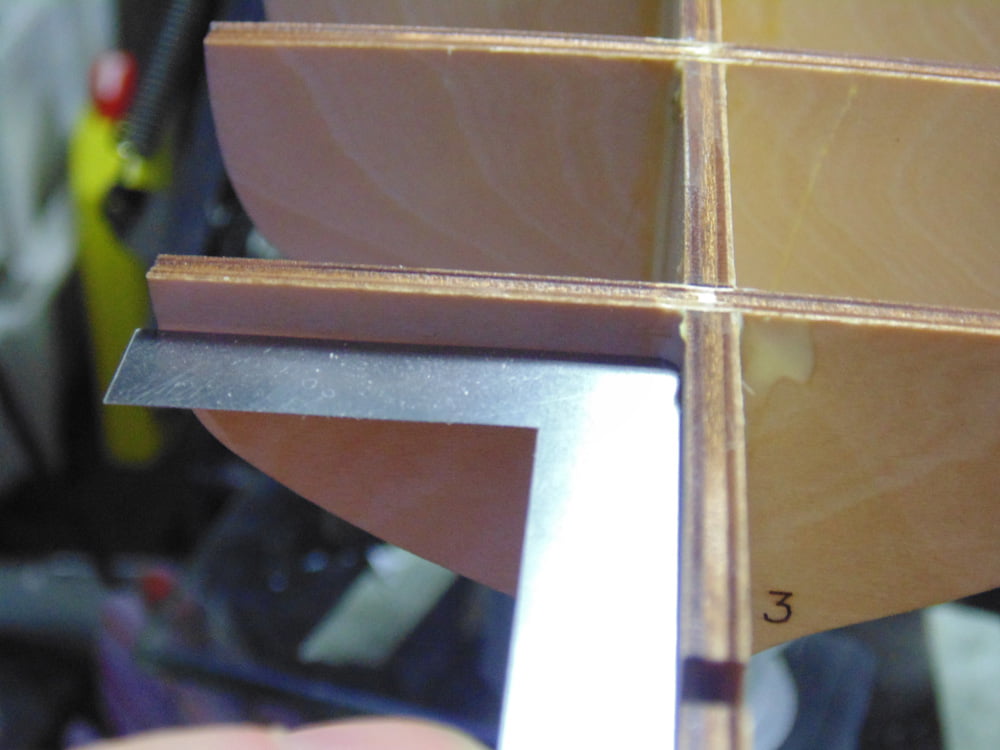
Here you can see the warp in the main support. It bows left and twists left. Some of this will settle back so don’t worry. Later, I’ll remove even more of this warp.
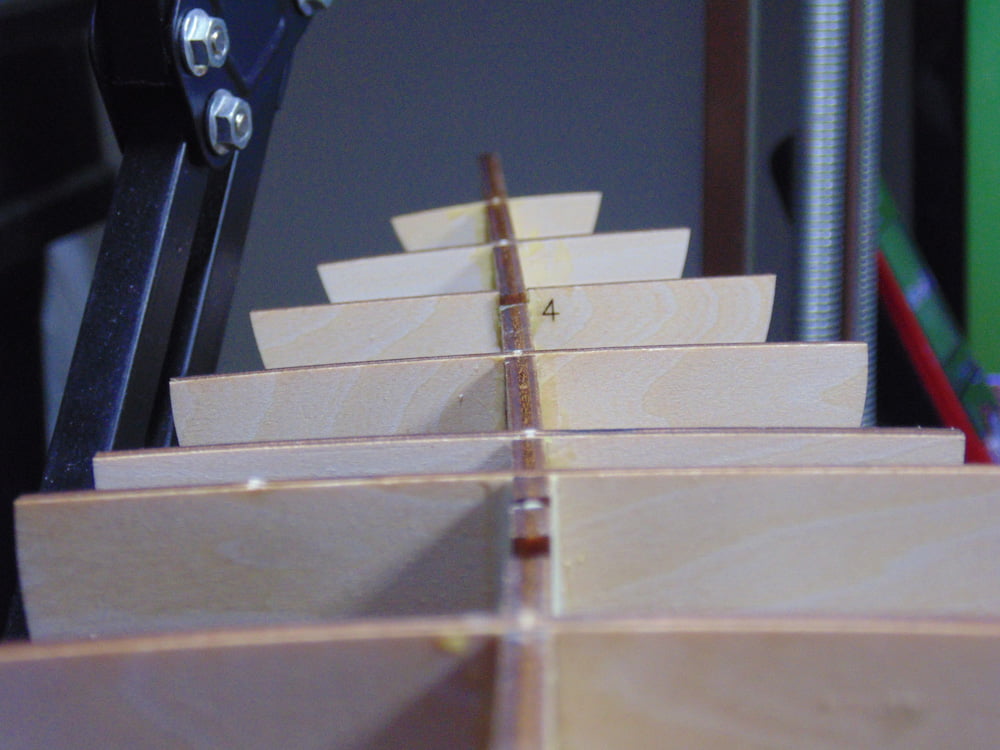
And here you can see the warp in the back, but what’s important is the two heights, or step, of the deck be exact at each side, as seen in parts 7 and 8. Also, these parts have a slight gap which I’ll address later in the build.
Here I’m checking for 90-degree and also letting the glue settle into a slight gap in the support. It was cleaned up a few minutes later when I was happy no air bubbles were there. With these tiny gaps I let the glue run through to the other side then wipe away the excess.

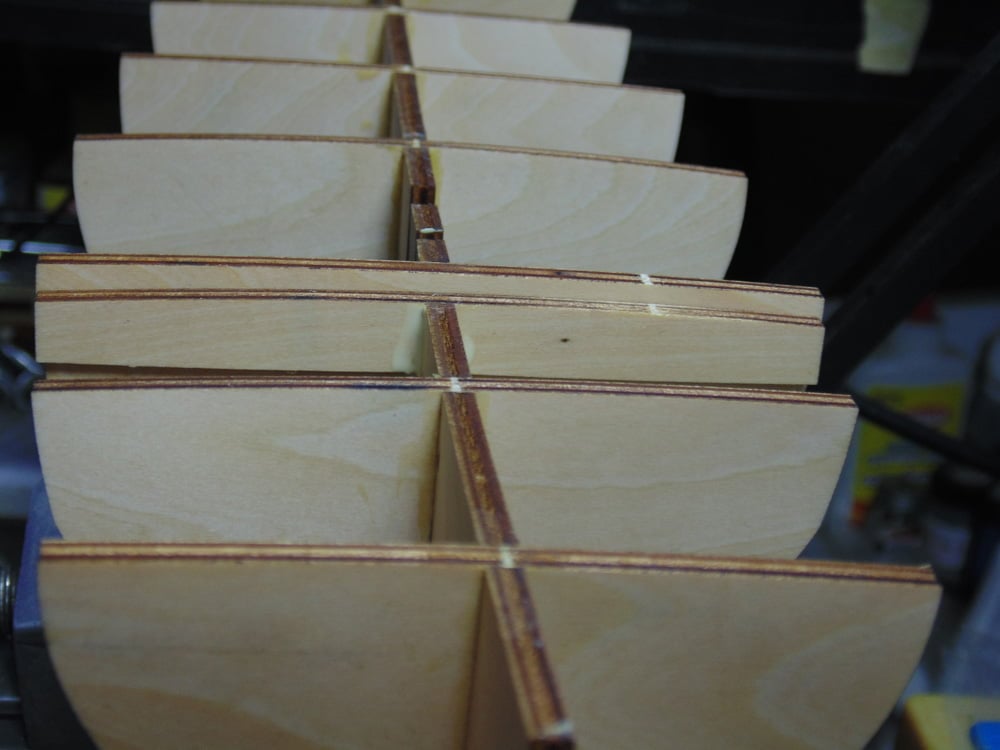
Here you can see the upper support in the picture where air bubbles burst and may have weakened the joint. Below you can see the glue running through. I learned something new about laser cut plywood and as promised, passing it along to you. A simple wipe with your pinky or a cloth cleaned things up. Also, you do not need a bench vise. It was used as a holder to take some pictures.
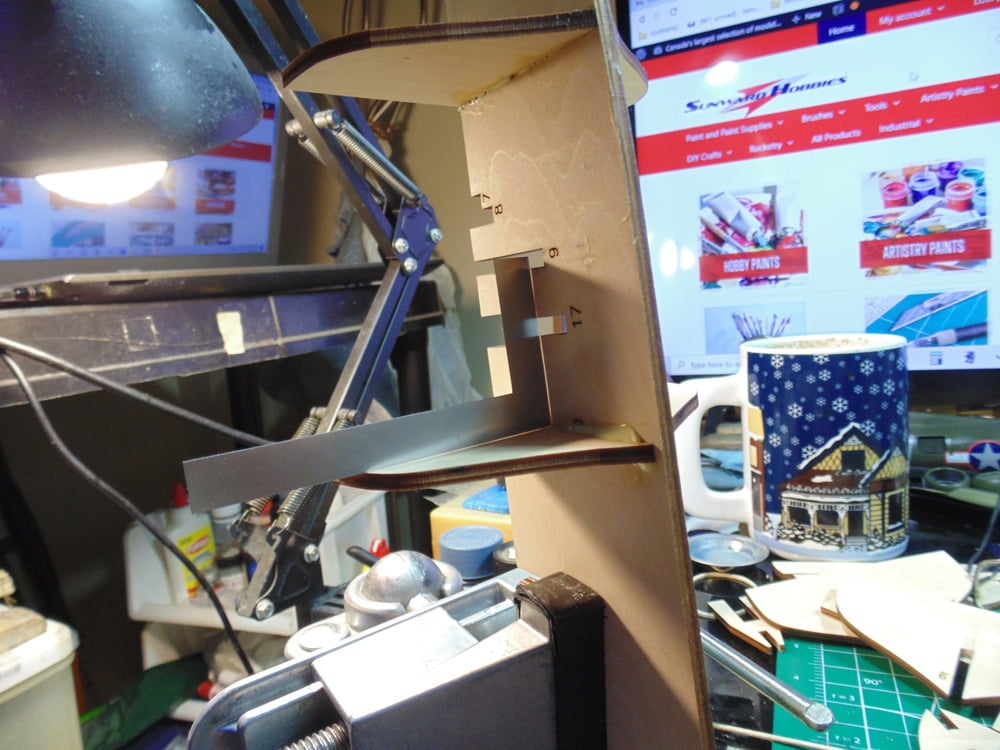
The result is what you see below. All I could think while doing this step was how easy Artesania Latina made it for the modeler. A great way to start off a build and a pleasure to present it to you.
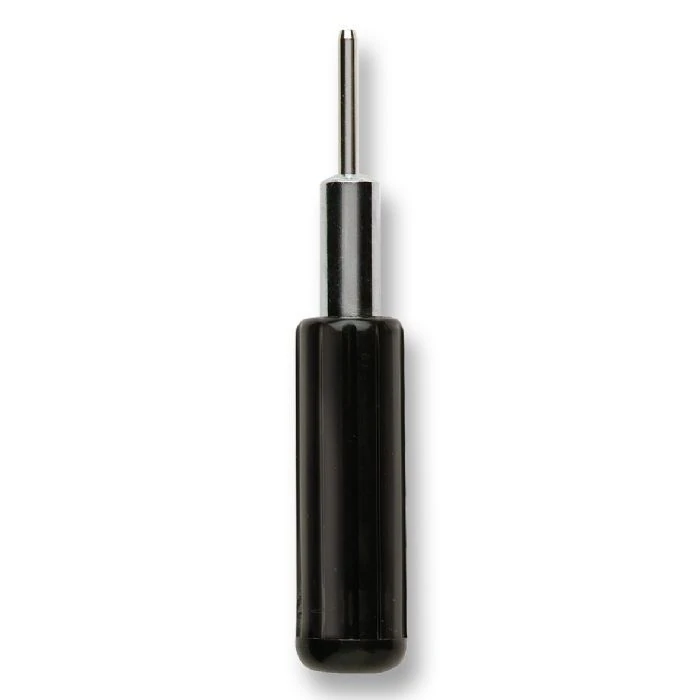
In Step 2 I’ll be adding the deck support and bow prow parts. Having already completed this step I would strongly recommend picking up the Nailer Tool. Since there will be quite a few bits of brass to hold these parts secure it will make your life easier and less noisy.
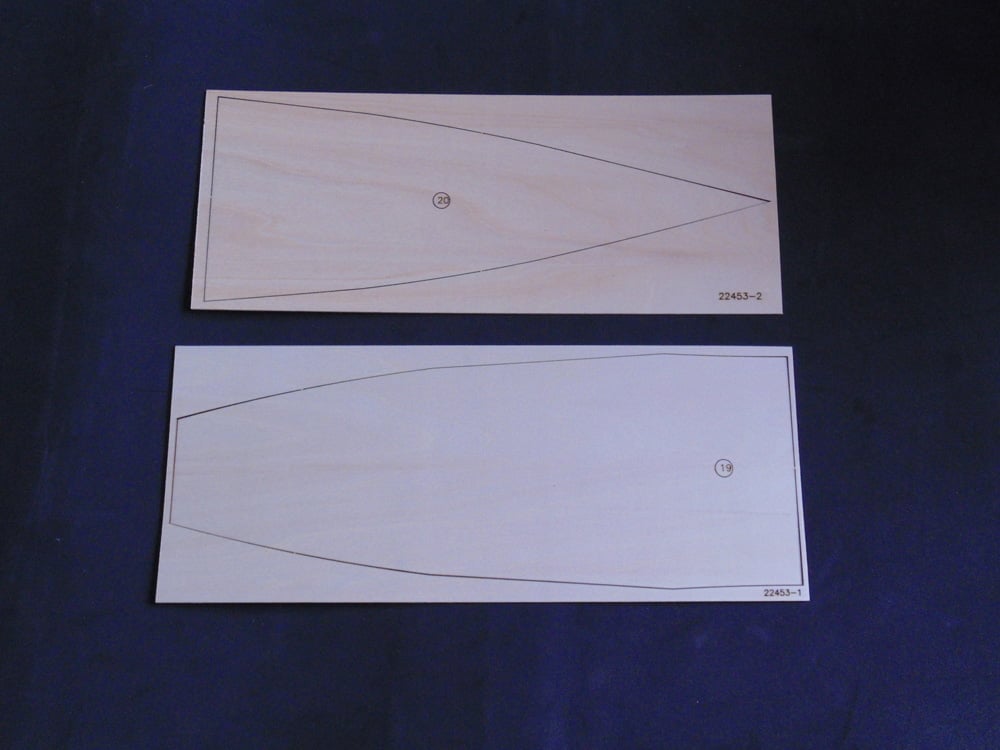
If you have any questions about the products used or the methods in this article, please feel free to ask the staff when you pick up or place your next order from Sunward Hobbies.
H.G. Barnes is a former voice-over artist and retired sales and marketing professional. He’s the author of two large volume science fiction adventure romance novels with many more in the works. For well over 40 years he’s been building scale model replicas and now does commission work for clients in Canada and the USA, plus completes projects for companies in Asia and Europe.
Currently H.G. is involved as an Associate Editor with KitMaker Network’s Online Magazine Channels
