Artesania Latina Bluenose II Build – Part 17 of a Series
In this Sunward Hobbies tutorial, I’ll be continuing with Artesania Latina’s Bluenose II build with Part 17. Previous Part 16
In this Sunward Hobbies tutorial I’ll be covering steps 44, 45 and 46 of the Artesania Latina Bluenose II Fishing Schooner. Also, we’ll be getting into some sail work in step 47. You’ll see some needed tools and get plenty of help with problem solving.
Let’s continue with some rigging. In step 44 the bow and sprite need lines to be run. The easiest method is to attach the bow and sprite points first. Then run them up to the required location and loosely double tie them. Once you’re satisfied with the look, set these lines aside.
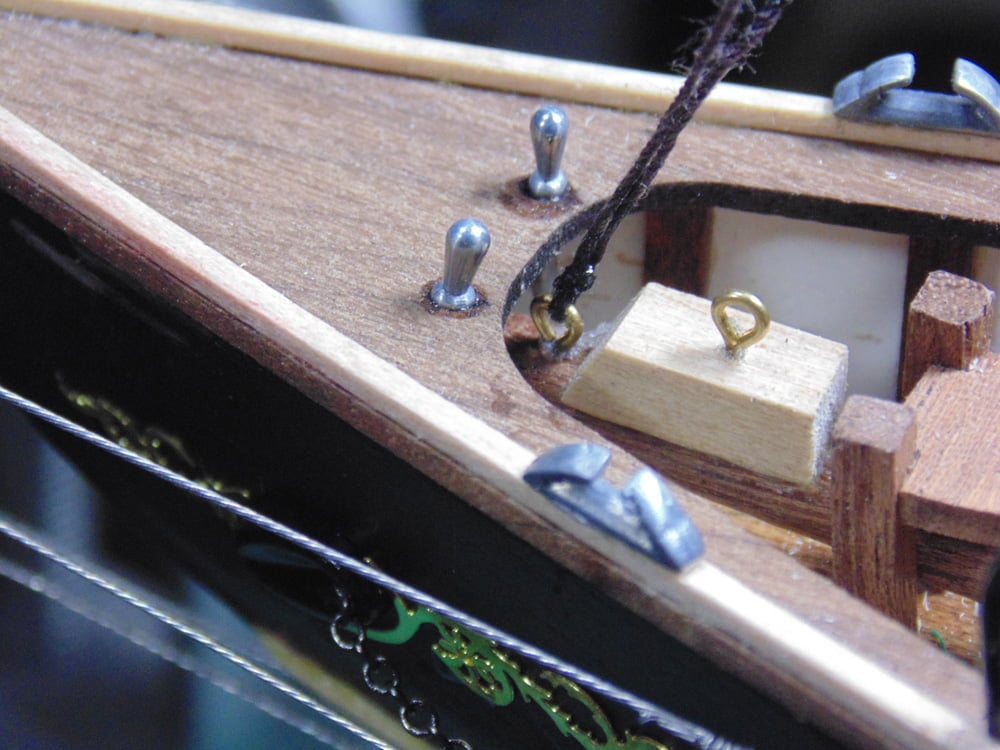
Work from the lower most line so you’re not bumping into an upper line. Later, you can always tighten them prior to adding a dab of BSI Cyanoacrylate CA glue to permanently fix them.
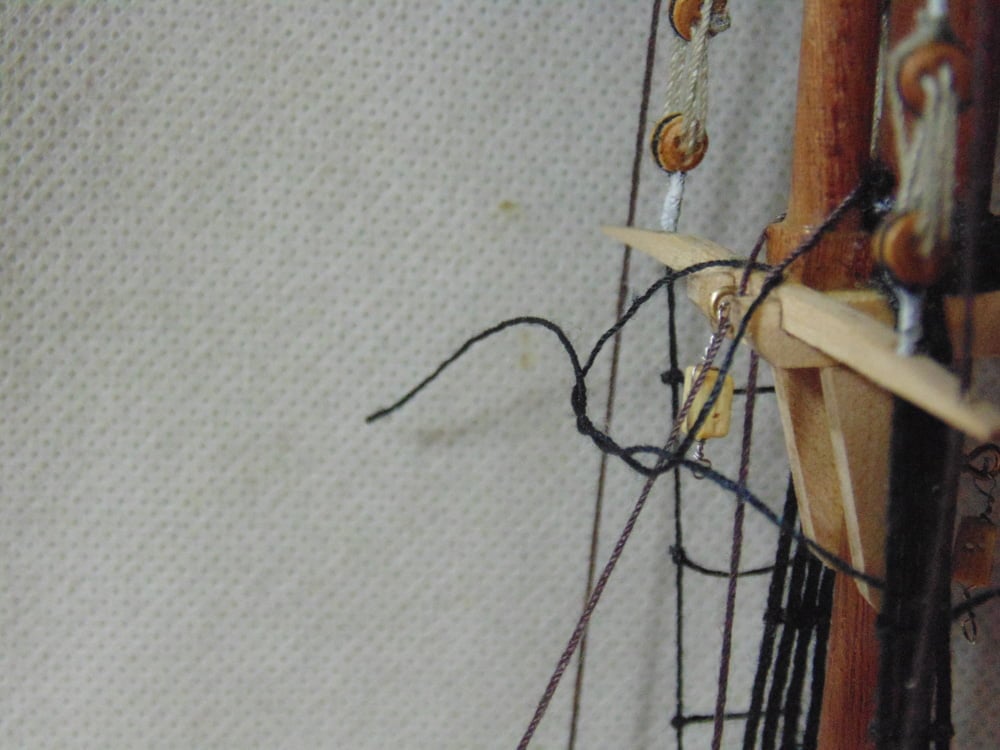
At any wood location, such as a coupler or crow’s nest, place a notch using a fresh blade for the line to rest in. The line will look much tighter and cleaner, plus be much more secure.
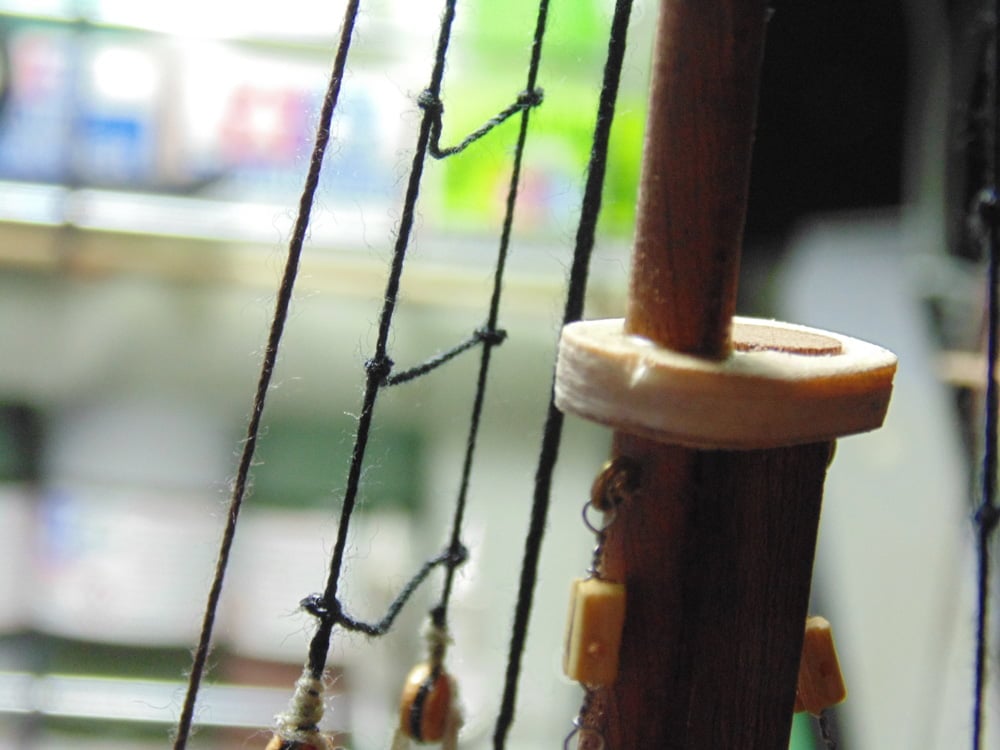
Recall that I didn’t glue these metal tie-downs. Now you can affix them to the sprite, and the line to the fore mast, once the tightness is right. The lines should be stiff because you’ll be adding a string later to fasten the sail to the deck.
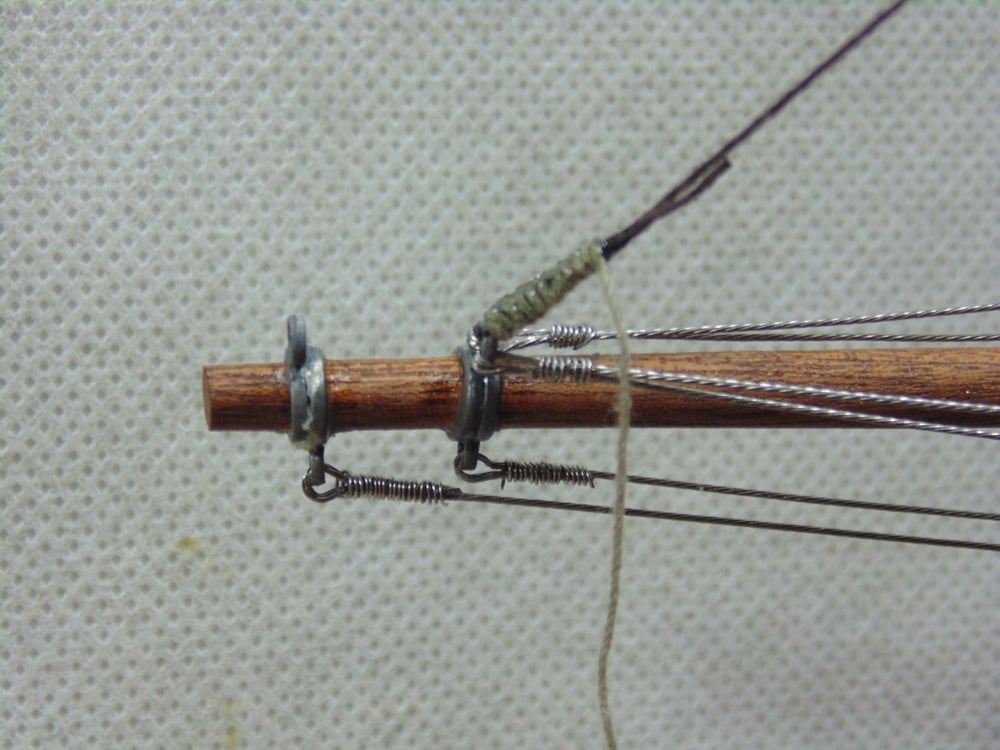
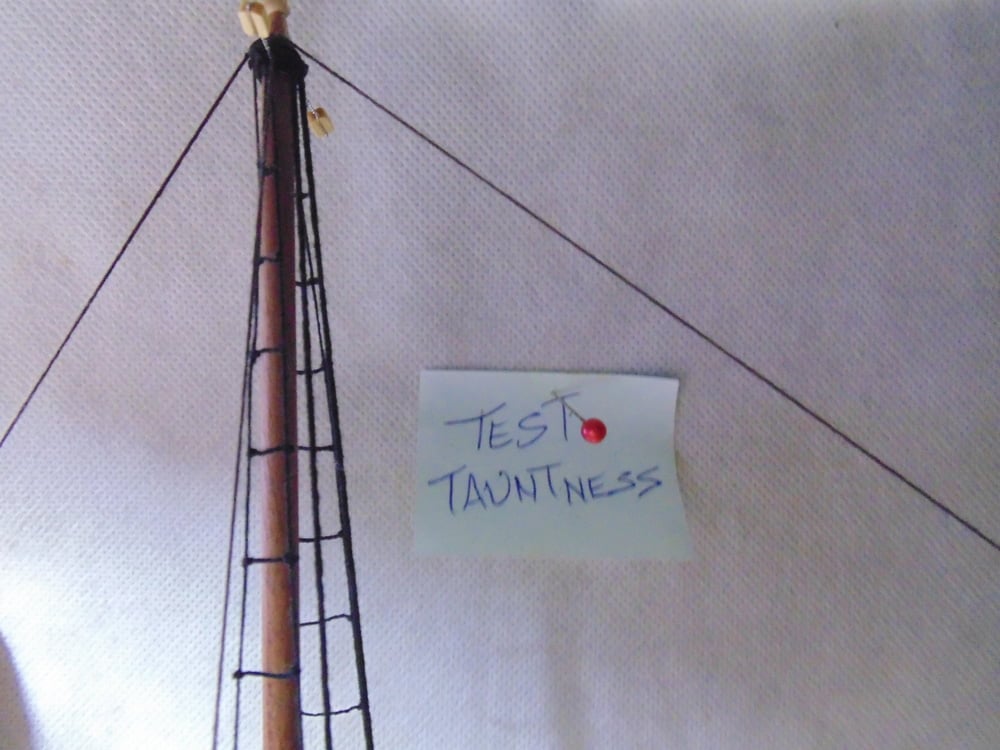
It’s crucial to test how taunt each and every line is. If you pull on one string then another will be tighter or looser, thus constantly check and make adjustments.
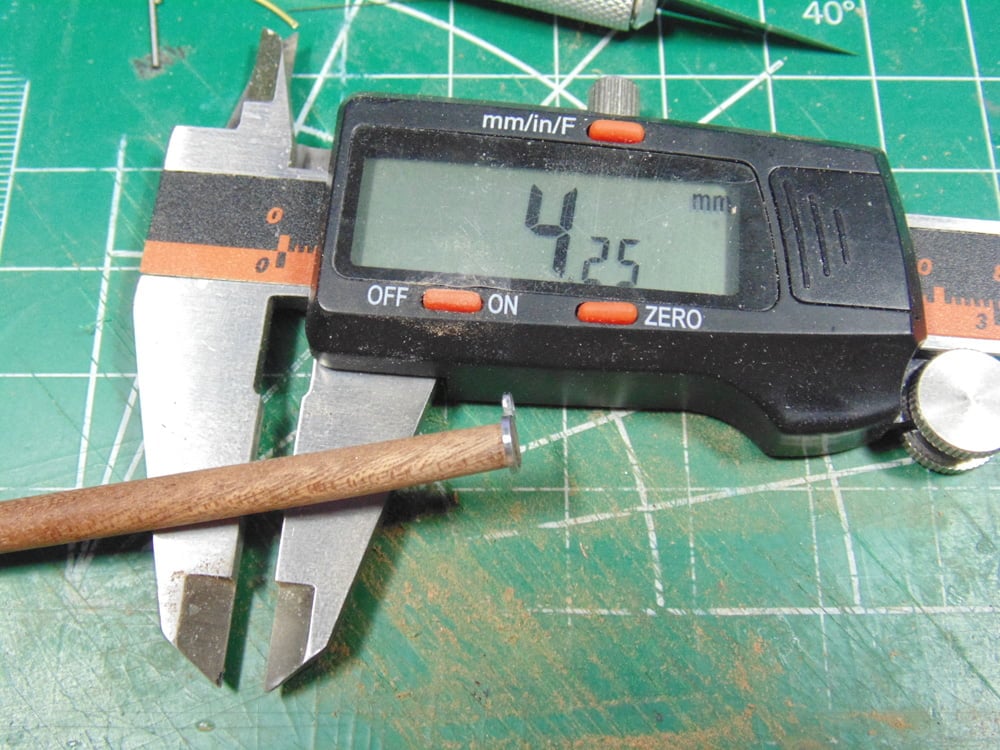
Now we’ll move into preparing the parts for the Jibs and Booms. All the dowels need to be sanded down in order for the tie-down parts to slip over them. Get this task out of the way first. It’s very time consuming, yet relaxing while listening to some music or your favorite Podcast.

When you get close to the desired width make certain you constantly test fit the parts. A solid pressure fit wins over any glued wooden part, so the dowels may not have to be that sanded as per the instructions.
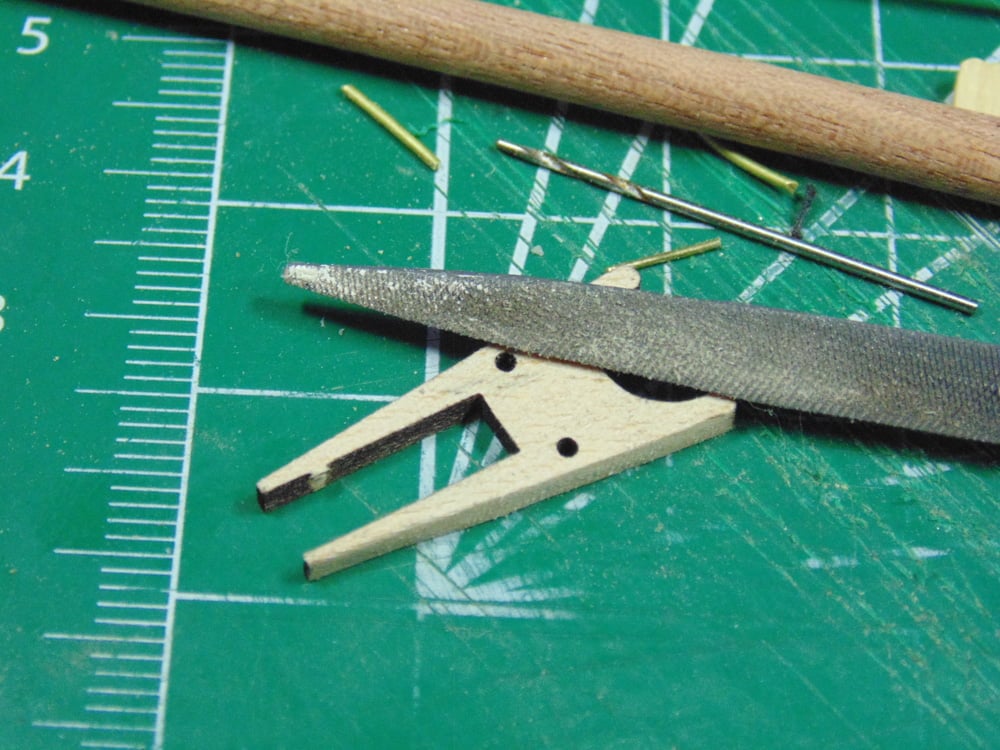
Be sure to file the inside of the hanger tines for a good fit along with the outside for a better look.
I carefully drilled out the hanger tines because a pin will be inserted through the booms and jibs. This adds strength, plus you’ll be bumping the parts around when doing further rigging.
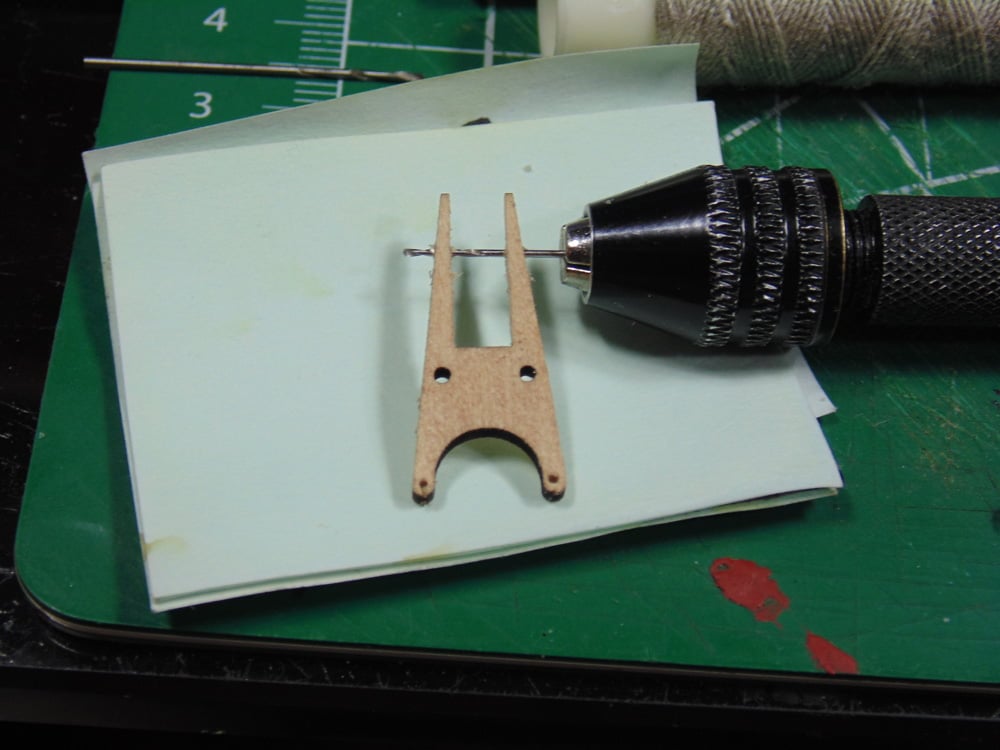
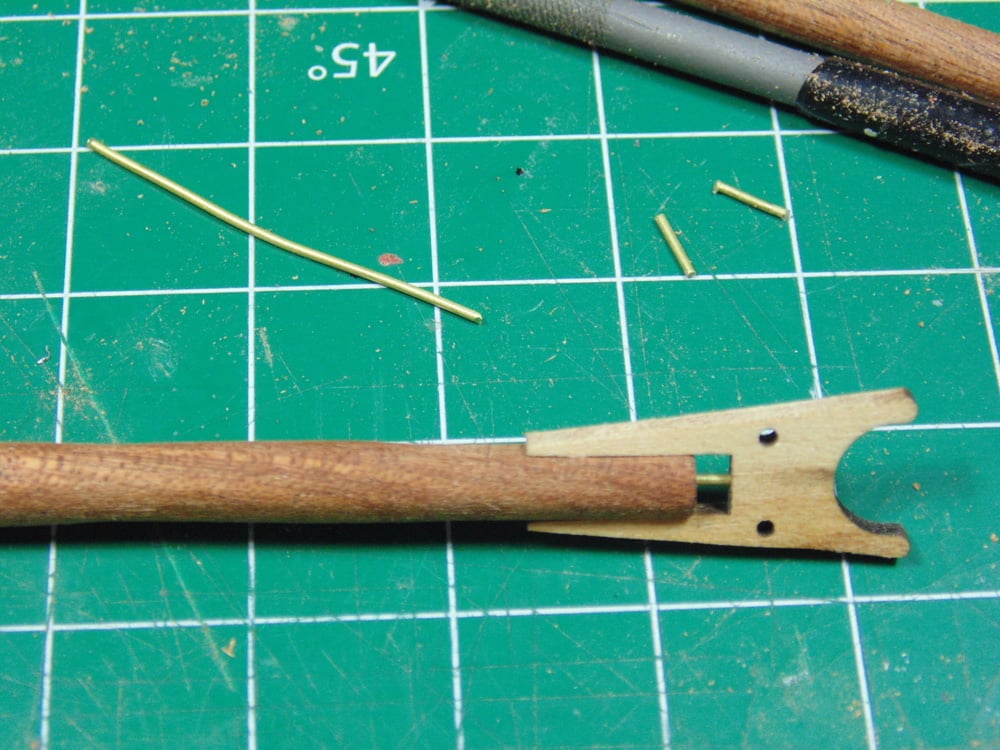
Once your holes are drilled and cleaned out, consider adding a pin to the hanger base. This adds enormous strength to this sub assembly and prevents the delicate part from future cracking while other work is being done.
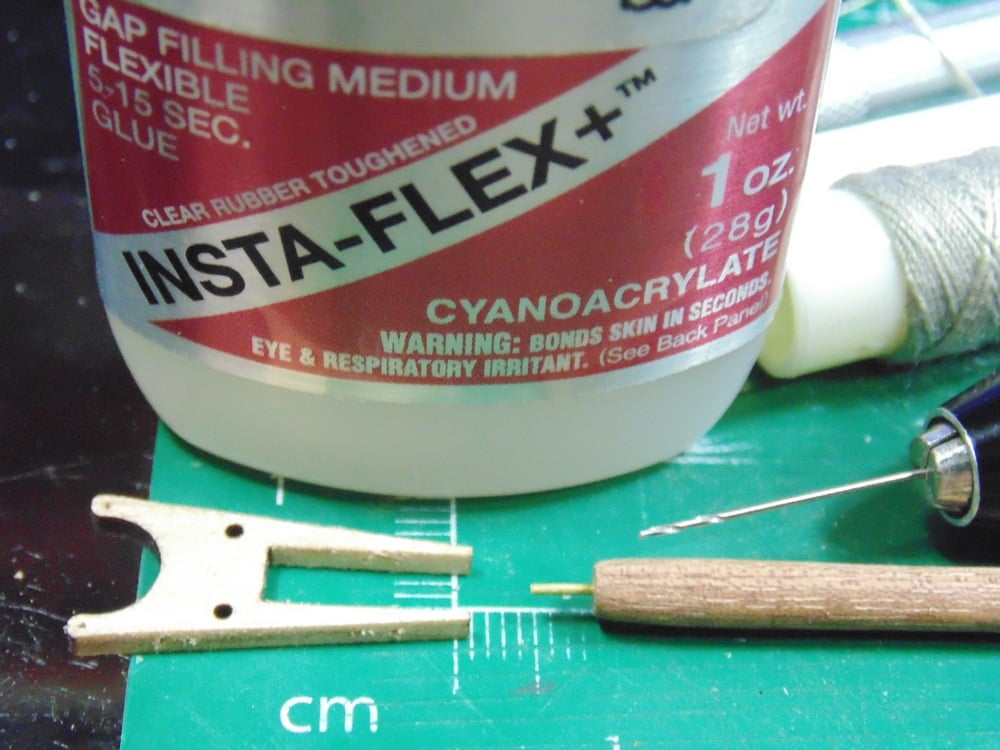
Now that the boom/jib are pinned you can much more easily drill through them, after the hanger has been aligned. Again, you’re going to be running many rigging lines and the chance of bumping these parts is very high. Having them as strong as possible is wise.
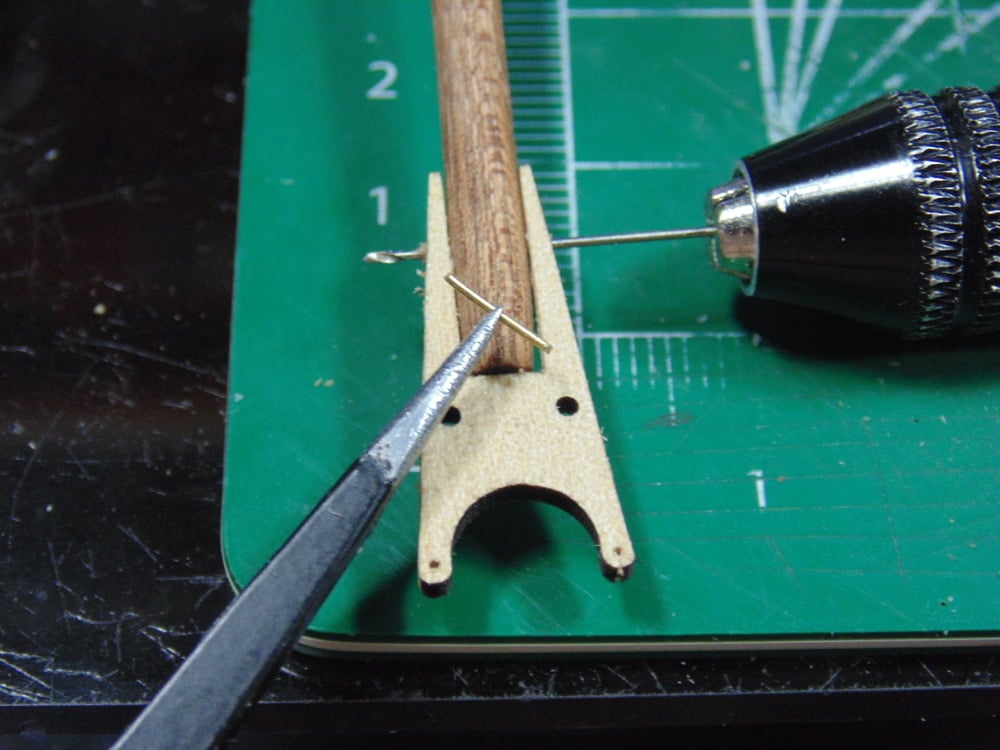
The kit includes brass covered metal wire for the hangers. The holes, however, are too large for a press fit. Use CA glue for this metal and let it dry for at least ten minutes and add extra glue if needed. Later, these pins will be rigged and need to stay put.
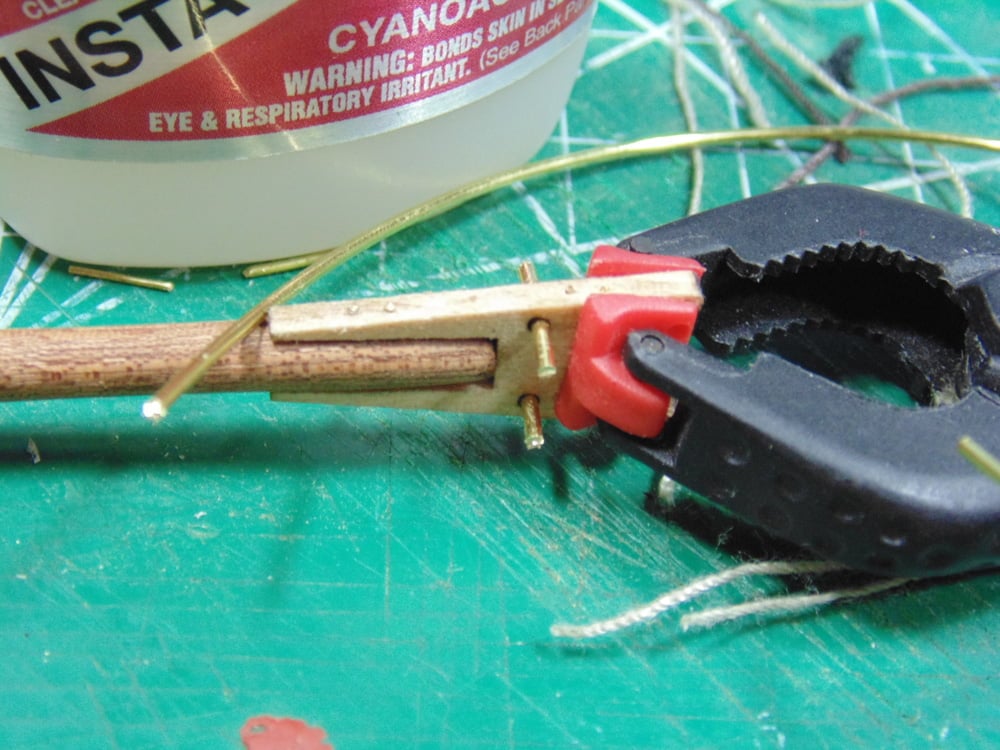
After you’ve roughly sanded down the diameter of the booms and jibs you can adjust the tie downs by reaming them out. This is also a good time to polish the edges easily.
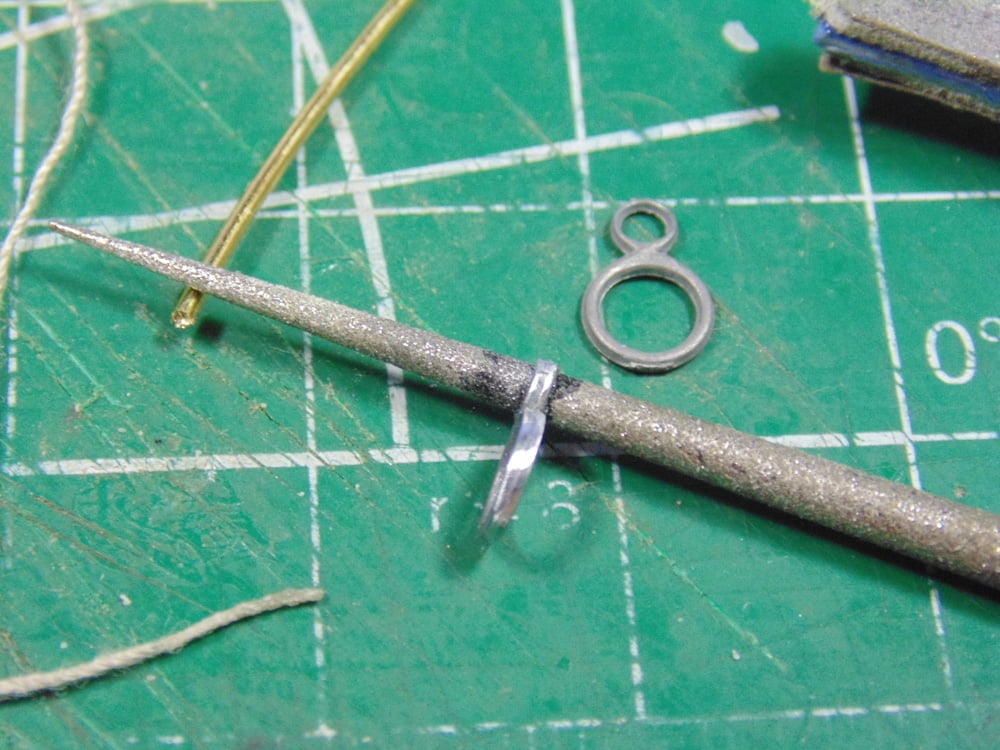
Use a “second hands” tool to hold the reaming tool when twisting the wire loops. It’s far easier to make your wire rigging loops before installing the tie downs on the boom or jib.
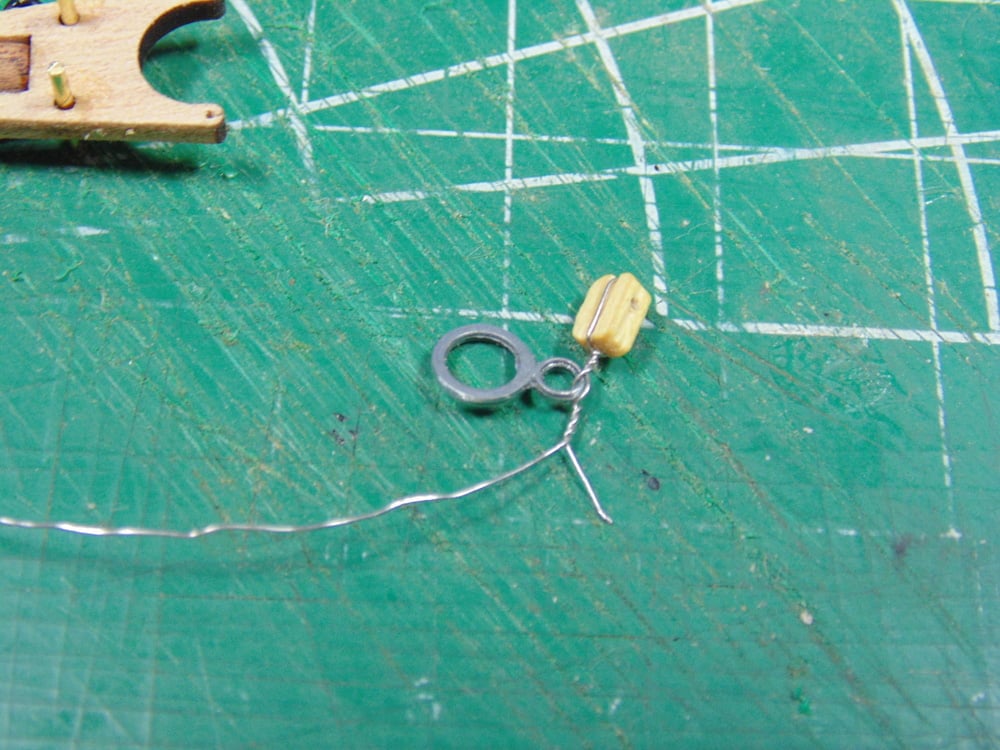
For the roller line, add a tiny dab to the first knot. The included thread easily comes loose even if you pull it tight.
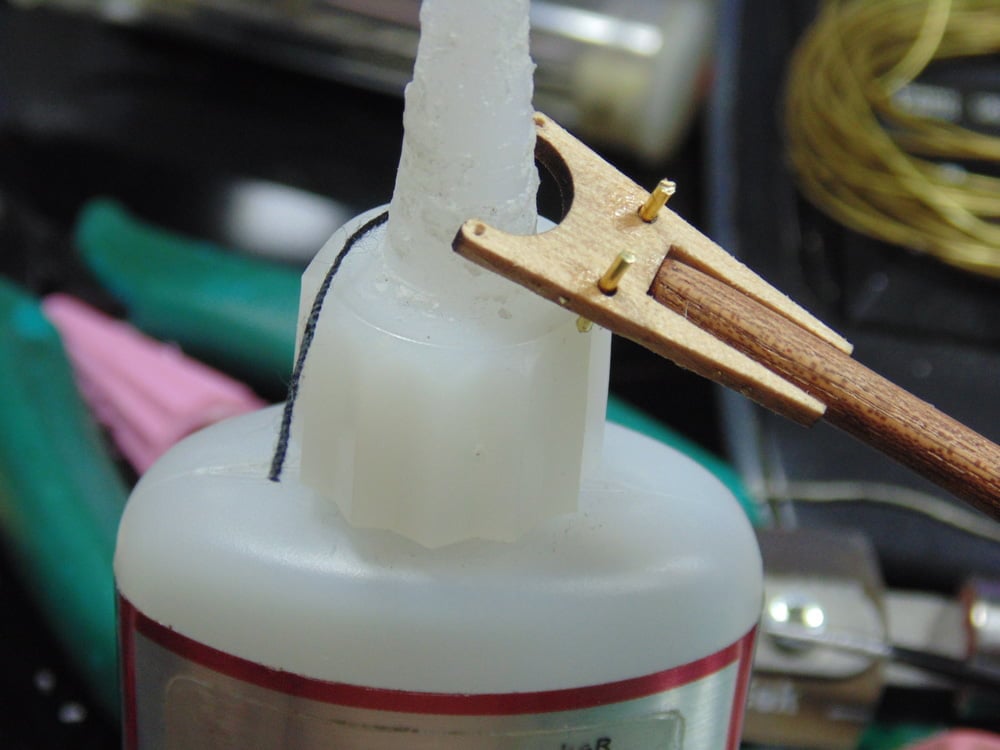
There are nine rollers per boom and jib. Once you’ve threaded them, temporally tie off the other end to keep them in place. Use caution when handling these bits. They fly and bounce around when slipped from your fingers.
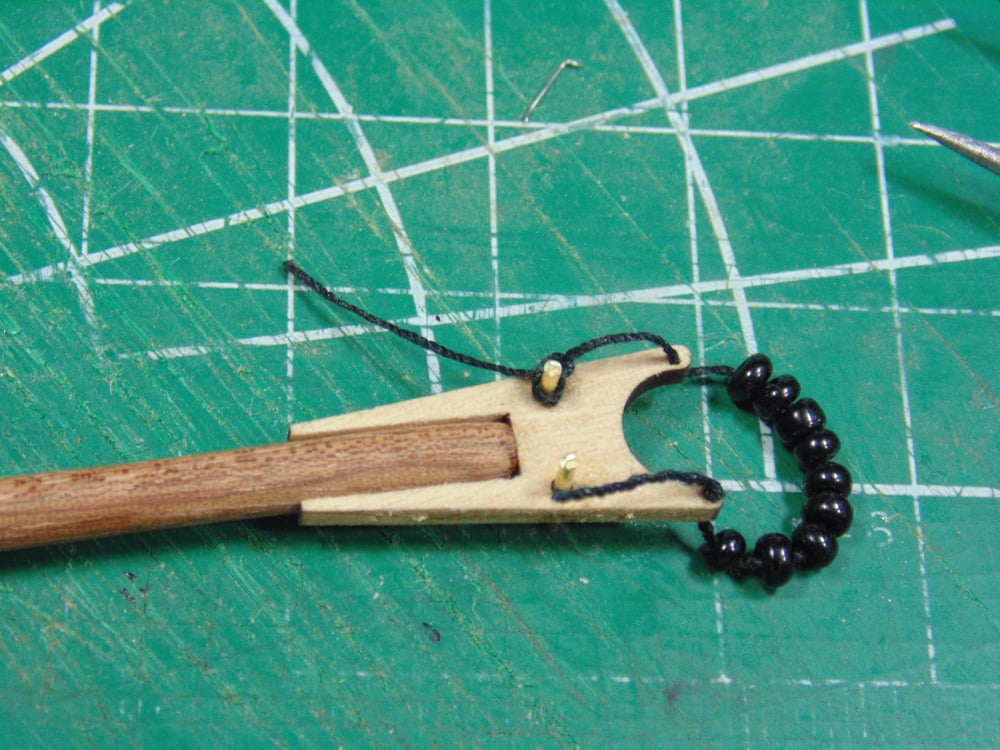
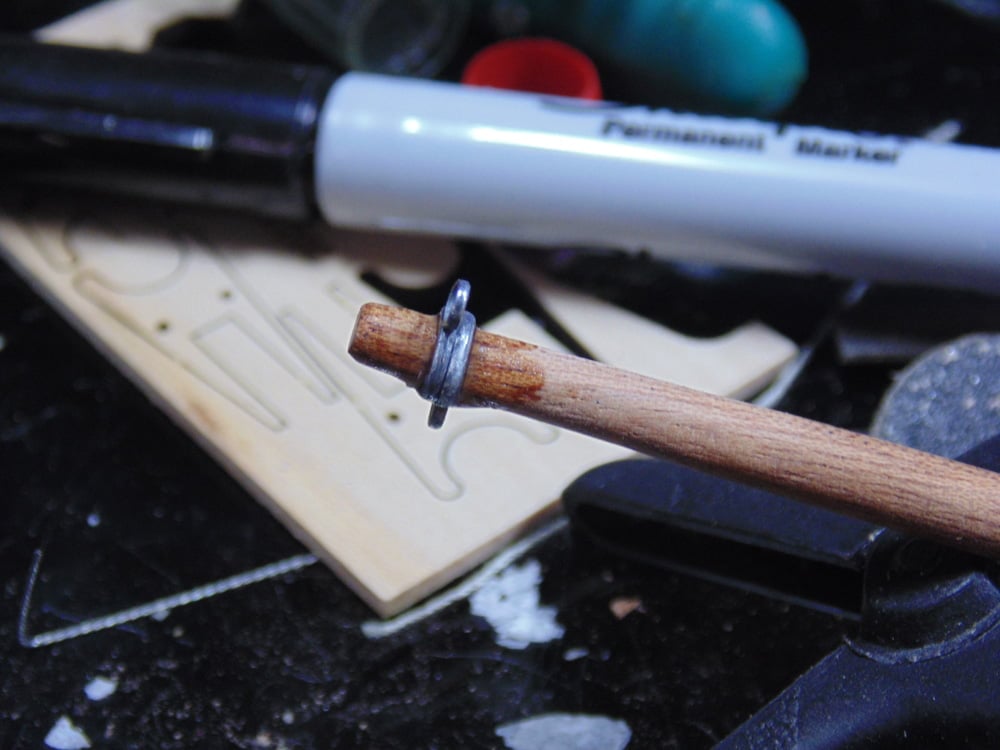
To the left you’ll see the added tie downs. If they are loose, at the recommended distance, use CA glue on both sides of the ring and let that dry for a minimum of five minutes. Elevate the part to prevent it from going off-centre.
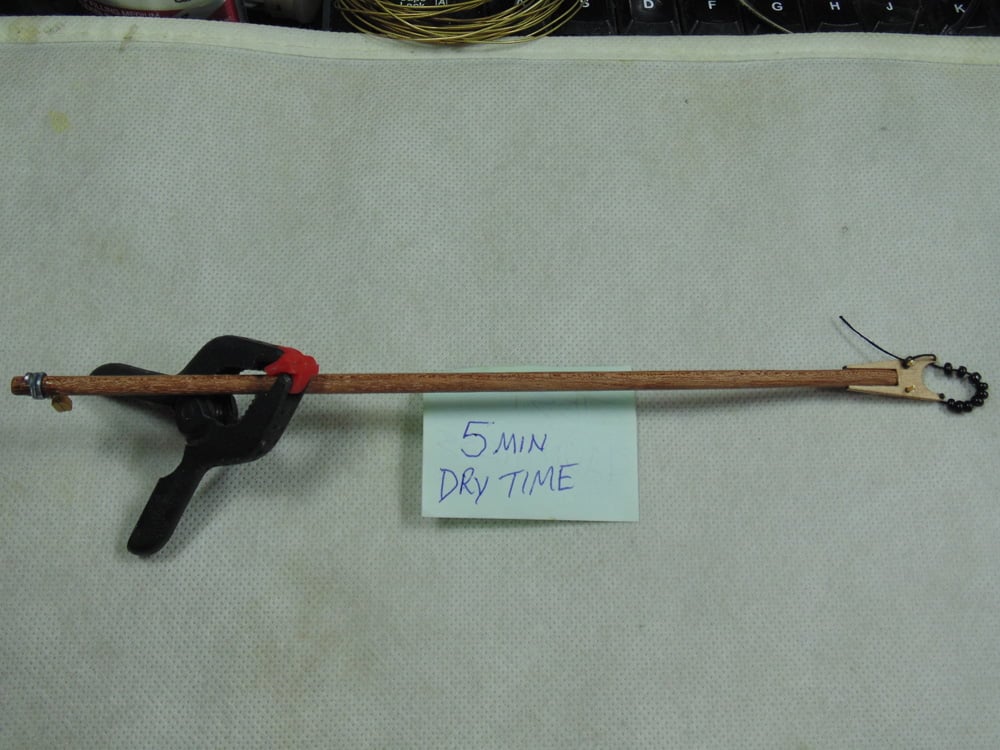
I used a hole punch tool to guide my drill bit. As careful as I am, the end split. If this happens use some wood glue to repair the damage and let it set for an hour before drilling.
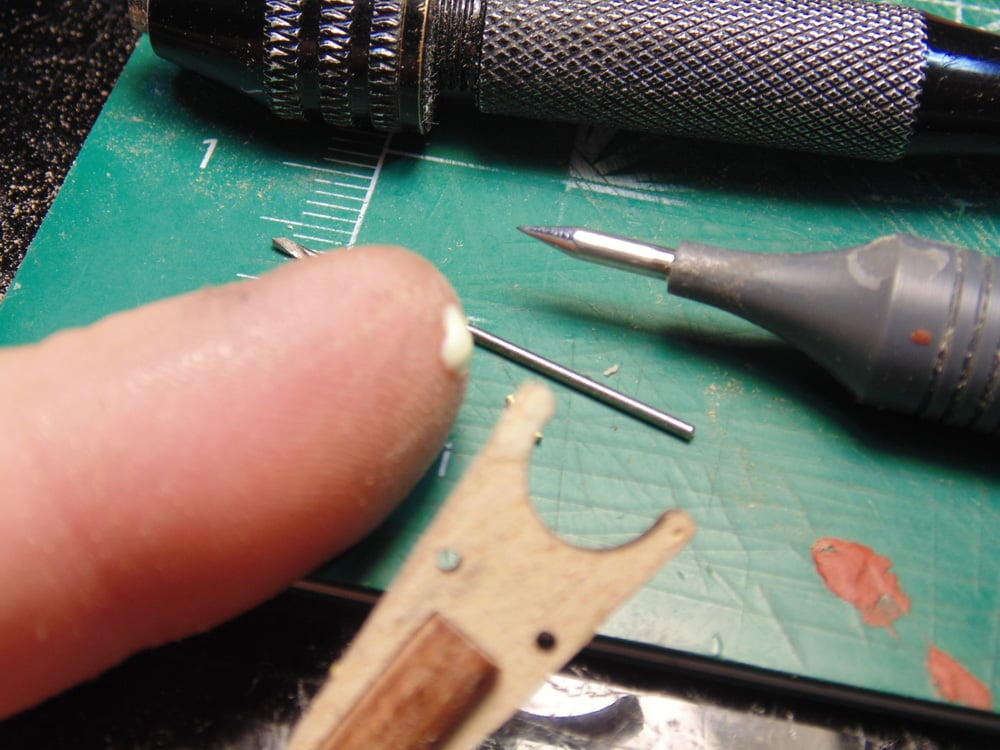
When adding Cyanoacrylate CA to secure the tiedown rings don’t be afraid of adding an amount that looks excessive, as shown in the picture. The wood booms and jibs will absorb the CA glue first then bond to the metal later. Again, let these parts dry before handling.
Use a dab of CA at the top and sides of the middle blocks to secure the line. Then use a pencil to mark the correct distance. Use the line to cover up the pencil mark.
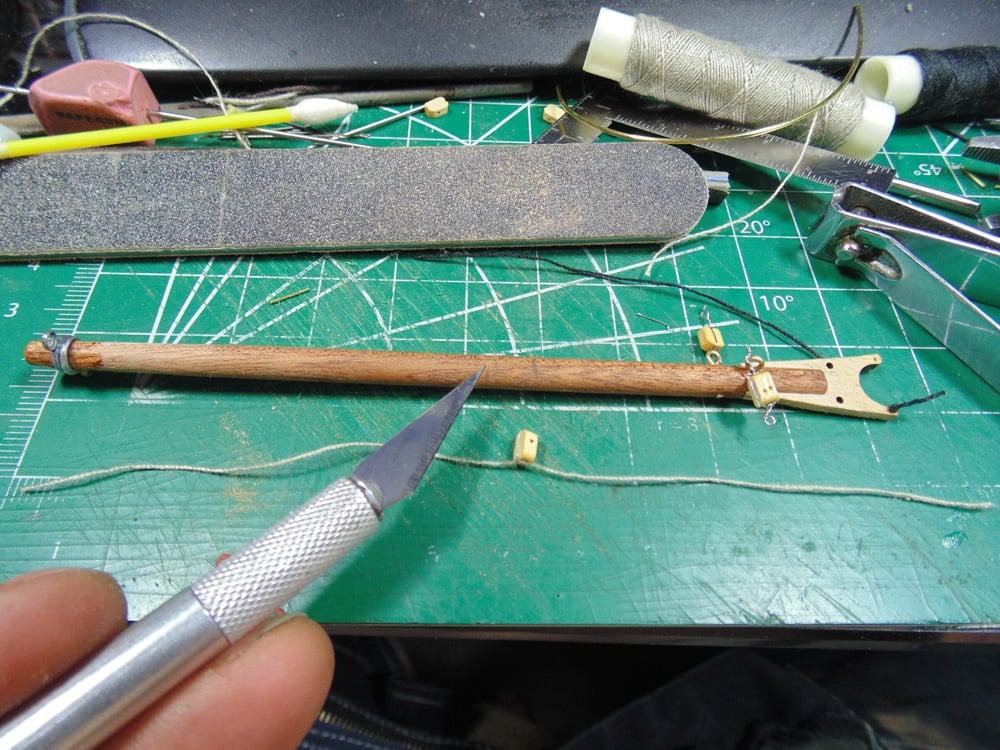
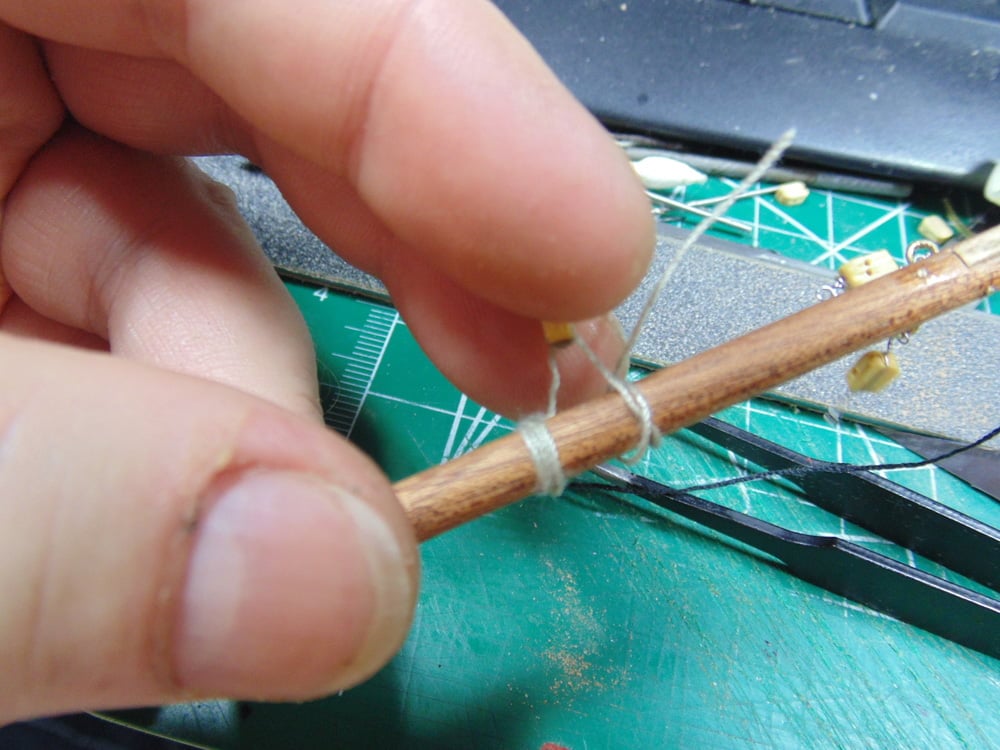
Twist the line for the inner blocks and add a dab of CA and let that dry. Next, use your thumb and ring finger to hold the jibs while using your index and middle fingers to hold the block while your right hand winds the other end.
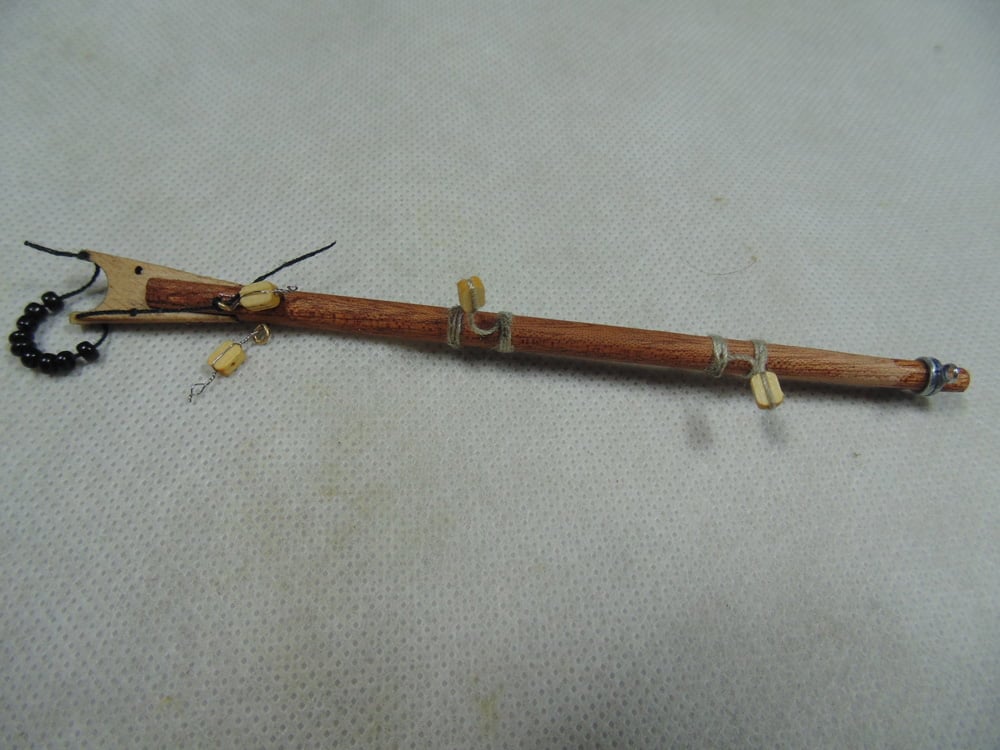
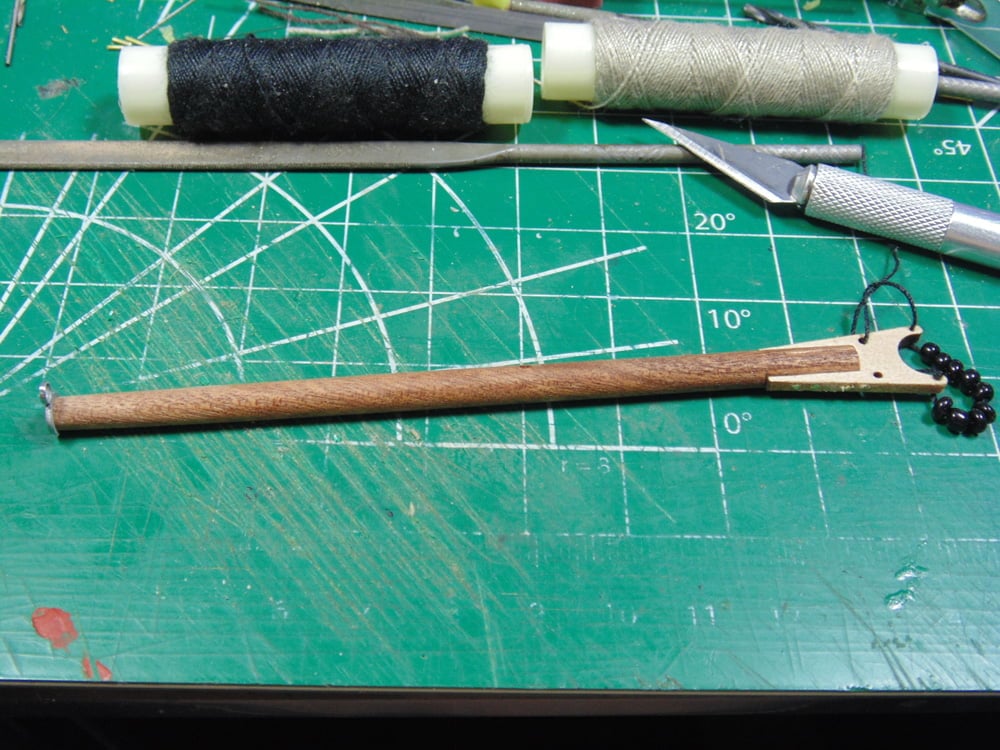
Brace yourself for some sanding on the main mast boom. As you can see in the picture the diameter is over 8mm and needs to be 5mm at one end and 4mm at the other. The boom wood is very dense, so use a 200-grit sandpaper to relatively quickly hog off the bulk of the unwanted material.
This will take many hours, but constantly check your progress to prevent going overboard.
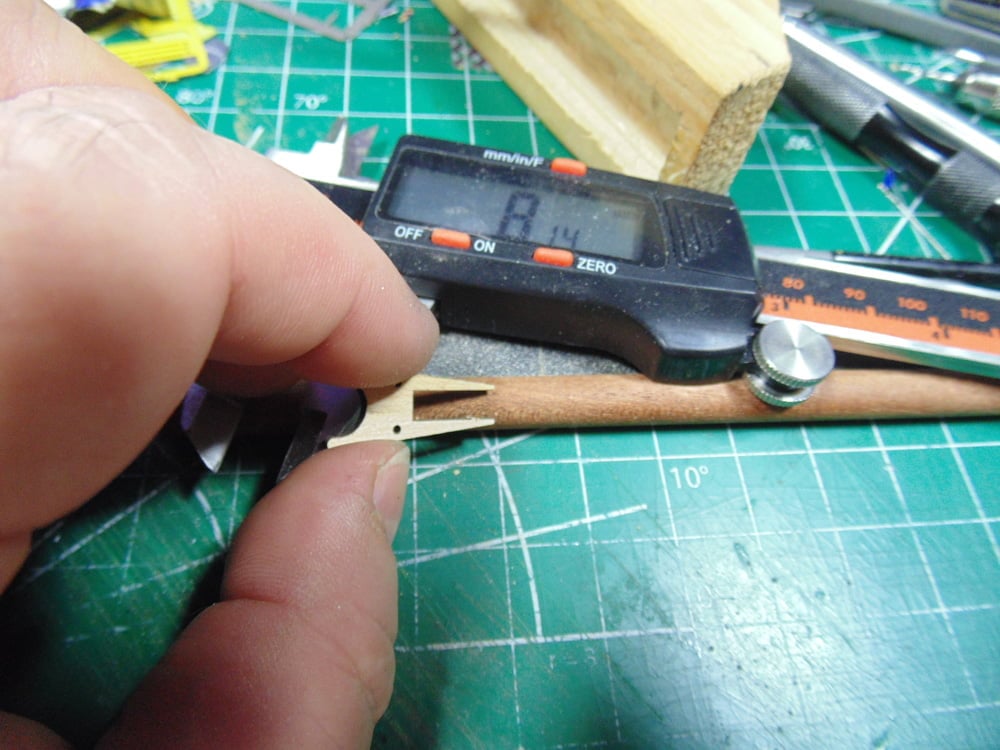
When you get close to the hanger end remove the material to allow the hanger to slip over the boom. Please consider adding an inner pin along with the previously mentioned tine pins.
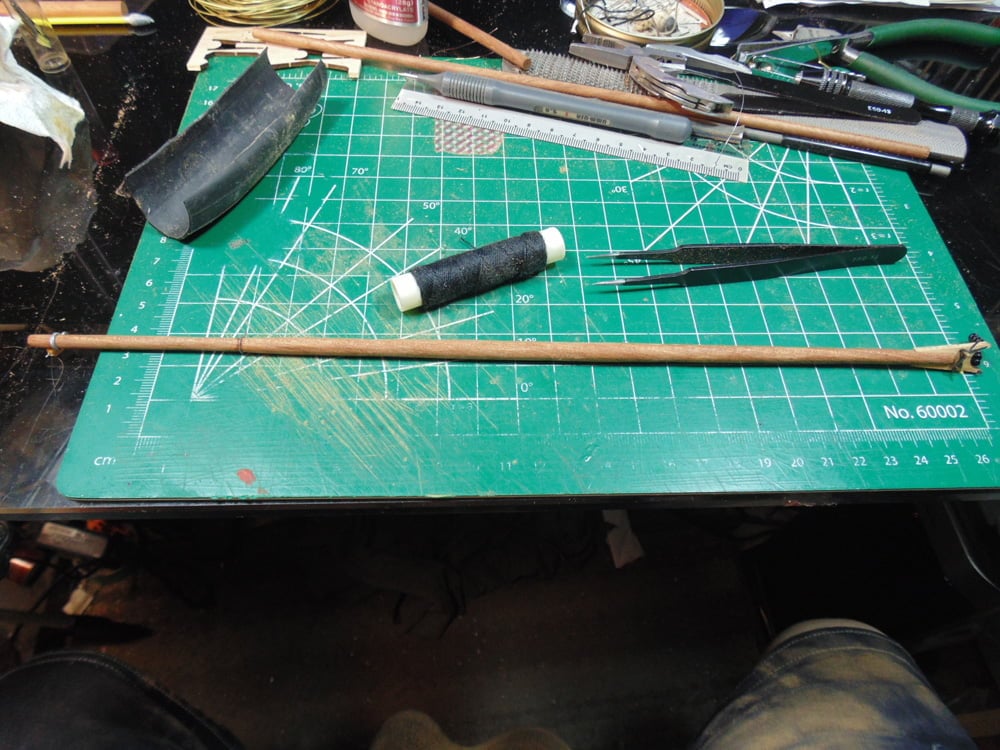
This is a major task and will take many days to complete. The good news is you’re now set up to hand some sails and add character to your Bluenose II replica.
Set your iron to the low/silk setting and remove the many wrinkles in the fabric. Make certain to flip the sail over and repeat the ironing.

Thanks again for taking the time to follow the build. If you have any questions about Artesania Latina products, the techniques or tools used in this article, please feel free to ask the staff when you pick-up or place your next Sunward Hobbies order.
If you have any questions about the products used or the methods in this article, please feel free to ask the staff when you pick up or place your next order from Sunward Hobbies.
H.G. Barnes is a former voice-over artist and retired sales and marketing professional. He’s the author of two large volume science fiction adventure romance novels with many more in the works. For well over 40 years he’s been building scale model replicas and now does commission work for clients in Canada and the USA, plus completes projects for companies in Asia and Europe.
Currently H.G. is involved as an Associate Editor with KitMaker Network’s Online Magazine Channels
