Artesania Latina Bluenose II Build – Part 15 of a Series
In this Sunward Hobbies tutorial, I’ll be continuing with Artesania Latina’s Bluenose II build with Part 15. Previous Part 14
In this Sunward Hobbies tutorial I’ll be showing some major progress in rigging the ratlines of the Artesania Latina Bluenose II fishing schooner. You’ll get tips and advice on how to make the job go smoother and hopefully faster.
Before you begin any work though, I insist you read steps 41 and 42 twice and examine the recommended guidelines carefully. Pay close attention to the numbered parts and have a decent familiarity with which line and clump to and where they go. Then read this PART 15 Sunward Hobbies blog twice. Finally, take a deep breath and go at it one rope at a time.
Here are a few tips to make your life easier, file smooth your finger nails so they don’t snag the lines. No joke, you’ll be using two sets of tweezers and your fingers for the job.
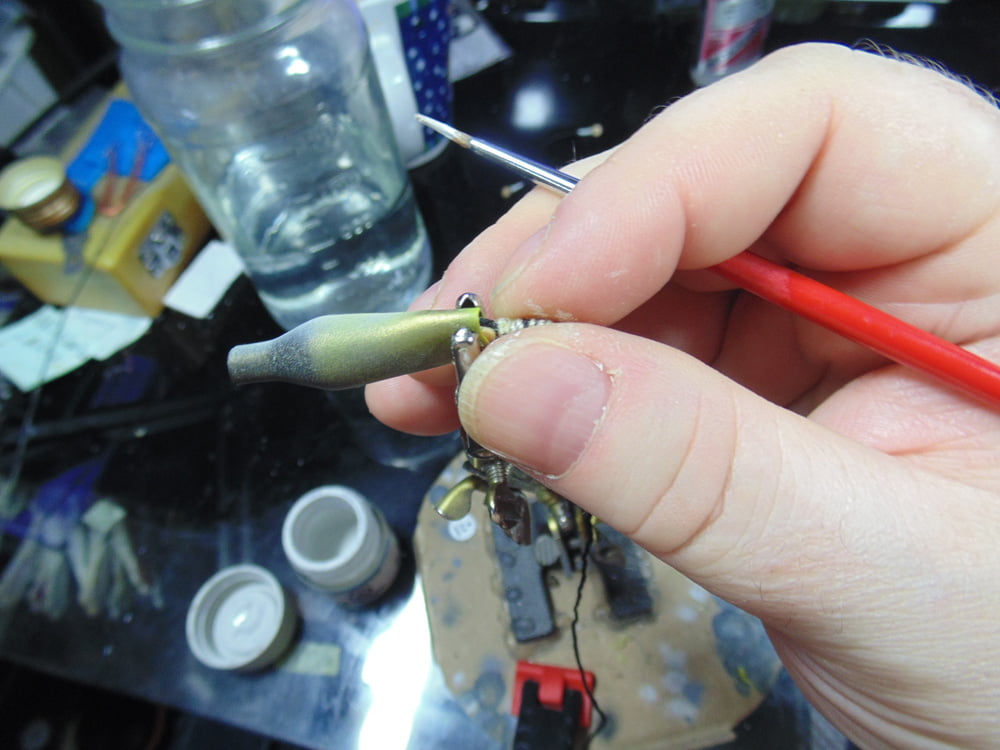
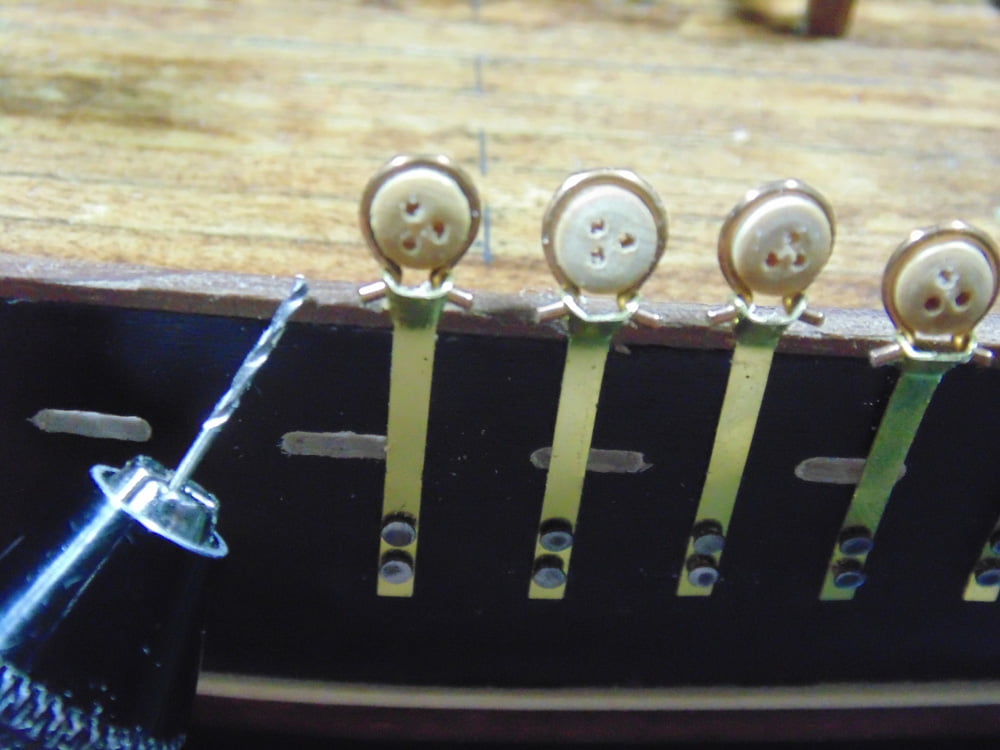
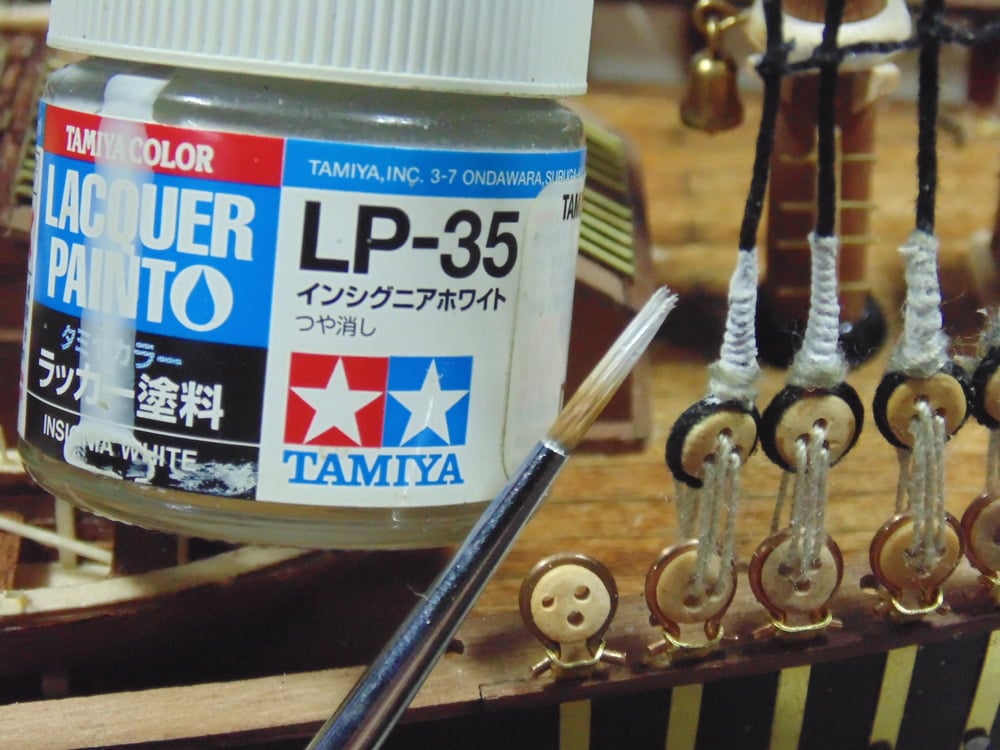
Then, drill out all the holes in the block and clumps to allow the line to pass through with ease.
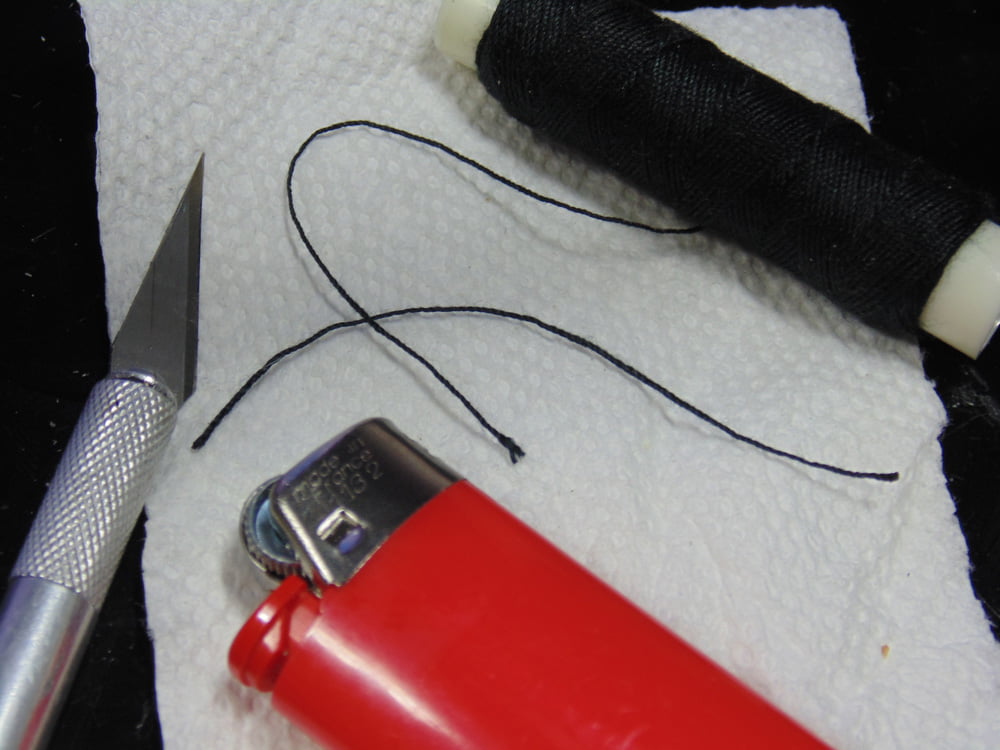
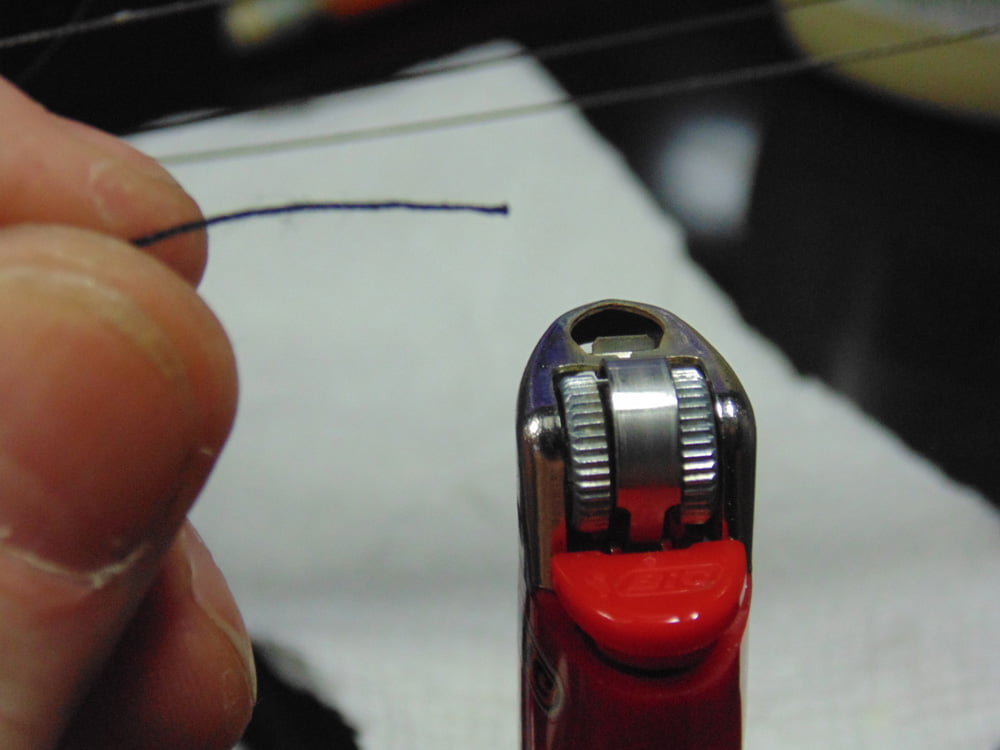
Also, use a flame to melt the tips. You don’t have to get very close before this material melts, so start your flame and slowly bring the end of the line closer until you see the tip draw-up into the desired width and the fuzzy tip is gone.
Now, we’ll tackle the main rigging lines. There are two different sizes of clumps. The larger ones match up, obviously, with the ones you’ve already installed. Use a “second hand” tool or gripping device along with a length of stiff wire to assist you when wrapping the line for gluing.
Make certain you give the glue plenty of time to dry since they will be pulled tight during installation.
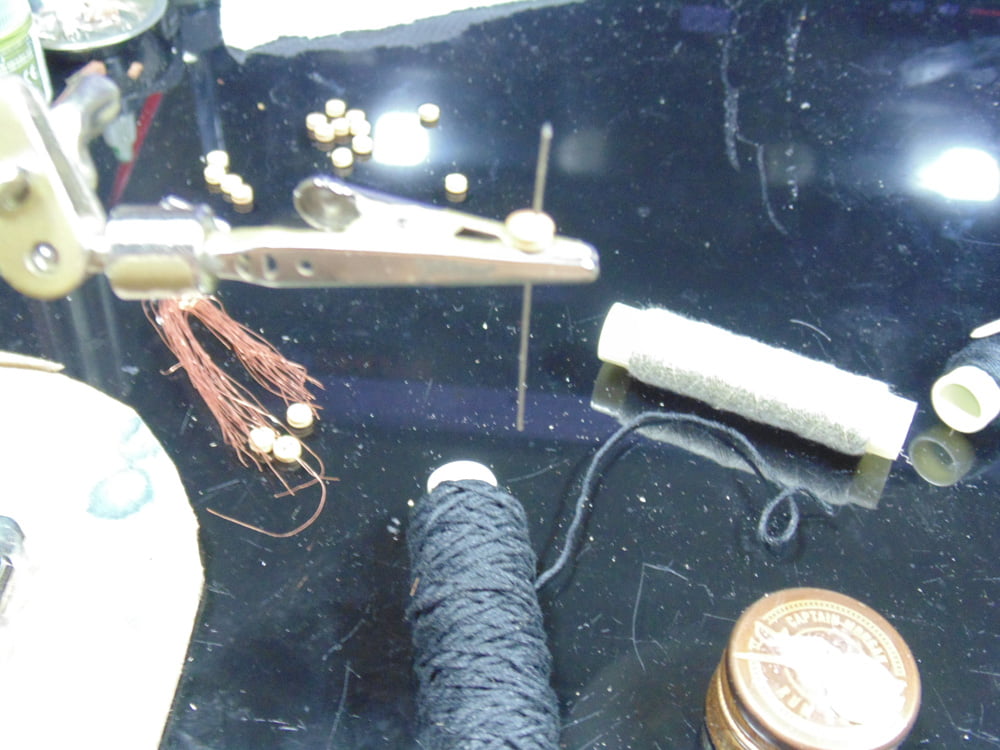
With the thicker main lines you can speed things up a little by pre-twisting the end around a solid object. Here I’m using a steel punch. Tape the punch down, bend all your lengths around it, have a coffee and come back to the awaiting first clump. This will give the others even more time to relax and conform to the round shape. This line in particular has a decent memory, yet now needs a new one.
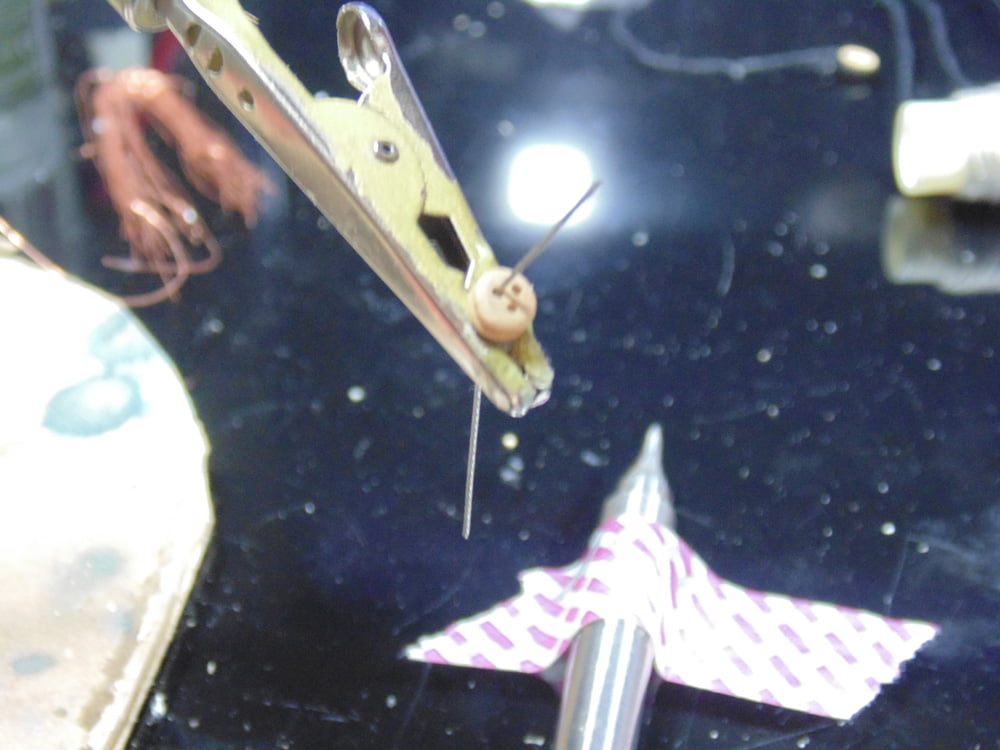
As I’ve already discovered, Artesania Latina supply very little extra length, so please measure out your fore and main masts. I wrapped one around the top of the mast then ran it down to the clump area. Remember, you will NOT (there a bad joke in there somewhere) be tying these lines, they will be glued. Another reason to read this tutorial twice.
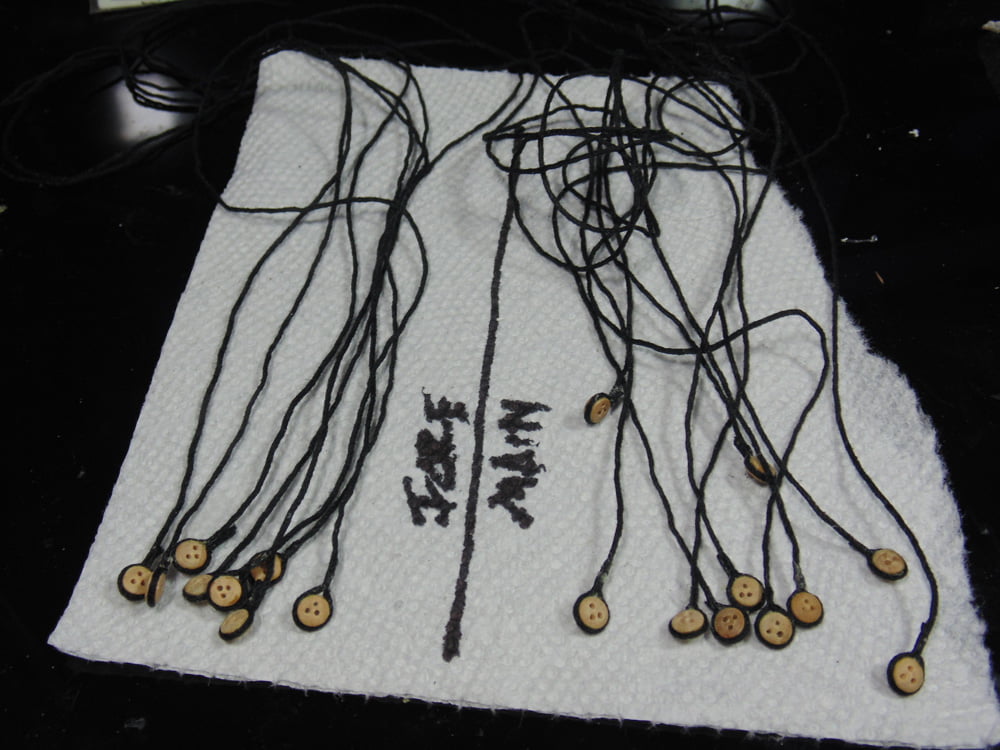
Full disclosure here. I messed up and am passing this mistake on so you don’t. In my haste I forgot to perfectly align the holes of the clump to those on the hull. Please examine the instructions for the correct orientation and spin the clump so the holes are in the right spot. Ignore the wood piece above.
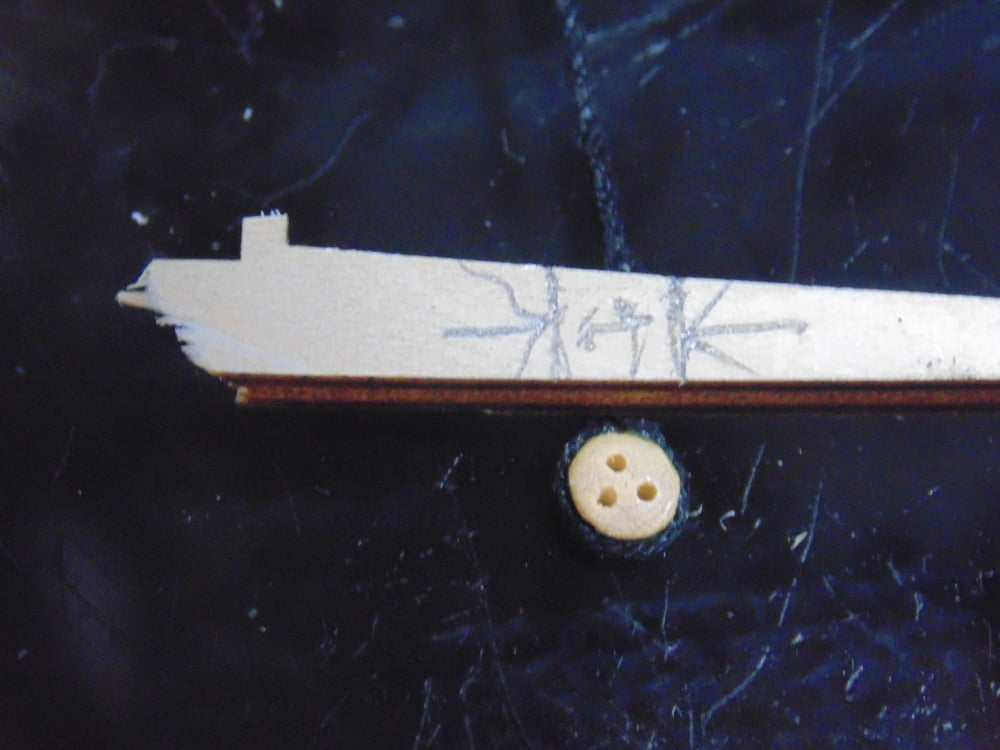
You now have to wrap the ends of the main line. Again, use something to hold the spool. Use your ring and small finger to hole the black main line while your other hand is twisting the binding line. Then use your thumb to grip the line while your other hand can come around and take the line for another rounding.
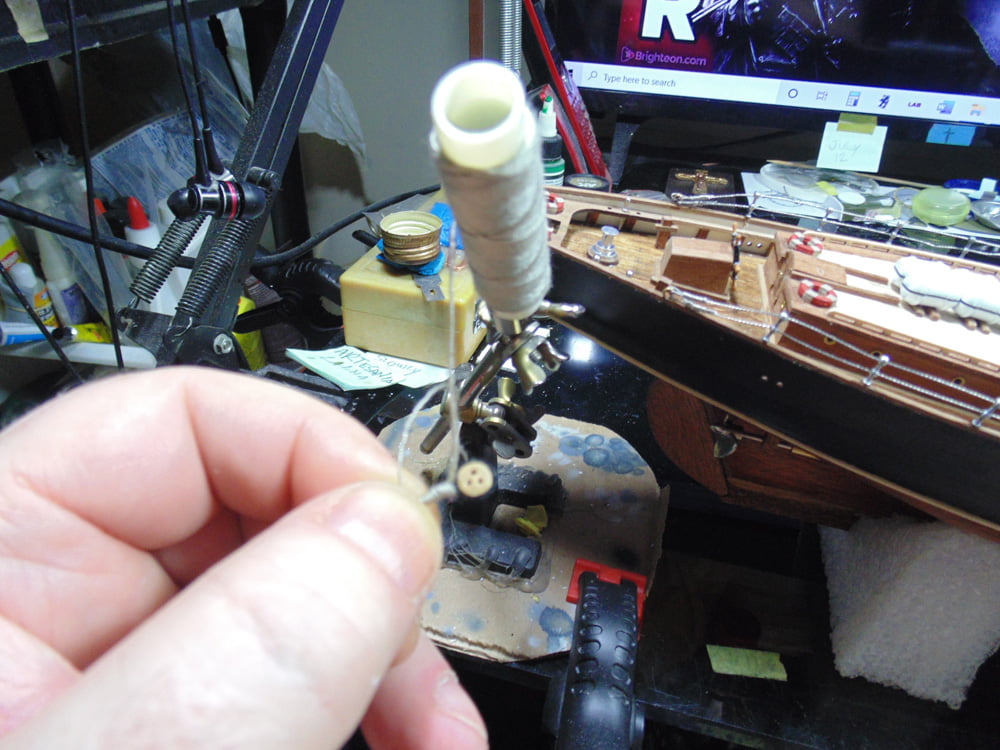
I opted to use BSI Cyanoacrylate CA glue after the line was wrapped since this area will be painted. BSI Insta-cure would be best here because you know the part is exactly where it’s supposed to be.

However, if you notice some unsightly fibers, and are comfortable with a flame, these can be removed. All the lines are polymer and melt easily. Note the difference.

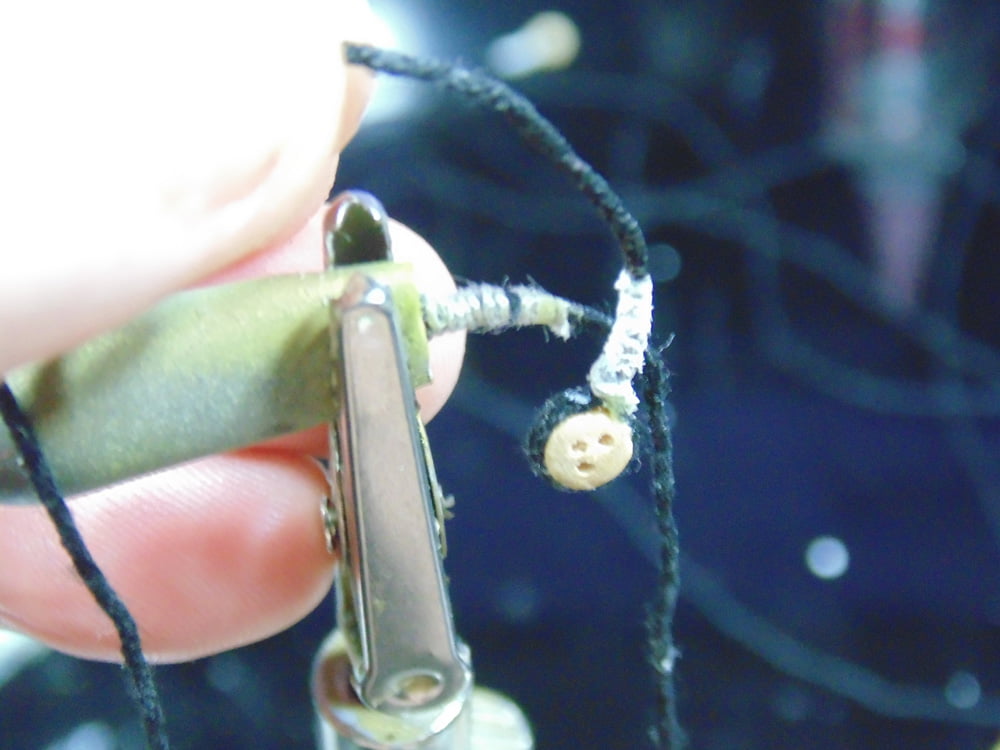
Between each clump is the adjustment rope. Getting an exact distance between the two can easily be done by making a tool out of wire and bending it to the desired distance. Went with 6mm because it looked right. But more important is that you can use this tool with all 14 clumps.
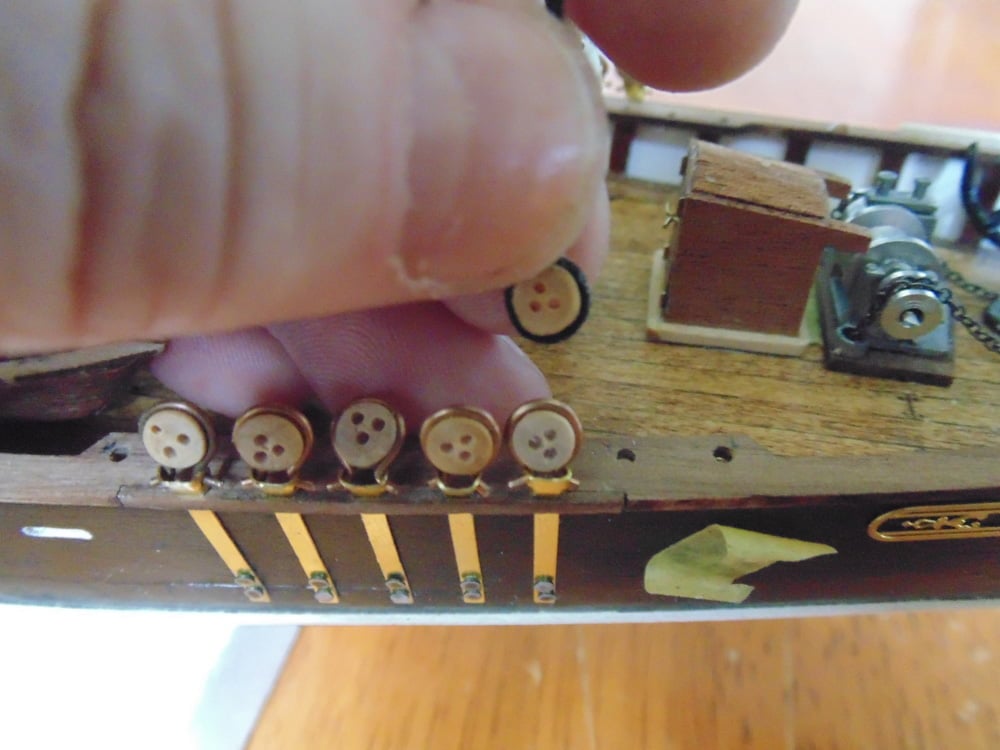
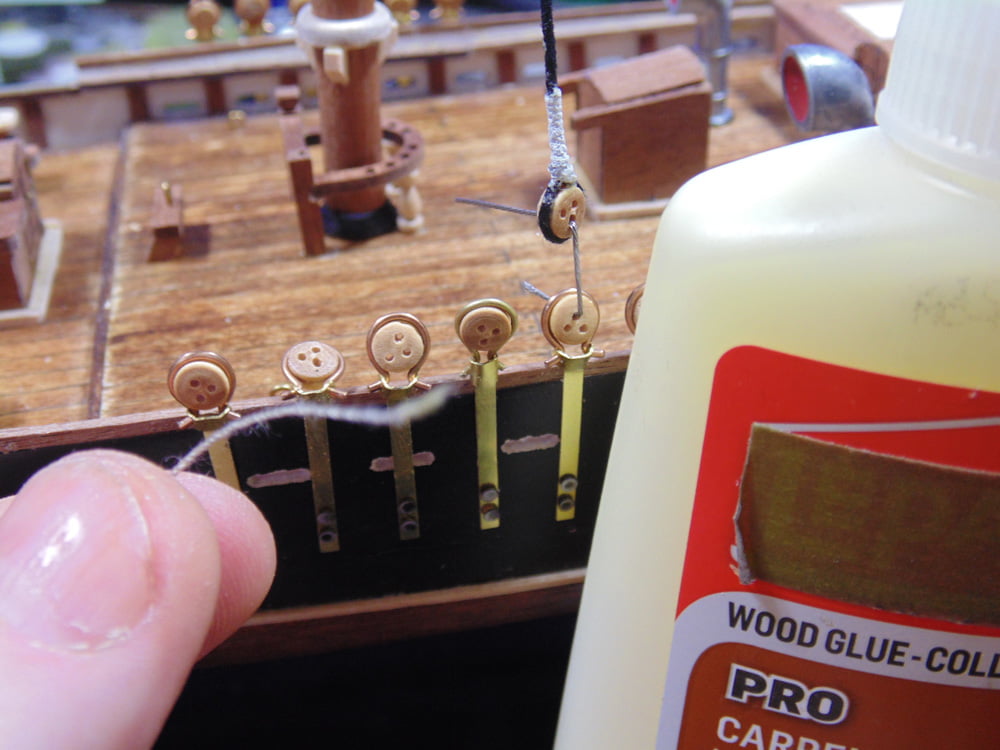
Now, pull up your cable and wrap it around the mast and secure with glue. As you install from port to starboard use a clamp to weigh down the cable as your glue dries on the other side. You’ve already made the measured length but the cable will stiffen and should give just enough to spare for the clamp to bite on to. There should be just enough drying time between running each side to switch to the other. Also, it’s perfectly fine to use CA glue here since the cable will absorb and mask most of the reflective shine of the Cyanoacrylate. Be aware though, you may need to use more compared to wood glue. If you do use wood glue, make certain it has a professional bond and is fast drying.
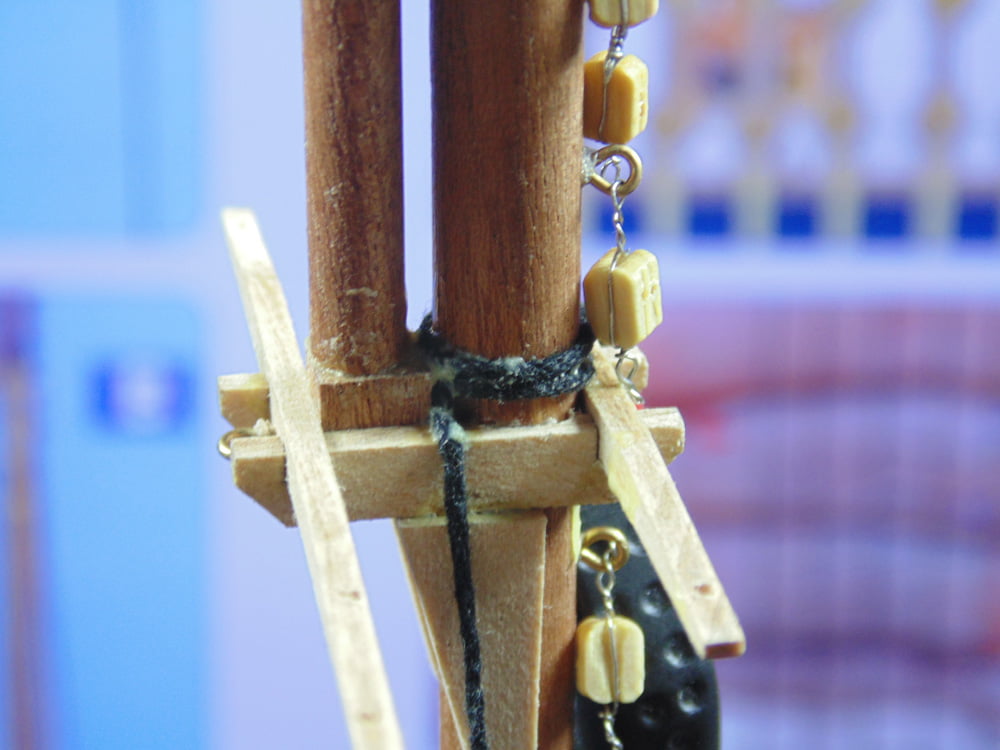
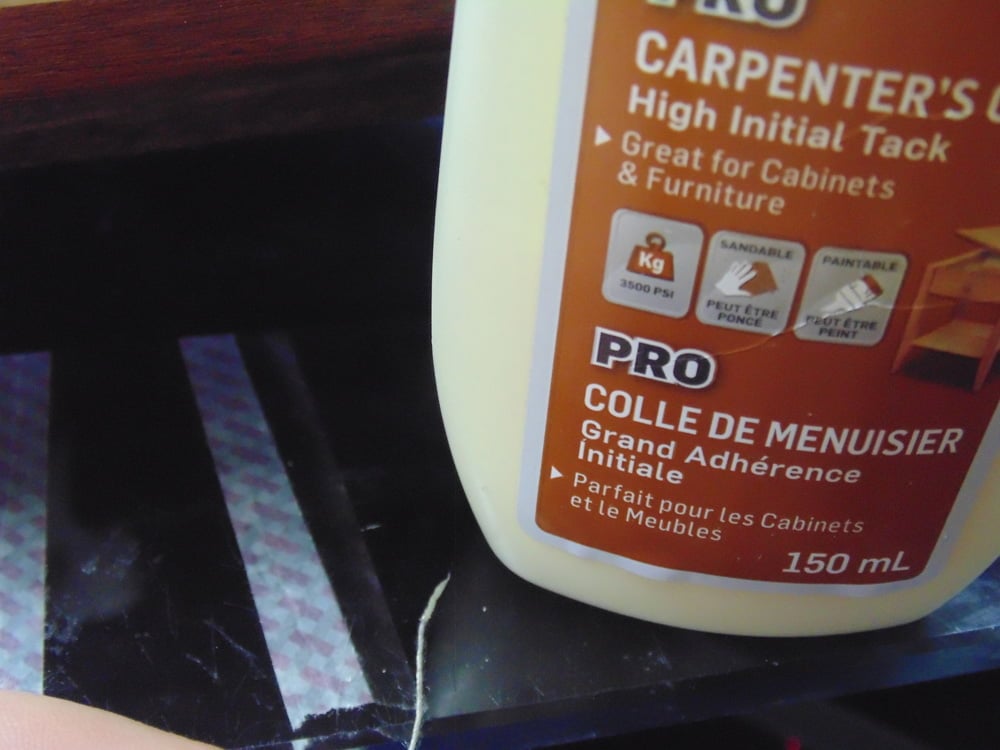
As an option you might want to make sure the masts aren’t off center. I know it’s most likely only going to be seen from the side, but I’m particular that way. Here, I have roughly the pressure or pull of the mast to the port side and it did mis-align the mast from being true.
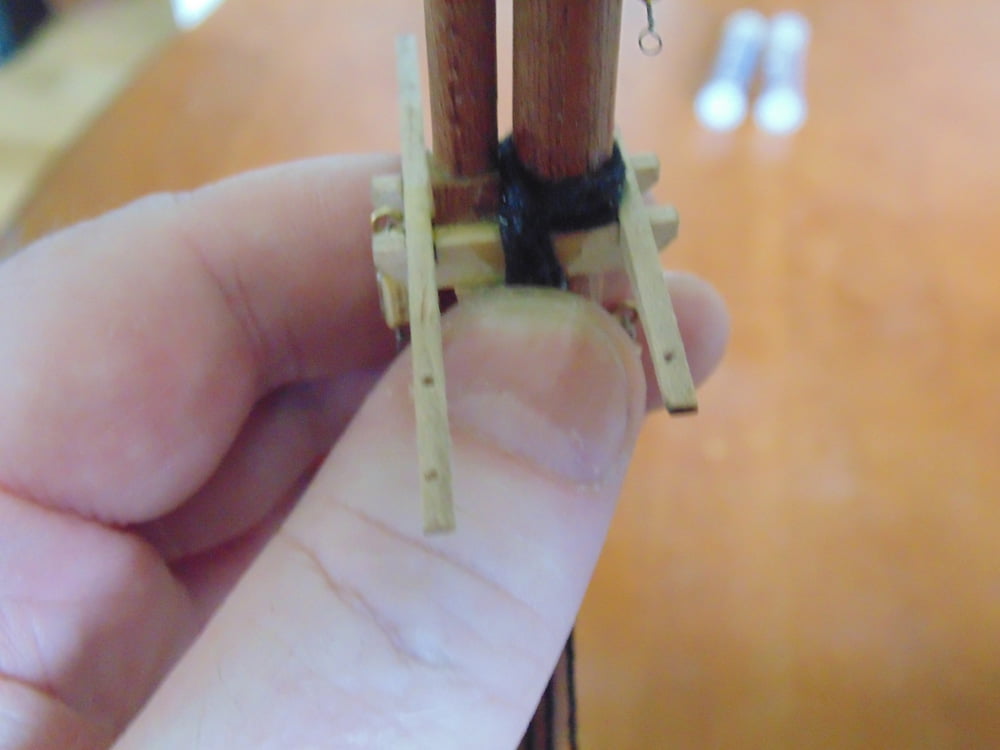
Some simple fishing line and a stick in my working cradle allowed for easy adjustment of how taunt each side had to be. Imagine that, fishing line helping a fish boat.
This is going to be displayed in the Sunward Hobbies store, thus wanting it to be as good as I could get it.

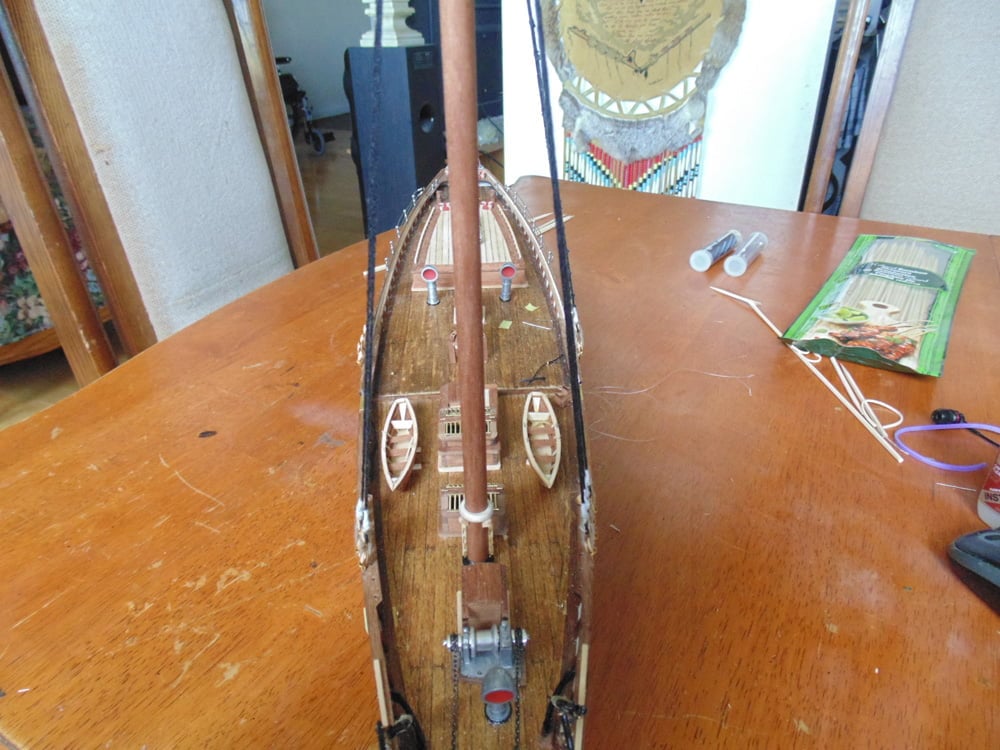
Follow the instructions to get the correct way to weave the thread through the holes, but do yourself a huge favor by tying a knot at one end, snip off the excess and then add a tiny droplet of CA glue to the ball. Measure out about 4 inches or 10 cm will give you a comfortable length to work with and have to fight with miles of rope. Plus, you can make adjustments to make all three visible lengths look uniform.
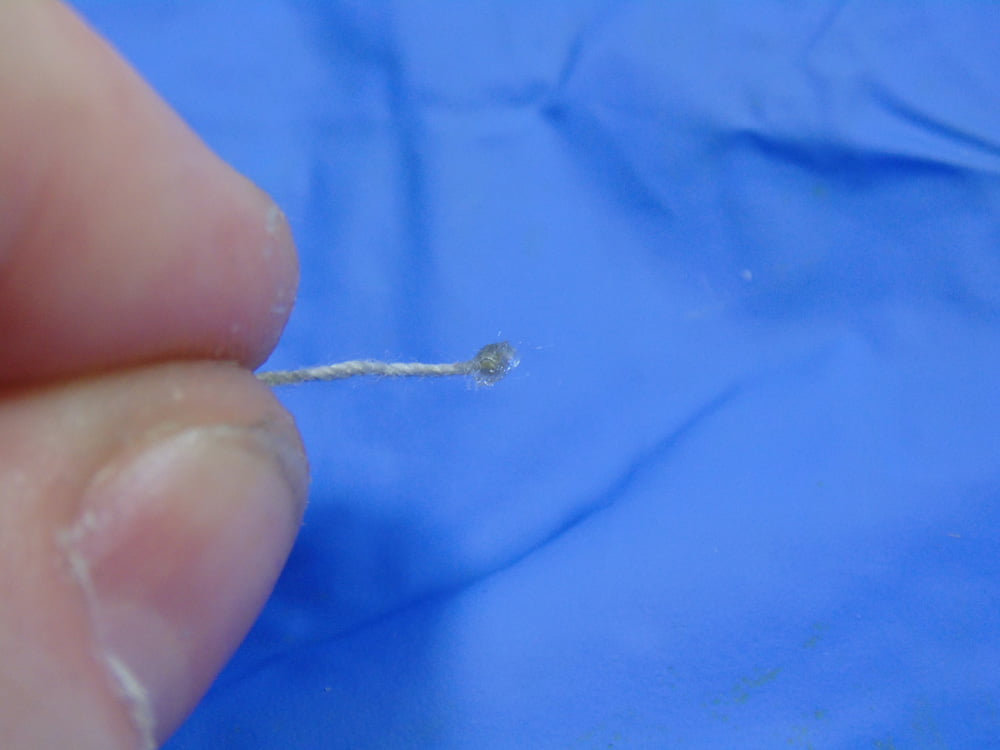
Once you’re satisfied with your adjustments, you’ll need to wind the other end around the base of the main cable. Use a clamp to keep this in place so you quickly move to the other side.

Next, the stabilizing rod must be installed. The photo in the instructions cloaks the proper length. Make certain these rods go just slightly past all the ends of the clumps. I’ll correct this later by adding a length of tube.
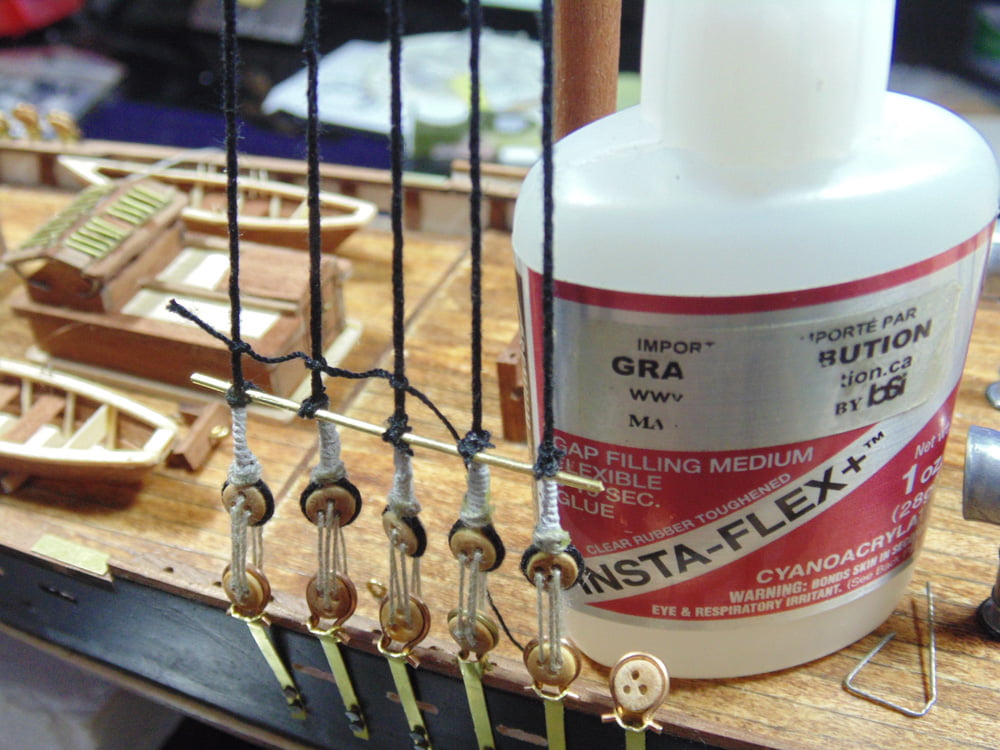
It’s the modeller’s choice whether you want to paint these before installing them or after. I followed the instructions for the first, yet knew it was easier to paint them prior. Use some fine sanding sponge to scuff the surface to allow the paint to have something to bite on to. Then wipe the rod clean.

This way you only have to paint the small space where the clamp was holding, as opposed reaching over the width of the deck and then angling the ship to get underneath.
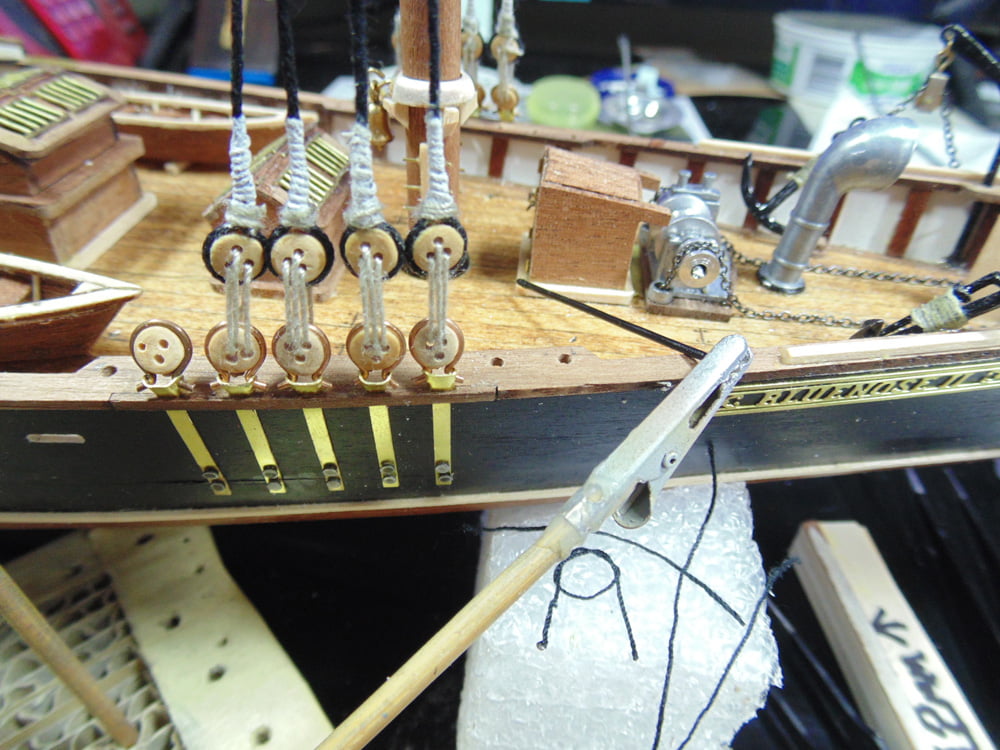
The best way, in my opinion, to begin their assembly is from the middle. Then, select the closest cable. Trust me, the rod moves around a lot less. Once you’ve got two points tied down, place a tiny drop of CA glue one and re-tighten it before gluing the other. After the CA has fully hardened you can snip off the excess.
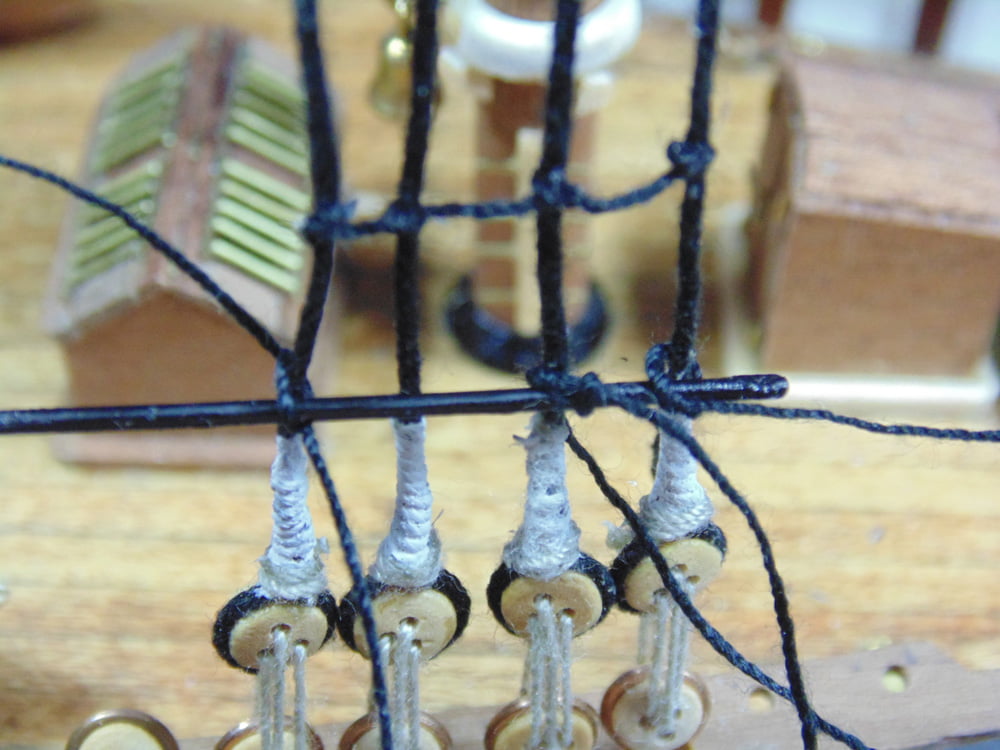
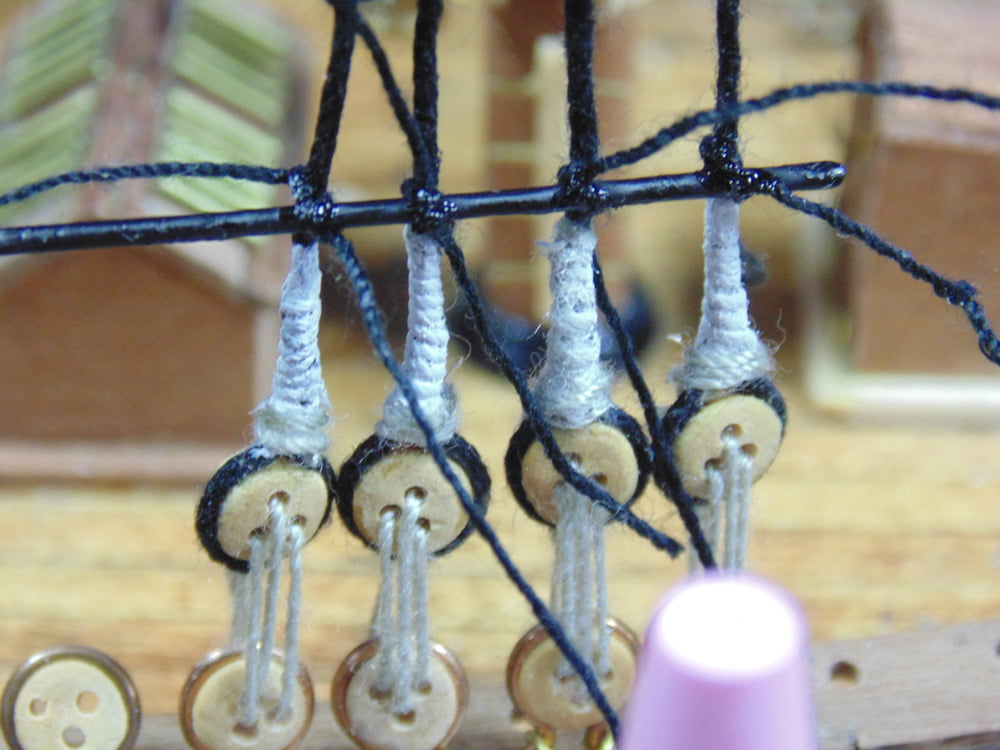
Now you can begin the ratlines. The distance between each tied point is 12mm. You can measure as you go and add some tape for reference.

Here’s an option. Spend a little time to make a spacing block for a quicker and more precise measurement. As mentioned in an earlier Sunwards Hobbies article, I never throw away anything until the project is completely finished. Even scrap wood is saved. Get out your Tamiya Fine Craft Saw and multiple thicknesses of scrap.
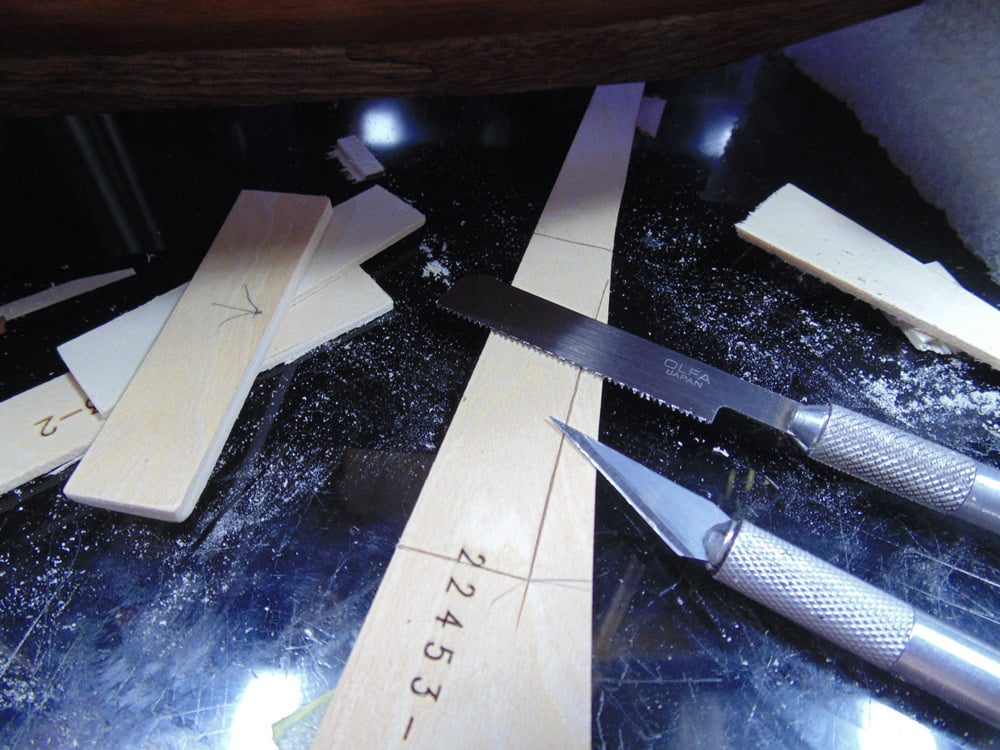
Cut up some lengths to get in the neighbourhood of 12mm and glue. Next sand and measure the thickness. Believe me, you will be using this tool a lot! After the previous ratline has dried you place this block on them and after the next line is tied you simply pull the knots down to the top of the wood block. This makes for a perfect match each and every time. It also helps with tape placement when you’re roughing out where to tie the next line.
Make certain you sand smooth any burrs which might hook the lines.


It’s your choice if you want horizontal, organic or sagged ratlines. Use your tweezers to open the loop if it is not what you want, then hold the desired distance and the main cable and pull the end to get the knot to be where it should be. The free line will draw up to your clamped point of the tweezers.

Once you’ve reached the top of the lower ratlines you’re ready to begin the upper. Remember these are slightly smaller clumps, yet the same rules apply as with the lower. They also get connected to the lower ratlines through the crow’s nest arms.
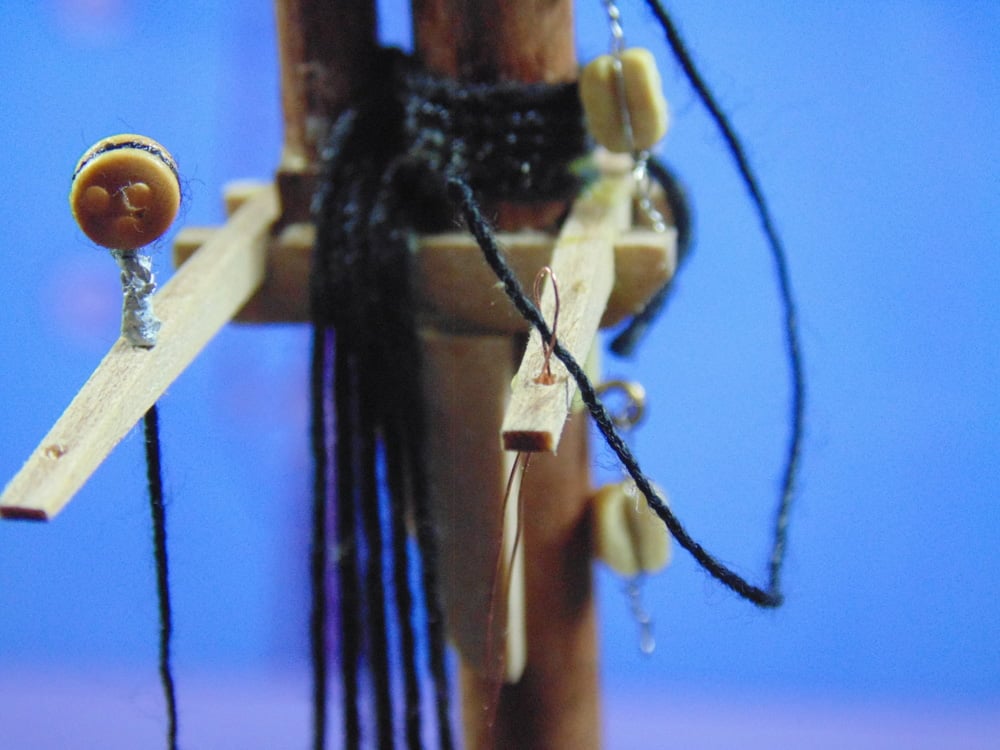
To make these, save yourself some time and aggravation by having one end in the “second hand” tool as you wind the thread.
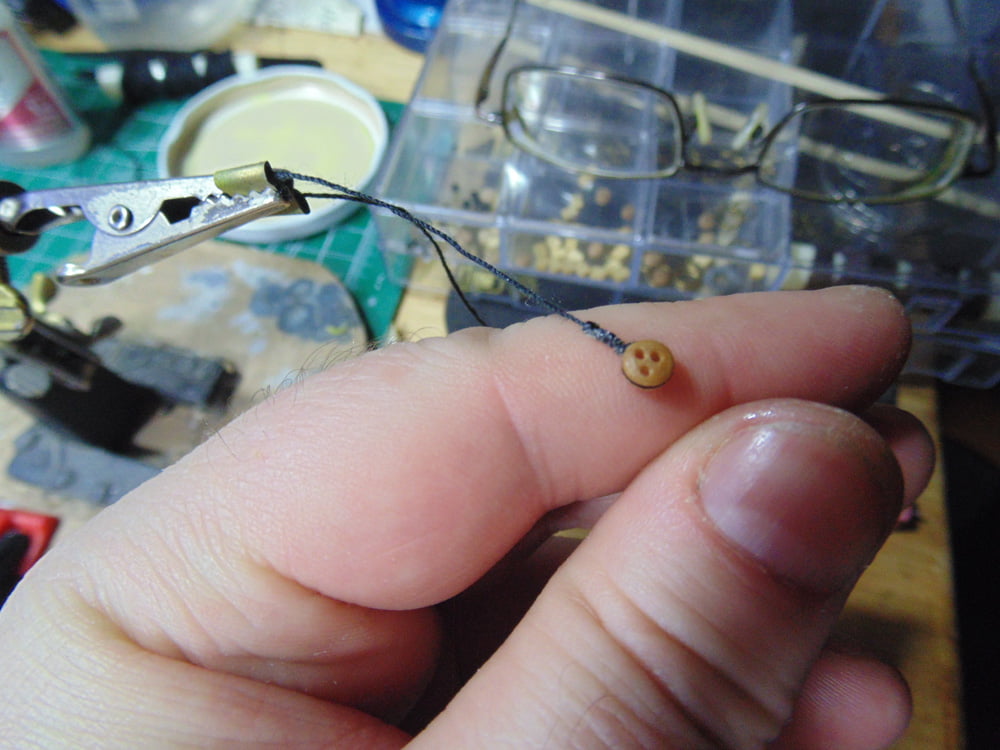
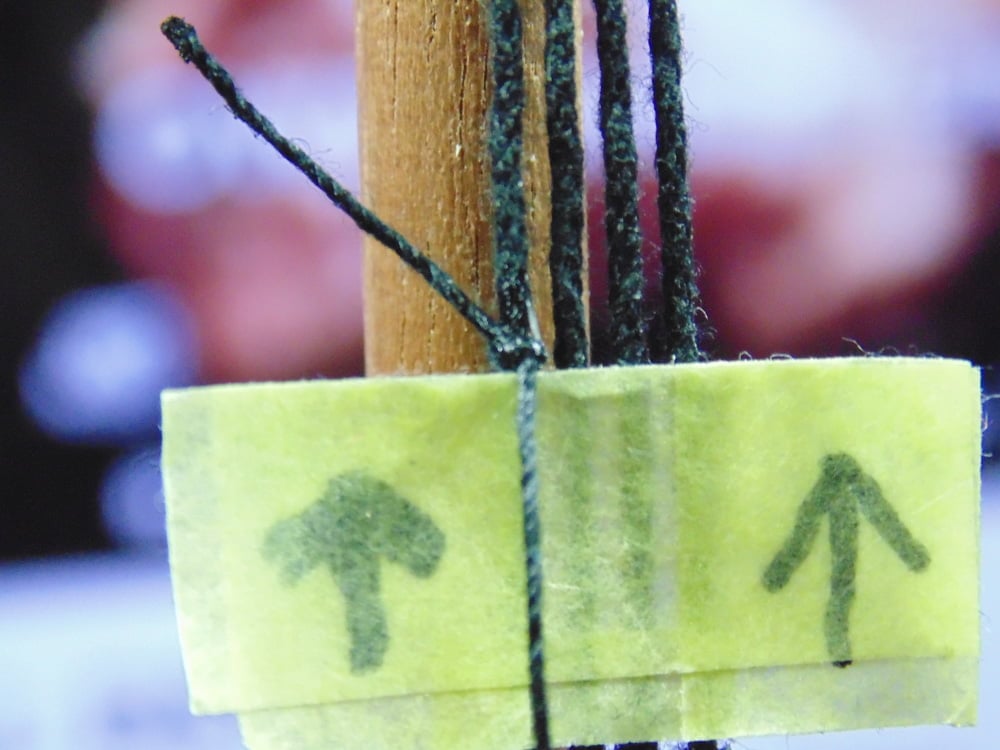
When running ratlines the job can go super smooth if you follow your own advice. For example, to make the thread point up or down after you tighten it inside or outside the loop, write that down.

Also use some measured 12mm tape, as mentioned, to get in the ballpark of where to tie a knot.
And finally, do all the major work before adding any fine details. Put on some music or documentary, get into a groove and work mechanically without distraction (if possible).
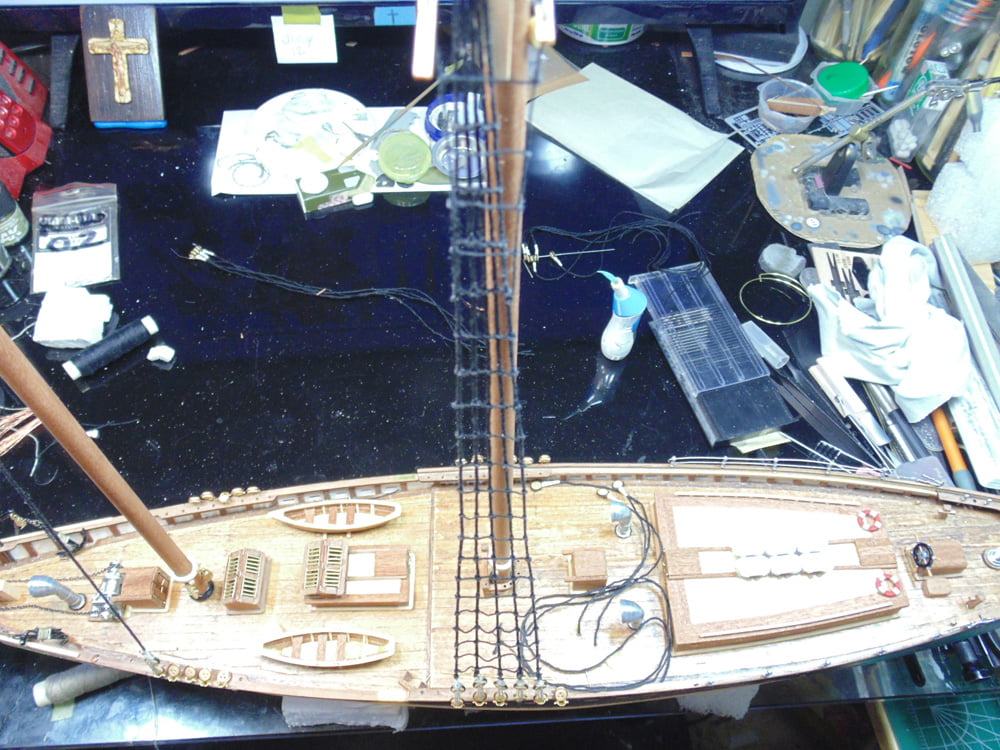
I most certainly will not sugar coat this, it takes a great number of hours to just one ratline, but it isn’t difficult and you should not be intimidated what so ever.
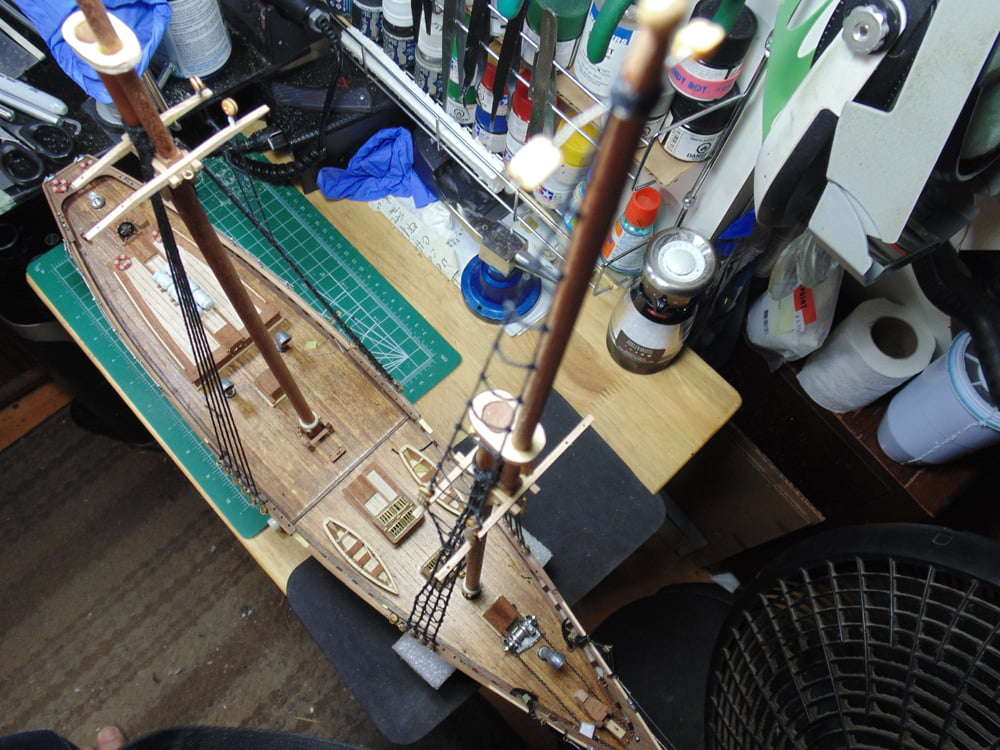
Thanks again for taking the time to follow the build. If you have any questions about Artesania Latina products, the techniques or tools used in this article, please feel free to ask the staff when you pick-up or place your next Sunward Hobbies order.
If you have any questions about the products used or the methods in this article, please feel free to ask the staff when you pick up or place your next order from Sunward Hobbies.
H.G. Barnes is a former voice-over artist and retired sales and marketing professional. He’s the author of two large volume science fiction adventure romance novels with many more in the works. For well over 40 years he’s been building scale model replicas and now does commission work for clients in Canada and the USA, plus completes projects for companies in Asia and Europe.
Currently H.G. is involved as an Associate Editor with KitMaker Network’s Online Magazine Channels
