Airfix Avro Vulcan B.2 Black Buck
This is the fourth part of the Airfix Avro Vulcan B.2 Black Buck 1/72 Scale A12013 build and review.
As good as the instructions will be it never hurts to have some reference material available to double-check a few items. For this project, I purchased the Haynes Manual on the Avro Vulcan. This is a very informative book as it covers the difficulties Avro had testing the bomber to an entire chapter dedicated to Operation Black Buck.
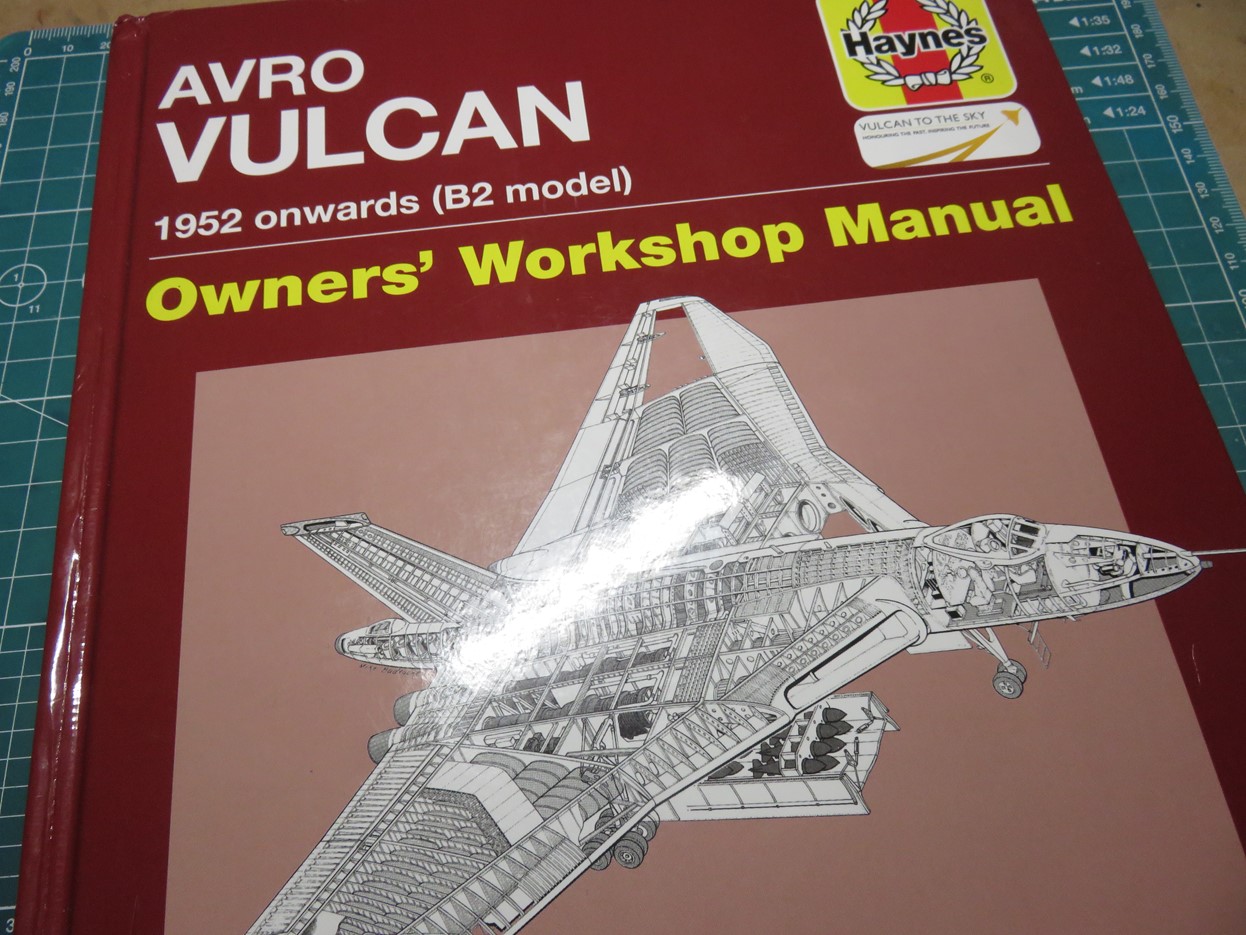
Another aircraft I’m researching is the Yokosuka D4Y “Judy”, and finding information on that aircraft is so difficult. But with this Haynes Manual, I’m almost overwhelmed with the amount of information, and the chapter dedicated to the restoration has provided invaluable pictures for me to use with this upcoming build section.

Let’s fill in the gaps here, and talk about putty.
In the previous post I filled in the nose section with Tamiya Putty Basic Type, and I thought it would be a good moment to talk about the other putty/fillers that I use when I’m modeling:
Tamiya makes several different putties, but the grey basic putty is the one that I’ve used the most over the years. It’s a lacquer-based putty and it usually bites into the plastic quite well ensuring a good bond. It takes a bit of time to dry, for me in my climate a few hours, but I find it’s easier to sand down and polish if I leave it overnight.
Mr Surfacer 500. So technically this one is a primer, however, it also works incredibly well at filling in thin gaps and seam lines. This one is also lacquer-based, and like Tamiya bites into the plastic. There are several grades of Mr Surfacer, 500, 1000, 1200, and 1500. 1500 is a much finer primer and goes on the model very smoothly, and 500 is a rougher grit primer. A lot of modelers like to use this primer to fill in tiny scratches that might have occurred when they were sanding the plastic. 500 can also be brushed onto a tank turret, or a bomb and then stippled to create a rough cast texture.
Mr Dissolved Putty. This one is a godsend to the modeling world, and just like its name indicates it’s a thinned down version of Mr. White Putty. This putty is thin enough to get into very small gaps and other places where normal putties would be difficult. And it’s easy to clean from those small gaps with a cotton bud dipped in lacquer thinner.
Vallejo Plastic Putty 70400 This is an acrylic-based putty so it dries very quickly and doesn’t shrink like lacquer putties can do especially when they are applied in a large amount. Vallejo putty is really useful because it can be sort of sculpted into place, which is helpful in curved sections of a model. It’s also incredibly quick to clean up. There are times when I apply the putty into a gap, and then I dip a cotton bud in water and quickly wipe off the excess. And within minutes the parts are ready for painting or primer. A lot of modelers like acrylic putties because of these speedy advantages.
Tamiya Liquid Surface Primer Grey This is very similar to the Mr Surfacer primers. Sometimes when I’m sanding the Tamiya Basic Putty, the sandpaper will go too far and take off little chunks creating tiny holes in the primer. I can easily fill these in with Tamiya Liquid Surface Primer, and then sand the section over smoothing everything out. I’ve found this Primer to be quite strong when I need gaps filled in, and smoother than the Tamiya Basic Putty.
Over the course of this project, I’ll do my best to demonstrate these various putty/fillers so you can see how they are applied and how you would like to use them on your future models.
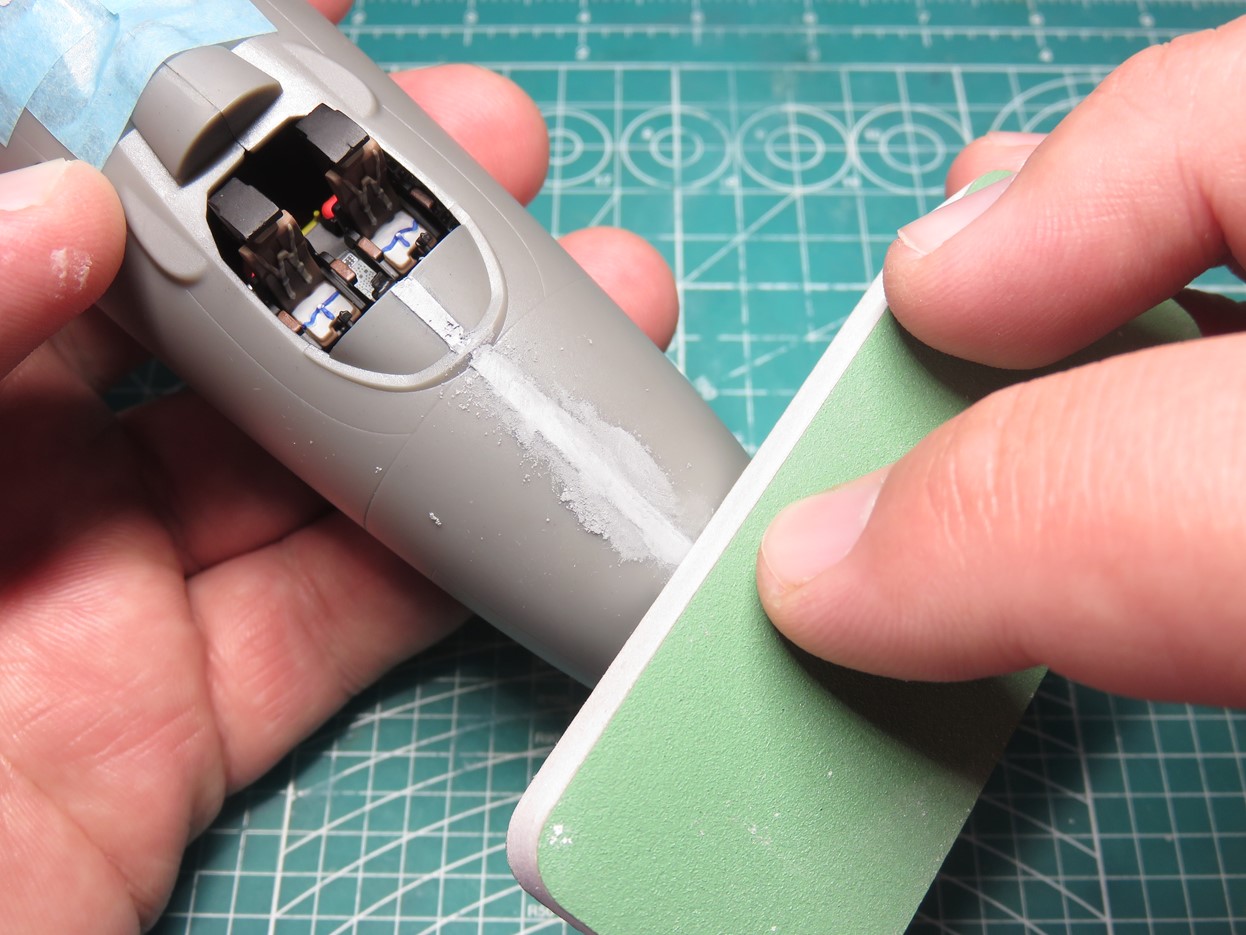
I’m beginning by sanding down the Tamiya Basic Putty on the nose from the previous post. I applied a bit too much putty here so I’m using my Vallejo Sanding Pad to remove the excess just before it gets to the surface of the plastic.

Next, I took a square of Tamiya Sanding Sponge 400 and sanded it over the primer.
I really love these Tamiya Sanding Sponges, as the cushion of the sponge allows me to apply pressure to the model, but it will still keep everything curved so I don’t have to worry about creating flat spots which would likely need more putty to fill in and rounded out again.

Once the putty was sanded down, I took some Tamiya 1000 Sanding Sponge, and I polished the nose section in small circular motions. This would help to smooth out the putty, as well would remove any tiny scratches left behind from the 400 grit.

An unfortunate side effect of sanding is the possibility of losing panel lines. To scribe them back in I like to use Tamiya Fine Craft Saws for Scribing (74094). These are thin photo-etched saws that fit into your hobby knife. They are delicate, but they are incredible at carving out new or preexisting panel lines.
In this picture, I’m carefully pulling the saw across with the tip, and once I have a drawn-out line I’ll go back and forth sawing out the panel line a little further.
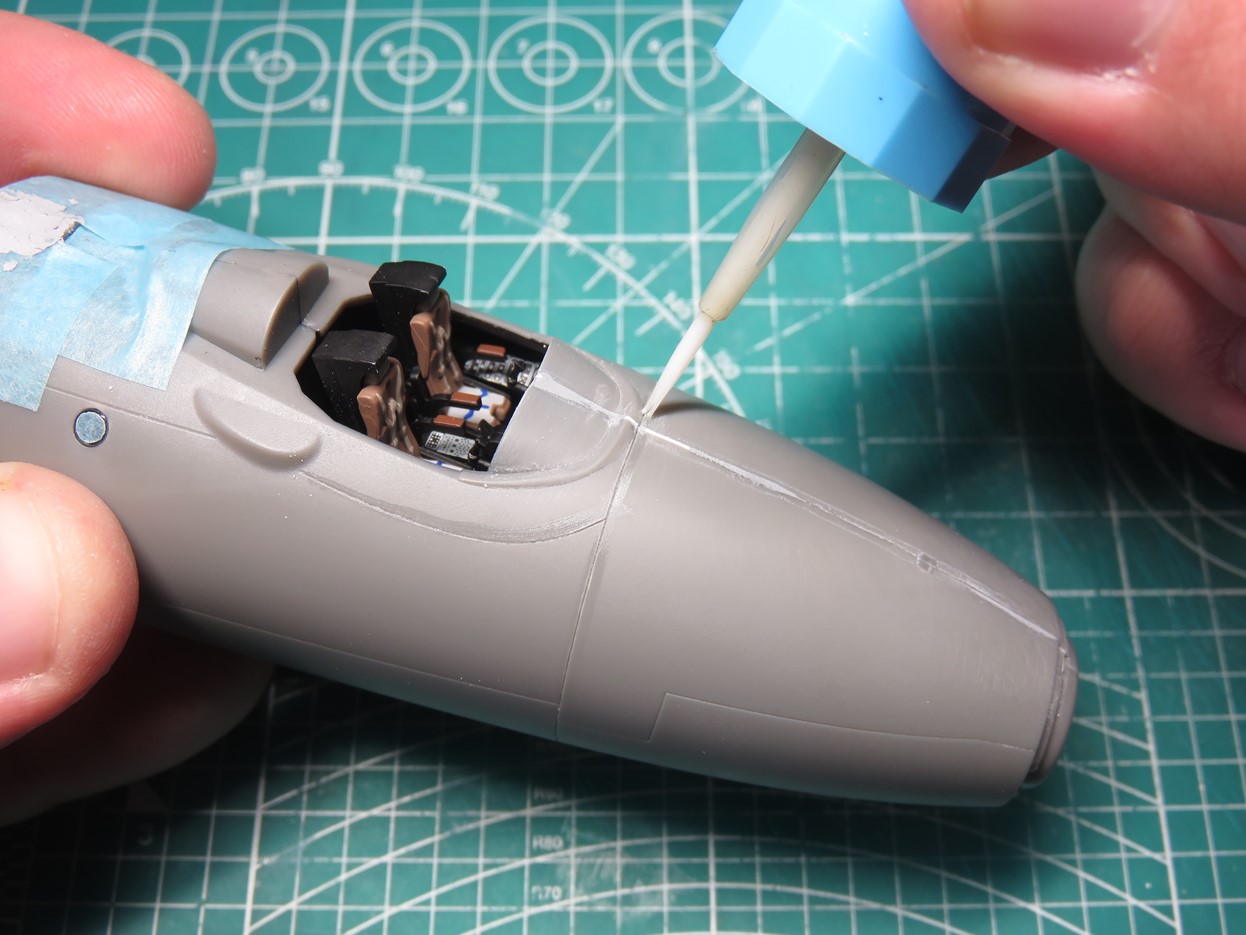
To smooth out the panel lines, which is important if we are adding a panel line wash to the model later on, which I will be. I took some Mr Cement S and carefully ran the glue along the newly scribed panel line.
Thanks to the capillary action of the glue, it will flow into the small gap and slowly level out the plastic.

There is some unevenness with the lower nose panel, and there was a slight gap in this forward section. I brushed on a coat of Mr. Dissolved Putty into the panel groove. It took only a few hours to dry thoroughly, and after I was able to sand it down smooth the same as I did before on the top.
With the brush, I can push the Dissolved Putty into the gaps a bit and after it has dried for a time I can go back and add a second coat to build it up before sanding.

Before I assembled the wings, I cut out and painted all of the parts to the landing gear bays. I painted the parts with Tamiya XF-2 Flat White, and then I applied a gloss coat of Mr. Hobby 46 Clear. This was to provide a coat for future weathering.
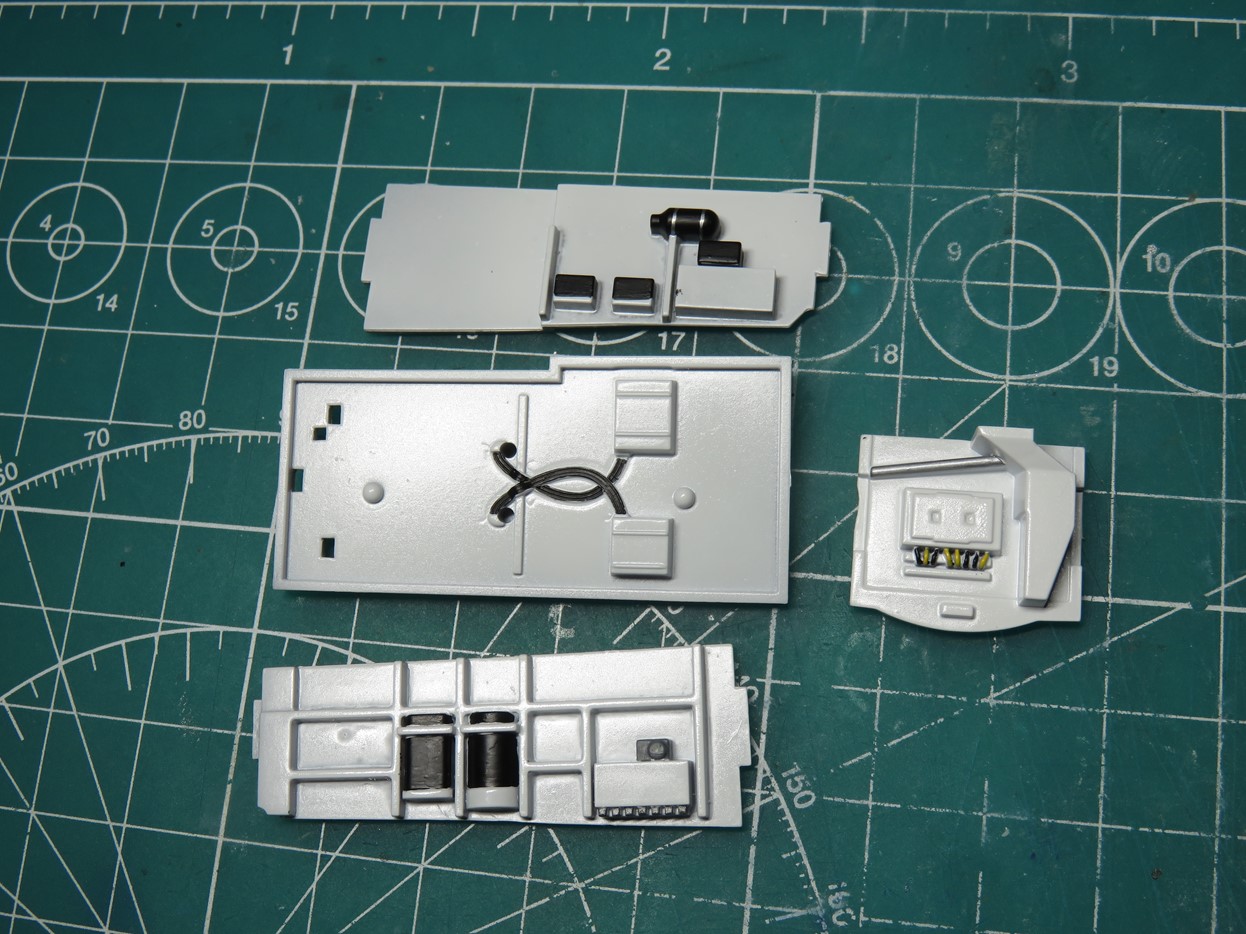
These are the parts for the nose section wheel bay. Thanks to my reference material I was able to accurately paint some of the parts. On the real Vulcan, there are a lot more wires and junctions, but given this scale, I think these details will do nicely.
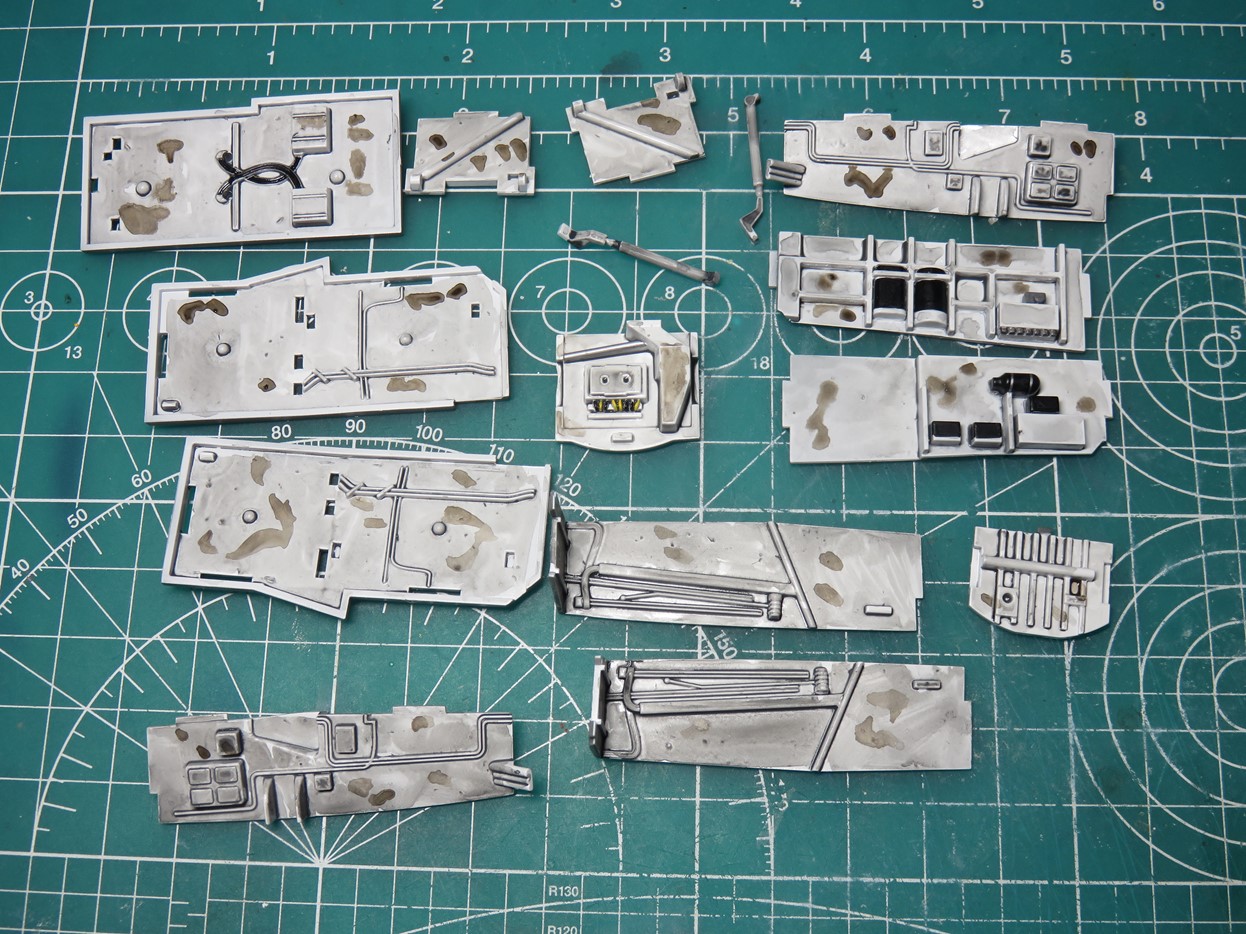
Once I had the smaller details painted, I brushed Tamiya Panel Line Accent Color -Grey- over all of the parts. I decided to add a bit of Tamiya Panel Line Accent Color -Brown- to add a bit more color to the weathering.
From the materials I could find the wheel bays on the Vulcan could be quite dirty, and since I’m building a war-time Vulcan I wanted to replicate that this was a well-used aircraft.

I discovered a new method for removing the excess wash which provided a really interesting effect. I dipped a cotton bud in some Tamiya Enamel Thinner, and I rolled the cotton bud along the surface. As I rolled the cotton bud it picked up some of the paint and left this wonderful effect behind.
I wish that I had discovered this with my recent F-14 project as I think that this look is really fantastic, and I’ll certainly be using this on future projects.

Here are the completed parts after I airbrushed a coat of Mr. Hobby 182 Flat Clear. Next, they are ready to be assembled and installed into the lower wing section.
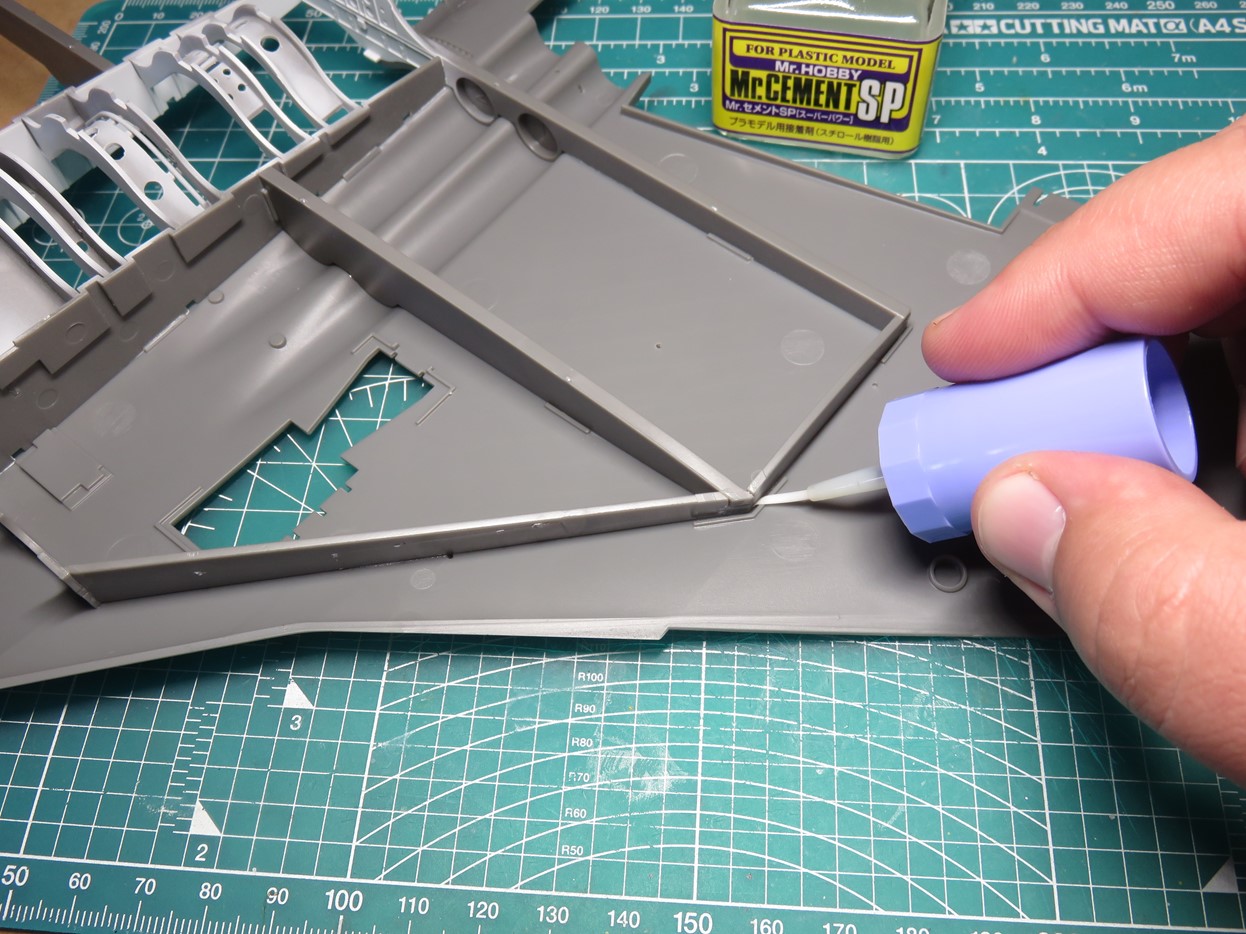
I’ve fitted one side of the lower wing to the frame. Using Mr. Cement SP I was able to quickly glue these sections. I took my time applying glue all around and pressing the plastic together to try and ensure a tight and strong bond.

One place in particular to pay attention to is the join on the edge of the bomb bay to the wing section. Add glue and press firmly to this area otherwise, you will end up with gaps and a crooked fit.

Sadly, when I added the other side of the wing I ran into some warping issues. Gluing the other side of the frame to the wing took a long time to do as a result I wasn’t able to add in the gear bays I painted earlier.
I believe that this warping is caused by the extremely large sprues with each half of the wing section. When these parts came out of the molds at the factory they were still hot, and because of their size, they cooled and sagged as they were stacked on top of each other.
I think that if each section was molded with one frame in a smaller section this warping could have been avoided.
Also, I contributed to the warping to some extent when I took the parts out of the box to take pictures or to get at another sprue in the box. Grabbing the parts would have caused some flex while they were still attached to the sprue frame.
As a result, when you are starting this project, I’d suggest first cutting each of these wing sections off the sprues, this could help prevent further warping with these parts.

This section at the front of the wings is quite bent and will need a bit of work to get it back to a proper shape as this part needs to support the weighted nose section.
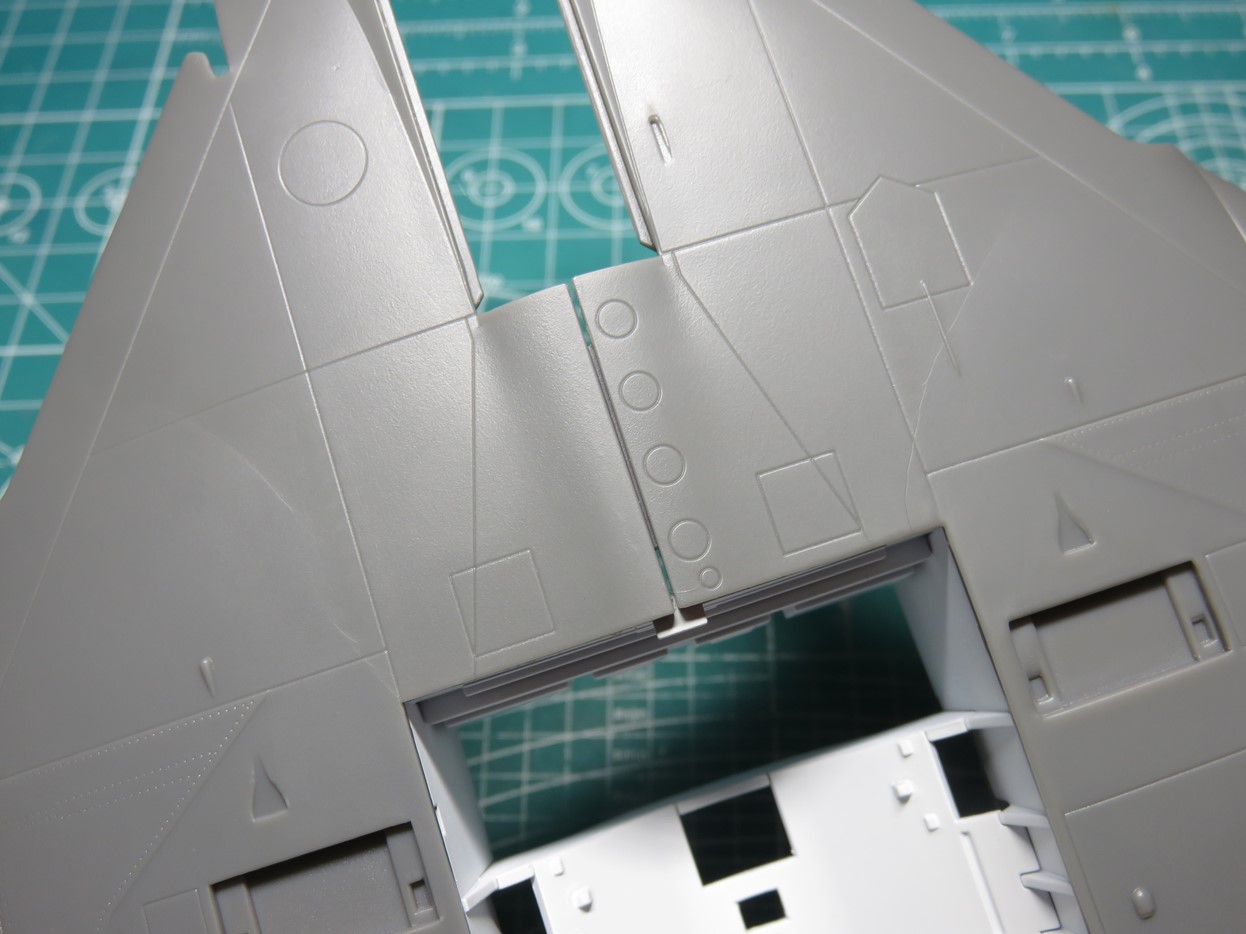
Despite my best efforts a small gap has occurred and in the next post I’ll have to figure out how to fix this area as it needs to be strong to support the forward landing gear bay.
When I started gluing the wing this seam was flush, but as I discovered more warping and glued the frame to the wing the gap emerged.

I had hoped to be a bit further along with the build this week. But discovering this warp really slowed down my work speed.
However, really that’s all that it did, just slowed the project down for a bit. It’s unfortunate that this happened in the first place, but nothing is ruined or really out of shape.
These things happen, and as annoying as they might be it’s thankfully all manageable. And that can be great fun when you are scale modeling. Things don’t quite work out, so we need to find a solution to the problem.
I’ve seen too many modelers give up on a kit at any inconvenience, and we’re not about to let this stop our fun!
So in the next post, we’re going to correct the warping, and hopefully, we’ll get to the stage where we can add the tops of the wings, I’m really looking forward to that and I hope you are too.
To be continued…
Jared Demes is a modeler from southern Alberta. He has been building models since he was 4 years old when his Dad first introduced him to the hobby. He has written for several magazines including, Fine Scale Modeler, Scale Aircraft Modeling, Phoenix Scale Models, and others. He has an interest in all modeling subjects, with a focus on WWII Japanese aircraft and Science Fiction.
Jared has won several IPMS awards for his modeling, and currently operates his YouTube channel rebelsatcloudnine, where he showcases model builds and product demonstrations.