Create the Effect of Detail – Not The Detail
Skill Level: Advanced
Read Time: 11 minutes
Part №.2 of How-to Prepare Military AFV Models for Weathering and Protective Clear Coats covers the next steps in the finishing and weathering process. In this article we cover the basic steps of various weathering techniques with examples of their application. In Part №.3, we unpack each technique in detail.
How-to Apply the Effect of Detail – Not The Detail
Advanced Painting Strategy: Base Mottling – Translating the empirical to the modelling world is challenging.
Grisaille: Grey Scale Underpainting
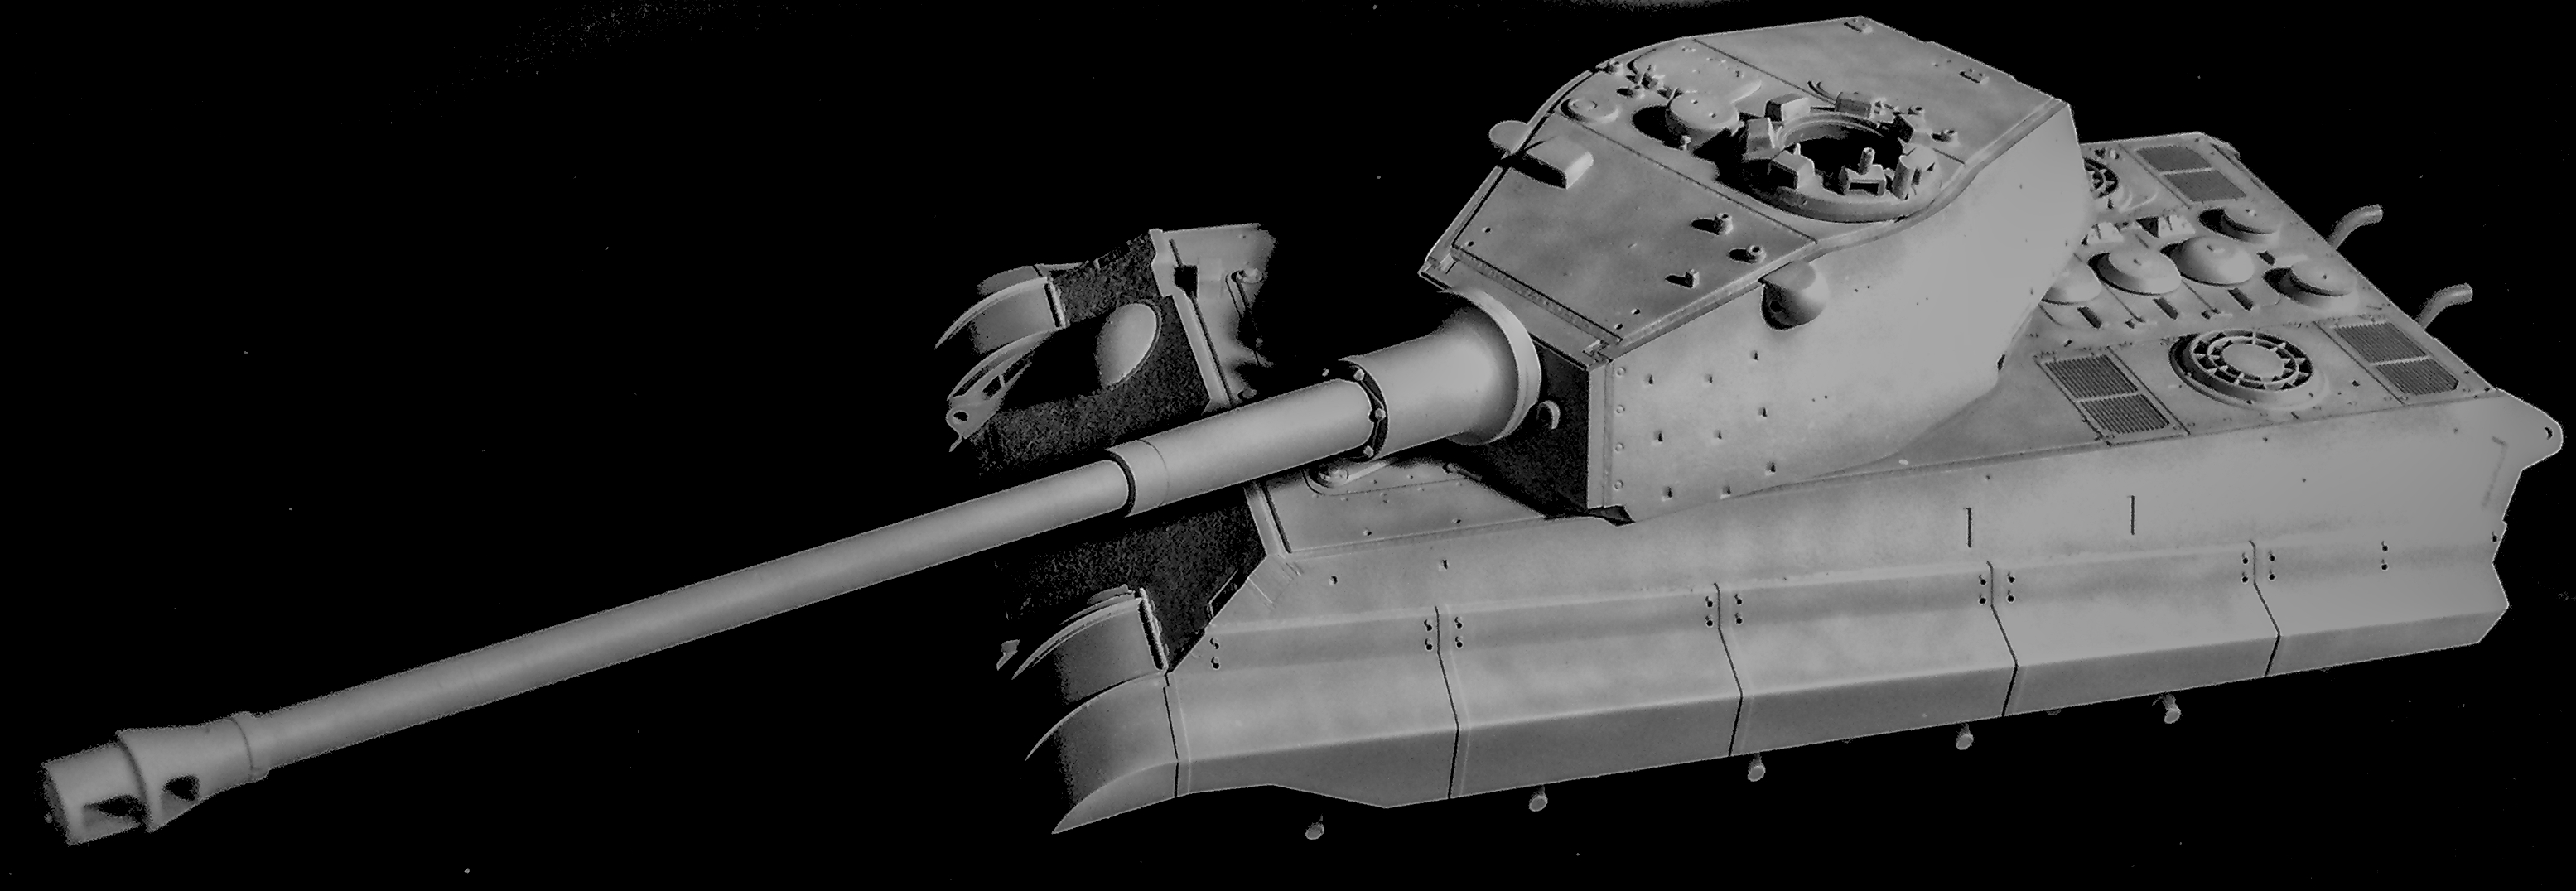
The Grisaille technique, often referred to as the Black-and-White Technique or Zenithal Effect preshading, is a technique used in miniature painting to create a sense of depth and dimensionality in the painted subject. It involves applying a series of thin layers of paint in a gradient from light to dark, with the lightest colour applied to the highest points of the figure and the darkest colour applied to the lowest points.
The Zenithal Effect preshading technique is typically used on miniatures that have a lot of texture or detail, such as fantasy or sci-fi figures. By applying the lightest colour to the highest points of the figure, such as the top of the head or the raised areas of armour, and the darkest colour to the lowest points, such as the recesses or shadows, the painter can create the illusion of light hitting the figure from a specific direction.
The technique is called Zenithal because it is based on the idea that the light source is coming from above or the zenith. By applying the paint in a gradient from light to dark, the painter can create a sense of depth and dimensionality that makes the figure or vehicle look more realistic and lifelike.
The Zenithal Effect preshading technique can be used with a variety of different painting styles and methods, including airbrushing, brush painting, and dry brushing. It can also be combined with other painting techniques, such as glazing or washes, to create even more depth and variation in the colours.
The Zenithal Effect preshading technique is powerful in the modelling painter’s toolbox. Using a gradient of colours to create the illusion of light hitting the subject matter from a specific direction, the painter can create a more realistic and lifelike scale model or miniature that will impress.
💡 gri·saille (gri-ˈzī -ˈzāl): decoration in tones of a single colour, especially gray, designed to produce a three-dimensional effect. French, from gris gray, from Middle French – grizzled. The word first appeared circa 1840 to describe grey monotones used as underpainting before colour was applied.
Base Mottling
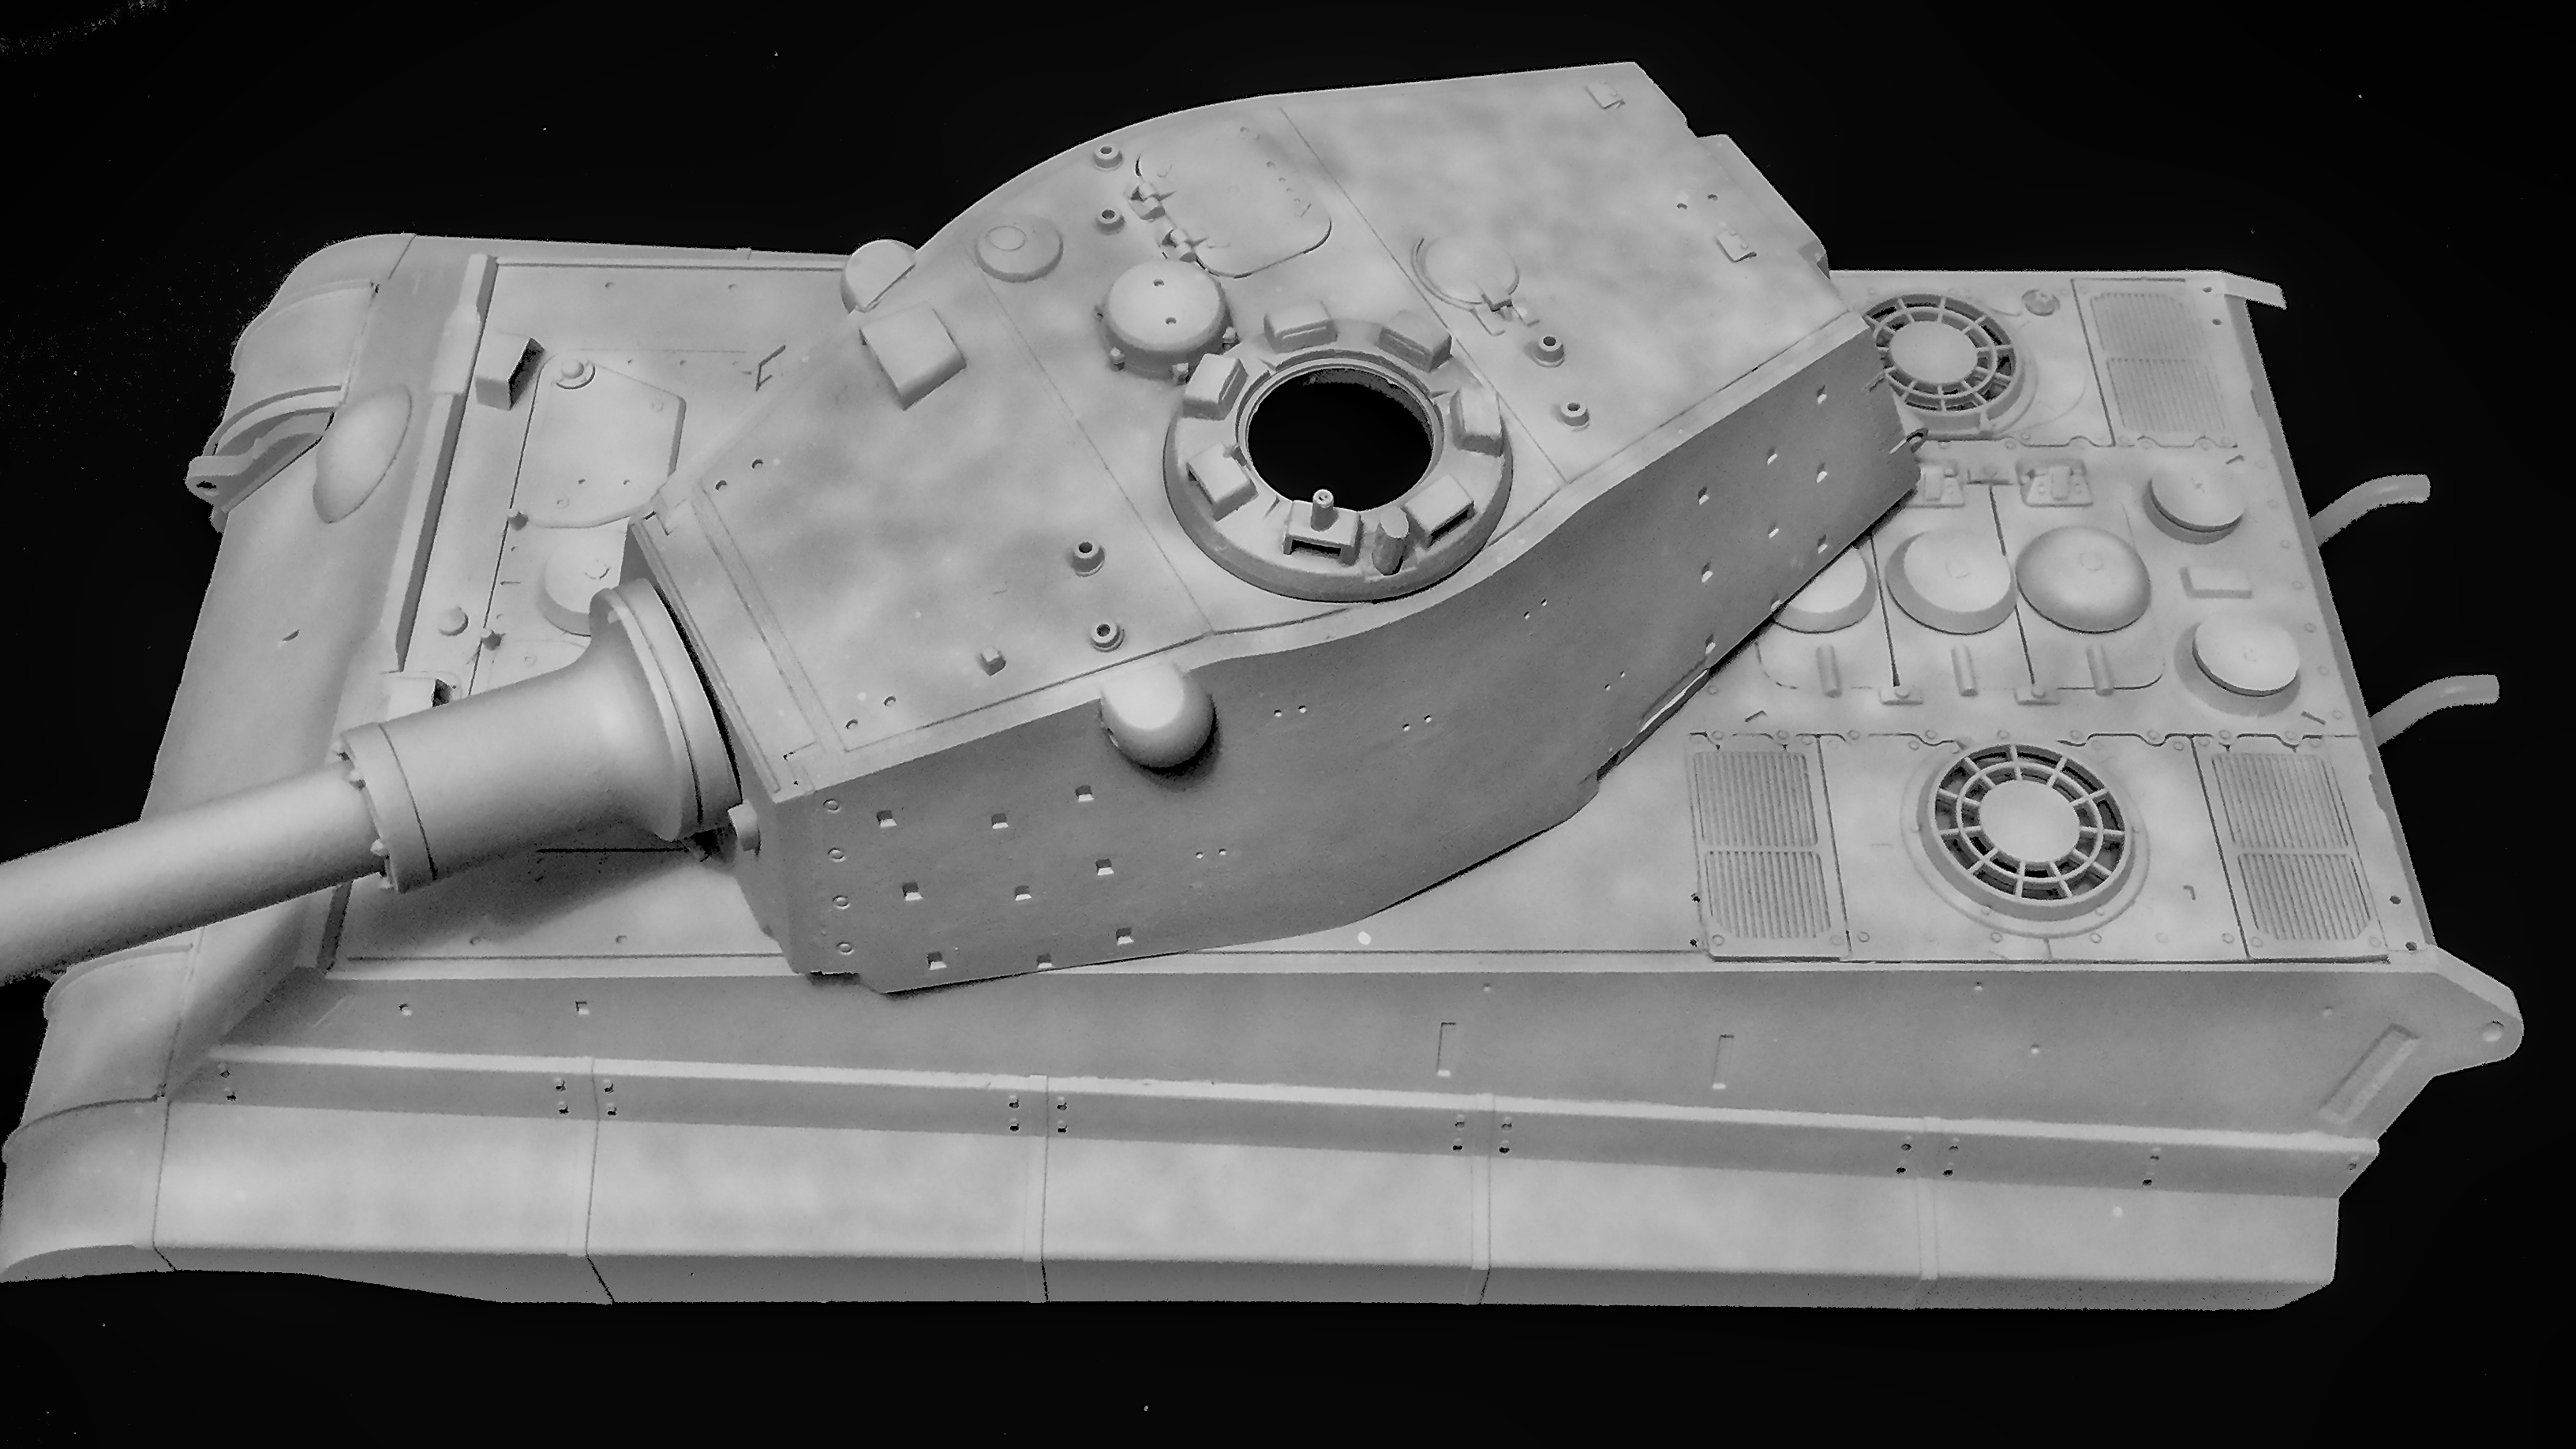
The plastic was originally dark grey, so I used Tamiya Grey Liquid Surface Primer, a warm, neutral gray, to lighten the kit up. The Tamiya White Liquid Surface Primer is used for the Zenithal Mottling to create mid-tones and highlights. When highly diluted to a translucent white, the white takes on shades of grey.
Albedo Effect
Zenithal white makes the top colour lighter and brighter, preserving chromacity without mixing white with the top coat to lighten it. This is counterintuitive; adding white to a colour makes it fade and turn milky, whereas the albedo effect lightens and brightens the colour without altering it.
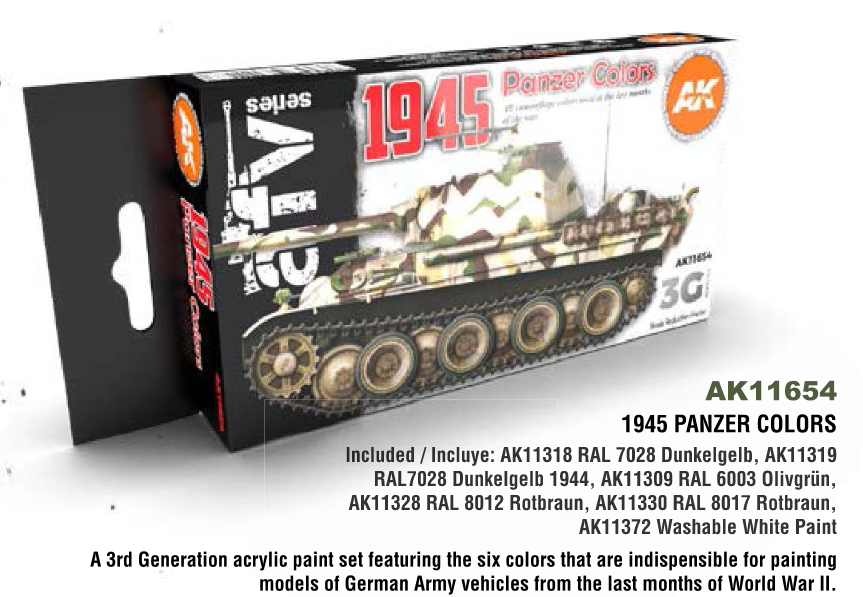
July 1945 Ambush Camouflage Colours
- OLIVGRÜN RAL 840: In January 1945, it was ordered to be used as the base colour for newly built military vehicles.
- DUNKELGELB AUSGABE 1944: In the autumn of 1944, a different tone of Dunkelgelb was introduced.
- ROTBRAUN (Kaffeebraun)RAL 8017: This colour was introduced in February 1943 as a complementary camouflage colour to be applied over the RAL 7028 Dunkelgelb basecoat.
Special Effect Weathering Paintbrushes
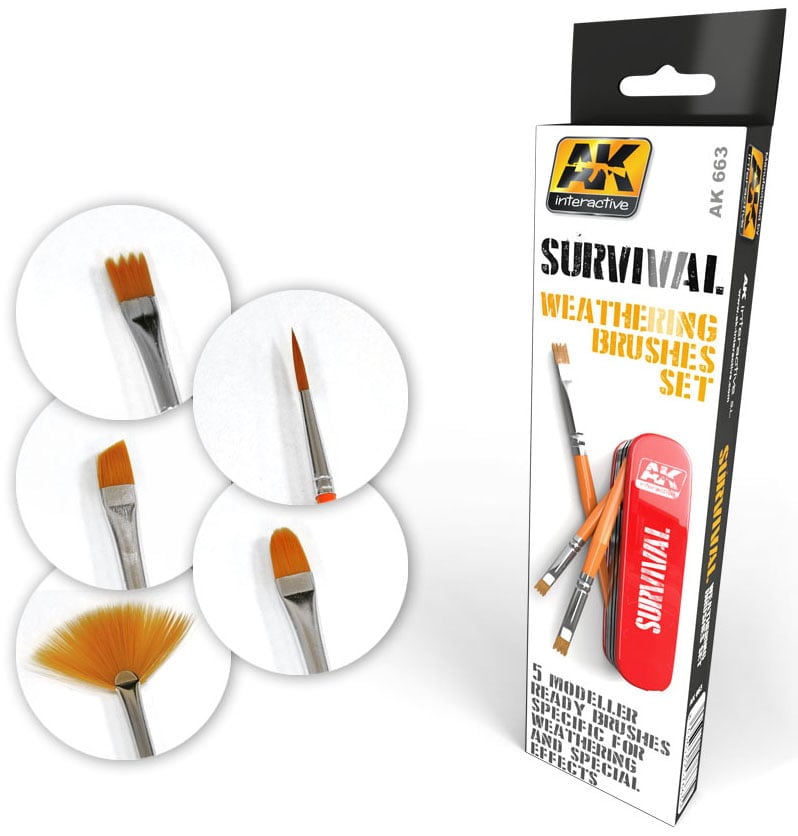
When using special effects paintbrushes, such as AK Interactive Survival Set, it is essential to consider each type of brush’s specific characteristics and intended applications. For instance, fan brushes are versatile tools that facilitate the seamless blending of colours and the creation of soft, feathery textures through deliberate and controlled brush movements. Stippling brushes enable modellers to generate intricate, dotted patterns and add depth to their projects by employing a gentle tapping technique to apply the paint. Rigger brushes, distinguished by their long and fine bristles, are well-suited for producing delicate lines, intricate details, and precise brushwork, requiring a steady and deliberate hand.
Sponge brushes offer artists the capability to achieve distinctive mottled effects and add dimension to their artwork by carefully stippling or dabbing the paint onto the build. Bristle brushes, characterized by their stiff and resilient bristles, are ideal for producing dynamic and textured brushwork, necessitating varying pressure and angles to achieve diverse effects.
Engaging in experimentation with these diverse types of brushes enables modellers to enhance their artistic expression and create visually captivating pieces.
💡Proper cleaning and maintenance of the brushes are important to ensure their longevity and optimal performance.
Modelling Colour Harmonizing Filters
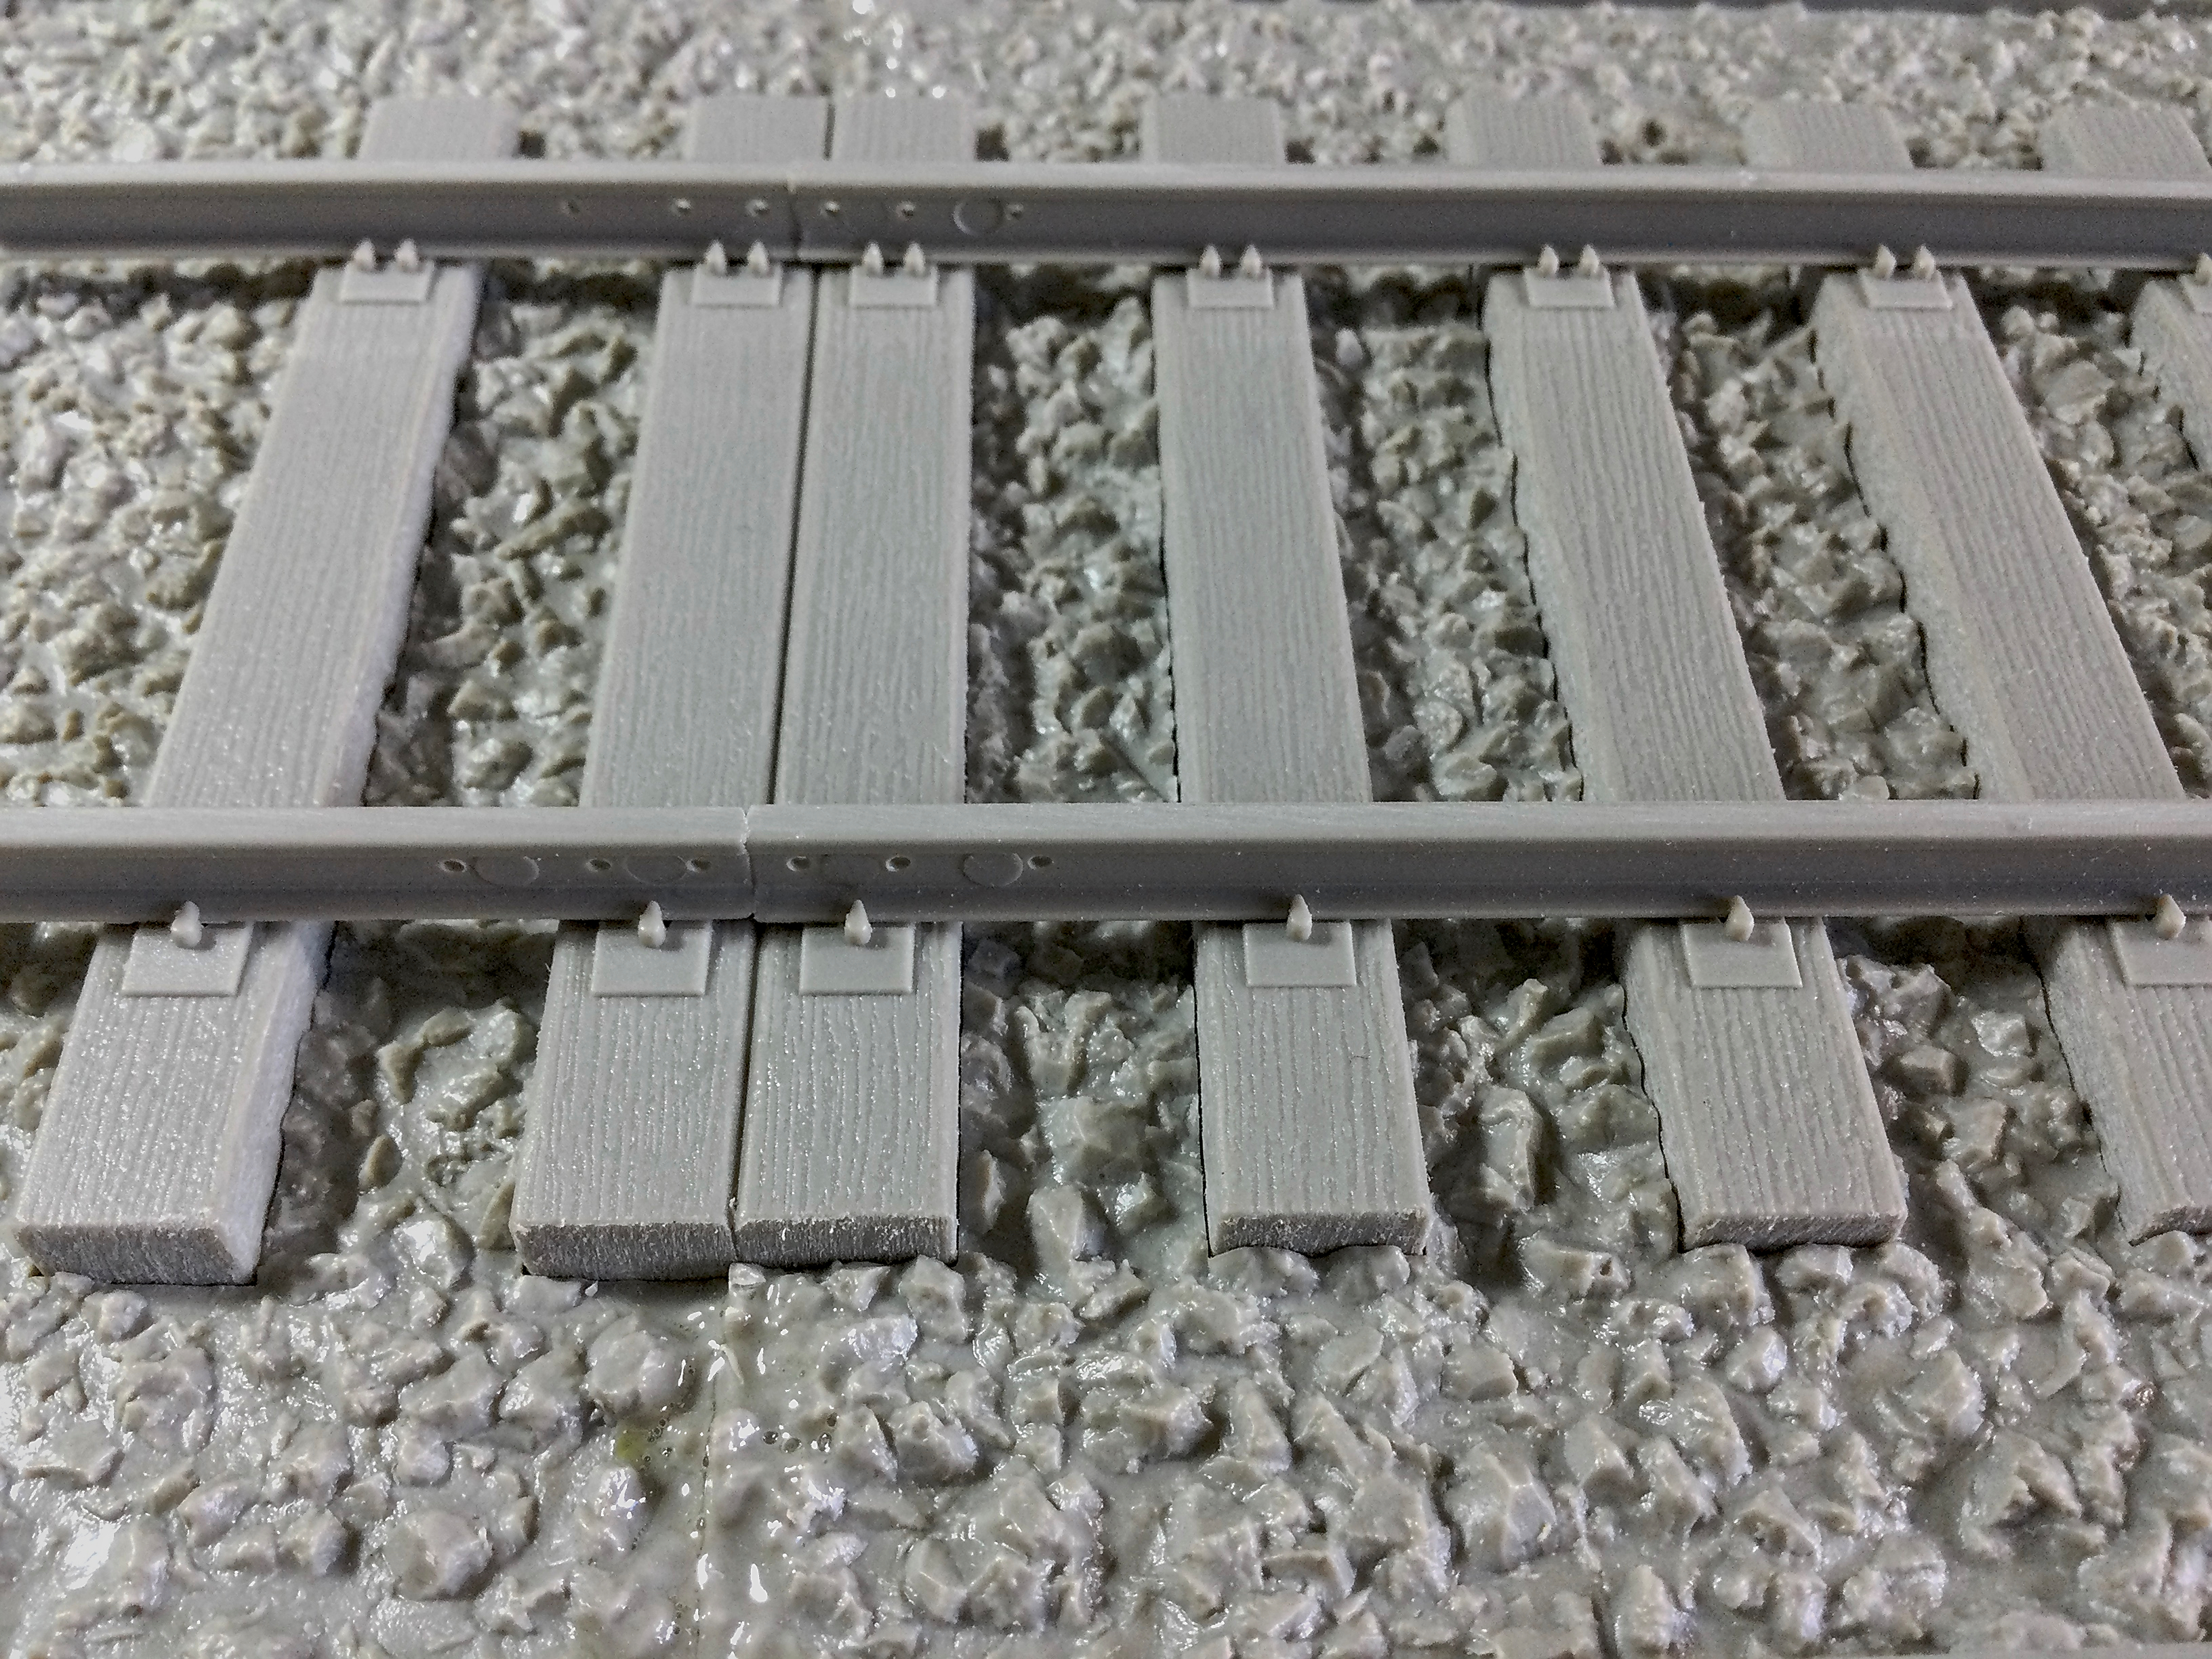
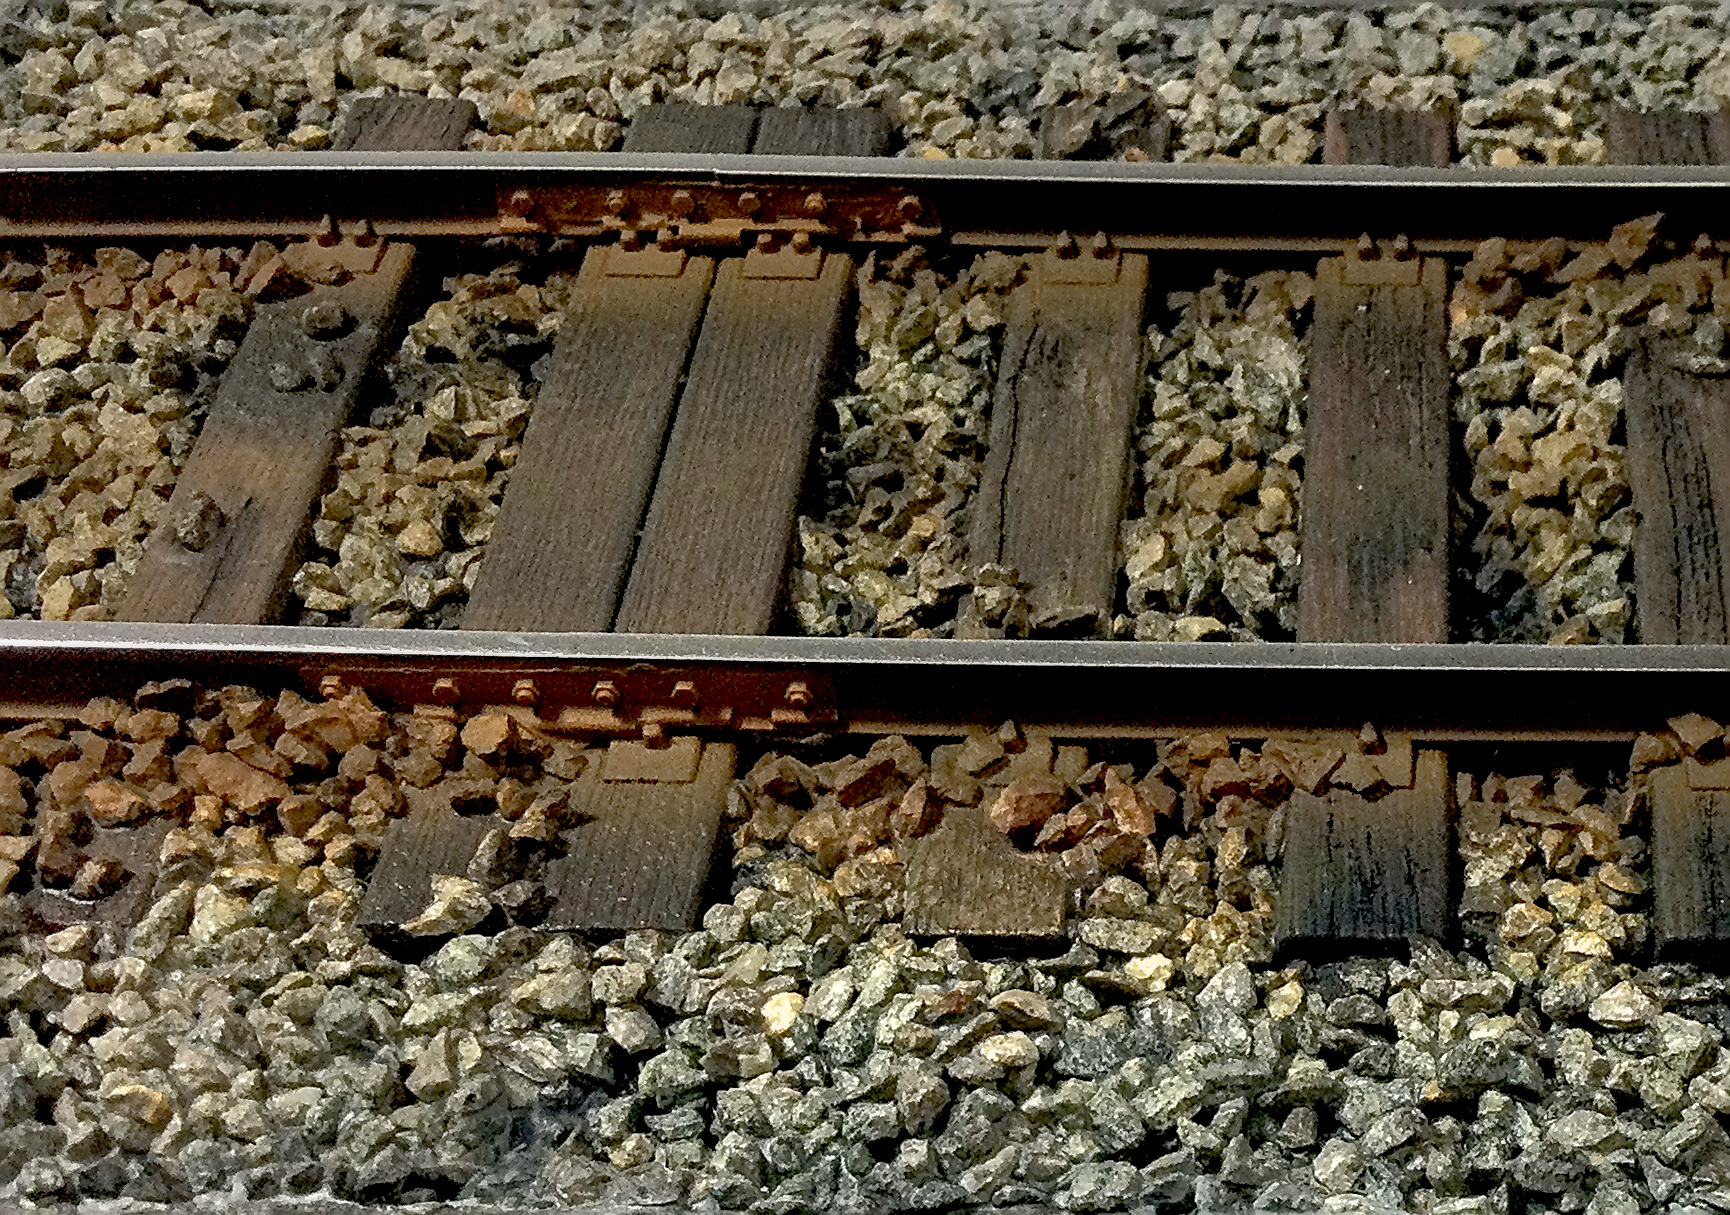
Modelling Colour Harmonizing Filters, also known as Glazes, is an advanced modelling technique in the miniature fantasy figure painting world. Understanding the techniques involved in adding colour filters to painted model kits is essential. Colour filters, which are transparent paints, can be applied over the base coat to create subtle variations and enhance the overall realism of the model.
To begin, carefully select the appropriate colours for the desired effect. Dilute the colour filter paint with a compatible thinner to achieve the ideal translucency. Using a soft, broad brush, evenly apply the diluted colour filter over the painted surface, ensuring a consistent and smooth application.
The transparent quality of colour filters allows the underlying paint layers to show through, creating a natural blending effect and adding depth to the model’s finish. Experimenting with different colours and layering techniques can produce realistic and nuanced results.
After applying the colour filters, it’s essential to protect the finish by sealing the model with a clear coat. This not only preserves the applied colours but also ensures the long-lasting quality of the final appearance.
In conclusion, carefully applying colour filters is a versatile technique that can significantly elevate the visual impact of painted model kits, resulting in a more realistic and professional finish.
Enamel Weathering Products and Washes
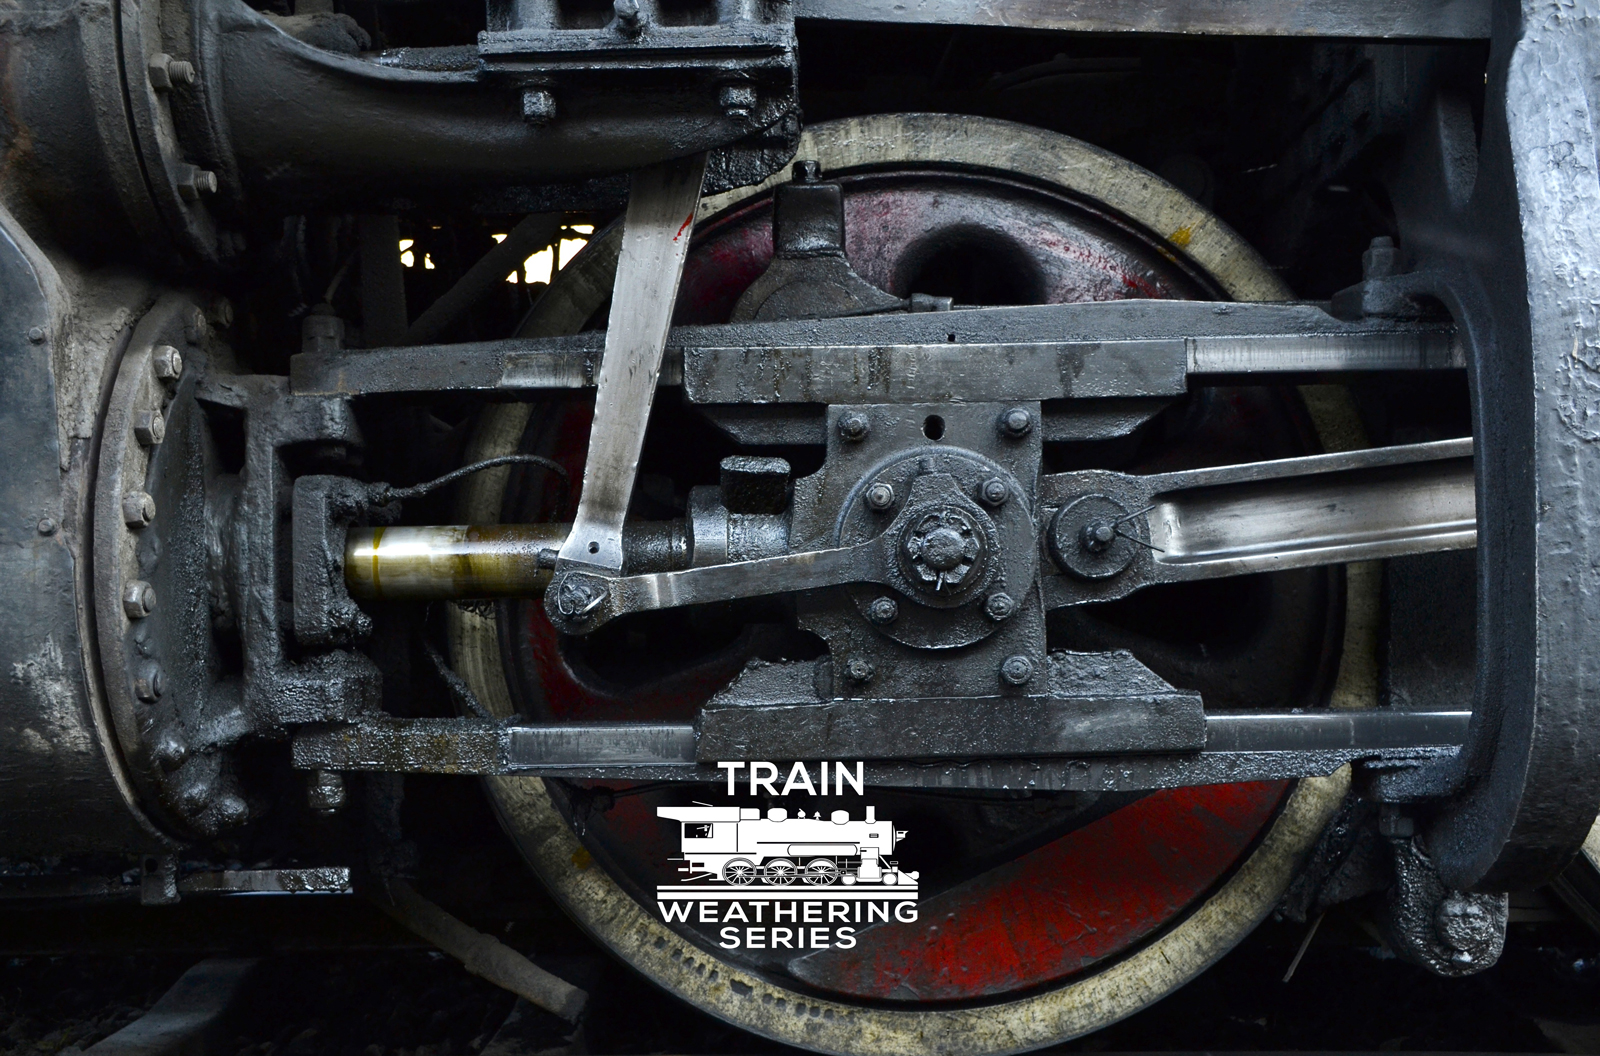
When applying enamel weathering products to a painted scale model, initiating the process with a sealed surface is imperative to minimize the potential for staining or excessive adherence of the pigments. Begin by carefully applying a thin layer of the enamel weathering product to the targeted areas, gradually increasing the application to achieve the desired effect. Following the application of the enamel weathering product, it is essential to secure it in place using a suitable clear varnish or enamel fixer. This practice ensures the preservation of the weathering effect and creates a realistic appearance on the model.
To apply enamel washes on a painted scale model, you can follow these steps:
- Ensure the painted surface is fully dry and sealed with a clear varnish or sealer to protect the underlying paint.
- Use a fine-tipped brush to apply the enamel wash to the areas where you want to create shading or emphasize details. The wash will flow into the recessed areas, adding depth and definition to the model.
- After applying the enamel wash, you can use a clean, soft brush dampened with enamel thinner to gently remove any excess wash from the raised areas, blending the wash and creating a more natural, subtle effect.
- Allow the wash to dry completely. This usually takes several hours, but drying time can vary depending on the specific product and environmental conditions.
- Once the wash is dry, you can further enhance the model by applying additional weathering effects or a final clear coat to protect the finish.
- Remember to work in a well-ventilated area and follow all safety precautions when working with enamel products and thinners.
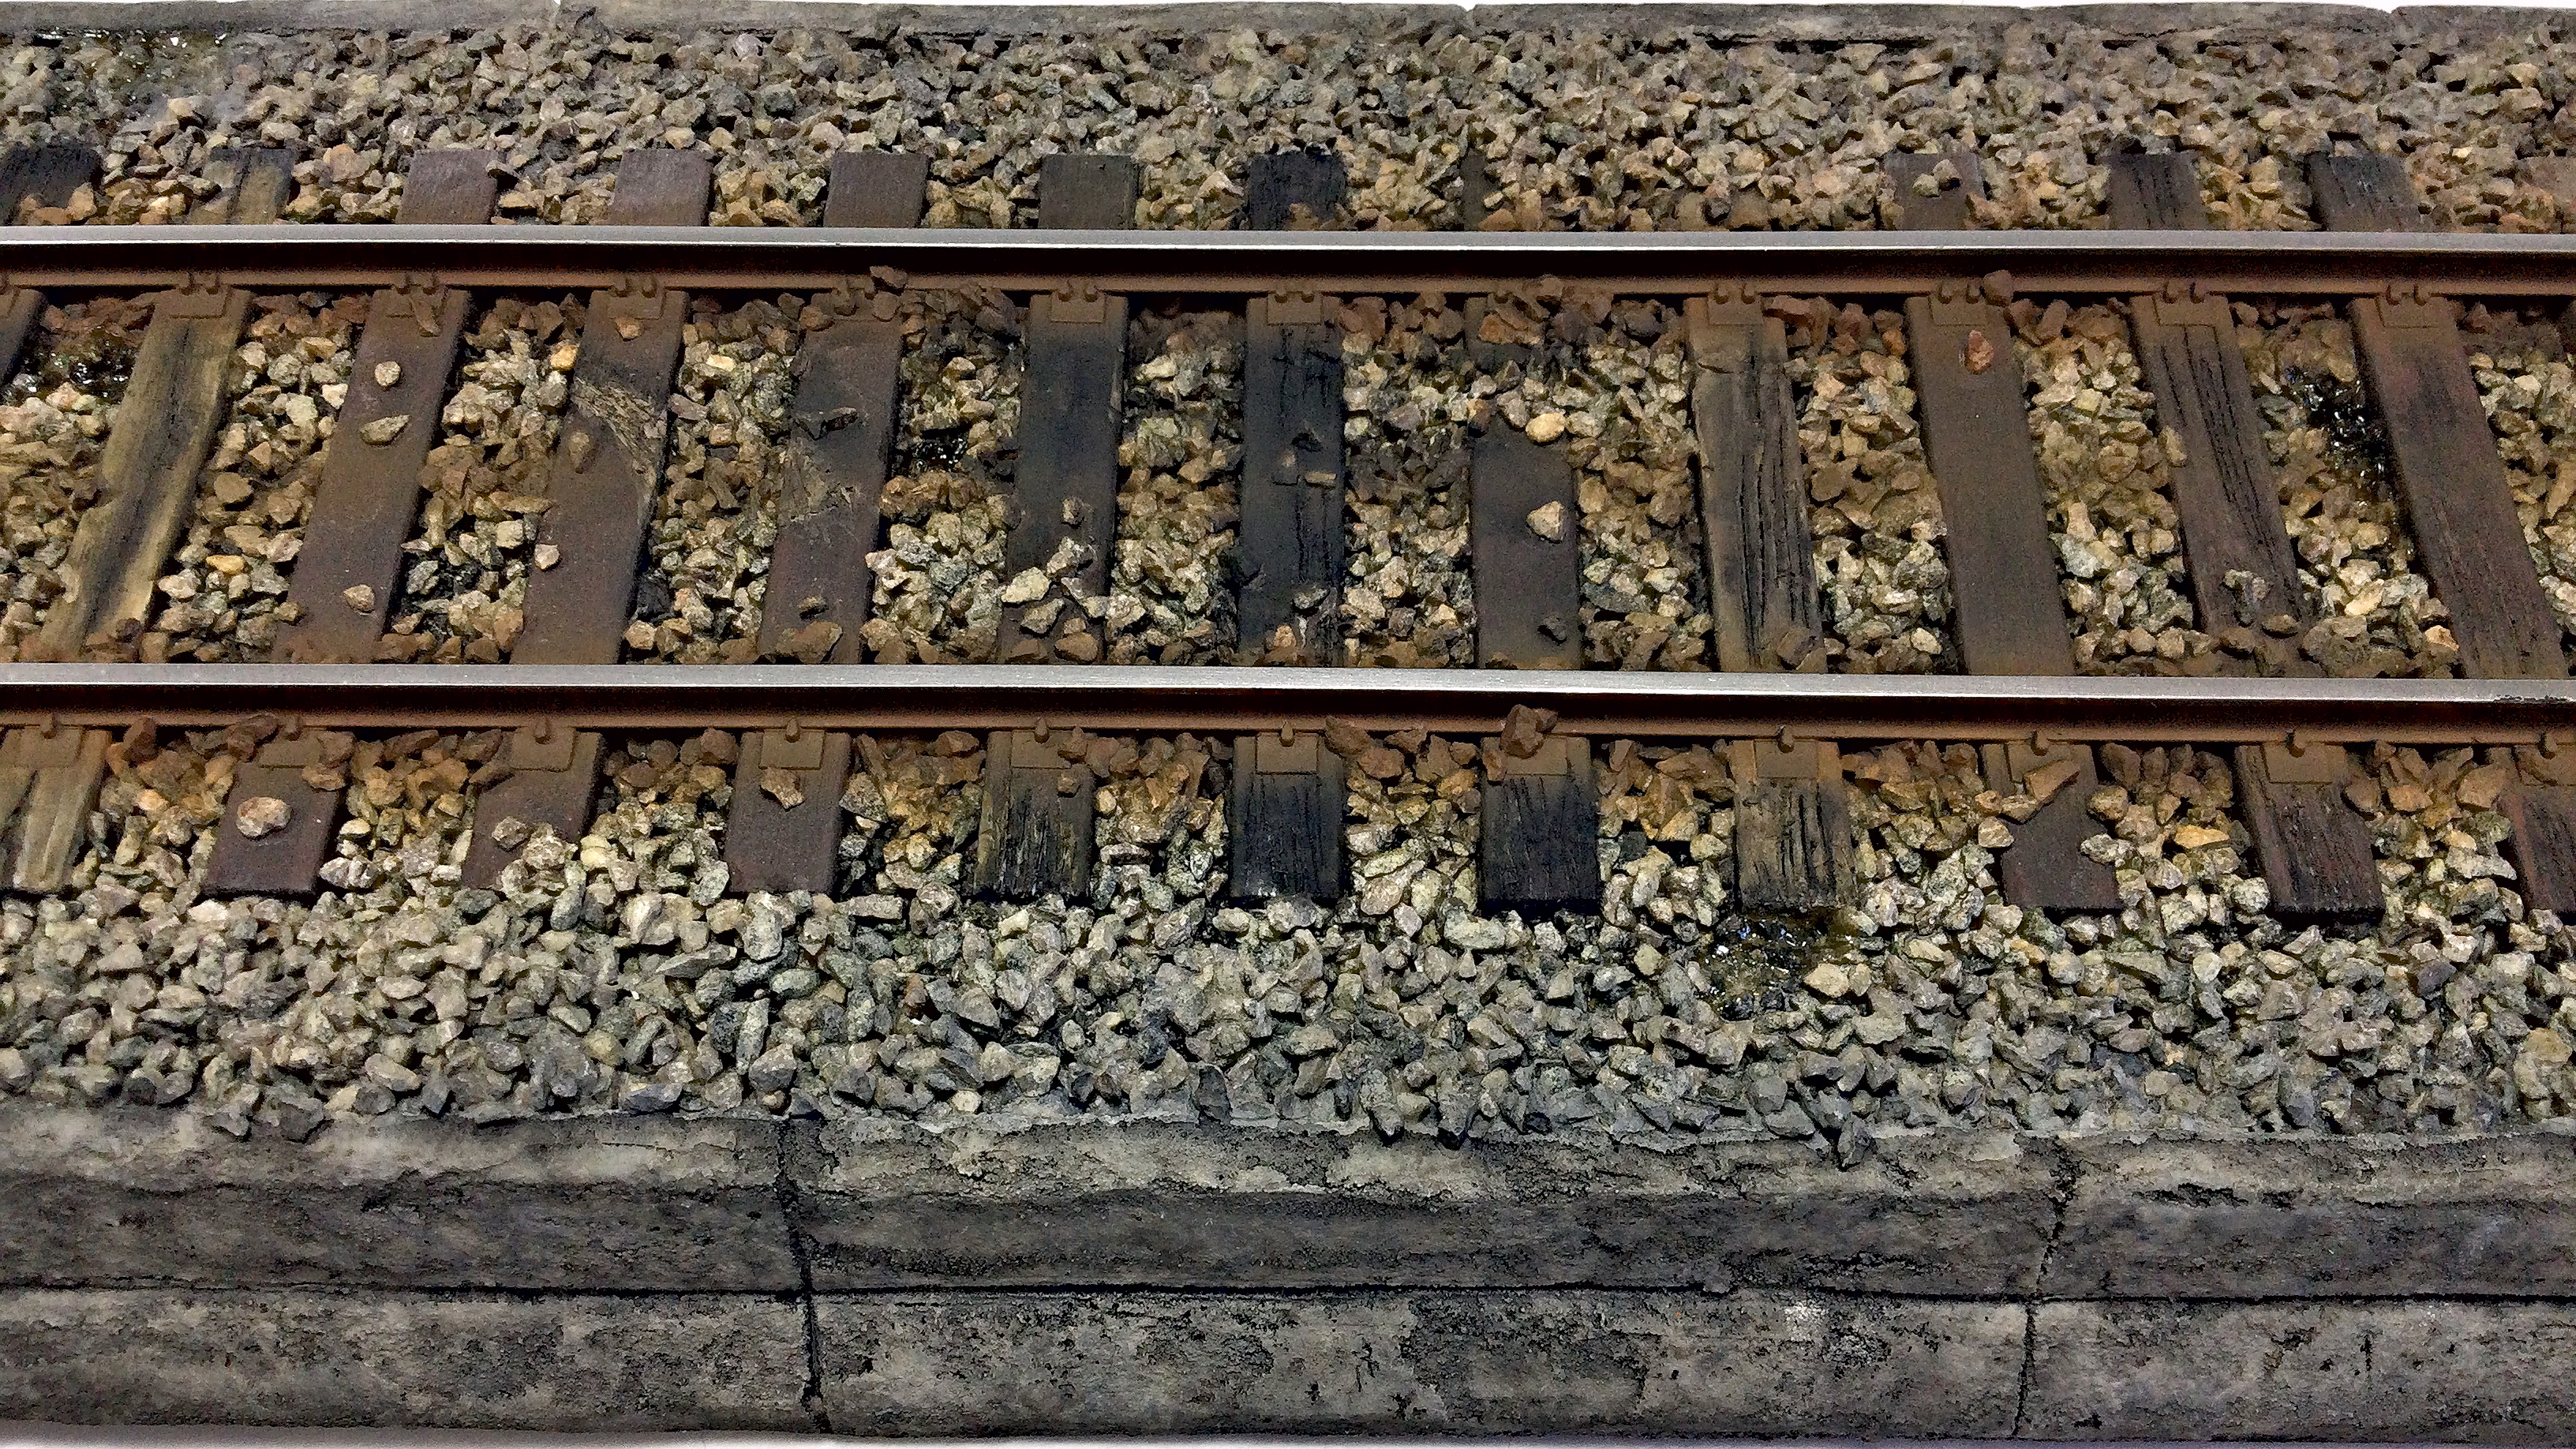
Acrylic Paints – Water-Based
The utilization of acrylic paint to create weathering effects presents several advantages:
Versatility: Acrylic paint is highly versatile and can be manipulated to achieve a broad spectrum of weathering effects, ranging from subtle aging to pronounced wear and tear.
Rapid Drying: Acrylic paint dries expeditiously, facilitating efficient layering and the application of multiple techniques within a shorter time frame.
Water Solubility: Acrylic paint can be thinned with water, creating translucent washes and effortless colour blending to attain natural-looking weathering effects. For the best results. use only distilled water, including brush cleaning.
Durability: Once dried, acrylic paint forms a robust and flexible layer that effectively adheres to various surfaces, making it suitable for establishing enduring weathering effects on diverse materials.
Colour Range: Acrylic paints come in various colours, empowering artistic modellers to effortlessly blend custom shades and tones to accurately replicate weathering patterns and effects.
Compatibility: Acrylic paint can seamlessly integrate with other mediums and techniques, such as airbrushing, dry brushing, and layering, to achieve intricate and realistic weathering effects.
Easy Cleanup: Acrylic paint can be cleaned with water, offering convenience for artists in maintaining their tools and work environment.
Non-Toxic and Low Odour: Most acrylic paints are non-toxic and emit minimal odour, fostering a safer and more comfortable working environment than other paint types.
Leveraging these advantages, modellers effectively utilize acrylic paint to create compelling and visually striking weathering effects on various surfaces and materials.
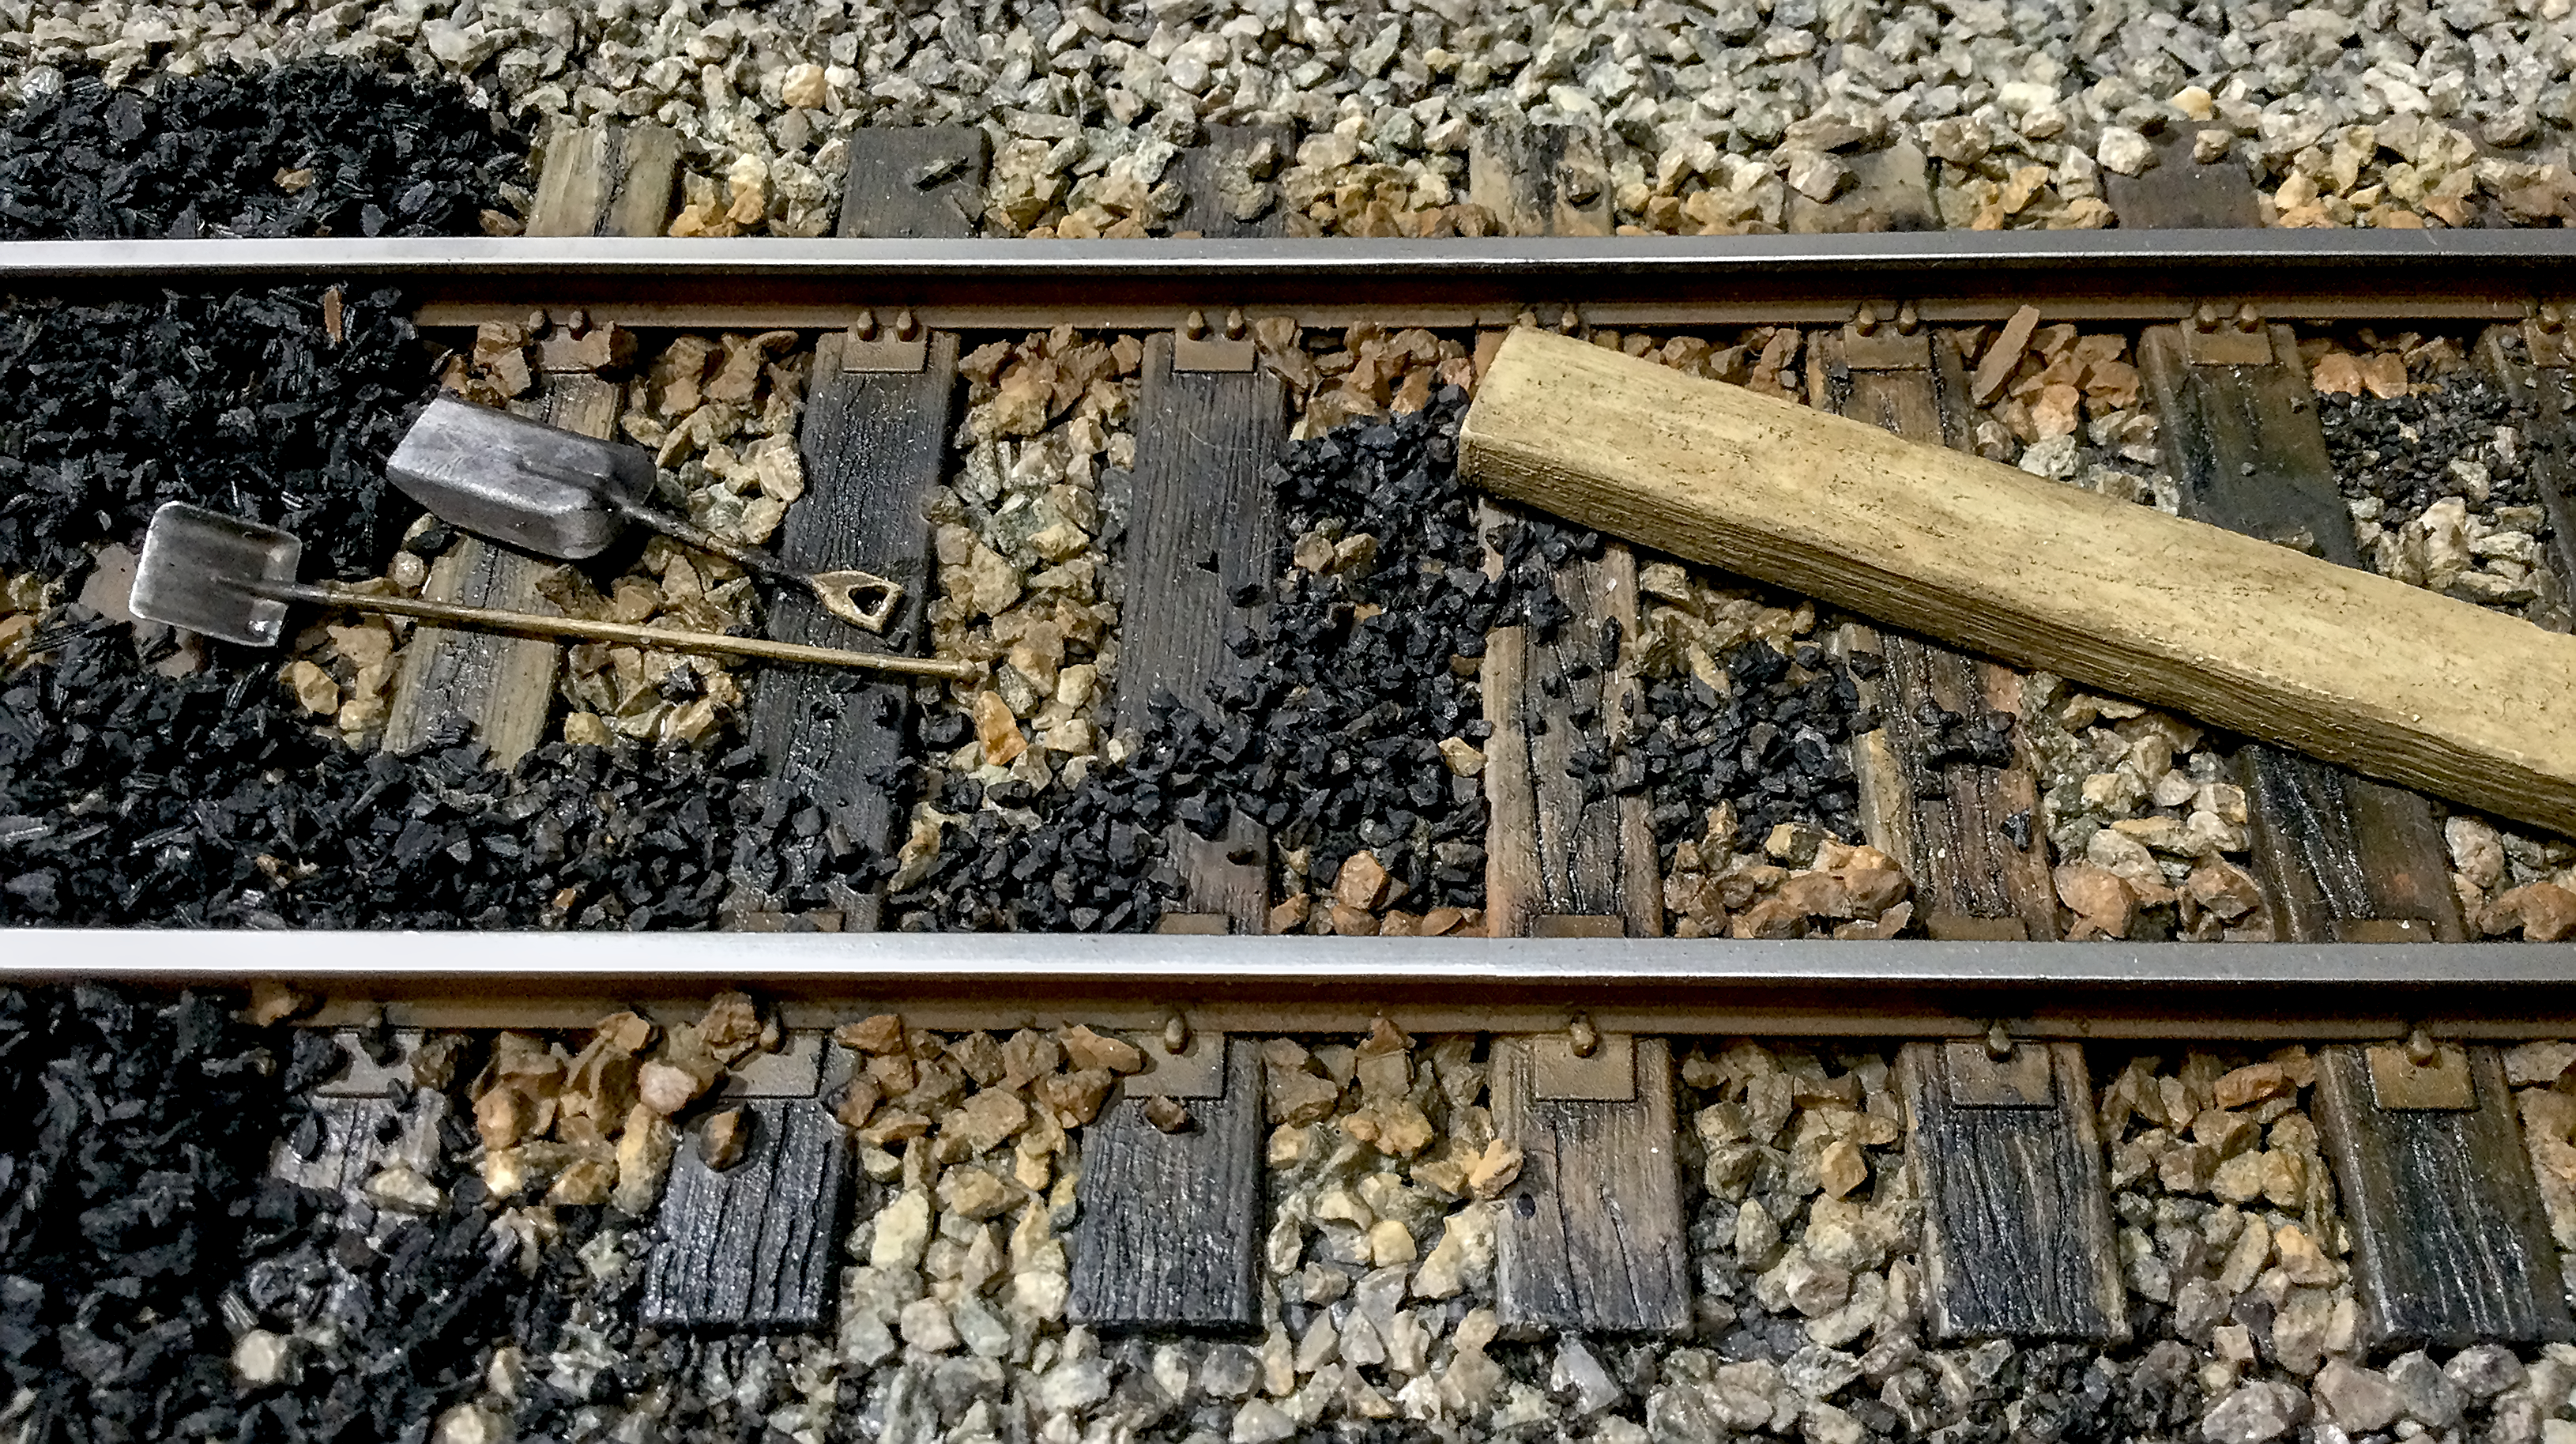
Weathering Pigments
In applying pigments to painted scale models, commencing the process with a sealed surface is essential to minimize the risk of pigments causing staining or exhibiting excessive adherence. Begin by delicately brushing a thin layer of pigment onto the intended areas, gradually intensifying the application to achieve the desired effect. After applying pigments, securing them in place using a pigment fixer or a suitable clear varnish is imperative. This practice ensures the preservation of the pigments’ positioning and creates a realistic, weathered appearance on the model.
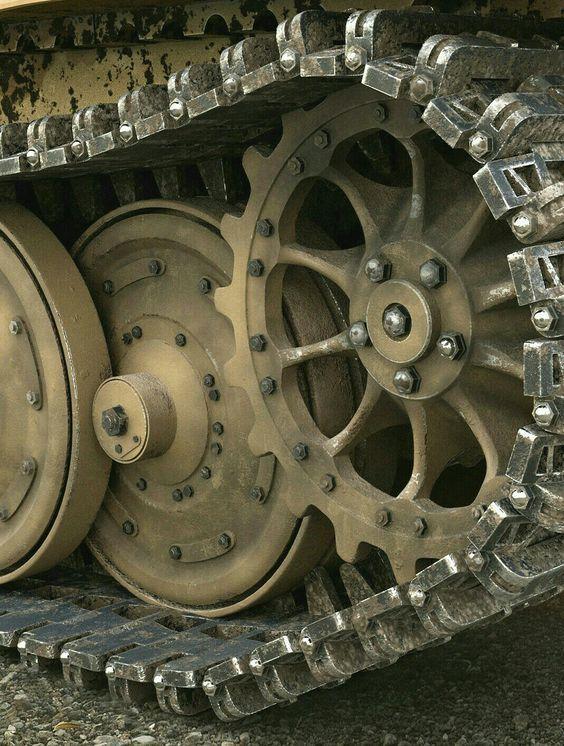
To apply acrylic mud and splash effects on a painted scale model, you can follow these steps:
- Start with a protected surface: Ensure the painted surface is sealed with a clear varnish or fixer to provide a base for the mud and splash effects.
- Apply acrylic mud: Using a small brush or spatula, apply acrylic mud to the areas where you want to depict mud accumulation. You can build the mud texture by layering it and creating realistic patterns.
- Create splash effects: To create splash effects, use a small brush to splatter diluted acrylic paint onto the model. This can simulate mud splashes or water splatters, depending on the desired effect.
- Blend and adjust: Use a clean, damp brush to blend the mud and splash effects for a more natural appearance. You can also add additional layers or touch-ups to achieve the desired look.
- Seal the effects: Once you are satisfied with the mud and splash effects, seal the entire model with a clear varnish to protect the finish and ensure the longevity of the result.
Following these steps, you can create realistic mud and splash effects on your painted scale model.
⚠️ It’s important to know and understand what product can be applied over what. Always use a developmental styrene test card to verify application theory and anticipated results before attempting to work on your build or project.
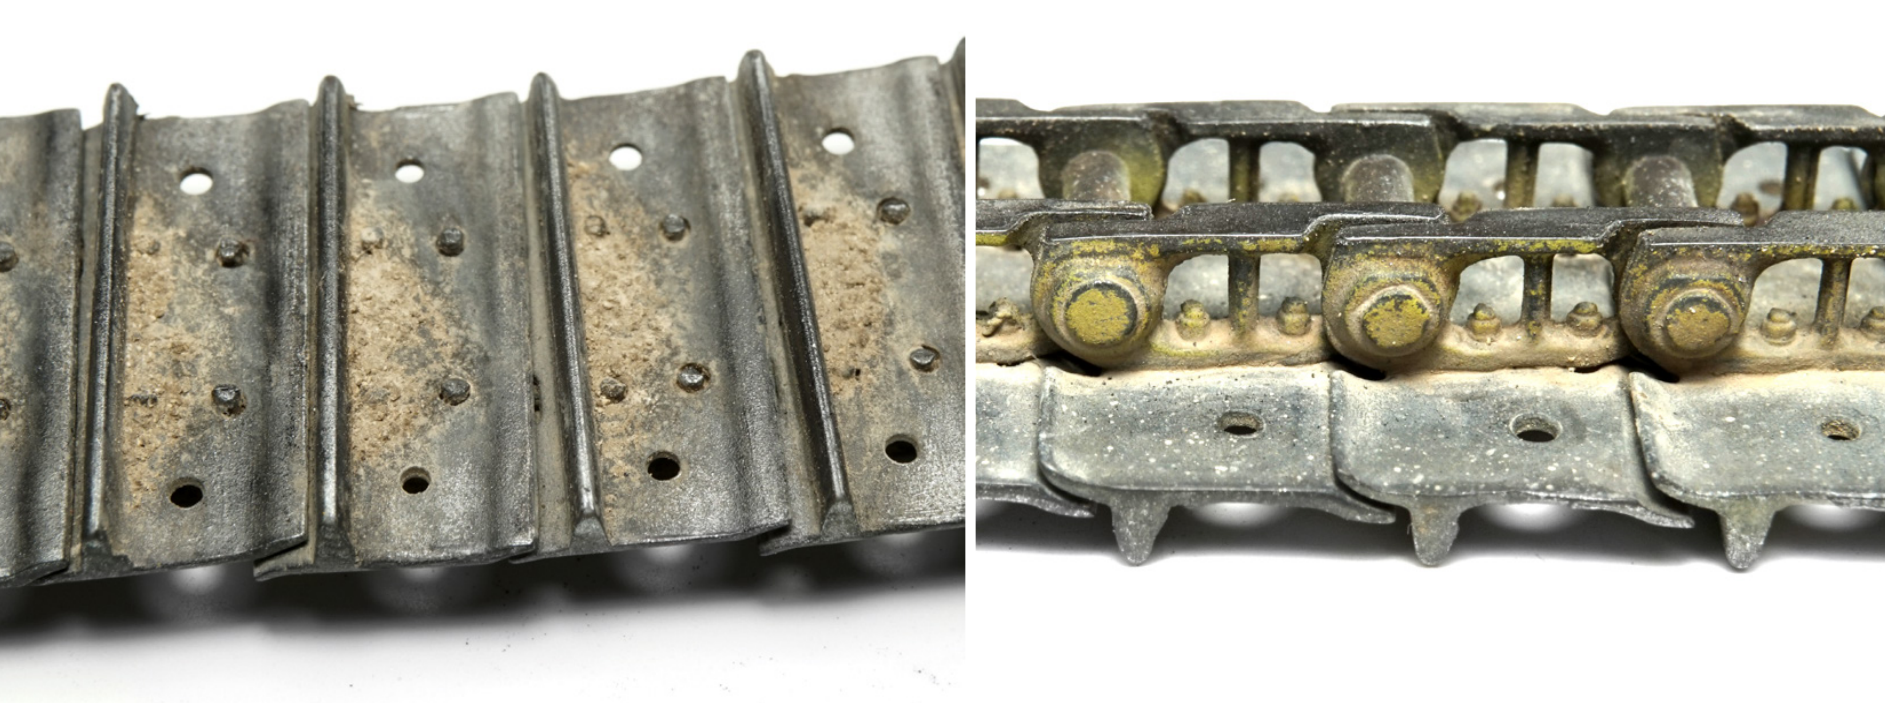
In Part №.3, the techniques will be unpacked to help readers better understand the process and how to accomplish it successfully.
James Wooldridge is An enthusiastic scale modeller, researcher, amateur historian, and contributor to scale modelling sites, including Scalemates. He is an active and progressive Facebook Group Expert, Presenter, and Scale Modelling Club Video Host. James is also the Executive founding member and KSM Group Expert – Kawartha Lakes Scale Modellers
