2K Clear Coat Prep and Problem-Solving Part №.2
Skill Level: Advanced – Difficult – Time Sensitive Product
Read Time: 9 minutes
2K Clear Coats: Managing Expectations
Careful and Precise Measurement is the first step towards a successful 2K Clear Coat finish. Airbrush knowledge and proficiency are the next step. Without them, 2K is extremely difficult to master.
Eyeballer‽
In the land of failed paint jobs, the Eyeballer stalks. Eyeballer is a relative of Close Enough and Looks Right.
EyeBaller‽: Failed Paint Jobs
Inconsistency
We’ve heard the expression diluting paint to the thinness of milk, which is a vague description at best. It’s the number one cause of a failed paint job; it must be more consistent. Adapting the drop method or graduated measurement will solve most of the paint application issues. Use the Coandă effect to create uniform droplets. Precise measurement is paramount for chemically reactive 2K Clear Gloss; it takes no prisoners.
In the land of failed paint jobs, the Eyeballer stalks. Eyeballer is a relative of Close Enough and Looks Right.
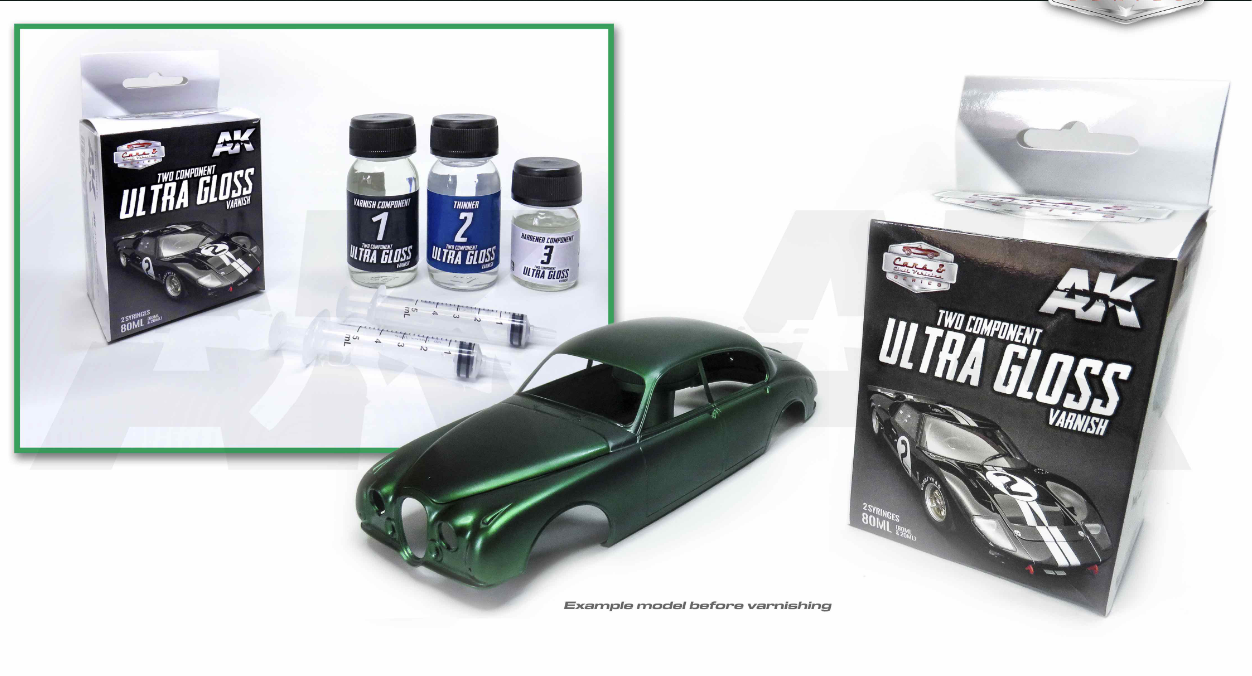
Managing Expectations Using 2K Clear Gloss
2K Clear Coats offer a spectacular finish for your model, second to none. An advanced modeller proficient in applying lacquer or enamel clear coats will find this synthetic resin product challenging. Not only does the product off-gas, but it also crosslinks by chemical reaction to form a tough transparent shell; there is no stopping it. The odds of a few failed first attempts are high, so be prepared. Once the hardener is introduced, it’s imperative to clean out your airbrush after use immediately; otherwise, you will have a chrome-plated, unusable brick. Ultimately, the juice is worth the squeeze.
Clarifying 2K Clear Coat Terminology
2K Clear Coat is referred to as a lacquer or a varnish; however, it’s technically a synthetic resin, a polymer that crosslinks, hardening by a chemical reaction between two liquids. Although it uses a thinner as a carrier and off-gasses, it does not dry. Instead, it hardens. An analogy as to what you are dealing with is filling your airbrush fluid cup with cyanoacrylate (SuperGlue) and applying it to your model. It’s a time-sensitive product that, if not taken seriously, will create serious finish problems and a locked-up, useless airbrush that is next to impossible to clean and restore workability.
Understanding 2K Clear Coats
2K Clear Coats is a professional automotive finishing product in modelling. It is not an amateur hobby; it is a clear gloss that can be haphazardly applied. Professional safeguards are necessary when using the product.
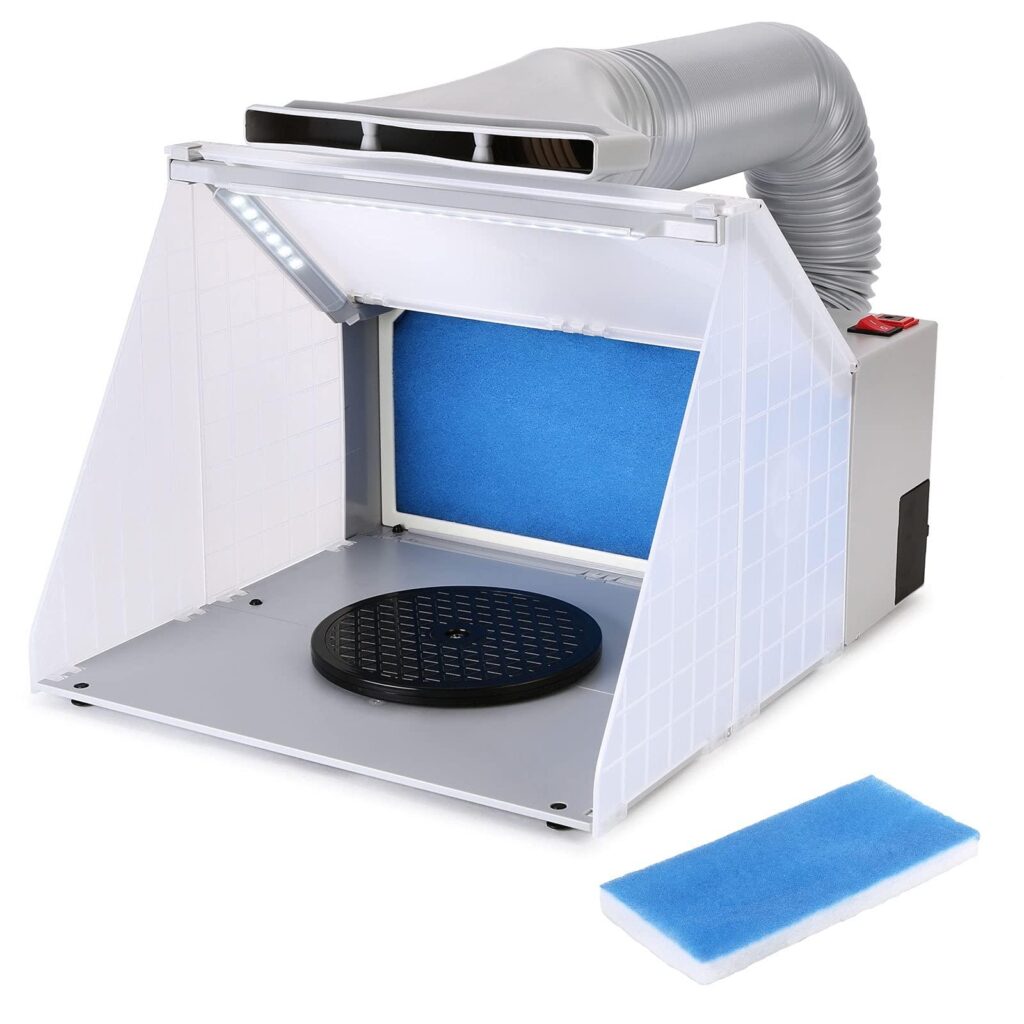
At a minimum, an airbrush spray booth is a prerequisite.


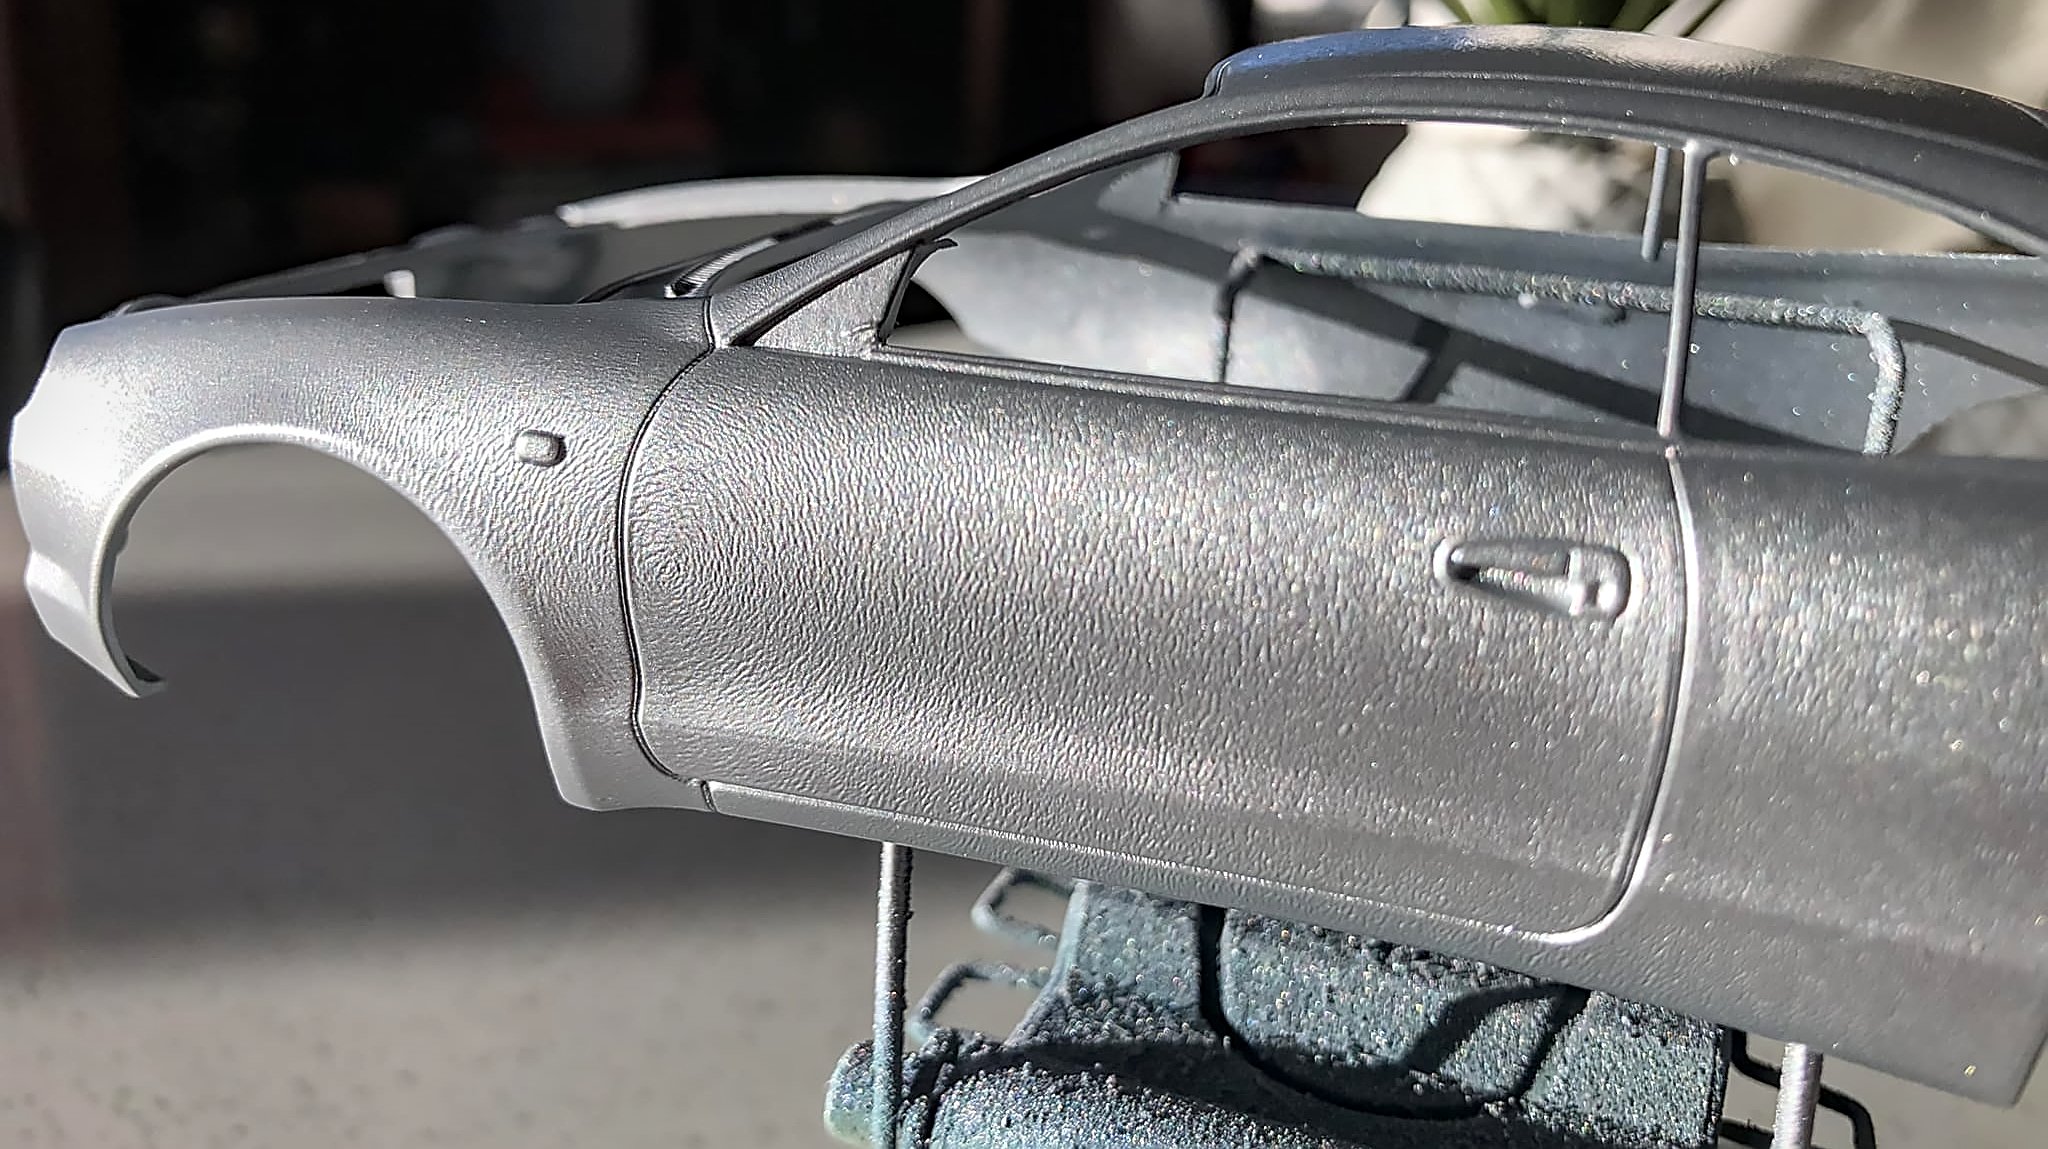
Surface Cleaning: It is crucial to clean the surface thoroughly before applying a 2K clear coat. Contaminants like dust, dirt, fingerprints, or mould release can affect the clear coat’s adhesion. Begin by washing the surface with a high-quality detergent or diluted Isopropyl (50%), and rinse it thoroughly to ensure no residue is left. Use an airbrush to blow dry and eliminate moisture accumulation for the final touch.
Sanding and Smoothing: To ensure a smooth and flawless surface, it’s essential to address any imperfections and rough spots through sanding. Start using coarse-grit sandpaper to level the surface, then gradually move on to finer grits for a smoother finish. Pay special attention to areas that have scratches, chips, or uneven surfaces. When repairing any damaged areas, be sure to feather the edges to create a seamless transition.
Tack Cloth Use: After sanding, removing all dust and particles from the surface before applying the clear coat is crucial. To achieve this, a tack cloth is the best tool for the job. Carefully wipe the entire surface to ensure it is free from debris. Clean thoroughly; even the tiniest particles can create imperfections in the clear coat. By following these preparation steps diligently, you will create a clean and smooth canvas perfect for applying a 2K clear coat. This will set the stage for a flawless finish, and it will also maximize the durability of the coating.
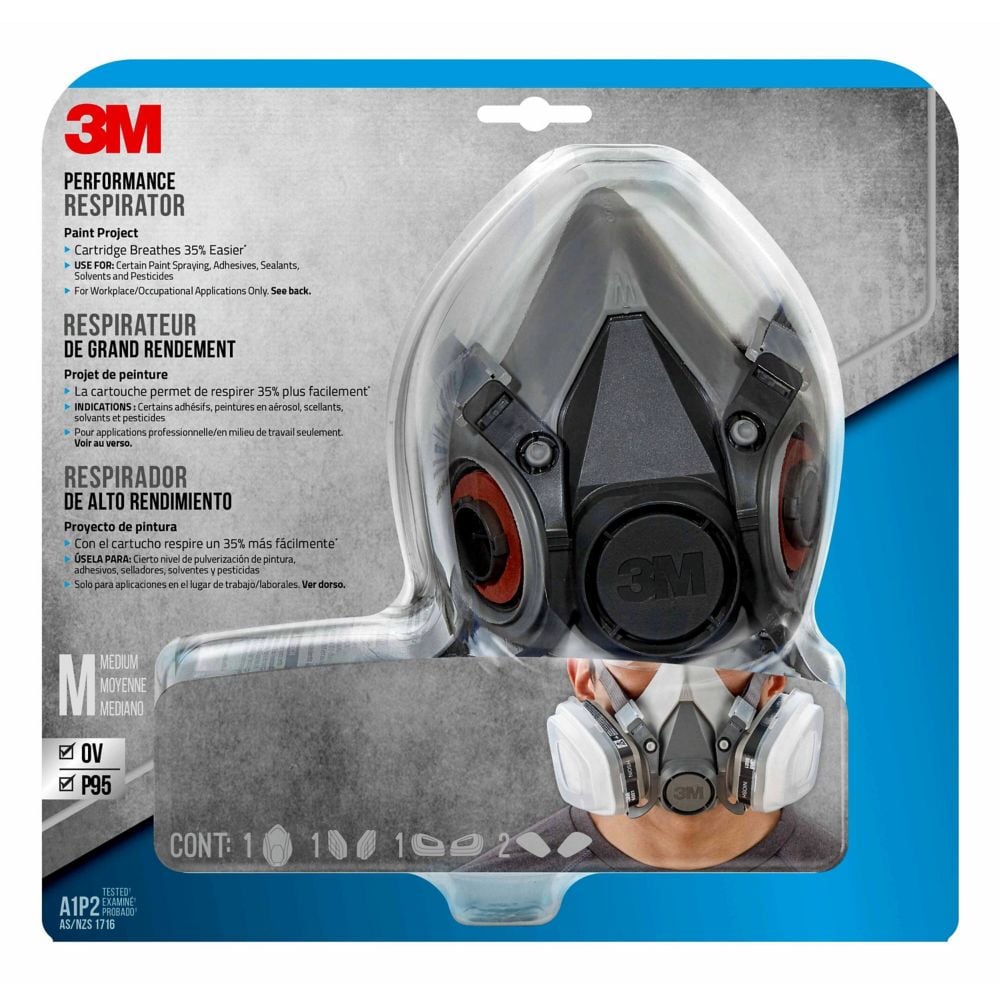
Safety First: You must wear the appropriate safety gear before handling a 2K clear coat. This should include an airbrush spray booth, gloves, safety glasses, and a respirator (NIOSH-approved: OV/P96), as the chemicals present in the clear coat pose a potential hazard to human health. By adopting these safety measures, you can protect yourself from any possible harm.

Mixing Ratio: It is imperative to ensure optimal performance when working with clear resin and activator. The correct mixing ratio must be observed, and any deviation from the recommended guidelines may result in subpar performance. Therefore, it is recommended to consult the manufacturer’s instructions to ascertain the appropriate mixing ratio for the two components. Maintaining accuracy is critical to the success of the process, and any errors in the mixing ratio may compromise the desired outcome.
Airbrush Setup: Following the manufacturer’s recommendations is crucial when preparing your spray gun. Begin by selecting the appropriate nozzle size, which will be determined by the type of material viscosity you intend to spray and the desired spraying effect. The nozzle size will impact the volume and pattern of the spray.
Airbrush Overlapping Spray Swath: Move left to right, right to left, with a 50% spray overlap using a sweeping motion, moving past the coating area to end the spray stroke.

Air Pressure: Additionally, it is crucial to adjust the air pressure to achieve a fine and even spray pattern. Adjusting the air pressure will depend on the specific equipment, sprayed material, and desired finish. It may require some experimentation to achieve the desired outcome, but it is essential to take the time to find the right combination.
Airbrush Care: It is also essential to clean the airbrush thoroughly after use to ensure optimal performance and longevity. Proper maintenance will prevent clogging and prolong the equipment’s lifespan. Following these guidelines, you can achieve a professional and flawless finish with your spray gun.
Test Spray: Practice on a test card before applying paint to your project. This preparatory step is necessary to ensure the airbrush is correctly adjusted and the paint is evenly distributed. This will minimize the risk of imperfections on the surface.
Verifying that the mixture is spraying uniformly and the airbrush is functioning appropriately is essential. Following this procedure will enhance the quality of the final finish and avoid the likelihood of a failed clear coat paint job.
First Coat: To apply a 2K clear coat to a project’s surface, initiating the process by employing a light and even coat is recommended. Commence from the top region and progressively work your way downwards. It is advised to overlap each pass by 50% to guarantee that the surface exhibits uniform coverage.
To avoid accumulation in a specific area, ensure the airbrush is in constant motion throughout the application. This will help achieve the desired outcome of a smooth and even coat.
You also don’t want the layer underneath wholly cured before the next coat goes on. If it is, you’ve only got a mechanical grip holding the new coating to the old. If the paint’s not entirely cured, you get some interaction between the layers, making it more like a single solid coat but allowing ample time for out-gassing.
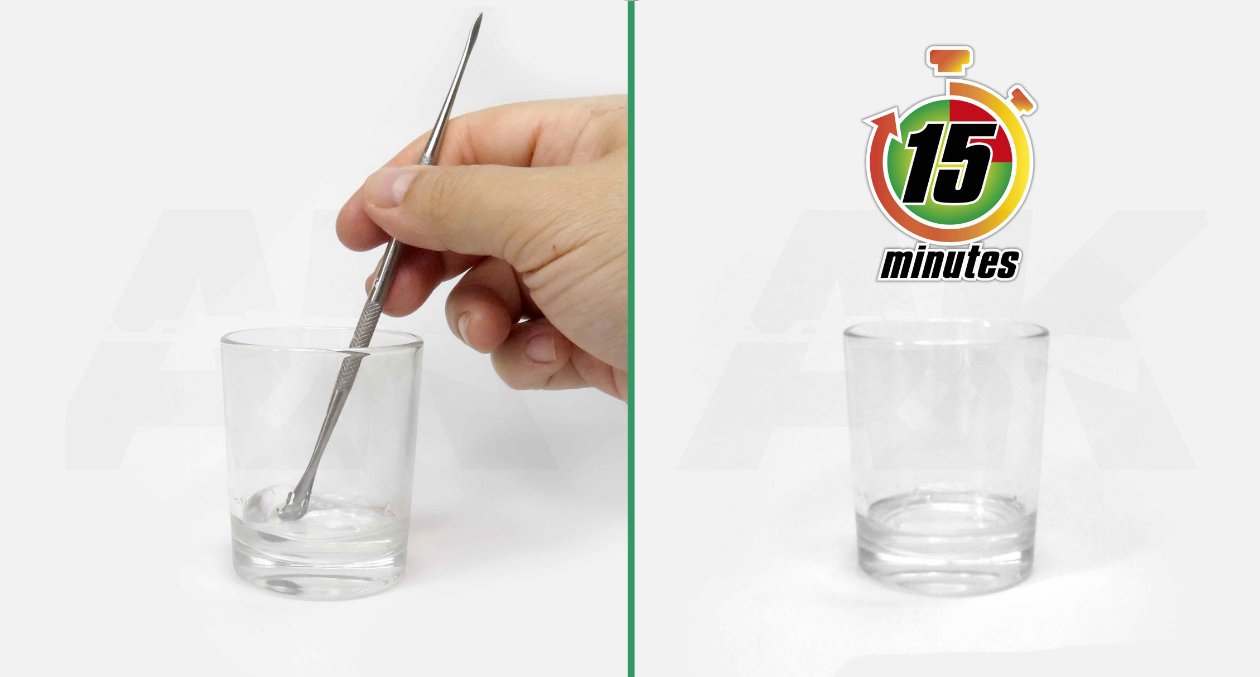
Flash Time—Off-Gassing: To ensure a high-quality finish, following the manufacturer’s recommendations for applying 2K Clear Coat is crucial.
“Specifically, when applying a second coat of paint, it is important to allow the first coat to partially dry or “out-gas” beforehand.
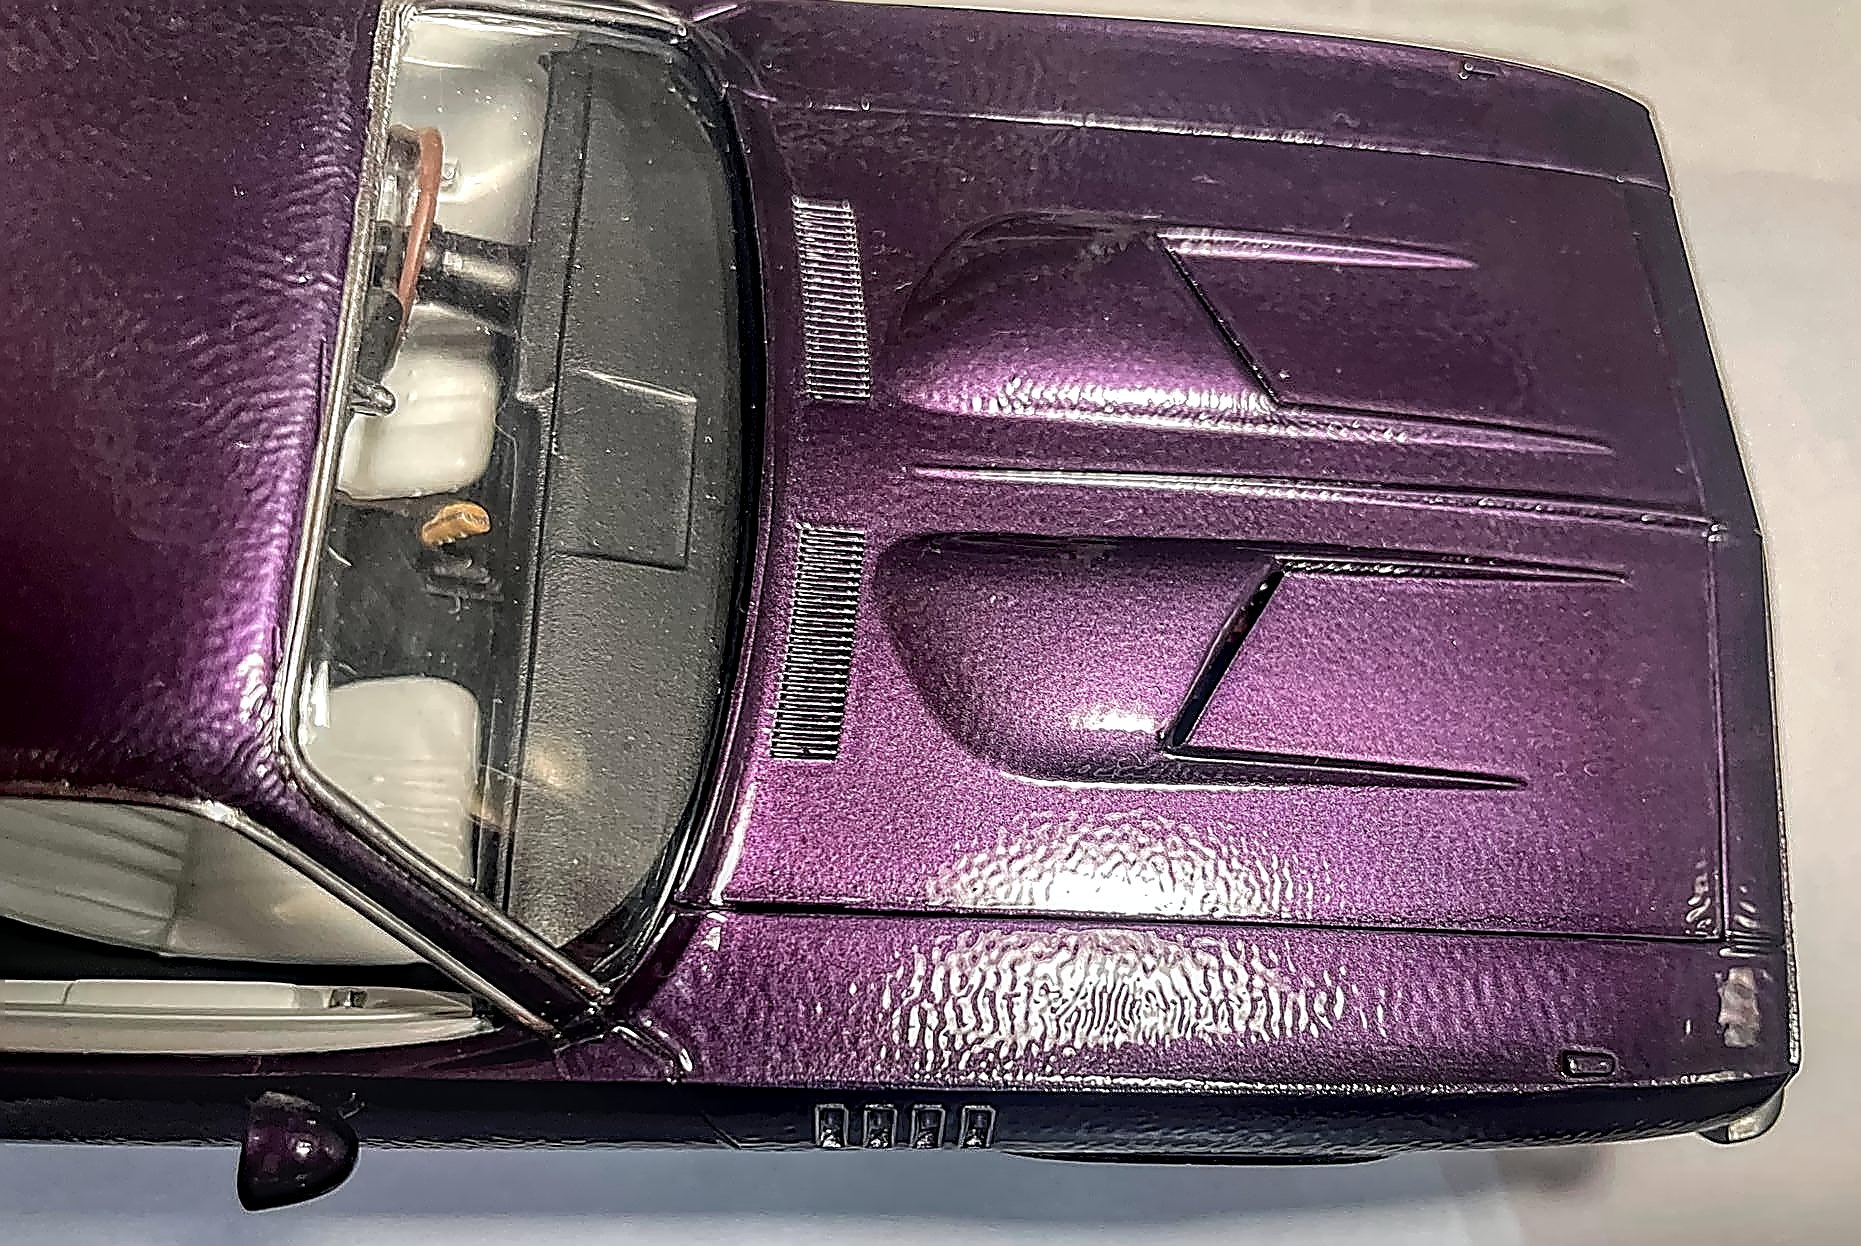
This means giving the paint enough time to dry semi-solid before applying the second coat. Doing so can prevent the first coat from smearing or being lifted off the surface by trapped solvent off-gassing, leading to an uneven appearance: orange peel.
To determine how long you should wait, refer to the manufacturer’s instructions on the 2K container. These guidelines will depend on the type of 2K you are using and the environmental conditions in which you work. In general, however, you can expect to wait anywhere from 15 minutes to an hour before applying the second coat.
Allowing the first coat to flash, also called off-gas, can help ensure that your straightforward coat job looks smooth, even, and professional. Remember to follow the manufacturer’s instructions carefully, and you’ll achieve great results.

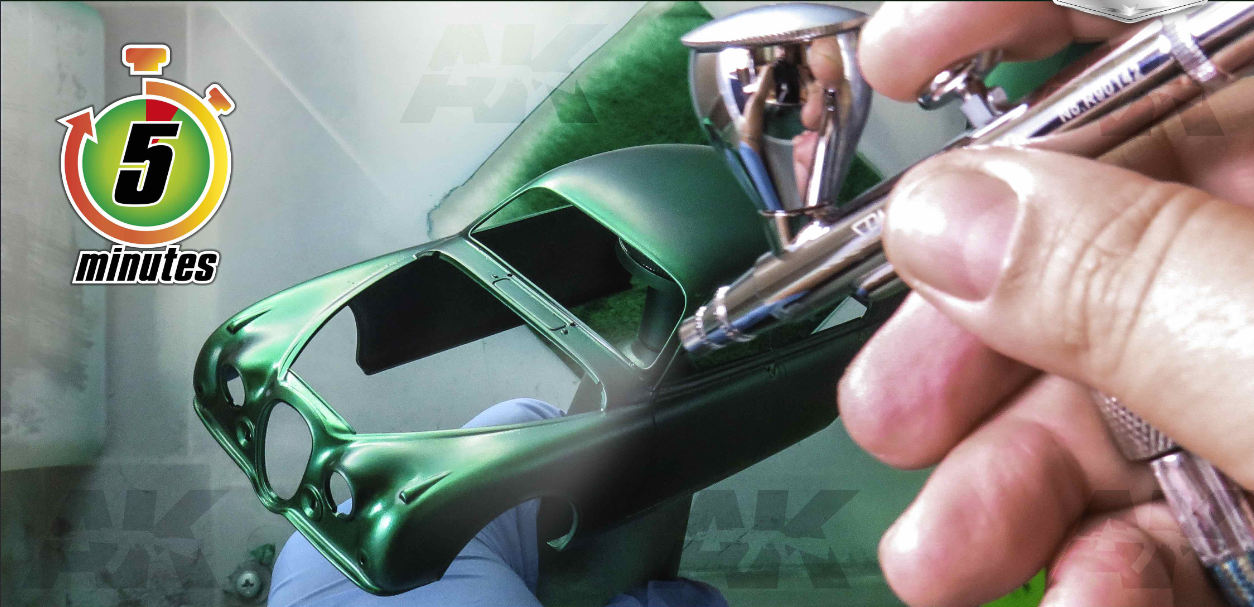
Additional Coats: To achieve a polished and smooth reflective finish, it is advisable to apply 2-3 clear coats on the surface.
Off-gassing is essential to prevent orange peel before applying the next layer, allowing each coat to flash. This can be achieved by waiting for the surface to out-gas, which can take 5 to 10 minutes, depending on the type of 2K Clear Coat used.
It is important to note that the clear coat should be gradually built up, ensuring that each layer is thin and even. This will allow the surface to dry evenly, preventing any sagging or uneven dimpled texture.
Once the final layer of clear coat has been applied, allow it to dry completely for at least 24 hours before handling the surface. This will ensure that the surface is cured sufficiently for handling.
Drying Time – Curing: 2K Clear Coats harden by a chemical reaction, not drying time. It can take 7 or 8 days to crystalize fully into a hard transparent gloss coat. Please don’t rush to work with it until it is fully hardened.
Once the final coat has been applied, allow the clear coat to cure for the recommended time. This can vary depending on the specific product used, so it’s essential to refer to the manufacturer’s instructions for guidance.
After the clear coat has fully cured, handling and polishing the painted surface are safe. You can use a high-quality polishing compound and a soft cloth or buffer.
By following these detailed steps, you can achieve a professional-quality finish that will enhance the appearance and protection of your vehicle’s paint job.
Trouble Shooting 2K Clear Coat Application Issues №.3
James Wooldridge is An enthusiastic scale modeller, researcher, amateur historian, and contributor to scale modelling sites, including Scalemates. He is an active and progressive Facebook Group Expert, Presenter, and Scale Modelling Club Video Host. James is also the Executive founding member and KSM Group Expert – Kawartha Lakes Scale Modellers